When you click on links to various merchants on this site and make a purchase, this can result in this site earning a commission. Affiliate programs and affiliations include, but are not limited to, the eBay Partner Network.
Finished the mounts on the '11 E550 4M sedan tonight... having done it once, certainly helped knowing how to attack the job. This time around I made a 16mm tool for the motor mount bolts, which worked really well. The only difference on the E550 was the A/C compressor did NOT need to be detached to remove driver's side mount (unlike E350 4M). The engine is longer on the E550 and most of that is towards the front. Thus the A/C compressor is further forward (as compared to the E350), which leaves enough space between the it, the driveshaft and the lowered PS rack to remove the motor mount.
E550 tibits:
E550 motor mount replacement very similar to E350 (earlier post)
A/C compressor does NOT need to be detached to remove driver's side mount
As far as tooling, I would NOT recommend the Baum 16mm engine wrench (001-00162). Essentially the box-end of the wrench is NOT offset enough from the beam and its overall length is too long. Without getting into a lot of detail, the box-end has a tendency to slip off the bolt head and its length limits how much it can be rotated. I even slightly bent it, which "helped"... but still a fail in my opinion and needed improvement.
There's also an AST 16mm wrench, which looks "better"... YMMV. I also randomly found a guy on YT making a wrench almost identical to what I made. I think his would work well (basically what I made) and the downside being cost, which I believe was $80 in description.
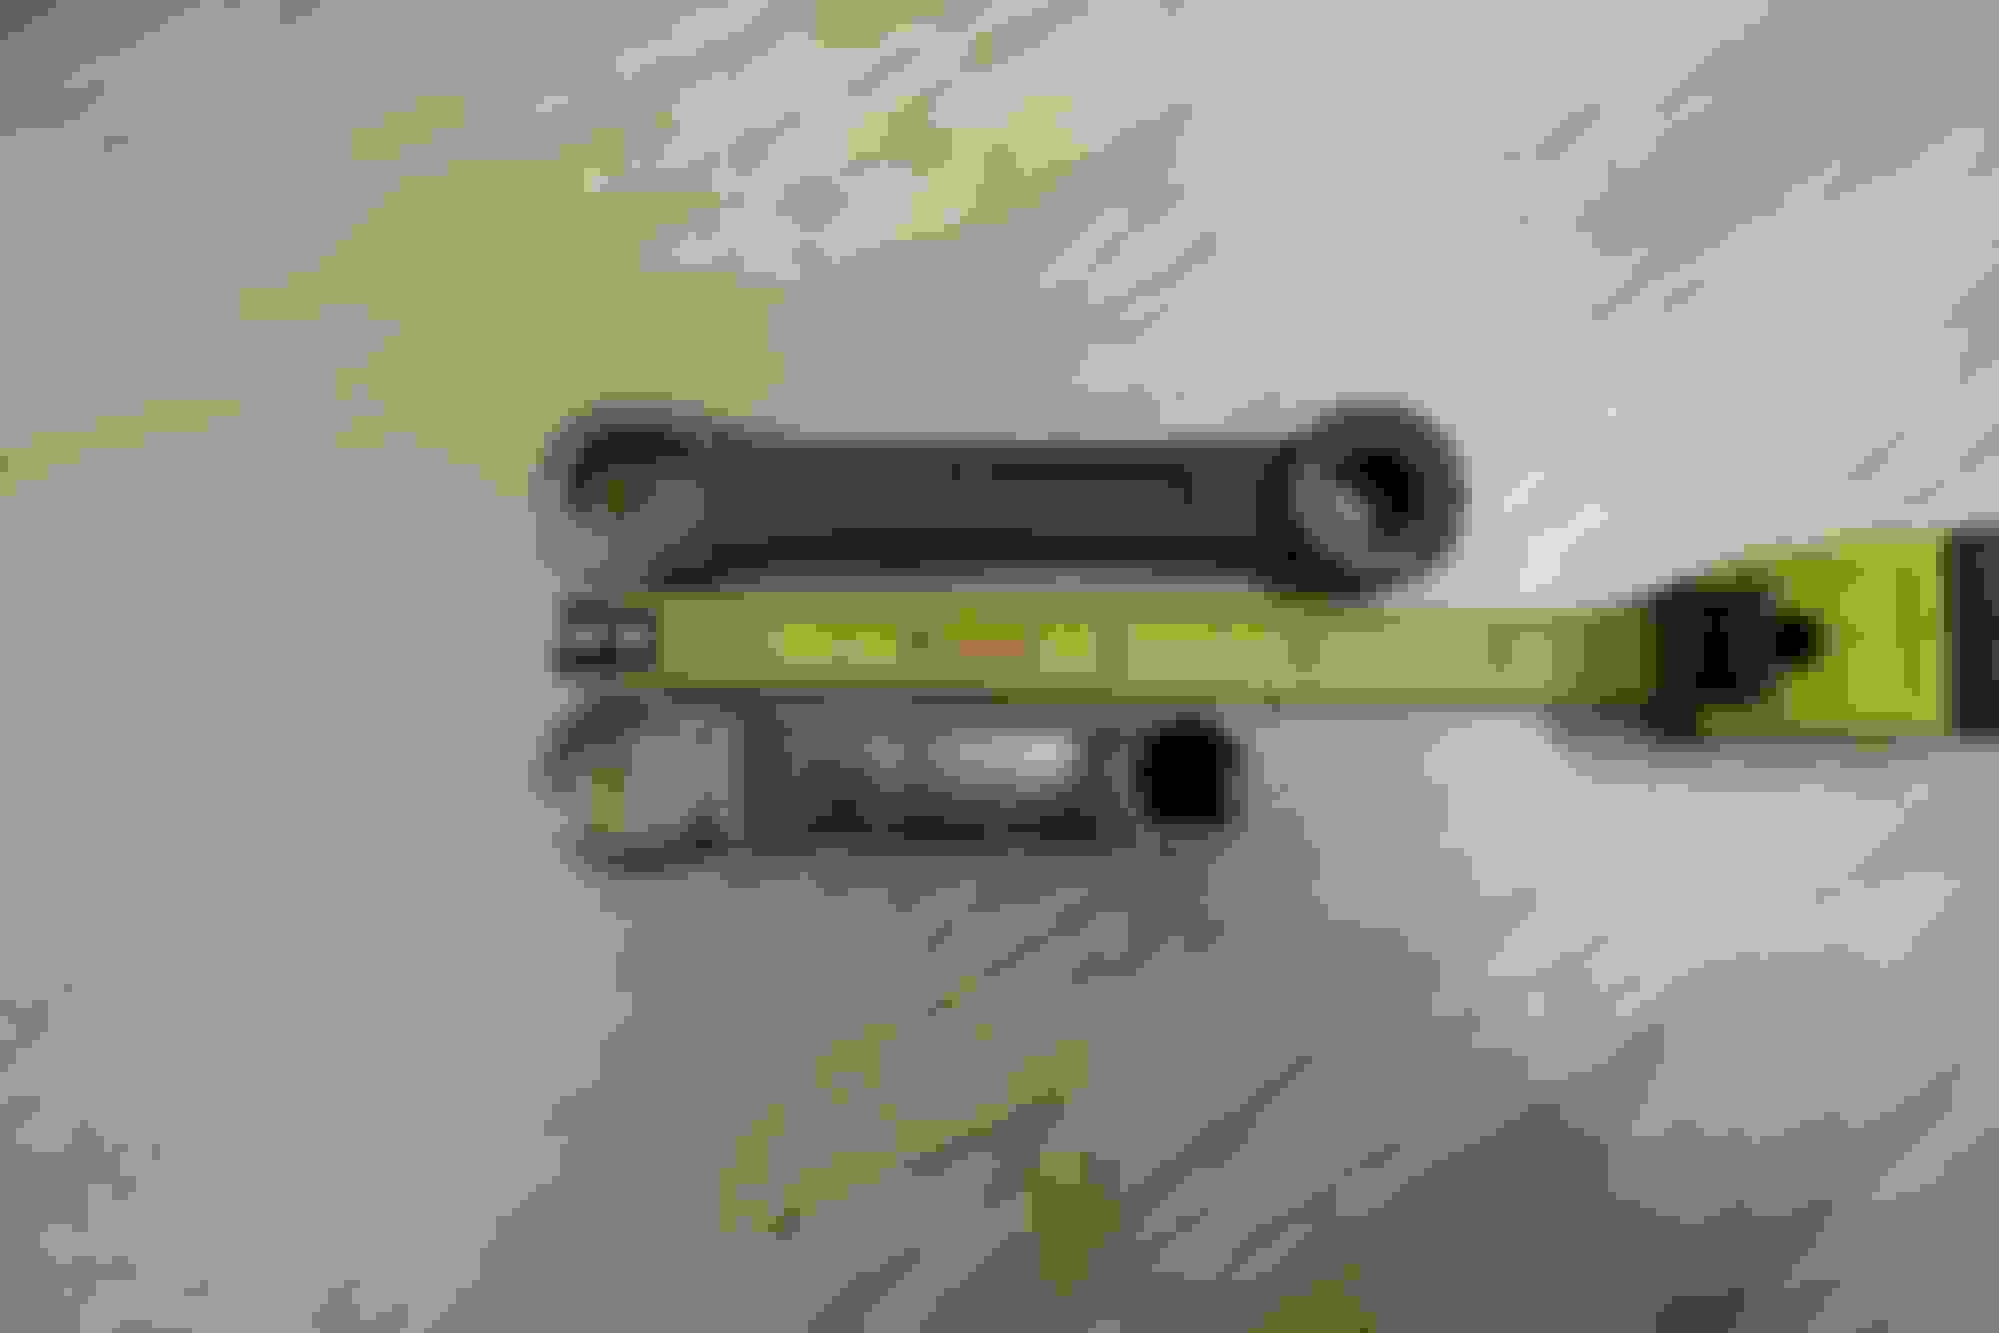
Initially I tested the concept with a Snap-On offset wrench (XSM1516), which fit well and would clear the mount and exhaust manifold. At the same time, I didn't want to "waste" the Snap-On wrench. Drove down to Harbor Freight, but their offset wrenches were too offset (wouldn't fit between mount and exhaust manifold). Searched Amazon and found a
Hi all - I very much appreciate all the info in this thread.
Last weekend I changed the motor mounts in my 2011 E350 wagon 4-matic (146,000 miles). It is a lot of work but went well. I figure I'm the average guy at home and it took me about 8 hours - mostly dealing with difficult-to-access bolts.
Like many of you:
- I used multiple extensions to reach the passenger side rear heat shield bolt (on installation I taped the little bolt onto the socket and it threaded in without any trouble)
- I used a file on the special 16mm tool (Amazon) for the top mount nut, the wrench is simply a bit thick and needed to be shaved down (mostly for the passenger side top mount bolt)
- Passenger side: I removed the alternator, 4 bolts, straight-forward (unbolted the steering rack and cross-member for good access to the bottom bolts)
- Driver side: with the steering rack loose I was able to work the mount towards the rear
I did make a problem for myself - I let the steering rack hang/fall too much and the steering column came disconnected (it's two halves that fit together with the upper being a splined sleeve over the lower). This left the steering wheel to spin freely. Under the dash the upper half of the steering column has a u-joint with a splined clamp connecting to the steering wheel. I *unfortunately* decided to disconnect that, but I could not get it to mate back on (lots of small splines, tight).
What I should have done was disconnect the lower half of the shaft from the steering rack and work the re-connection from that end. So my advice: DO NOT disconnect the upper steering column from the steering wheel assembly ever!
I was able to get the steering clamp half on and tight, and I drove carefully to a very good shop about a mile away. So all good now.
I used Corteco mounts, never could find Lemforder available in the US (for the 4-matic wagon). My original squished mounts compare just like in the posted photo above, similar drop.
This is a very valuable thread, thanks to everyone for posting. Even if you have no intention of doing this yourself, read this and you will understand why it costs so much to get done. It remains to be seen if I will attempt it. Have a Quickjack setup and good tools, but my car may not reach higher mileage until I'm at least in my late 60's1
I am about to tackle this job on my 2011 W212 4matic wagon. This thread is most helpful.
I did some research and there is a new video out there on a way to do this job without messing with heat shields, alternators and AC compressors or steering racks. It involves dropping the subframe, which does not look as hard as it sounds.
The car in the video is not a 4matic and does not show the complete process. Any thoughts on this method?
Each configuration is different.
My diesel has aluminium oil pan. I would hesitate to hold whole engine weight on it.
For me driver side was pretty easy without removal of any other parts.
For passenger side I had to remove DPF, but since I did it couple of times before, with lift it is 20 minutes job.
W212 has wear indicators on MM, what is nice.
When mount collapse, the bracket rest on the black plastic making half circle on the top. When you see rub marks on it- it is time for new MM.
The engine mount operation as described above isn't fun at all. The CV axles hitting the opening in the subframe limits how much you can move the engine up. I did the driver side first and getting the passenger side in after was awful. I did it passenger side first on a '12 C300 4matic and it was much easier. One of the worst parts was getting the rear bolt off the passenger mount heat shield.
Dropping the subframe on an '11 4matic isn't simpler. You'll need to remove the front suspension almost entirely since the CV shafts need to come out. You'll need to suspend the engine from above of course. The steering rack and sway bar need to come out completely. You'll need new bolts for the subframe.
However, if you go this route and just remove the subframe entirely it opens up a few "while I'm in here" opportunities. It's a good time to reseal the front differential and change the fluid. The oil pan can be removed and resealed. You'll want to replace the bearing the CV shaft rides on in the oil pan (which goes bad eventually anyway). Food for thought.
Having done both, I'd say don't bother with the subframe approach unless those other preventative maintenance items sound appealing. The oil pan and diff do start leaking over time. Dropping the subframe to reseal the oil pan and diff took I think 5 days of work, though I was working carefully. A pro could have it done in a day. I did the engine mounts by removing the alternator and dropping the steering rack and it was 4, maybe up to 6 hours soup to nuts.
If you go the alternator approach, grab some fluid for the front diff and change it while the alternator's out. Once it is you'll have access to the breather cap on top of the diff. The diff only has a drain plug but once the breather cap is removed you can fill it from there.
$1000 for engine mounts including parts / A BARGAIN!
[
that's quite a good price!
my 2 local SF Indys are quoting $200 - $500 more!
QUOTE=MBNUT1;7653327]Had my car at the indy the other day and asked him about doing the engine mounts (I had the trans mount done when I had the transfer case repaired). He is quoting $1000 including the mounts. Just wondering what you guys who have done it think if it is worth doing yourself for that price. I definitely won't consider doing them until the weather warms. I tried shopping around over the phone and another indy wanted me to bring it in which is a pain. I guess maybe the best way to answer is what your touch time was beginning to end so I can figure an after tax wage.[/QUOTE]
Hi, I have started the mounts on my 2011 E350 4matic wagon.. I am working on the passenger side and so far have the alternator unbolted and moved, the heat shield bolts off and the front 13mm loose. I am struggling with the rear 13mm, will try a different swivel and extension set up next. Although I removed the heat shield bolts, I have not been able to remove the heat shield itself, does it come out or just move out of the way? Also, I have been trying to break the top mount 16mm bolt loose with the KTC wrench with no luck. It seems too long as it hits the inner fender - should I go at it with the extended part facing rear or forward? hit it with something? thanks! boy, this is supposed to be the easy side, can't wait do the next one!
Well I got it done!! the prior posts were a lot of help and I have to really thank Atraudes for his insight and encouragement while doing this. I thought I would run through how it went for me..
Got the car up 18" all around, pulled the under covers and front wheels with no issues.
Heat shields: the extensions and swivels pictured above worked fine for the rear shield bolts. Front bolts were no problem.
13mm bolts (rear) on the bottom of the mount could be reached with extensions and swivels - just takes patience to get the correct configuration; swivels near the socket. Fronts no issue.
The top 16mm bolts were a bear.. on the passenger side the KTC tool worked but it is really 1" to 1.5" too long so you could only move it a couple inches at a time, takes a lot of patience. On the drivers side the tool didn't work for me at all: that side is even tighter than the passenger side - just no room. I did pull the coil off the first cylinder to make a little more access room. I used a 15" ratchet wrench with the flexible end, I put masking tape around the flex hinge to stiffen it up and got it to work. Again the KTC tool was just too long and I didn't have a 16mm wrench to cut down. So I got it, just took patience.
Removed the alternator bolts and the big cable and simply let it lay there.
After dropping the alternator I went underneath.
Steering rack: the 4 bolts came off with no issue (the two long ones are stretch to torque so I got new ones from the dealer - $7 each). I disconnected the steering shaft at the yoke by completely removing the bolt, the wheels were straight before I lifted it. When the shaft separated, which was not a big deal at all; simply tweaked it with a screw driver, the racked dropped no problem. The steering shaft can only go back on one way so you can't mess up with that!!!
Mount removal/install: passenger side out and in the front, no problem. Drivers side: I had the motor up as far as it would go and the mount literally just fell out. New one went in maybe 5 minutes.
I did the passenger mount first, started the bolts and completely tightened the 16mm but left the bottom bolts with 1/4" of play to help the motor go up for the driver side.
Once the drivers side was in, went through the extremely tedious screwing the 16mm bolt down, again - no clearance. Then bolted the 13mm down.
Heat shields: with the rack down I put the drivers side on and the rear bolt in, much easier to get to. The passenger side heat shield was the biggest pain the *** I had to deal with. First it was always in the way when I was trying the get the mount bolts out and then, when I was tightening the 13mm bolts it fell back and down on top of the cat. It got wedged down there and it took me 40 minutes to get it back up; I had to loosen the bottom mount bolts to raise the motor again to get it loose and up. Just be careful with it. Using the suggestion of taping the pass side rear bolt in the socket worked very well.
Bolting the rack back up was no issue.
I went ahead and replaced the thermostat and serpentine belt while the covers were off.
The mounts are certainly doable - helps to have a lot of tools and tons and tons of patience, on the mounts nothing is easy to get to!! thanks again to all that have posted.
Mercedes SLR McLaren 722 S Is Extremely Rare Example Modified by McLaren
Slideshow: A one-of-one U.S.-spec Mercedes-Benz SLR McLaren Roadster became even rarer after a factory-backed transformation at McLaren's headquarters.