

PVC Valve/CAM Plug Replacement W212


Thread Starter
Member
Joined: Jan 2019
Posts: 118
Likes: 32
2011 E350
PVC Valve/CAM Plug Replacement W212
PCV VALVE REPLACEMENT (2011 E350/W212)
Recently my mechanic acme up with a leaking PCV valve during other repair. Initial quite was about 300 (That's dollars sorry the Dollar sign on my keyboard doesn't want to work.)
Wasn't critical and he showed me the photo of the leak and appears to be legitimate.
Ordered one from FCP Euro and received a few days later. Drivable but monitor oil level.
Followed the fcpeuro.com link for the YouTube video for replacement. This thread isn't about the validity of whether the valve needs replacing but more a helpful hint to reduce headaches if you do.
The reference Y/T Video for replacement.
The video references Torx 30 fasteners but here is the twist. The cover I was removing had e Torx bolts. Yes different from the video but at lest in my case I tried to make the best of it. Spoiler it worked.
The replacement valve came from four T-30 Bolts and the three cam plugs.
Lets work with the PCV Valve first. The procedure is exactly the same as the video but if your vehicle does have the E Torx bolts they can actually work better. Below is the Logic.
First of all...we are Men....for the most part but we are men and we like speed and power tools...I get it. This is a type of project that you could literally spend more time trying to find a compatible socket/ratchet combo than actually replacing the bolts and valve.
Tools required......
1 8mm E-Torx�.low profile 1/4 inch drive ratchet and 1/4 inch drive socket.. The reducer from 3/8- 1/4" will take up too much space so scratch that idea.
2. 8mm box end wrench but not just anyone. You need a special wrench that works on multiple type bolt heads......6 pt, 12pt Square, rounded head, but the Spline type will work. The spline type is what I used I could not find just the wrench so I got a 8 piece set....actually 7 but they took the discount and the 8mm was part of the seven pieces.
3. Flat head Screwdriver.
Typical safety and set up procedures, engine off, hood raised wheels chocked etc.....
PCV Valve is located behind the passengers side valve cover but wedged against the valve cover and the firewall.....which presents the challenge of this.
Remove the breather hose and replace if necessary.
All four Bolts if they are E-Torx should be 8mm if regular Torx then start with T-30
Note Difference between Torx and E-Torx is fairly simple. with Torx the fastener head is the female end and the socket is male. E-Torx are just the opposite with the Fastener being the male and socket being the female end..
The 8mm E-Torx socket will work on three out of the four bolts but the lower side is the problem. The curve of the firewall is what makes the lower bolts so tough to access. For Simplicity I used the 1/4' drive 8mm for the first three and that's where I discovered the lack of clearance.
If you somehow manage to get the E-Torx on the lower outboard bolt (Passengers side lower) And get enough clearance to break the torque......STOP Immediately after that. If you loosen all the way with the socket the ratchet the bolt will wedge the ratchet against the firewall. You only want to loosen bolts enough to break the torque. Remove the ratchet/socket and thread out by hand. The Above step is also the reason for the 8mm box end multi fastener wrench. You only need to loosen enough with the wrench to break the torque. After that remove the wrench or Ratchet/Socket and finish threading the bolt out by hand. The Wrench would go in from the inboard side and the open end of the wrench should be facing the throttle body at about 90 degrees. The lower outboard bolt would thread out remove the wrench then repeat step on the lower inboard bolt. The 8mm E Torx will work on the upper fasteners but you can keep it simple and use the wrench for all four bolts...remember once you get the torque broken it will in all likelihood be quicker to finish removing the bolt by hand.
There is one more option and that is a 8mm E-Torx socket that is part of a pass through socket where the ratcheting mechanism is built around the teeth of the socket drive and not the head of the ratchet. Again lets keep it simple for this thread and use the spline drive 8mm wrench. I have not tried this yet because the pass through socket with the 8MM arrived AFTER the wrench was already used and valve replaced. The E-Torx OEM fasteners were in good condition so I set the T-30 bolts that came with the kit aside for future use even if on a different project.
If you resolve to the fact that the 8mm open end Spline wrench will work mush quicker in this scenario the valve can be removed and replaced in under about 10 minutes.
If you insist on using the regular Torx fasteners I strongly recommend using a small low profile finger ratchet with magnetic fasteners or a stand alone low profile 90 degree Torx bolt wrench. Same concept as stand alone hex key set but Torx. Remember you only need to turn enough to break the torque the rest can be done by hand.
The final advantage of reusing the E-Torx bolt is that you have more of a surface area for your hands to grab when removing. Installation is reverse of removal and thread in as much as possible by hand.
One more installation note I used a light coating of silicone grease.....yes the same as the cam plugs around the perimeter of the PCV Valve Center Gasket. Y/T video shows a alignment dowel/pin n the block but really tough to mess this one up since the bolts pretty much self align. If you remember the breather hose neck goes facing the throttle body your fine.
CAM PLUGS: There are two plugs well three but I could not find the third one. 2 30mm plugs and 1 65mm The plugs are one each on valve cover plastic, same side as the PCV Valve just two simple plugs that came with the PCV Valve repair kit.
Removal: Apply light moderate pressure on a flat head against the plug to loosen the lip. After that they should come out by hand. Clean up the plug area and make sure there are no loose pieces of the old plug that didn't come out. You want to make sure the new plug doesn't get caught on a stray piece of the old plug.
Installation. Apply a light-moderate coating of Silicone Grease around the perimeter of the new plug and insert flush. The new plug should go in by hand but make sure the lip is flush all the way around.
This entire project should take no more than about 30 minutes provided all tools available, no drama on removing the old parts.
NOTE: I dropped not one but TWO cam plugs on the drivers side bank. The one that was being removed and one of the new ones that fell during seating. That put the vehicle immobilized for another two days awaiting the replacement cam plugs, but could have happened to anyone. The noteworthy event of that was that the plugs didn't have the common courtesy to fall straight tot he ground but embed themselves somewhere in the deep abyss of the engine bay. Possibility of falling on the exhaust lines or Catalytic Converter which might cause a slight burning smell as it burns off.
Hope this helps the PCV Valve looked intimidating at first especially the lower bolts but turned out not so much. 70 bucks for the Breather valve repair kit which includes the PCV Valve, four new T-30 fasteners and the cam plugs. About 30 minutes of time which with me working midnights good as reason as any to get something done before it got to hot and get me tired enough to sleep.
NOTE: I can't guarantee that all models will have the E-Torx bolts but if they do strongly consider reusing if in good condition. My guess is that factory fasteners were E-Torx, I have no documentation of previous replacement so my guess is the PCV Valve that was leaking was the OEM one from 2011.
Good Luck!

MBWorld Fanatic!


Joined: Oct 2002
Posts: 4,975
Likes: 1,343
From: Cincinnati
2010 E350 4Matic
I tried to do this today and didn't get very far. This post calls out E8's but I am pretty sure that my bolts are E10's (I loosened an easy one to access with an E10 and after reading this post tried to put a E8 on one of the bolts without success) and there wasn't enough clearance between the engine wall and bolt head on the upper outboard bolt to put my 3/8 socket on it by itself. Secondly my breather cover has a wire zip tied to it that is going to the front of the engine along the valve cover.
Wondering how much disassembly is going to be required to get the wire out of the way. It is covering the lower bolt and will prevent the cover from being removed.
Anybody else run into these two items and successfully replace the cover?
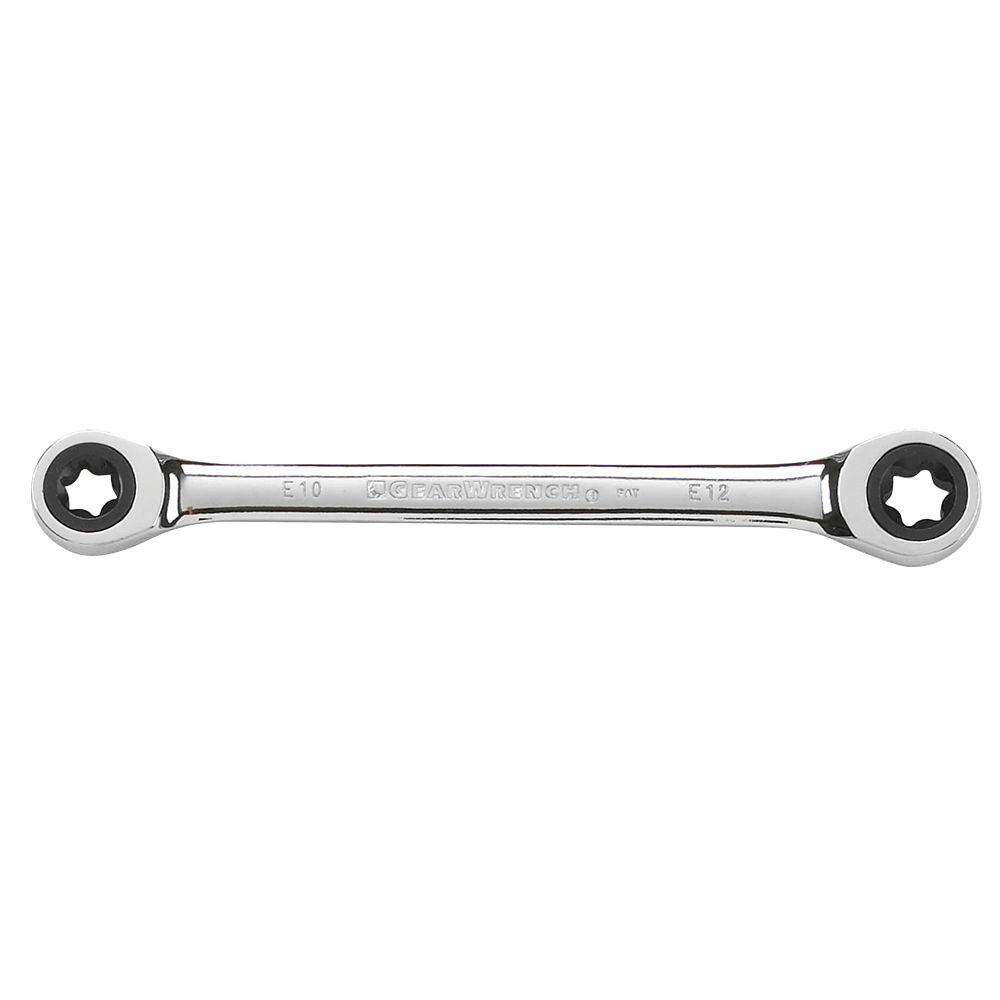
Also is this what is meant by the spline wrench? I think I need one to get the outboard bolts loose. It occurred to me that I probably could get them loose with a small pair of vise grips but that doesn't seem like the right way to do things.
Wondering how much disassembly is going to be required to get the wire out of the way. It is covering the lower bolt and will prevent the cover from being removed.
Anybody else run into these two items and successfully replace the cover?
Also is this what is meant by the spline wrench? I think I need one to get the outboard bolts loose. It occurred to me that I probably could get them loose with a small pair of vise grips but that doesn't seem like the right way to do things.
Last edited by MBNUT1; Sep 17, 2020 at 06:10 PM.

MBWorld Fanatic!


Joined: Dec 2020
Posts: 2,412
Likes: 1,482
From: 122W, 37N
2016 E350 4Matic wagon, 2019 Ford Expedition, 2019 Chevy Bolt EV


