When you click on links to various merchants on this site and make a purchase, this can result in this site earning a commission. Affiliate programs and affiliations include, but are not limited to, the eBay Partner Network.
So I watched a lot of youtube videos and decided to give it a try. Came out pretty good I think. I used this film from Vvivid, Forged Carbon Fiber. It's definitely different and it is growing on me. I'll post up a couple pics when I get out for lunch.
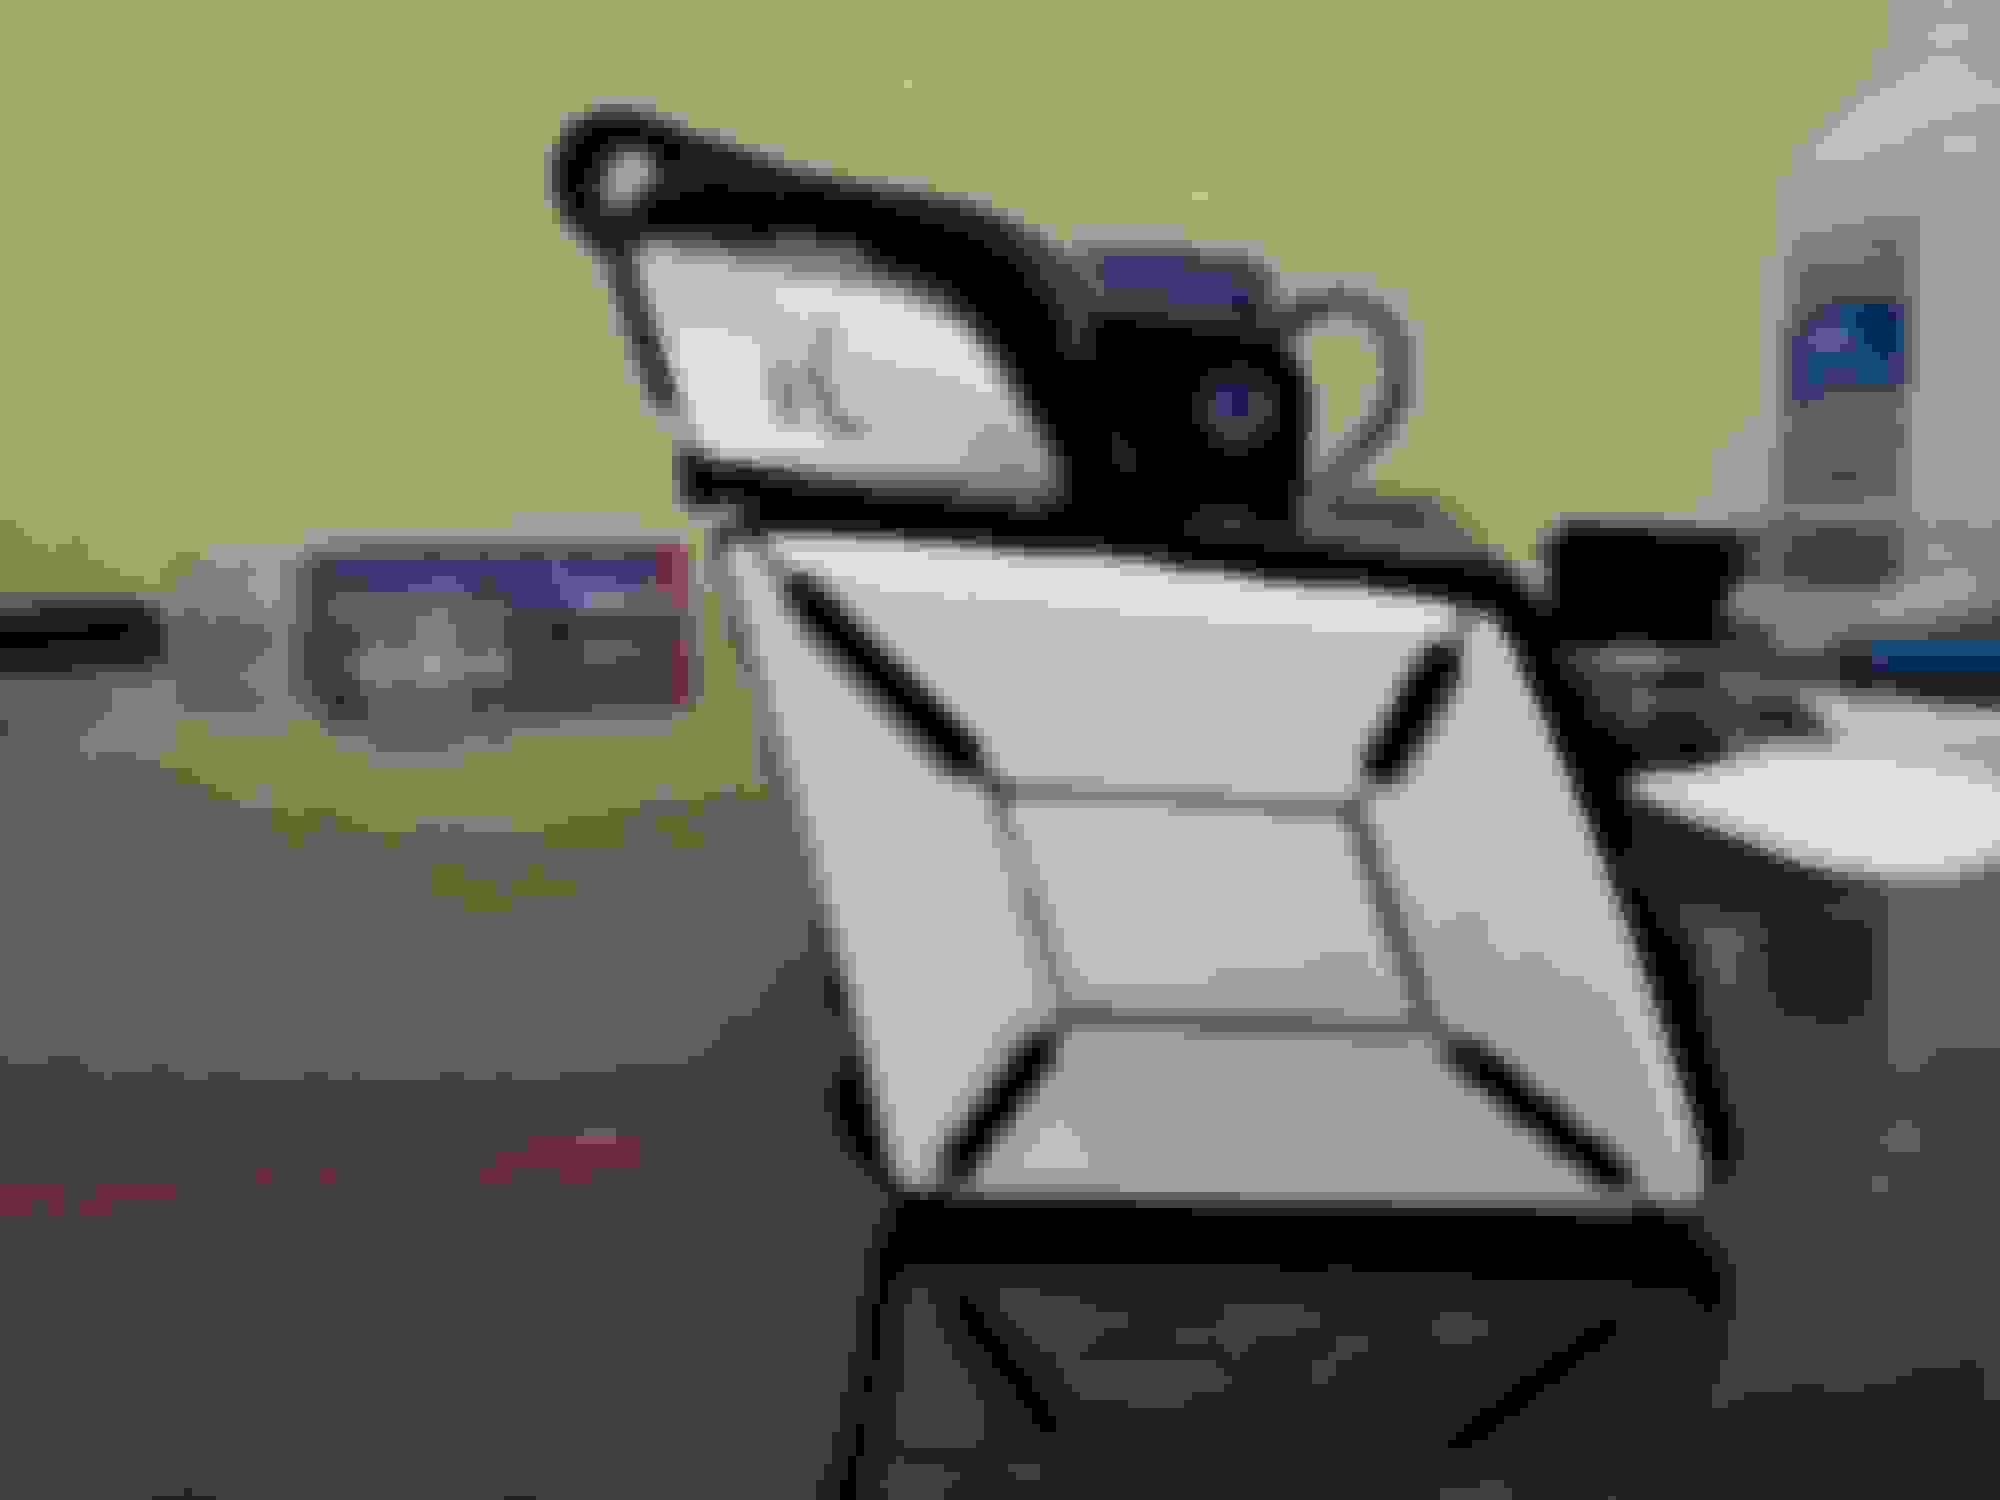
I did all the wood(17 pieces), the steering wheel trim piece and the steering wheel buttons(buttons were peeling when I bought the car and I installed some of the silver button covers and they would scratch if you breathed on them so they looked like crap. I'm going to order new black buttons and I'm also going to re-wrap the steering wheel when the new buttons come in as I did it first and learned a lot as I went).
I spent 2 days to do it, but I was taking my time and a first-timer. I could probably remove everything in about and hour, so 2 hours for removal/reinstall of everything, then probably 8-10 minutes for each piece to be cleaned and wrapped so I'd say 5-6 hours of solid work to replicate what I did here, not including the steering wheel work. That's another 2 hours on top probably as it is very 'not-flat'...
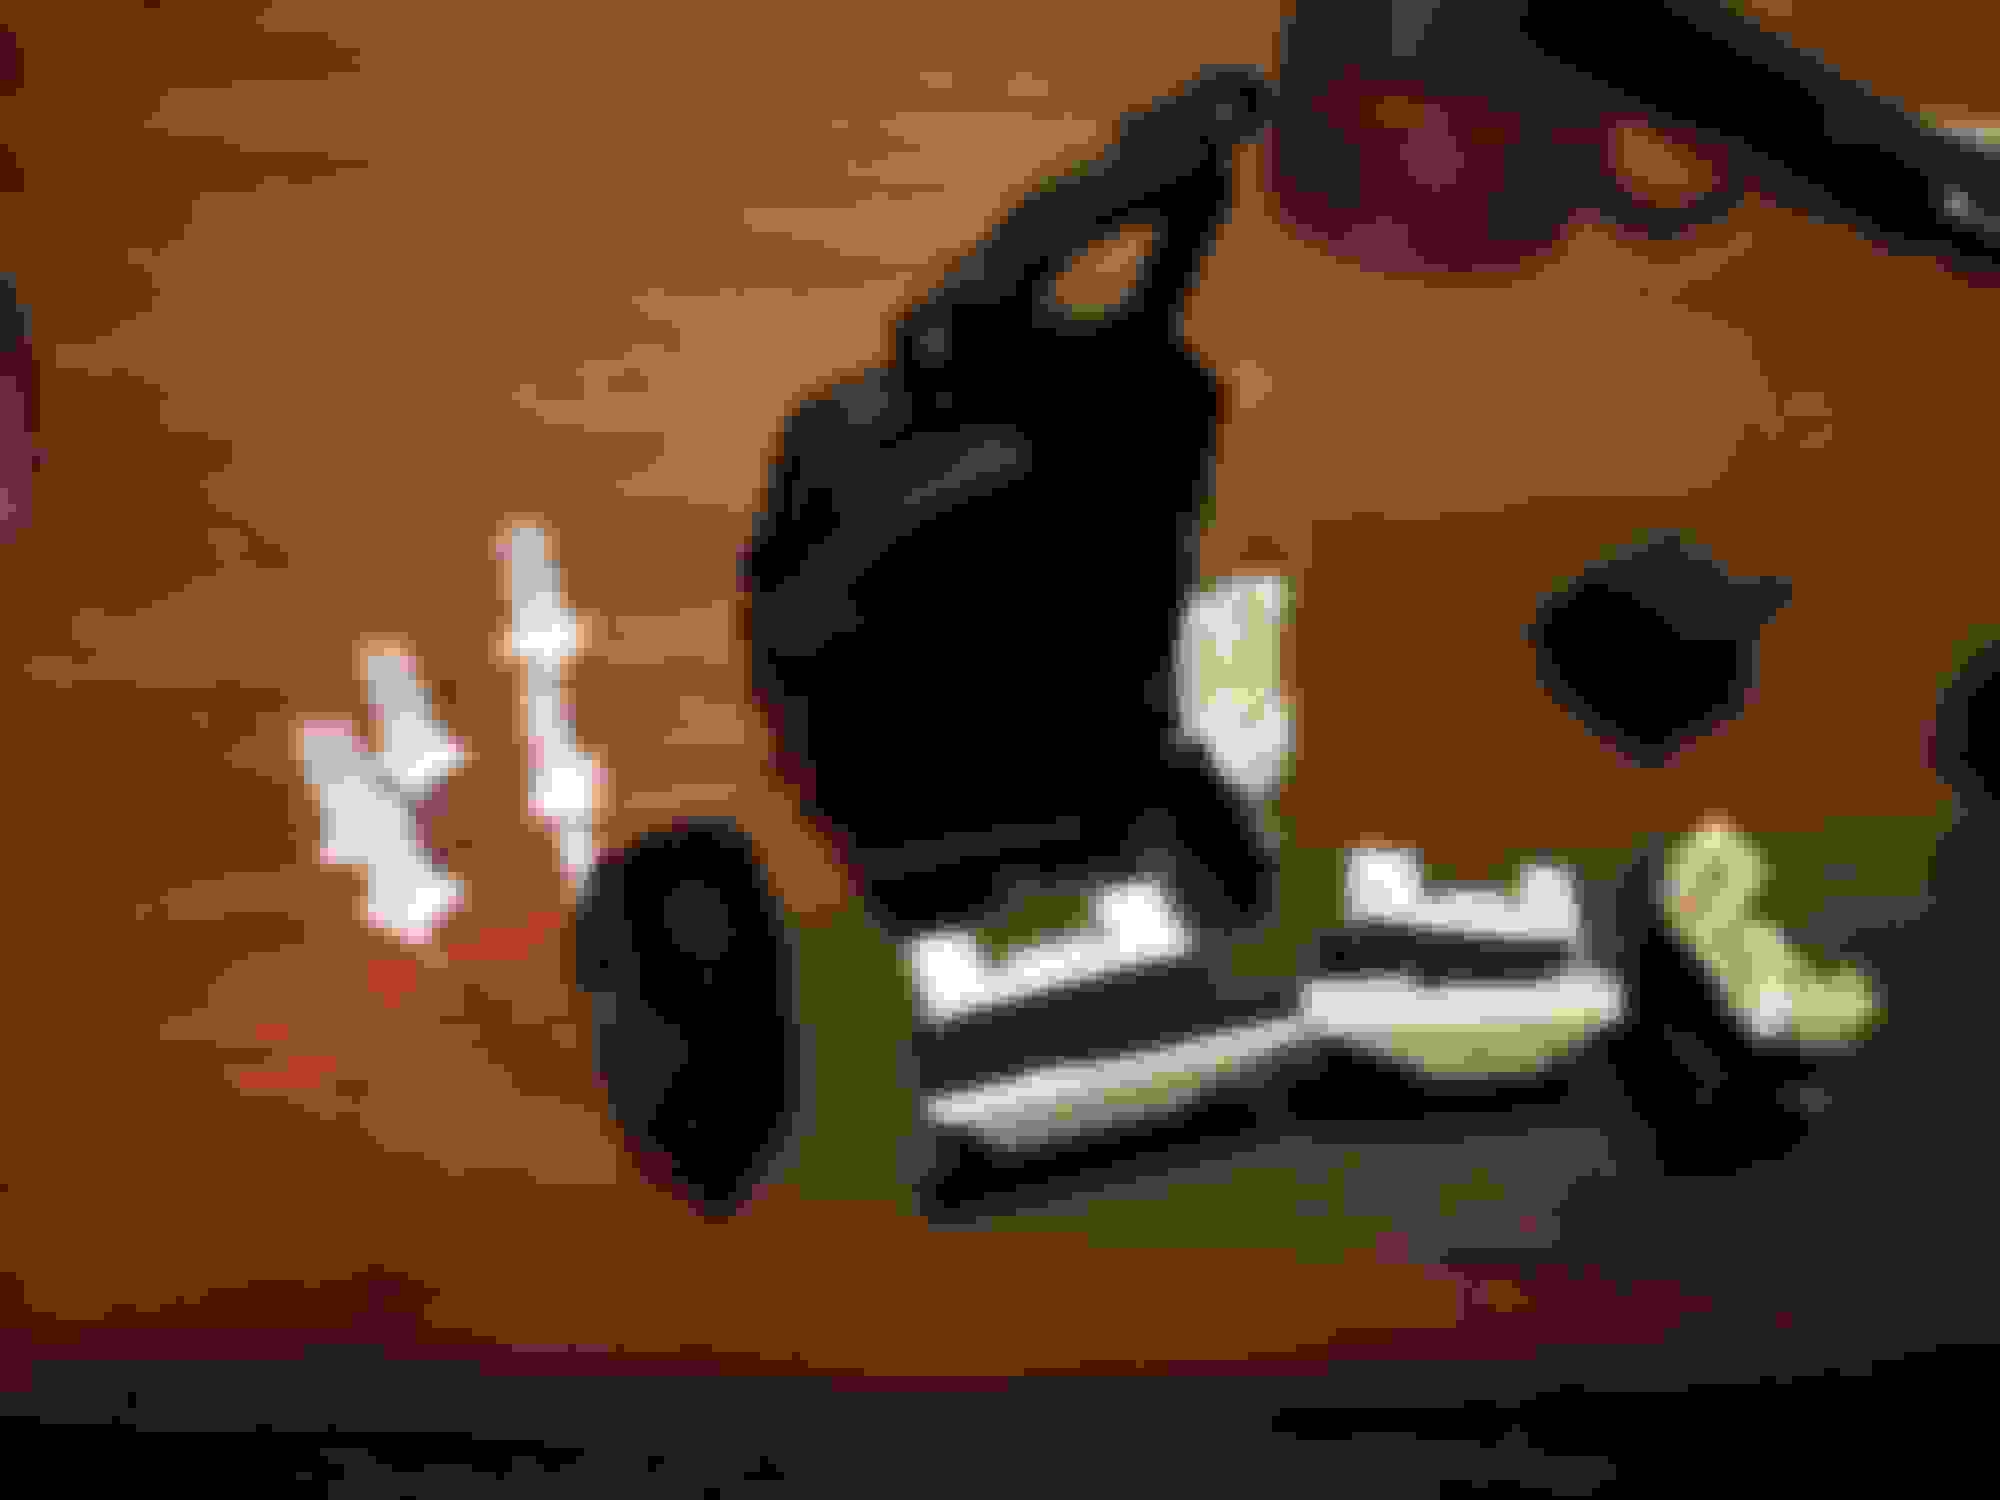
Pulled out the steering wheel trim and buttons and rewrapped them all. Originally I did the buttons all together with one piece, just to cover them. I couldn't stand the way it looked or felt... This time I took the buttons apart and covered each piece individually then put them all back together. Looks much better and the buttons feel like stock buttons again, no more squishy! I removed all the black sticker-stuff from them so they are nice and smooth. No more light shining through indicating the function, but I know what they all do anyways.
Dark side cammo! Nice work. You're incredibly patient and detailed, especially when it comes to those buttons. Wow!
I've been watching a lot of those same videos, thinking it would be fun to wrap my mirrors. That CK guy never gets to the point. The "triangles!" guy who works with Avery/Denison has got a lot of fundamental advice.
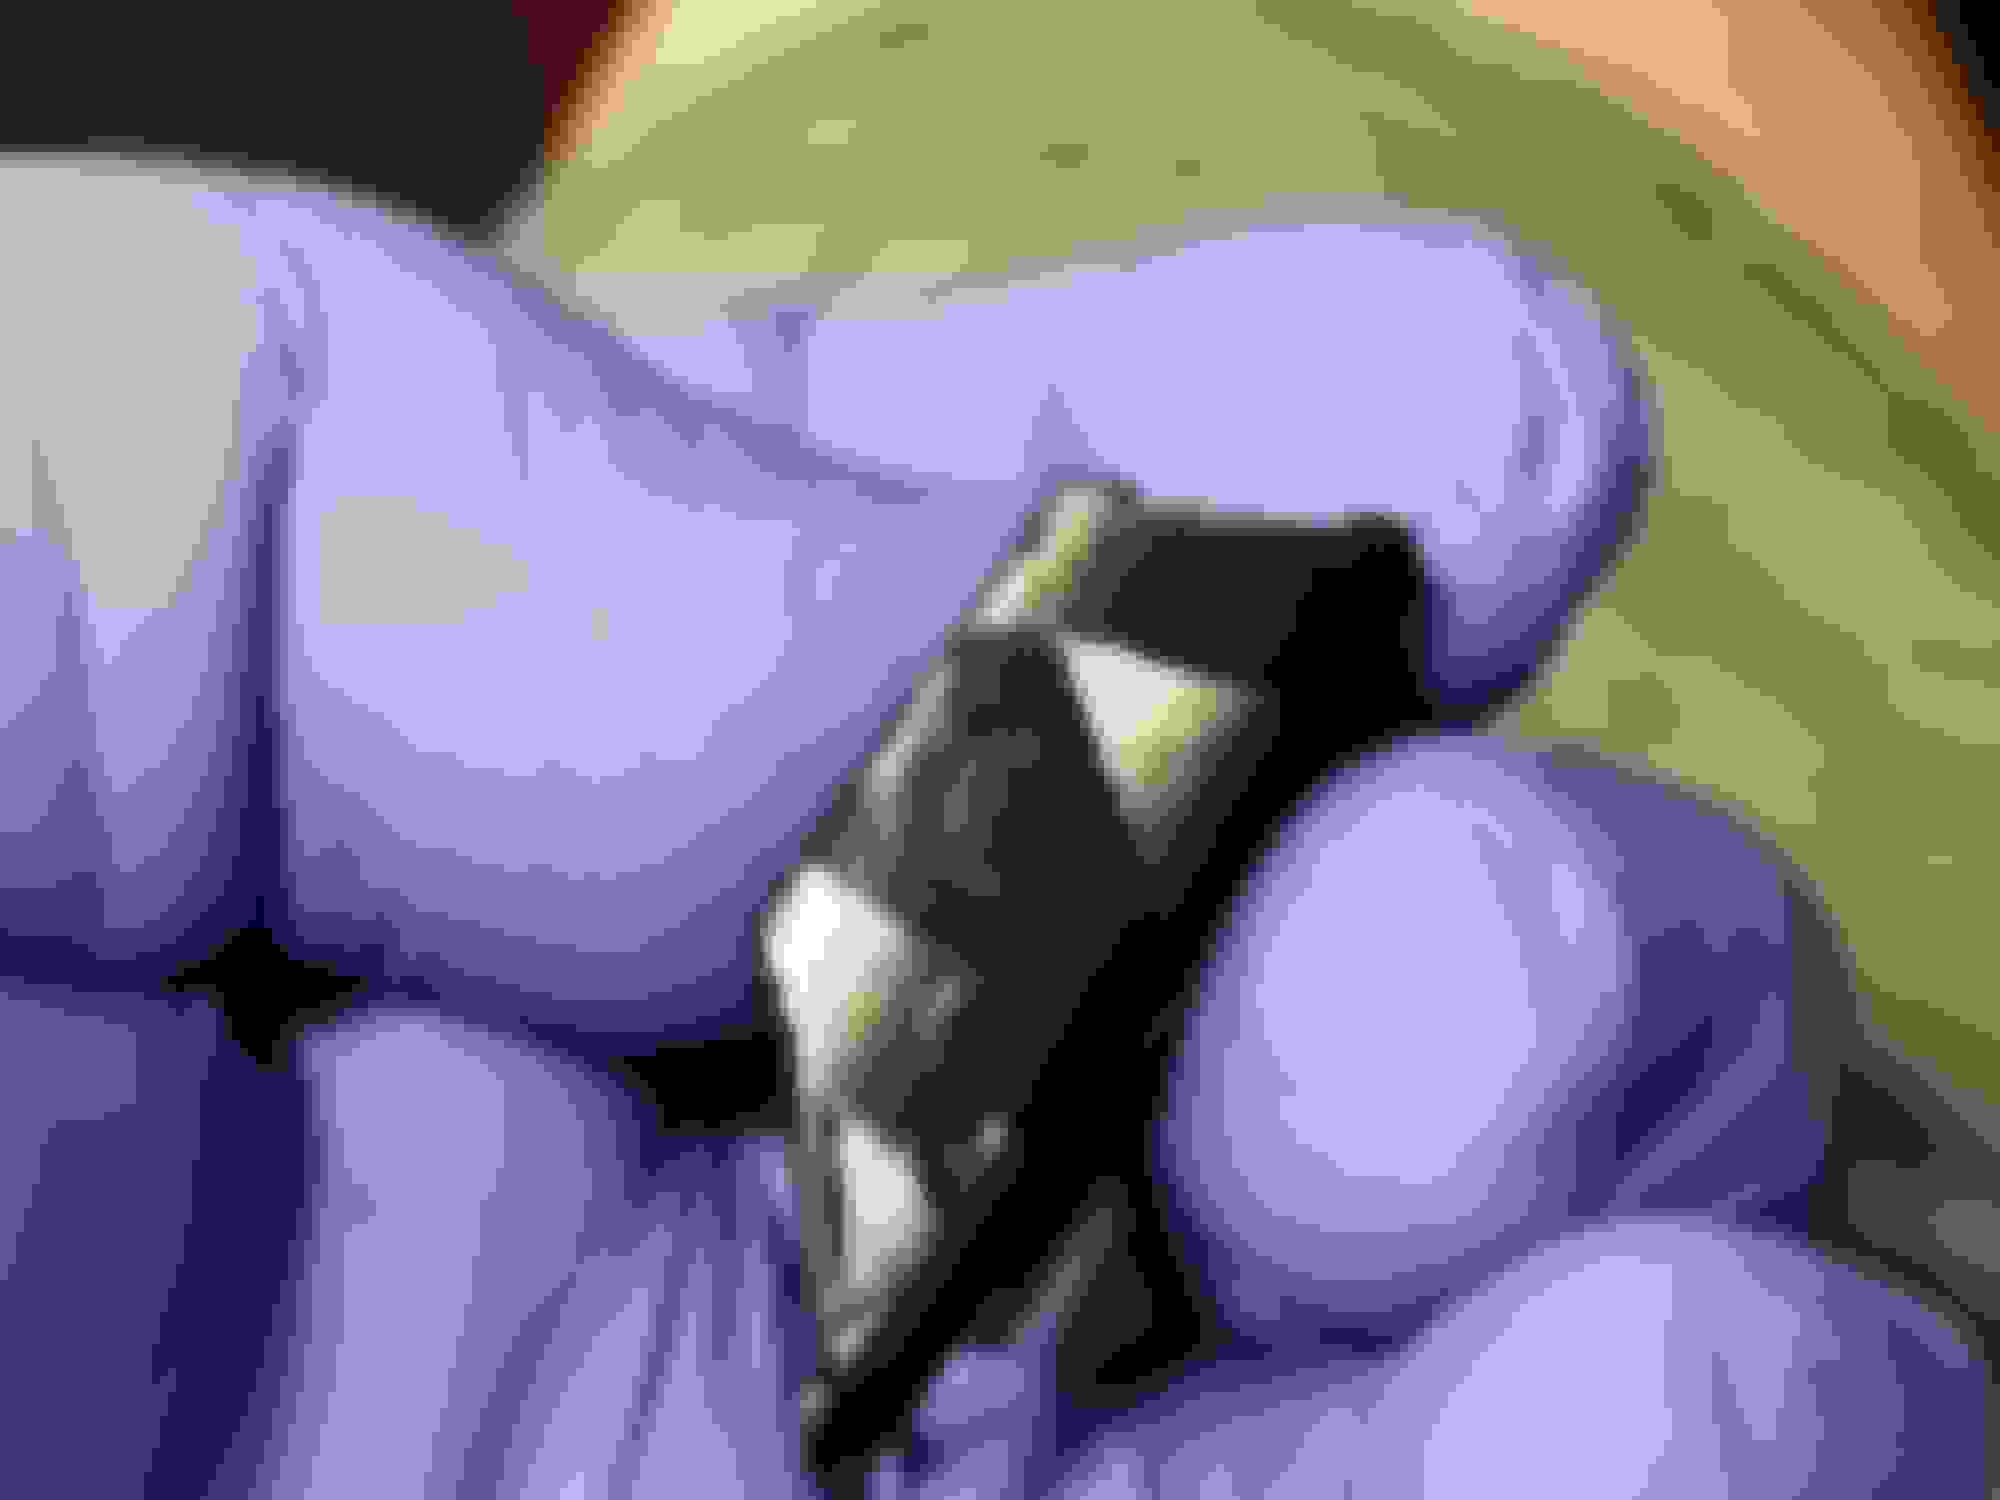
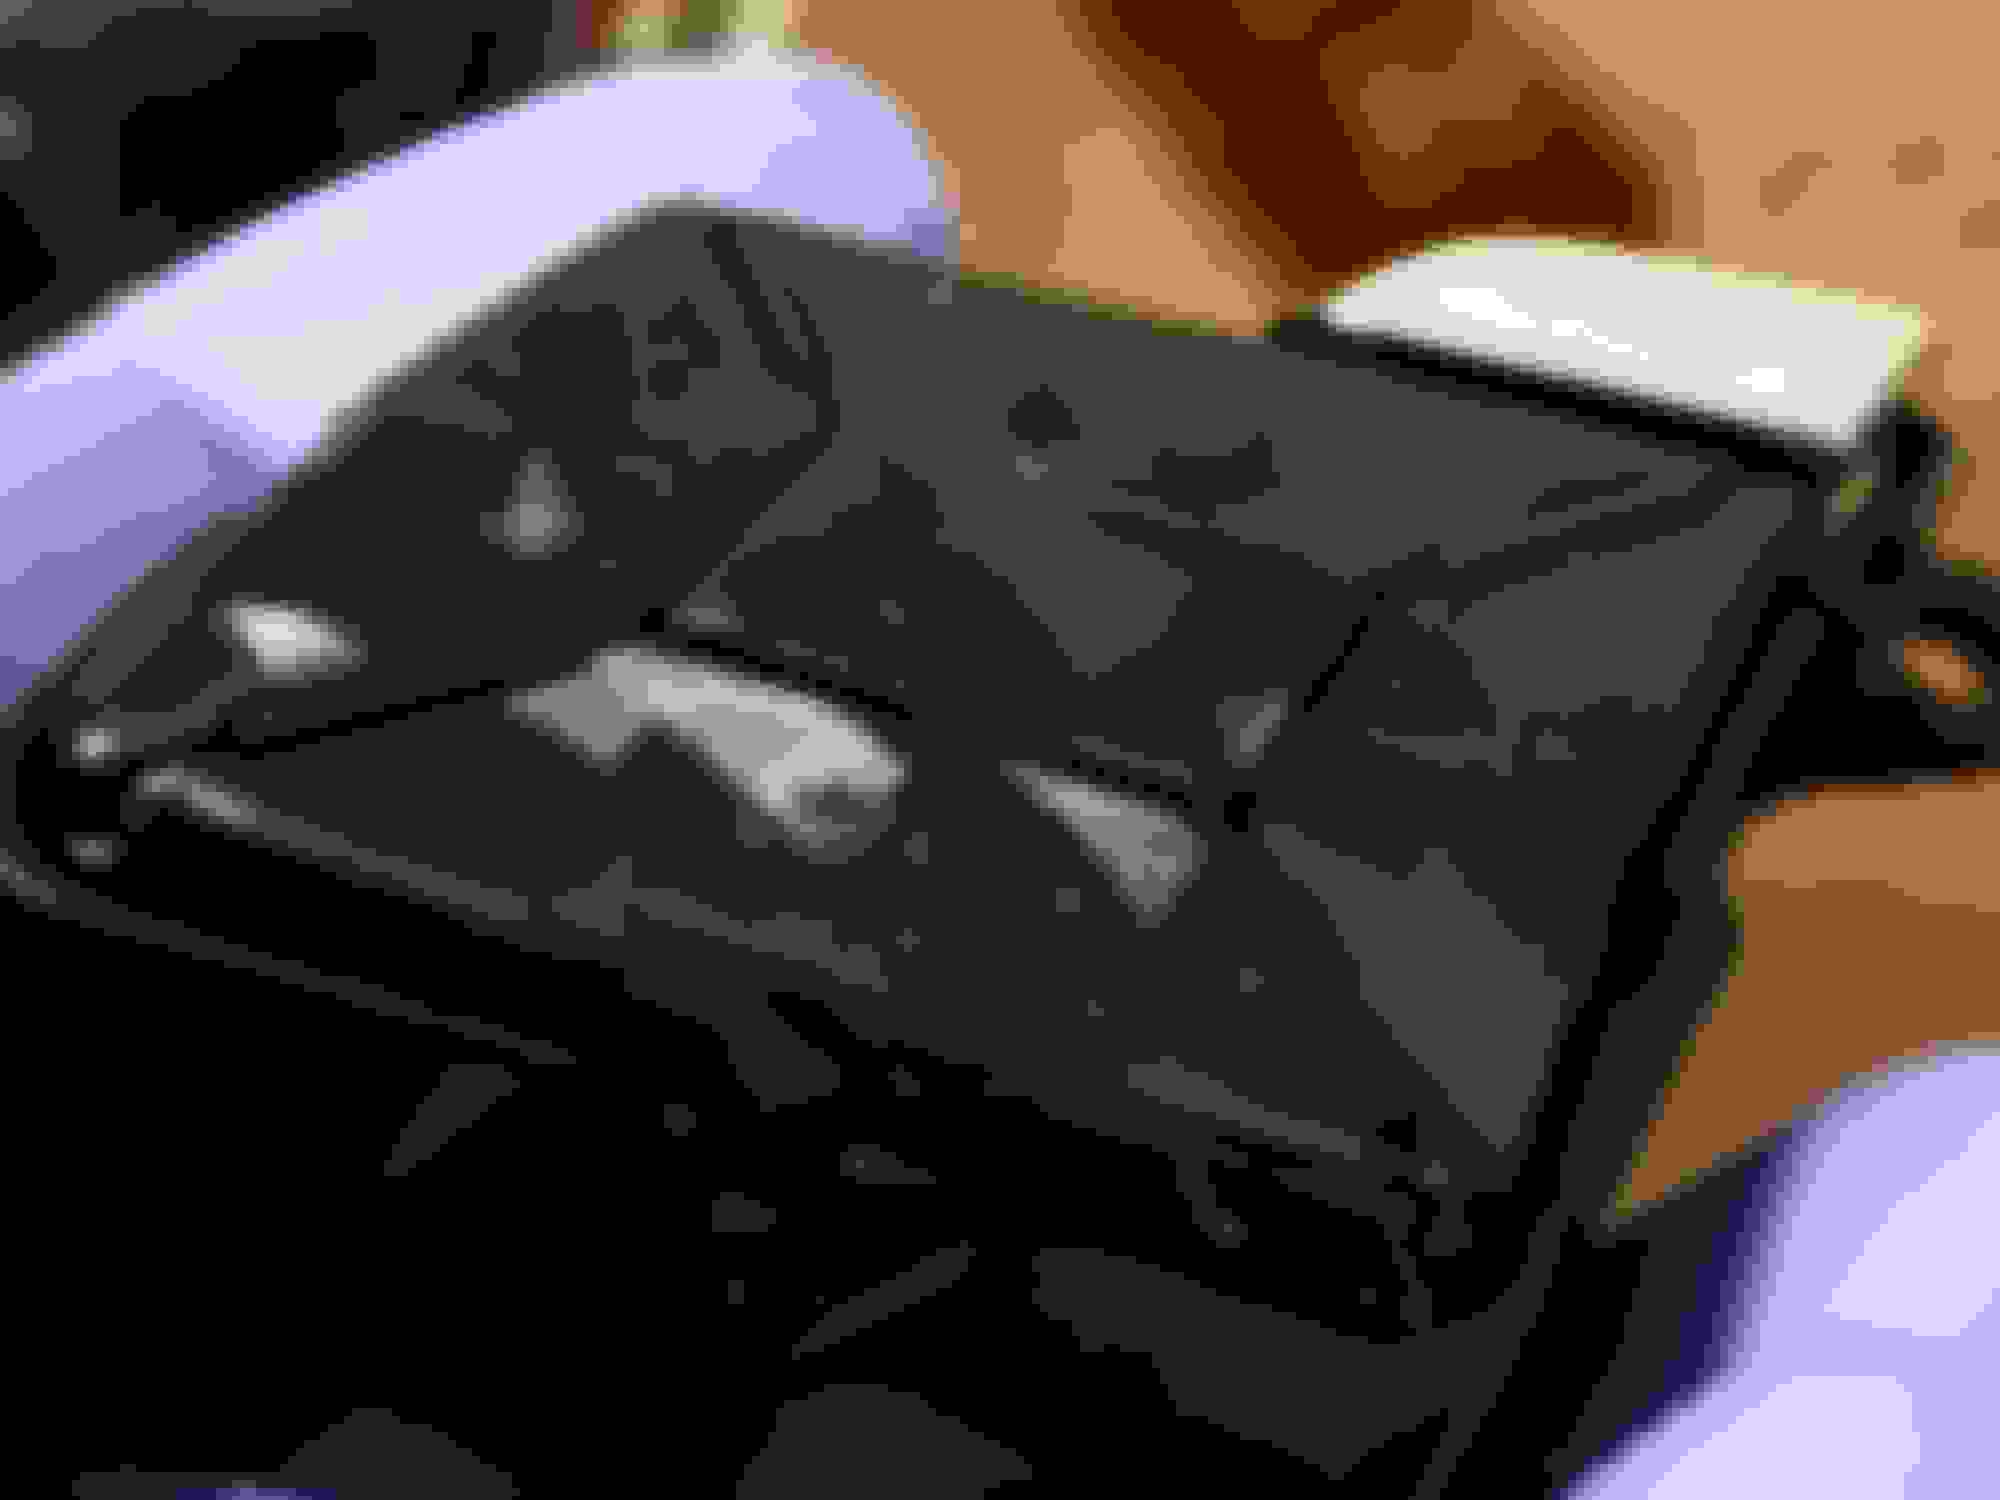
here�s my second attempt to do a mirror while waiting on my engine mounts to arrive. Lots of mistakes and a little learning on my part. Thick skull. Not too keen on the color. But that�s the beauty of vinyl. Pull it off and try again.
here�s my second attempt to do a mirror while waiting on my engine mounts to arrive. Lots of mistakes and a little learning on my part. Thick skull. Not too keen on the color. But that�s the beauty of vinyl. Pull it off and try again.
I truly understand your pain...just curious though. Did you remove the cover first, or did you do it on the car? I would pop off the cover, mount it to someone in the correct position where it can't move, preheat my vinyl then stretch the whole cover at one time. Rough-trim and wrap all the edges, then do final trim and pop the cover back on. Here is the steering wheel cover:
I had to heat/stretch it down and through the lower split-spoke section to make it large enough to cover both sides...it was scary, but the results were worth it for sure.
 10-04-2020, 02:15 PM