When you click on links to various merchants on this site and make a purchase, this can result in this site earning a commission. Affiliate programs and affiliations include, but are not limited to, the eBay Partner Network.
I had a very nice 60 degree F day today, so I decided that I would hunt for the holes for installing the Euro clip and triangle I bought from an English wrecker. Here’s how I did it on a US car, a 2013 E350. Remember, use these directions as a guide only, it's how I did it, and it is assumed that you are experienced in auto repair. Use at your own risk.
1. Remove the three plastic hold-downs for the plastic piece containing the trunk light. Even though I have a fairly good set of removal tools, these are real boogers and no doubt there is a $1000 MB tool with which to remove them. They are not of the “Christmas tree” design and will pop out with a vengeance, so hold them back when removing. Then, remove the plastic piece with an interior plastic removal tool. It is entirely snap-in. Disconnect the trunk lid lighting wire.
2. Drop down the rear (towards you) the lining from the two trunk lid stops (the plastic hexagonal bolt heads).
3.. Remove all of the plastic hold-downs for the lining AND the two clips for the plastic that covers the trunk hinges (on the outside sides towards the top).
4. Pull the plastic of the hood hinges back a bit, and pull the lining out (up) from the hinges carefully.and allow the lining to droop.
5.Remove the connector from the green trunk release button (back shown in pic below)
6. Remove the lining carefully. Do not rip or fold/bend.
7.Using a nearly used-up bar of soap with a good edge on it* and a ruler, draw a center line on the lining. Then, using rulers, make a "best guess" -and it better be a good one - as to the location of the four snapins for the clip go. Draw a box at the center line about 1.5” from the beginning of curvature of the trunk lid down. Keep it as small as possible. Observe pics below. MEASURE TWICE, CUT ONCE. MAYBE THREE TIMES. Partially refit the liner if you are unsure.
8. Using a utility knife (with a new blade), cut the lining using the guide above. This stuff is surprisingly tough, much better than 1980’s GM compressed rat crap.
9. Partially reinstall the lining and remeasure/remark, leaving maybe 1/4” all around the four snapins of the triangle clip.
10 Remove lining and re-cut.
11 Incompletely install the lining. using a few hold-down pins.
12. DO NOT INSTALL (press in) THE TRIANGLE CLIP, but locate and fit (do not install and press in yet) and mark the bottom of the clip without the tang underneath. The lining will fit between the tang and body of the triangle clip.
13. Remove the lining again and continue the square made for the clip snapins to 1/4” ABOVE (ABOVE) where you marked the bottom of the clip in (12)
14. Partially reinstall the lining and test fit the 4 triangle snapins AND the tang (underneath) and body of the clip (above) the lining. Trim slowly and carefully as needed in order to grab the lining between tang and clip body without bending or distortion of the liner.
15. Once you are satisfied with (14) install the clip by pressing it in carefully. Note that it will give very little audible or tactile feedback when it is installed, so test it by trying to remove it. Do not bang it in, this may be an aluminum trunk lid!!!
16. Reinstall all clips and parts. Don’t forget the TWO electrical connections. I debated reconnecting the button for trunk release. When I have someone in the trunk, I want them to stay in there as long as I want them to stay in the trunk.
17. Install the triangle into the clip Make sure that it is centered before locking it in.
18. Competed, (any visible soap lines or crumbs will, of course, come off with water).
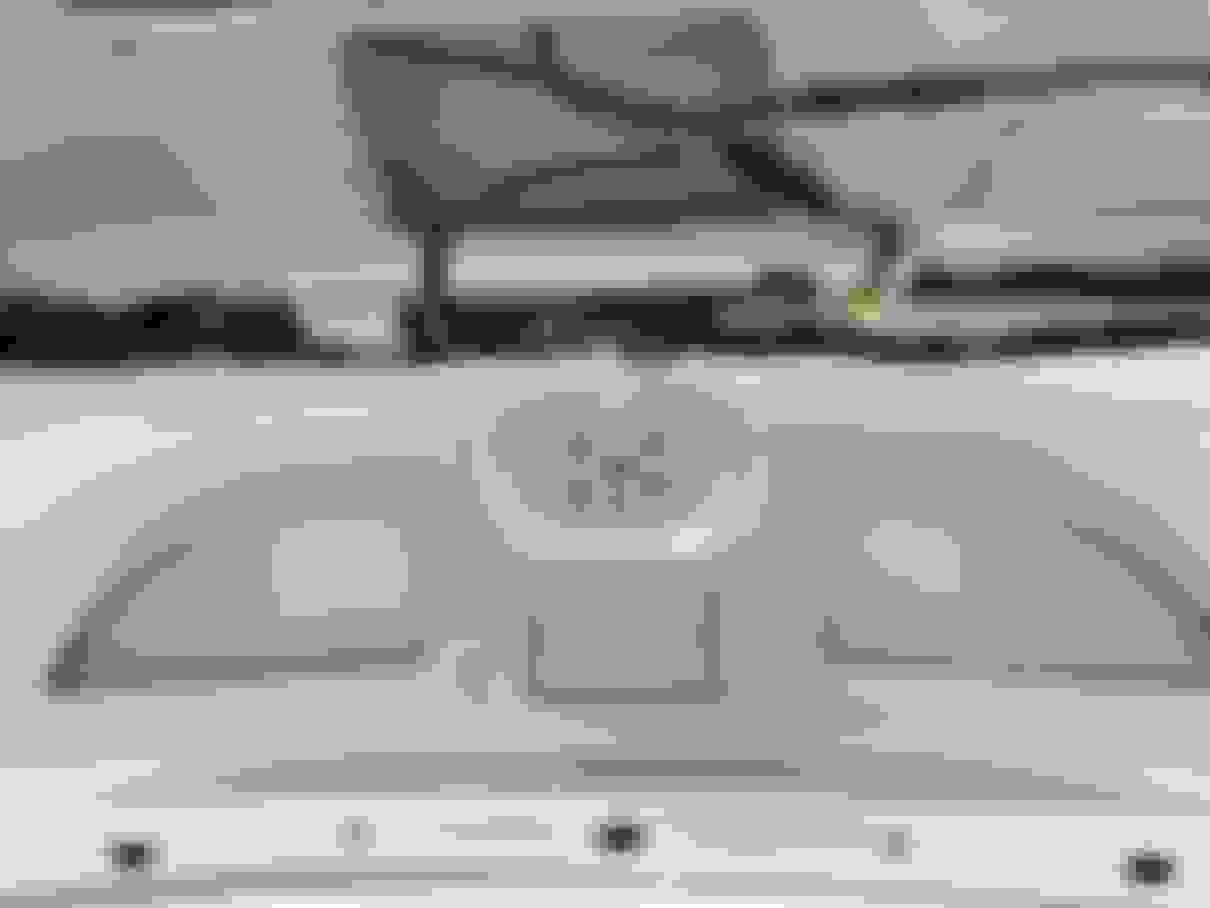
Interior of trunk lid with liner removed.
US only (?) trunk release button rear view.
Completed installation of clip and emergency triangle.
If you have installed the clip and now need to remove it, see this YouTube video before attempting to do this, otherwise you will probably break it like everyone else does.
I would give this job my patented "Mercedes Repair Torture of the Damned" score of 2 out of 10 devils, but only if you have good tools. Otherwise, forget it. No injuries occurred and no blood was spilled doing this job although with the utility knife, there were certainly opportunities.
* This old bar of soap trick with a sharp edge, (the older and cheaper the soap, the better) was taught to me by my grandfather about 55 years ago. He was a tailor., he used a skinny old soap bar with an edge when measuring for and building or altering/fitting suits. I used it when installing seat covers and the convertible top on my 107 SL.
Last edited by strife; 02-07-2023 at 05:27 PM.
Reason: Can't read, write, or spell too good. Also have condition making typing painful.
#16 reminded me of a friend who bought a LEFT hand drive SEC 500 (or SEC 560?) imported from Japan. The running joke was that he made sure to look under the trunk mat for blood stains. Apparently it was a popular car with Yakuza.
Thanks for posting! It spurred me to install the European trunk-mounted warning triangle on my US W212 as well.
As I suspected, it is not necessary to remove the trunk lining. A hole punch and sharp pair of small snips (I used a wirecutter) are all that's required to make the cutout in the lining to fit the bracket.
This reminds me to move the triangle from my 2001 C320 to the '16 E350. I will check if the C-Class mount can be reused for the newer car, although the folded triangle will fit easily below the flooring next to Mr.Skinny-Spare tire.
 02-07-2023, 05:09 PM


 Apparently it was a popular car with Yakuza.