When you click on links to various merchants on this site and make a purchase, this can result in this site earning a commission. Affiliate programs and affiliations include, but are not limited to, the eBay Partner Network.
Azdome M300S is a compact dashcam and available at a good price
The hardwire kit JYX04 to micro-USB also gives you a parked monitor
This is the real Azdome hardwire kit. There are some aftermarket that have red and yellow wires swapped around that I avoided.
The small adapter box can be tucked away in the fuse box to let you set the switches if you need to.
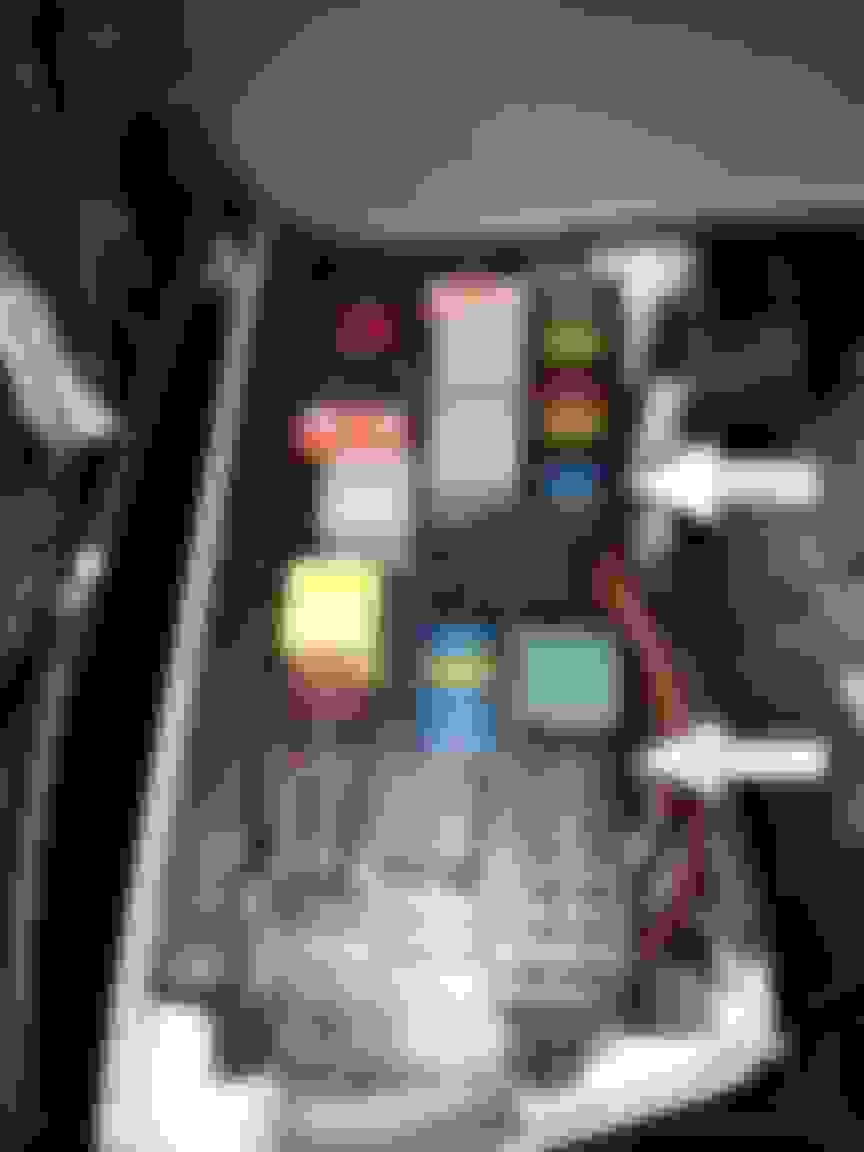
The fusebox allows you to get the JYX04 wires and USB cable inside the cabin through the back of it
Fuse 11 is for the Comand display and is permanent 12v. Attach the fuse interface and red wire here
Fuse 9 is for the cig socket and is switched accessories 12v. Attach the fuse interface and yellow wire here
I had to trim back some heatshrink on Fuse 9 adapter because of the way the fuse adapter needs to be fitted
I found the fuse interfaces had thin metal and were not real firm in the fuse holder so I wiped them with solder to thicken them
I used a piece of aluminium angle and mounted secret switches on it. These are DPDT rocker switches. You need to switch both red and yellow wires. (One switch seen is for another use)
I found a screw under the steering wheel to use and some slot holes there, so no need to drill.
I removed the side cover of the dash and drilled a hole, and fixed the earth wire with a tek screw
I measured the current drawn from the M300S to be 400mA when running so I discarded the supplied fuses and used 3Amp
I used 4 wire alarm cable (all in one sheath) from the switch. Two wires for each loop circuit from the switch. Red and black for red wire loop, Blue and white for yellow wire loop.
Run the alarm cable from the switches through the back of the fuse box and solder splice them to the JYX04 and the fuse interfaces.
The plug for the rear camera needs to be pushed firmly into the jack on the M300S.
The front camera cable is tucked neatly under the overhead console and driver side above the windscreen and down the door pillar
The rear camera goes the other side.
I prefer to use better crimp connectors than supplied, and I crimp and solder for best electrical reliability.
There is an App download from Azdome and allows your smartphone to be the monitor screen and make settings and format the micro-SD card to delete videos.
You can remove the micro-SD card and plug it into your computer to view the videos. I needed to use a SD to micro-SD adapter for my Dell desktop
The M300S to smartphone is by 2.4 or 5.8GHz wi-fi selectable
I don't sell the products. This is just posted for interest and information how to install one.
Last edited by Bruce Hubbard; Nov 9, 2023 at 04:34 AM.
Reason: additional tips
Mercedes SLR McLaren 722 S Is Extremely Rare Example Modified by McLaren
Slideshow: A one-of-one U.S.-spec Mercedes-Benz SLR McLaren Roadster became even rarer after a factory-backed transformation at McLaren's headquarters.