When you click on links to various merchants on this site and make a purchase, this can result in this site earning a commission. Affiliate programs and affiliations include, but are not limited to, the eBay Partner Network.
After reading the tech guide for removing the starter, I budgeted the whole day for a monumental task removing the right cat to get to the starter. Then, I read this article and downsized the effort to a half day based on the engine mount cheat. Well, I can tell you definitively that there is no need to remove the catalytic converter OR the engine mount. There is clearance to remove the starter, albeit with narrow margins and patience, without even scratching a surface or prying of any sort. Here were my steps, all performed from under lifted truck, along with lessons learned:
Remove top and bottom bolts (11mm universal / torx socket on 12"+ wobbler extension) holding starter
Remove heat shield from starter body - just the ear bolt. (Lesson learned - see below)
Remove starter through a) push / pull towards forward of truck until gear clears its insertion in crankcase. At first, it may seem as if there's no forward clearance to clear crankcase. This is the hardest part, but It will come out with a little patience. Reach around and make sure wires are not binding and it will come full forward. Begin lowering and allowing starter body to rotate slightly allowing the solenoid to clear obstructions. Think corkscrew motion about inch counter clockwise facing front of truck, lowering the wire side about the same amount. You can feel the clearances as you do this as long as you are not trying to pry bar it. Once gears are clear from crankcase, drop gear side down and start working down and back. At this point I turned it sideways and rested on control arm so I could access wires.
Remove both wires from starter
Drop starter out full towards rear of truck - voila - done.
The above took 60 minutes for me. Most of that time was spent examining new unit and cavity for planning the exit route. Should only taken 15 minutes, which is how long it took me to re-install new unit. Yeah, the lesson learned part...
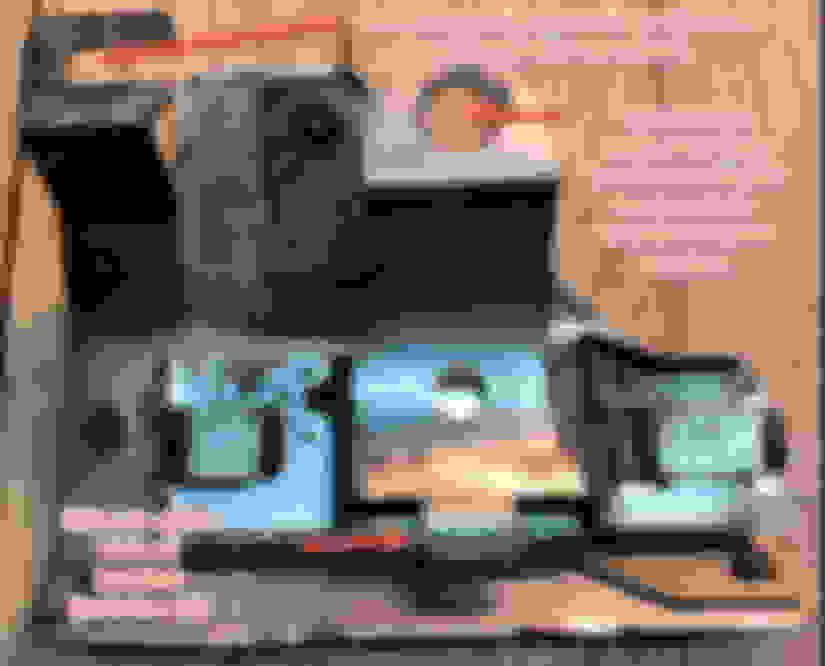
The heat shield is actually 2 parts, each having 1 bolt. On my first pass, I removed both bolts and took heat shield out while the starter was still installed. This worked, but you can't reinstall it this way, which I learned the hard way. Once you remove the rear bolt, the shield will slide on its clips towards rear of truck and come out. Reinstallation is the reverse of this. I had to remove starter again to attach clamp first, mount starter to crankshaft and then attach shield. Here's a picture for reference:
That pesky clip can't be hooked once starter is mounted. So, that's my lesson learned which I hope saves someone else some time.
Cheers,
Atreides
2009 GL550
Hi Atreides,
thanks for your step by step instructions. You're right on point. Took me less than 30mins to get it out.
I was putting off this project for so long because I thought I will have to lower the entire front suspension and remove part of the exhaust system to get to it.
But you make it so easy. Like you said the most important things to do is to remove the heat shield and the electrical connections to the starter and it will slide out with zero effort.
Thanks again, you're a lifeliife saver!!!
After reading the tech guide for removing the starter, I budgeted the whole day for a monumental task removing the right cat to get to the starter. Then, I read this article and downsized the effort to a half day based on the engine mount cheat. Well, I can tell you definitively that there is no need to remove the catalytic converter OR the engine mount. There is clearance to remove the starter, albeit with narrow margins and patience, without even scratching a surface or prying of any sort. Here were my steps, all performed from under lifted truck, along with lessons learned:
Remove top and bottom bolts (11mm universal / torx socket on 12"+ wobbler extension) holding starter
Remove heat shield from starter body - just the ear bolt. (Lesson learned - see below)
Remove starter through a) push / pull towards forward of truck until gear clears its insertion in crankcase. At first, it may seem as if there's no forward clearance to clear crankcase. This is the hardest part, but It will come out with a little patience. Reach around and make sure wires are not binding and it will come full forward. Begin lowering and allowing starter body to rotate slightly allowing the solenoid to clear obstructions. Think corkscrew motion about inch counter clockwise facing front of truck, lowering the wire side about the same amount. You can feel the clearances as you do this as long as you are not trying to pry bar it. Once gears are clear from crankcase, drop gear side down and start working down and back. At this point I turned it sideways and rested on control arm so I could access wires.
Remove both wires from starter
Drop starter out full towards rear of truck - voila - done.
The above took 60 minutes for me. Most of that time was spent examining new unit and cavity for planning the exit route. Should only taken 15 minutes, which is how long it took me to re-install new unit. Yeah, the lesson learned part...
The heat shield is actually 2 parts, each having 1 bolt. On my first pass, I removed both bolts and took heat shield out while the starter was still installed. This worked, but you can't reinstall it this way, which I learned the hard way. Once you remove the rear bolt, the shield will slide on its clips towards rear of truck and come out. Reinstallation is the reverse of this. I had to remove starter again to attach clamp first, mount starter to crankshaft and then attach shield. Here's a picture for reference:
That pesky clip can't be hooked once starter is mounted. So, that's my lesson learned which I hope saves someone else some time.
Cheers,
Atreides
2009 GL550
this is an awesome write up, thank you! Does anyone know if this applies to the X166 GL550 (mine is 2014, wasn�t sure if it was the same engine)?
Has anyone figured out where the starter relay is and if we can jumper it to check
Thank you for sharing guys.
wife said her car won�t start... thank God it died in the driveway. It also has been hesitating to turn over for months now.
something I wanted to check before pulling the starter as it seems tedious:
1) fuse 122 is a fuse labeled as starter, when should I see twelve volts on it as I am not seeing it?
2) where is the starter relay, should I not be able to jumper 12 volts to the solenoid and here it click? If I don�t here it click I should be able to measure resistance to ground as it is a solenoid and should have significant resistance? According to rock auto parts numbers my relay part number should end in 319 or 619 which two of the relays in the box containing fuse 122 do, swapping them did nothing but I�m most concerned I�m not seeing voltage on fuse 112 when turning key to position 3/ ignition.
3) if the starter has brushes that are going bad then the battery to starter cable should read open circuit, where is that end of the cable? If the brushes make contact with the commutator and the windings are good I�ll get a significant resistance....
just want to confirm necessity and a direction for work with some measurements as I�m not as fit and young as you guys are ...
thank you in advance
-mark
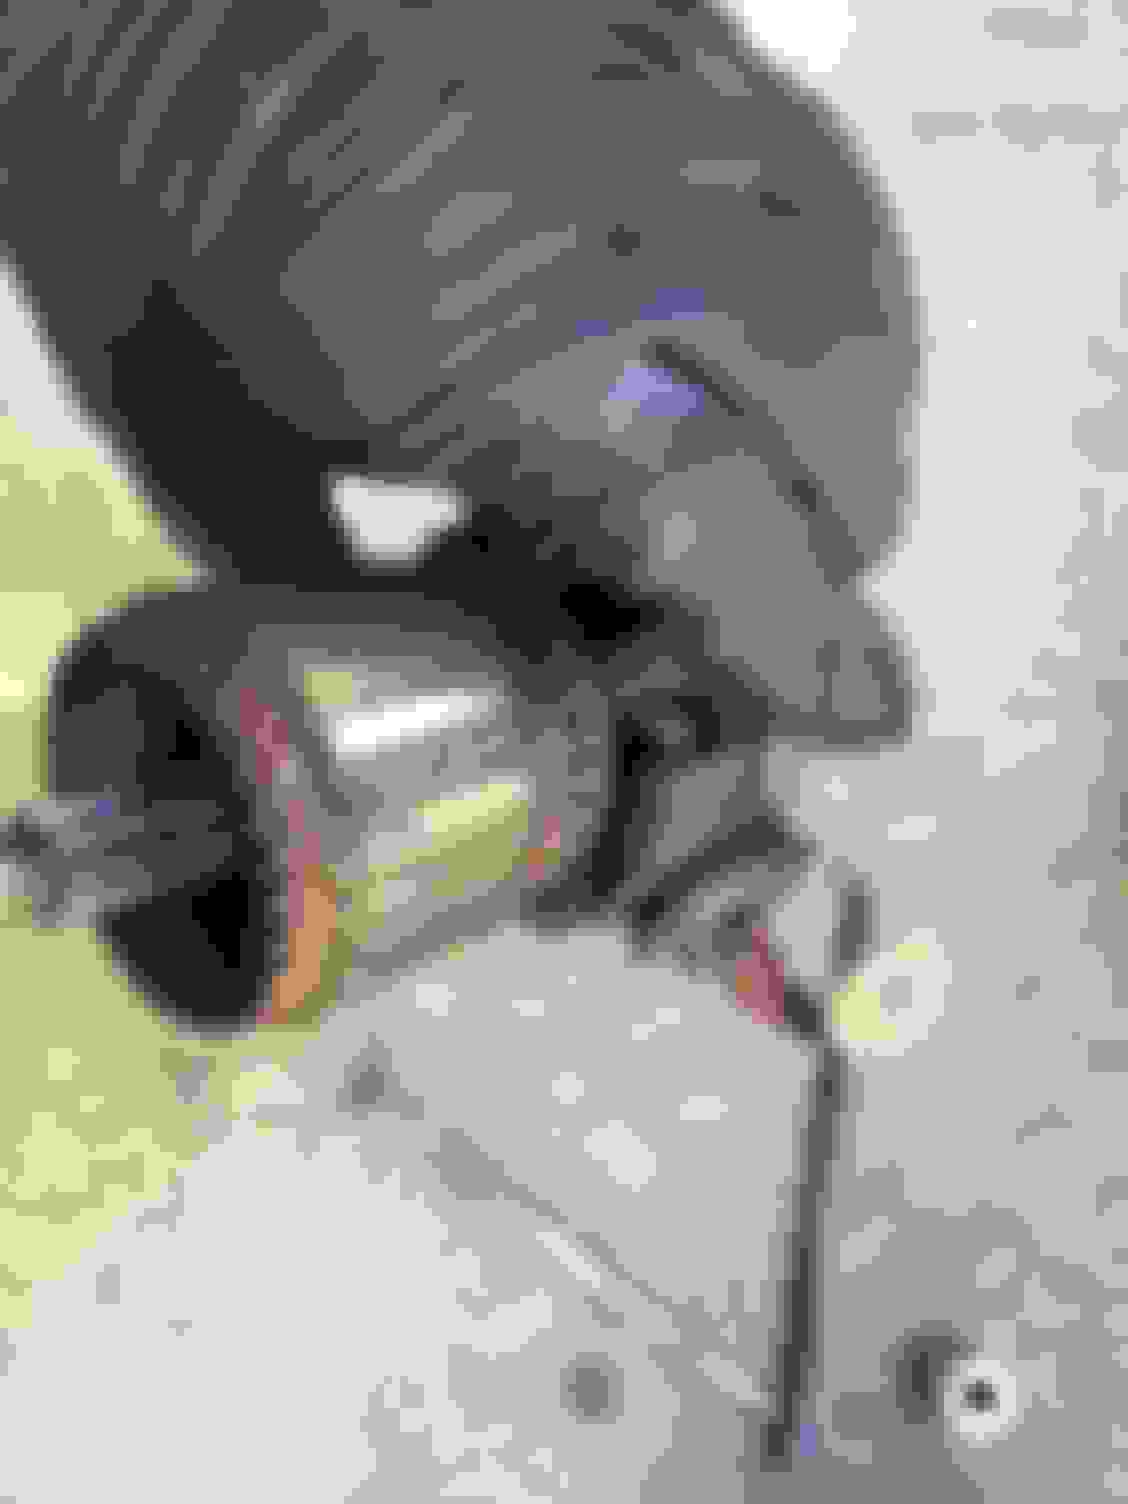
Looks like homing out in my case was misleading as the ground brushes had disintegrated, since Bosch offers a lifetime warrant on their new non rebuilt starters, how does one claim warranty without proof of purchase?
Commutator scratched up by springs dues to brush disintegration... starter was less then 12 years old as it�s a 2010, in my opinion this is abnormal and a defect.
Last edited by Mark Pasieka; May 12, 2021 at 10:54 PM.
Reason: Update
GL550, Aprilia RST1000 Futura, MX-5 Miata, BMW K1600B
Originally Posted by Atreides
After reading the tech guide for removing the starter, I budgeted the whole day for a monumental task removing the right cat to get to the starter. Then, I read this article and downsized the effort to a half day based on the engine mount cheat. Well, I can tell you definitively that there is no need to remove the catalytic converter OR the engine mount. There is clearance to remove the starter, albeit with narrow margins and patience, without even scratching a surface or prying of any sort. Here were my steps, all performed from under lifted truck, along with lessons learned:
Remove top and bottom bolts (11mm universal / torx socket on 12"+ wobbler extension) holding starter
Remove heat shield from starter body - just the ear bolt. (Lesson learned - see below)
Remove starter through a) push / pull towards forward of truck until gear clears its insertion in crankcase. At first, it may seem as if there's no forward clearance to clear crankcase. This is the hardest part, but It will come out with a little patience. Reach around and make sure wires are not binding and it will come full forward. Begin lowering and allowing starter body to rotate slightly allowing the solenoid to clear obstructions. Think corkscrew motion about inch counter clockwise facing front of truck, lowering the wire side about the same amount. You can feel the clearances as you do this as long as you are not trying to pry bar it. Once gears are clear from crankcase, drop gear side down and start working down and back. At this point I turned it sideways and rested on control arm so I could access wires.
Remove both wires from starter
Drop starter out full towards rear of truck - voila - done.
The above took 60 minutes for me. Most of that time was spent examining new unit and cavity for planning the exit route. Should only taken 15 minutes, which is how long it took me to re-install new unit. Yeah, the lesson learned part...
The heat shield is actually 2 parts, each having 1 bolt. On my first pass, I removed both bolts and took heat shield out while the starter was still installed. This worked, but you can't reinstall it this way, which I learned the hard way. Once you remove the rear bolt, the shield will slide on its clips towards rear of truck and come out. Reinstallation is the reverse of this. I had to remove starter again to attach clamp first, mount starter to crankshaft and then attach shield. Here's a picture for reference:
That pesky clip can't be hooked once starter is mounted. So, that's my lesson learned which I hope saves someone else some time.
Cheers,
Atreides
2009 GL550
I just completed this same task on a 2011 GL550. It couldn't have been more straight forward. I did remove the lower Catalytic converter heat shield for room, but nothing about this job was excessively difficult. It took me about 30 minutes from the point I placed the first jack stand to removing the same stand. If you have a little mechanical ability, you can do it!!!!
Another satisfied user of the Atreides instructions above after using them to replace the starter on my W164 550. I previously used the loosen the motor mount and raise the engine method on my GL550 and this approach is much easier. Mine had been laboring for about 6 months at 120K miles although not excessively before it just called it quits out of the blue at a gas station requiring a tow home.
Three notes:
1. I didn't have a E11 Torx socket in my set, but fortunately my car's starter bolts were E12. It is easier to get the top bolt out if you remove the lower first since that frees up a bracket that allows some slack on a wiring harness that is in the way of the upper bolt.
2. The shield you remove before dropping the starter requires a fair bit of force to push free once the nut is removed. It seems like you've missed a bolt, but there are two sturdy spring clips that hold it on tightly even after the nut is removed.
3. The solenoid on the new Valeo (available from Auto Zone for $265) starter was slightly bigger in diameter than the original starter. After transferring the heat shield bracket to the new starter, the stud that holds it together didn't poke through the hole on the opposite side of the bracket enough to get it started by hand. Some large channel locks provided enough force to squeeze it together enough to get the nut started, and then I tightened it down with a socket. I didn't tighten the nut to the base of the stud because the slip joint on the other side of the bracket started to deform, and I was afraid it would pop loose. It has quite a bit of tension on it from the bracket bending, so I don't think it will be a problem down the road.
All in all, not a difficult job. A little fiddling was required to get the starter in and out, but that was about it. One of the rare jobs that was easier than expected.
Finally, I don't think the directions mentioned it, but if you don't already know, disconnect the battery before doing the job or you'll probably weld the positive lead to the chassis somewhere.
Interesting. I'll have to see if I can find someone locally to rebuild the old one to have on hand if/when the new one fails. The brushes seem to be NLA from Mercedes but are available from Bosch for <$10, but I don't think the commutator is still good. It isn't obvious in the picture, but one of the "bars" melted somewhat leaving a blob of copper(?) that is visible on the right side of the commutator.
Mercedes SLR McLaren 722 S Is Extremely Rare Example Modified by McLaren
Slideshow: A one-of-one U.S.-spec Mercedes-Benz SLR McLaren Roadster became even rarer after a factory-backed transformation at McLaren's headquarters.