When you click on links to various merchants on this site and make a purchase, this can result in this site earning a commission. Affiliate programs and affiliations include, but are not limited to, the eBay Partner Network.
Today I had time to change the secondary air pump and also the accessories belt, tensioner and bearings of the same.
I discovered that the best way to do the service is to remove the radiator fan in order to have more room for this service. It is necessary to remove the top metallic finish that is attached by 8 screws, being 7 of 10mm and a Torx T30 in YouTube I found a video showing how to do that:
.
Unfortunately I did not take the photos of this process, just the parts already out. The most difficult is to remove the fan, it needs to be raised, thrown to the right and left to be able to pass through the hoses of the radiator and oil of the transmission oil exchange in order not to break anything. Then just start the service ...
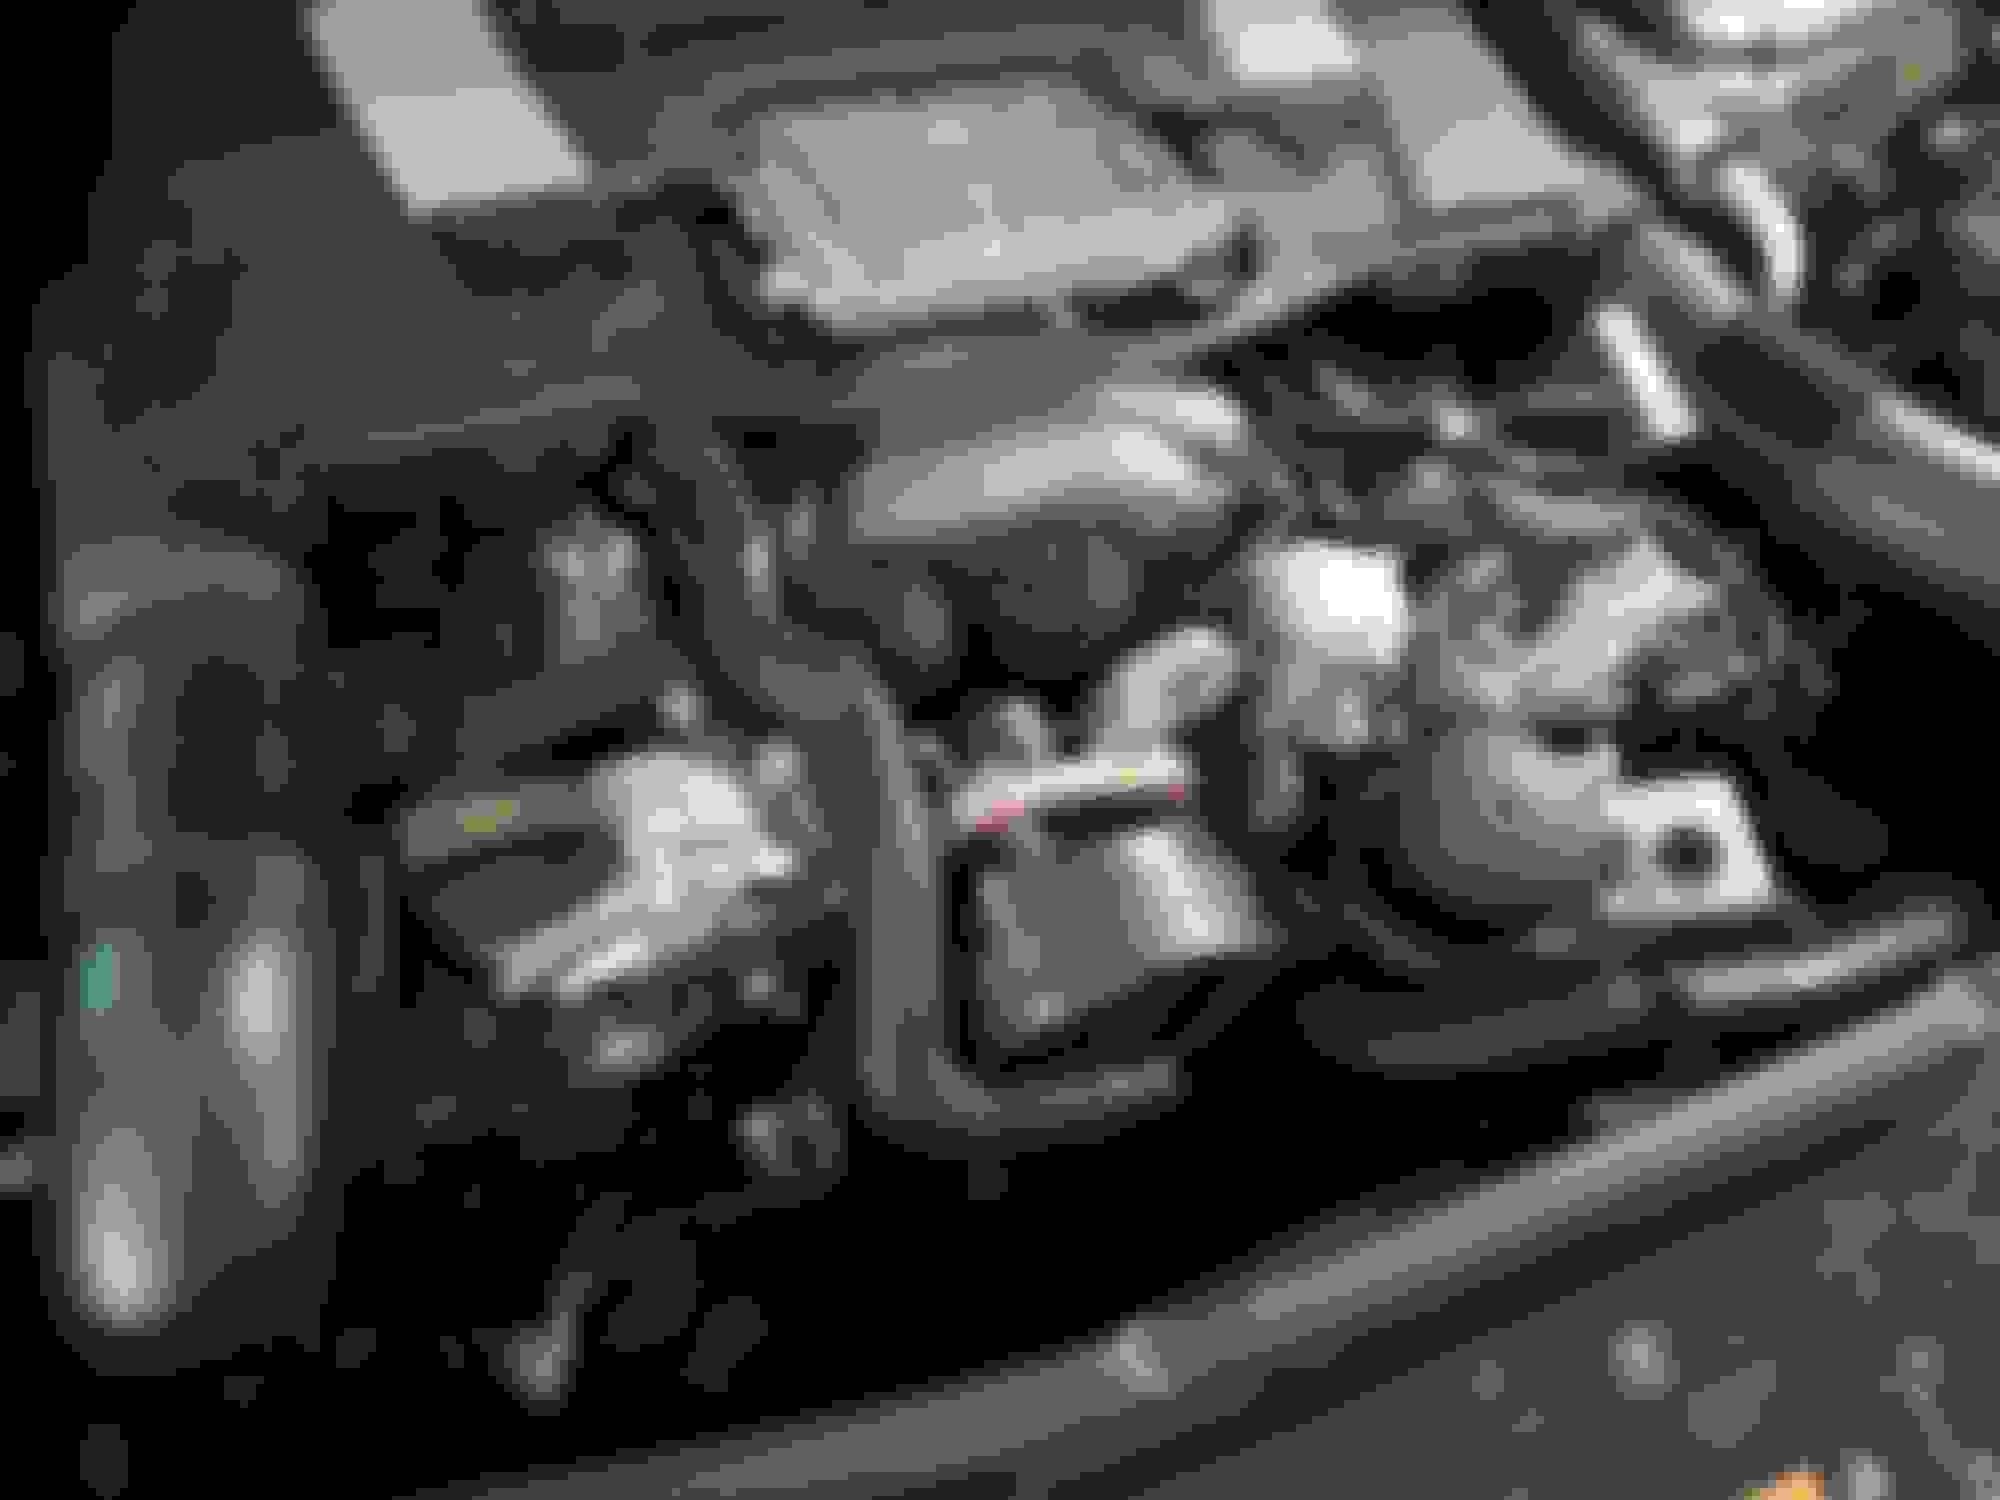
Distensioning the belt tensioner and removing the 2 torx screws 12.
These photos are of the moment I installed the new tensioner� I wasn�t able to take photos when removed the old one.
You need to use a 17mm socket.
Now the secondary air pump, start by removing the hose coming from the air filter to the pump:
After that I took advantage of the fact that the belt was outside, and it is easier to have access to 3 of the 5 screws that hold the secondary air pump, the reason, the belt passes right in front of the access to them.
It is only after removing those screws that it is easier to disconnect the electrical connector and the air outlet hoses from it.
Pay attention to remember where the vacuum tubes pass so that in the reassembly do not knead or break them.
Secondary air pump out:
Now with the pump out of the car just release the 3 torx screws 12 and put the new one in the same position as the old one.
Now is the time to change the control solenoid, starting by releasing the connector and then the connector. There is a latch behind it that requires you to push the latch in the direction of the engine so that you can slide the solenoid to the left.
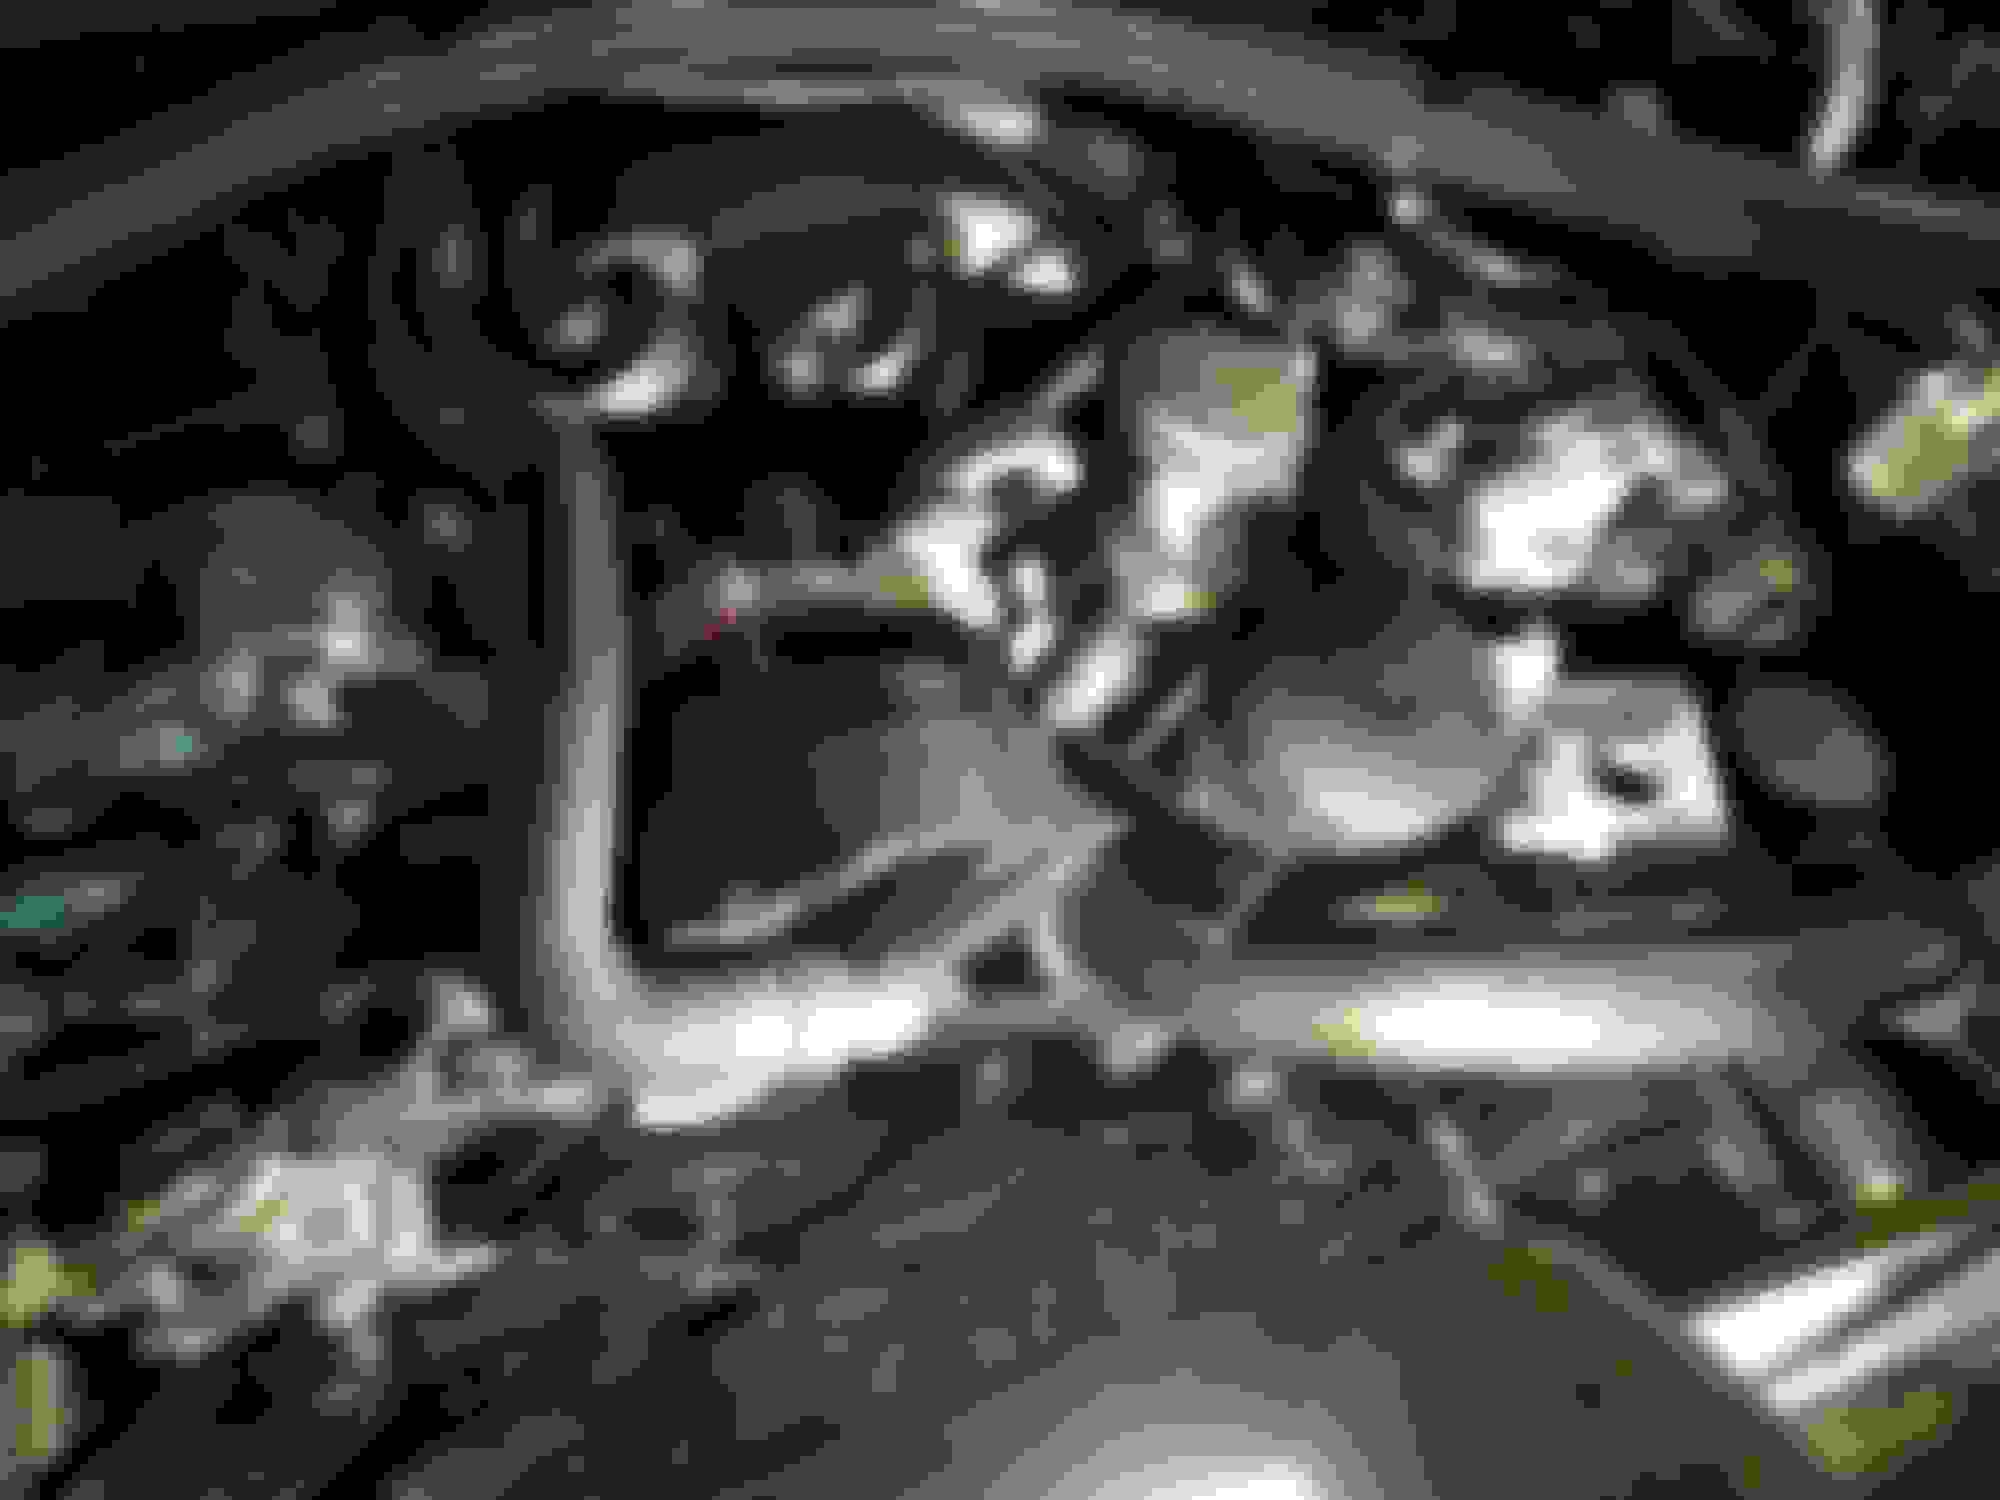
I am pointing to the latch of the solenoid, now out of it�s place in the engine:
Now, in order to reassembly, you have to do in the reverse order. This process took me about 4 hours. Everything in place now...
Mercedes SLR McLaren 722 S Is Extremely Rare Example Modified by McLaren
Slideshow: A one-of-one U.S.-spec Mercedes-Benz SLR McLaren Roadster became even rarer after a factory-backed transformation at McLaren's headquarters.