When you click on links to various merchants on this site and make a purchase, this can result in this site earning a commission. Affiliate programs and affiliations include, but are not limited to, the eBay Partner Network.
I’m sorry if there’s a post already about this. Using an iPad Pro and everything works like a computer most of the time, but this site is complicated to search within the GL x164 threads.
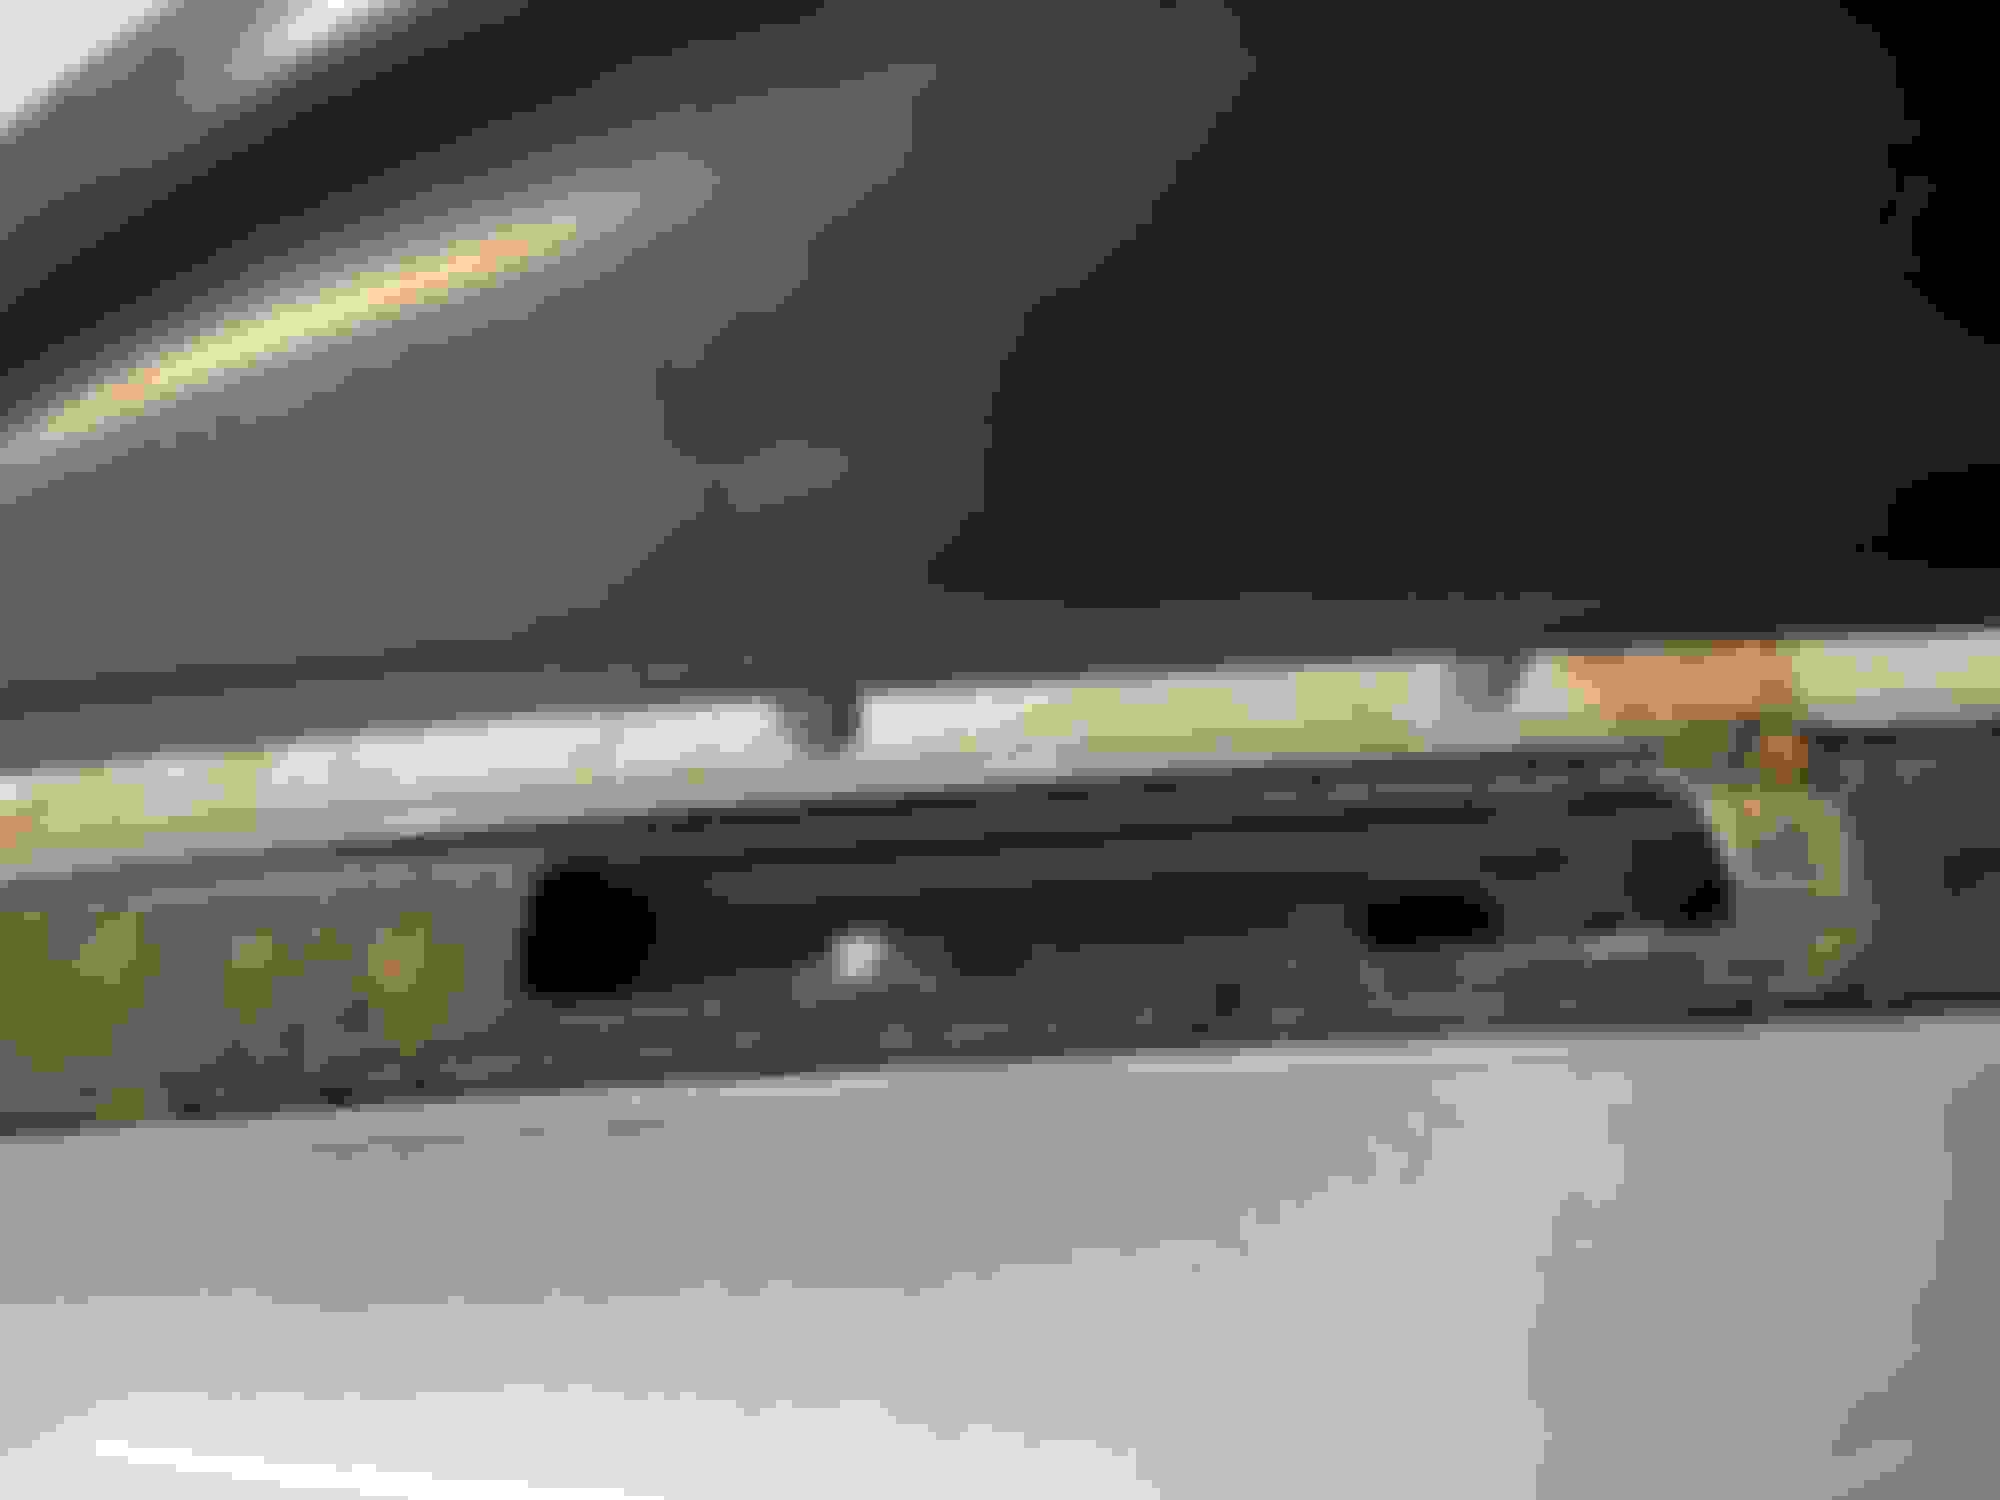
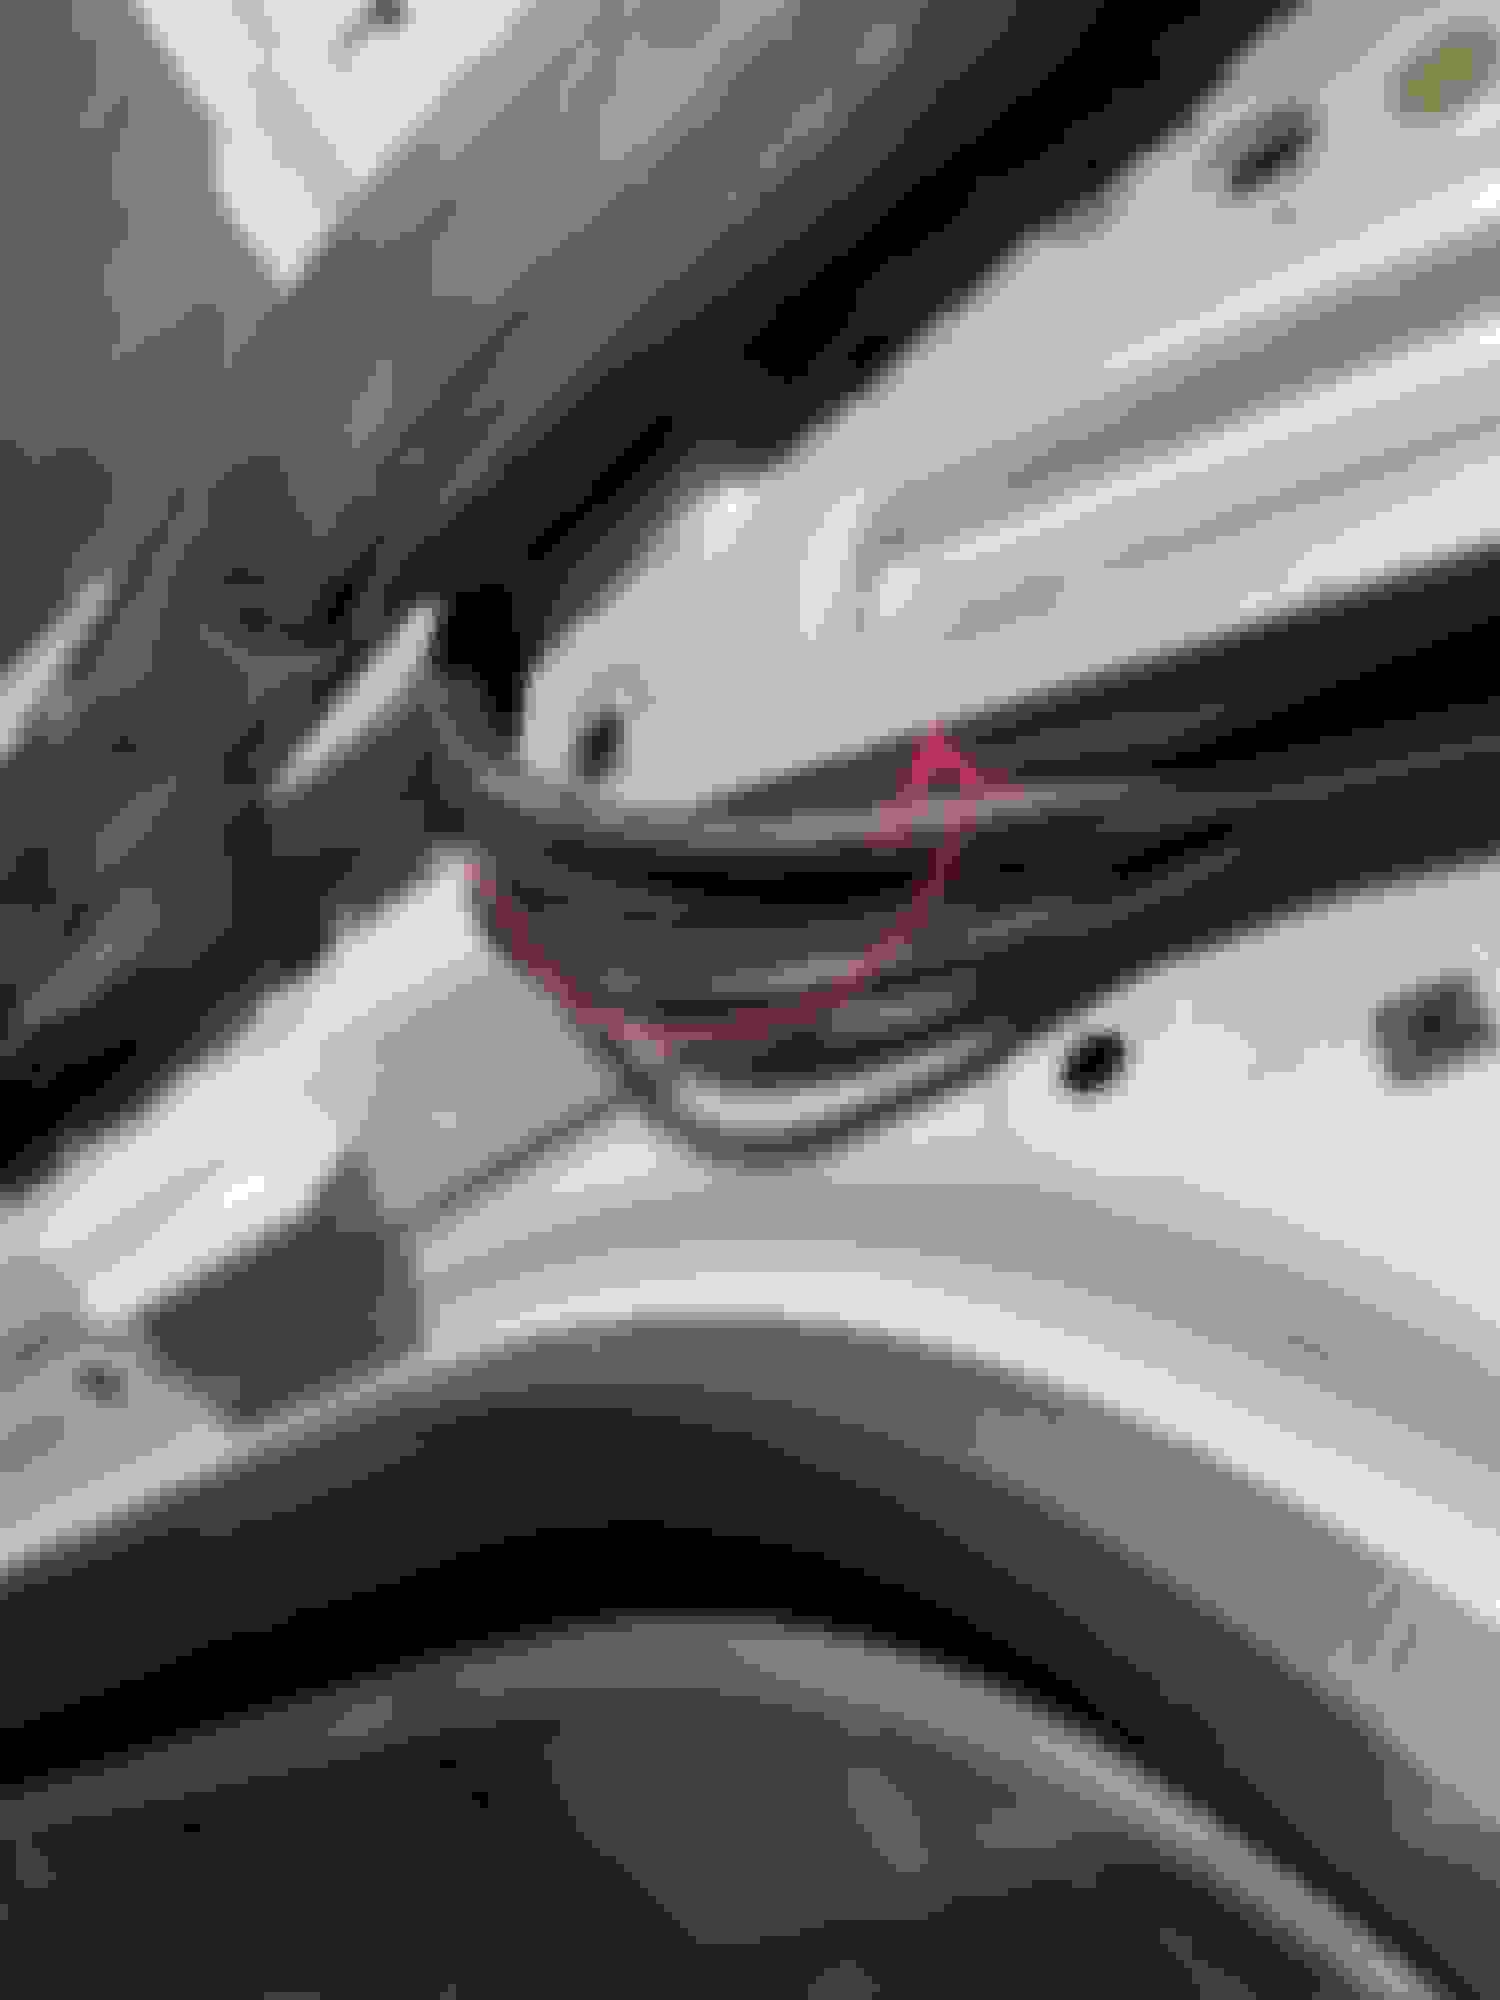
I’m the one with the “Elusive Water Leak” thread. I’ve backed out everything that goes through the body and put black silicon adhesive around the screw or bolt and ran it back in. The damn thing will float when I get done! My last leg of the journey is sealing up the huge roof rack bolts. This is a HORRIBLE design. Thank you Mercedes. The bolts go right through the body instead being situated under a cap so they are seated outside of the body. It creates a serious point for water intrusion. I attached photos so you can see how dumb the design is!
Removed front and middle but I cannot get the back bolts out. They are buried under the air curtains. Had the battery disconnected for 24 hours to triple ensure there’s no electricity to them. I’ve tried to break the bolts that hold the curtains in, but I’m guessing it’s almost impossible since you don’t want them flying off during an accident. I’ve already lost 1 socket into the abyss trying to finagle working around the curtain. I know 1000% the middle post was leaking, but I don’t want to take a chance on the back leaking at some point. Just had the headliner and all of the pillars redone.
I’m posting the steps and locations so far incase no one has done it, or possibly someone has any ideas.
Before someone says just remove the curtains… as I said I can’t get the torx to break free that hold up the curtains. I’m guessing they have some kinda glue or bolt(ish) thing that pitches it once it’s installed. Tried a socket but it’s too big to get into that small cavity. You can see by these pictures the depth and how the socket won’t fit. I tried to grip down on the Tork screw driver but I felt the head kinda start to strip so I stopped.
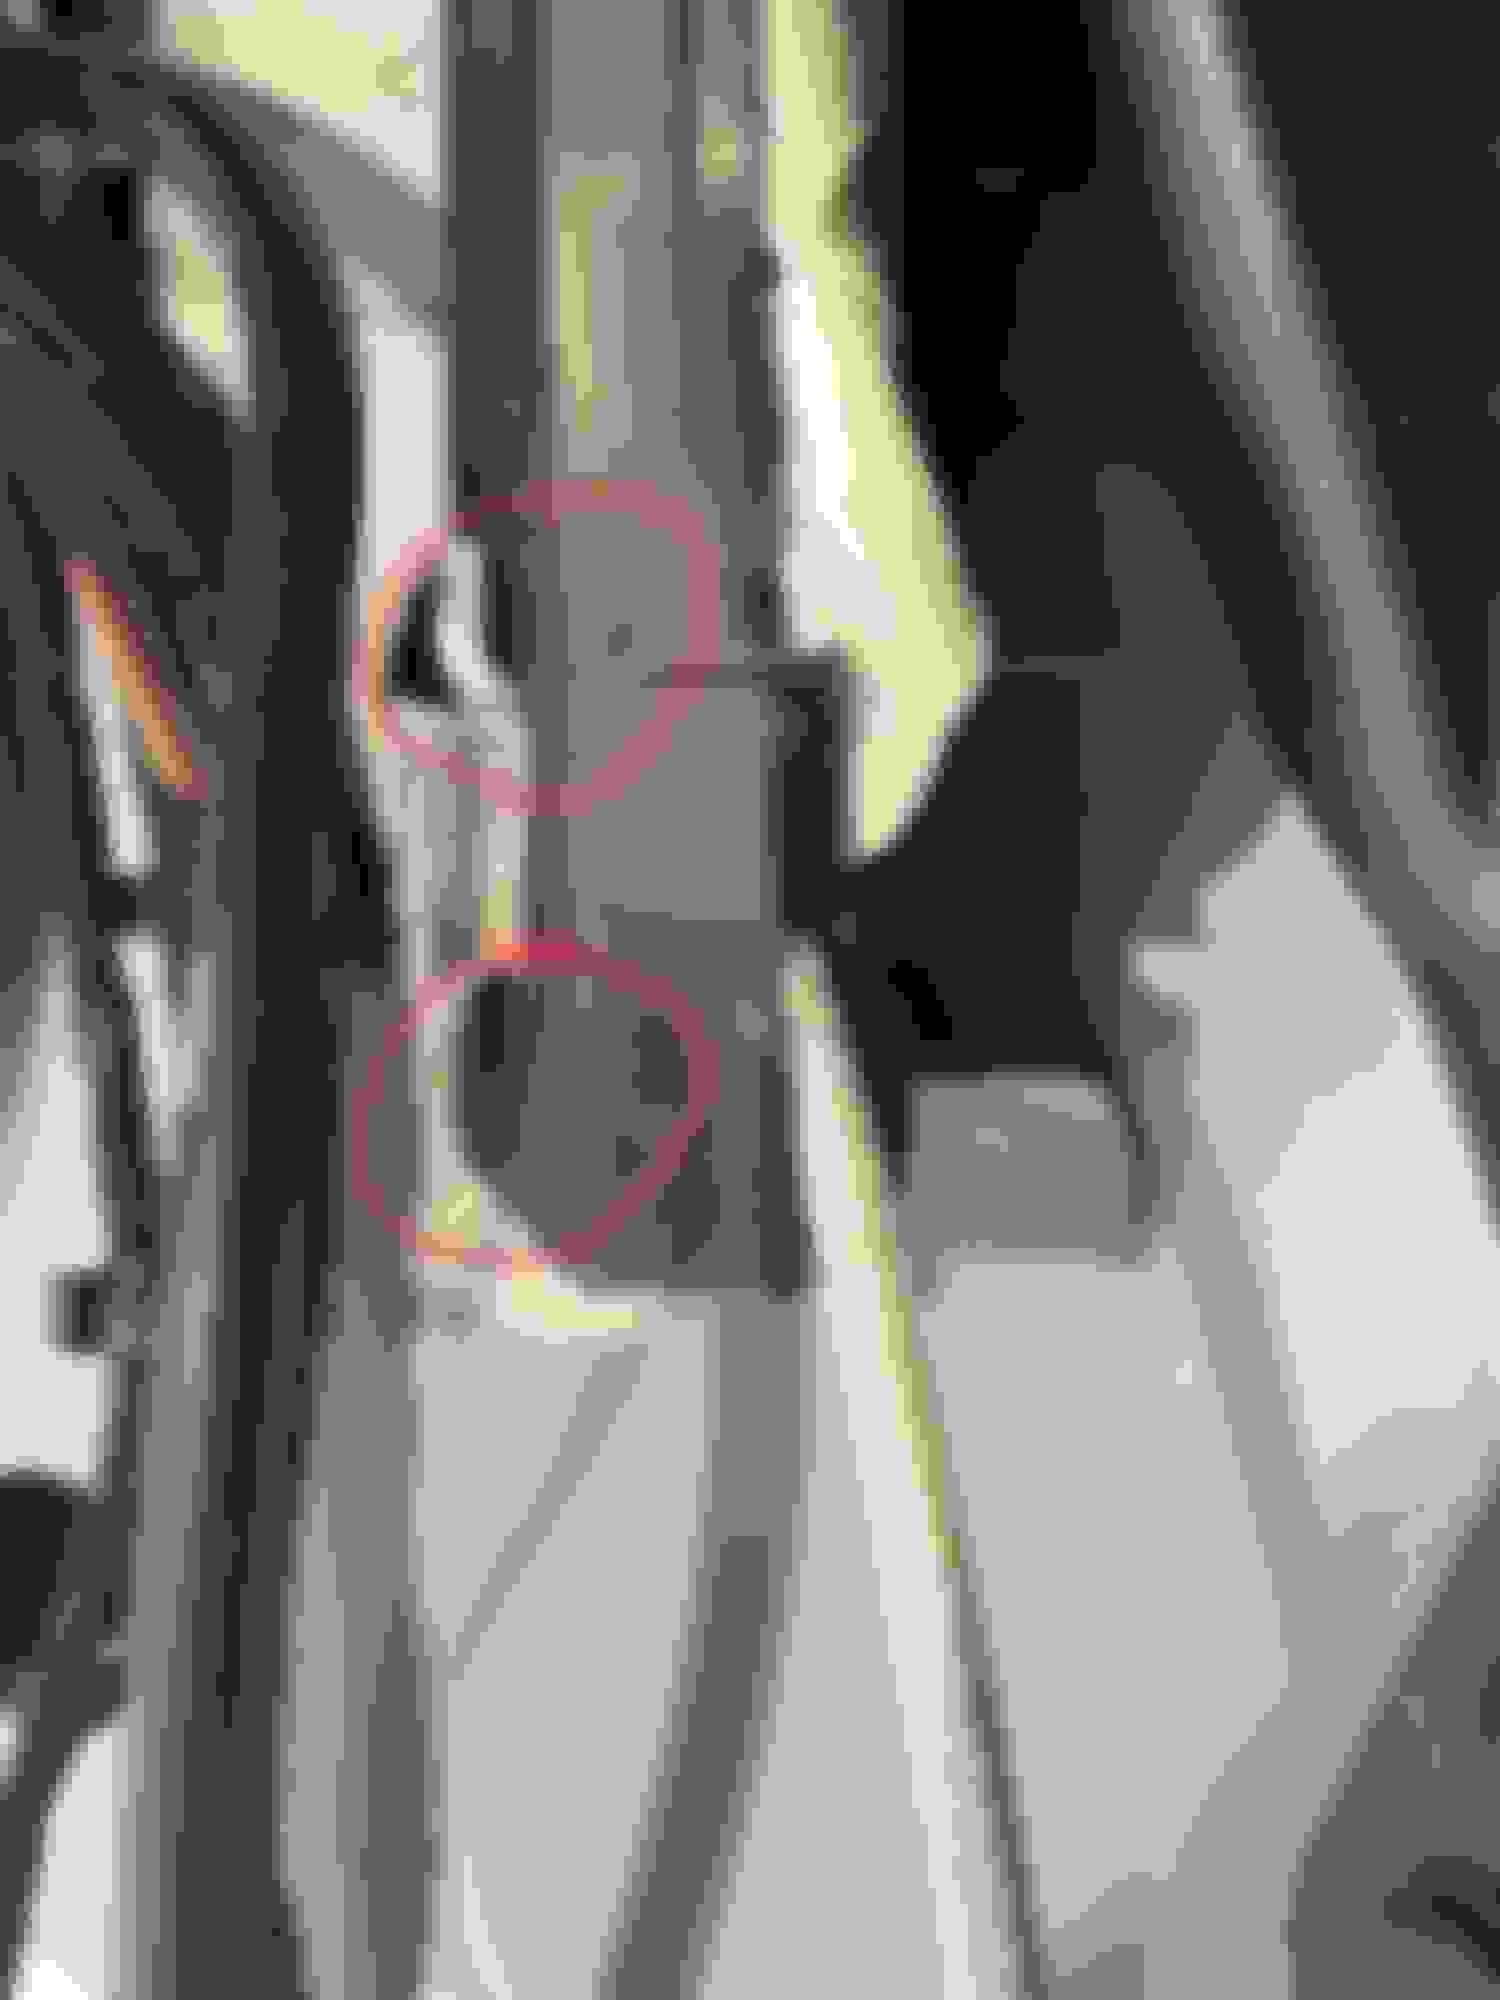
Front roof rack post. See how idiotic it is… Heads up if you think you have a clogged post on your sunroof, it may be one of these instead.
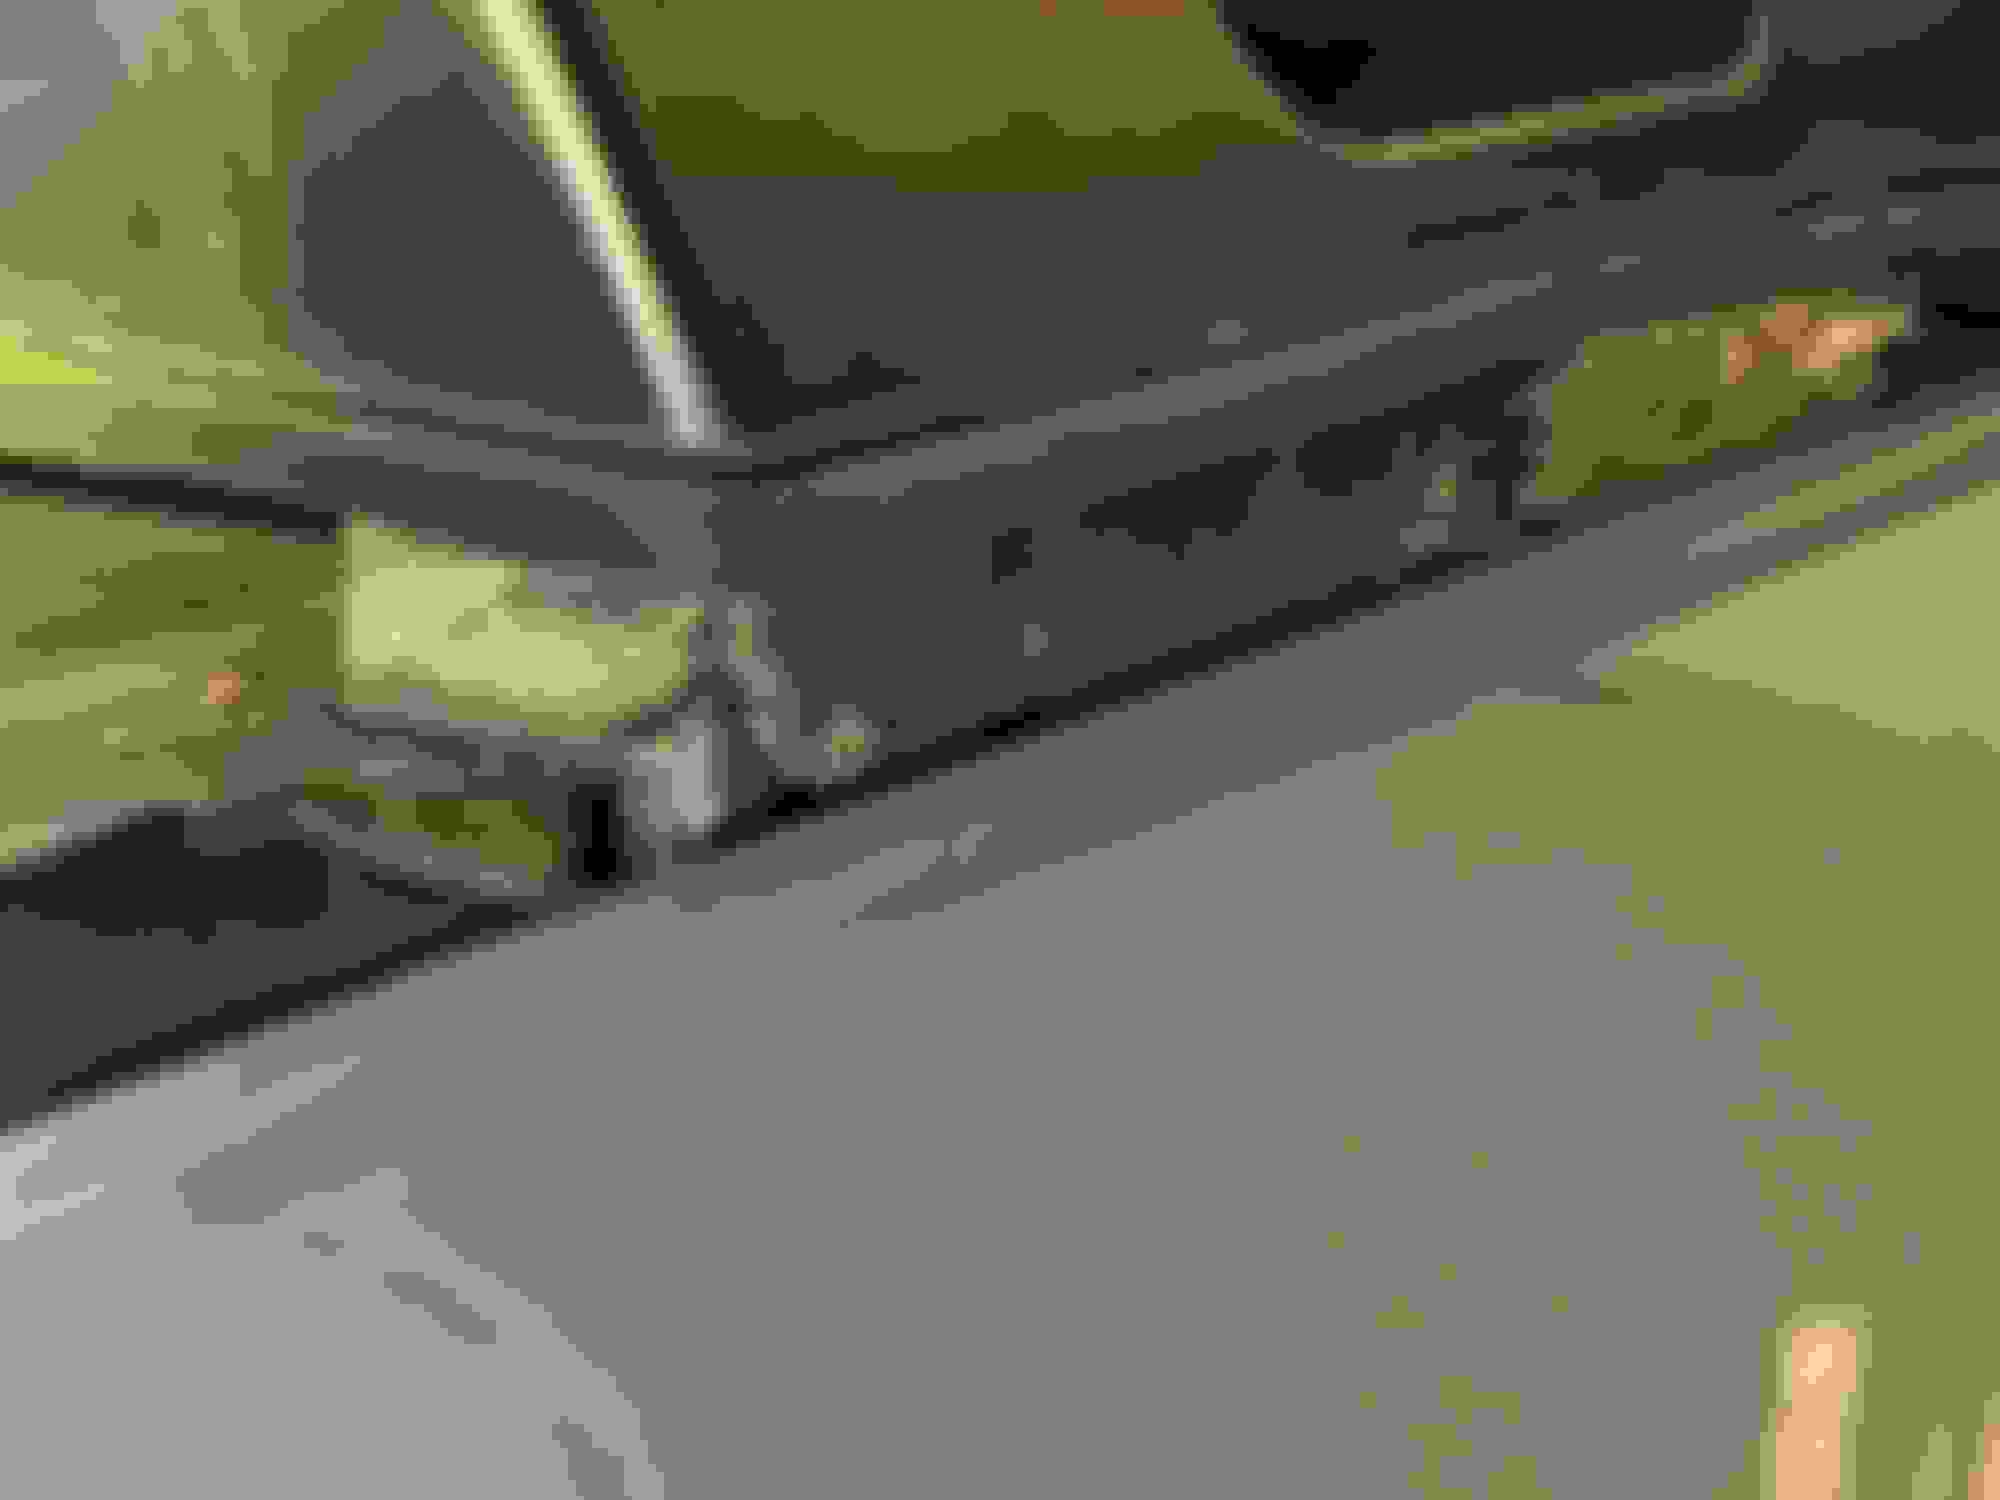
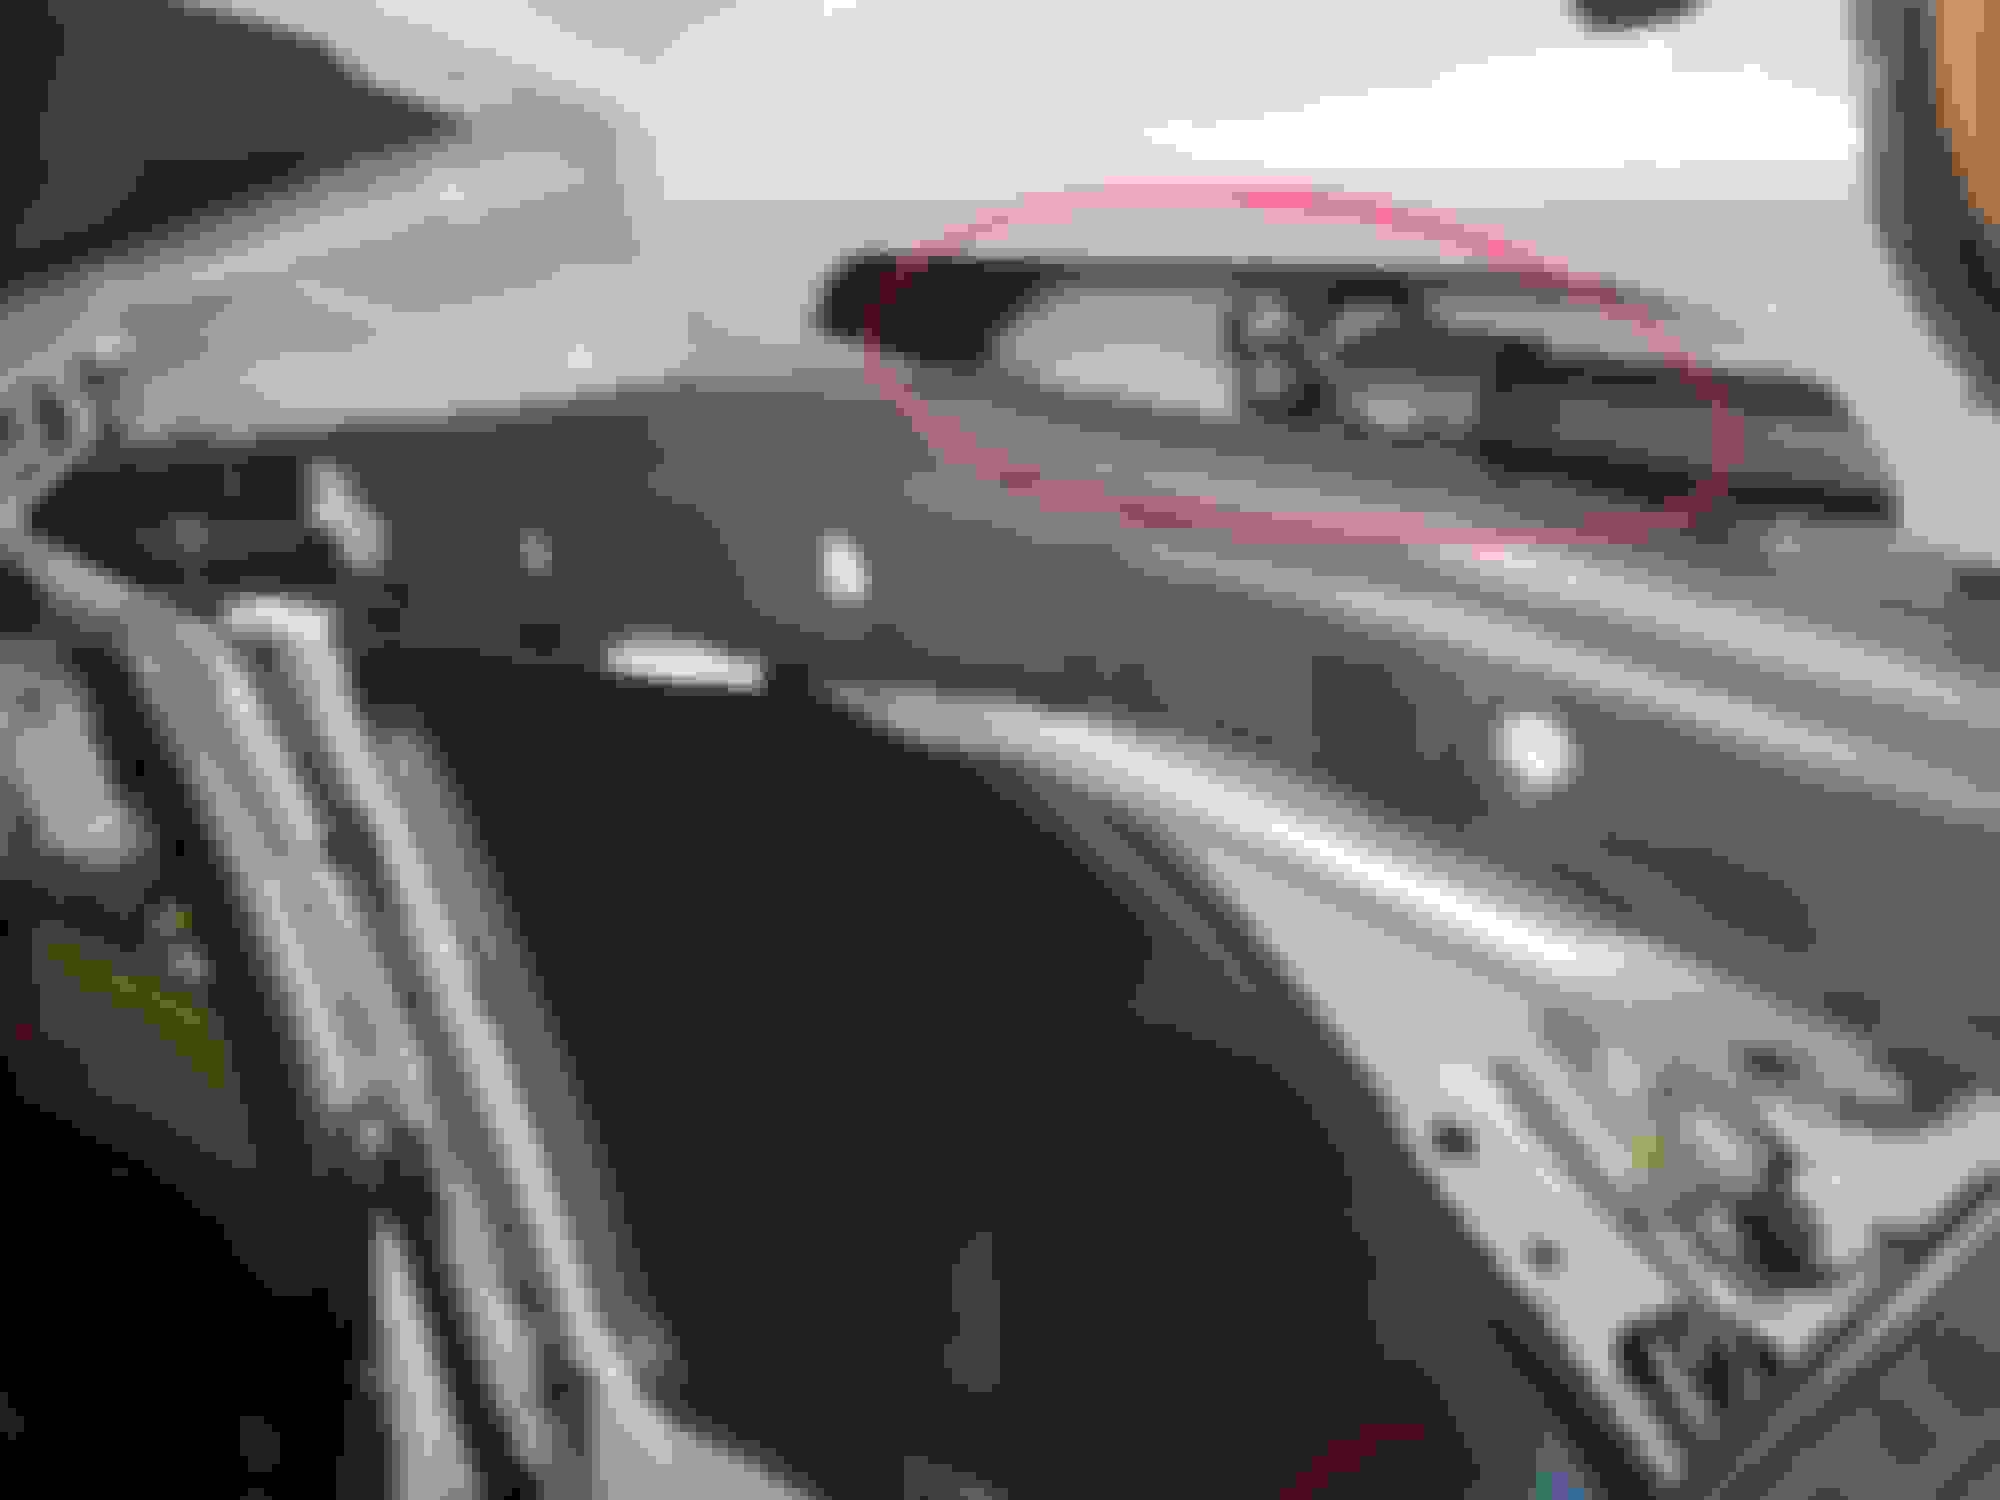
Middle Post. Can’t lift it up any higher because the rear posts are still attached.
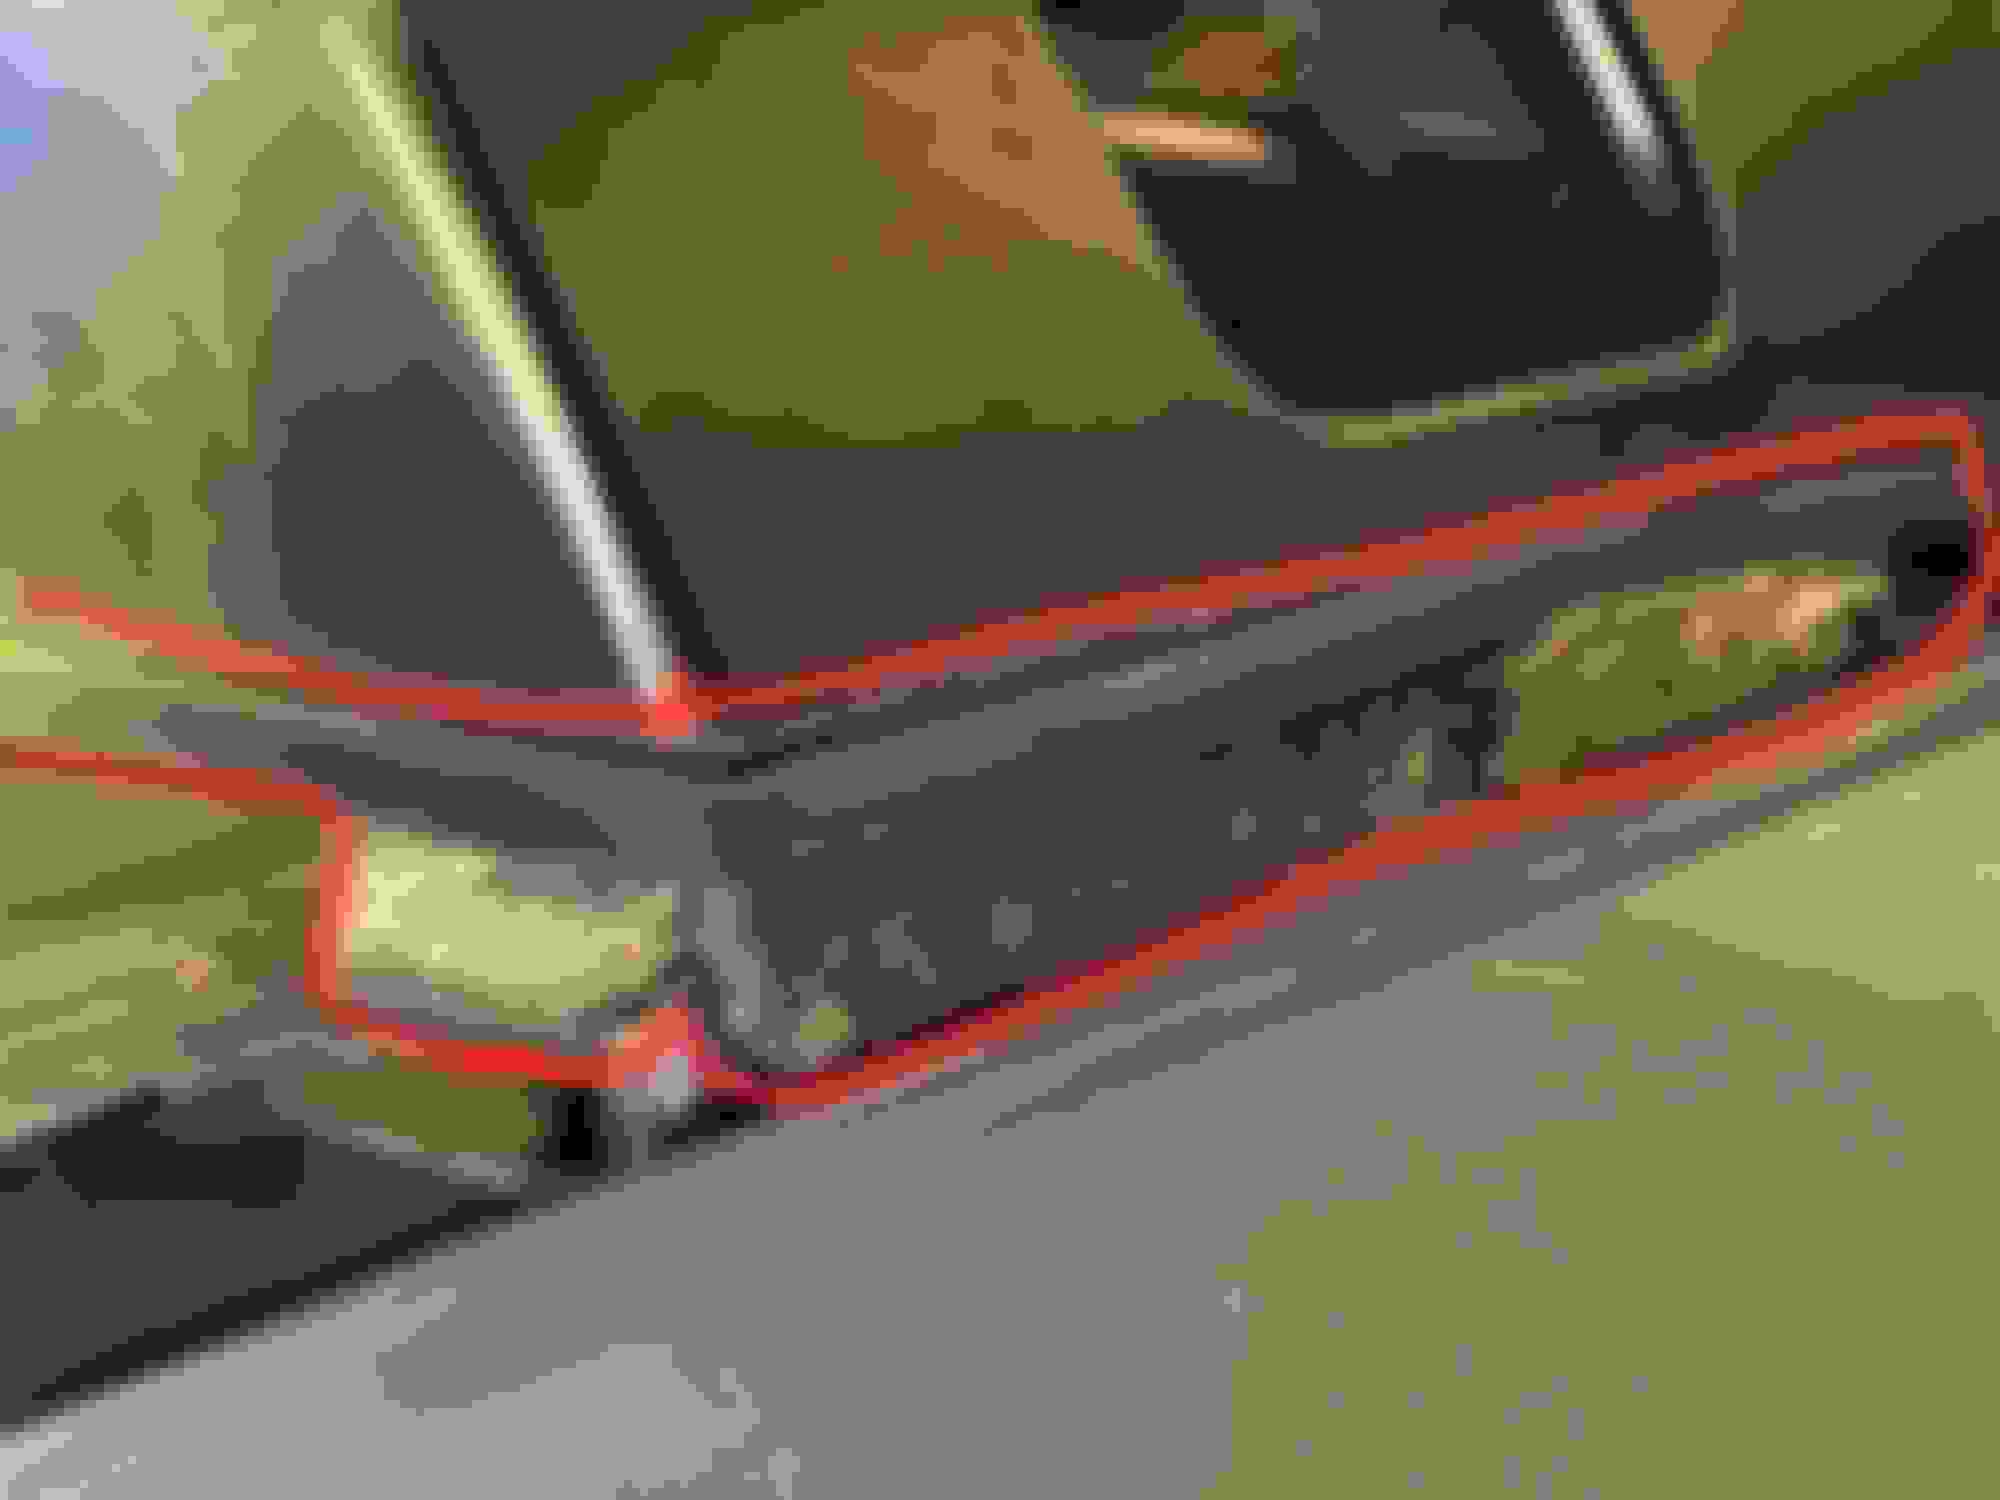
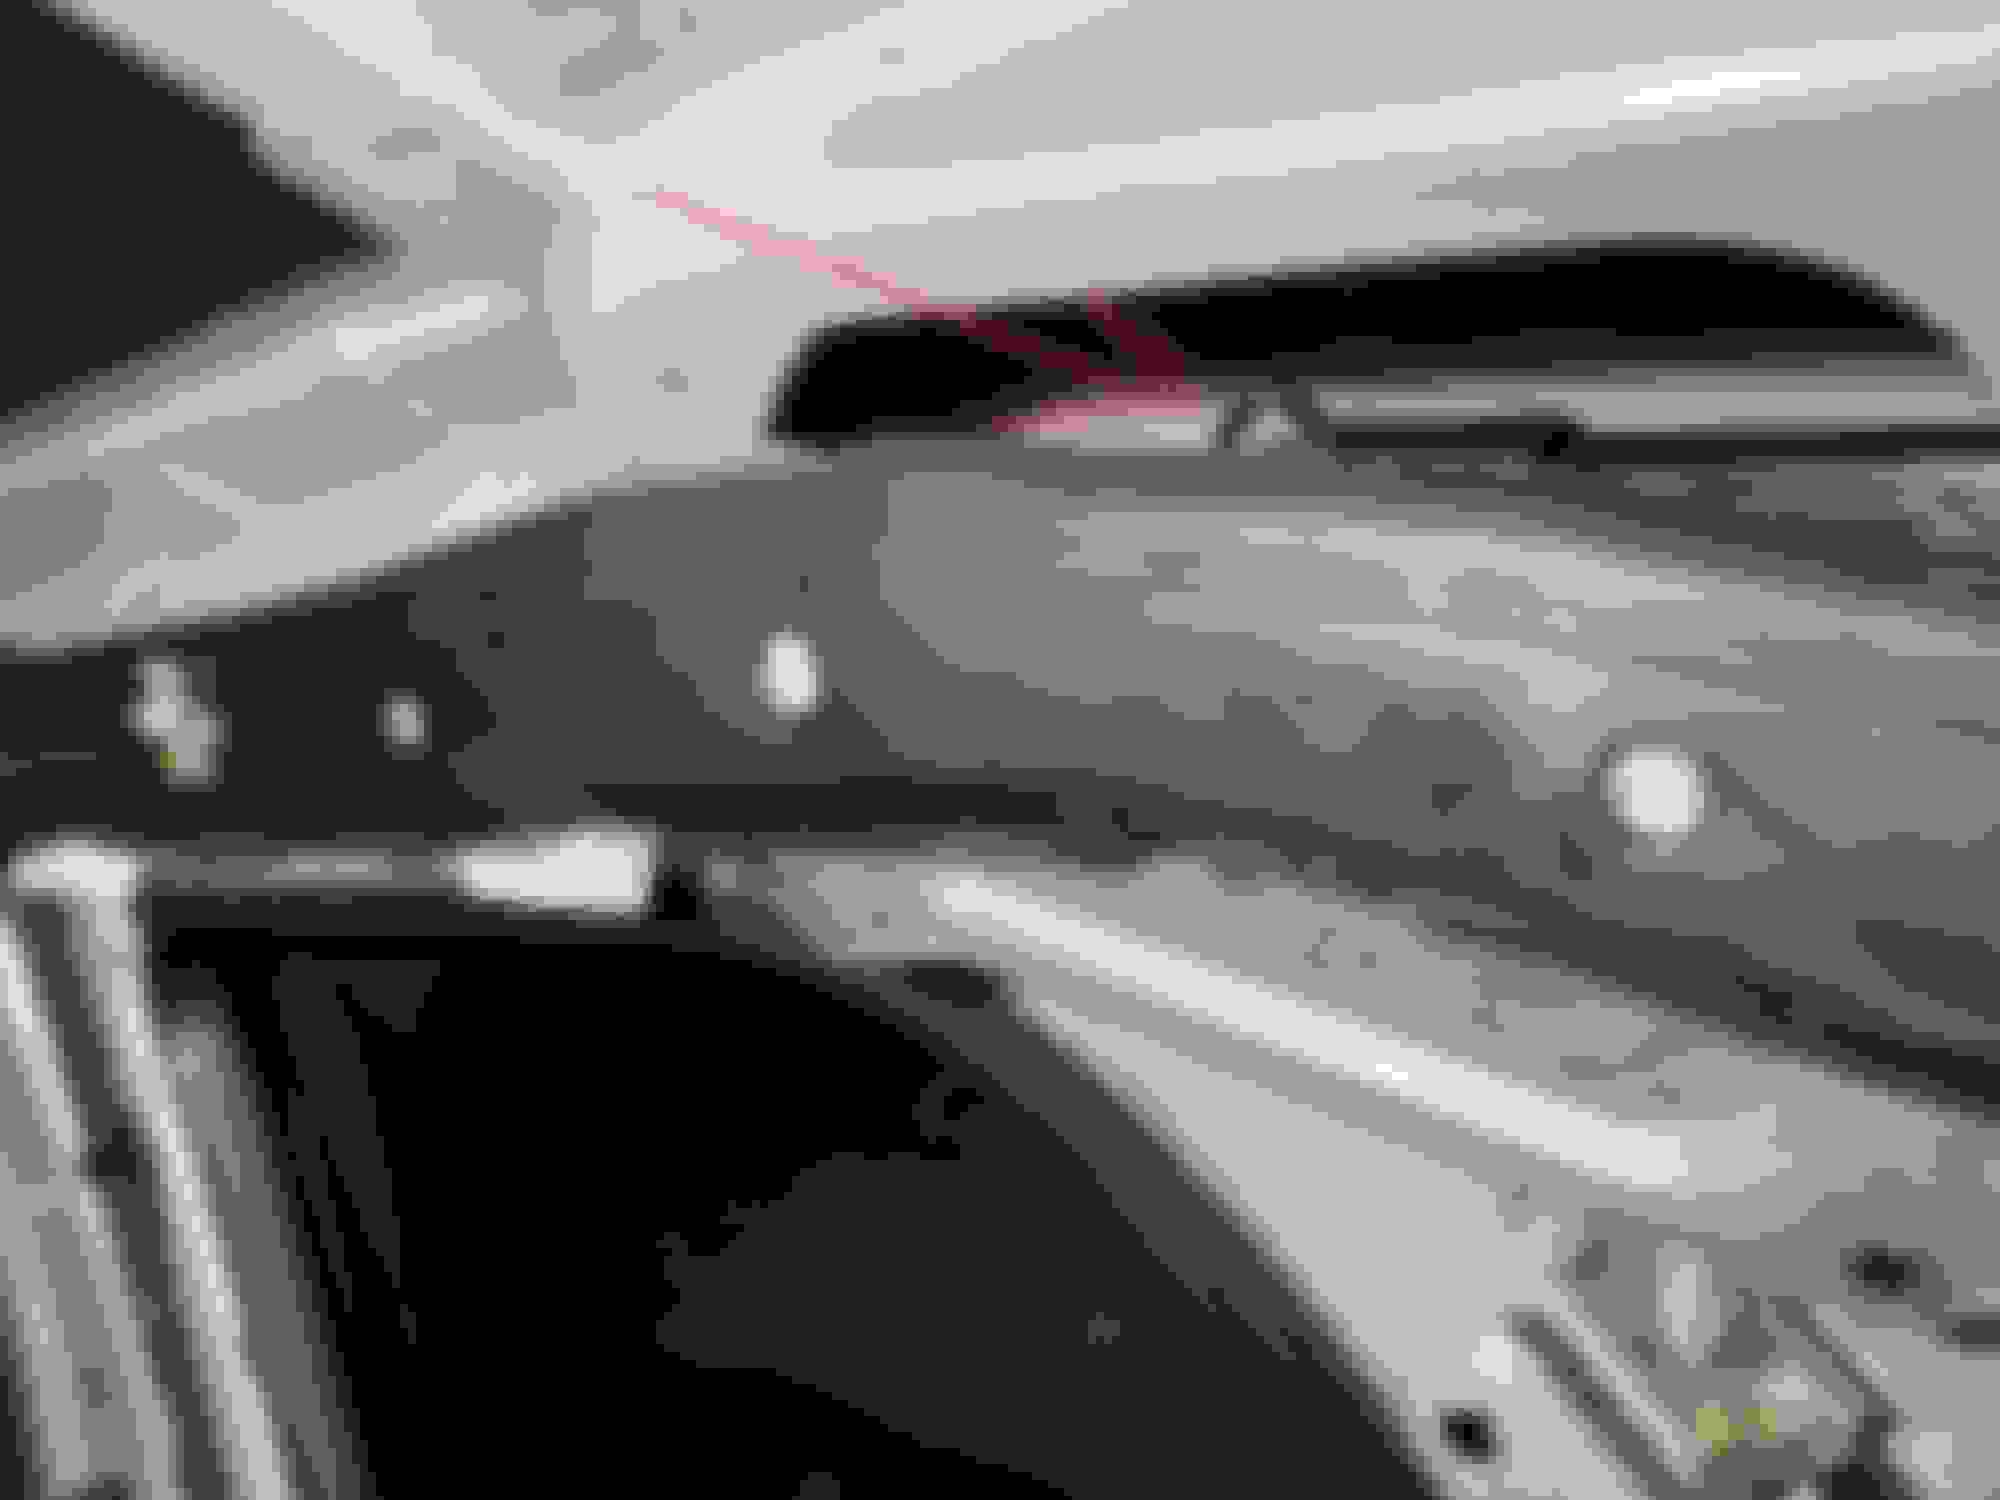
Just for reference, the ONLY thing keeping Niagara Falls from your interior is that square block of crappy rubber. It’s “soft” but you can tell it’s not 100% pliable enough to keep water out.
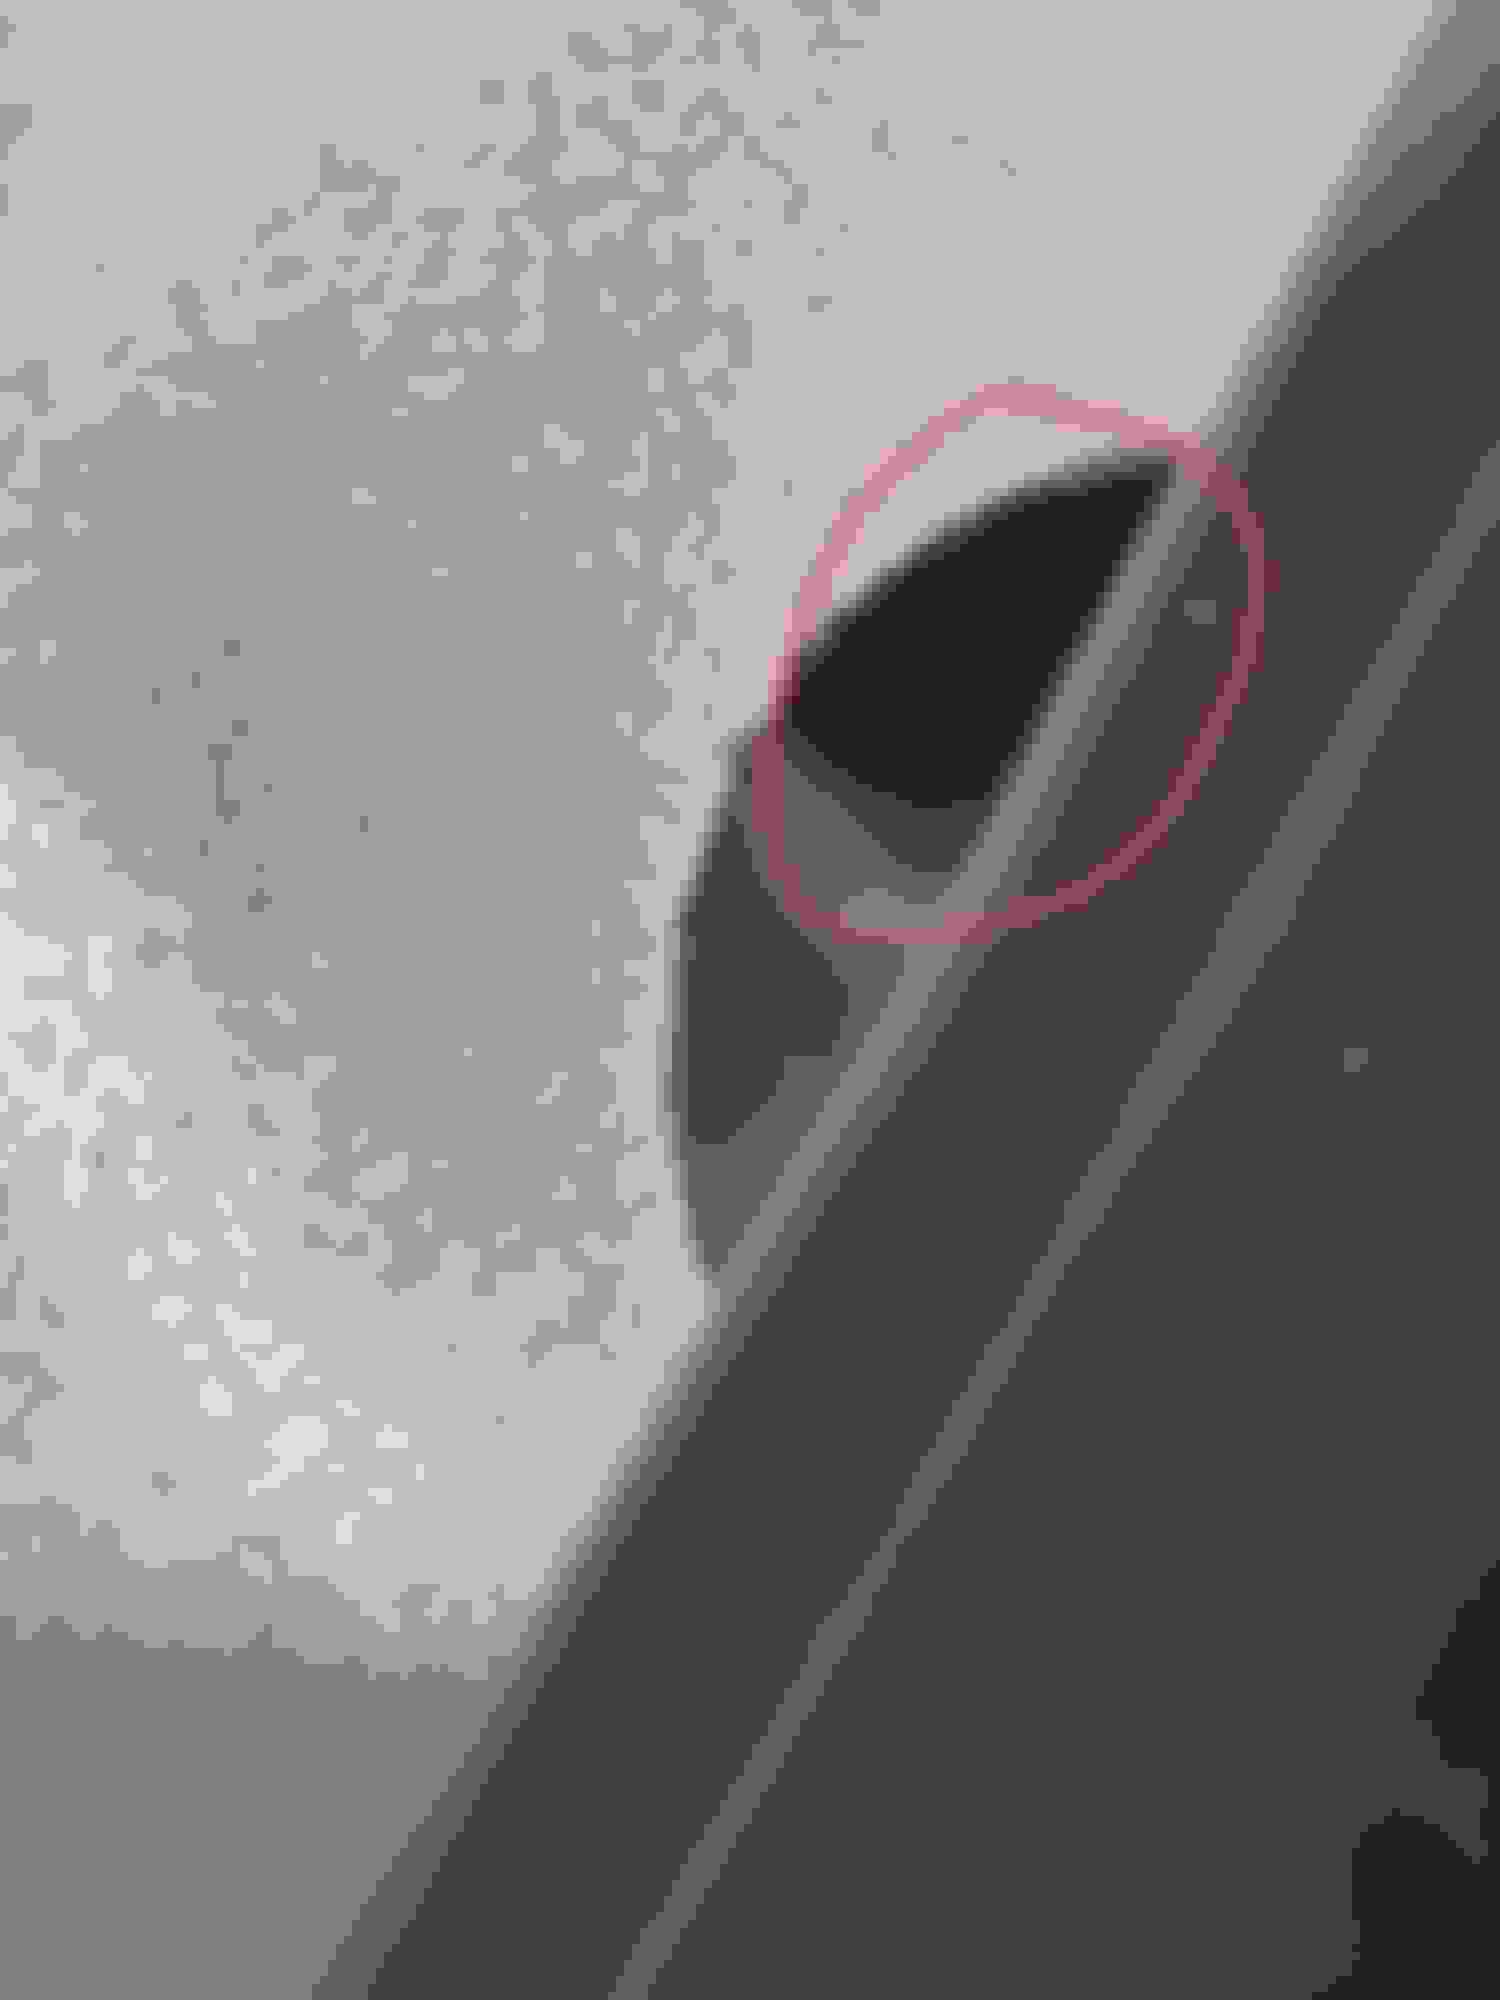
You can see pollen built up inside of the cavity. There shouldn’t be anything inside because the outer ring should keep it out.
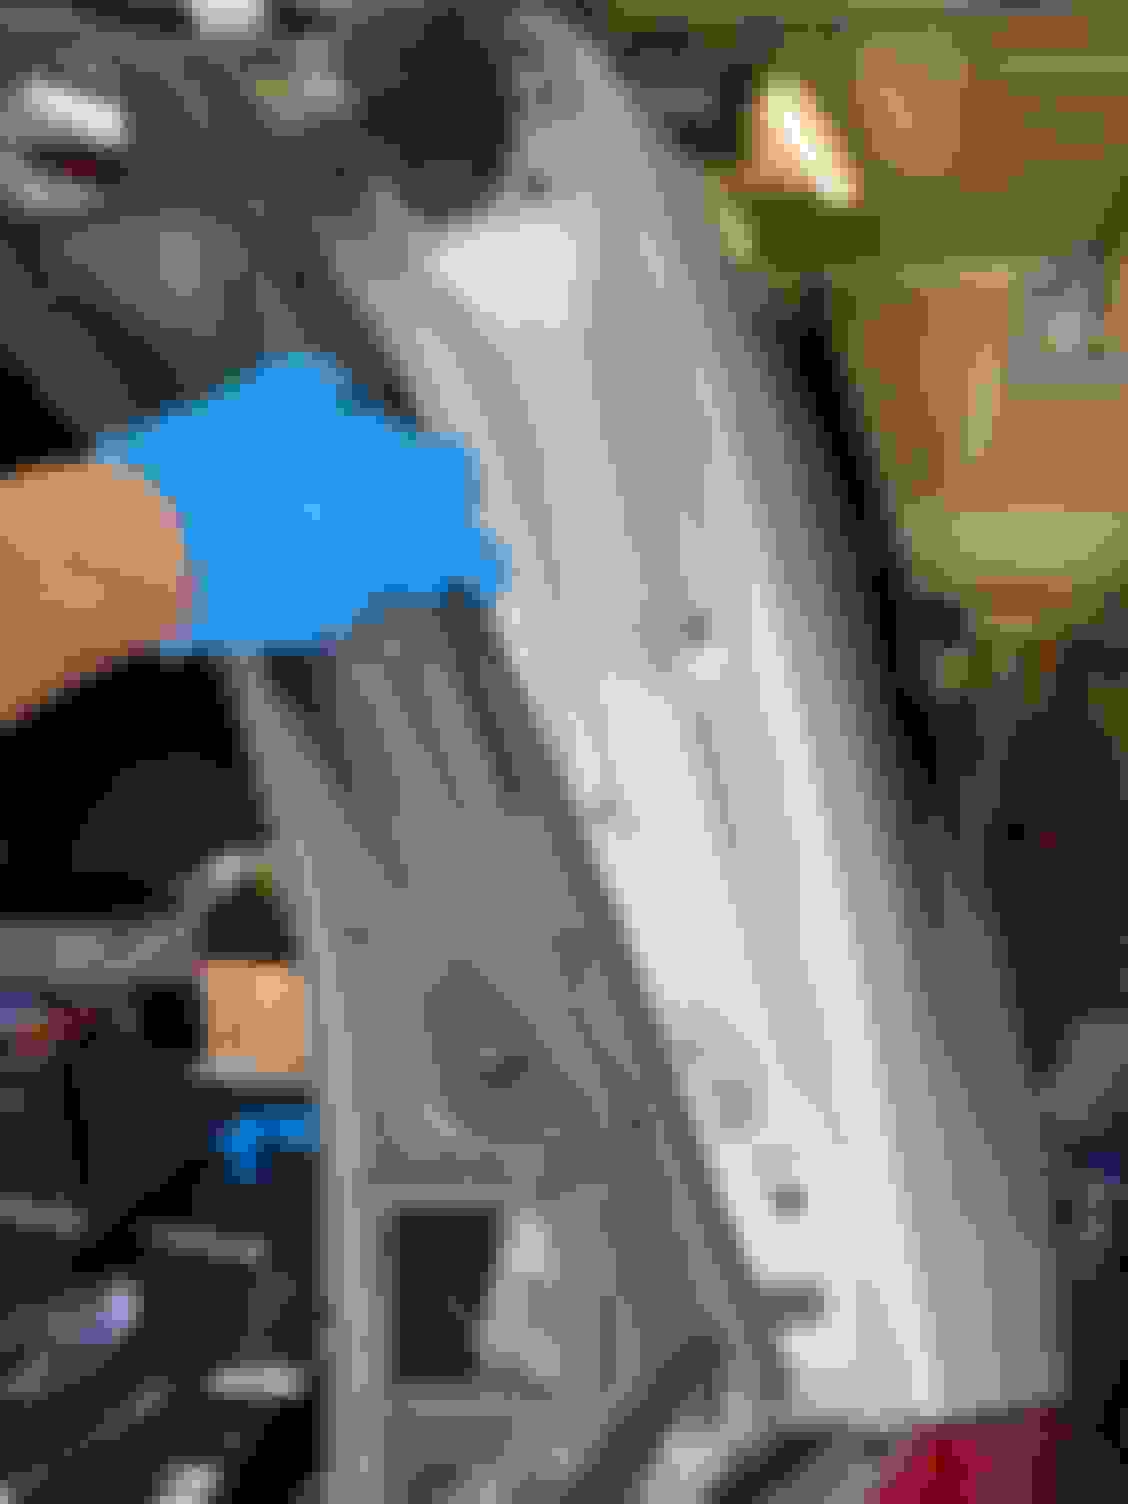
This is the rear drivers side. The bolts are hidden up in those 2 holes. The 3rd (front bolt) and 4th (back bolt) pictures you can see the bolts. From this angle you can’t really see them, and it’s not an angle that you can get a driver too. This is where I lost 1 socket into the abyss. Was trying to push the curtain out of the way just a little. The 2nd picture shows you how the curtains block access. 5ht picture is a close up of what you are dealing with.
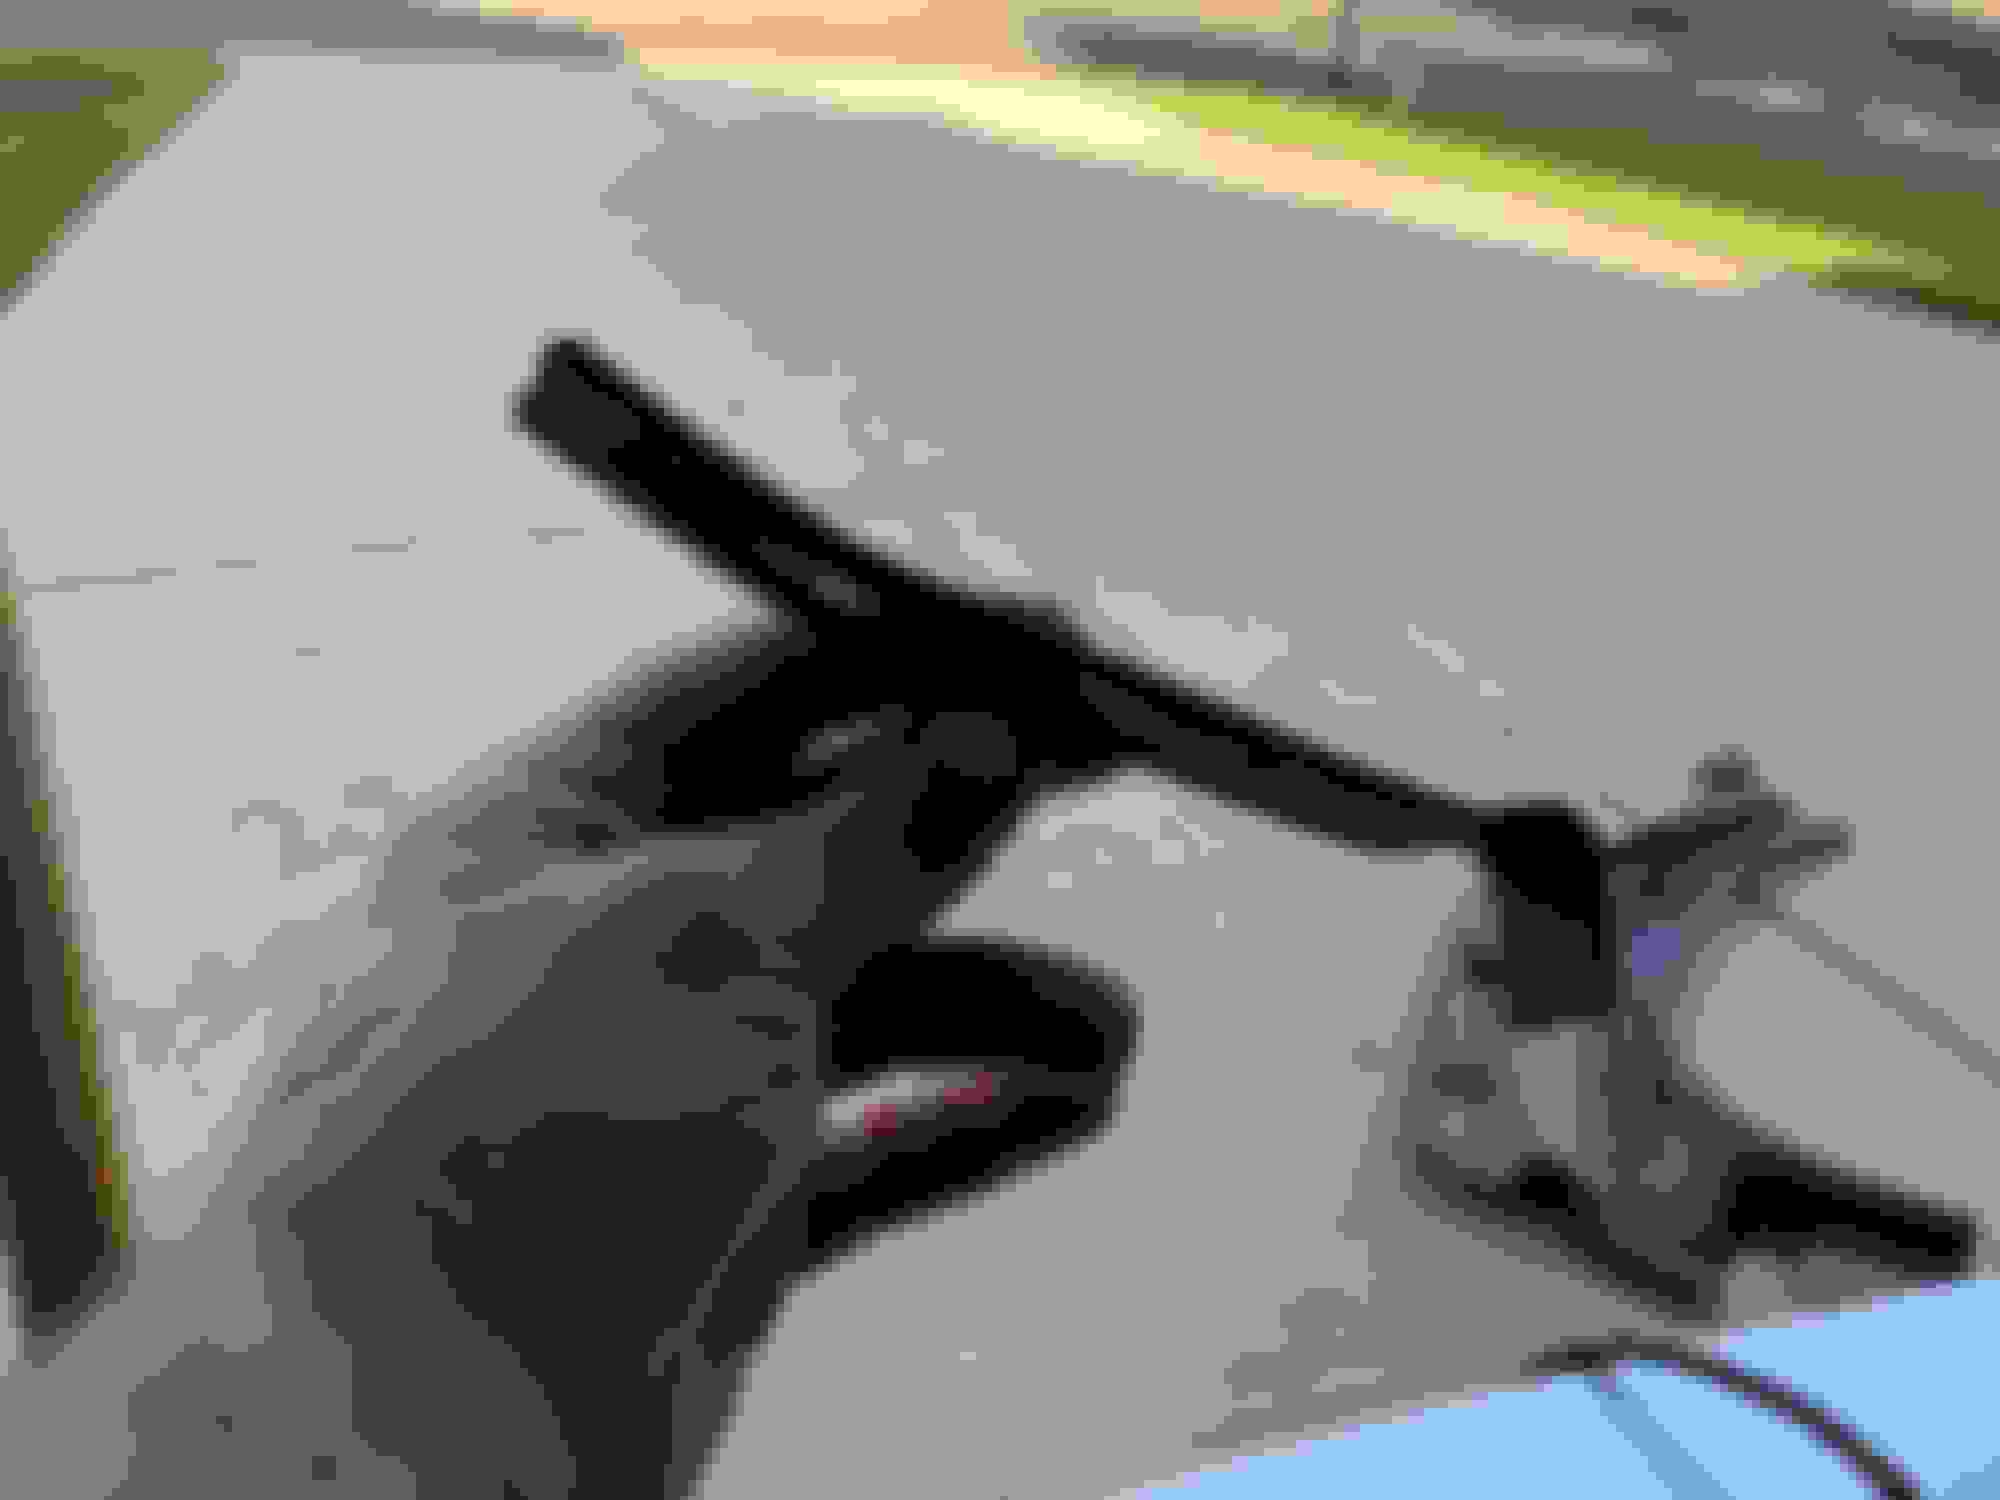
FYI… This is the passenger side. That’s the positioning sensor for the rear hatch in the x164… Good luck if you have to replace it. 2nd picture you can’t see that you cannot get to it from the outside. You’re gonna be in the same situation I’m in. In order to get to the rear bolts you have to drop the plate and the sensor, which means removing the passenger side strut assembly to allow the motor to move. DO NOT undo the bolts that cover that plate until you have disconnected the internal strut from that outside support. Was crossing my fingers that I could reach at least those 2 bolts possibly from the outside. 3rd picture just shows another angle of that beauty.
The next 2 are just to show the location of the 2 rear passenger side bolts. Can’t access them unless you get that motor out of the way. You won’t be able to get a driver up there but you will be able to use either a breaker bar or wrench to crack it loose. Then just remove by hand.
Last edited by Scott Hart; Jul 17, 2022 at 01:43 PM.
Reason: Wrong part citied on motor
First: thank you for the detailed write-up, photos and contribution to the forum. I am sure others will benefit from your efforts.
To address your issue, here's a thought:
As an alternative to removing the torx screw, have you considerd straightening the metal wings on the support clip and sliding the curtain off instead? This won't do much good if the torx screw secures the bottom layer of that curtain also though.
If by chance the clip were to break while straightening, you could always fashion another clip using spare metal from your junk stash (we ALL have a junk stash, am I right?); or from a metal clothes hanger. Alternatively, you could always source the part from your preferred Dealer.
Of course, take all necessary precautions when bending/working with metal (protective eyewear, etc.).
Last edited by Miguk_Saram; Jul 18, 2022 at 07:36 AM.
OK I ordered off of Amazon and was able to get it within a coupe of hours, but have to have a T25H torx star. Couldn’t get the socket ASAP so got the bits and put them in a 1/4 socket. Came off with a little force.
There is NO information about these silly curtains. Tools, removal… Nothing. Looking at other European model videos I though those 2 clips you had to release. Nope. I just got my handy miniature crow bar behind and pop. You could use a trim tool, just is just a little more solid and worked better IMO.
Don’t be fooled by these silly side tabs. I spent awhile trying to figure them out!
Last edited by Scott Hart; Jul 18, 2022 at 08:32 AM.
I wonder if adding a little sealant (not adhesive!) to the bottom of those rectangular rubber pads where they are in contact with the frame will help keep water out longer/indefinitely. I am thinking butyl tape which I use on my boat for various reasons. I sticks in place and in the heat will mold to the surface for better seal. Considering you are applying force over it with screws, it will seal anyway. If you use it, I would be careful with not overtightening the screws. You don't want to completely flatten the tape. It comes in various sizes, you don't need anything too thick. I would think 1/8 or 3/16 inch would suffice. You can cut excess with a plastic knife to avoid damaging the paint. Addded bonus. Removing it is not hard but can be tedious depending on surface size and profile. Use butyl tape to remove it, any remnants after can be removed with ice cube.