When you click on links to various merchants on this site and make a purchase, this can result in this site earning a commission. Affiliate programs and affiliations include, but are not limited to, the eBay Partner Network.
2015 GL 450 Front Brake Replacement DIY with Picture
My parts order from Pelican parts arrived early so decided to replace the pads and rotors today. Wanted to share this experience in case someone else is looking to do the same.
First surprise of the day, Pelican did not send me the correct size of MB brake paste. I ordered a 3.5oz tube and instead received a 1Oz packet. I decided to proceed with the project using CRC synthetic brake part lubricant.
I had a hard time finding Torque specs so here they are
Lug Bolts (easy to find specs) 110 ft lb (17mm)
Brake Caliper Pins 40 ft lb (11mm Hex)
Brake caliper support bracket 60 fl lb (21mm)
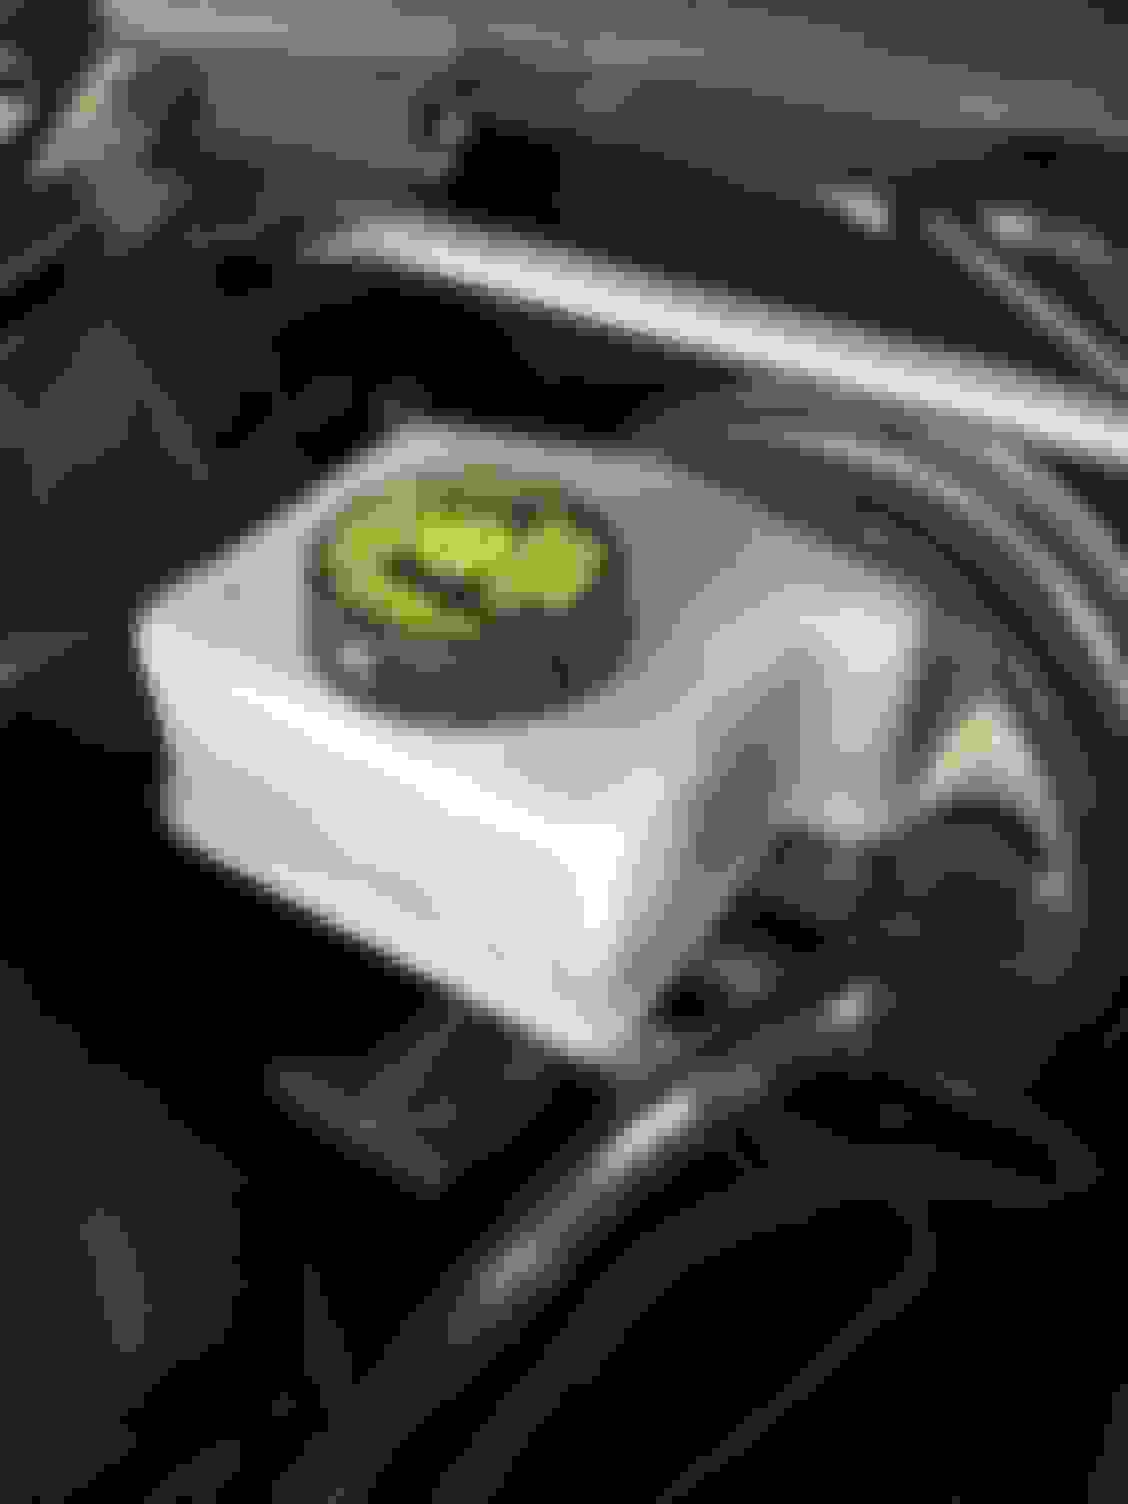
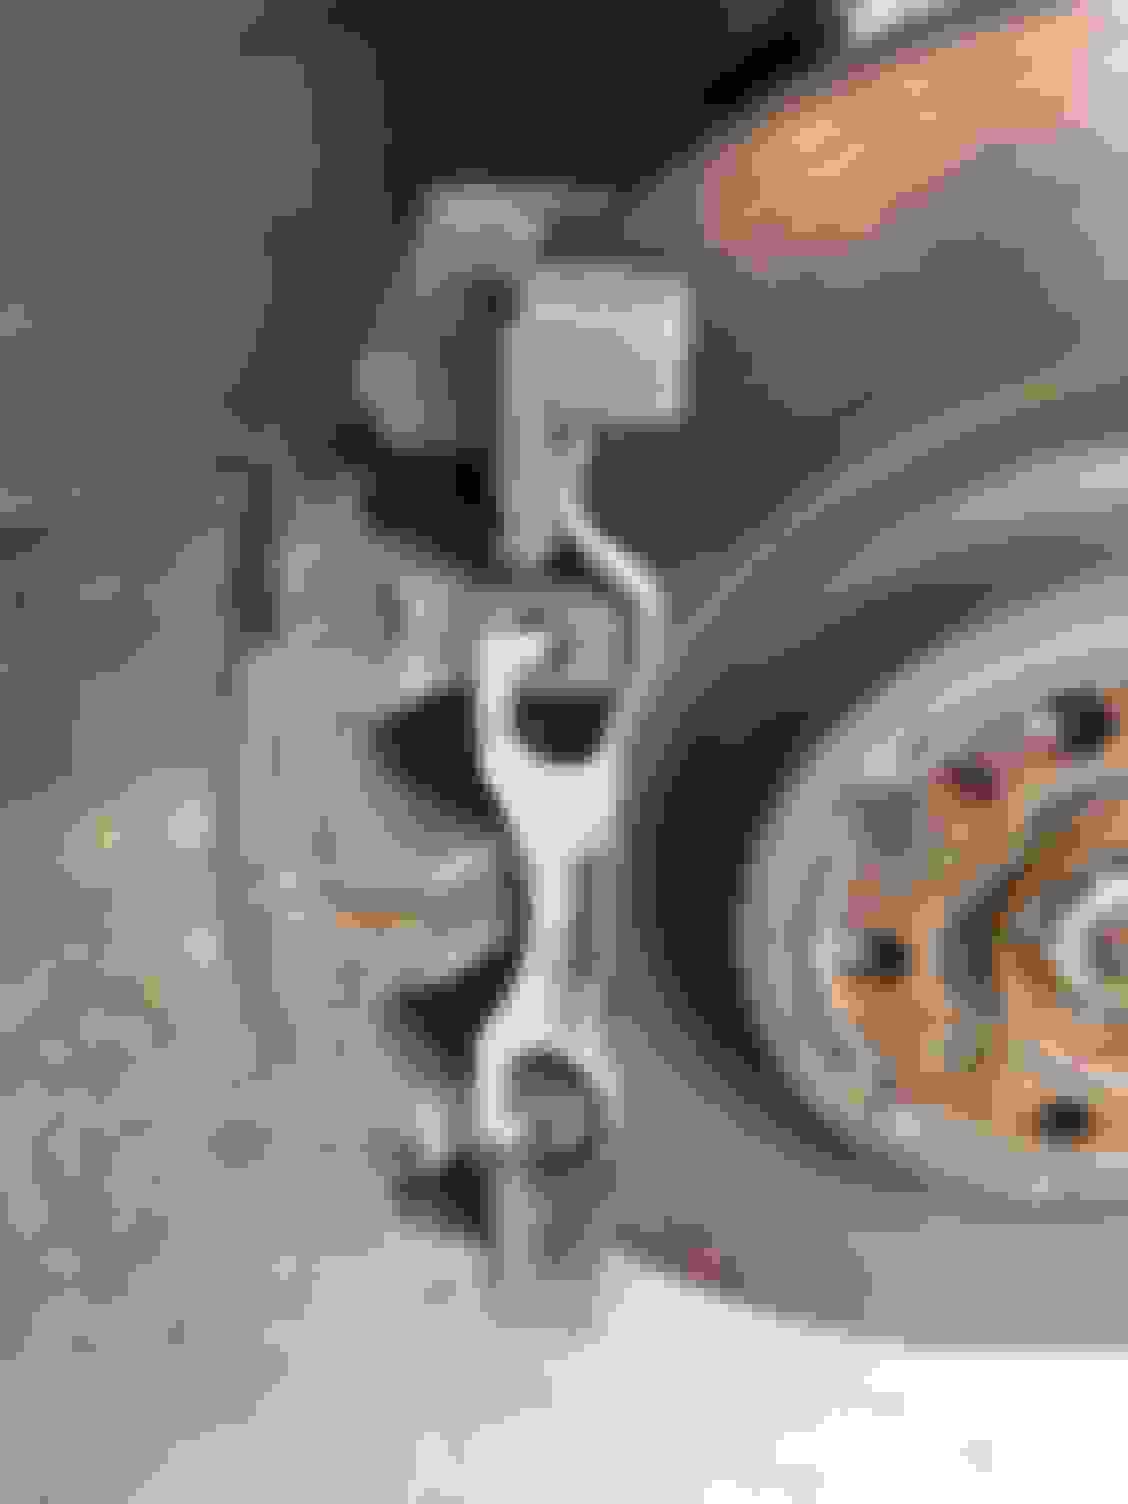
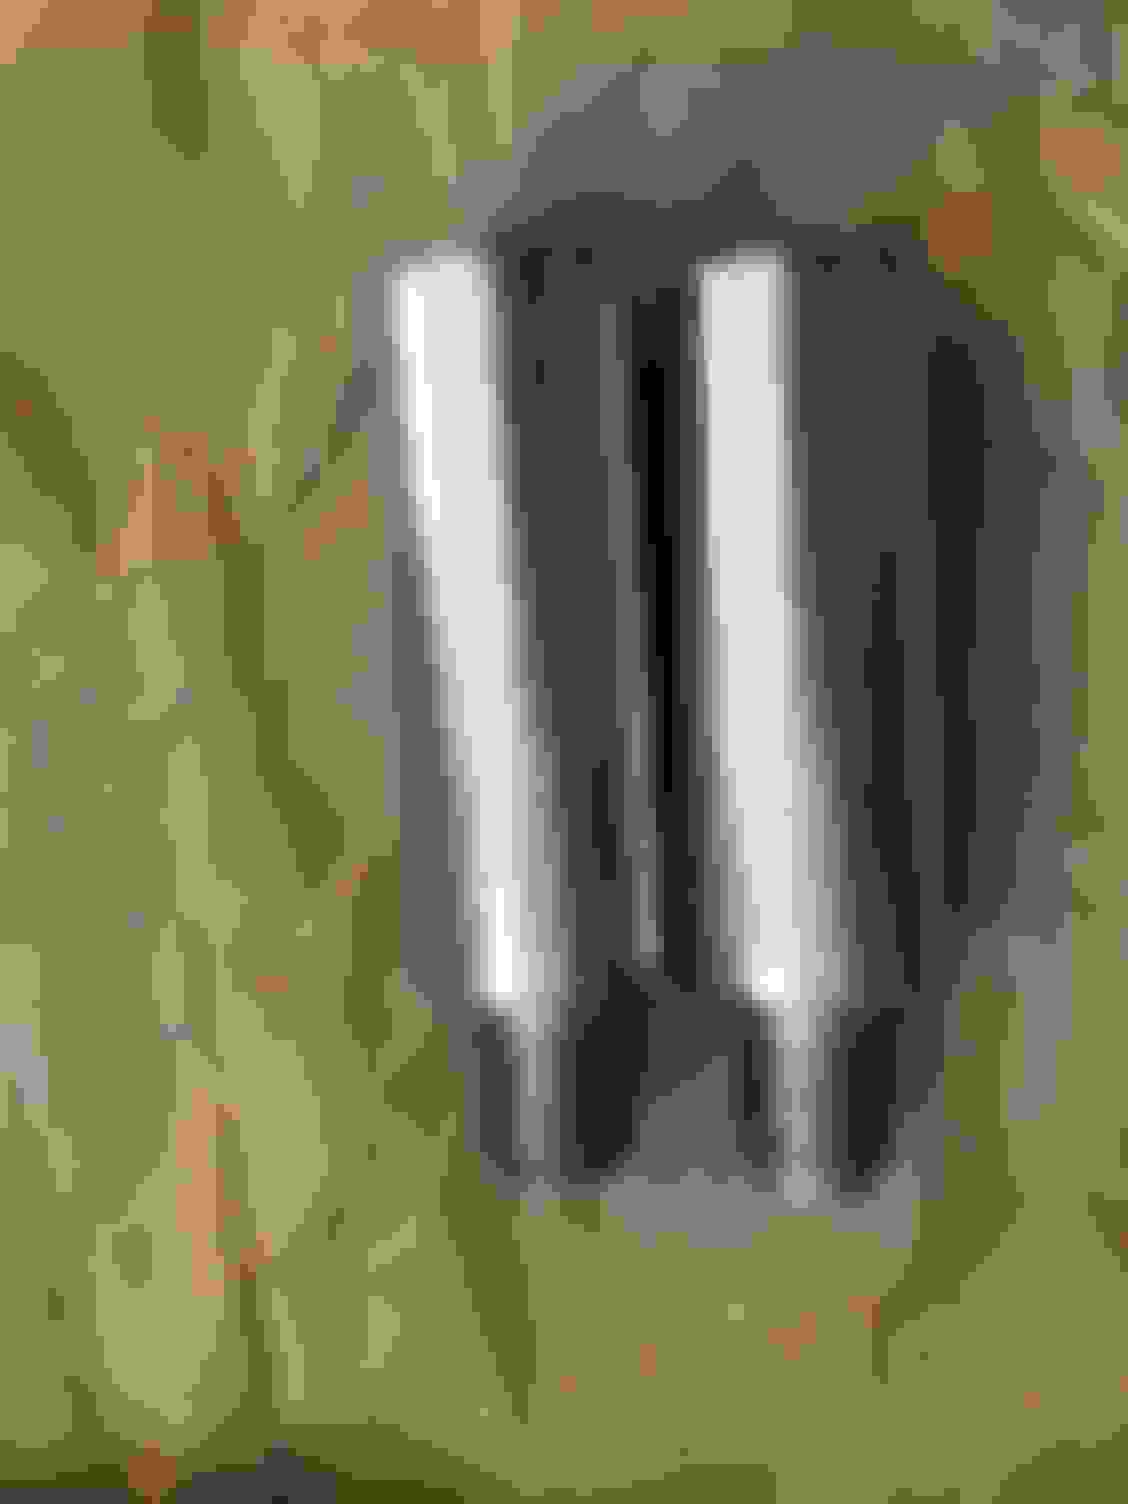
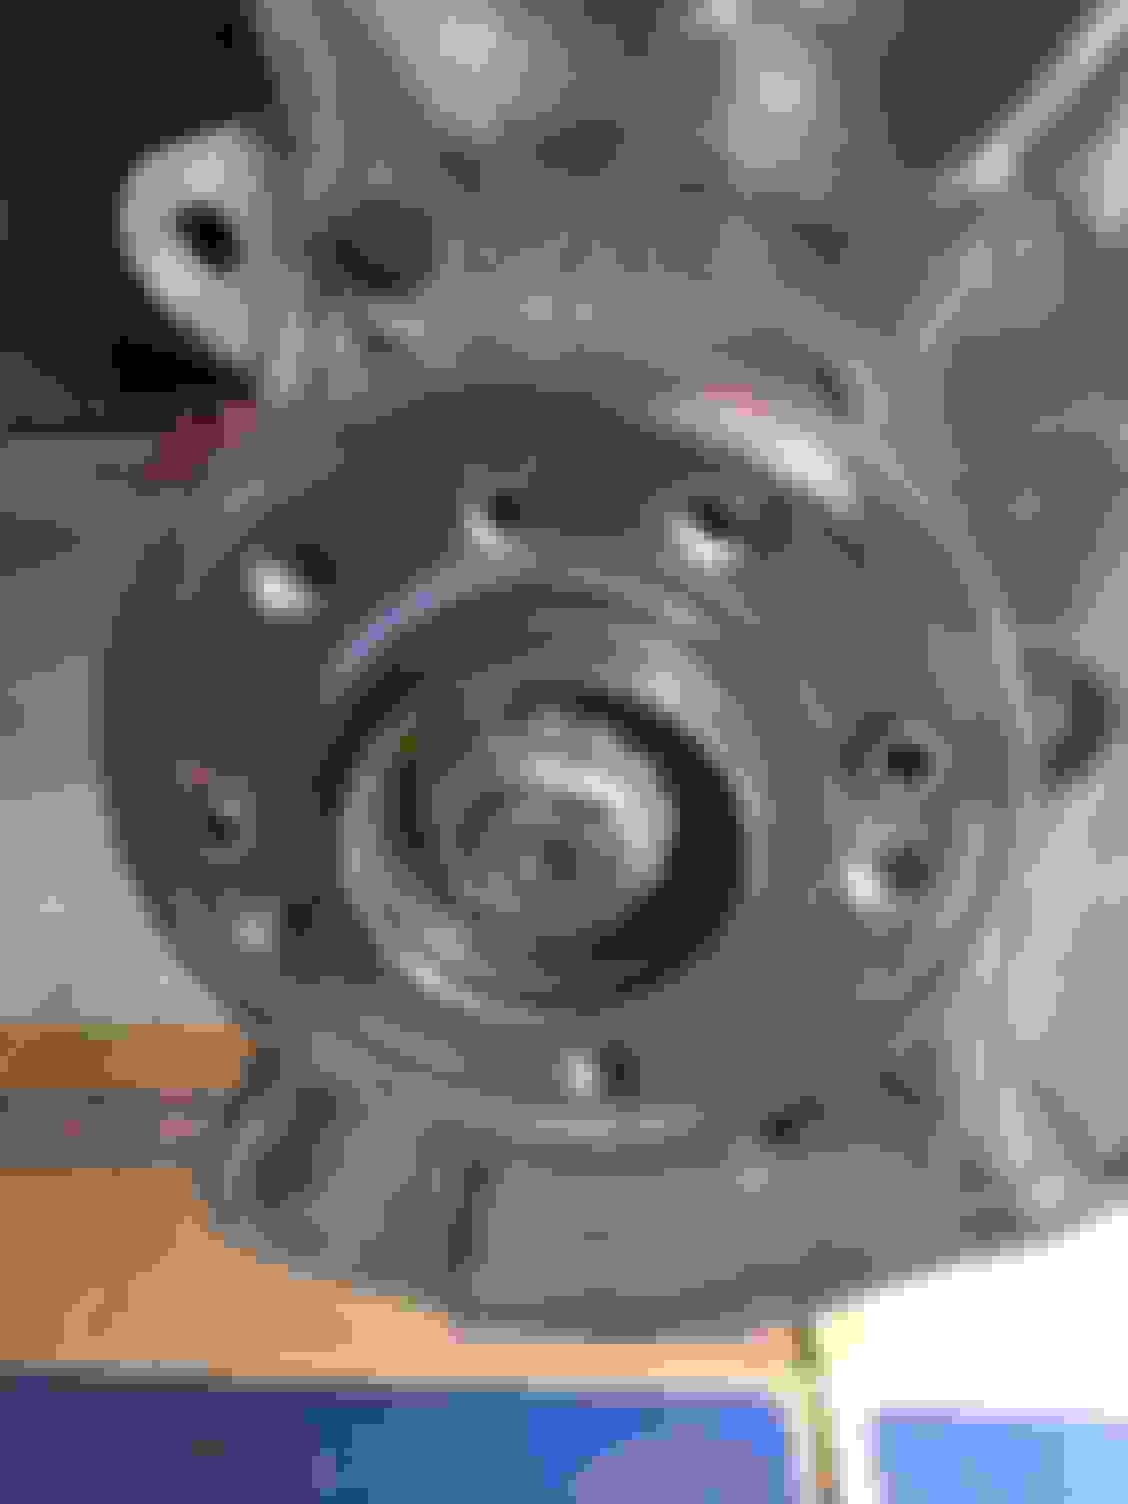
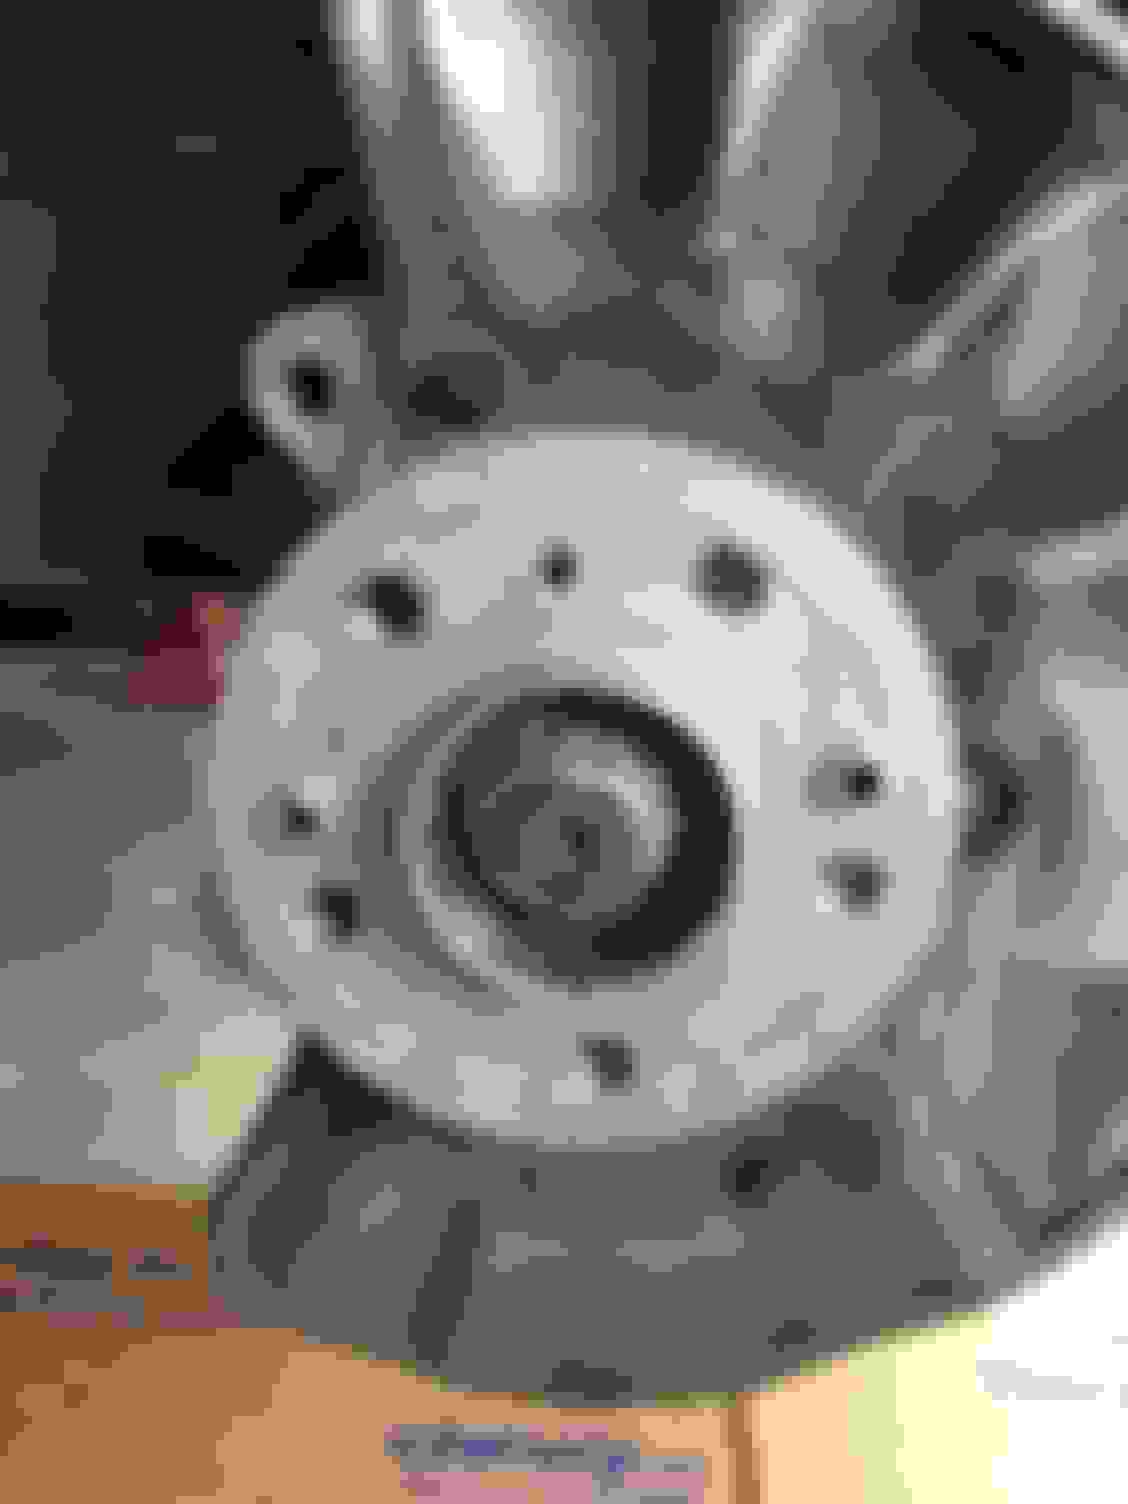
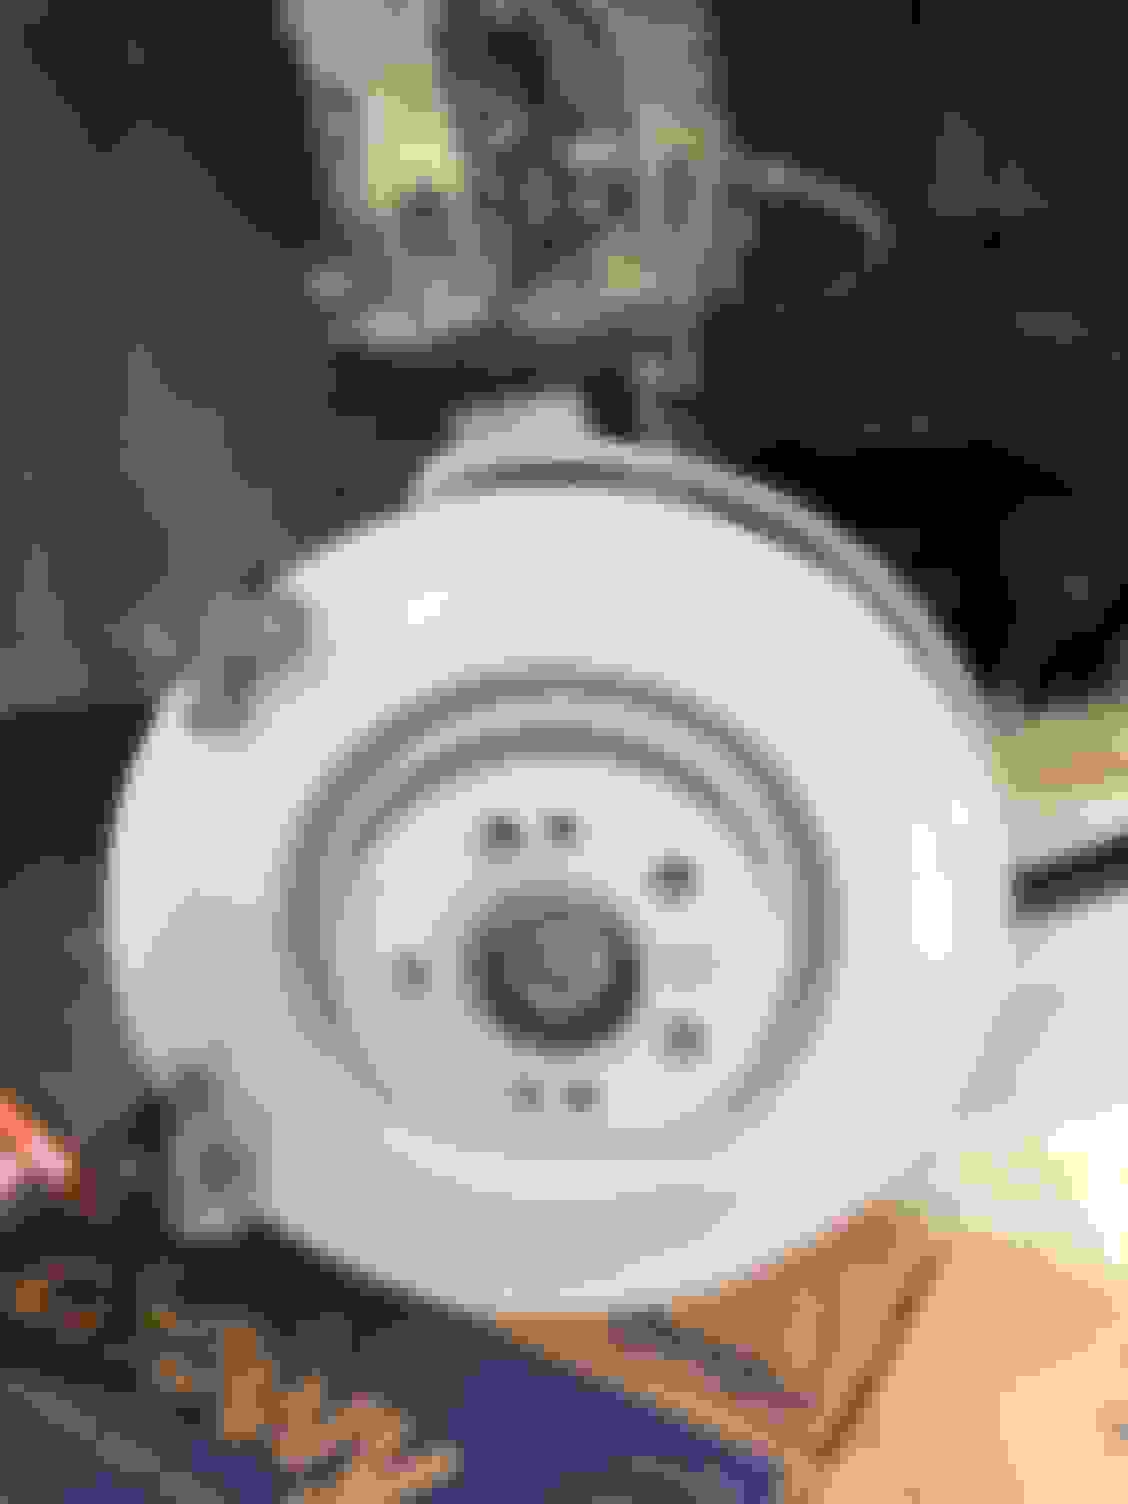
Rotor retaining screw 8 ft lb (T30 TORX) Open the hood and remove the plastic trim to expose brake fluid reservoir Mine was full to max line so I had to remove about 2oz of brake fluid. I used a battery fluid dropper for this. Bought it new at autozone for $5 Brake the lug bolts (just break not loosen) and jack up the truck one side at a time. I used Jack Stand Adapters that fit inside the dedicated jack spots. The adapters have flat bottoms and fit nicely on my jack stands. I'll post a link at the end of thread Remove the springy clip. I found it easier to remove the top of the clip fist. Bottom just popped out This is the brake sensor wire. It is retained in 2 places and just slides out of the retainer. The brake line is also retained in 2 places. Again easy to remove from clips. Removing this wire and brake line from retainers gave me plenty of room to move the caliper working on the passenger side, turn the wheel assembly all the way to the drivers side. This made it easy for me to access the caliper pins and bracket bolts. The caliper pins are hiding in the rubber boots and those boots have caps on them. Use a flathead screwdriver to pop the caps off Use 11mm Hex bit to remove the upper and lower caliper pins and remove the caliper. Use a screwdriver to push the pins all the way out of the boots and set aside. The front brake pads will just fall off. The back brake pad is clipped into the pistons. Pull on the pad from both side and pop it off. Use brake cleaner to throughly clean the piston area and rest of the caliper. Once clean place the front brake pad (pad material side) against the pistons and compress. I used a compression tool. Remove the caliper support bracket using a 21mm socket. I used a breaker bar to brake the bolts. They have loctite in them so even though they broke with moderate effort there was quite bit of resistance removing them. Set aside the bracket and remove the Rotor set screw using 30 TORX Bit. I used an impact screwdriver for this My rotor was rusted to the hub pretty badly and needed a lot of hard hammer strikes to remove. I did spare wd40 into the articulating pins area but you can see the dents from the hammer Clean the sliding pins and caliper barcket bolts I used 1500 grit sand paper to clean the pins and applied loctite to them. This allowed loctite to dry a bit while I worked on clean up and assembly Clean the pad contact surface on the caliper bracket. I use a wire brush on a dermel. Once clean apply brake parts lube to the contact area I used a wire brush mounted in my drill to throughly clean the hun Hub all cleaned up I applied anti seize compound to the entire hub area throughly clean the rotor on both side and install with set screw. I ordered new set screws. Once rotor is installed, install the caliper support bracket
Apply brake paste to the back of the piston side pad and to the contact surfaces that slide on the support bracket. Push in the pad clips into the pistons. Install the sensor and fish the connector through the hole in the back of the caliper
Apply brake paste to the back of the other pad and and to the contact surfaces that slide on the support bracket. Slid the pad into its slots
Slide the caliper onto the front pad aligning the pin holes
Put one of the caliper pins on the 11 mm Hex bit and apply brake paste to the pin. Slide the pint through the boot and start it
Repeat this process for the second pin. Tighten and torque both pins
Plug in the sensor.
Replace the rubber boot caps
Reinstall the metal spring. I found it easy to install the bottom end first and pop in the top end
I left the tire off the passenger side while I worked on the driver's side. Same process, only difference is that there is no sensor on the drivers side
Note** whenever not working on the caliper I used a cut up wire hanger to hand the caliper. This way it is secured and out of the way
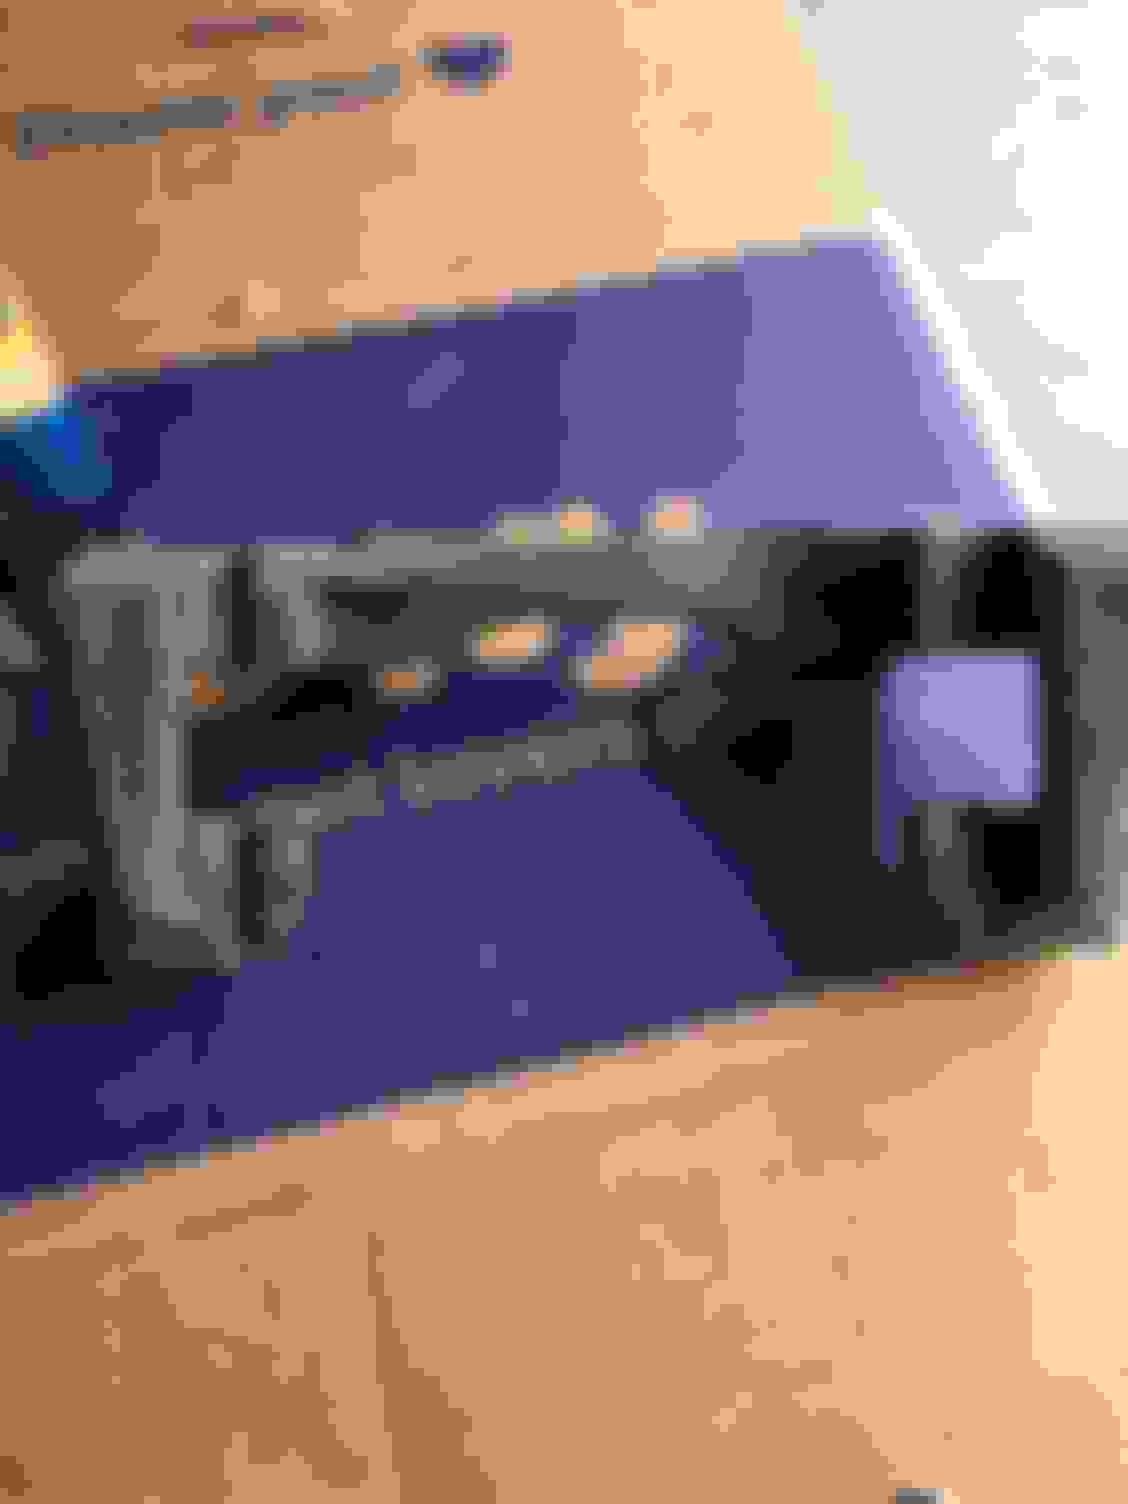
Link to the jack adapters. FCP also sells some but they are poly urethane. These are Aluminum
I found T30 TORX and 21mm socket to be cheapest at home depot
If you need more leverage on you breaker bar, home depot sells pre cut steel pipes in plumbing section. I bought 3/4 by 18inch for $7

 06-01-2019 | 09:51 PM