When you click on links to various merchants on this site and make a purchase, this can result in this site earning a commission. Affiliate programs and affiliations include, but are not limited to, the eBay Partner Network.
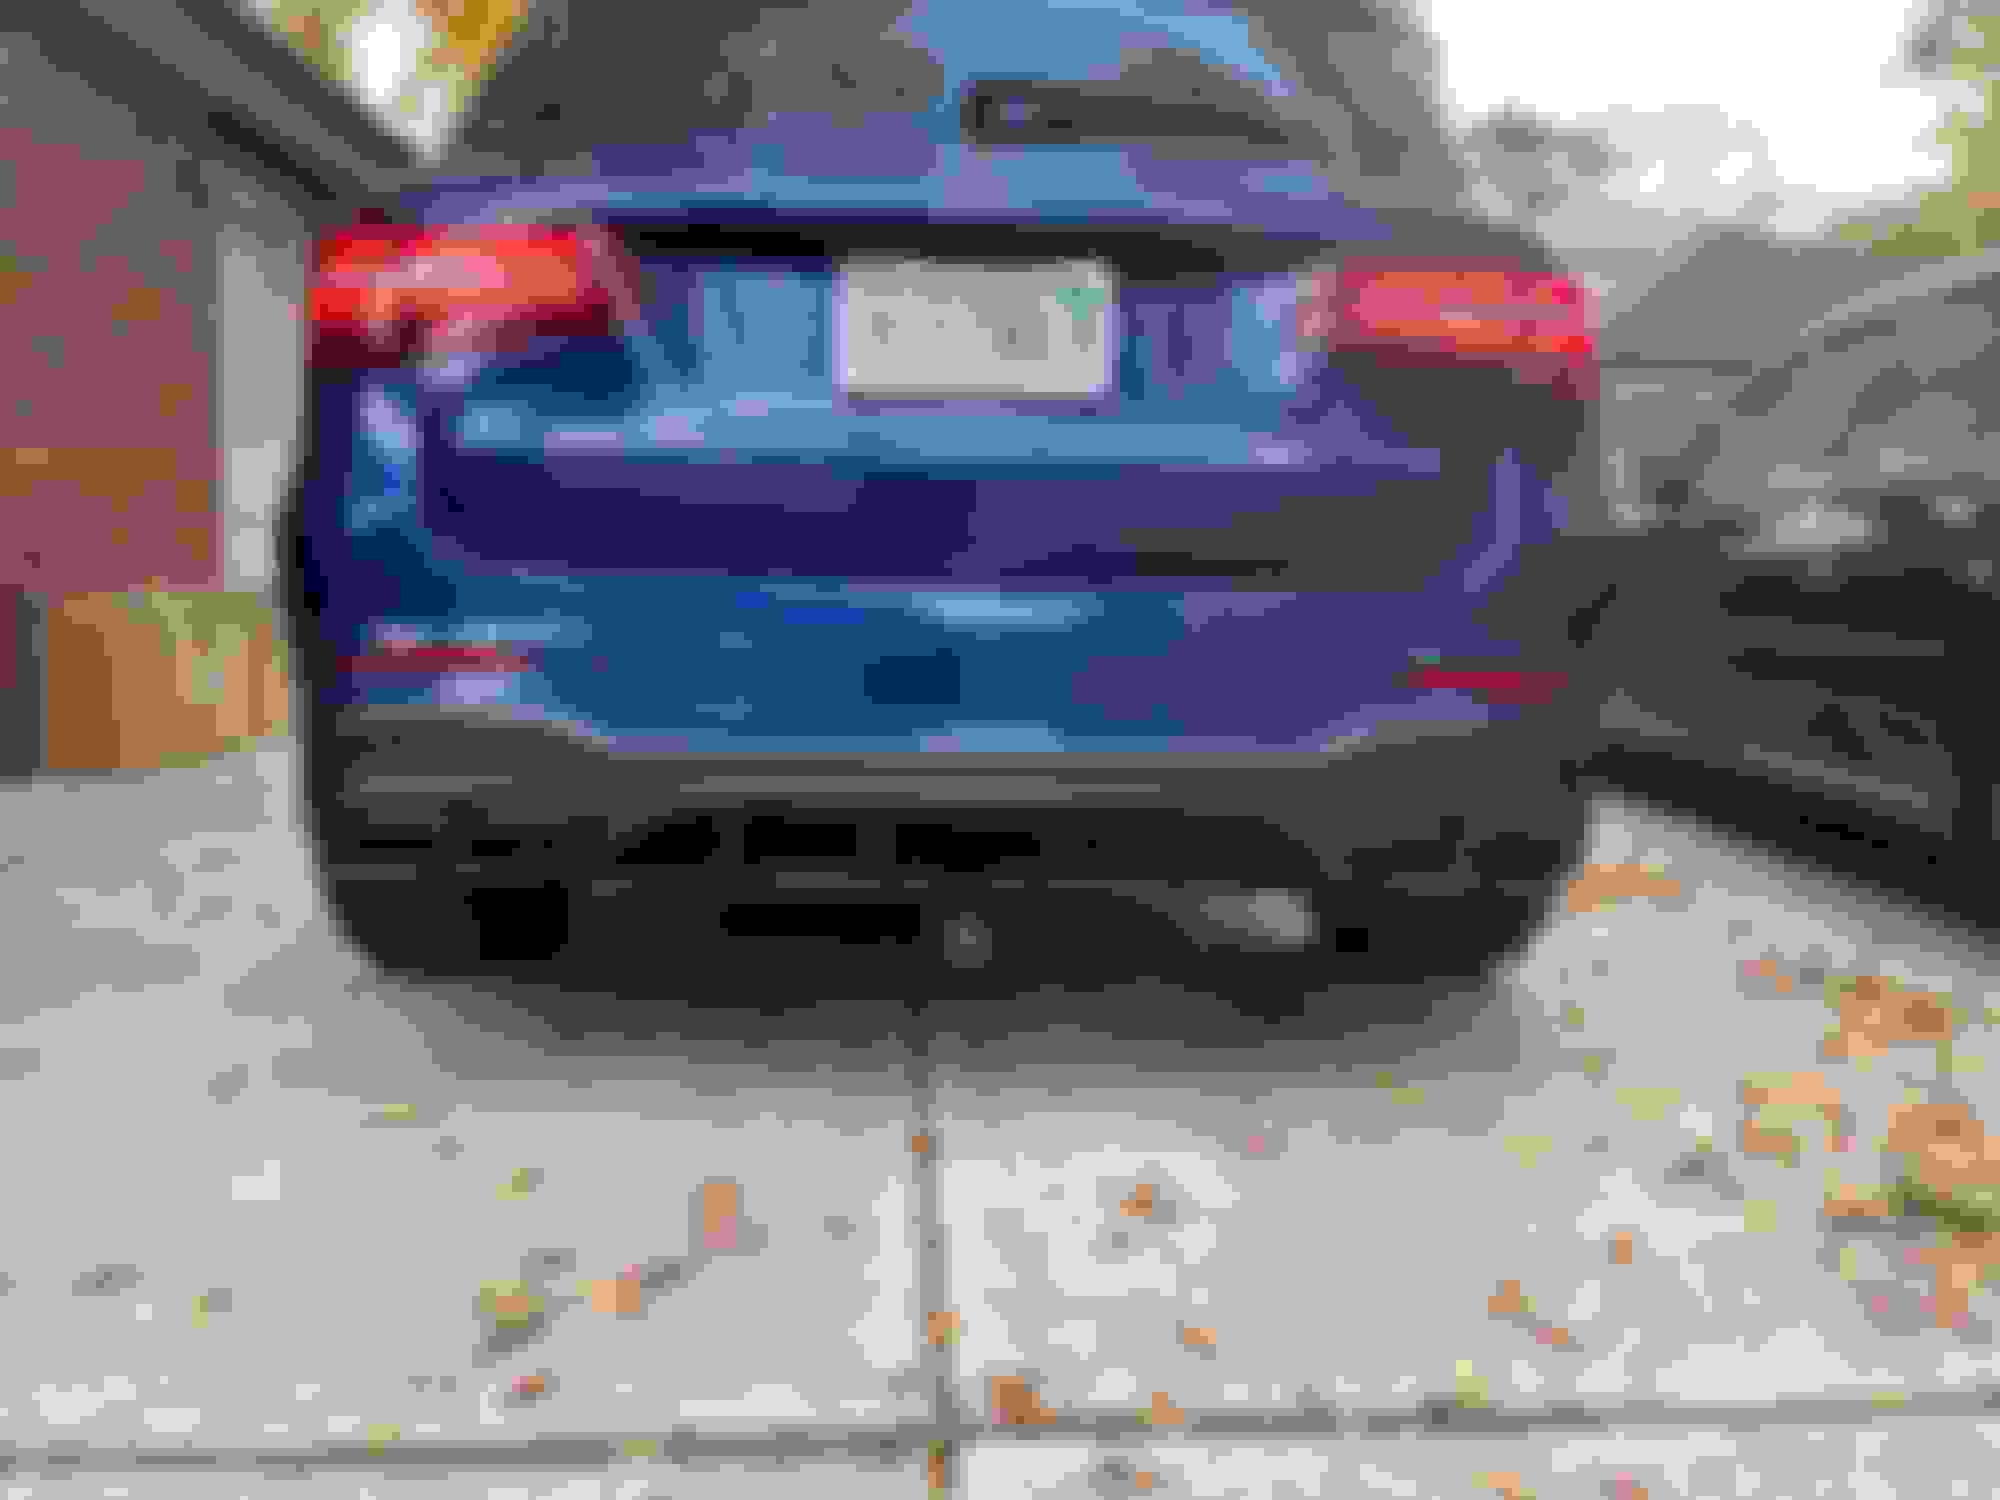
Hi there - I finally ordered and received an aftermarket rear diffuser for my 2018 GLC43. I went with one from China and paid just under $500. I wasn’t able to find any videos for my car but did find one on removing the back bumper and a couple on C43 and another Benz which gave me a few clues. Overall the installation took me about 5 hours (by myself). I’ll try and build a view here for any that may want to try it out. I’m happy with the result.
New Diffuser
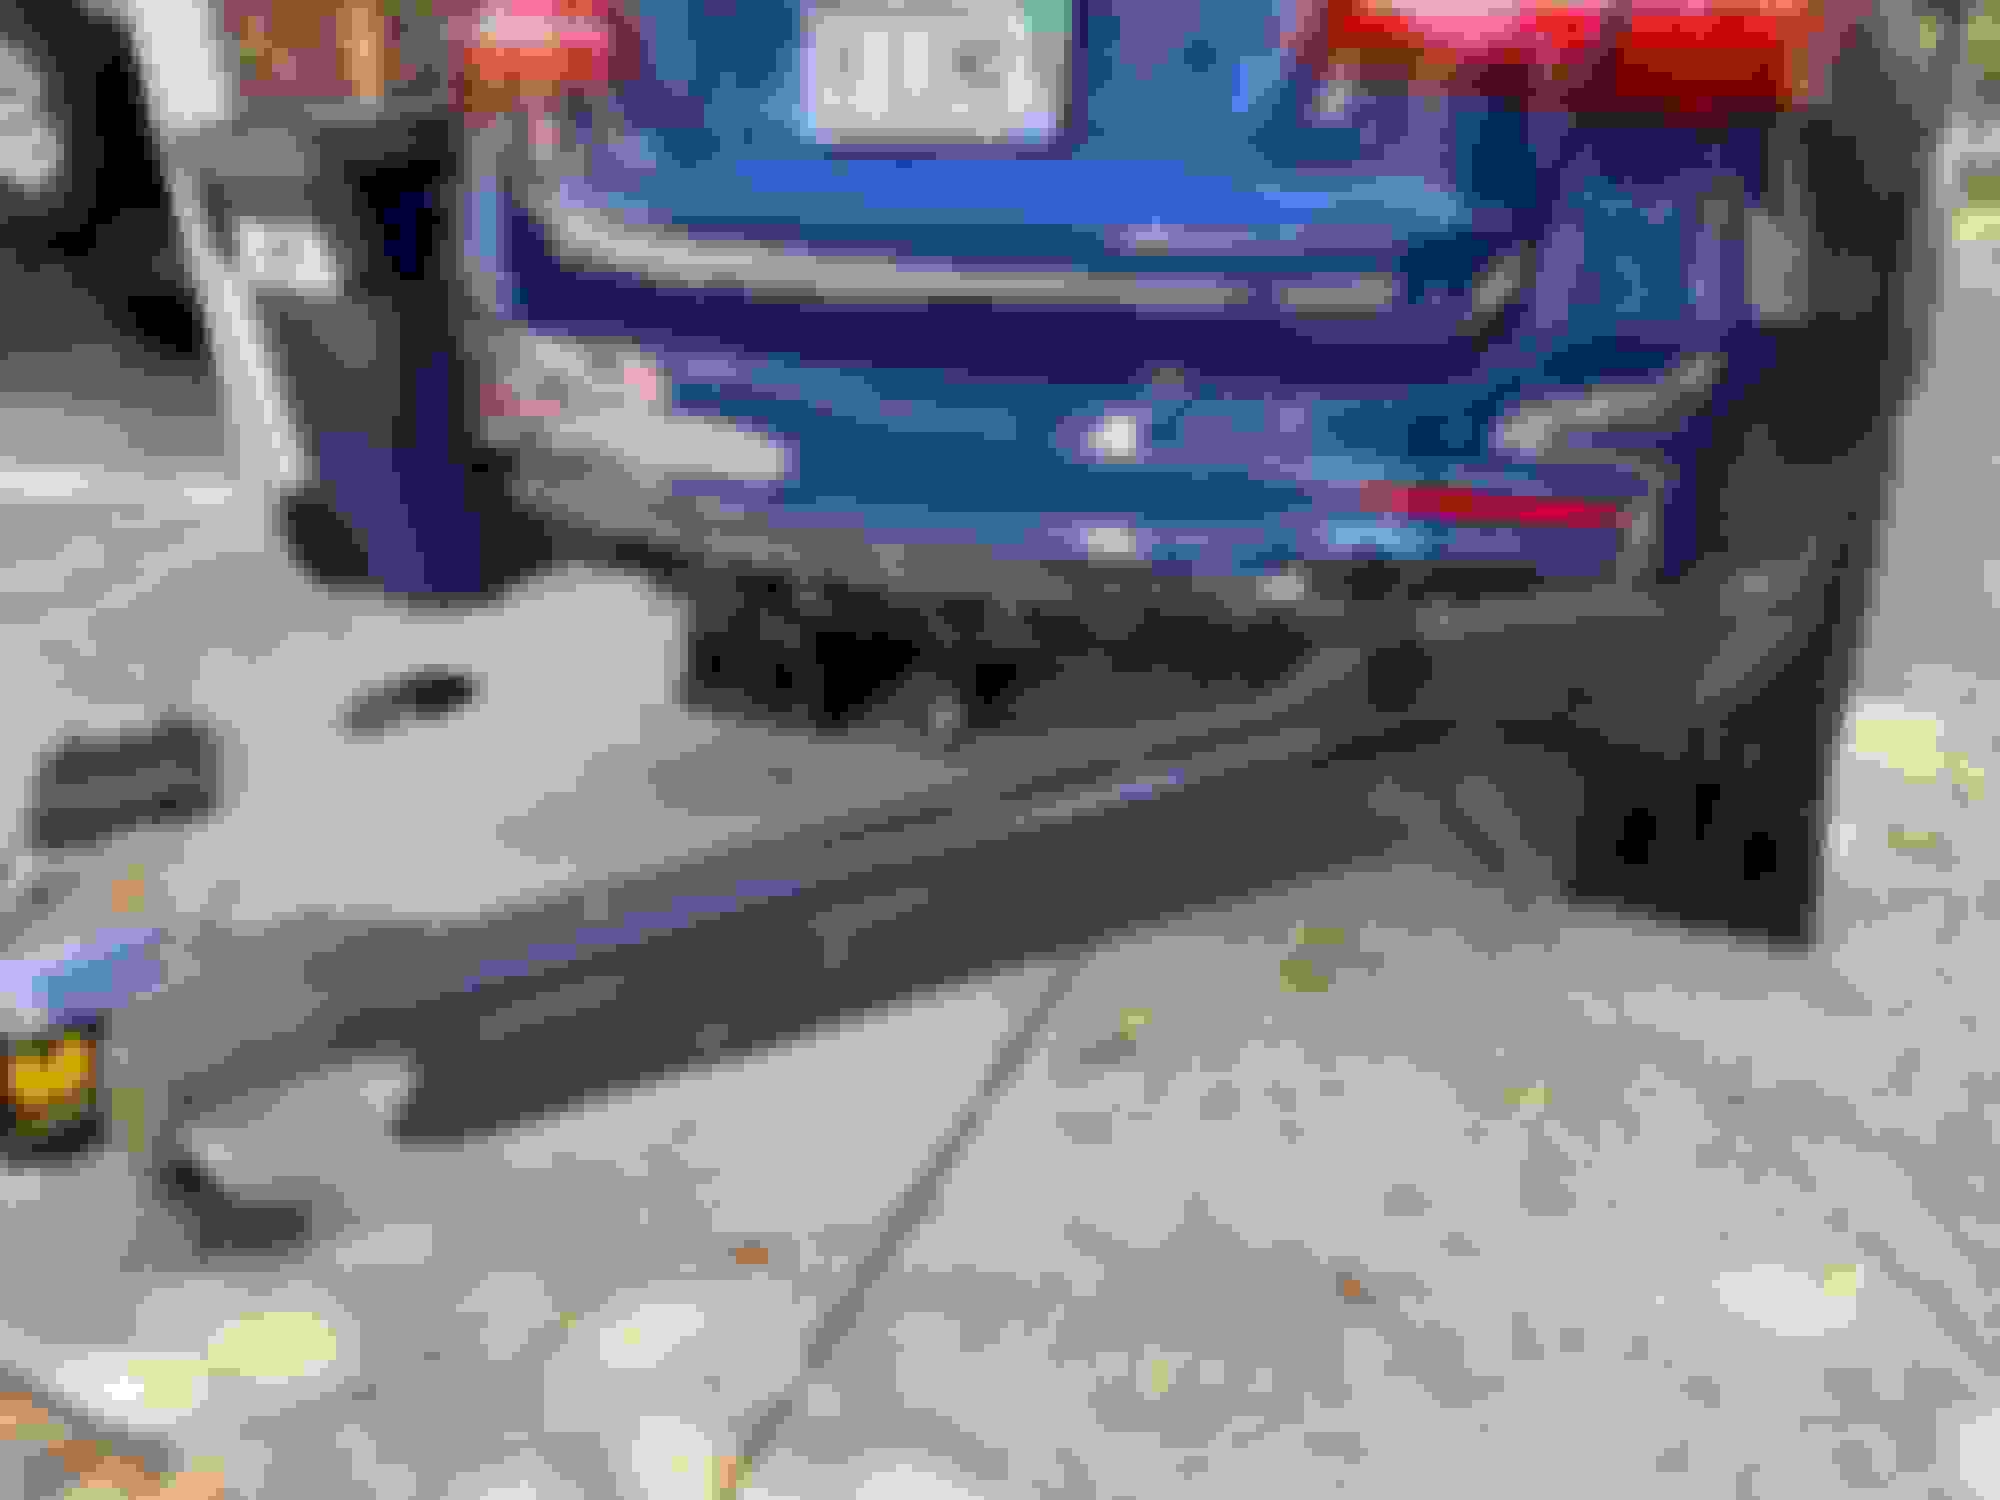
OEM - Used these little ramp to get a better view
You start by removing 3 expanding anchors inside the back of the wheel arch. Then pull the black trim over the arch where it meets the diffuser back to expose another expanding anchor which you can only get to from the wheel well space you created.
From there you have to drill out a rivet (one on each side) under the diffuser
You can alone see the torx screws on each side of the exhaust covers. You will need to remove them and the clips to resuse on the new diffuser. From here you just start yanking the diffuser out. Was surprisingly easy. Remember to pull out the two sensors along the back of the car too.
My thought from here and having done it two ways is to say build the two outer pieces at this point. Then come back to start removing all the old stuff at once. You’ll have to drill out two more rivets on the far left and right side. I bought a hand rivet that was a POS so ended up using screws. See if I can get a pic here of that. If you have the sensor that you can kick under the bumper and it will raise the tail gate - you’ll see two strips held in by white plastic clips that you’ll remove and reinstall. Wires that lead to them are one black and one white. Note the inside and outside position to replicate.
also - the little harness will pop off and relocate as well.
This pic below shows where the rivet was - the square piece of bumper painted with the hole in it is where the exhaust tip bracket gets connected on the outside. Then connects to the second piece working toward the center and then the mesh piece above where the auto tailgate sensors go and then repeated again on the other side.
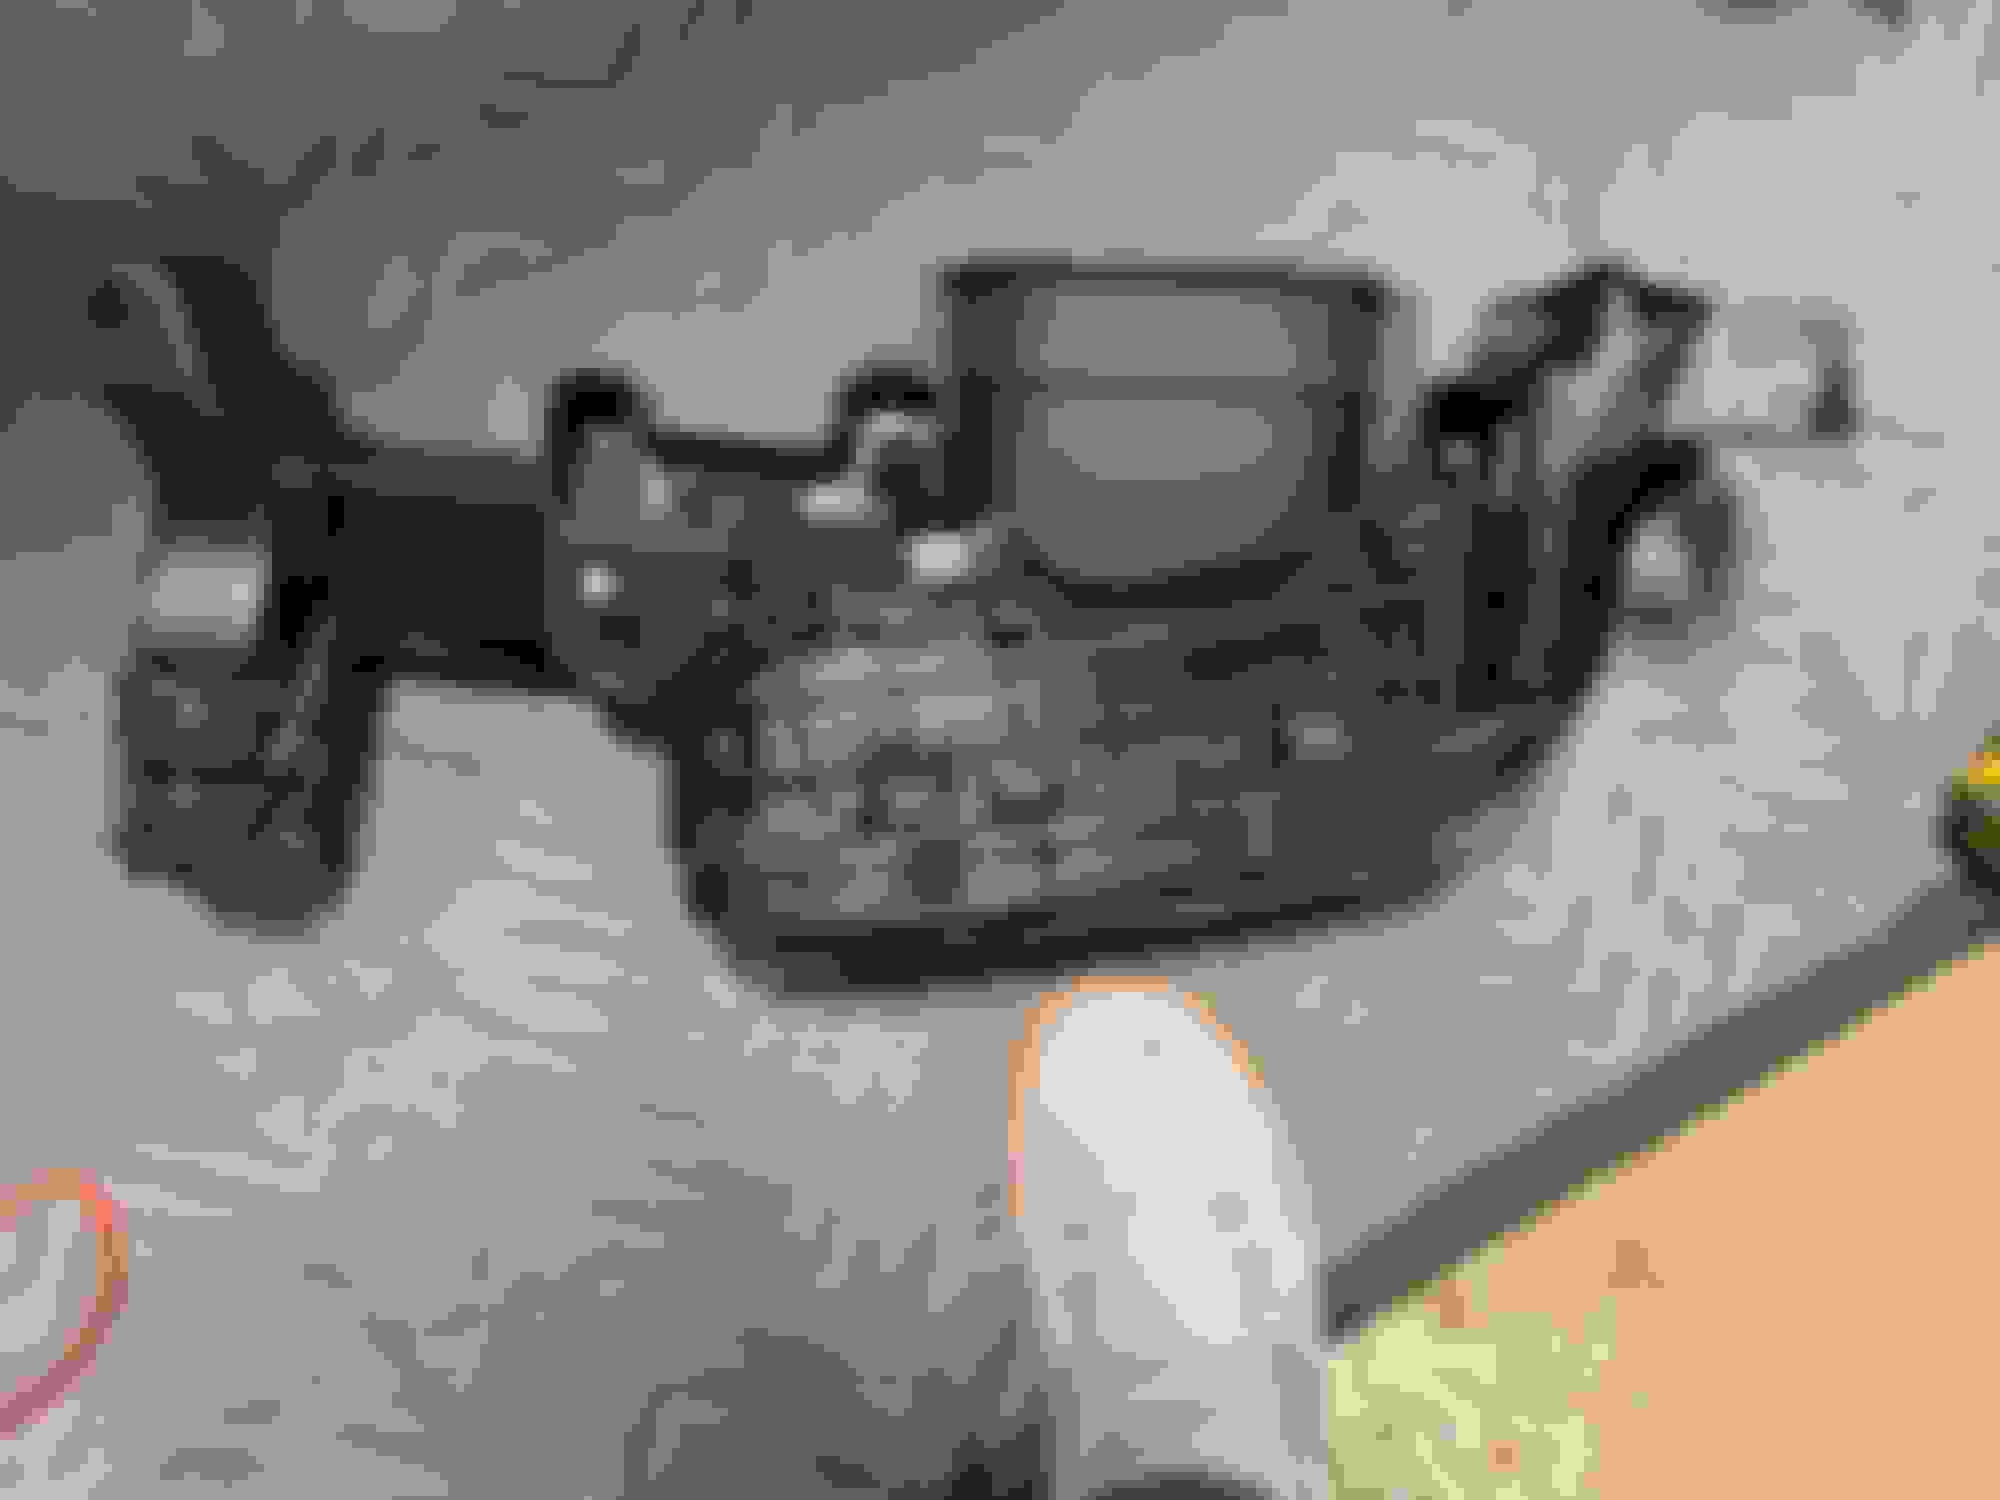
This is a top down view of the two right side pieces. I used a screw to hold them together since the stupid hand riveter sucked.
It’s really pretty simple from here. There were two other screws under the car which you can’t miss and I don’t have a good reference pic of. I really like the more aggressive look.
I haven’t applied the Ammo Frame to the new plastic and you can see the difference between it and the rest of the trim.
Hi there - I finally ordered and received an aftermarket rear diffuser for my 2018 GLC43. I went with one from China and paid just under $500. I wasn�t able to find any videos for my car but did find one on removing the back bumper and a couple on C43 and another Benz which gave me a few clues. Overall the installation took me about 5 hours (by myself). I�ll try and build a view here for any that may want to try it out. I�m happy with the result.
New Diffuser
OEM - Used these little ramp to get a better view
You start by removing 3 expanding anchors inside the back of the wheel arch. Then pull the black trim over the arch where it meets the diffuser back to expose another expanding anchor which you can only get to from the wheel well space you created.
From there you have to drill out a rivet (one on each side) under the diffuser
You can alone see the torx screws on each side of the exhaust covers. You will need to remove them and the clips to resuse on the new diffuser. From here you just start yanking the diffuser out. Was surprisingly easy. Remember to pull out the two sensors along the back of the car too.
My thought from here and having done it two ways is to say build the two outer pieces at this point. Then come back to start removing all the old stuff at once. You�ll have to drill out two more rivets on the far left and right side. I bought a hand rivet that was a POS so ended up using screws. See if I can get a pic here of that. If you have the sensor that you can kick under the bumper and it will raise the tail gate - you�ll see two strips held in by white plastic clips that you�ll remove and reinstall. Wires that lead to them are one black and one white. Note the inside and outside position to replicate.
also - the little harness will pop off and relocate as well.
This pic below shows where the rivet was - the square piece of bumper painted with the hole in it is where the exhaust tip bracket gets connected on the outside. Then connects to the second piece working toward the center and then the mesh piece above where the auto tailgate sensors go and then repeated again on the other side.
This is a top down view of the two right side pieces. I used a screw to hold them together since the stupid hand riveter sucked.
It�s really pretty simple from here. There were two other screws under the car which you can�t miss and I don�t have a good reference pic of. I really like the more aggressive look.
I haven�t applied the Ammo Frame to the new plastic and you can see the difference between it and the rest of the trim.
Mercedes SLR McLaren 722 S Is Extremely Rare Example Modified by McLaren
Slideshow: A one-of-one U.S.-spec Mercedes-Benz SLR McLaren Roadster became even rarer after a factory-backed transformation at McLaren's headquarters.