When you click on links to various merchants on this site and make a purchase, this can result in this site earning a commission. Affiliate programs and affiliations include, but are not limited to, the eBay Partner Network.
No kidding - there is nothing user friendly about this design.
By the way , my right front parking light is still working without any issues .
I wonder why that warning light came on back then.
Other folks seem to have had the same situation.
Having the 100K service done at an independent shop. I have only used the dealer before, but the price of a dealer service is getting ridiculous given the value of the car, it's a 2008. I asked about the marker lights and they recommend not replacing them until a repair requires the removal of the bumper! Hope I didn't choose the wrong shop.
By the way, that parking light issue (post 24) has not yet returned and the light is still working.
A couple of days ago a msg showed up something like : "tail lights not working, secondary lights are on" .
When I got home I turned off the engine , waited a minute and turned it back on - msg was gone and has not come up since again.
I wonder if there might be some bad contact somewhere , who knows !
I am due for "C Service" in a few days and I will mention it to the Service Advisor .
It seems that quite a few people have the same type issues with their ML.
Other than that, the car is running great .
you should mention the parking lamps..........My right hand side parking lamp was out, and it was replaced...Then 2 days later it happened again........The icon came on at night.......but when l was going to the dealership in the morning, the light was back on, and the icon was gone , with no message.....Hmmmm...later that night the icon came on again, right hand side parking lamp, then in the morning the light was back on......l'm wondering if it is an "auto issue" with these lights...Any thoughts ????
I've seen this and asked myself "how could this occur?". My guess was that the computer sensed an open circuit as if the bulb lost electrical contact. Although I've only got three or four experimental replicates, I've found that if I rub/roughen the exterior steel body of the replacement bulb with fine sandpaper or steel wool before installation, I don't see that issue...
I installed a pair of LED bulbs and they work intermittently. When they just turn on everything is fine but sometimes they blink then shut of throwing a error message. I reinstall the regular bulb and everything is fine.
Any reason the LED are so erratic? What voltage should I be able to read from the connector (12v+)?
you need canbus LEDs, not just any generic LEDs.
My right hand parking bulb had blown and one look at the unit told me I'd probably have trouble changing the bulb.
So onto MBWorld forum for confirmation that it is very awkward to get at and for possible solutions.
I tried needle nose pliers but mine weren't long enough for me to get enough torque to twist the fitting 90� to remove it. I think this would be the best solution but you will need extended 150mm/6" long needle nose pliers, probably with 90� bend at the end to get traction/grip on the bulb unit.
I did remove the 2 bolts at the top of the light unit and this helped visibility & wiggle room.
However, whilst trying to release the wiring/power connector I found a simple solution that worked for me.
The wiring/connector on my vehicle has a grey "latch" on top that needs to be slid backwards and then depressed to release it from the bulb mount.
What I discovered was by using a flat head screw driver inserted horizontally from the rear of the connector under this grey "latch" I could then twist the whole connector and light fitting through 90� anticlockwise to release it (then gently eased the whole fitting including bulb backwards and out).
DO TAKE CARE NOT TO DAMAGE THE CONNECTOR - mine released with relatively little twisting force. If it hadn't I would not have risked applying much more force and would have gone and bought some longer needle nose pliers instead! I accept no liability for any damage!
I used a 1.2 x 6.5mm wide x 150mm long screw driver (UK) - This had a thin enough blade to slip well under the grey latch and was nearly as wide as the latch/clip which minimised the risk of damage to the connector when the twisting force was applied. 150mm long was just right as it allowed me to twist the screw driver in what little space there is. Any shorter and you will be trying to twist in very limited space.
Rather than replace with a W5W filament bulb I decided to upgrade to LED bulbs both sides (35 lumens 6000k cool white) which look great and "match" the xenon's my ML has.
Refitting was simply a reverse of releasing - I inserted the screw driver under the grey latch then carefully guided the whole fitting back in to the light unit - with the grey "latch" at 90� anti-clockwise of vertical. Once seated in the light unit I twisted clockwise so the latch was back on top.
I found a better solution and it cured me of any hint obsessive disorders. I let both of them fail and left them alone.
Rather than replace with a W5W filament bulb I decided to upgrade to LED bulbs both sides (35 lumens 6000k cool white) which look great and "match" the xenon's my ML has.
.
I'm gonna try this, my LHS one sometimes fails to illuminate (causing the error message in the cluster) so I've ordered some canbus error free bulbs. It's the LHS one on my car that's a nightmare to get at.
No problem getting it to turn 1/4 with needle nose pliers...BUT, it's not coming out. i'm afraid of pulling too hard and breaking it. being that this is the first time it's been changed, should i just pull hard...or am i going to break it? i've spent the last 20 min out there trying to gently pull it out and i'm on the verge of loosing patience and just ripping it apart! HAHAHA
Did you ever get it out? I am having the same problem, what did you end up doing?
Another indy shop had to replace some rotted out brake lines on my 2008 and he replaced the parking lights, $100 each, but one went out within a few months. I have just decided to not worry about the parking lamps. Too much hassle. Really stupid, stupid engineering by MB.
Hi,
On my ML350 changing the day running / parkers is certainly a pain. I have tried to change them to LED but so far not working-waiting on some NO ERROR type from the US.
In the meantime I discovered a way to simply change your day running lamp globes.
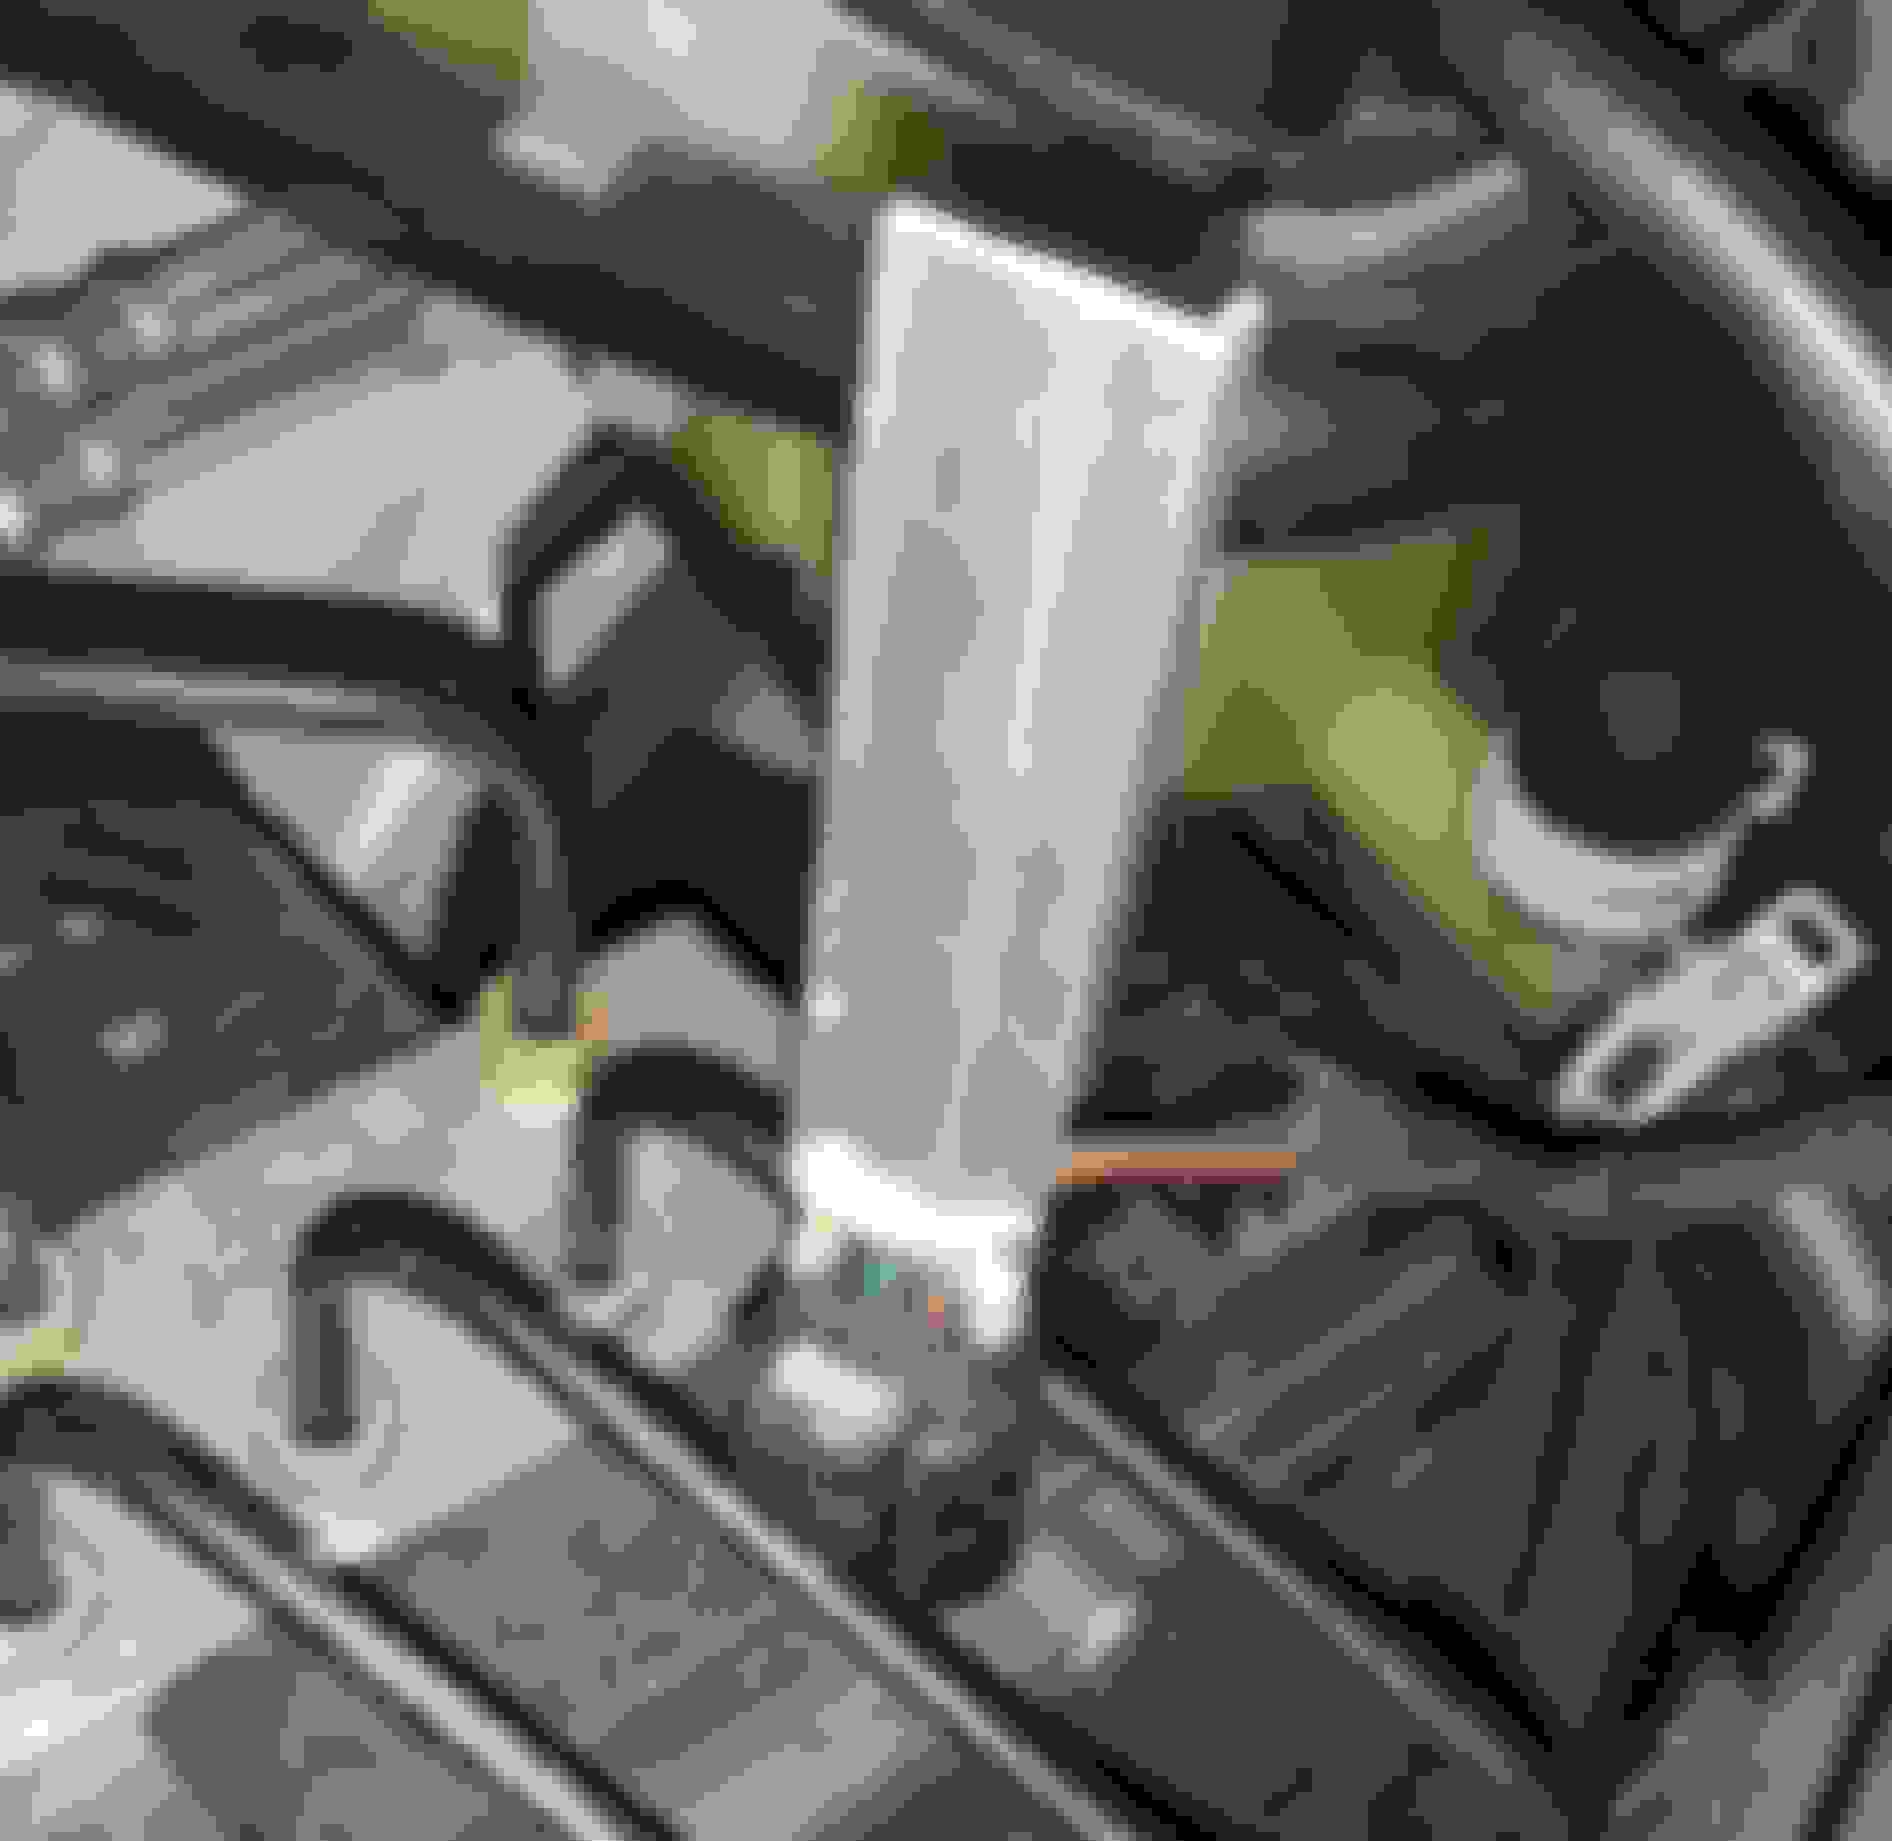
I managed to remove both again (terrible job) then I have added a simple metal flat tool that I made in the workshop. These have been epoxied to the back end of the lamp fixture so that each can be easily inserted into the back of the light fitting holder then each can be twisted and locked into place. Here are a couple of photos of the finished job ( before inserting into place)
the added metal blades are form waste metal in the workshop.
I have done this a heap of times. Have a small set of water pump pliers (multi grips) and gently undo from the gap above. (Where you can see plug from) Leaving the plug connected for a handle. Still not fun and questionable engineering but it is what it is
Anyone have the part number to the W5W bulb? As you can see I tried both a yellow and white Sylvania 2825 bulbs but both don't even come close. oem bulb that went bad
Anyone have the part number to the W5W bulb? As you can see I tried both a yellow and white Sylvania 2825 bulbs but both don't even come close. oem bulb that went bad
Mercedes SLR McLaren 722 S Is Extremely Rare Example Modified by McLaren
Slideshow: A one-of-one U.S.-spec Mercedes-Benz SLR McLaren Roadster became even rarer after a factory-backed transformation at McLaren's headquarters.