
SpeedFreak Detailed: SG E92 M3


Thread Starter
Member
Joined: Sep 2004
Posts: 82
Likes: 0
From: Northern, VA USA
'88 Porsche 951 / FJ Cruiser
SpeedFreak Detailed: SG E92 M3
Had the pleasure of working on another Space Grey M3 a few weeks back. He had some areas in mind he wanted me to address, specifically some scratching on the rear bumper from contact with a concrete wall. I also found some scratching, which you will see in the pics, in the carbon fiber on the roof.
He didn't want to go full on paint correction because the car is a DD and we've still got nasty weather coming. After going over options, we decided on a wash/clay/spot correction/sealant exterior detail.
Products Used:
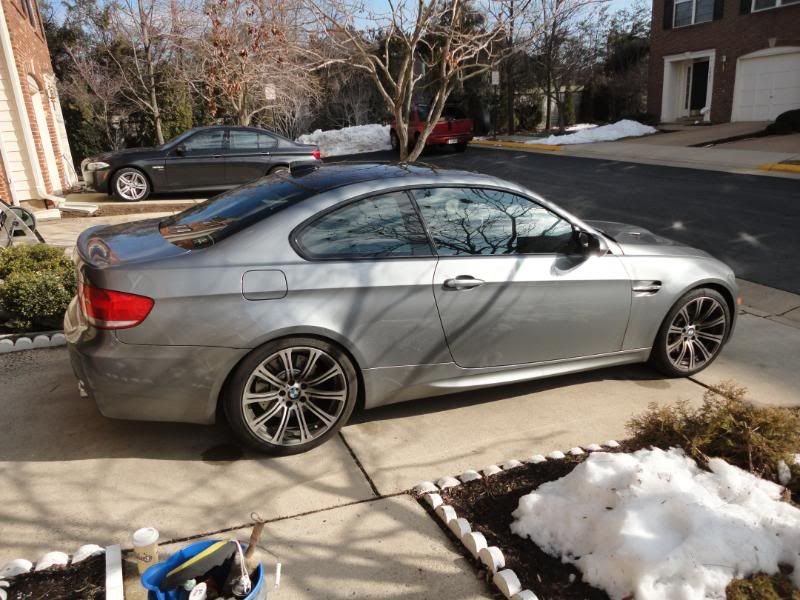
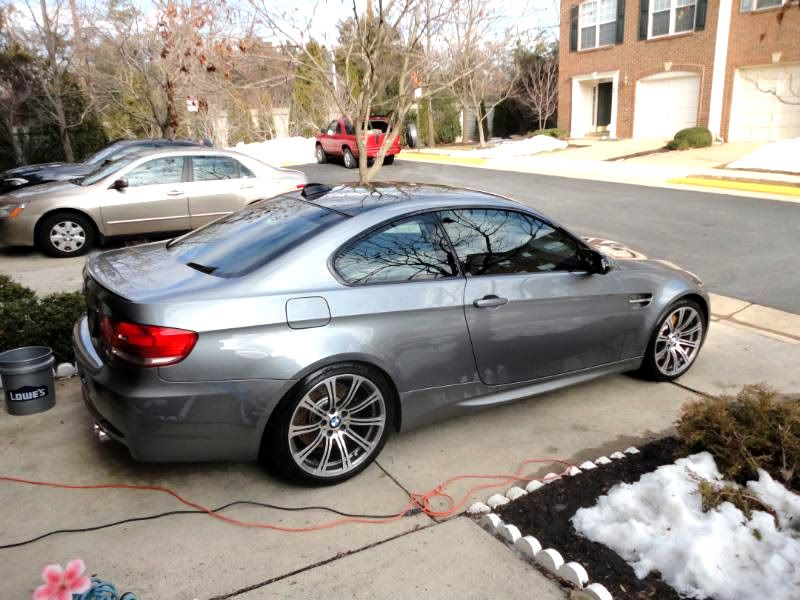
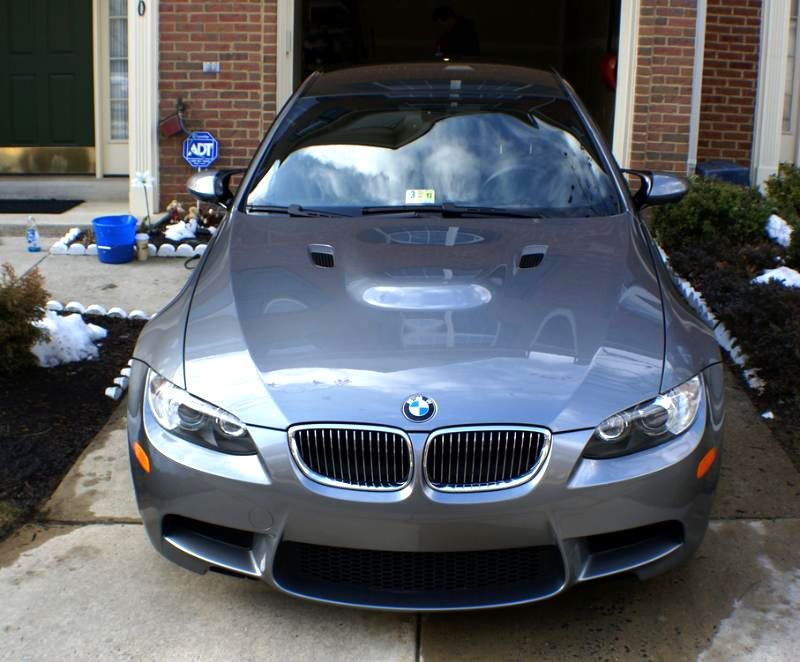
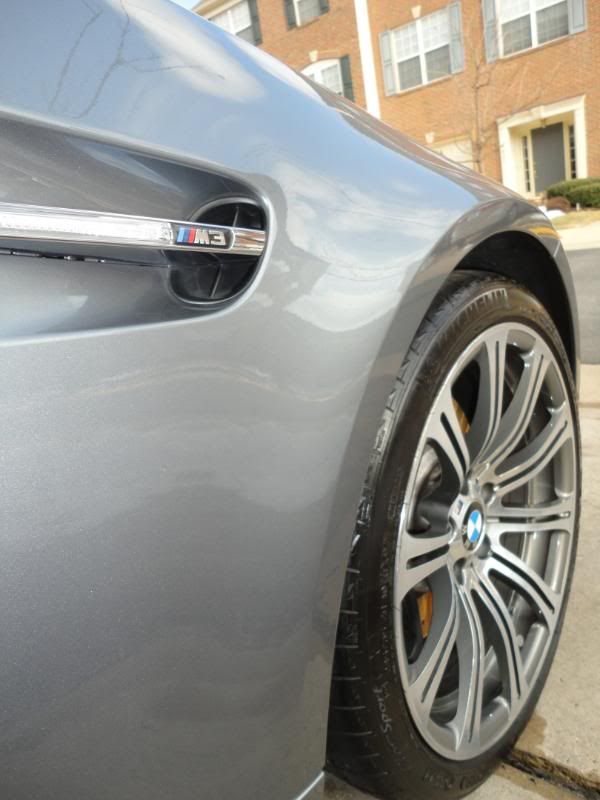
The M3 as it sat when I arrived. Space Grey is nice because it hides dirt quite well.
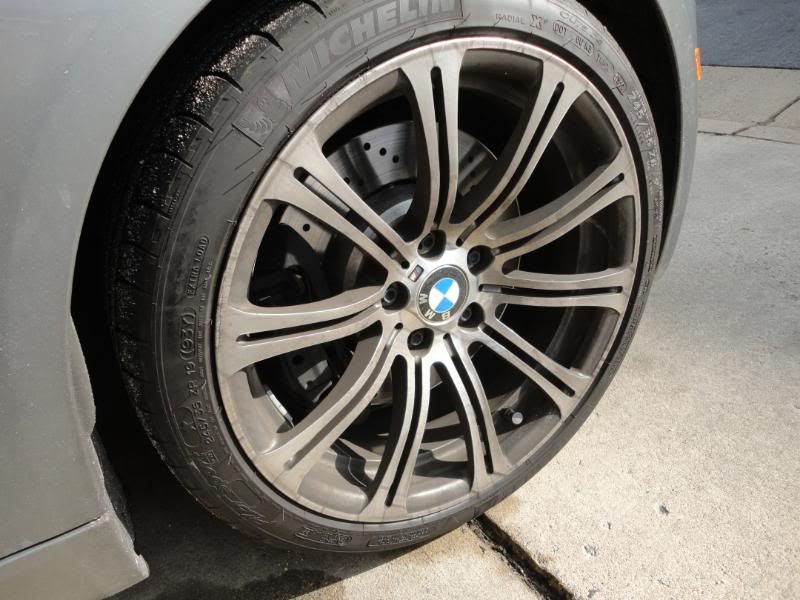
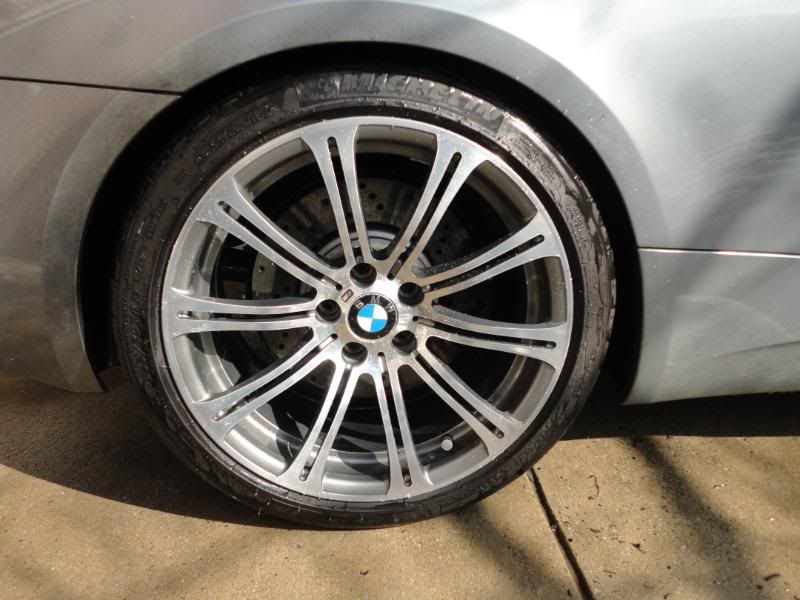
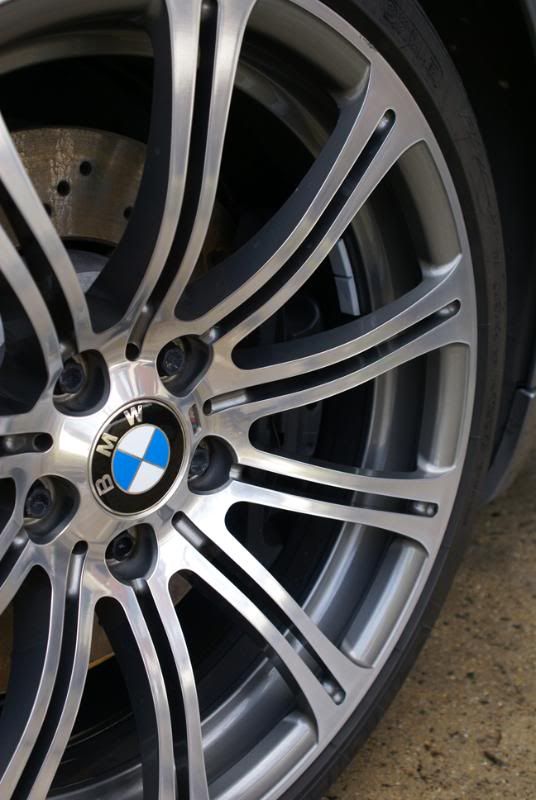
Wheels, caked with brake dust
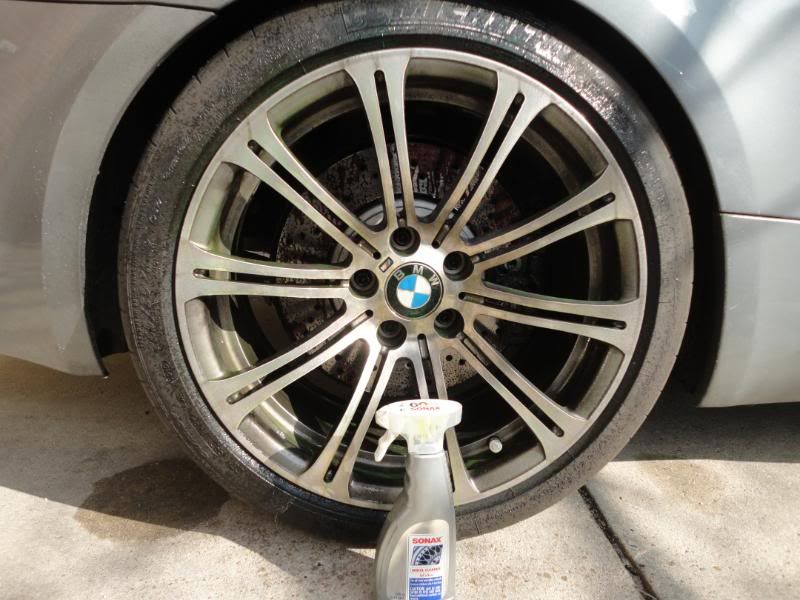
Sonax Full Effect wheel cleaner sprayed on liberally and allowed to sit for a few minutes
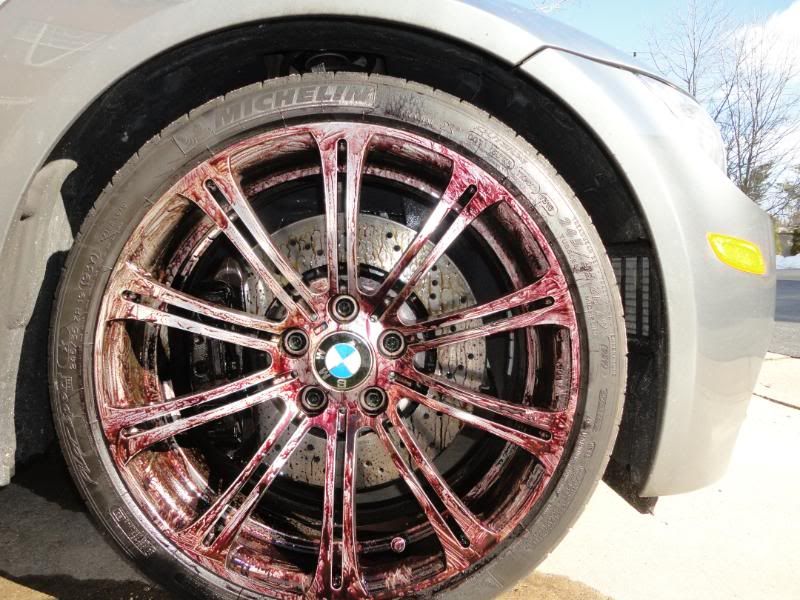
As the cleaner begins to work and is agitated with a brush, it changes color
Clean!
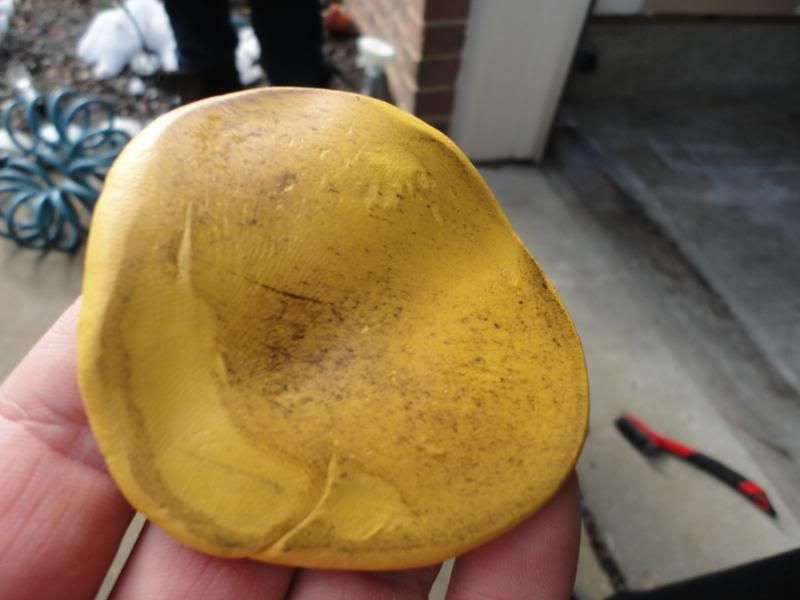
Clay was pretty filthy
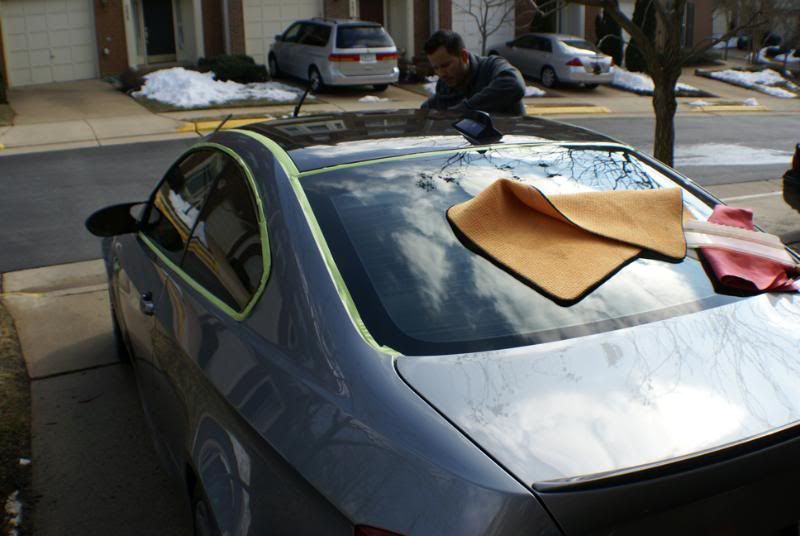
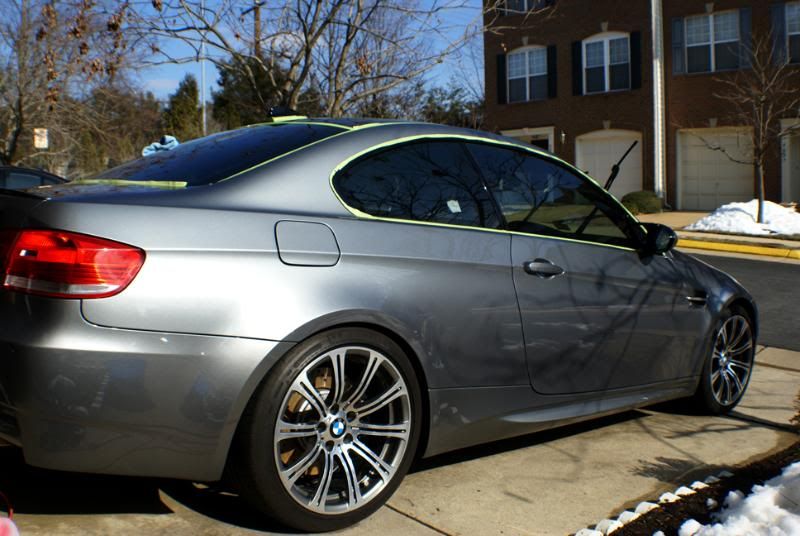
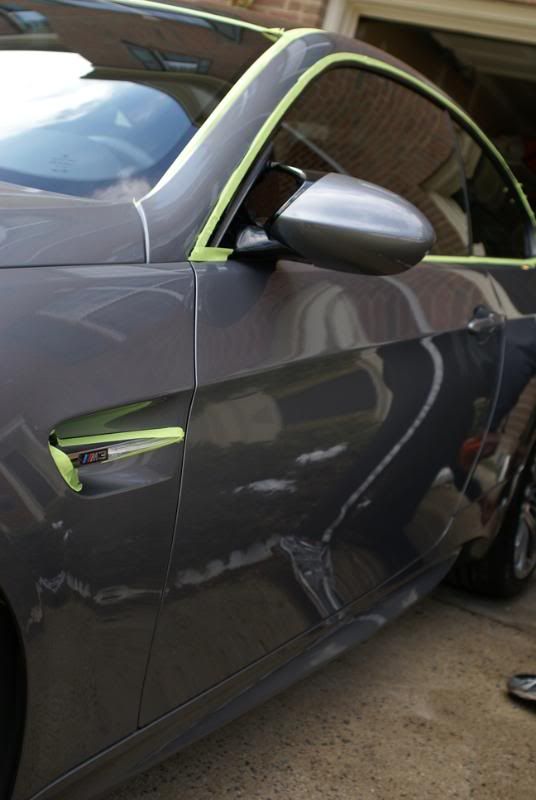
The M3 getting taped up
He didn't want to go full on paint correction because the car is a DD and we've still got nasty weather coming. After going over options, we decided on a wash/clay/spot correction/sealant exterior detail.
Products Used:
- Sonax Full Effect wheel cleaner
- Dawn super concentrated dish soap
- Pinnacle XMT Speed Clay
- Poorboy's World QD as clay lubricant
- HD Uno on LC CCS Orange pad
- HD Uno on LC CCS White pad
- HD Poxy
- Stoner's Invisible Glass
- Armor All tire gel
The M3 as it sat when I arrived. Space Grey is nice because it hides dirt quite well.
Wheels, caked with brake dust
Sonax Full Effect wheel cleaner sprayed on liberally and allowed to sit for a few minutes
As the cleaner begins to work and is agitated with a brush, it changes color
Clean!
Clay was pretty filthy
The M3 getting taped up
Thread Starter
Member
Joined: Sep 2004
Posts: 82
Likes: 0
From: Northern, VA USA
'88 Porsche 951 / FJ Cruiser
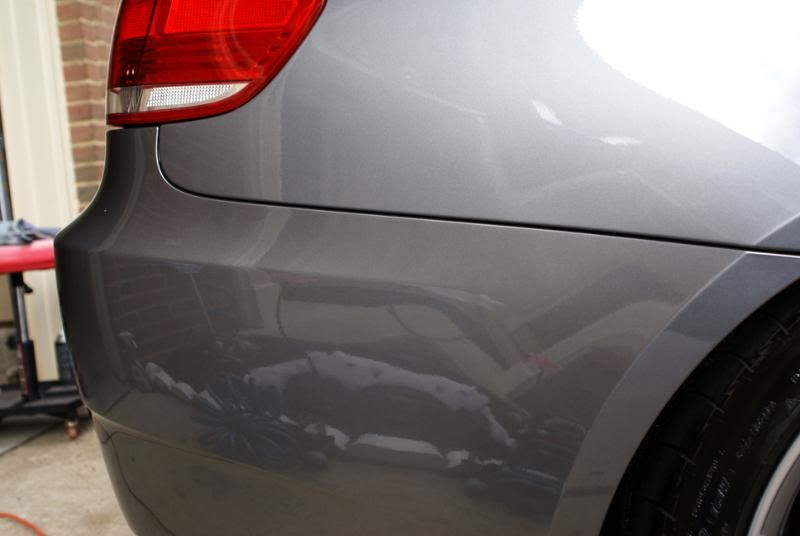
Scratching and clear coat dulling/defects along the rear bumper from contact with a concrete wall. This area received a 2 step correction.
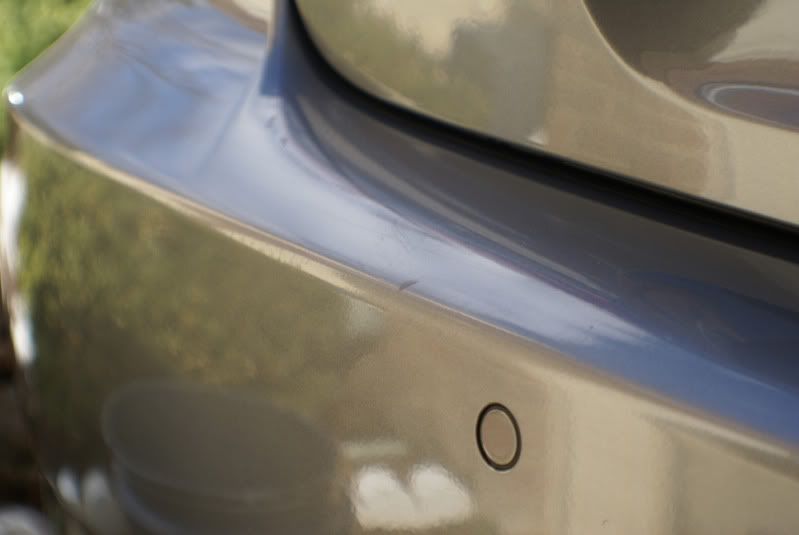

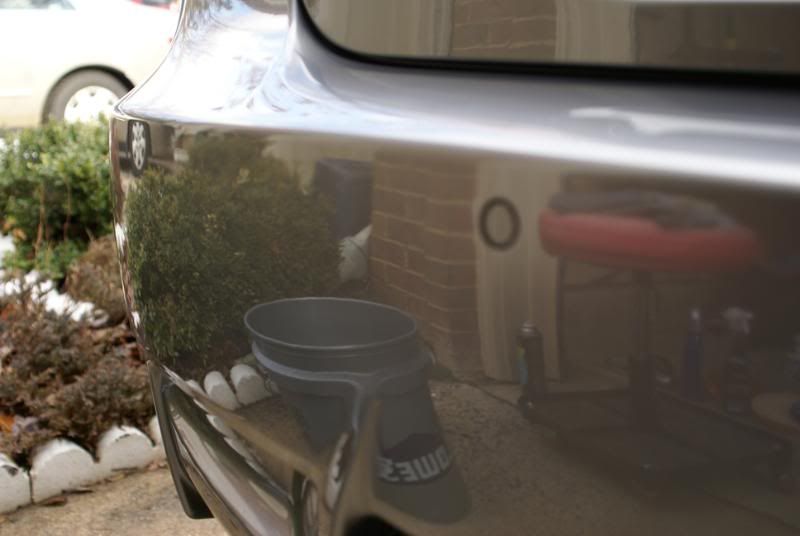
After correction
Upon washing and drying th roof I noticed a couple deep scratches. I was able to remove them with multiple passes / single stage correction

After correction

Here is a 50/50 shot from the passenger side. I tried as best I could to capture the swirling, but I need a better camera. You can see swirling on the left side, and right side has been corrected

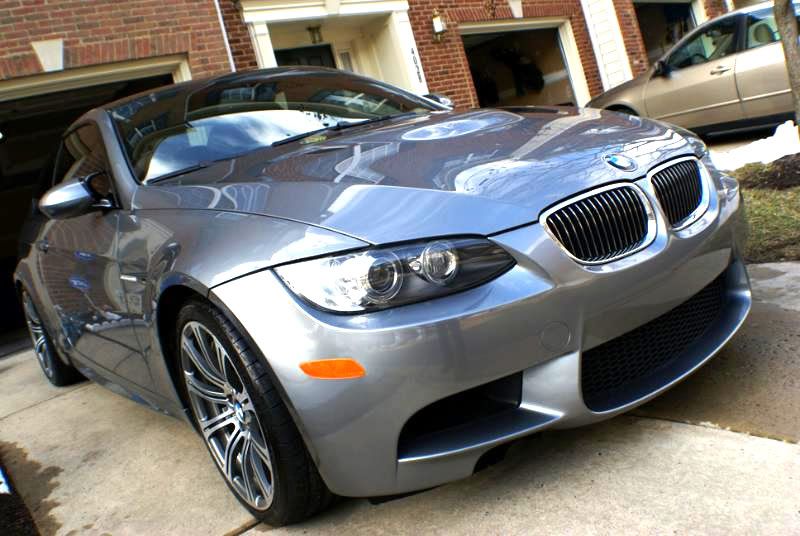
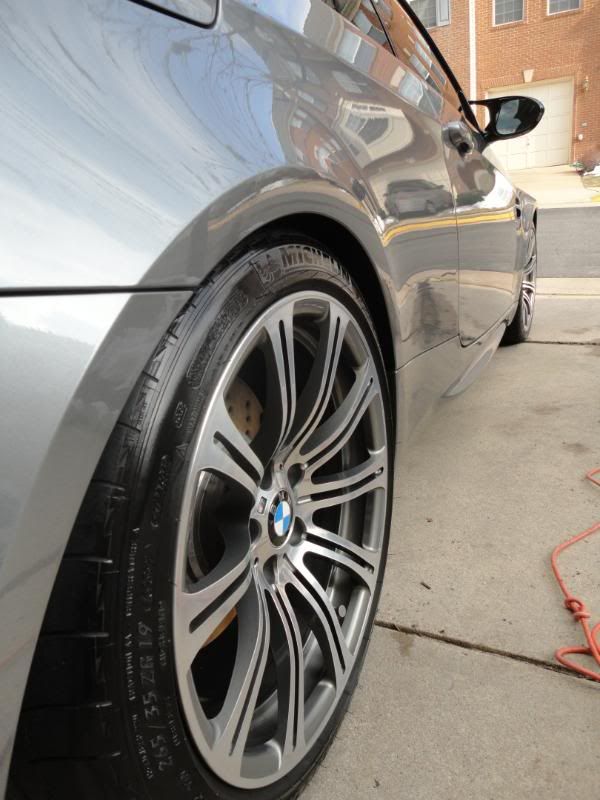
AFTERS:
Thanks for looking
Brian
After correction
Upon washing and drying th roof I noticed a couple deep scratches. I was able to remove them with multiple passes / single stage correction
After correction
Here is a 50/50 shot from the passenger side. I tried as best I could to capture the swirling, but I need a better camera. You can see swirling on the left side, and right side has been corrected
AFTERS:
Thanks for looking
Brian


