When you click on links to various merchants on this site and make a purchase, this can result in this site earning a commission. Affiliate programs and affiliations include, but are not limited to, the eBay Partner Network.
S550 stock exhaust to sound like S560 pop and crackle?
Just got 2017 A217 S550 Cabriolet and noticed that 2018 and up version has S560 which makes pop and crackle from exhaust sound. Would it be achievable with S550 other than swapping out the entire exhaust system? I saw doing muffler or resonator delete but that'll just make the sound louder. I loved S560 exhaust sound at Sport mode. Please help. Thanks.
Porsche guy who drives SL63 w/ perf pkg AND perf suspension
They all make the noise in sport mode. It is programed in the software to cut out 2 cylinders when you lift the gas peddle. The 550 has the 4.7 L and the 560 has the 4.0 L
So they are going to be different behavior. If you want to spend $10K buy a cat back exhaust and it will be really loud. My S63 5.5 L had a Capristo with 3 settings,
I can tolerate the sport mode it is alot louder than the stock. Open is BANG BANG BANG.
Just got 2017 A217 S550 Cabriolet and noticed that 2018 and up version has S560 which makes pop and crackle from exhaust sound. Would it be achievable with S550 other than swapping out the entire exhaust system? I saw doing muffler or resonator delete but that'll just make the sound louder. I loved S560 exhaust sound at Sport mode. Please help. Thanks.
On 2015 - 2017 models, the exhaust valves are vacuum controlled and can be modified to stay open all the time by a simple bypass of the vacuum control relay. It is located next to the auxiliary battery on the passenger side in the rear of the trunk. When done it produces a nice exhaust note, especially from within the car.
On 2015 - 2017 models, the exhaust valves are vacuum controlled and can be modified to stay open all the time by a simple bypass of the vacuum control relay. It is located next to the auxiliary battery on the passenger side in the rear of the trunk. When done it produces a nice exhaust note, especially from within the car.
It’s really quite simple. The relay is fed a constant supply of vacuum that is controlled by a switch that is controlled by an ecm. Since vacuum causes the flap at the end of each exhaust pipe to open, the relay provides that vacuum when the ecm commands it. Being that the flaps will remain open if provided a constant source of vacuum, if you bypass the relay by joining the source vacuum hose with the the hose going to each flap, the flaps stay open. No codes are thrown because the relay continues to operate as intended, opening and closing but without a source of vacuum to direct. You join the lines with a plastic “Y” available at any auto parts store. I believe, but am not sure, the lines are 3/16”. You can make sure when you take them off the relay.
Last edited by cyberay; Apr 1, 2023 at 11:28 AM.
Reason: Clarification
It�s really quite simple. The relay is fed a constant supply of vacuum that is controlled by a switch that is controlled by an ecm. Since vacuum causes the flap at the end of each exhaust pipe to open, the relay provides that vacuum when the ecm commands it. Being that the flaps will remain open if provided a constant source of vacuum, if you bypass the relay by joining the source vacuum hose with the the hose going to each flap, the flaps stay open. No codes are thrown because the relay continues to operate as intended, opening and closing but without a source of vacuum to direct. You join the lines with a plastic �Y� available at any auto parts store. I believe, but am not sure, the lines are 3/16�. You can make sure when you take them off the relay.
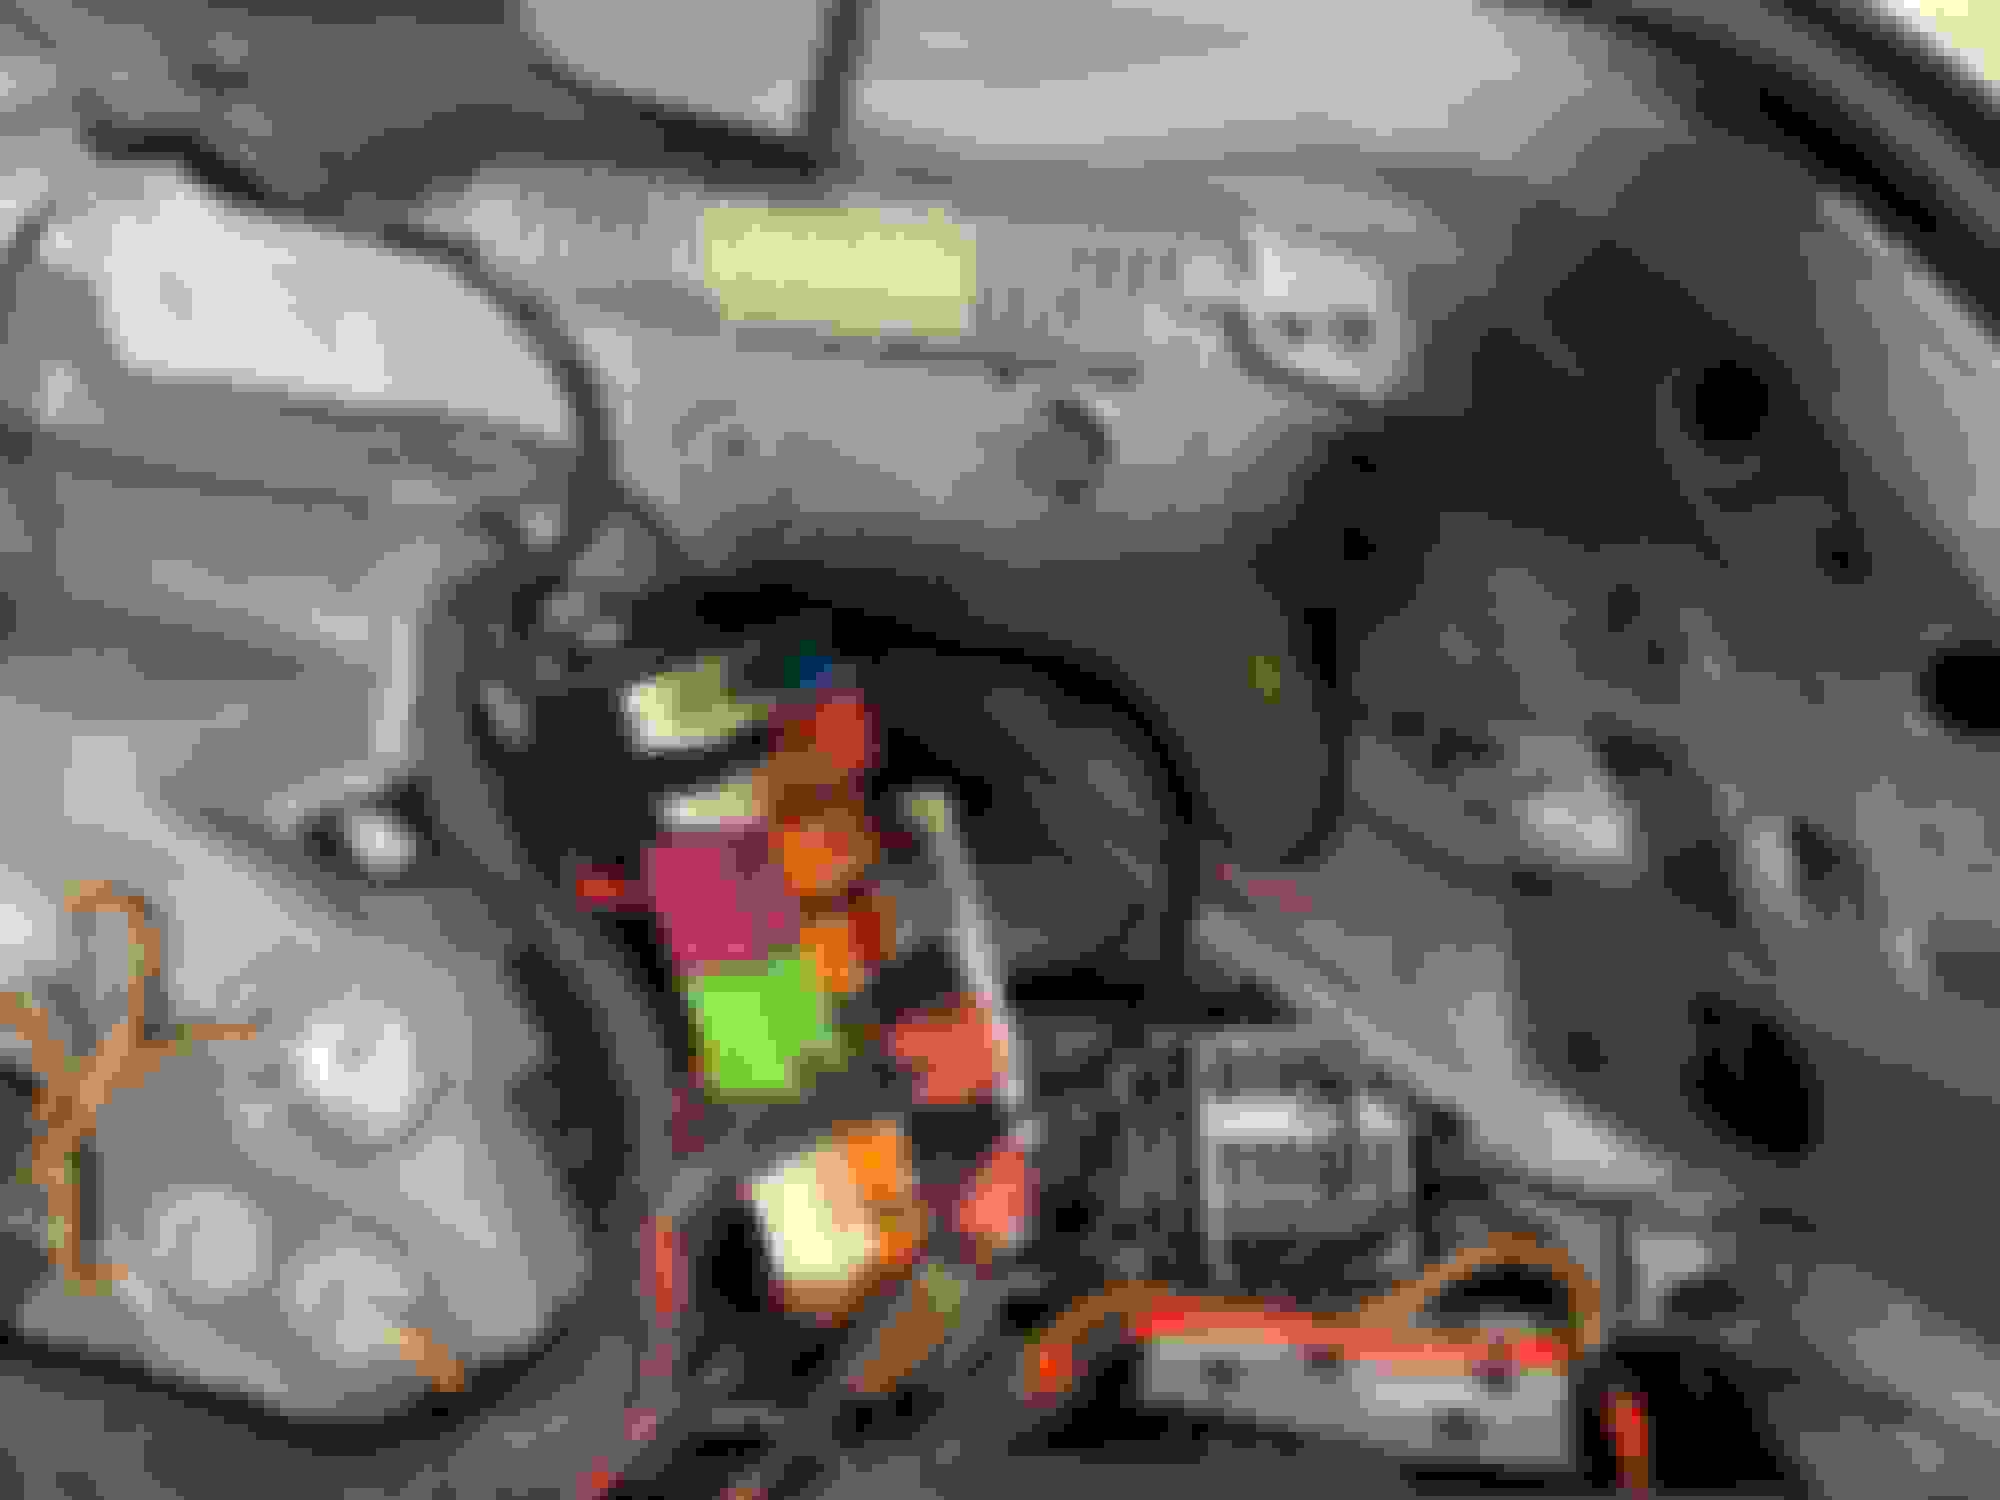
Can you infirm that this is the switch? It�s to the right of the battery. The switch The hose.
Can you infirm that this is the switch? It�s to the right of the battery. The switch The hose.
It would be helpful to have a picture that encompasses the entire component. Maybe if you zoom out and show it with the auxiliary battery in the picture I can confirm for you. Realize it�s the only component in that area that has vacuum lines and an electrical connector, so this is likely it. Remove the single hose entering and join it to the two that exit, one to each exhaust plate on either side. You will then have uninterrupted vacuum to each exhaust outlet causing each exhaust plate to be always open.
Last edited by cyberay; May 26, 2023 at 11:21 AM.
Reason: Clarification
Main battery with valve right and behind Valve with hose on lower left Push pins to be removed
Okay, now I see why we�re having a problem identifying the vacuum relay. You are looking behind the rear seatback at the main battery when you should be looking at the rear passenger side of the trunk where the AUXILLIARY battery is located. That is where you will find the vacuum relay. Remove the trim in the very rear of the trunk on the right side.
[QUOTE=cyberay;8786005]Okay, now I see why we�re having a problem identifying the vacuum relay. You are looking behind the rear seatback at the main battery when you should be looking at the rear passenger side of the trunk where the AUXILLIARY battery is located. That is where you will find the vacuum relay. Remove the trim in the very rear of the trunk on the right side.
I am becoming a semi pro at removing panels and finding interesting bits. In this case the right side panel in the trunk are - where the auxiliary battery is hidden for future reference - but there is no obvious switch/vacuum to access. Need another hint please.
It’s hard to make but I think i see it down low, forward of the battery and just behind the fuse panel. It’s been a few years since I did mine and my memory of the precise location has faded. I do remember that it was easy to spot because I wasn’t looking for it. I was changing the battery, saw it and decided to see if I had a suitable vacuum line “T” fitting. I did, and made the modification. It took all of five minutes. I’m quite sure those spiral wound, black lines are vacuum lines and should lead you to the relay. You do have a 2015-2017 model, right? Later years used fully electric actuated exhaust valves.
Dbrown167, did you ever figure this mod. out? i have the s coupe and thought the AUX batt. was on the left side (US drivers side), but I could be wrong.
I removed the panels on the right side of the trunk (where the auxiliary battery is located) but the information posted initially didn’t point me in a direction with enough confidence to go further. It seemed obvious and a super suggestion but sure wasn’t obvious to me. If you get further, let me know.
I removed the panels on the right side of the trunk (where the auxiliary battery is located) but the information posted initially didn�t point me in a direction with enough confidence to go further. It seemed obvious and a super suggestion but sure wasn�t obvious to me. If you get further, let me know.
I�m sorry I�m not able to better describe it for you, but if you have a 2015-2017 it should be exactly like mine and the vacuum relay located as described. I�ve only made the modification to my own car, and have not seen any others. But I�ve owned mine since new so there have been no changes made other than those I�ve made. My car was produced at the end of model year 2015 so I suppose there�s a chance that MB could have changed the location, but I doubt it. The photo shows a �T� with vacuum lines, which should be connected to the outlet end of the vacuum relay.
I�m sorry I�m not able to better describe it for you, but if you have a 2015-2017 it should be exactly like mine and the vacuum relay located as described. I�ve only made the modification to my own car, and have not seen any others. But I�ve owned mine since new so there have been no changes made other than those I�ve made. My car was produced at the end of model year 2015 so I suppose there�s a chance that MB could have changed the location, but I doubt it. The photo shows a �T� with vacuum lines, which should be connected to the outlet end of the vacuum relay.
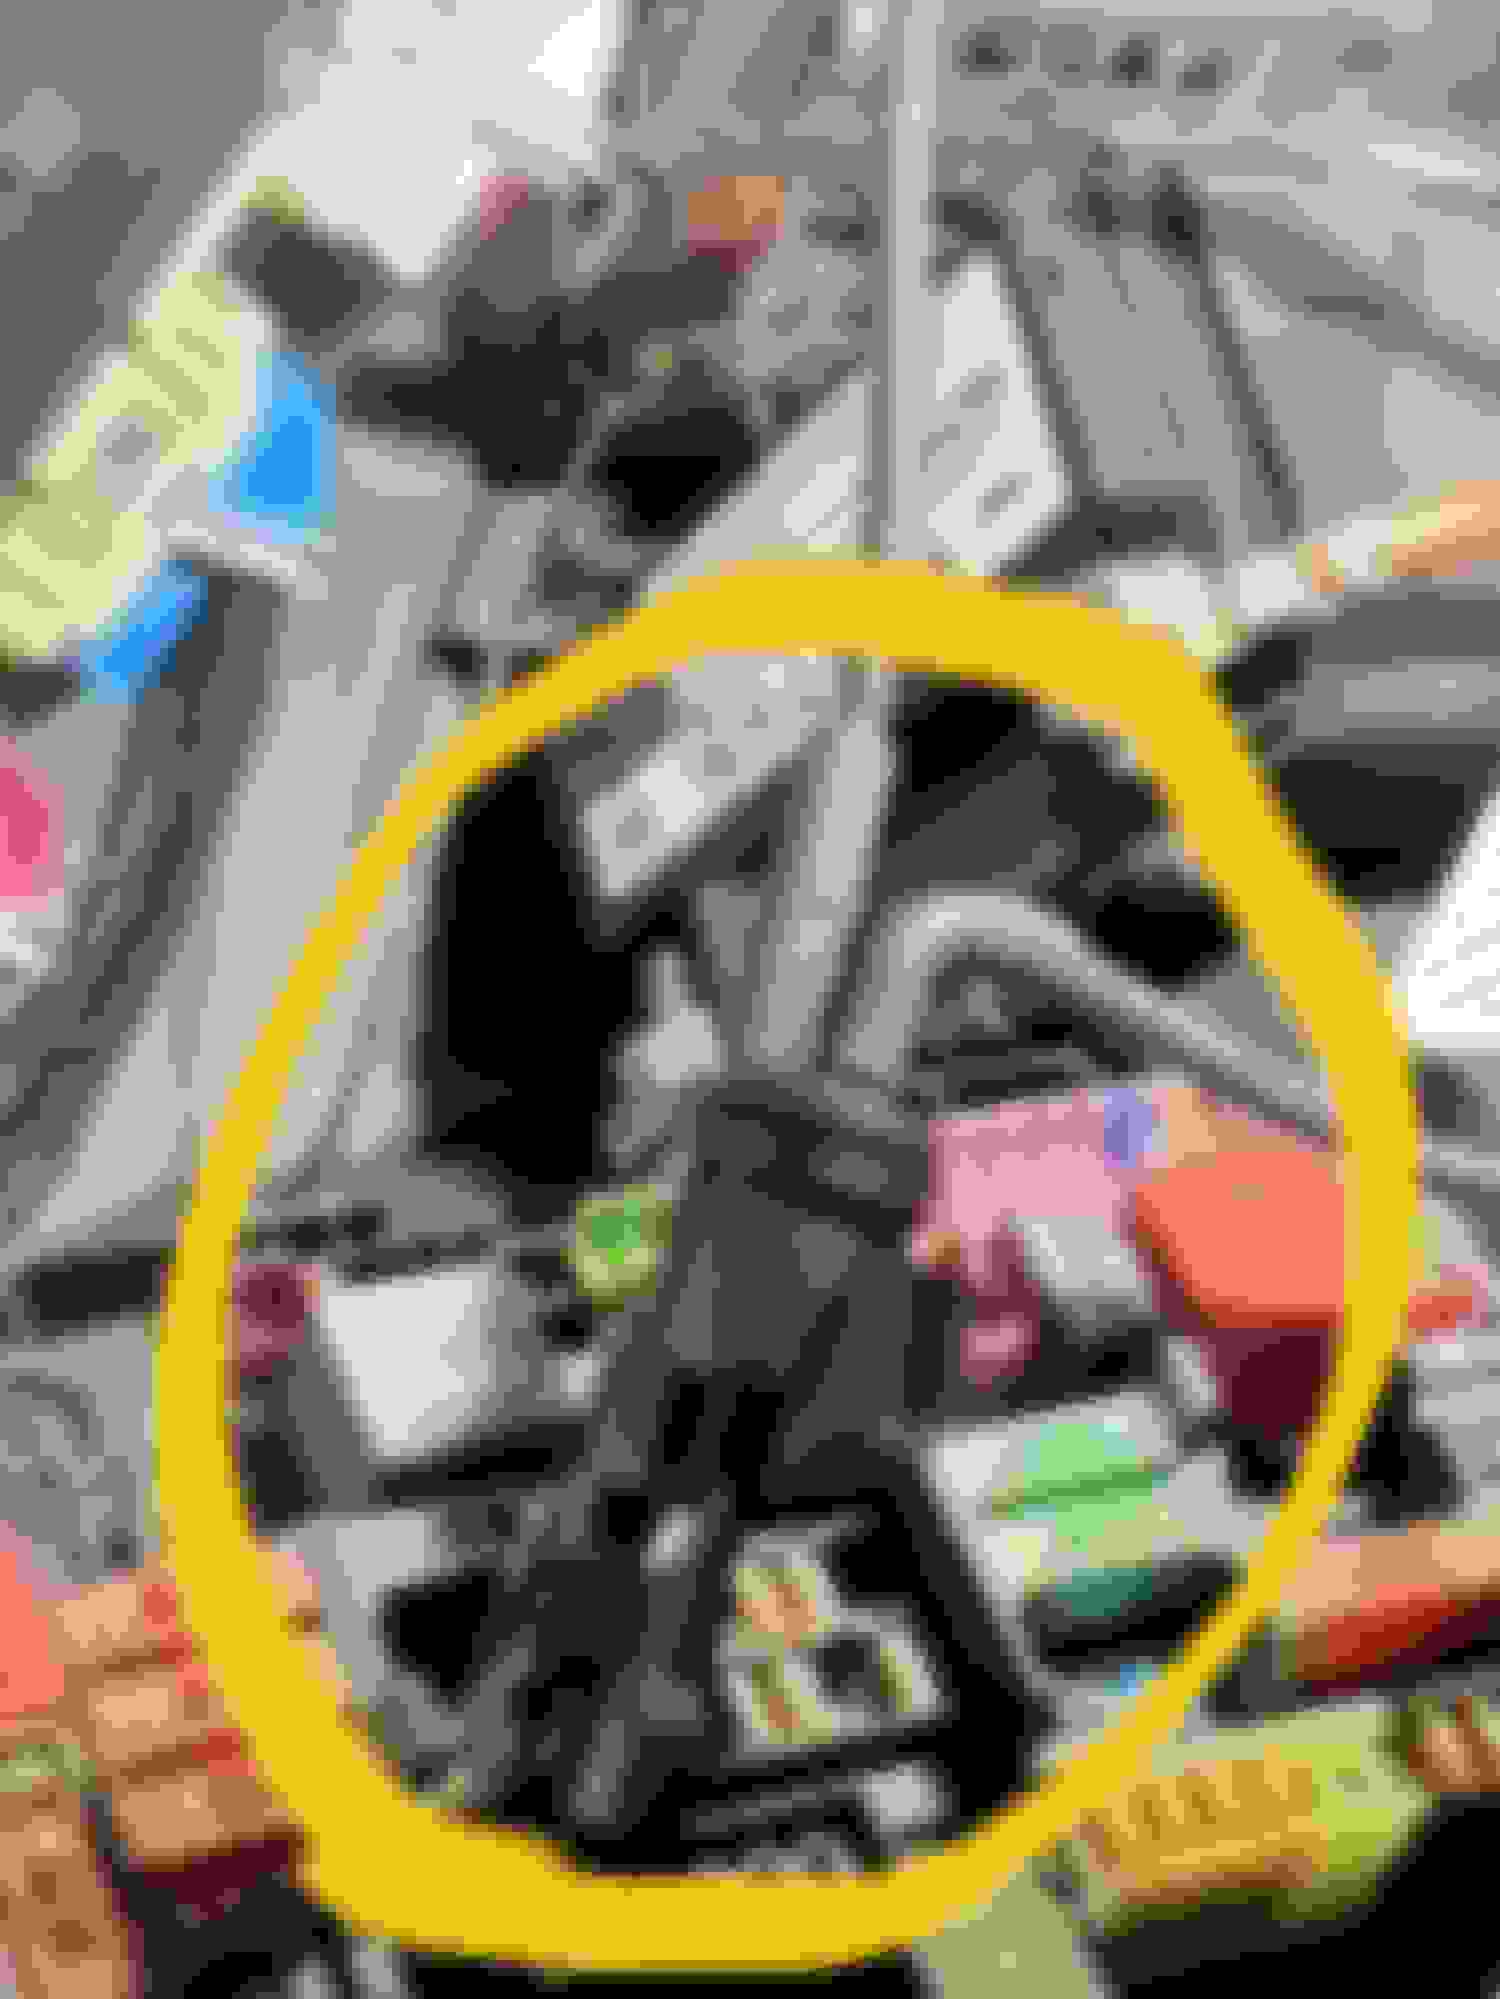
CYBERAY - if you can see the �T with vacuum lines� in the photo, could you cut/copy/circle the piece for our identification?
CYBERAY - if you can see the �T with vacuum lines� in the photo, could you cut/copy/circle the piece for our identification?
I�m sorry but I haven�t been able to figure out how to markup the photo and post the result. Can you direct me, or in the alternative, I�m happy to speak to you on the phone or with FaceTime. PM me and I�ll provide the number.
Think I found it in a YouTube video put out by �Jose�
�How to replace the auxiliary battery - w222 etc.� Seems pretty clear in that video. He even moves it out of the way.
Last edited by wheatswake; Aug 10, 2023 at 03:14 PM.
I�m sorry but I haven�t been able to figure out how to markup the photo and post the result. Can you direct me, or in the alternative, I�m happy to speak to you on the phone or with FaceTime. PM me and I�ll provide the number.
a learning opportunity. Choose the image that best identifies the allusive�T�. Hold your finger on the image and a ox will open with a series of choices (Save, Copy, Open in new tab, etc). Choose Copy. Go to your favorite creative program (PowerPoint, KeyNote, Word, Pages) and Paste the image. I�d use KeyNote or PowerPoint. From there you can identify the portion to highlight and use the program settings to mark-up the image. Or, give $5 to a neighbor kid.
a learning opportunity. Choose the image that best identifies the allusive�T�. Hold your finger on the image and a ox will open with a series of choices (Save, Copy, Open in new tab, etc). Choose Copy. Go to your favorite creative program (PowerPoint, KeyNote, Word, Pages) and Paste the image. I�d use KeyNote or PowerPoint. From there you can identify the portion to highlight and use the program settings to mark-up the image. Or, give $5 to a neighbor kid.
CYBERAY & WHEATSWAKE �. in the YouTube from Jose there is something suspicious that he pushes out of the way while replacing the auxiliary battery in a W222 - much different but similar to a C217. This is an image lifted from that video - to you CYB �
Dbrown, fyi, I found brass barbed tee fittings on Amazon. Figure they are better than the plastic. Need to nail down the size. Maybe do a “Y” instead if it works out better. Since you have yours torn apart, I'm counting on you to establish the definitive desired outcome. May the Gods shine down upon you in your endeavors.
Last edited by wheatswake; Aug 11, 2023 at 08:49 AM.
CYBERAY & WHEATSWAKE �. in the YouTube from Jose there is something suspicious that he pushes out of the way while replacing the auxiliary battery in a W222 - much different but similar to a C217. This is an image lifted from that video - to you CYB �
From the W222 YouTube
yes, that is the vacuum relay you want to bypass. Good job. You are going to be very pleased with the result.
yes, that is the vacuum relay you want to bypass. Good job. You are going to be very pleased with the result.
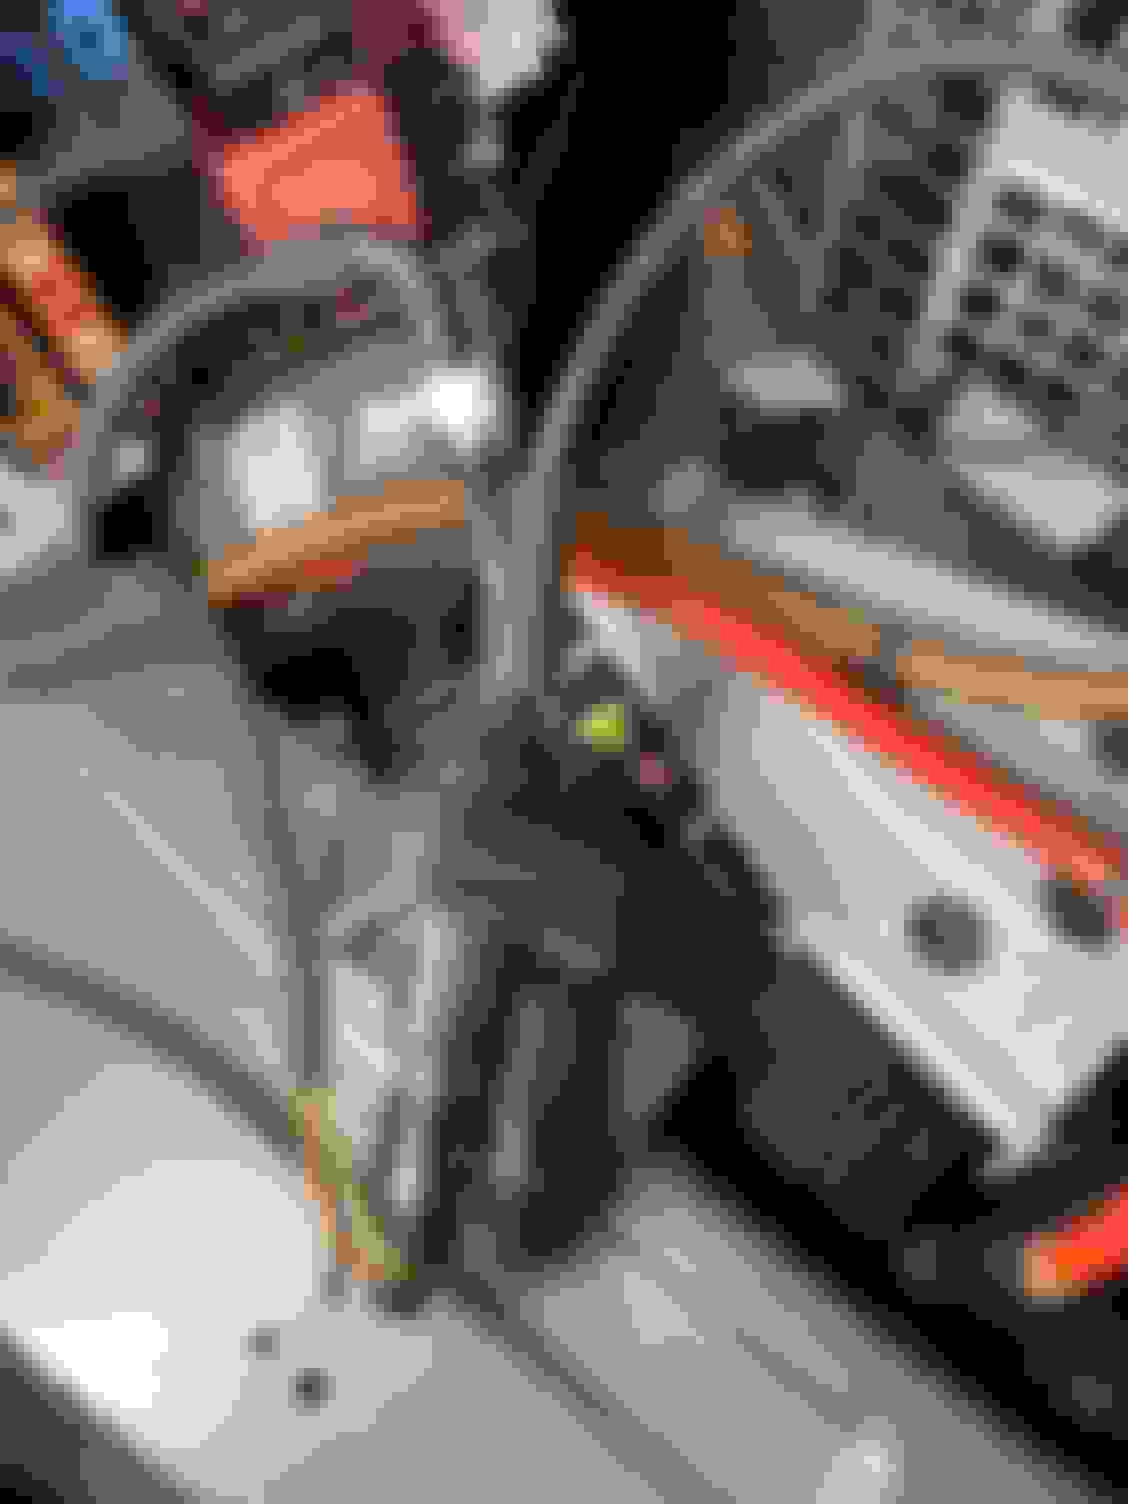
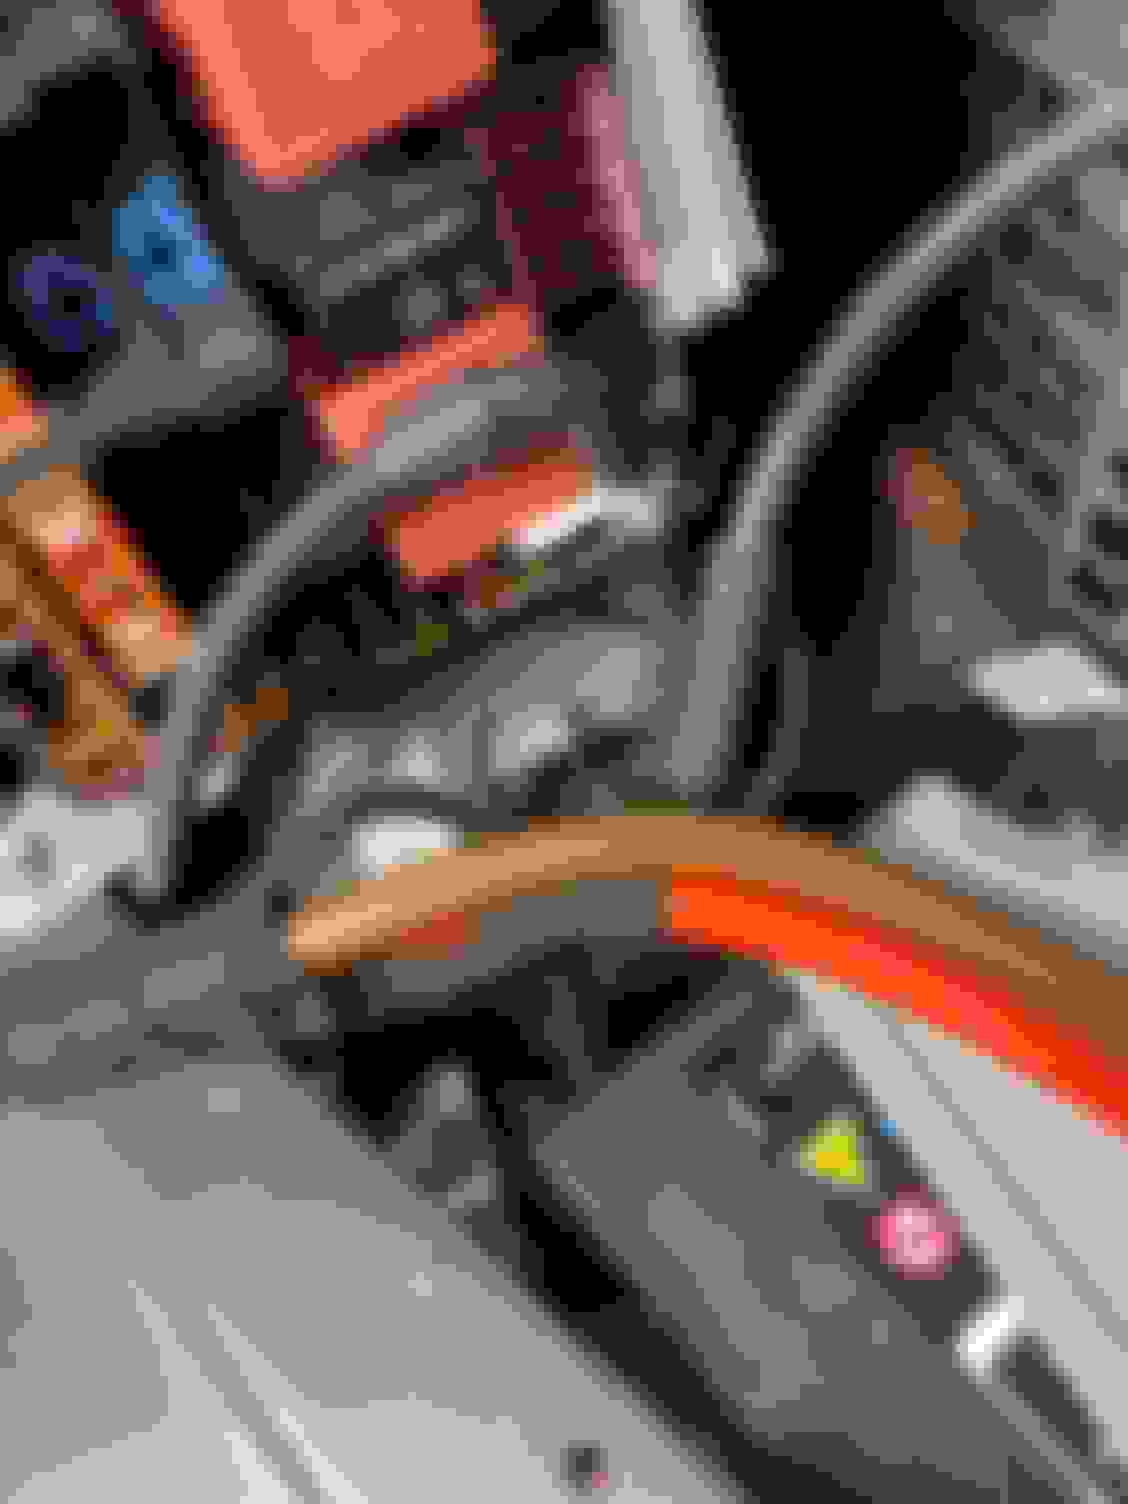
got it unplugged. Have both vacuum lines removed and out of the car. But as there are 2 air lines, I�m just guessing on whether the large or small line needs to be bypassed. Hmmmm. In the photo you can see there is a diameter difference too. At the bottom of the �switch� you can see the electrical attachment and a longer tube that seems to be related to the larger diameter vacuum tube on the top, so my first guess is to bypass the smaller tube.
got it unplugged. Have both vacuum lines removed and out of the car. But as there are 2 air lines, I�m just guessing on whether the large or small line needs to be bypassed. Hmmmm. In the photo you can see there is a diameter difference too. At the bottom of the �switch� you can see the electrical attachment and a longer tube that seems to be related to the larger diameter vacuum tube on the top, so my first guess is to bypass the smaller tube.
A
off to the parts store to get the T connectors
Okay, either I�ve forgotten how the lines are configured or yours is different. It doesn�t matter. You simply need to connect the two vacuum lines of different size together with a coupling fitting rather than a T fitting. That bypasses the vacuum relay and the exhaust valves will be always open. Leave the relay electrically connected so you don�t get an alert displayed.
[QUOTE=cyberay;8830078]Okay, either I�ve forgotten how the lines are configured or yours is different. It doesn�t matter. You simply need to connect the two vacuum lines of different size together with a coupling fitting rather than a T fitting. That bypasses the vacuum relay and the exhaust valves will be always open. Leave the relay electrically connected so you don�t get an alert displayed.[/QUOTE)
Done.
used the smaller of the two for the T and back in the car. AutoZone had the materials and it�s in and tested. Likely there will be MB shops charging a bunch for an excellent effect.
Okay, either I�ve forgotten how the lines are configured or yours is different. It doesn�t matter. You simply need to connect the two vacuum lines of different size together with a coupling fitting rather than a T fitting. That bypasses the vacuum relay and the exhaust valves will be always open. Leave the relay electrically connected so you don�t get an alert displayed.[/QUOTE)
Done.
used the smaller of the two for the T and back in the car. AutoZone had the materials and it�s in and tested. Likely there will be MB shops charging a bunch for an excellent effect.
Not Done. I made a run down the road and noticed nothing different so then bypassed the larger hose and again nothing different. Then I reread the advice and bypassing the switch altogether and connecting the two dissimilar hoses, bypassing the switch altogether (if that�s the right advise) will take another trip to find that coupling. Good thing I�m still retired.
Mercedes SLR McLaren 722 S Is Extremely Rare Example Modified by McLaren
Slideshow: A one-of-one U.S.-spec Mercedes-Benz SLR McLaren Roadster became even rarer after a factory-backed transformation at McLaren's headquarters.