When you click on links to various merchants on this site and make a purchase, this can result in this site earning a commission. Affiliate programs and affiliations include, but are not limited to, the eBay Partner Network.
One of my fans was spinning slower, the driver side one, so I went on to replace it. This didn't fix my problem, but I couldn�t find anything online with pictures how to do it so I figured I can post my process and how I did it, hopefully it will help someone. My car is 96� S600 but I believe it�s the same with any w140 or at least very similar.
First I remove plastic in front of the fans by removing 2 plastic clips:
Next I removed the bumper that is held in at 6 places. Not sure if I had to remove it but it helped me with extra space, especially for the bottom clips.
2 at the top are 13mm
Next two are below and behind the bumper. To access it I had to remove little bumper inserts on both sides. Both nuts are 13mm
Closer look at bottom nuts (13mm):
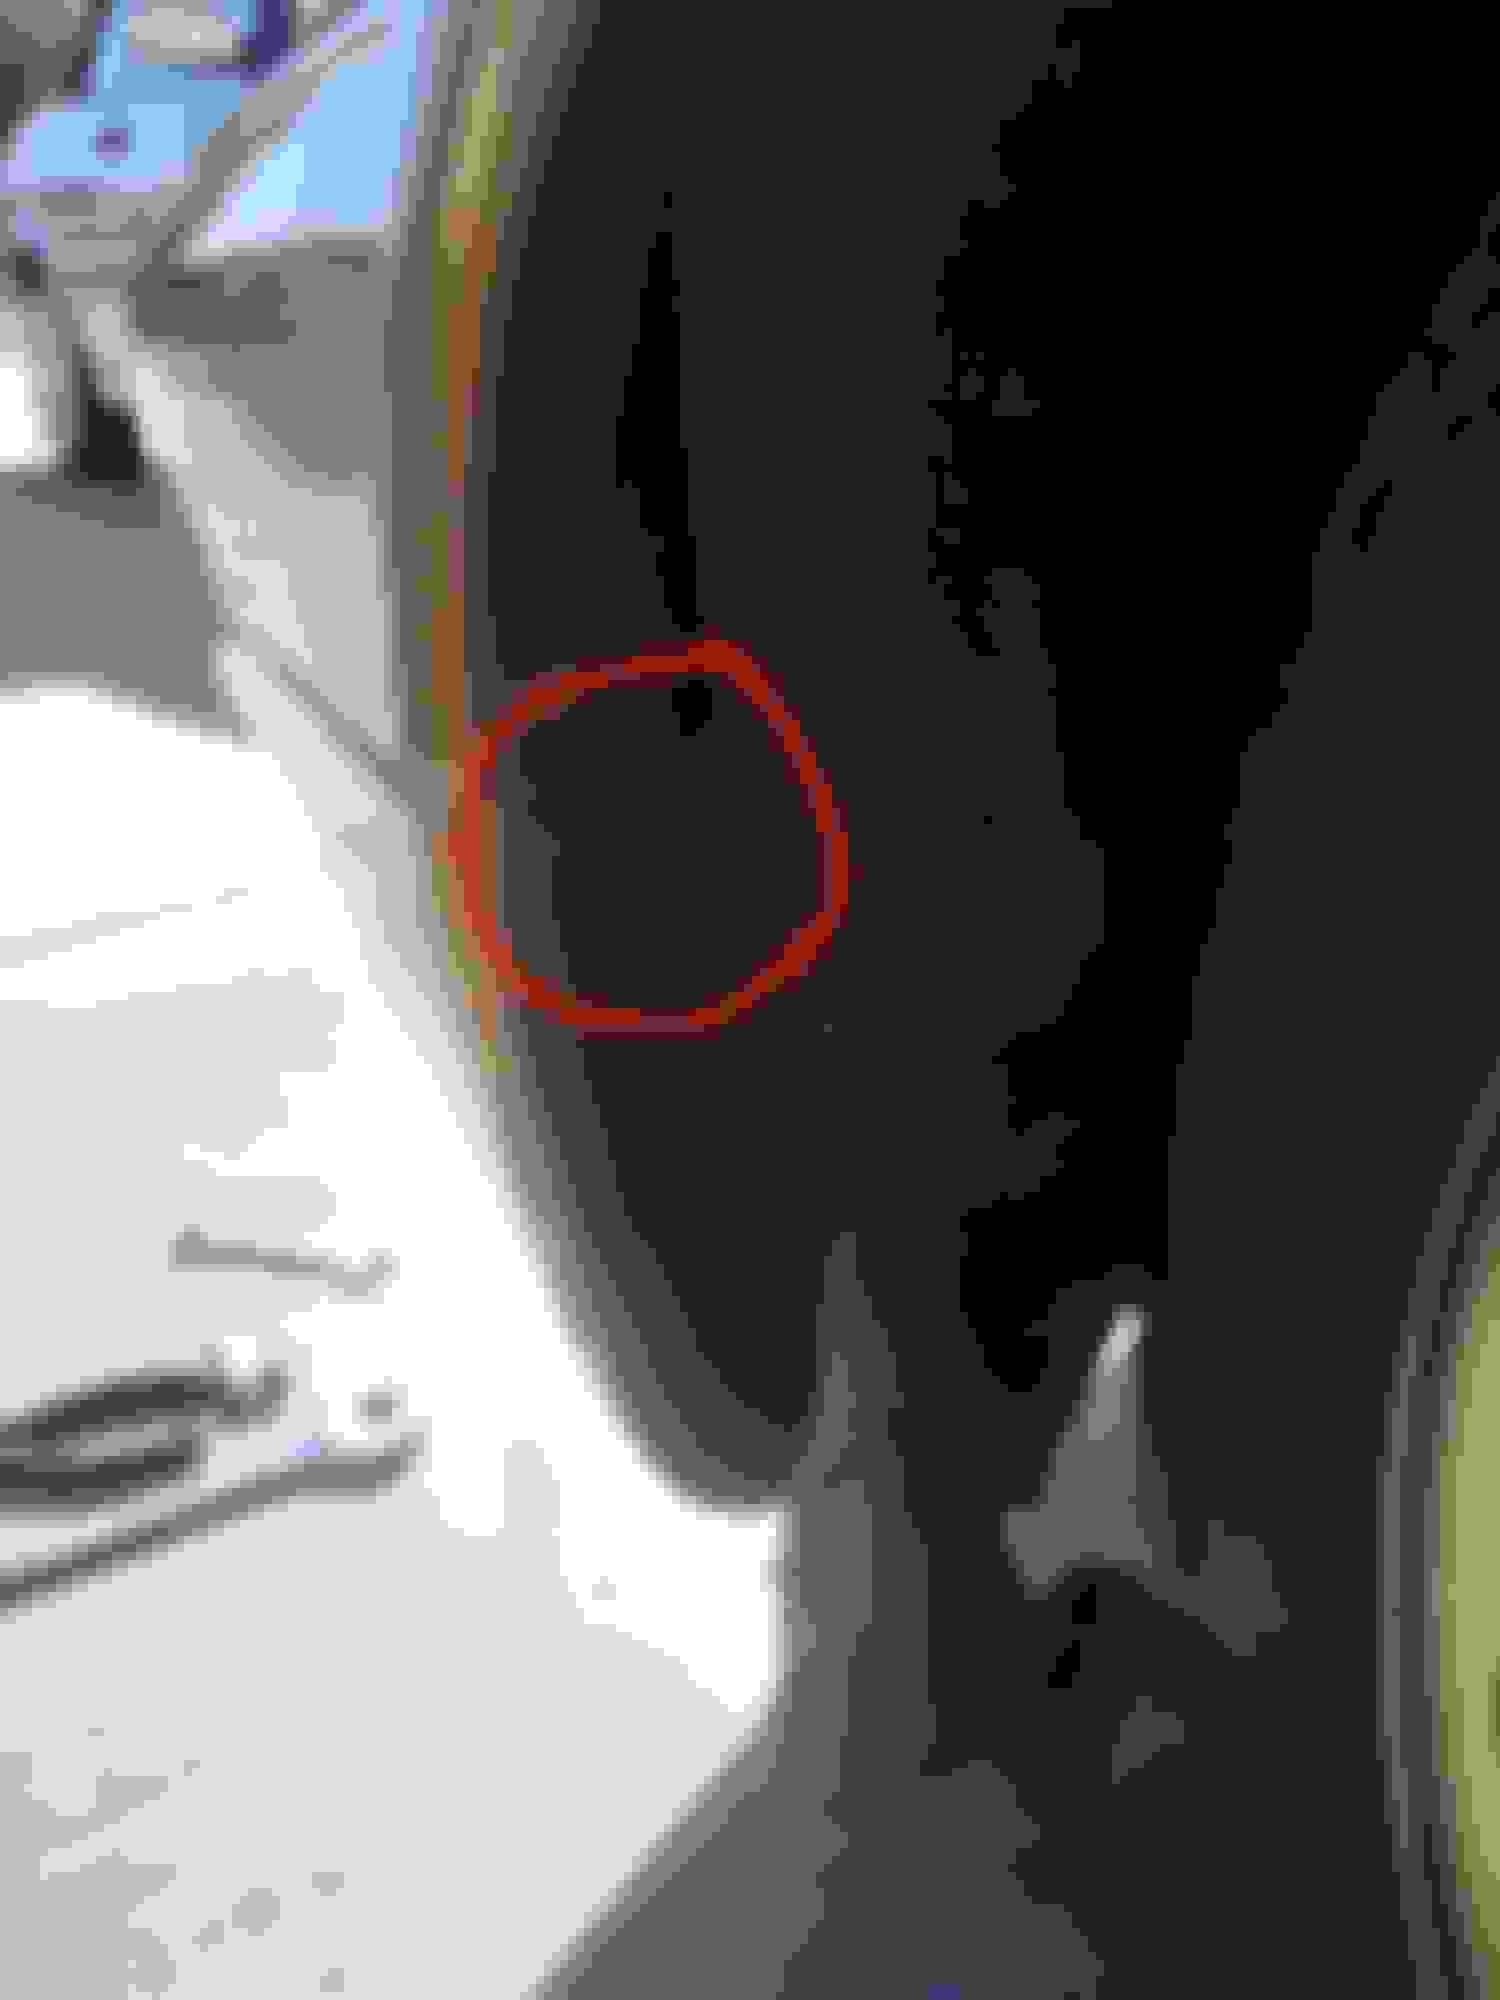
And last 2 that hold the bumper are behind the wheel well up front. They are 8mm bolts.
Passenger side:
Driver side:
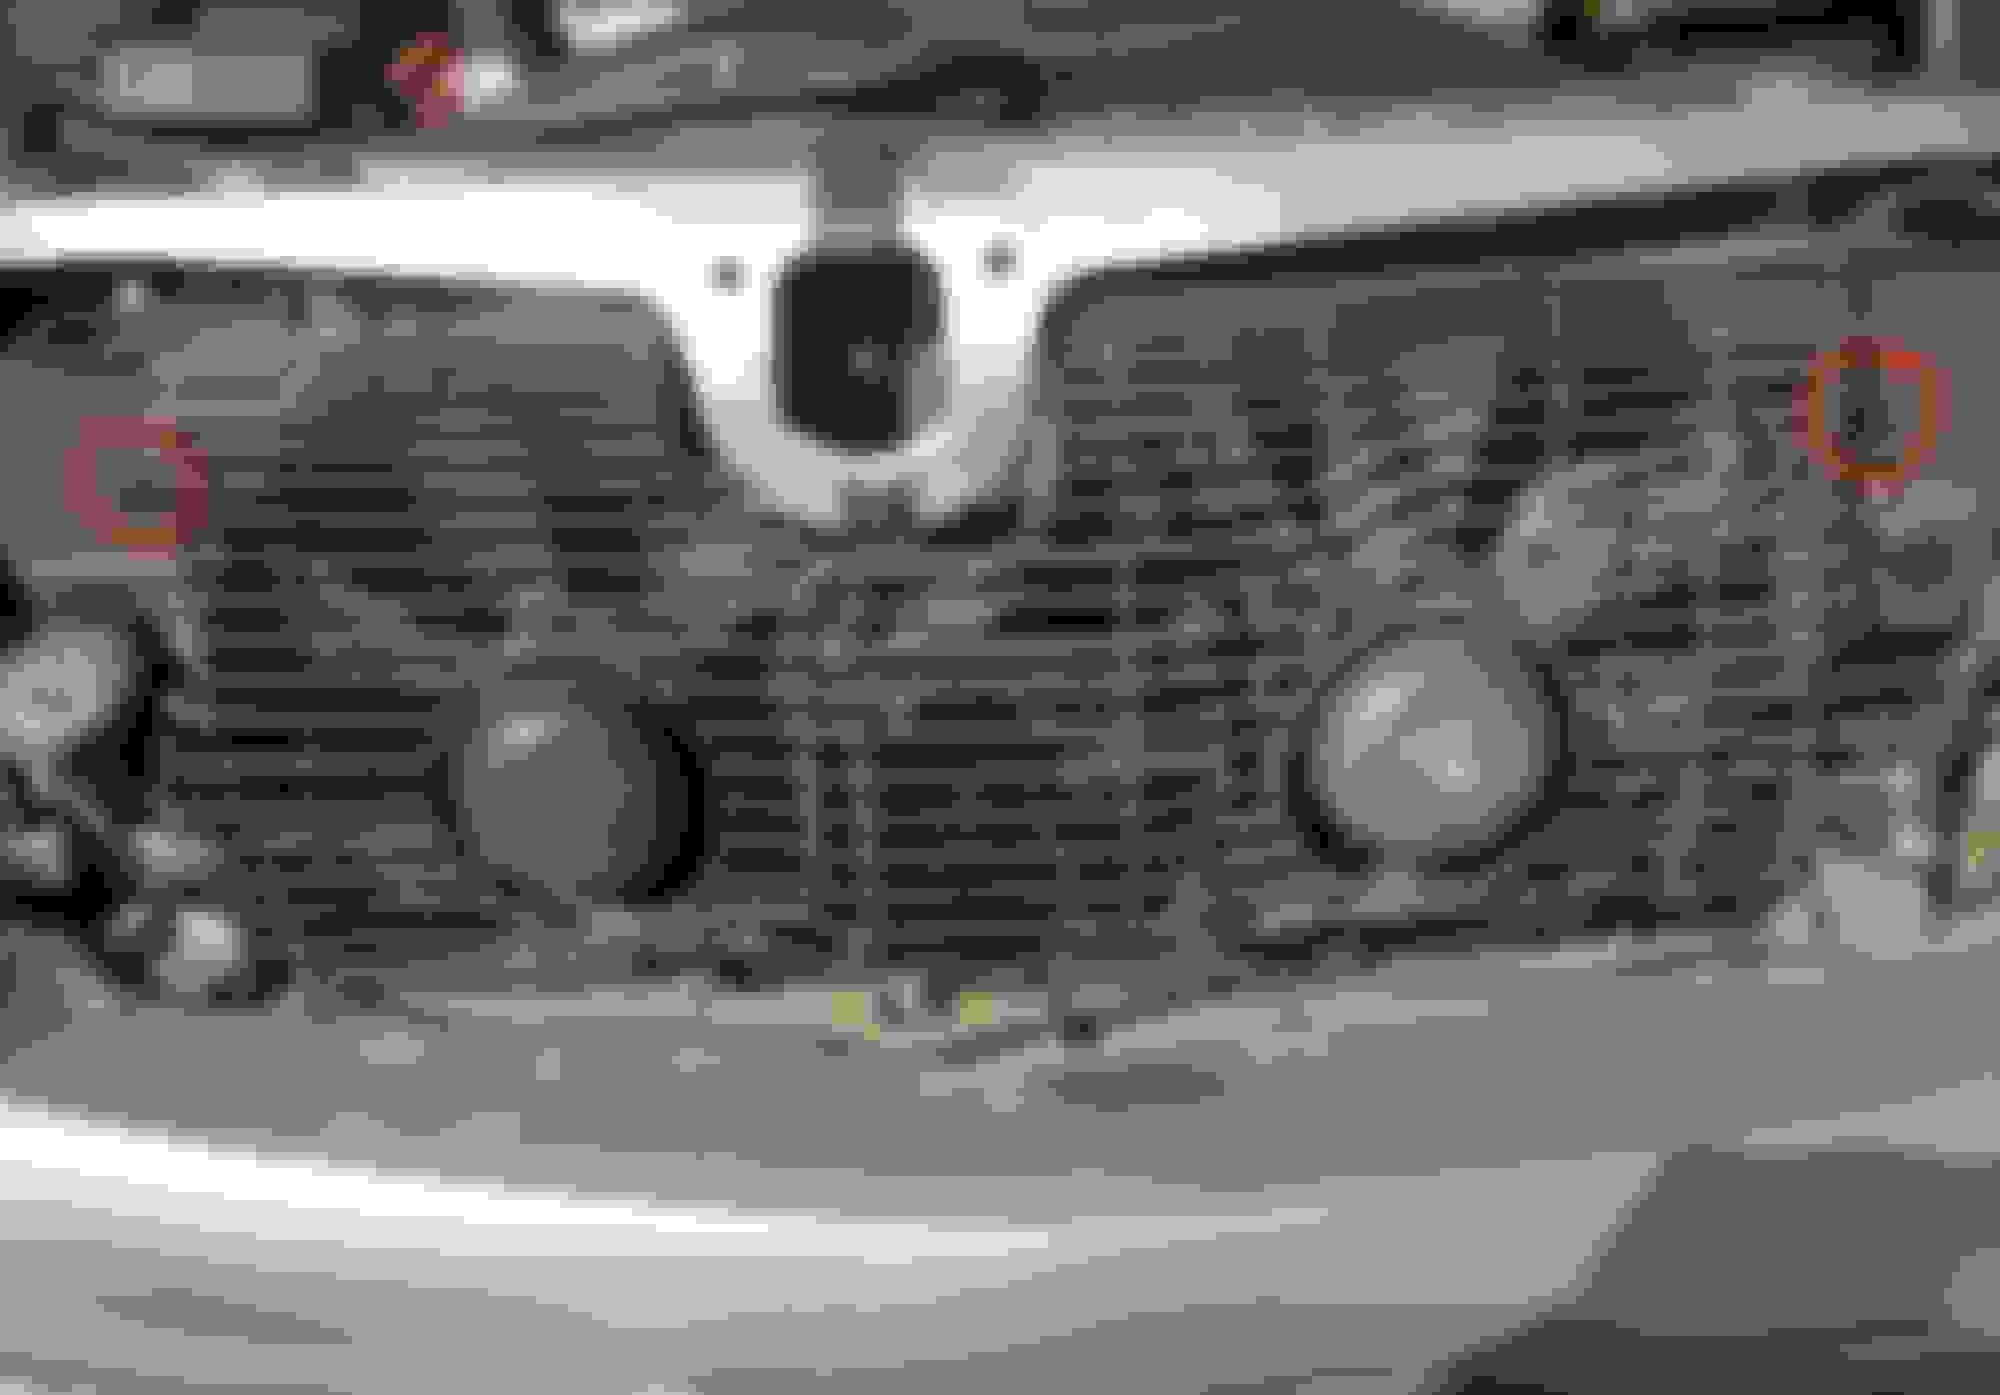
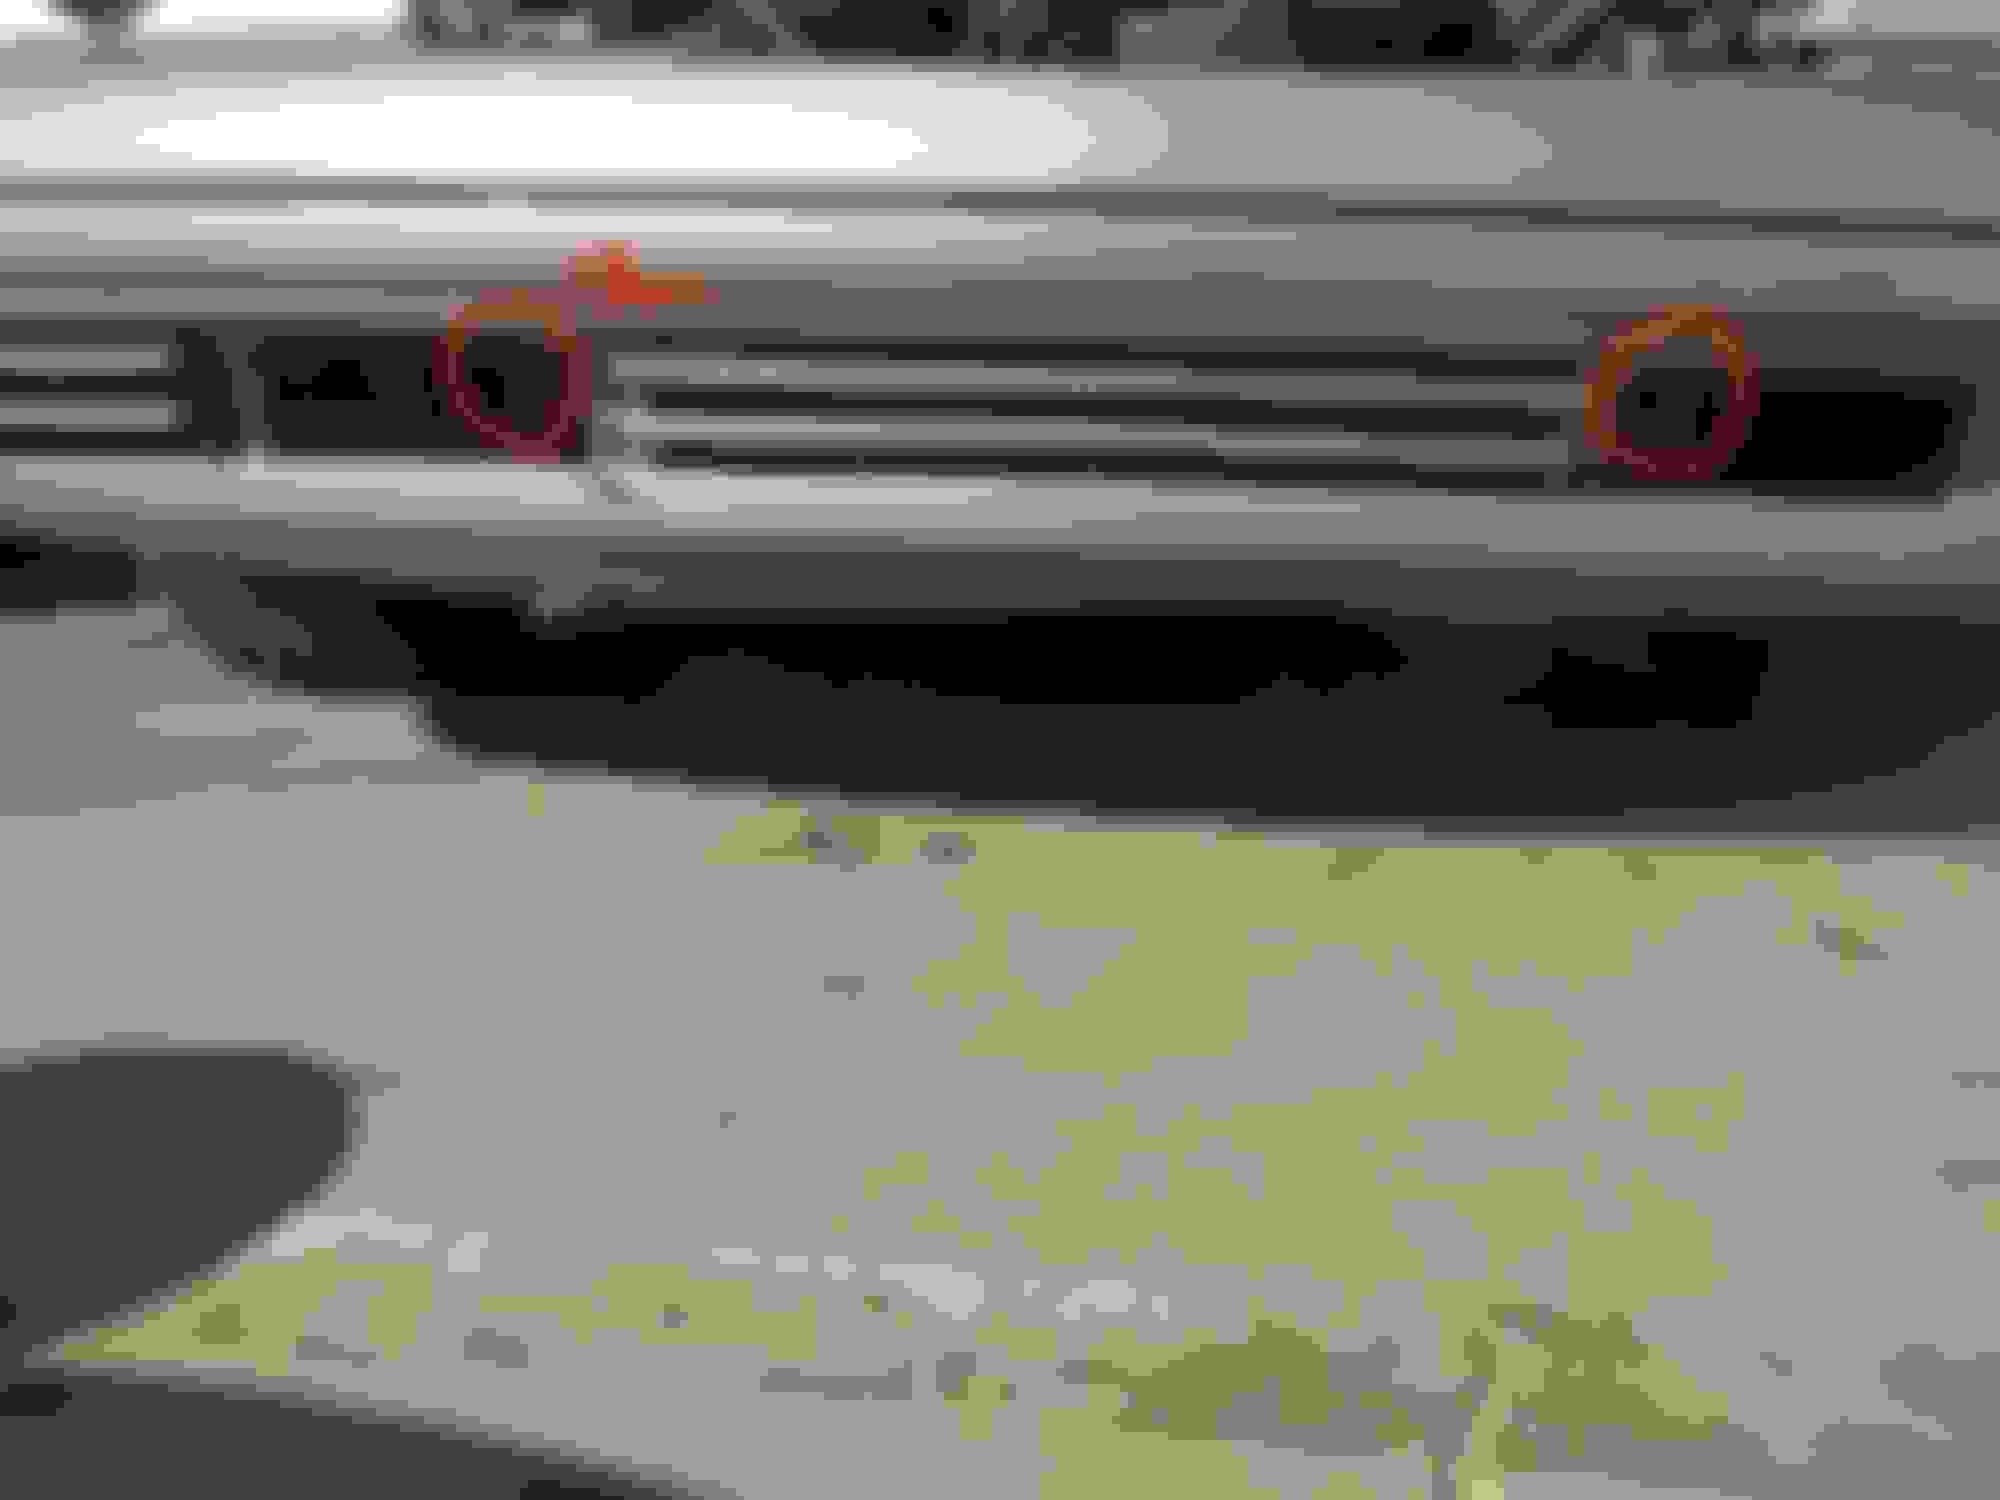
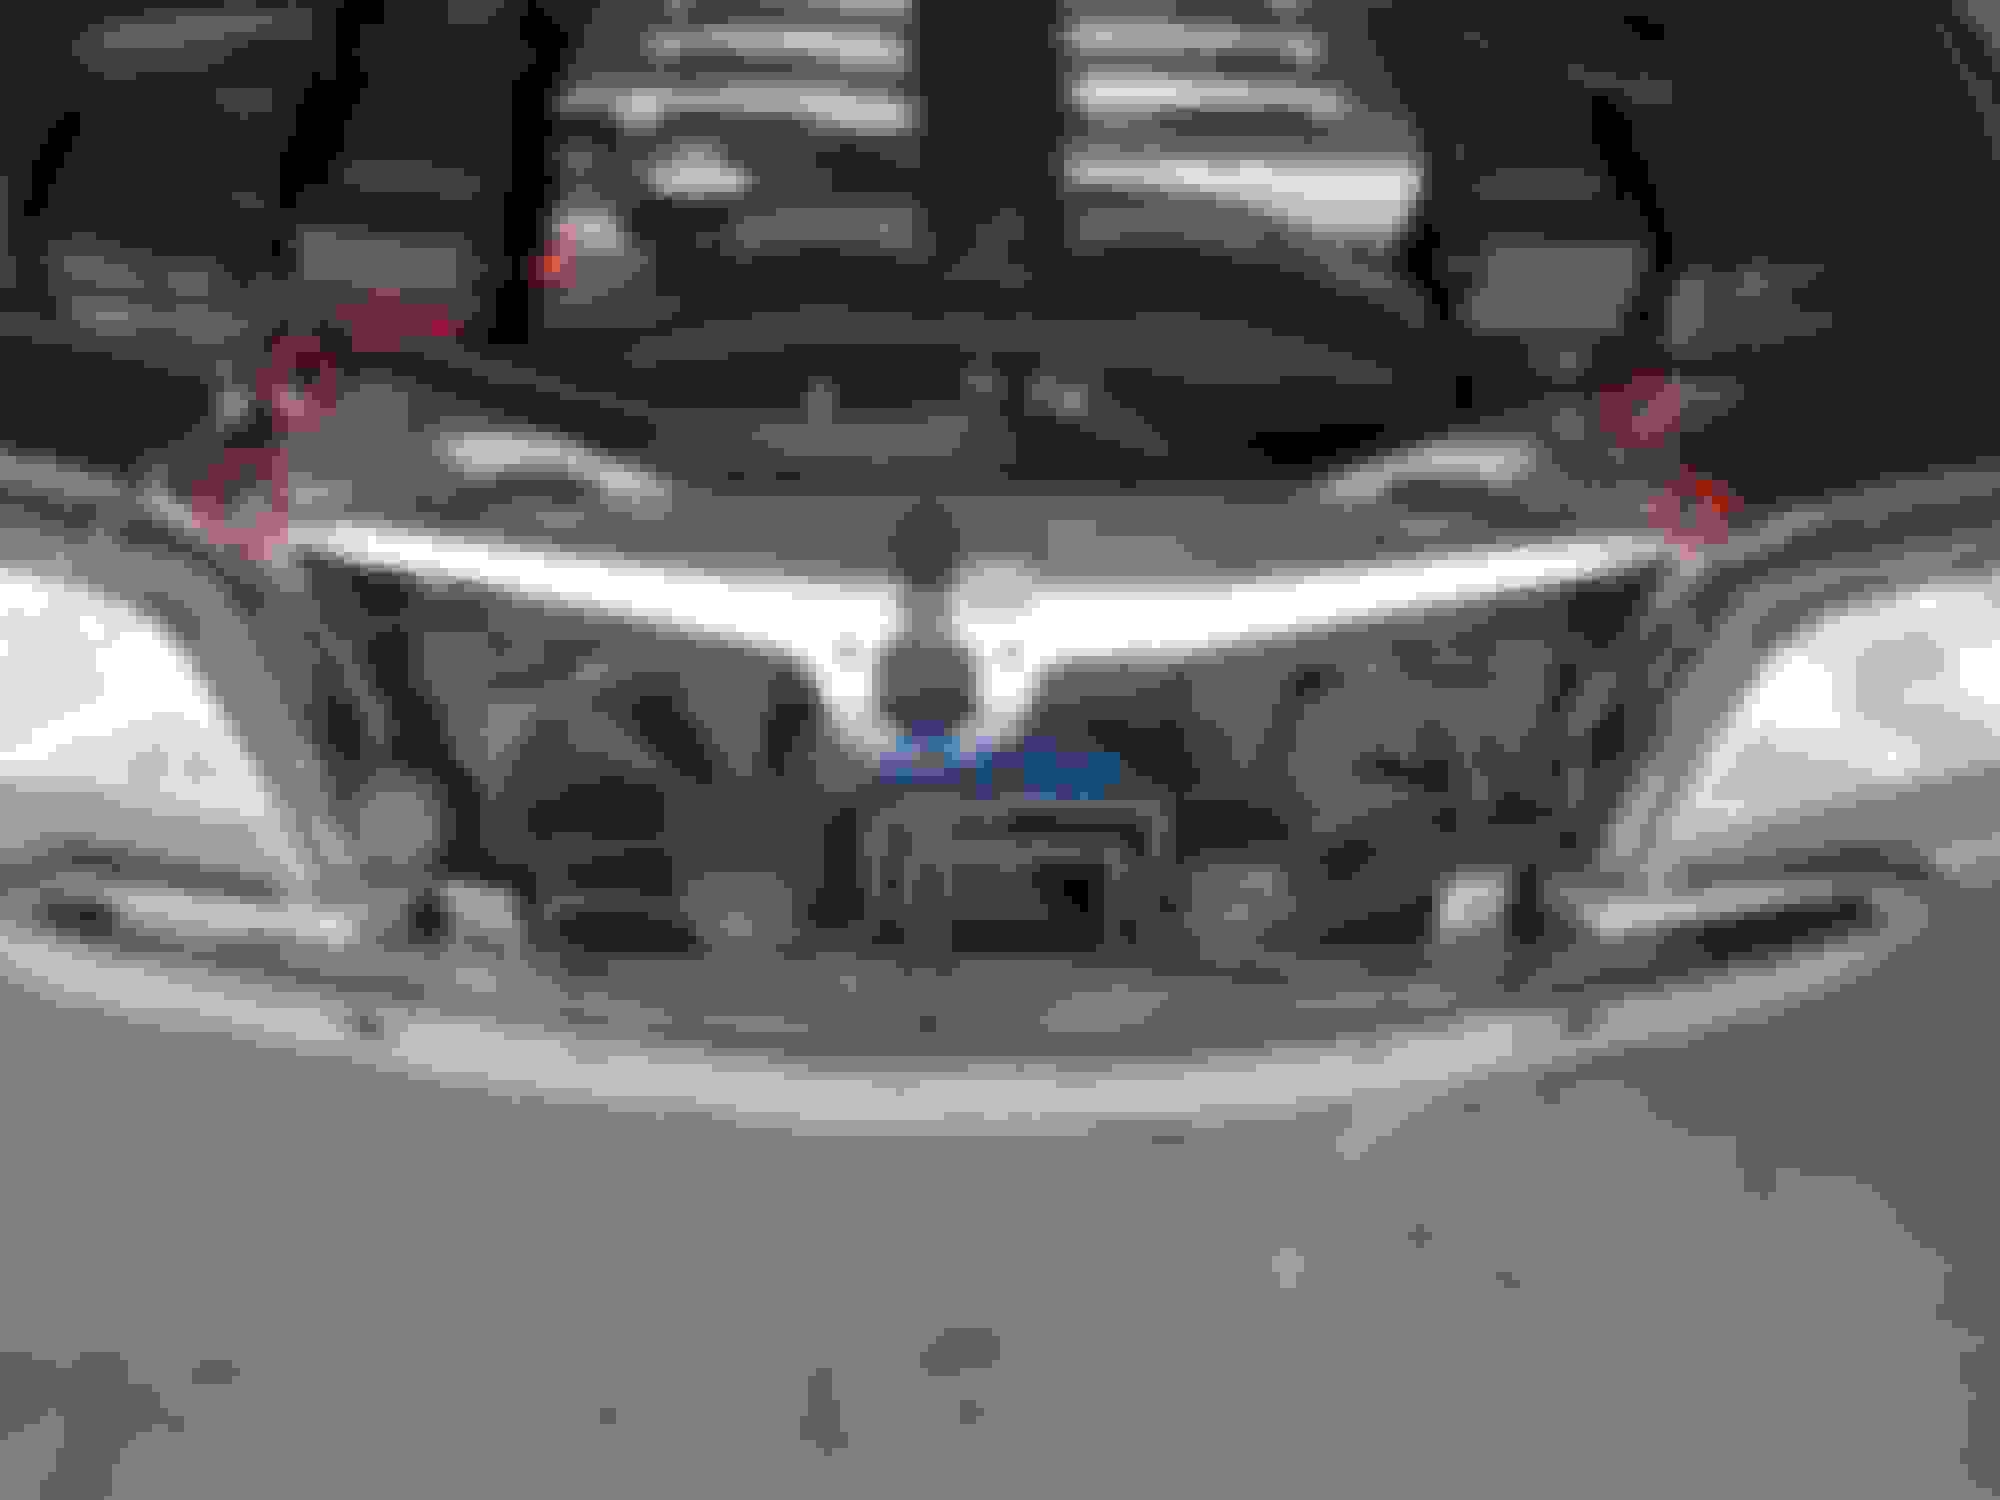
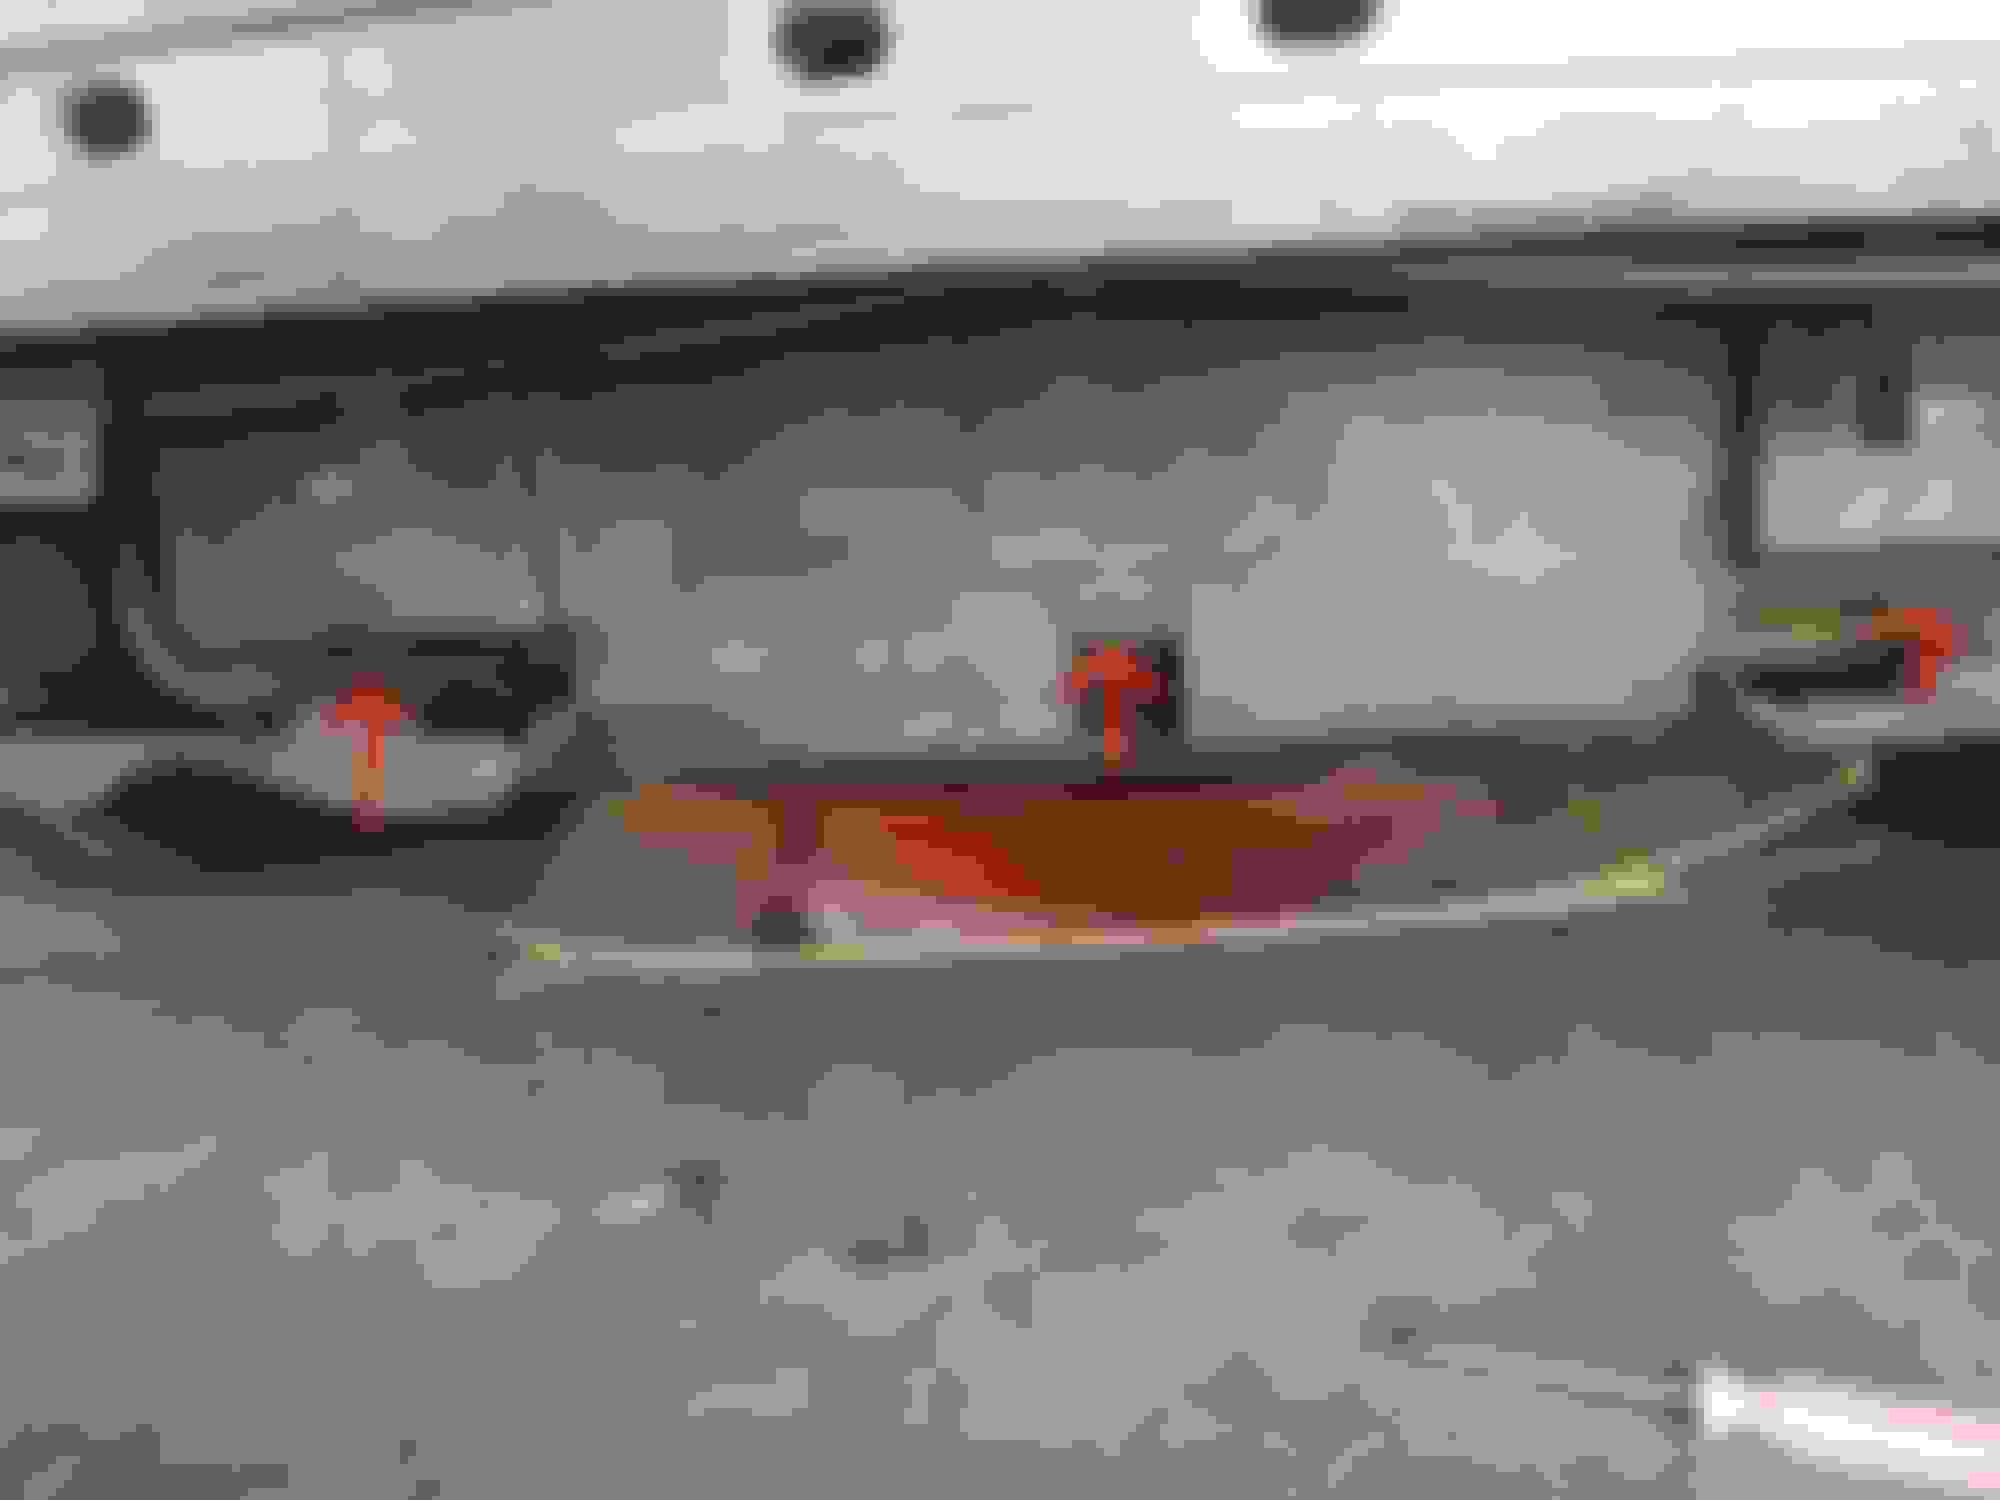
Once the bumper was off I removed the radiator support that's held in by 4 x 10mm bolts (red) and 1 x T30 screw(blue). After this I removed a plastic piece at the bottom of the radiator fans, not sure if I had to but I did. It was held by few plastic rivets. Mine was only held by 3 but once I took it off it looked like it was supposed to have more.
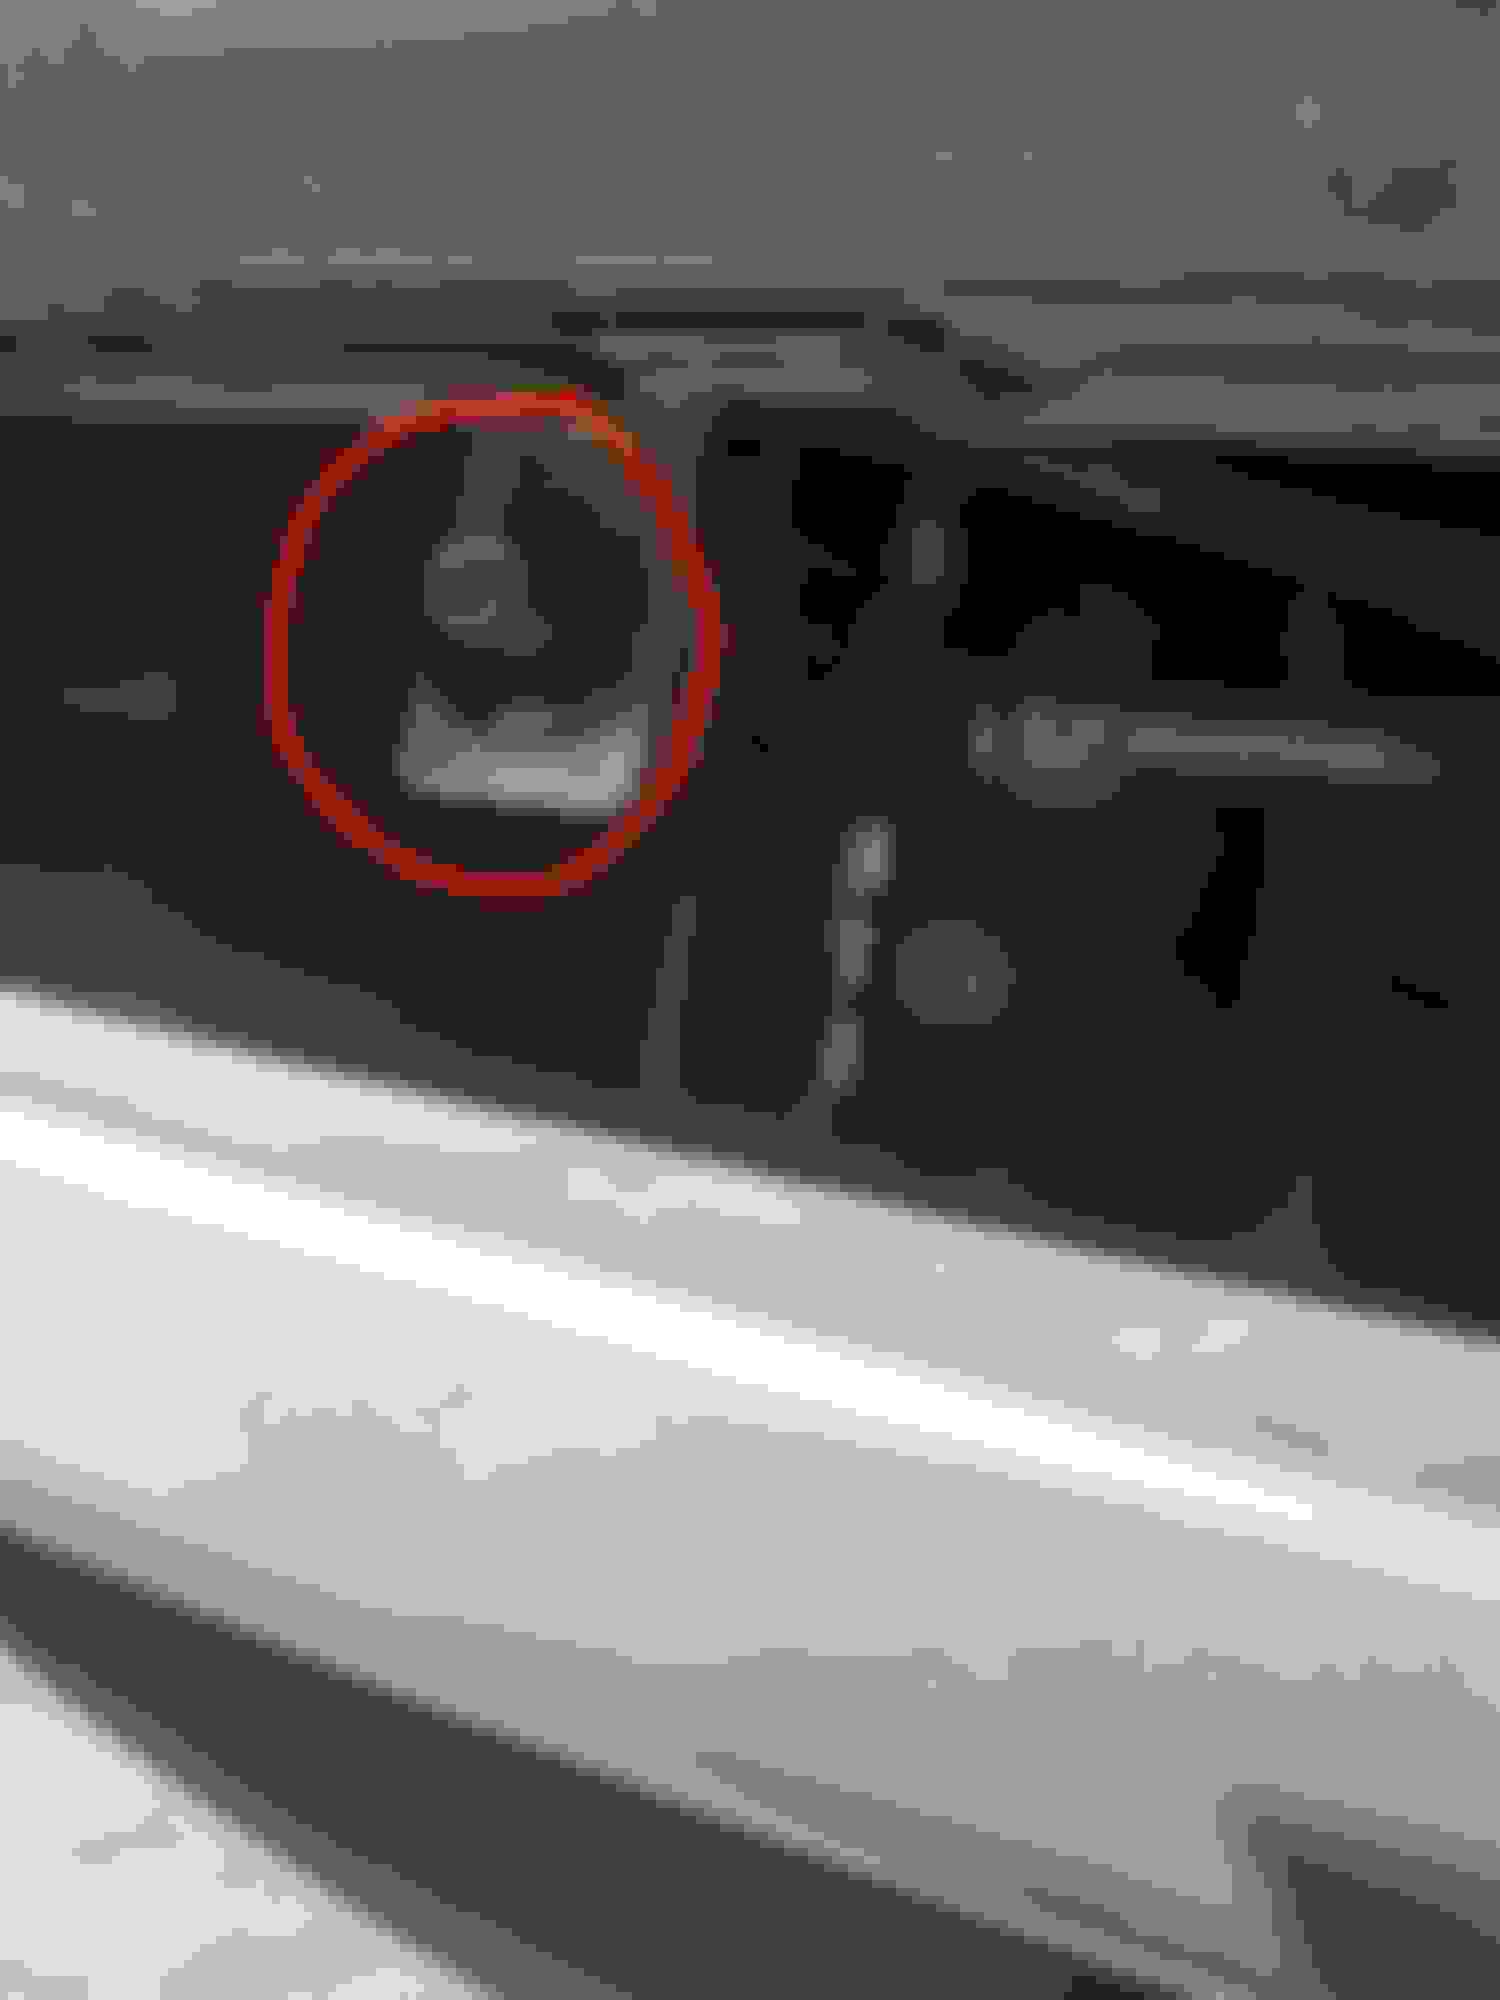
This is where this plastic piece is located, it attaches at the bottom of the plastic fan. I think I could have taken it out with the fan but mine was loose so I just did it now.
Here is where the rivets are:
After taking the rivets out the piece was off. You can see the wholes on it where the rivets go. I had only 3 but it looks like it was missing few more.
Next I removed this bracket that radiator support attaches to at the top. Its just one 10mm bolt.
Next I unplugged radiator fan wiring on both sides.
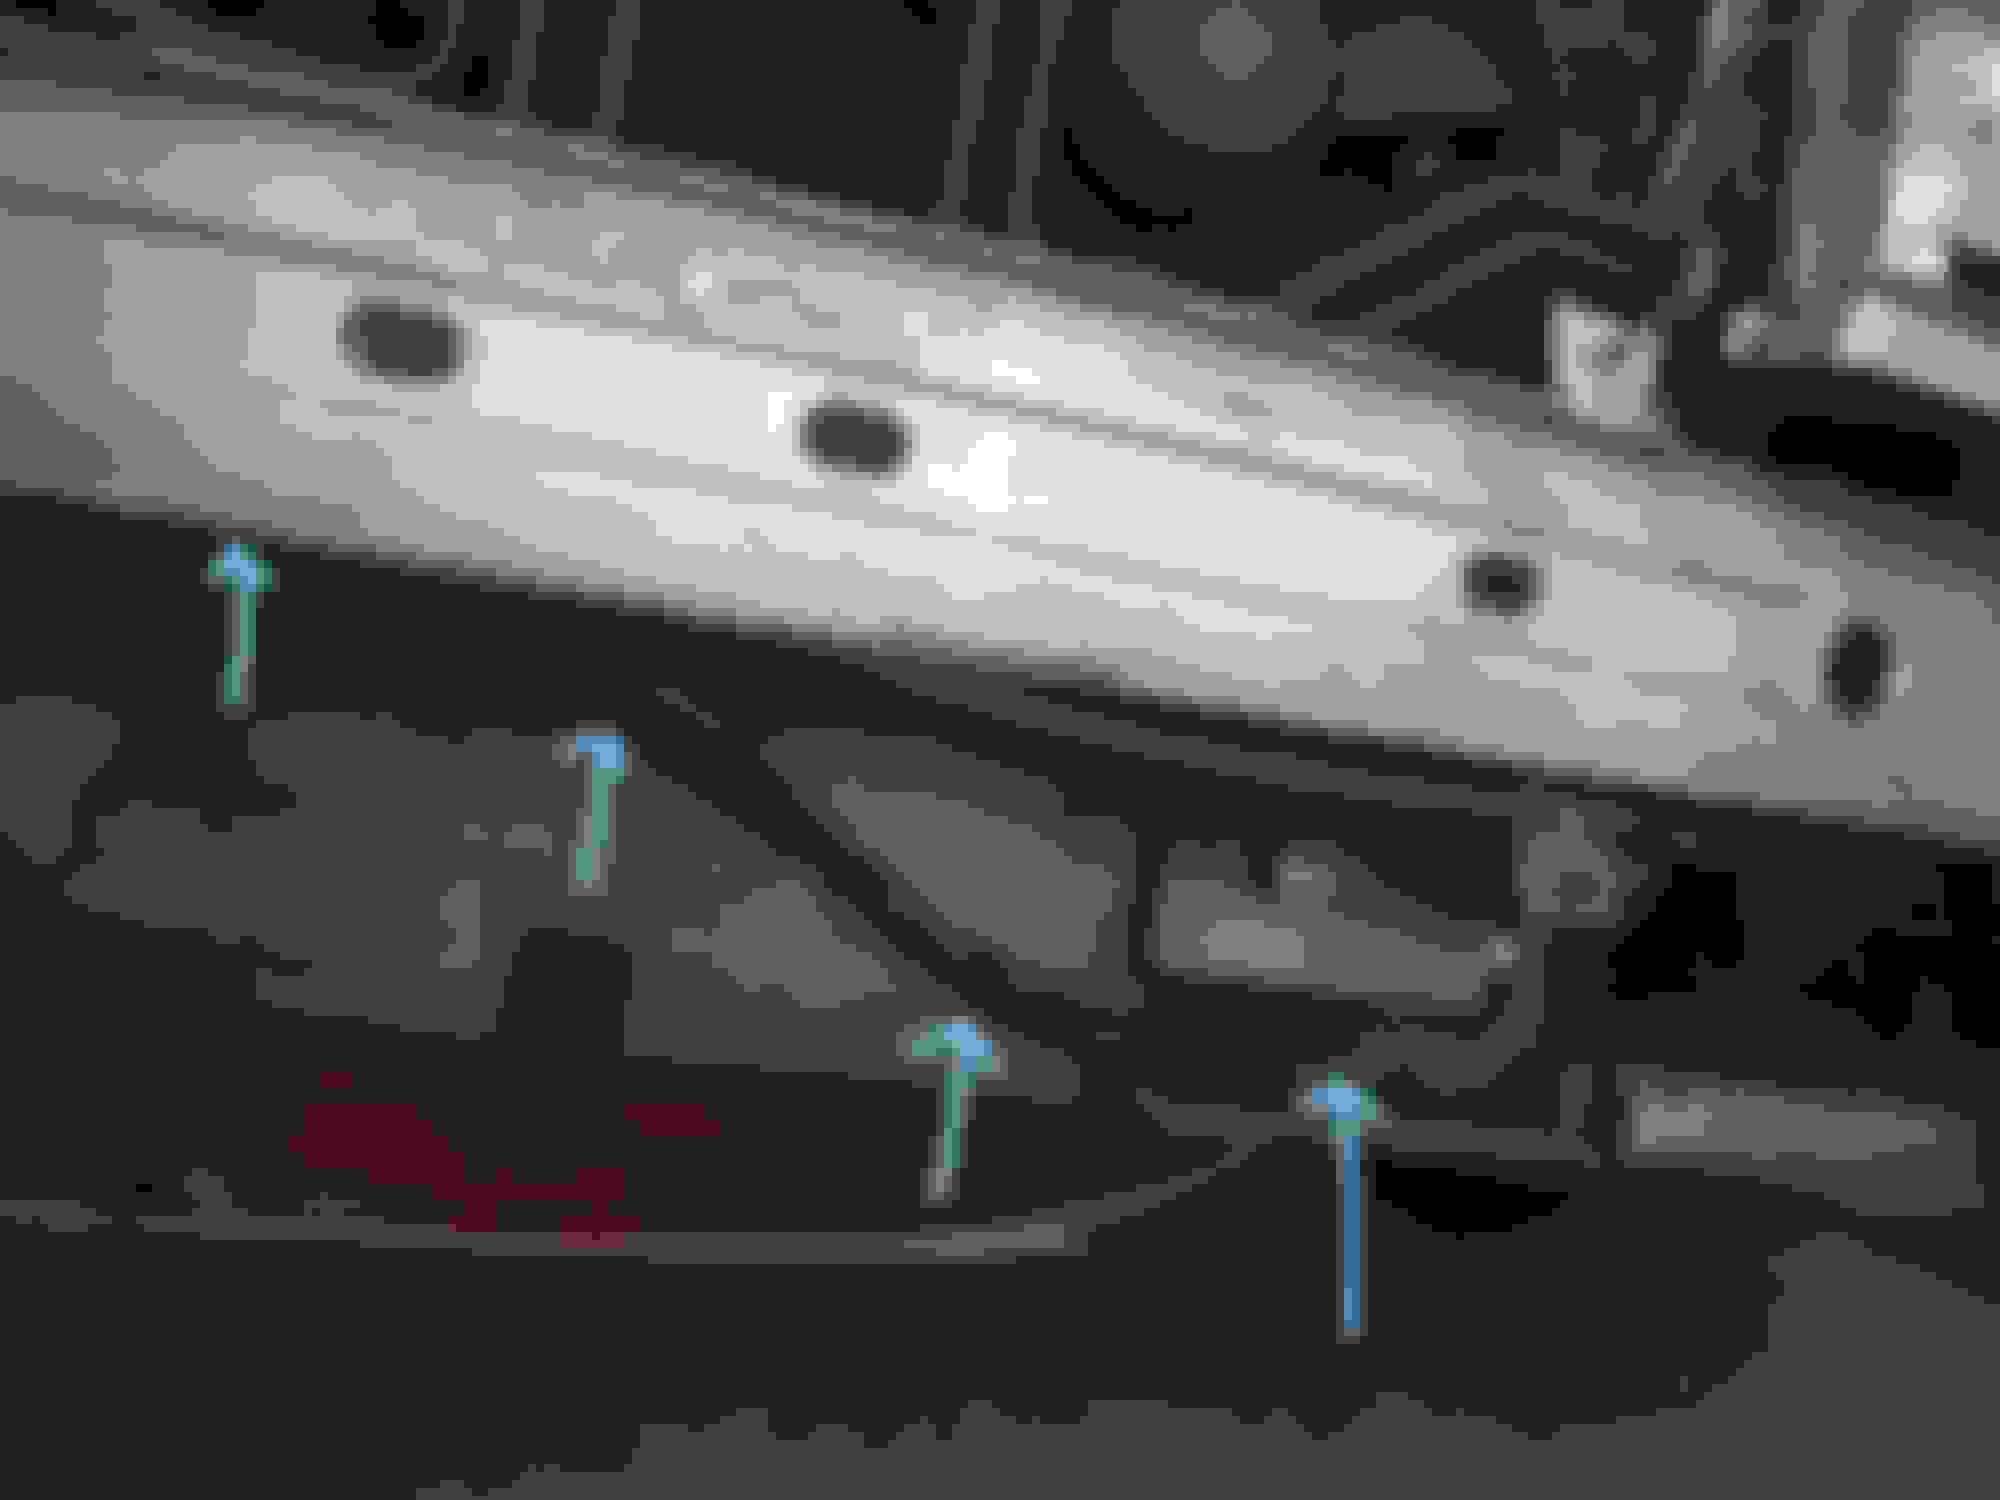
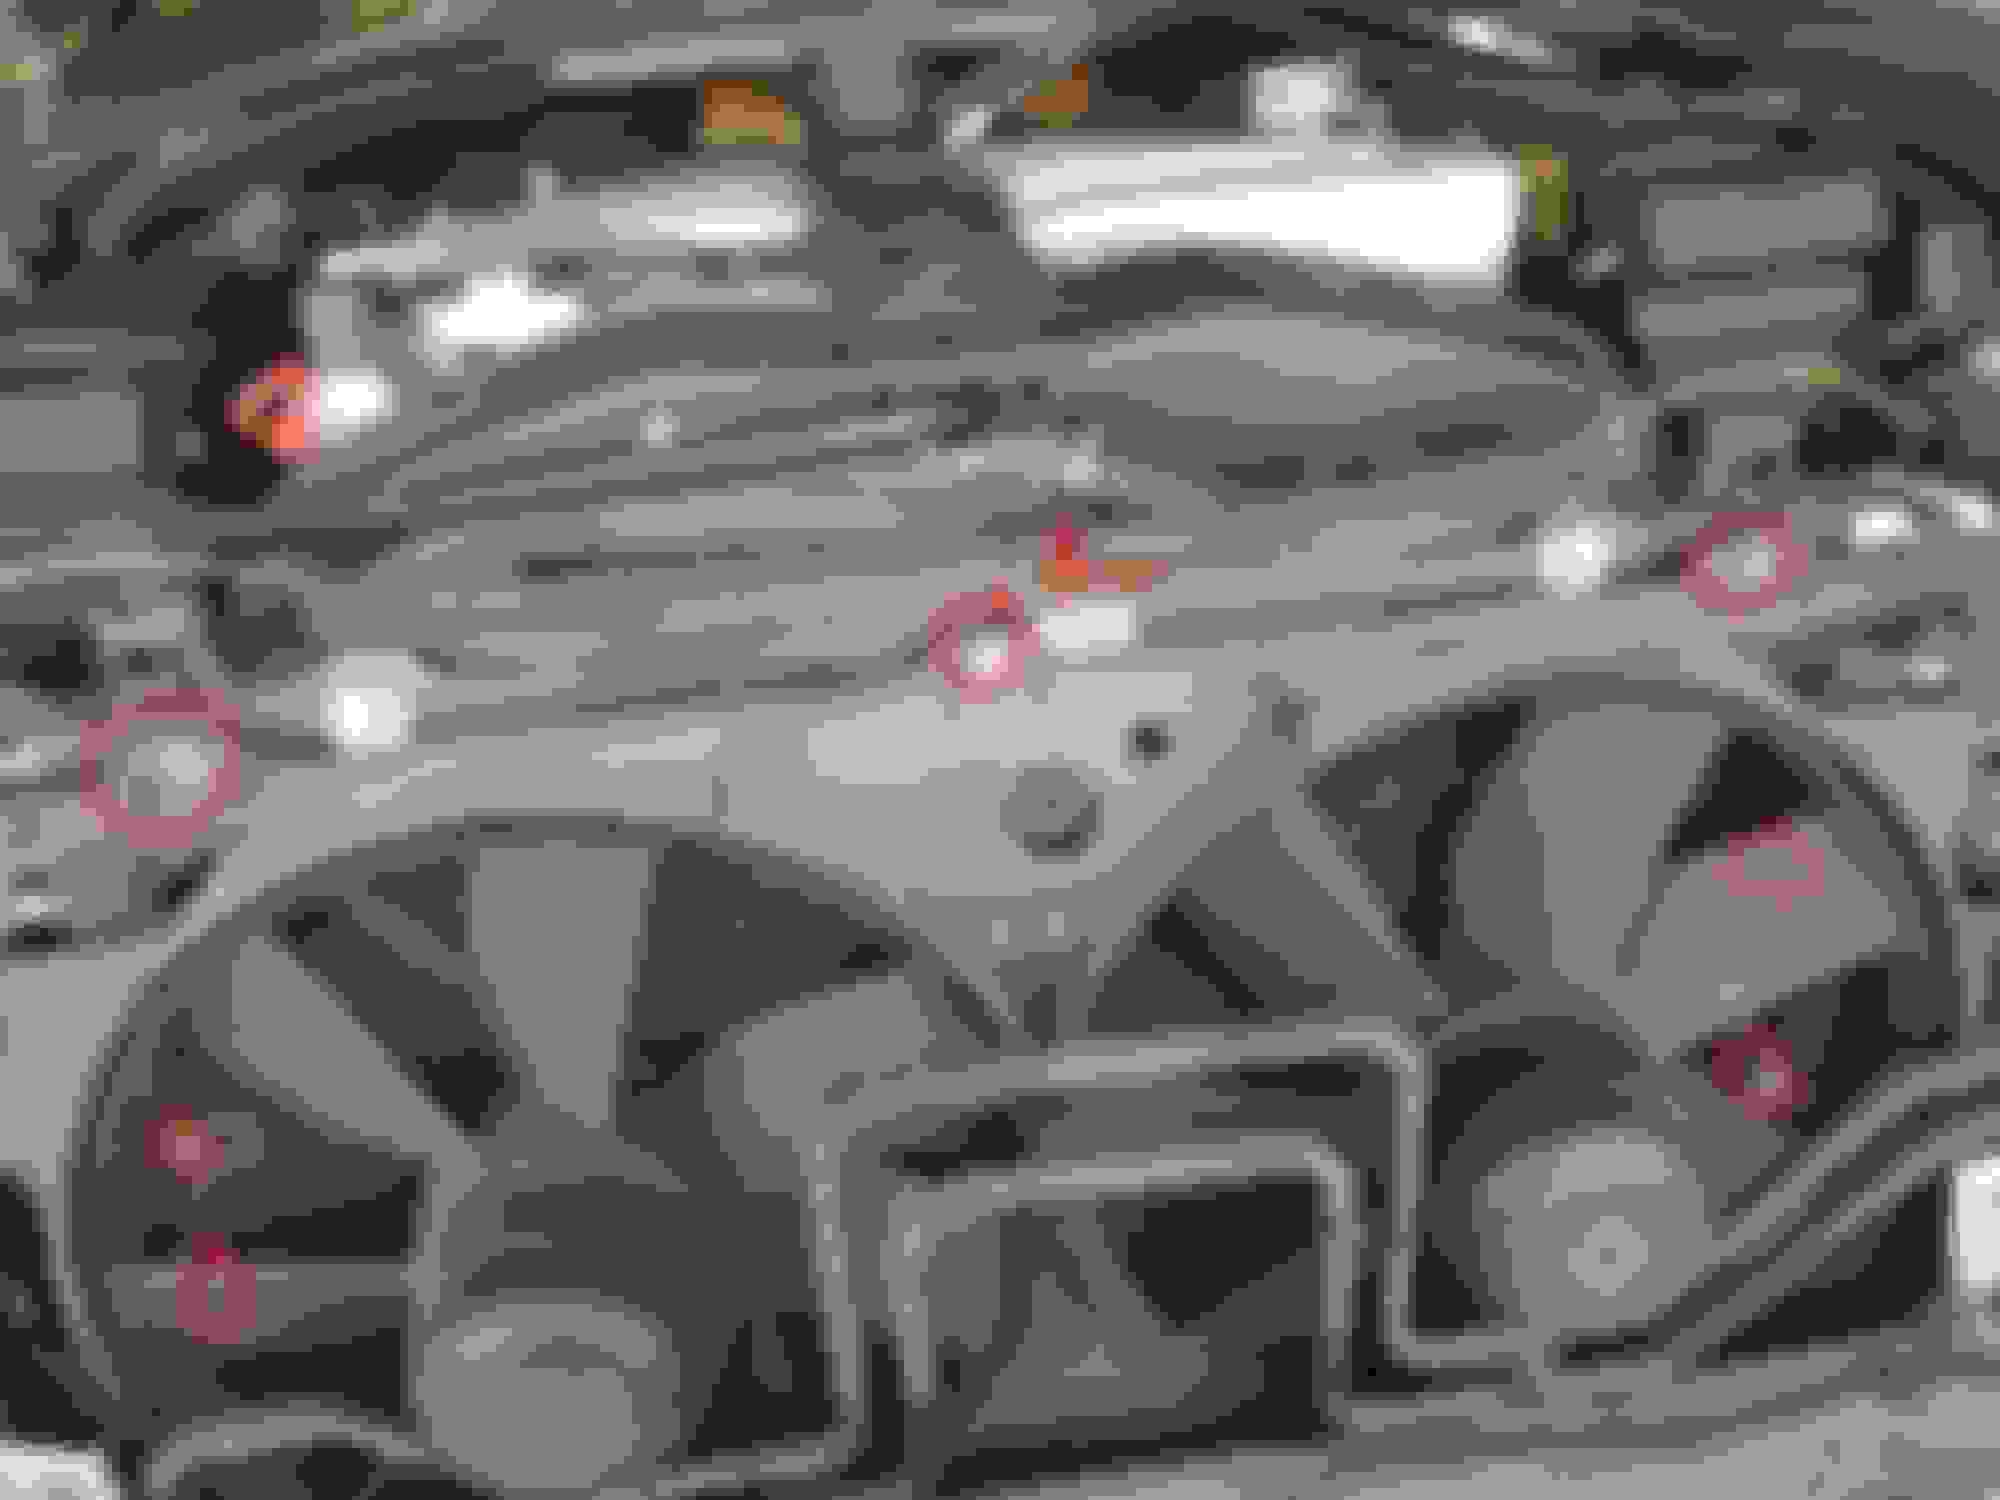
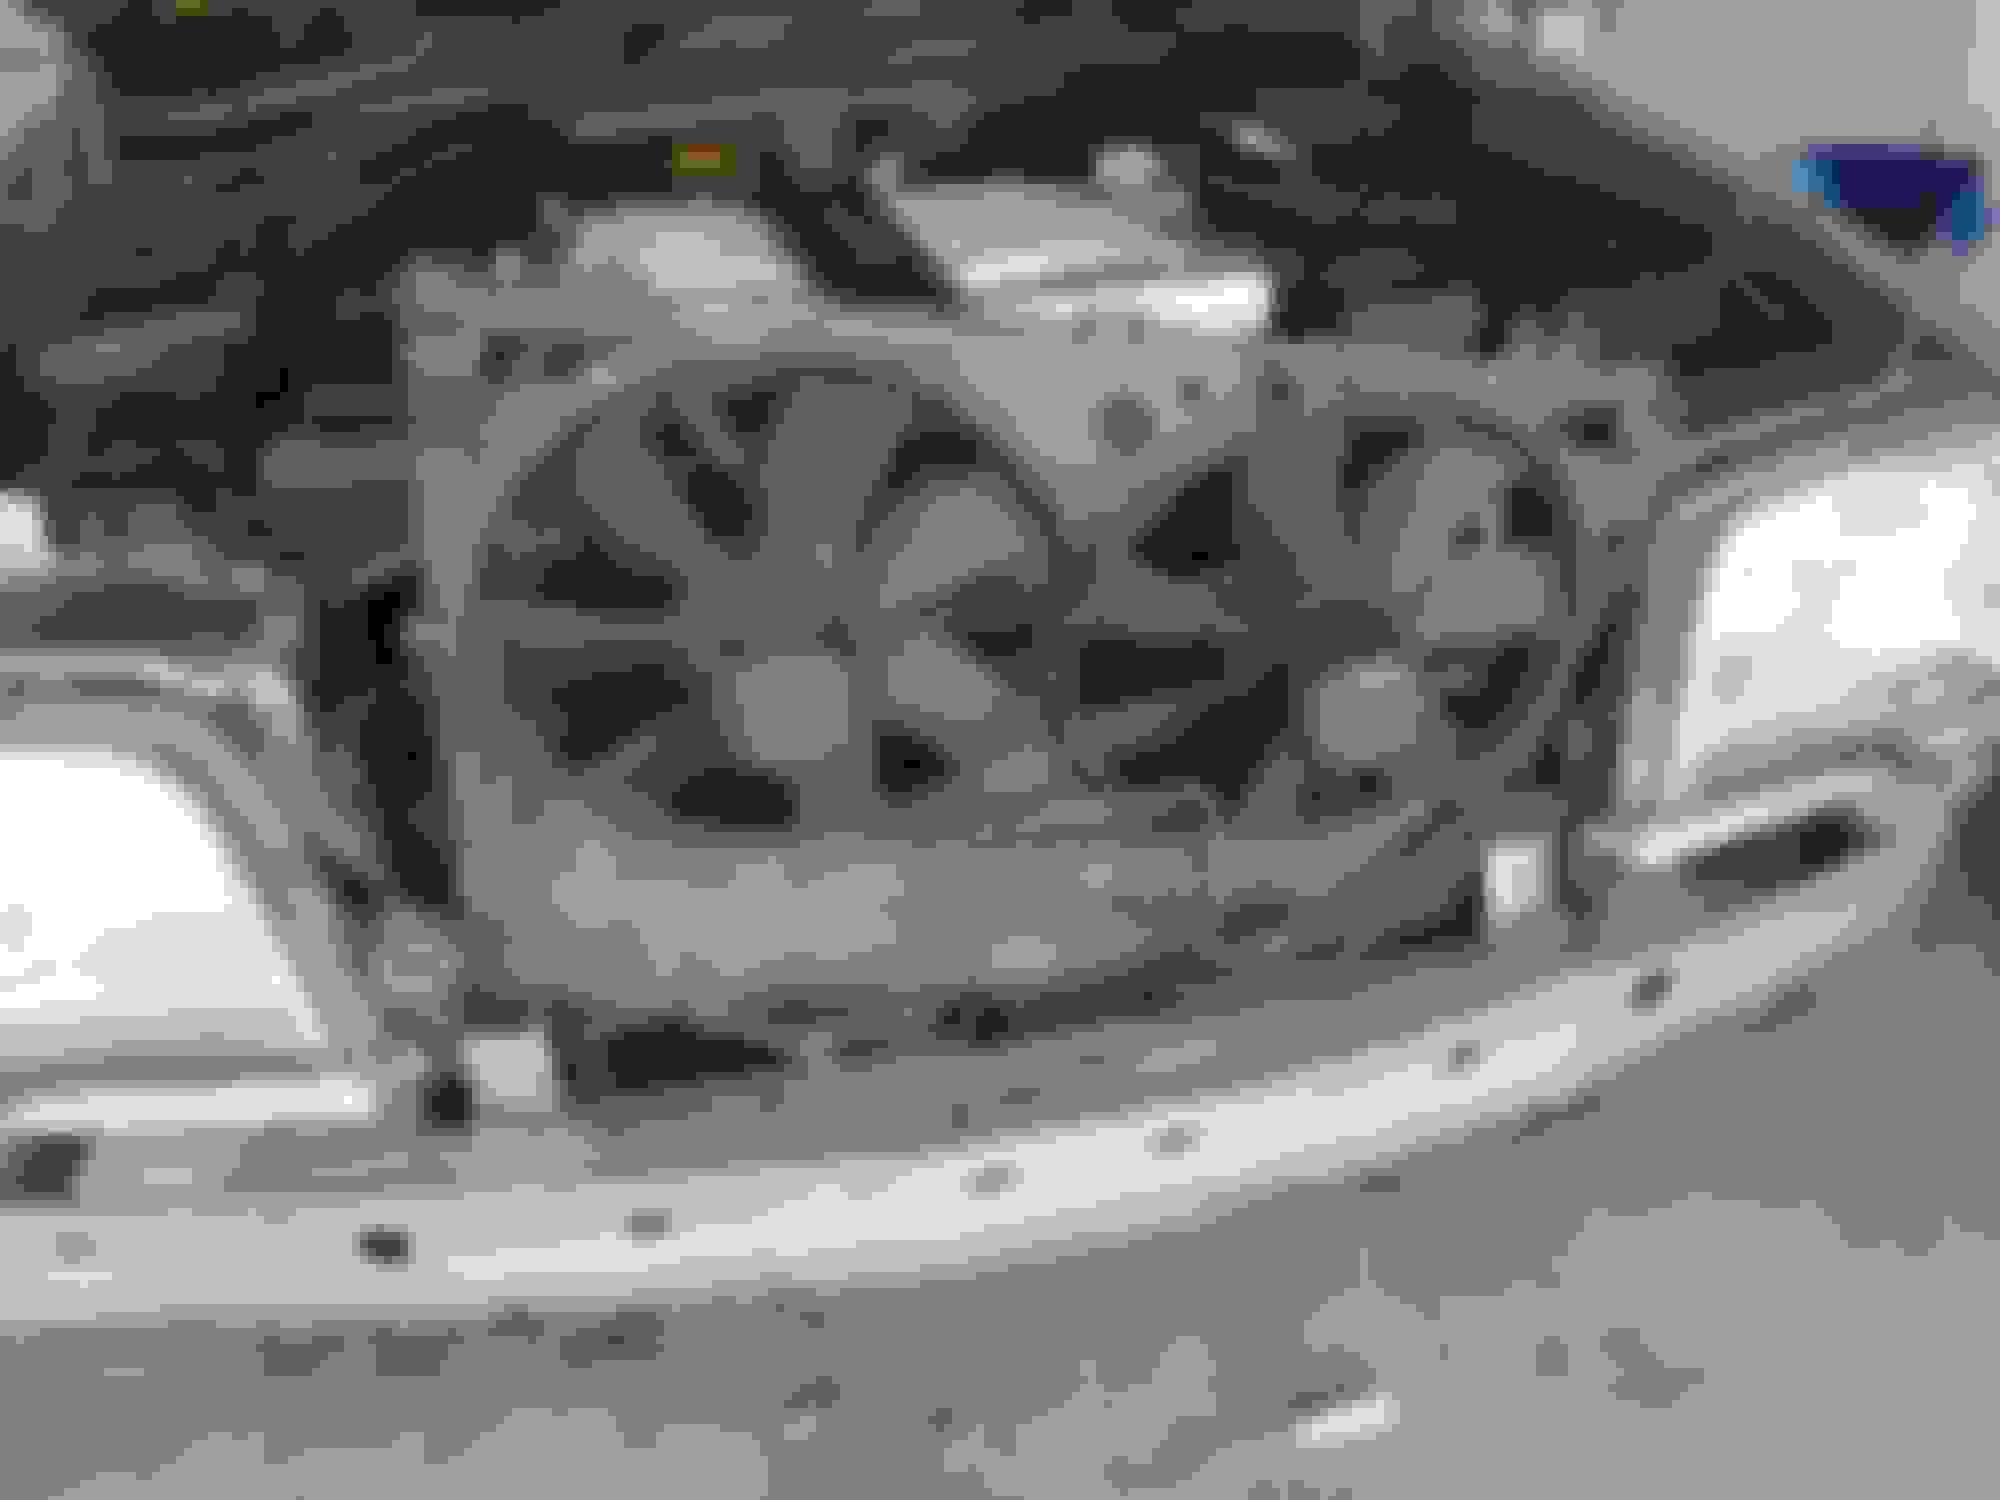
Next step was removing 7x 8mm bolts holding the fan assembly.
Closer look at the blots behind the fan blades.
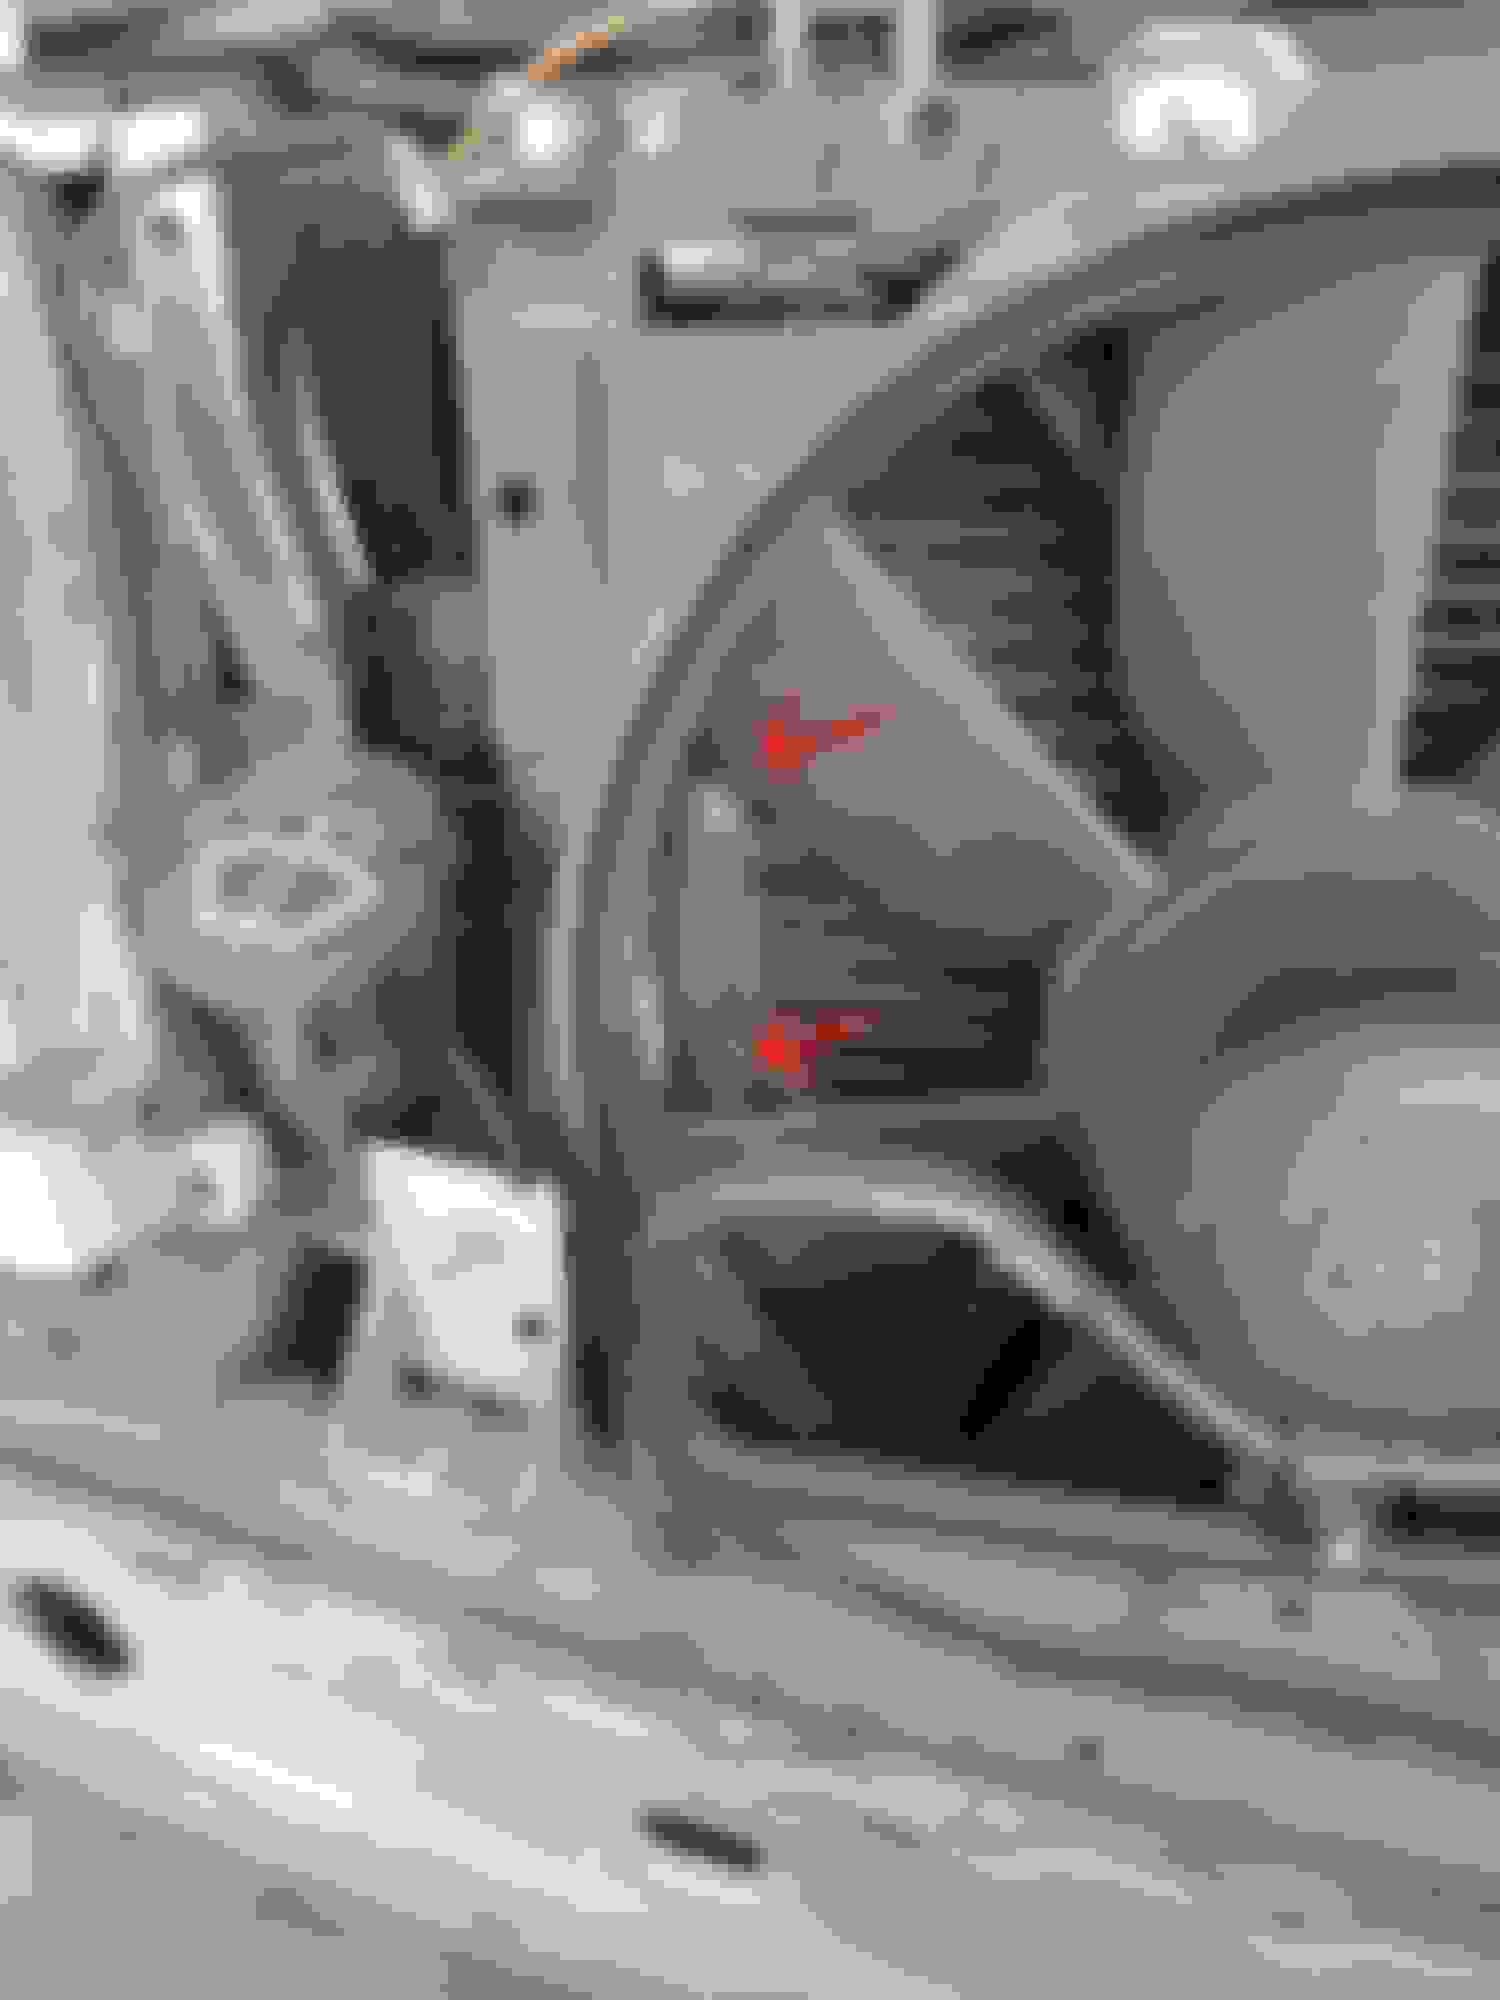
After these 7 screws were taken out, radiator fans were held only by 3 really strong metal clips (just a U-shaped metal) at the very bottom. I was lucky that mine was held by only 1 so it was easy to release it. To release I separated it with a big screwdriver. This is where having the bumper off came in handy I think. I had a lot of space.
Once clips are released radiator fan assembly can come out...
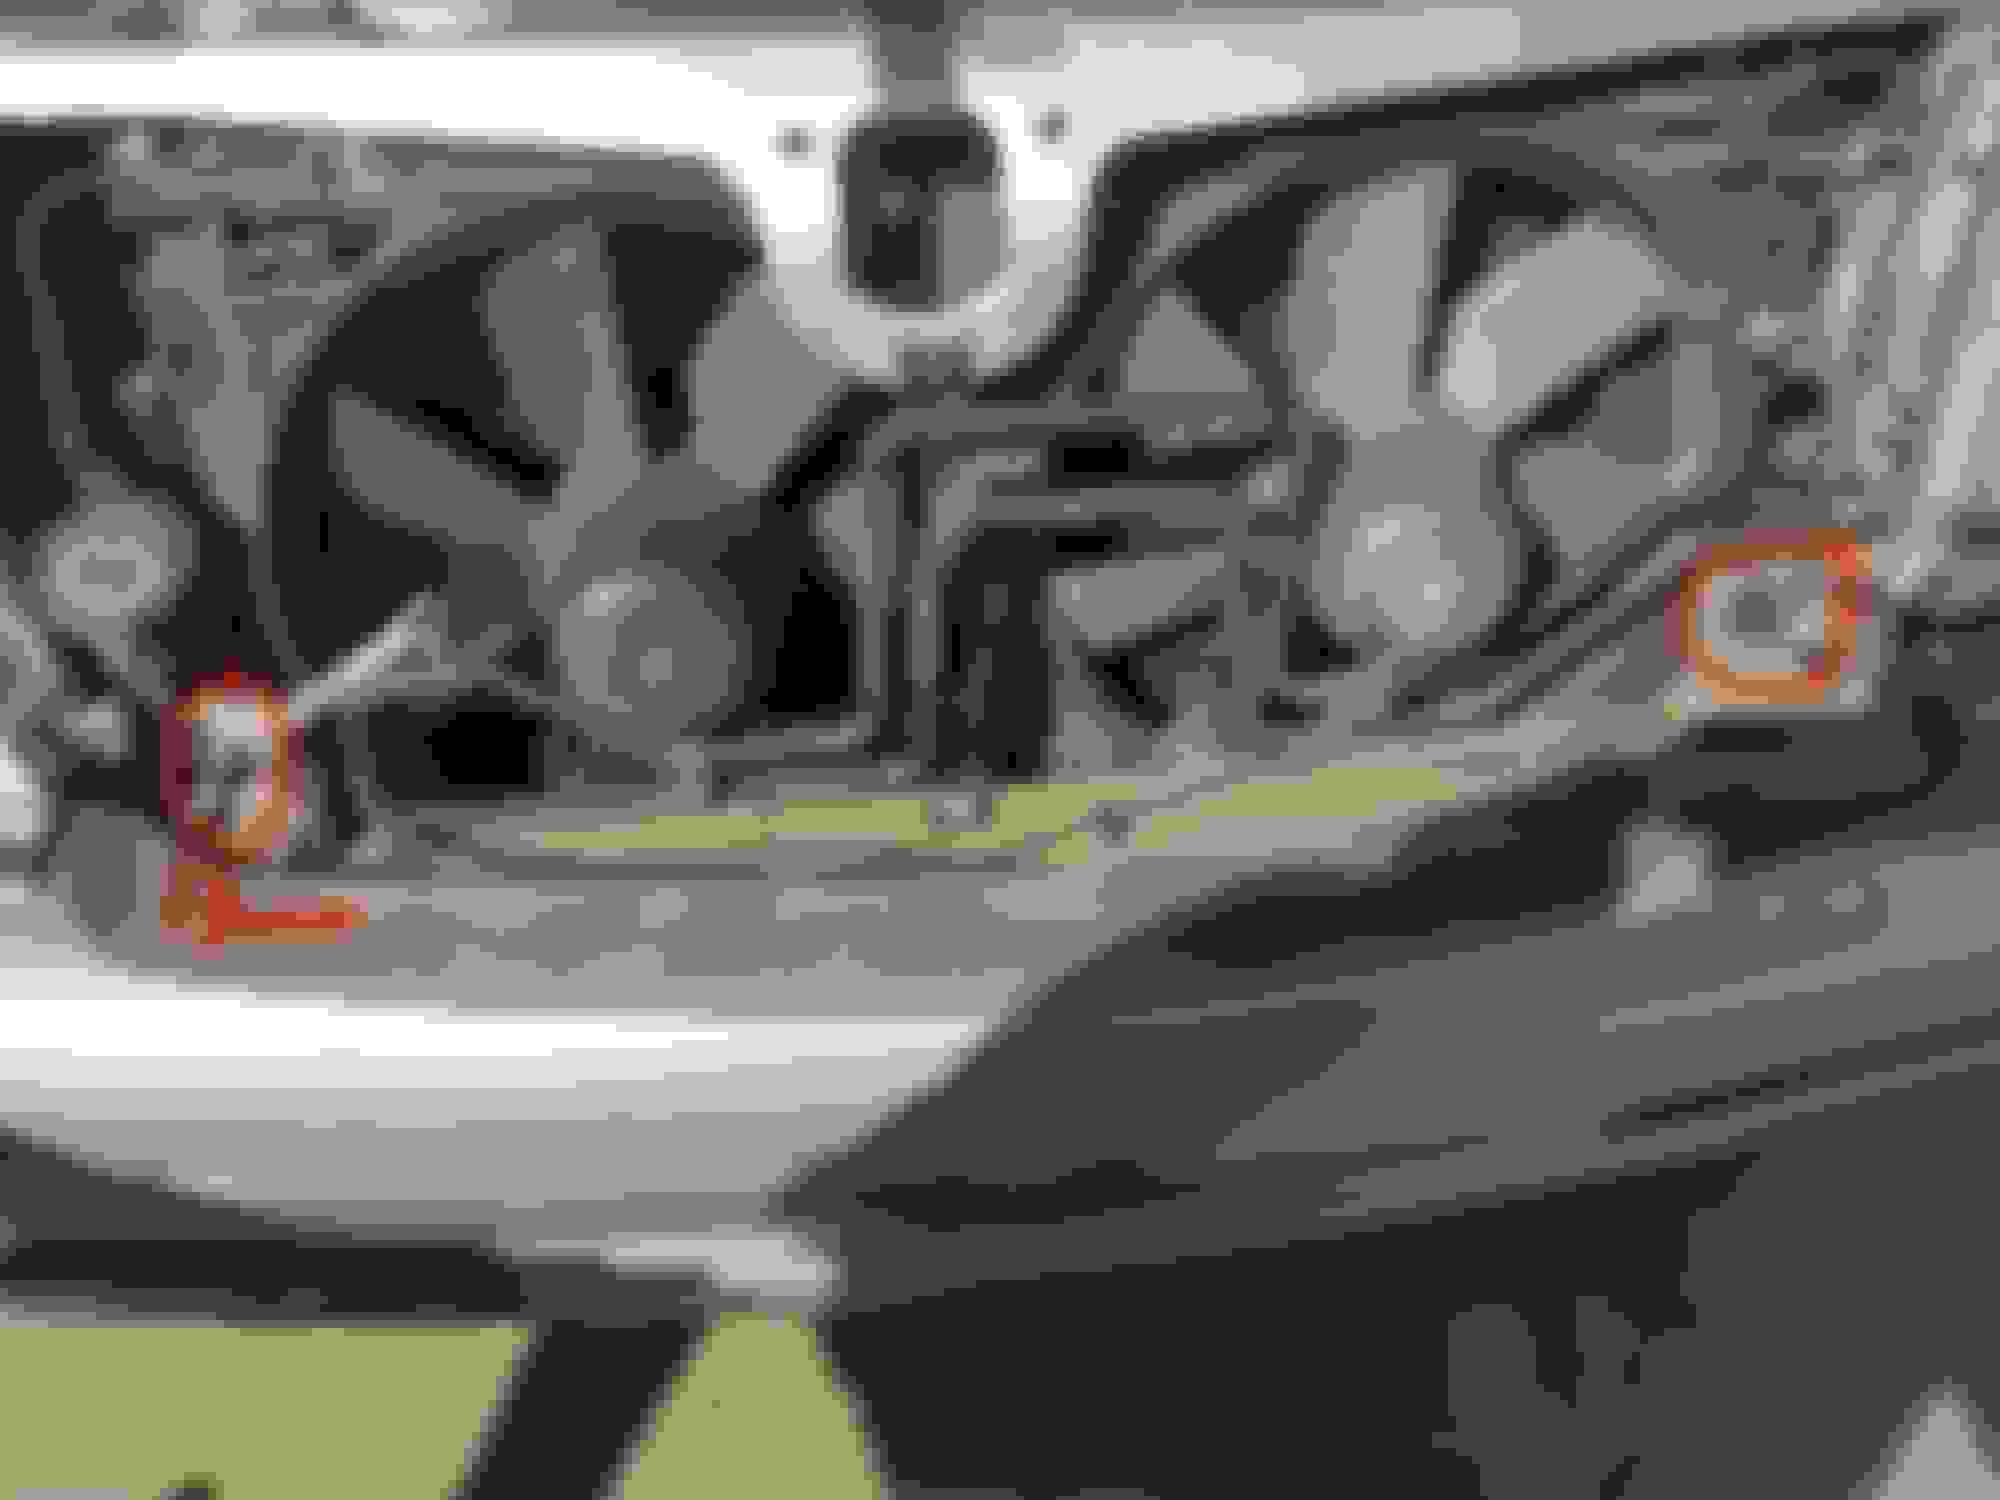
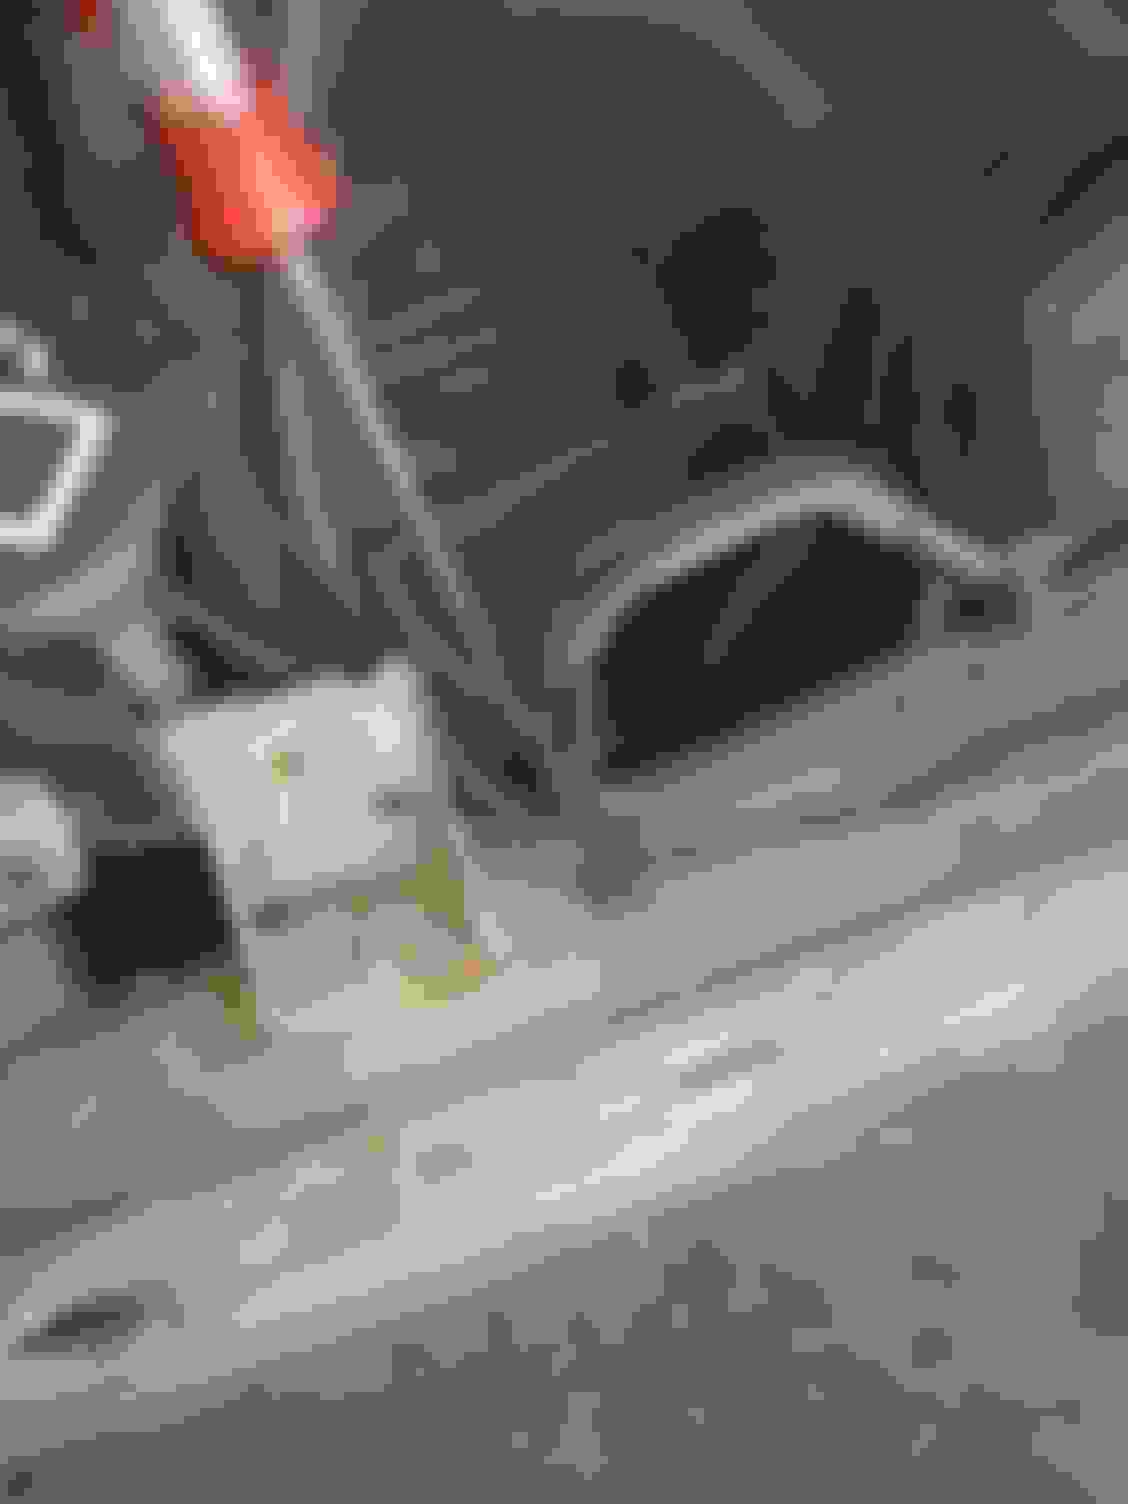
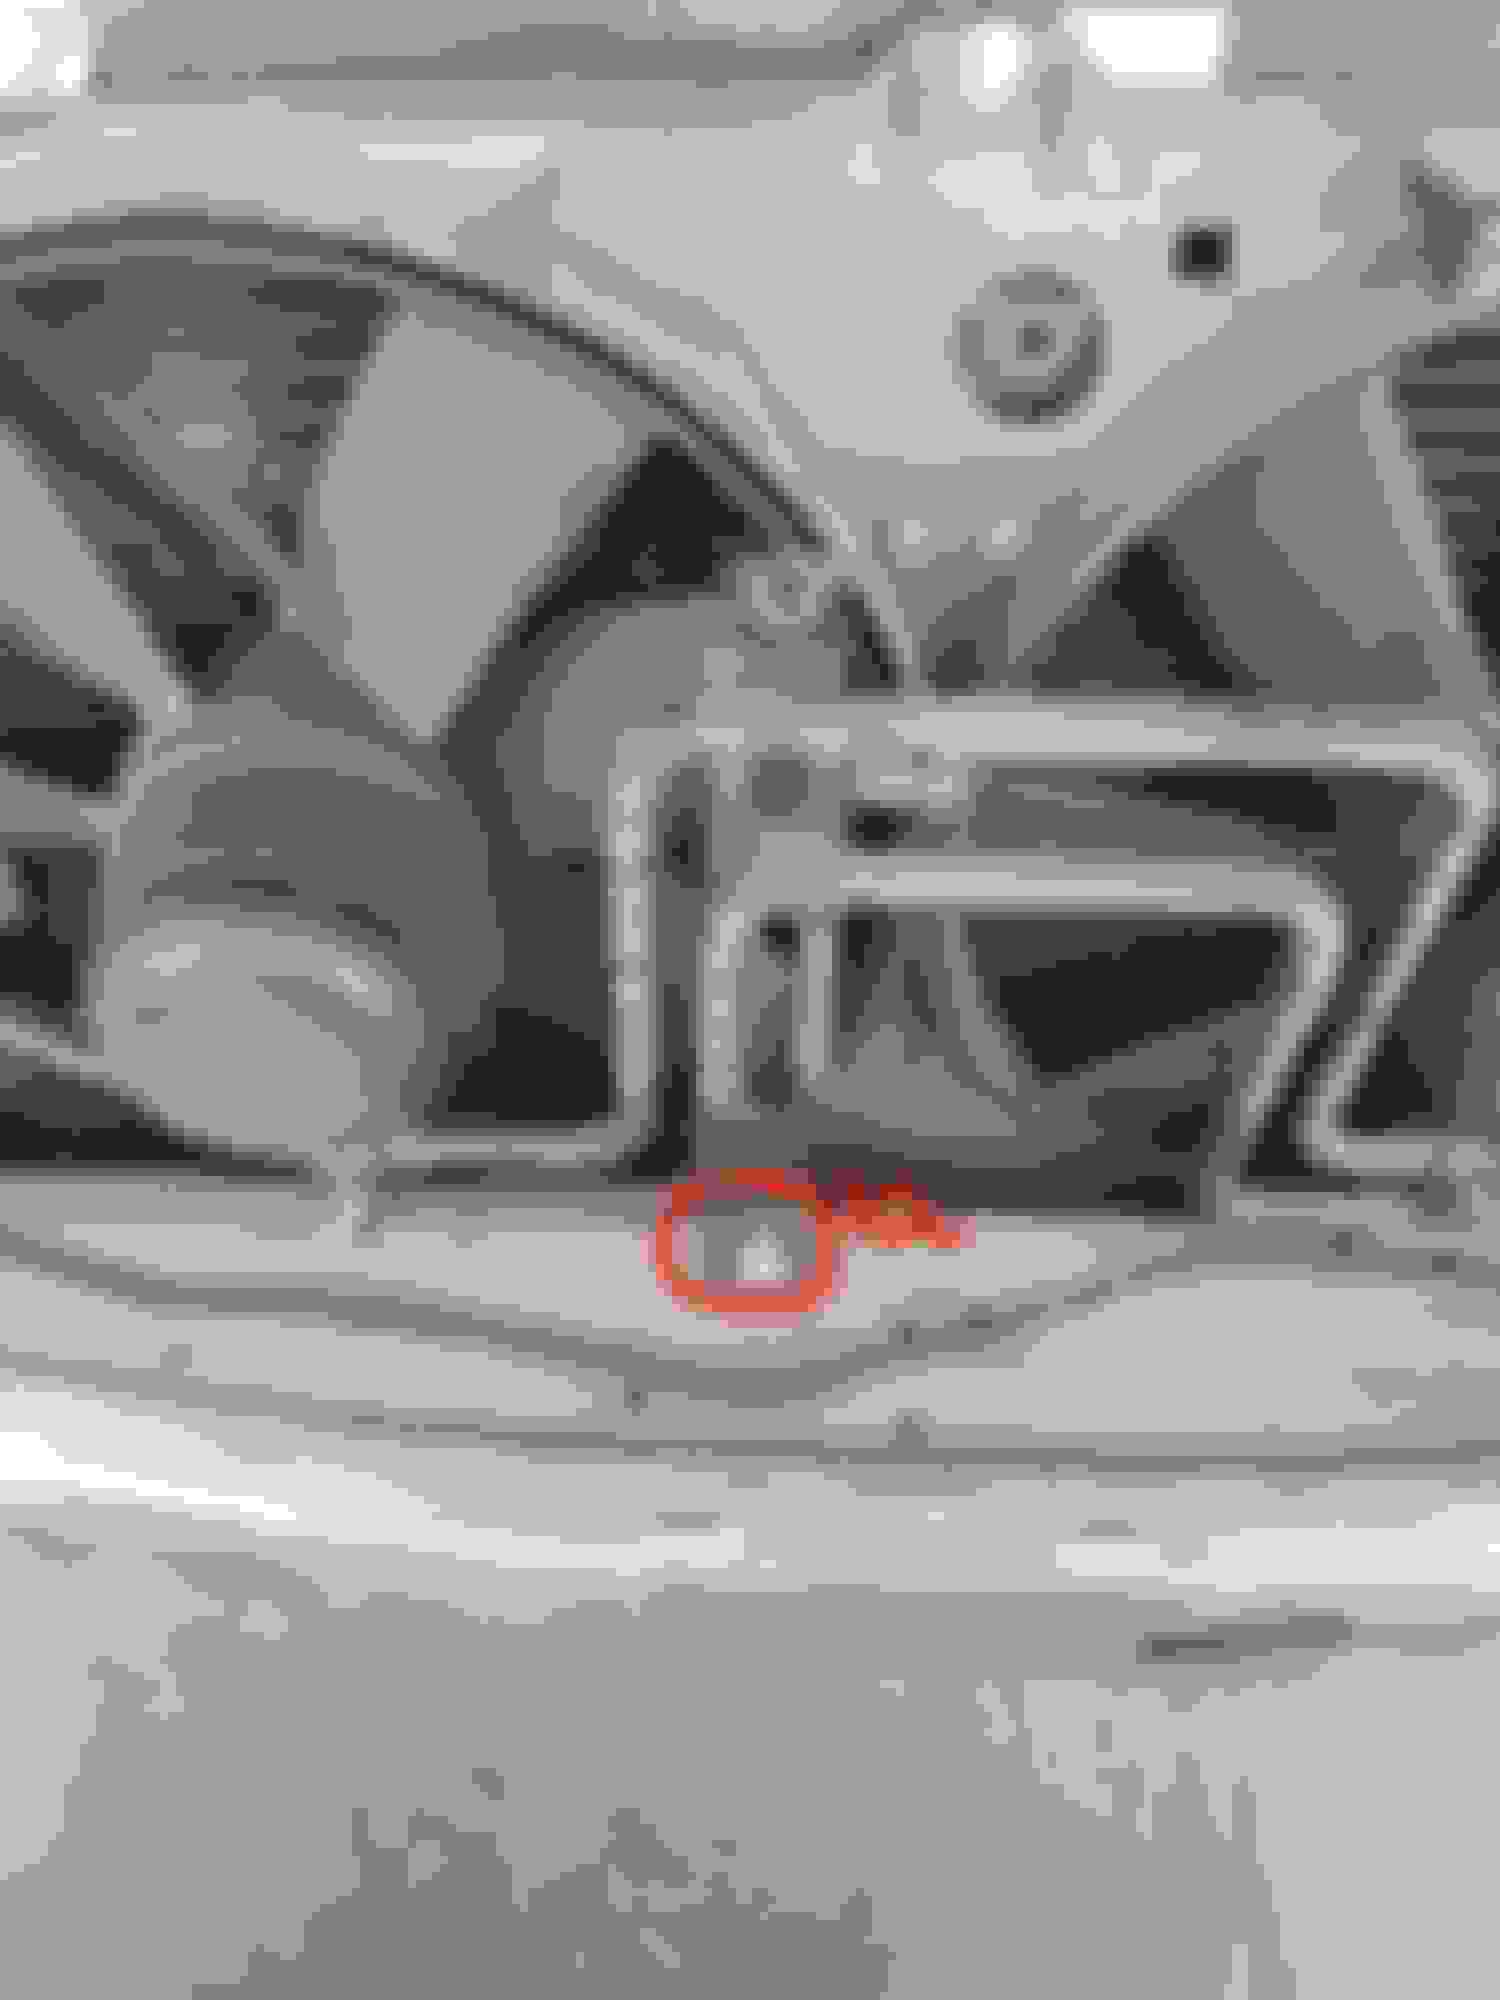
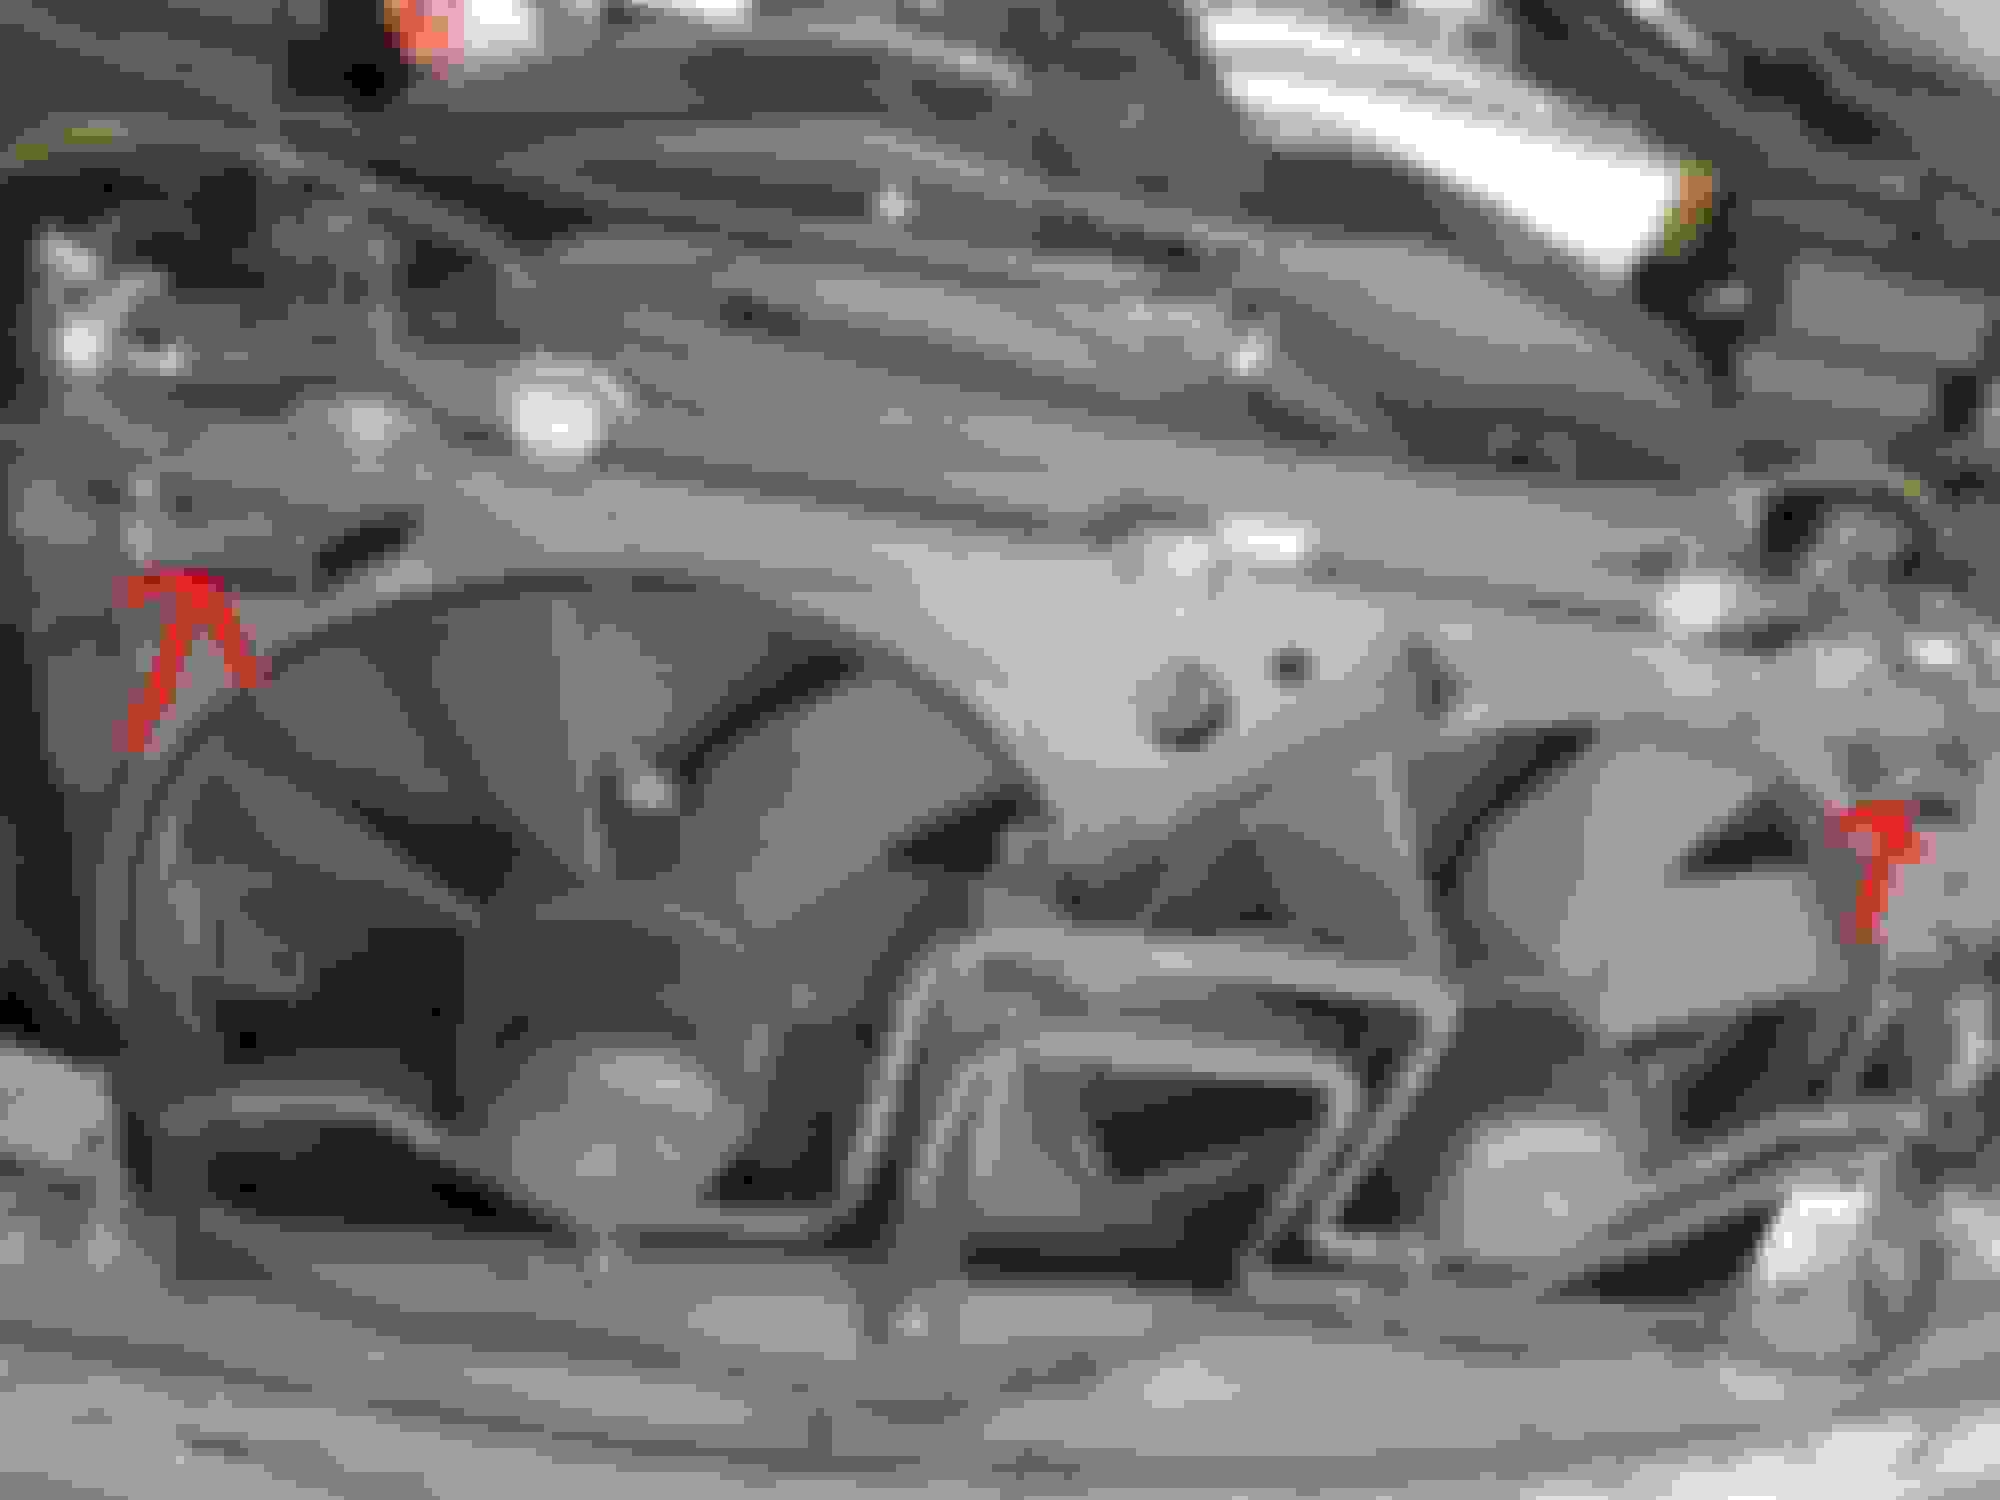
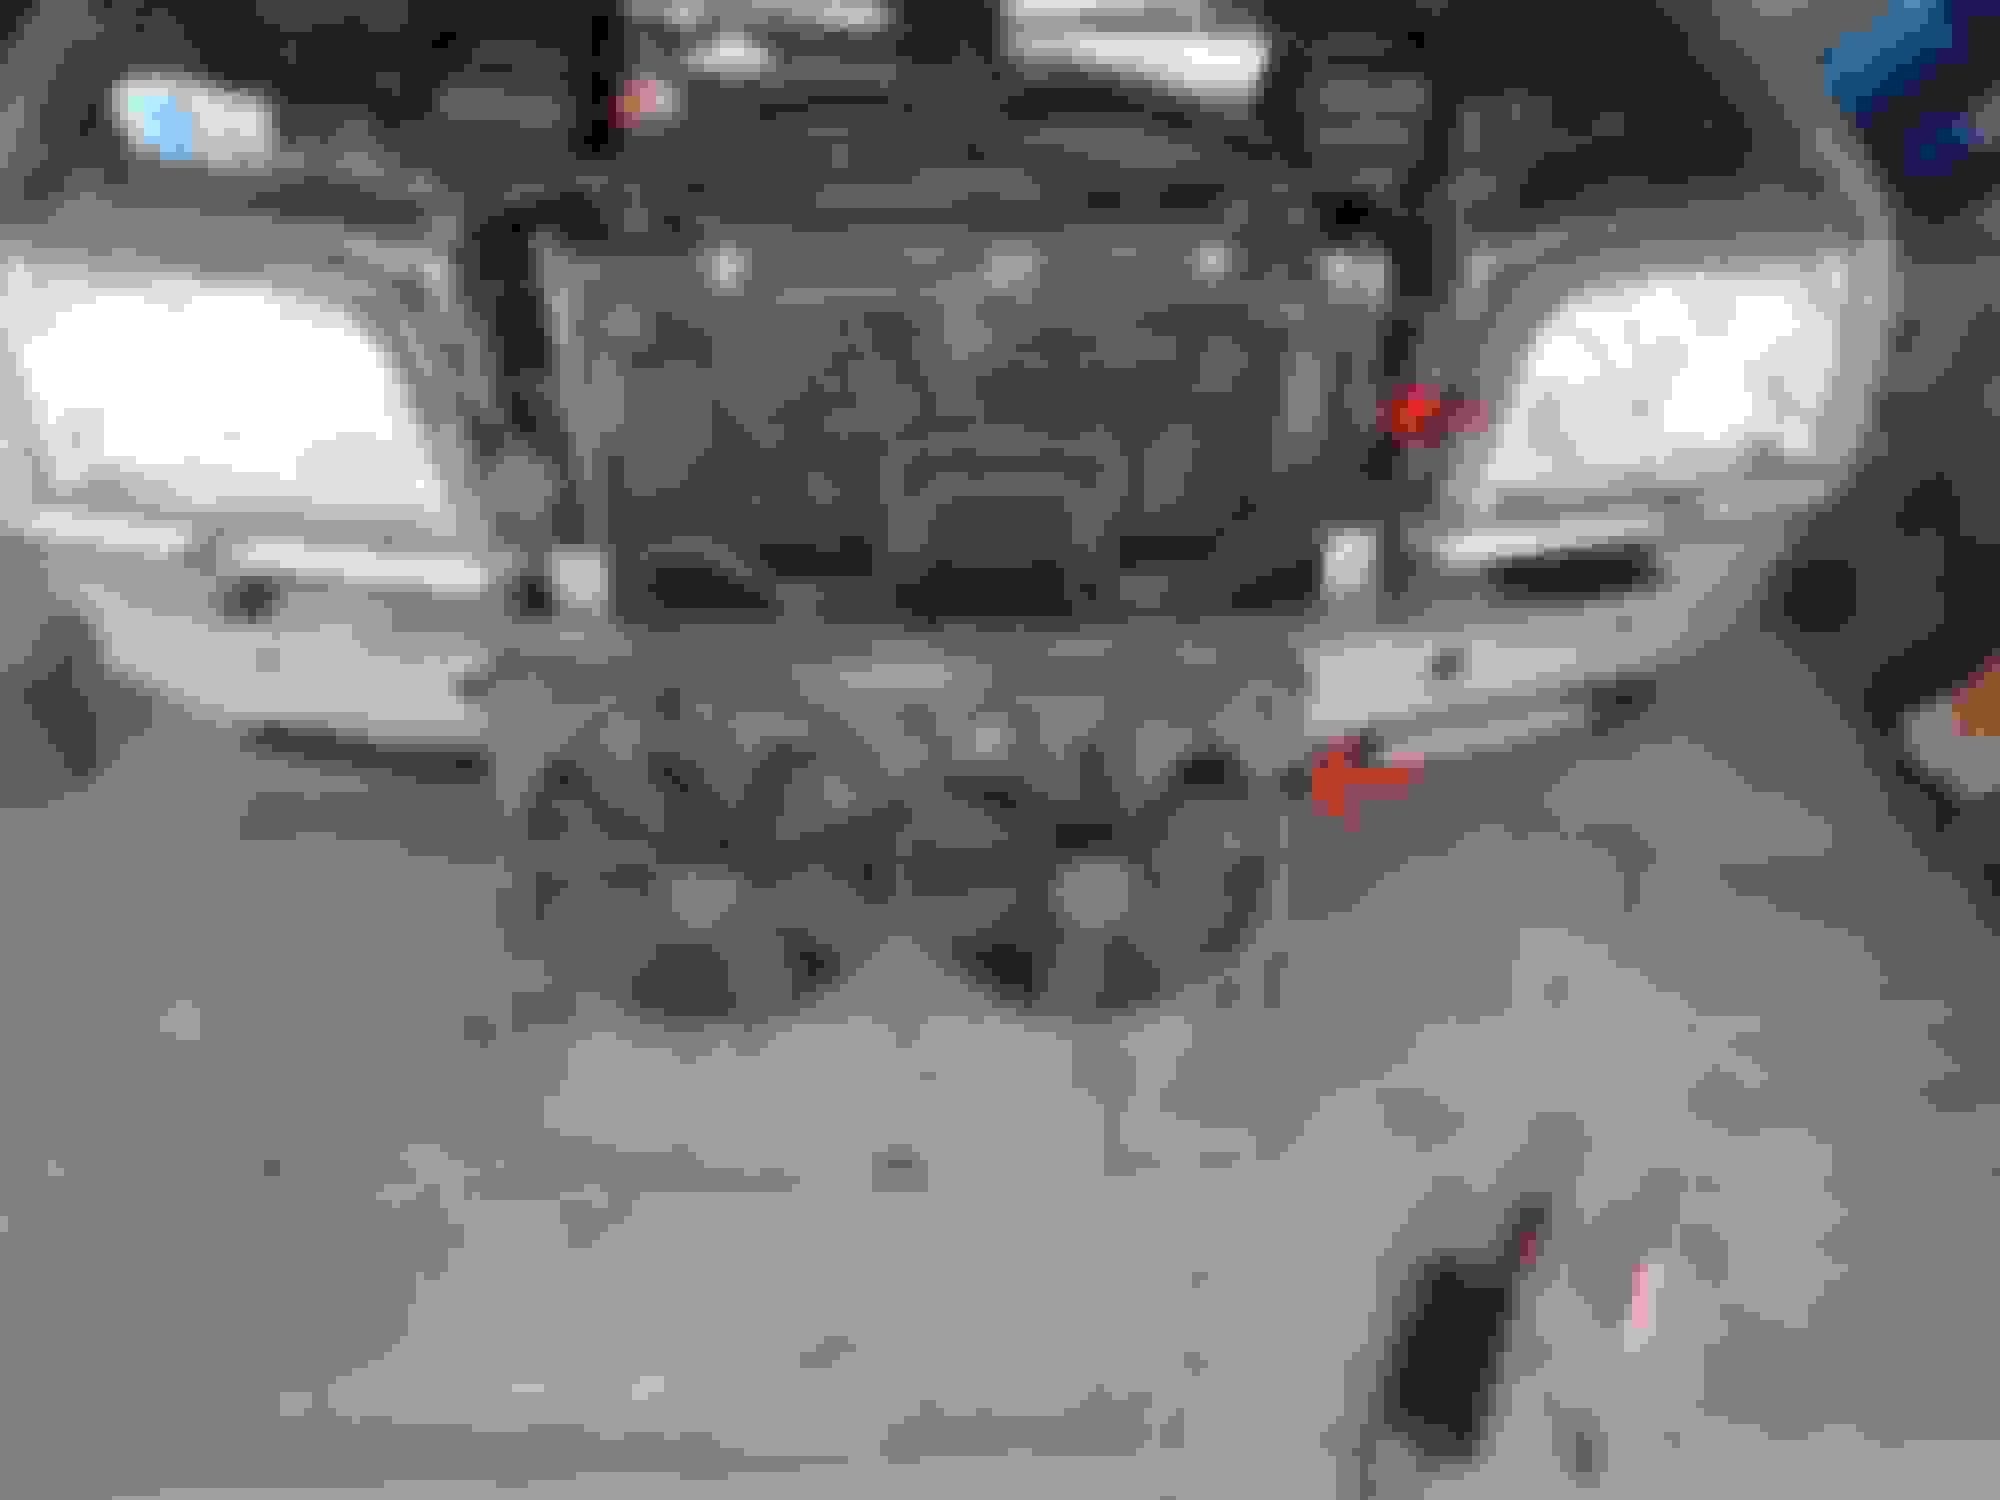
This is the assembly out of the car. Only thing to worry about are below 2 points with the red arrow. I was able to push the radiator toward the engine and clear the space for it to be lifted up.
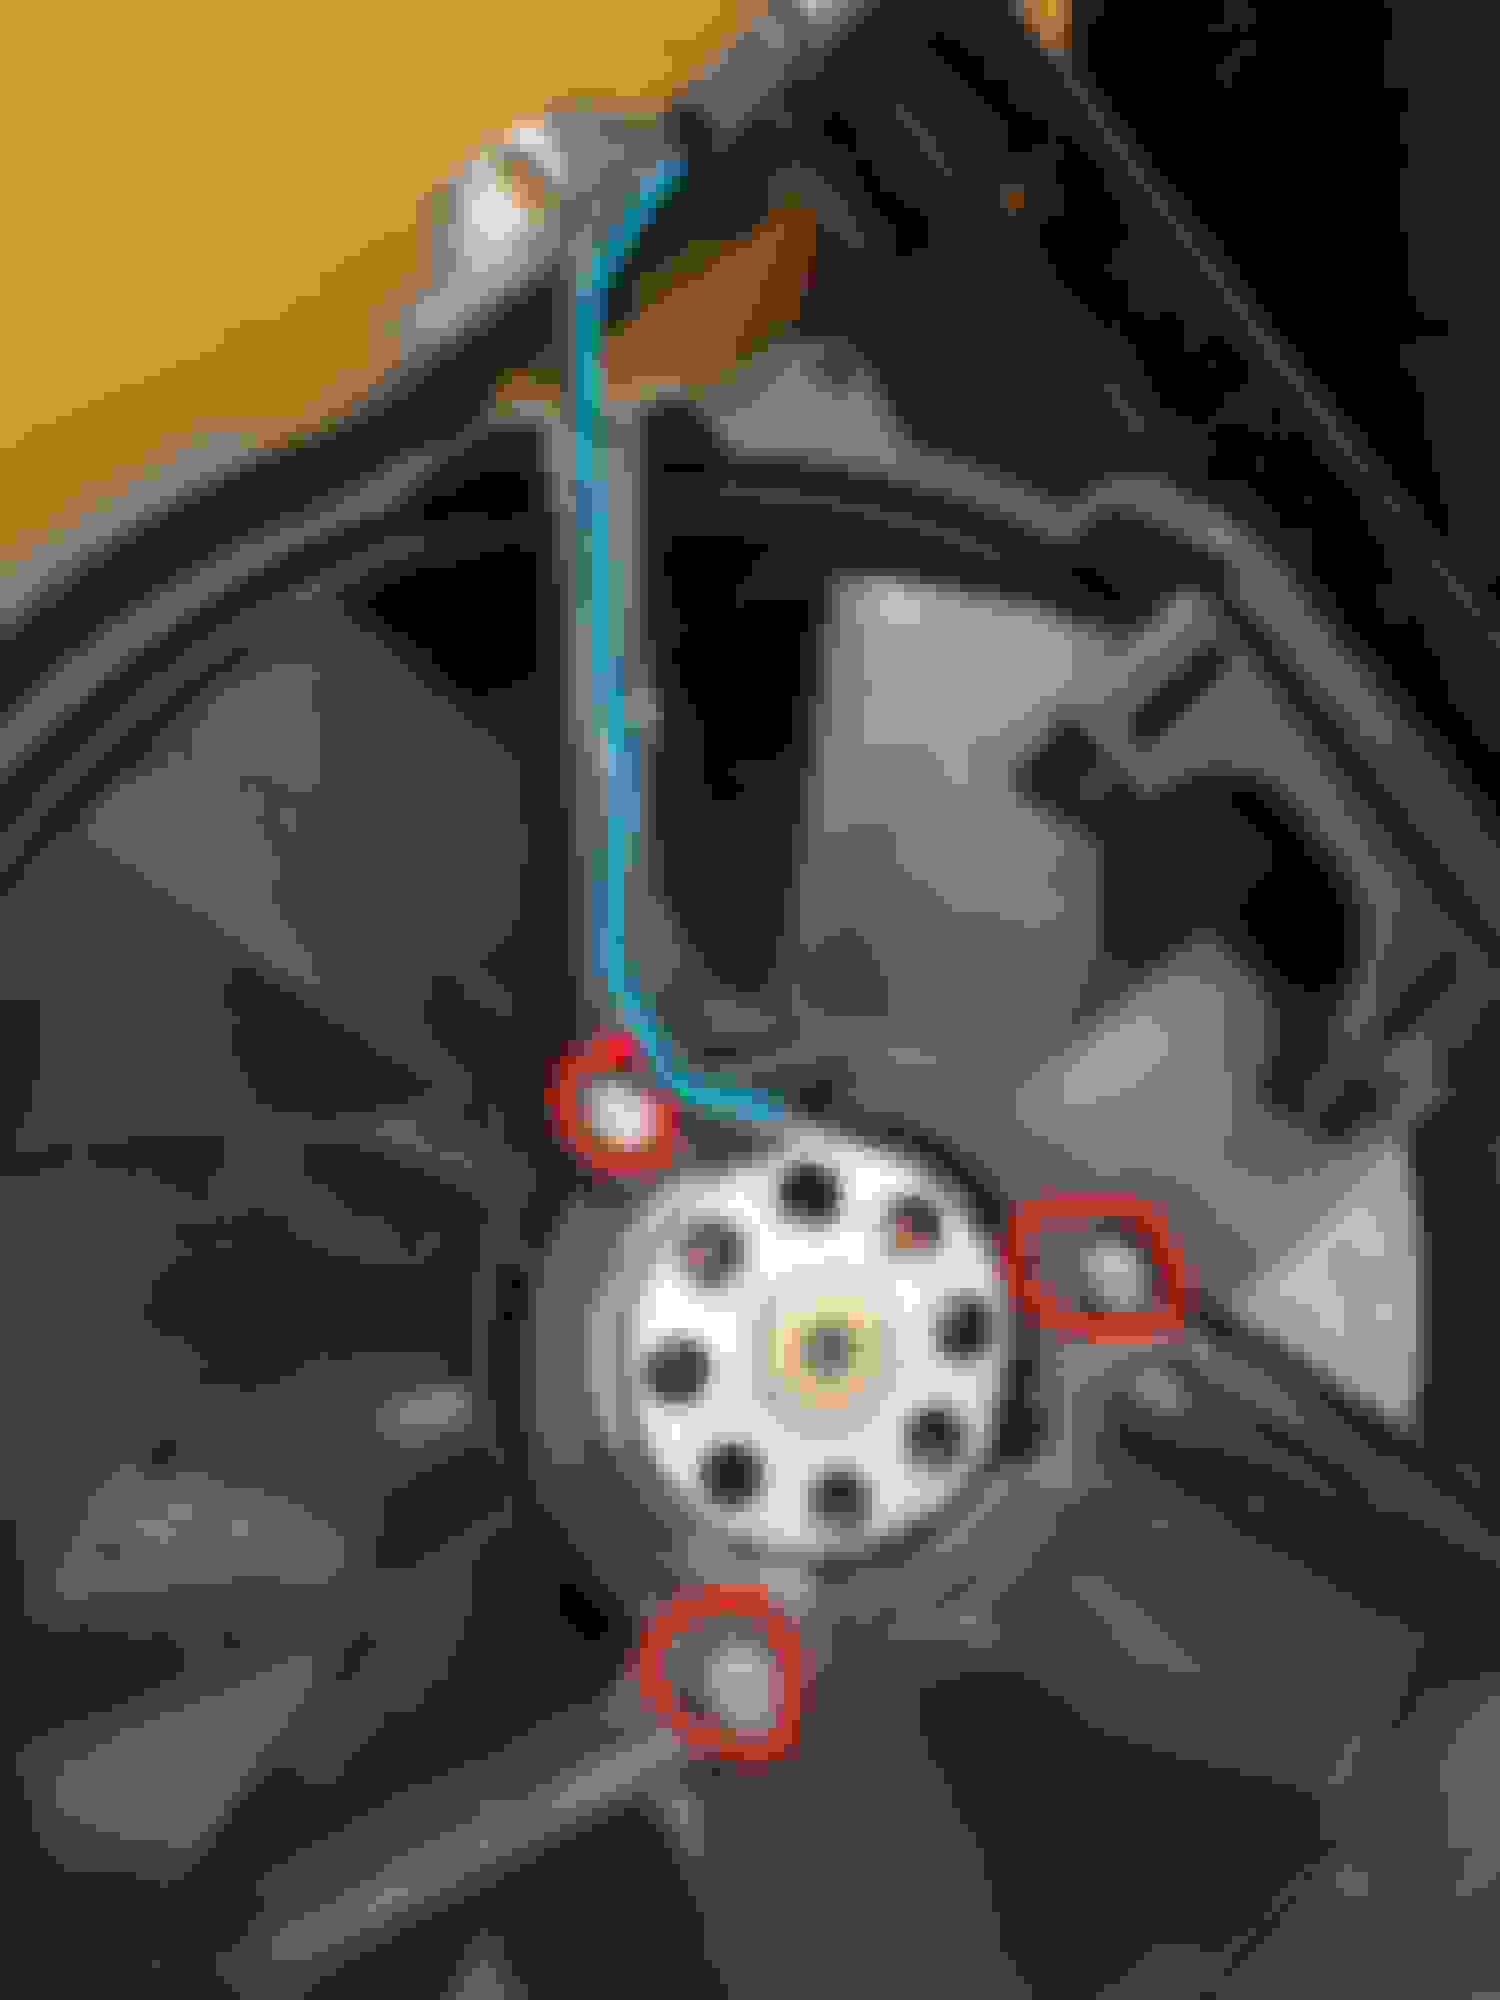
With the assembly out, to replace the fan, I took out 3 x 10mm nuts (red) and pulled out the wiring (blue). Installed the replacement one and that was it. I just put back everything in the reverse order.
Mercedes SLR McLaren 722 S Is Extremely Rare Example Modified by McLaren
Slideshow: A one-of-one U.S.-spec Mercedes-Benz SLR McLaren Roadster became even rarer after a factory-backed transformation at McLaren's headquarters.