When you click on links to various merchants on this site and make a purchase, this can result in this site earning a commission. Affiliate programs and affiliations include, but are not limited to, the eBay Partner Network.
I am posting this because when looking for instructions on a how to I found nothing but a text post with little detail. So here is a how to for everyone.
This all started with my upper radiator hose split. I thought the neck got damaged as well. Apparently not, I was dumba$$ that didn't notice I didn't push it in all the way. That's why it was still leaking, new hoses and radiator later, im just going to chalk this up as preventative maintenance, and I have a spare radiator laying around now......
This is on the CL but its the same as the S. I had both cars hood open next to each other as a how to put back.
1. Im assuming you have already removed the plastic air intakes that go into the air filter housing so lets continue from there.
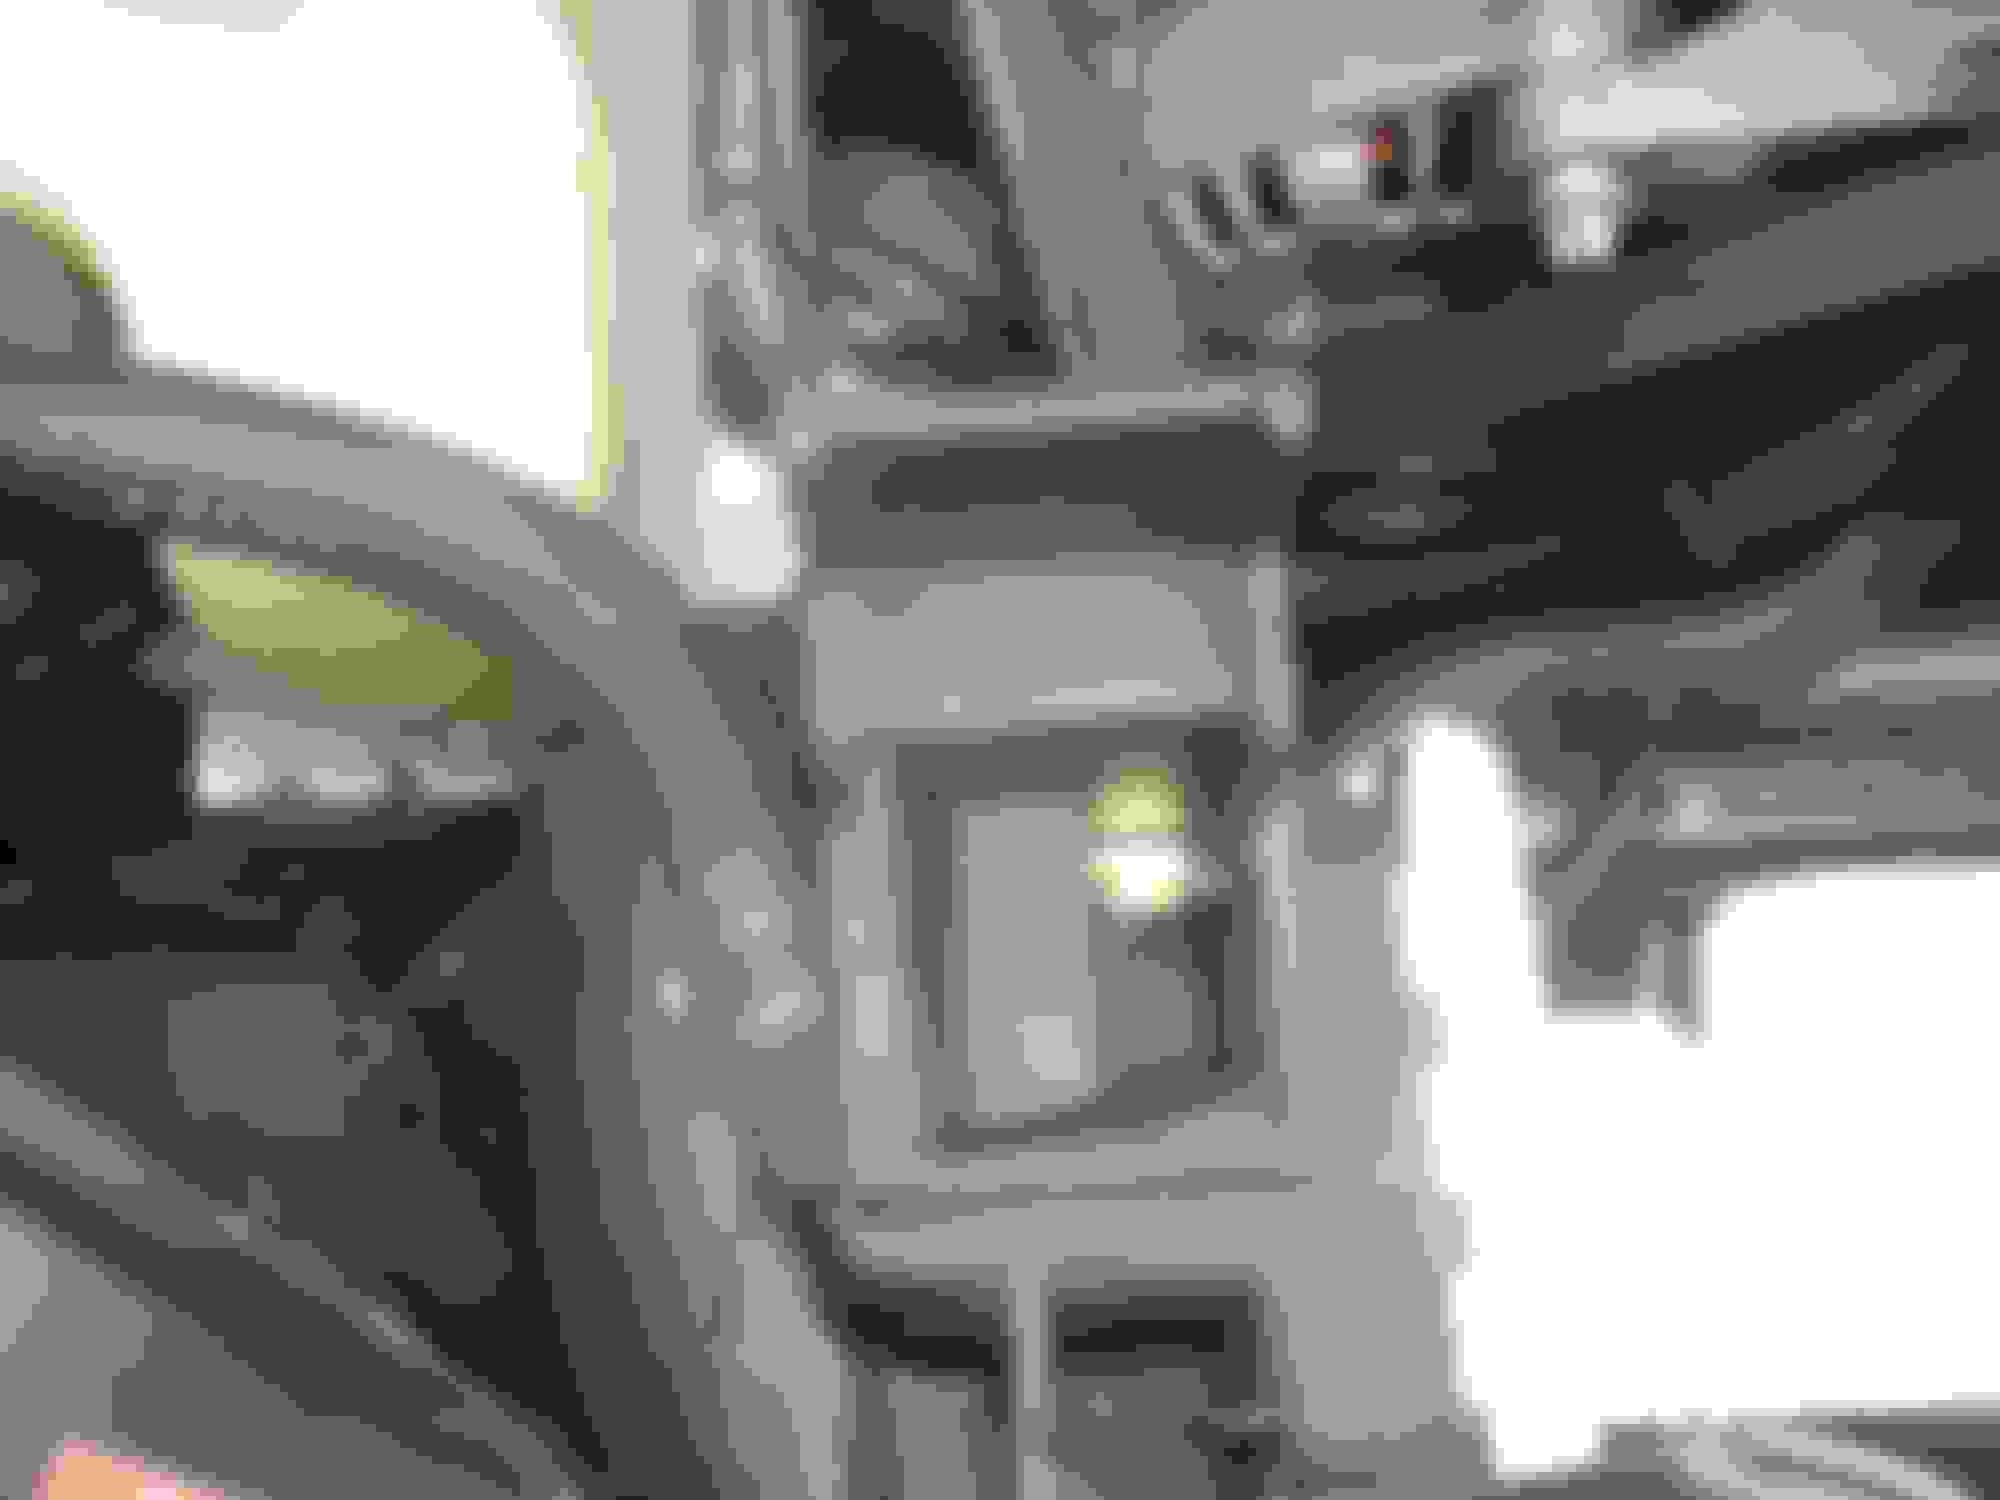
2. See the bolt top right, remove it
See the bolt top left and adjacent from the first, remove it too.
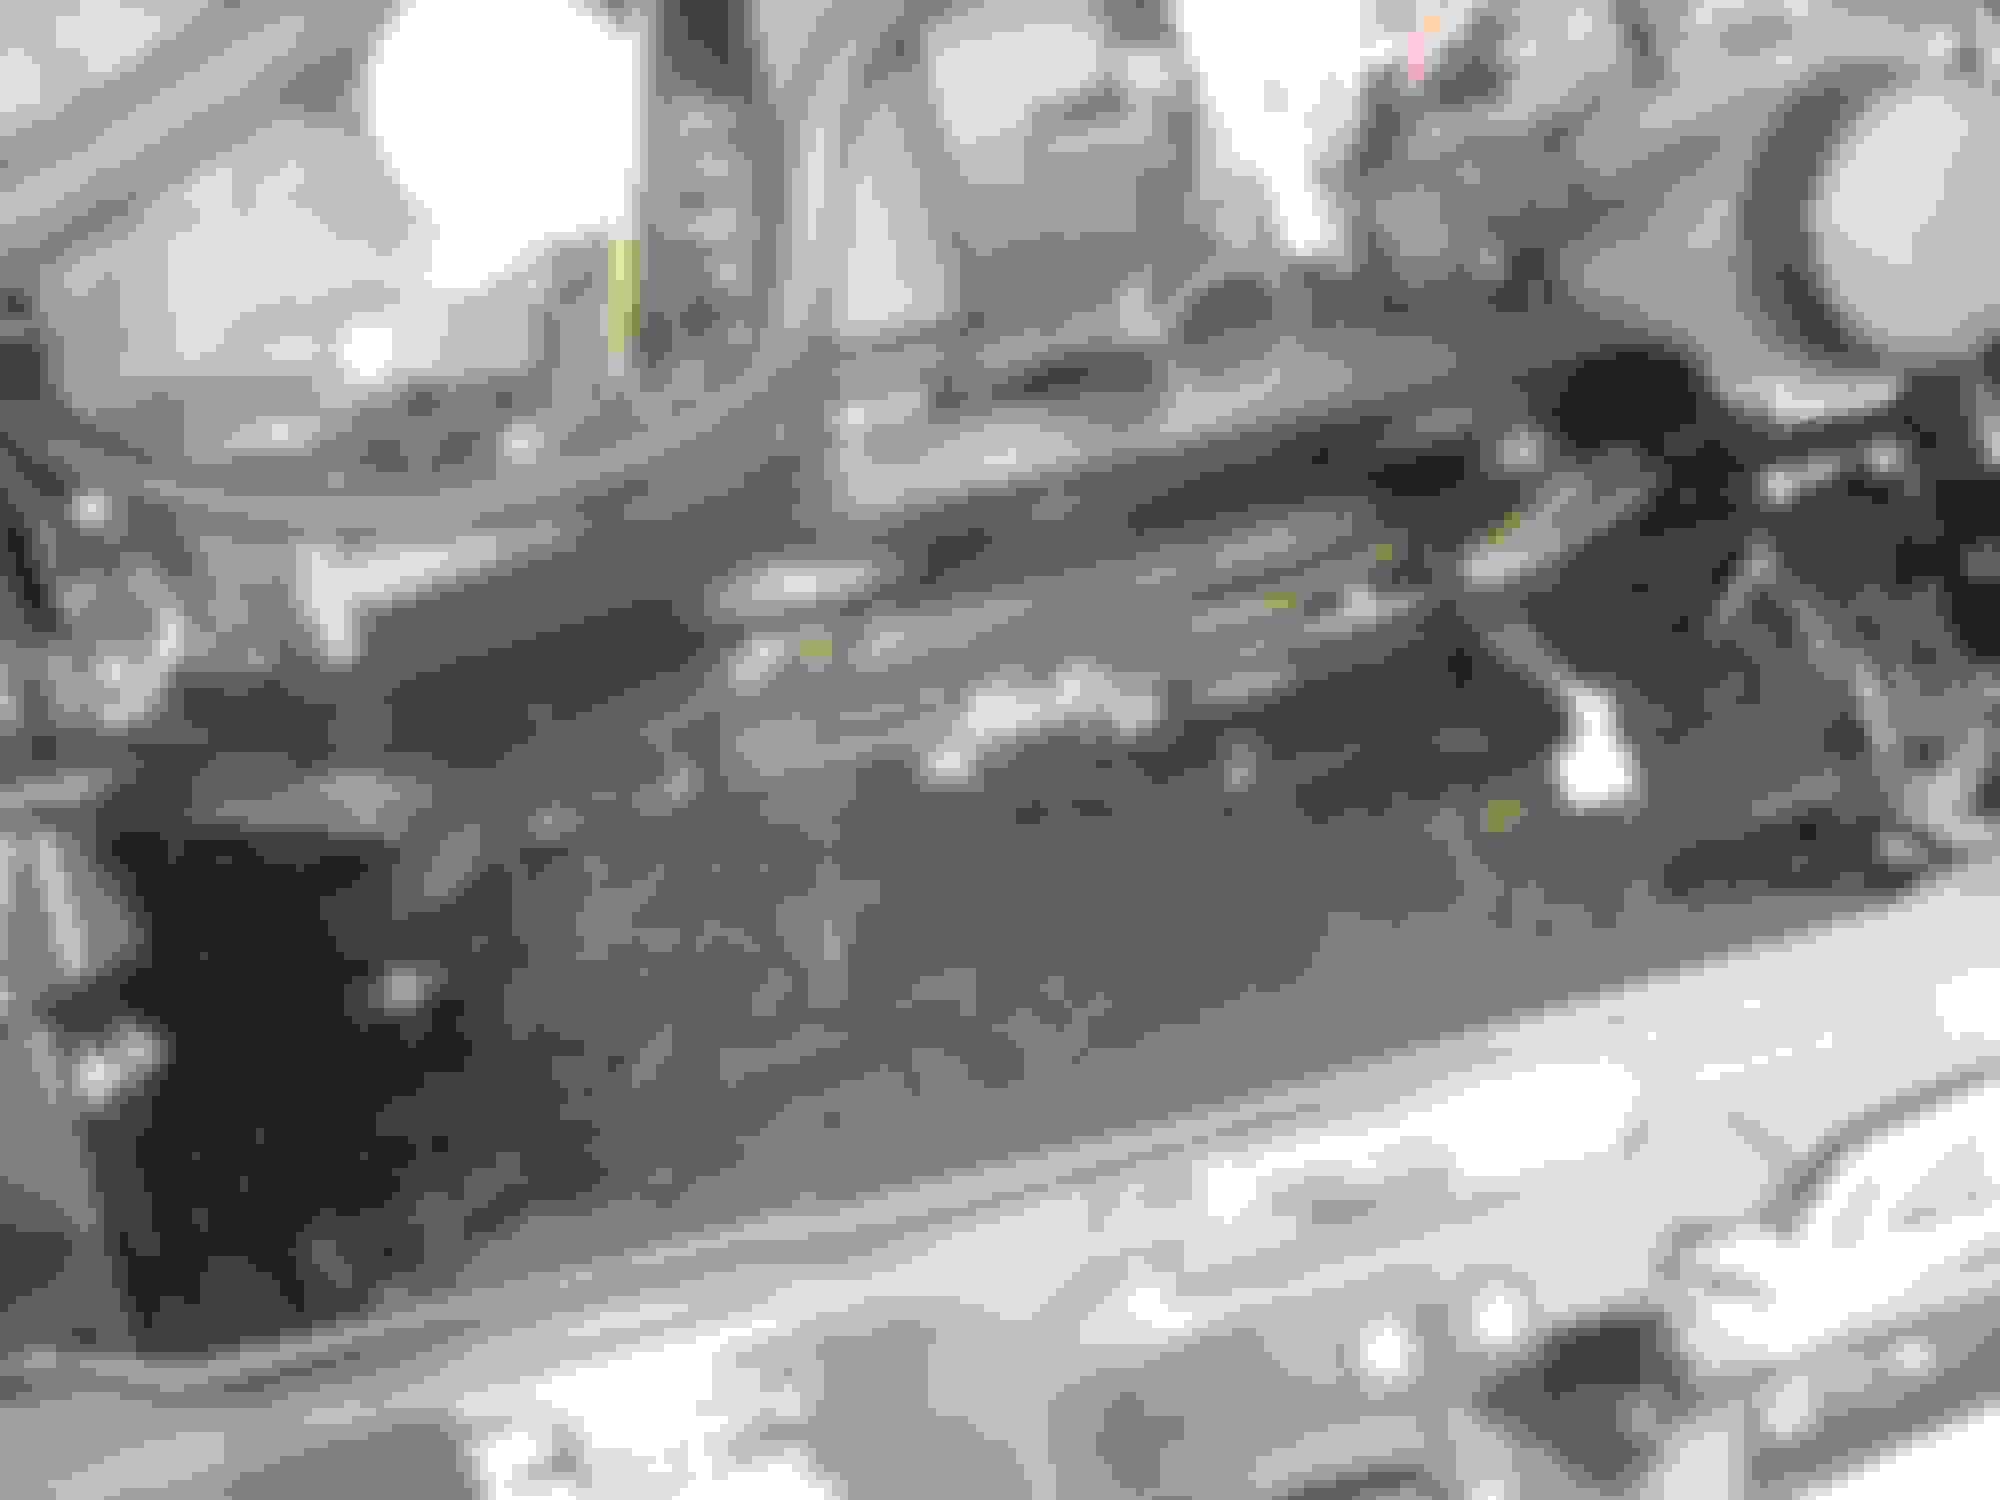
remove lower covers to gain access under the engine compartment. Apparently both my cars are missing these areas so good luck, if nature and debree can remove these from day to day travels it shouldn't be hard to figure out. once under, there is I assume a transmission line bolted to the fan shroud, its a torx bit, hex bit, that star with a stigmatism bolt, remove two of them down below, don't remove the whole line, just unbolt it from the shroud. Unplug the electrical connector from the fan and the fan will now come right up.
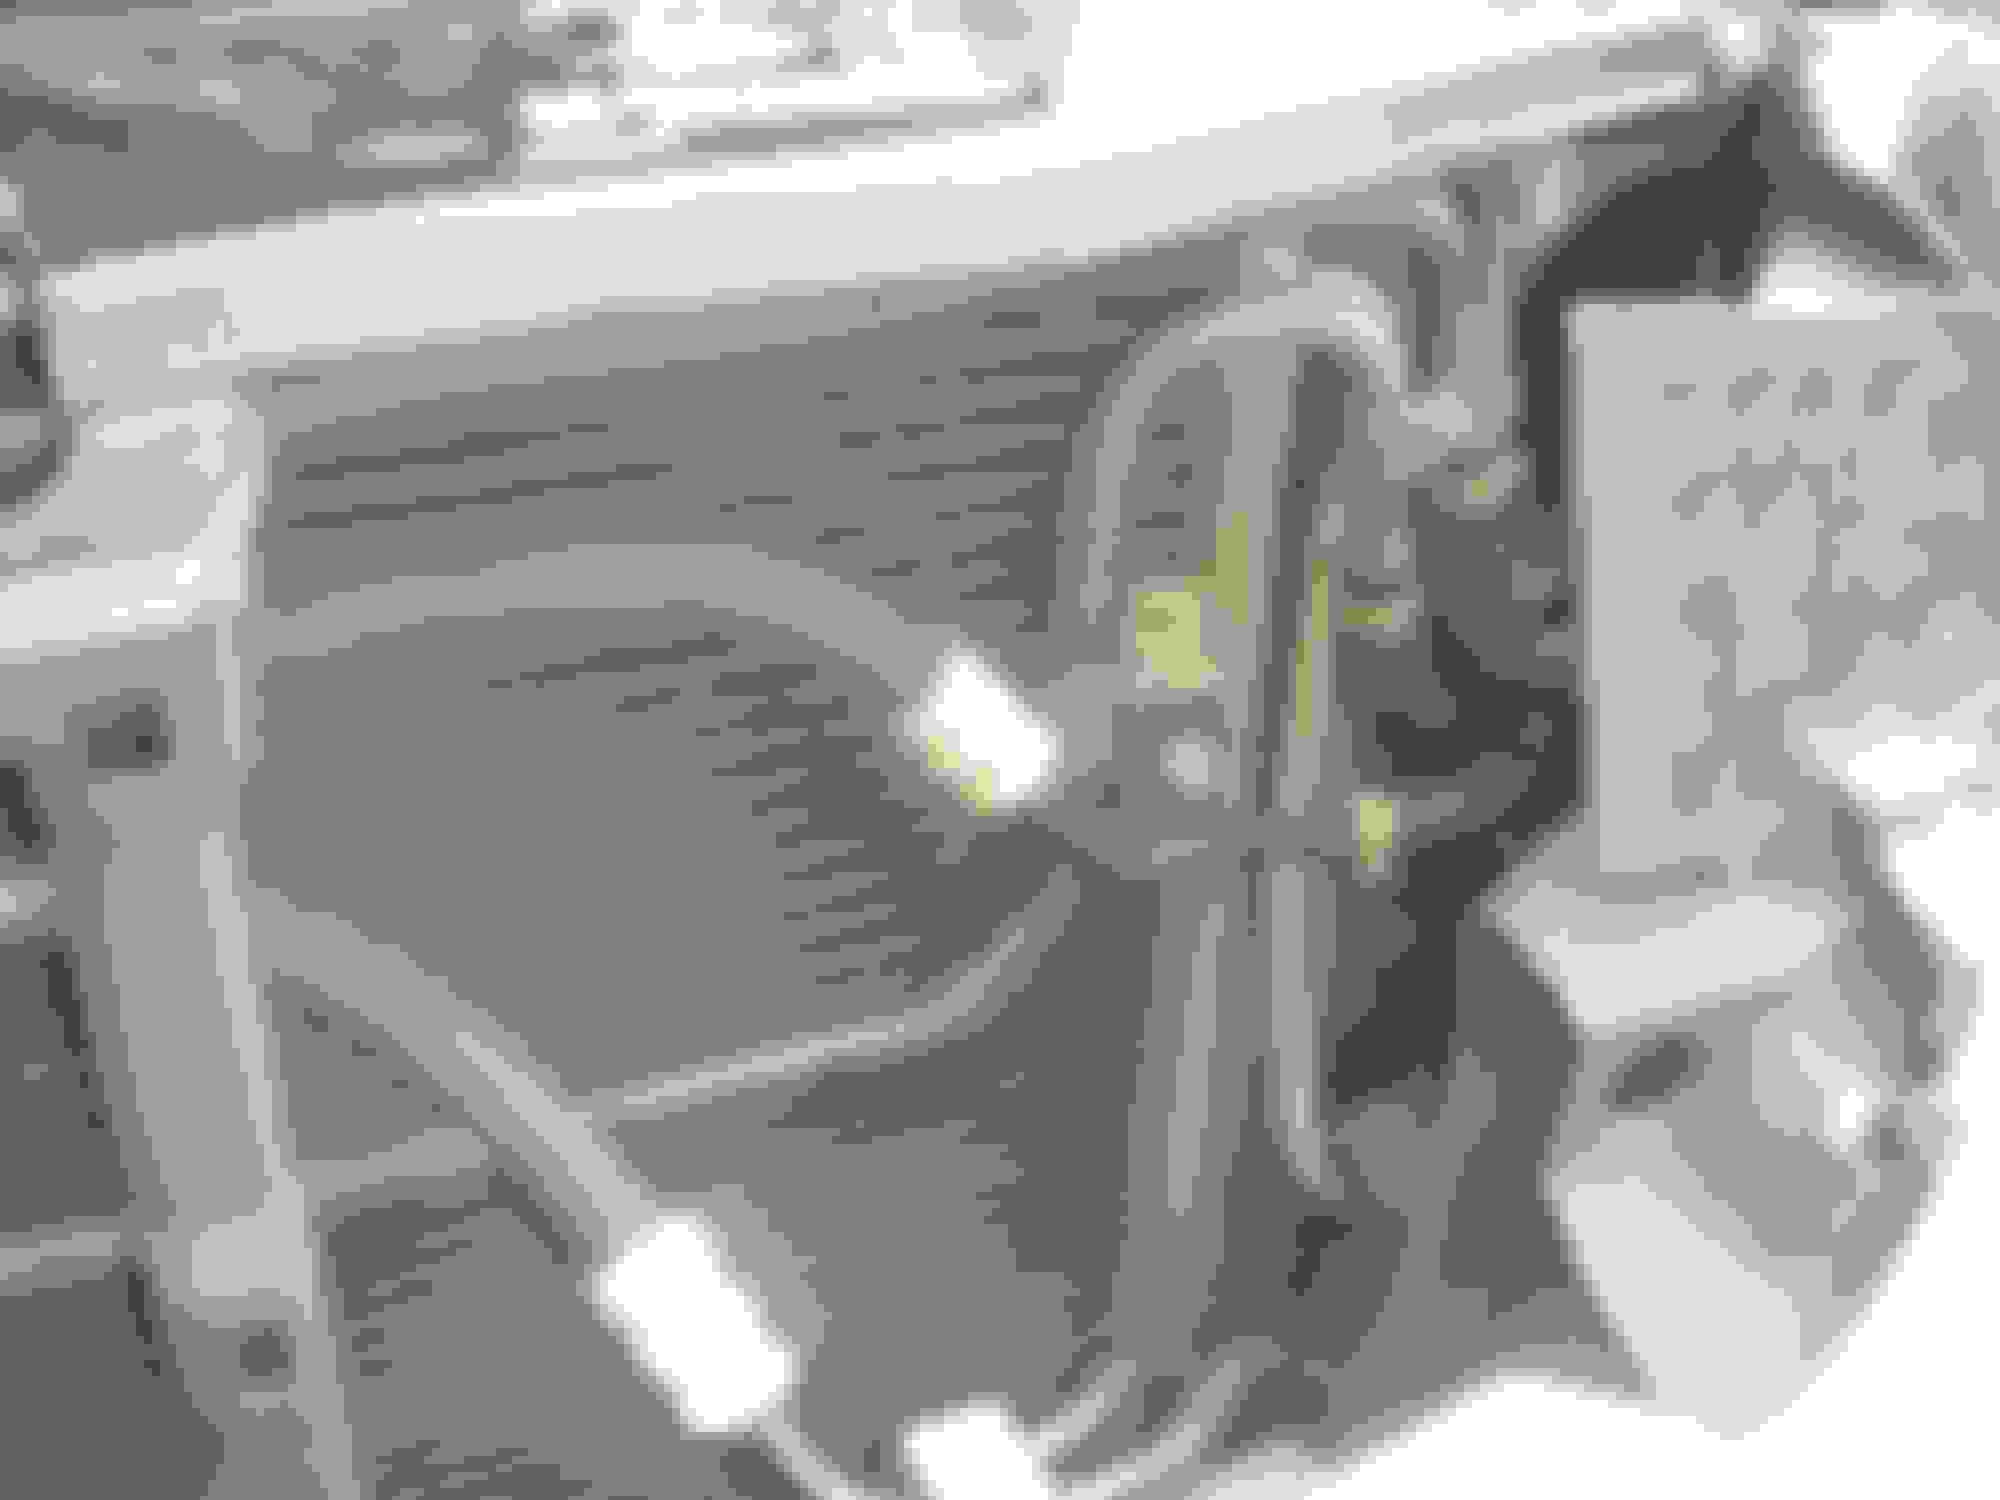
this is where no research in the world would tell me anything, the two metal bolts going into the radiator are your transmission lines. As long as you don't start the engine you may lose about a tablespoon of fluid at the most when you undo them. Then lines are pressurized when you start the car so just don't start it and you wont have any problems. the other two lines are coolant, one goes to the expansion tank & the other, under the engine to where I don't care. just loosen it from the radiator.
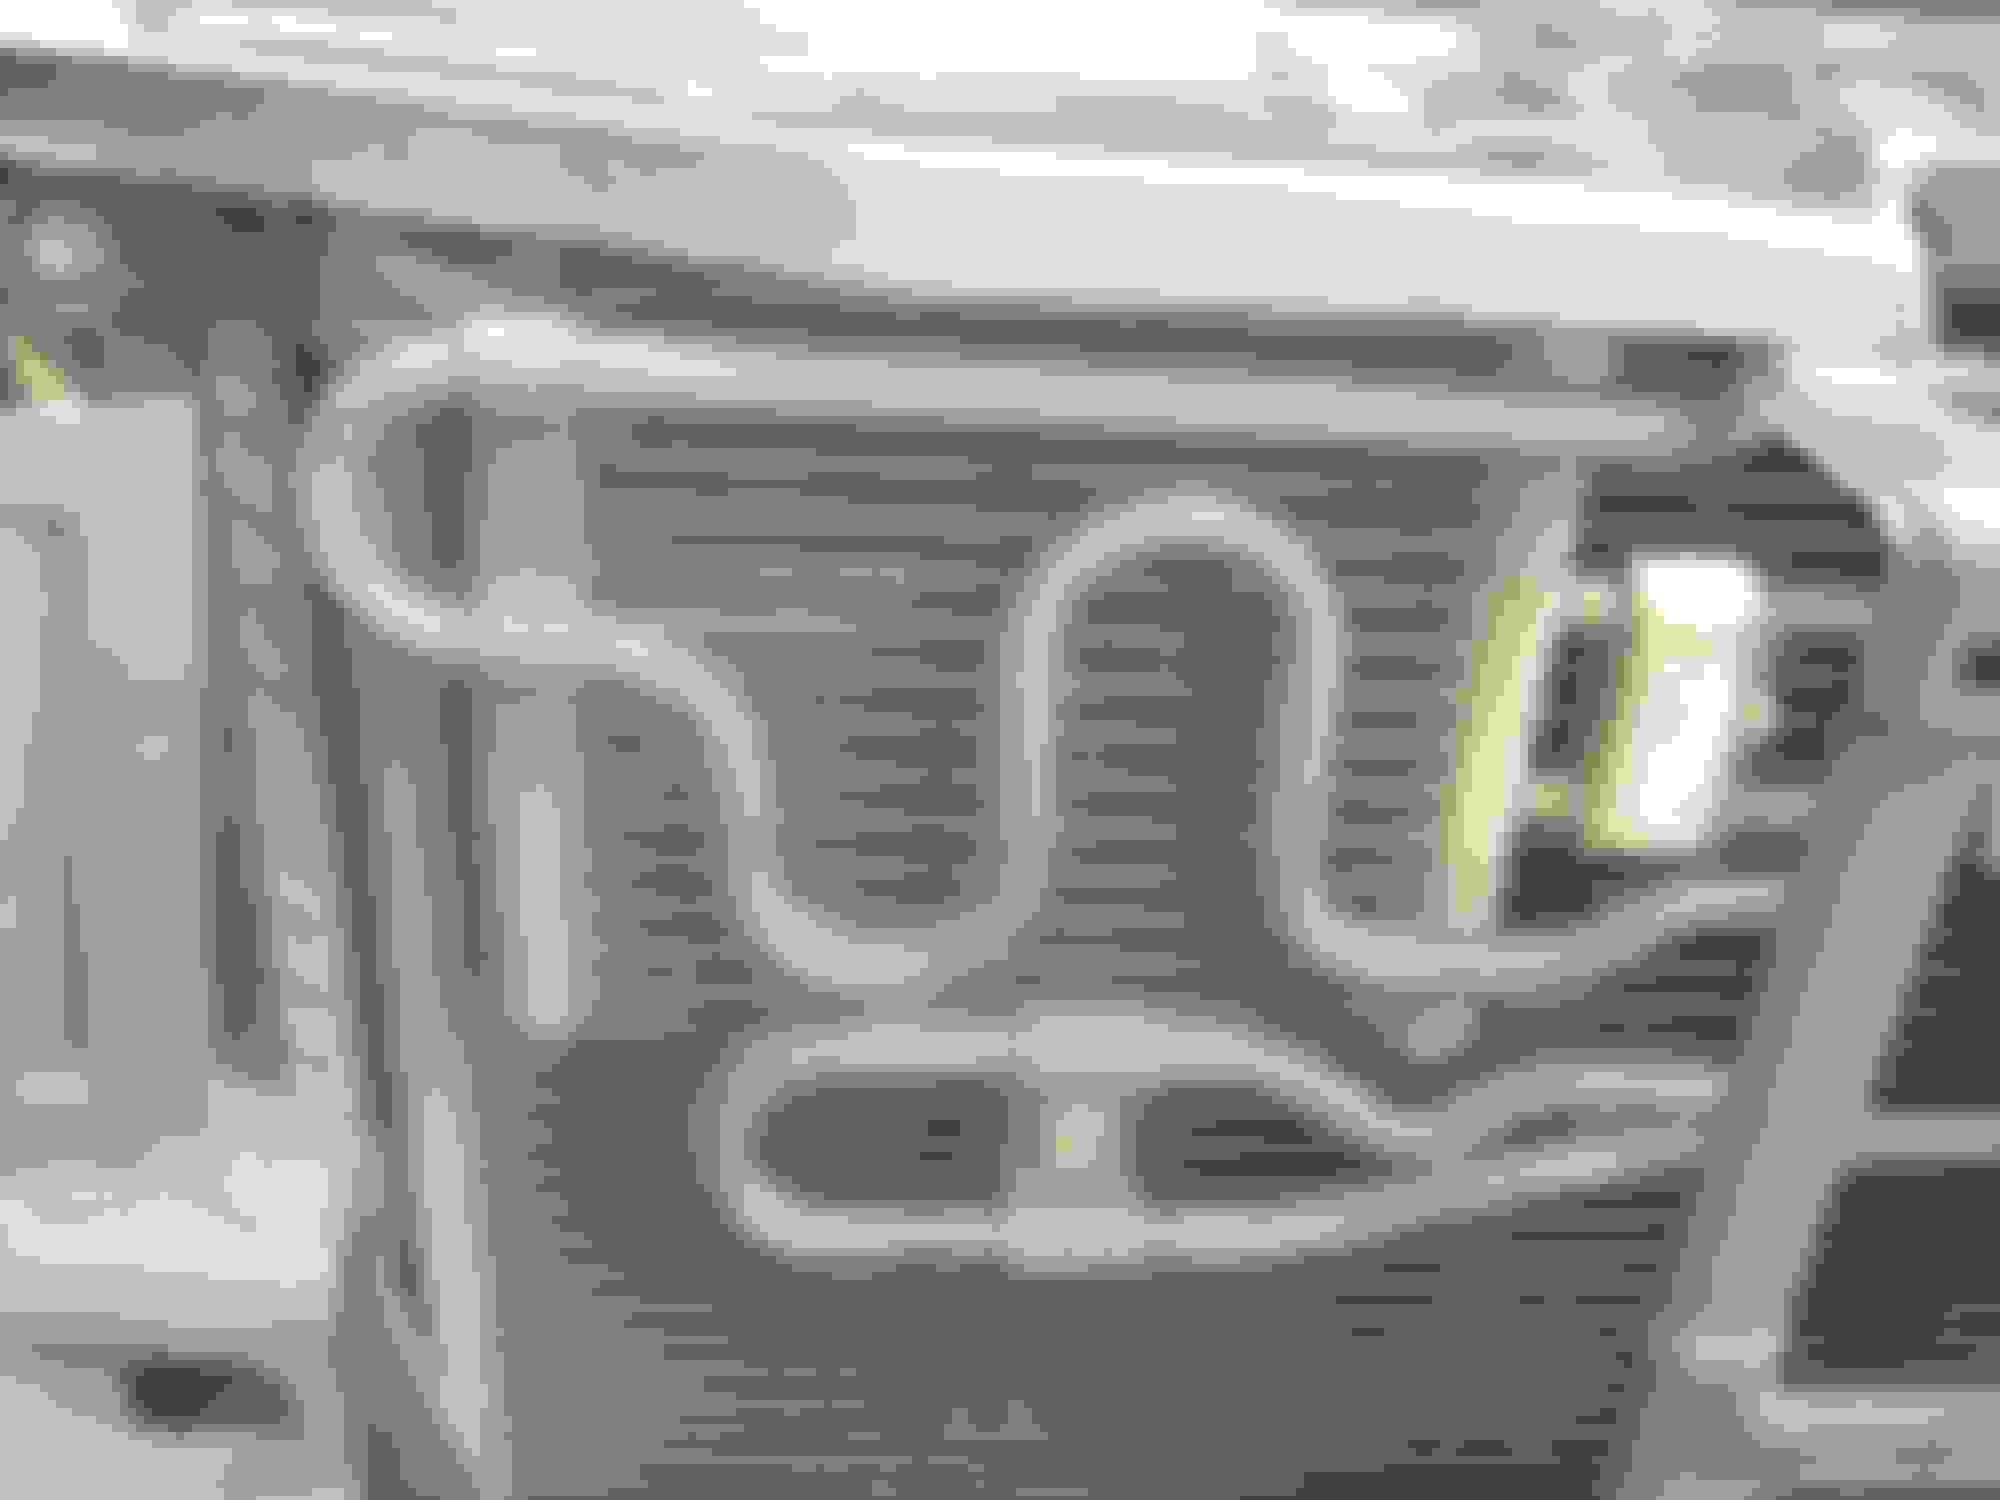
Other side has the upper radiator hose. IM TELLING YOU NOW GETTING THE UPPER AND LOWER RADIATOR HOSE OFF IS HARD AS @$#%. And pushing them back on requires the strength of God, Allah, or whatever deity you care for. I did not have the strength to get them back on and had to get someone else to do it. My original problem was the upper radiator hose and I thought it was leaking at the neck after replacing. Nope, my dumbbutt just didn't push it on hard enough the first time. im weak, im pathetic, but Im intelligent and have a wallet and a big neighbor that will do anything I say for 30 dollars.
unscrew the bolt in the top right corner (drive side) above air inlet do not unbolt anything else
unbolt the bolt on the top left passenger side above air inlet. do not unbolt anything else.
I already unbolted it, and lifted the bracket. Remove both the bolt and the bracket from both sides.
This is revisiting a pass step, see the two metal lines down there, they are attached to the radiator. un attach them by unscrewing a single bolt on the side if you haven't already.
you should now be able to slide the rad back towards the engine. There are four of these little gold brackets at the top, 2 on each side. remove them and install them in the new radiator.
after some wiggling and pulling the radiator will come out. reverse the process. if it wasn't for the upper and lower radiator hose being so hard to put on I would have been done in less than a hour. I now have a extra used radiator :/
Last edited by vmystikilv; Sep 4, 2014 at 07:09 PM.
Please note the tools needed for this job are:
19mm open end wrench
10mm,8mm,7mm sockets
2gallons of MB coolant and 2gallons of distilled water
A 1/4 cup of MB or equivalent transmission fluid
Long nose pliers
PB Blaster/WD40
Hammer to remove(beat and destroy the old rad end tanks to get these out) the 4 inset screw female ends from the old radiator
I strongly recommend new top and lower radiator hoses. Dont waste time and energy struggling to remove and reuse the old hoses.
I am posting this because when looking for instructions on a how to I found nothing but a text post with little detail. So here is a how to for everyone.
This all started with my upper radiator hose split. I thought the neck got damaged as well. Apparently not, I was dumba$$ that didn't notice I didn't push it in all the way. That's why it was still leaking, new hoses and radiator later, im just going to chalk this up as preventative maintenance, and I have a spare radiator laying around now......
This is on the CL but its the same as the S. I had both cars hood open next to each other as a how to put back.
1. Im assuming you have already removed the plastic air intakes that go into the air filter housing so lets continue from there.
2. See the bolt top right, remove it
See the bolt top left and adjacent from the first, remove it too.
remove lower covers to gain access under the engine compartment. Apparently both my cars are missing these areas so good luck, if nature and debree can remove these from day to day travels it shouldn't be hard to figure out. once under, there is I assume a transmission line bolted to the fan shroud, its a torx bit, hex bit, that star with a stigmatism bolt, remove two of them down below, don't remove the whole line, just unbolt it from the shroud. Unplug the electrical connector from the fan and the fan will now come right up.
this is where no research in the world would tell me anything, the two metal bolts going into the radiator are your transmission lines. As long as you don't start the engine you may lose about a tablespoon of fluid at the most when you undo them. Then lines are pressurized when you start the car so just don't start it and you wont have any problems. the other two lines are coolant, one goes to the expansion tank & the other, under the engine to where I don't care. just loosen it from the radiator.
Other side has the upper radiator hose. IM TELLING YOU NOW GETTING THE UPPER AND LOWER RADIATOR HOSE OFF IS HARD AS @$#%. And pushing them back on requires the strength of God, Allah, or whatever deity you care for. I did not have the strength to get them back on and had to get someone else to do it. My original problem was the upper radiator hose and I thought it was leaking at the neck after replacing. Nope, my dumbbutt just didn't push it on hard enough the first time. im weak, im pathetic, but Im intelligent and have a wallet and a big neighbor that will do anything I say for 30 dollars.
unscrew the bolt in the top right corner (drive side) above air inlet do not unbolt anything else
unbolt the bolt on the top left passenger side above air inlet. do not unbolt anything else.
I already unbolted it, and lifted the bracket. Remove both the bolt and the bracket from both sides.
This is revisiting a pass step, see the two metal lines down there, they are attached to the radiator. un attach them by unscrewing a single bolt on the side if you haven't already.
you should now be able to slide the rad back towards the engine. There are four of these little gold brackets at the top, 2 on each side. remove them and install them in the new radiator.
after some wiggling and pulling the radiator will come out. reverse the process. if it wasn't for the upper and lower radiator hose being so hard to put on I would have been done in less than a hour. I now have a extra used radiator :/
hi
very helpful,Thanks!
I started doing mine but my car is CL55 AMG Kompressor.I reached to the point where all is unscrewed and tried to lift up the radiator but seems like all the other radiators are attached somehow to the big one and no space at all to get all of them out...dont even wanna think of ot....What I should do?I would be very thankful if you cluld advise on How can I remove only the big radiator...?!
Also I lost may be 2-3 liters of tranny oil because one of the transmission pipe was sitting low and the oil was leaking...saw that too late.Now i dont know which oil to use to top up with...the colour seems to be brownish...I dont have the stick to check the level...Any advice on this?
Many Thanks! 😊
I am posting this because when looking for instructions on a how to I found nothing but a text post with little detail. So here is a how to for everyone.
This all started with my upper radiator hose split. I thought the neck got damaged as well. Apparently not, I was dumba$$ that didn't notice I didn't push it in all the way. That's why it was still leaking, new hoses and radiator later, im just going to chalk this up as preventative maintenance, and I have a spare radiator laying around now......
This is on the CL but its the same as the S. I had both cars hood open next to each other as a how to put back.
1. Im assuming you have already removed the plastic air intakes that go into the air filter housing so lets continue from there.
2. See the bolt top right, remove it
See the bolt top left and adjacent from the first, remove it too.
remove lower covers to gain access under the engine compartment. Apparently both my cars are missing these areas so good luck, if nature and debree can remove these from day to day travels it shouldn't be hard to figure out. once under, there is I assume a transmission line bolted to the fan shroud, its a torx bit, hex bit, that star with a stigmatism bolt, remove two of them down below, don't remove the whole line, just unbolt it from the shroud. Unplug the electrical connector from the fan and the fan will now come right up.
this is where no research in the world would tell me anything, the two metal bolts going into the radiator are your transmission lines. As long as you don't start the engine you may lose about a tablespoon of fluid at the most when you undo them. Then lines are pressurized when you start the car so just don't start it and you wont have any problems. the other two lines are coolant, one goes to the expansion tank & the other, under the engine to where I don't care. just loosen it from the radiator.
Other side has the upper radiator hose. IM TELLING YOU NOW GETTING THE UPPER AND LOWER RADIATOR HOSE OFF IS HARD AS @$#%. And pushing them back on requires the strength of God, Allah, or whatever deity you care for. I did not have the strength to get them back on and had to get someone else to do it. My original problem was the upper radiator hose and I thought it was leaking at the neck after replacing. Nope, my dumbbutt just didn't push it on hard enough the first time. im weak, im pathetic, but Im intelligent and have a wallet and a big neighbor that will do anything I say for 30 dollars.
unscrew the bolt in the top right corner (drive side) above air inlet do not unbolt anything else
unbolt the bolt on the top left passenger side above air inlet. do not unbolt anything else.
I already unbolted it, and lifted the bracket. Remove both the bolt and the bracket from both sides.
This is revisiting a pass step, see the two metal lines down there, they are attached to the radiator. un attach them by unscrewing a single bolt on the side if you haven't already.
you should now be able to slide the rad back towards the engine. There are four of these little gold brackets at the top, 2 on each side. remove them and install them in the new radiator.
after some wiggling and pulling the radiator will come out. reverse the process. if it wasn't for the upper and lower radiator hose being so hard to put on I would have been done in less than a hour. I now have a extra used radiator :/
Mercedes SLR McLaren 722 S Is Extremely Rare Example Modified by McLaren
Slideshow: A one-of-one U.S.-spec Mercedes-Benz SLR McLaren Roadster became even rarer after a factory-backed transformation at McLaren's headquarters.