When you click on links to various merchants on this site and make a purchase, this can result in this site earning a commission. Affiliate programs and affiliations include, but are not limited to, the eBay Partner Network.
Reassembling the Windshield Washer Fluid Reservoir
Originally Posted by Pitek
Hi everyone,
I am almost finished with my promised write-up on reassembling the Windshield Washer Fluid Reservoir. I will post it very soon.
Thank you,
Pitek
Hi everyone,
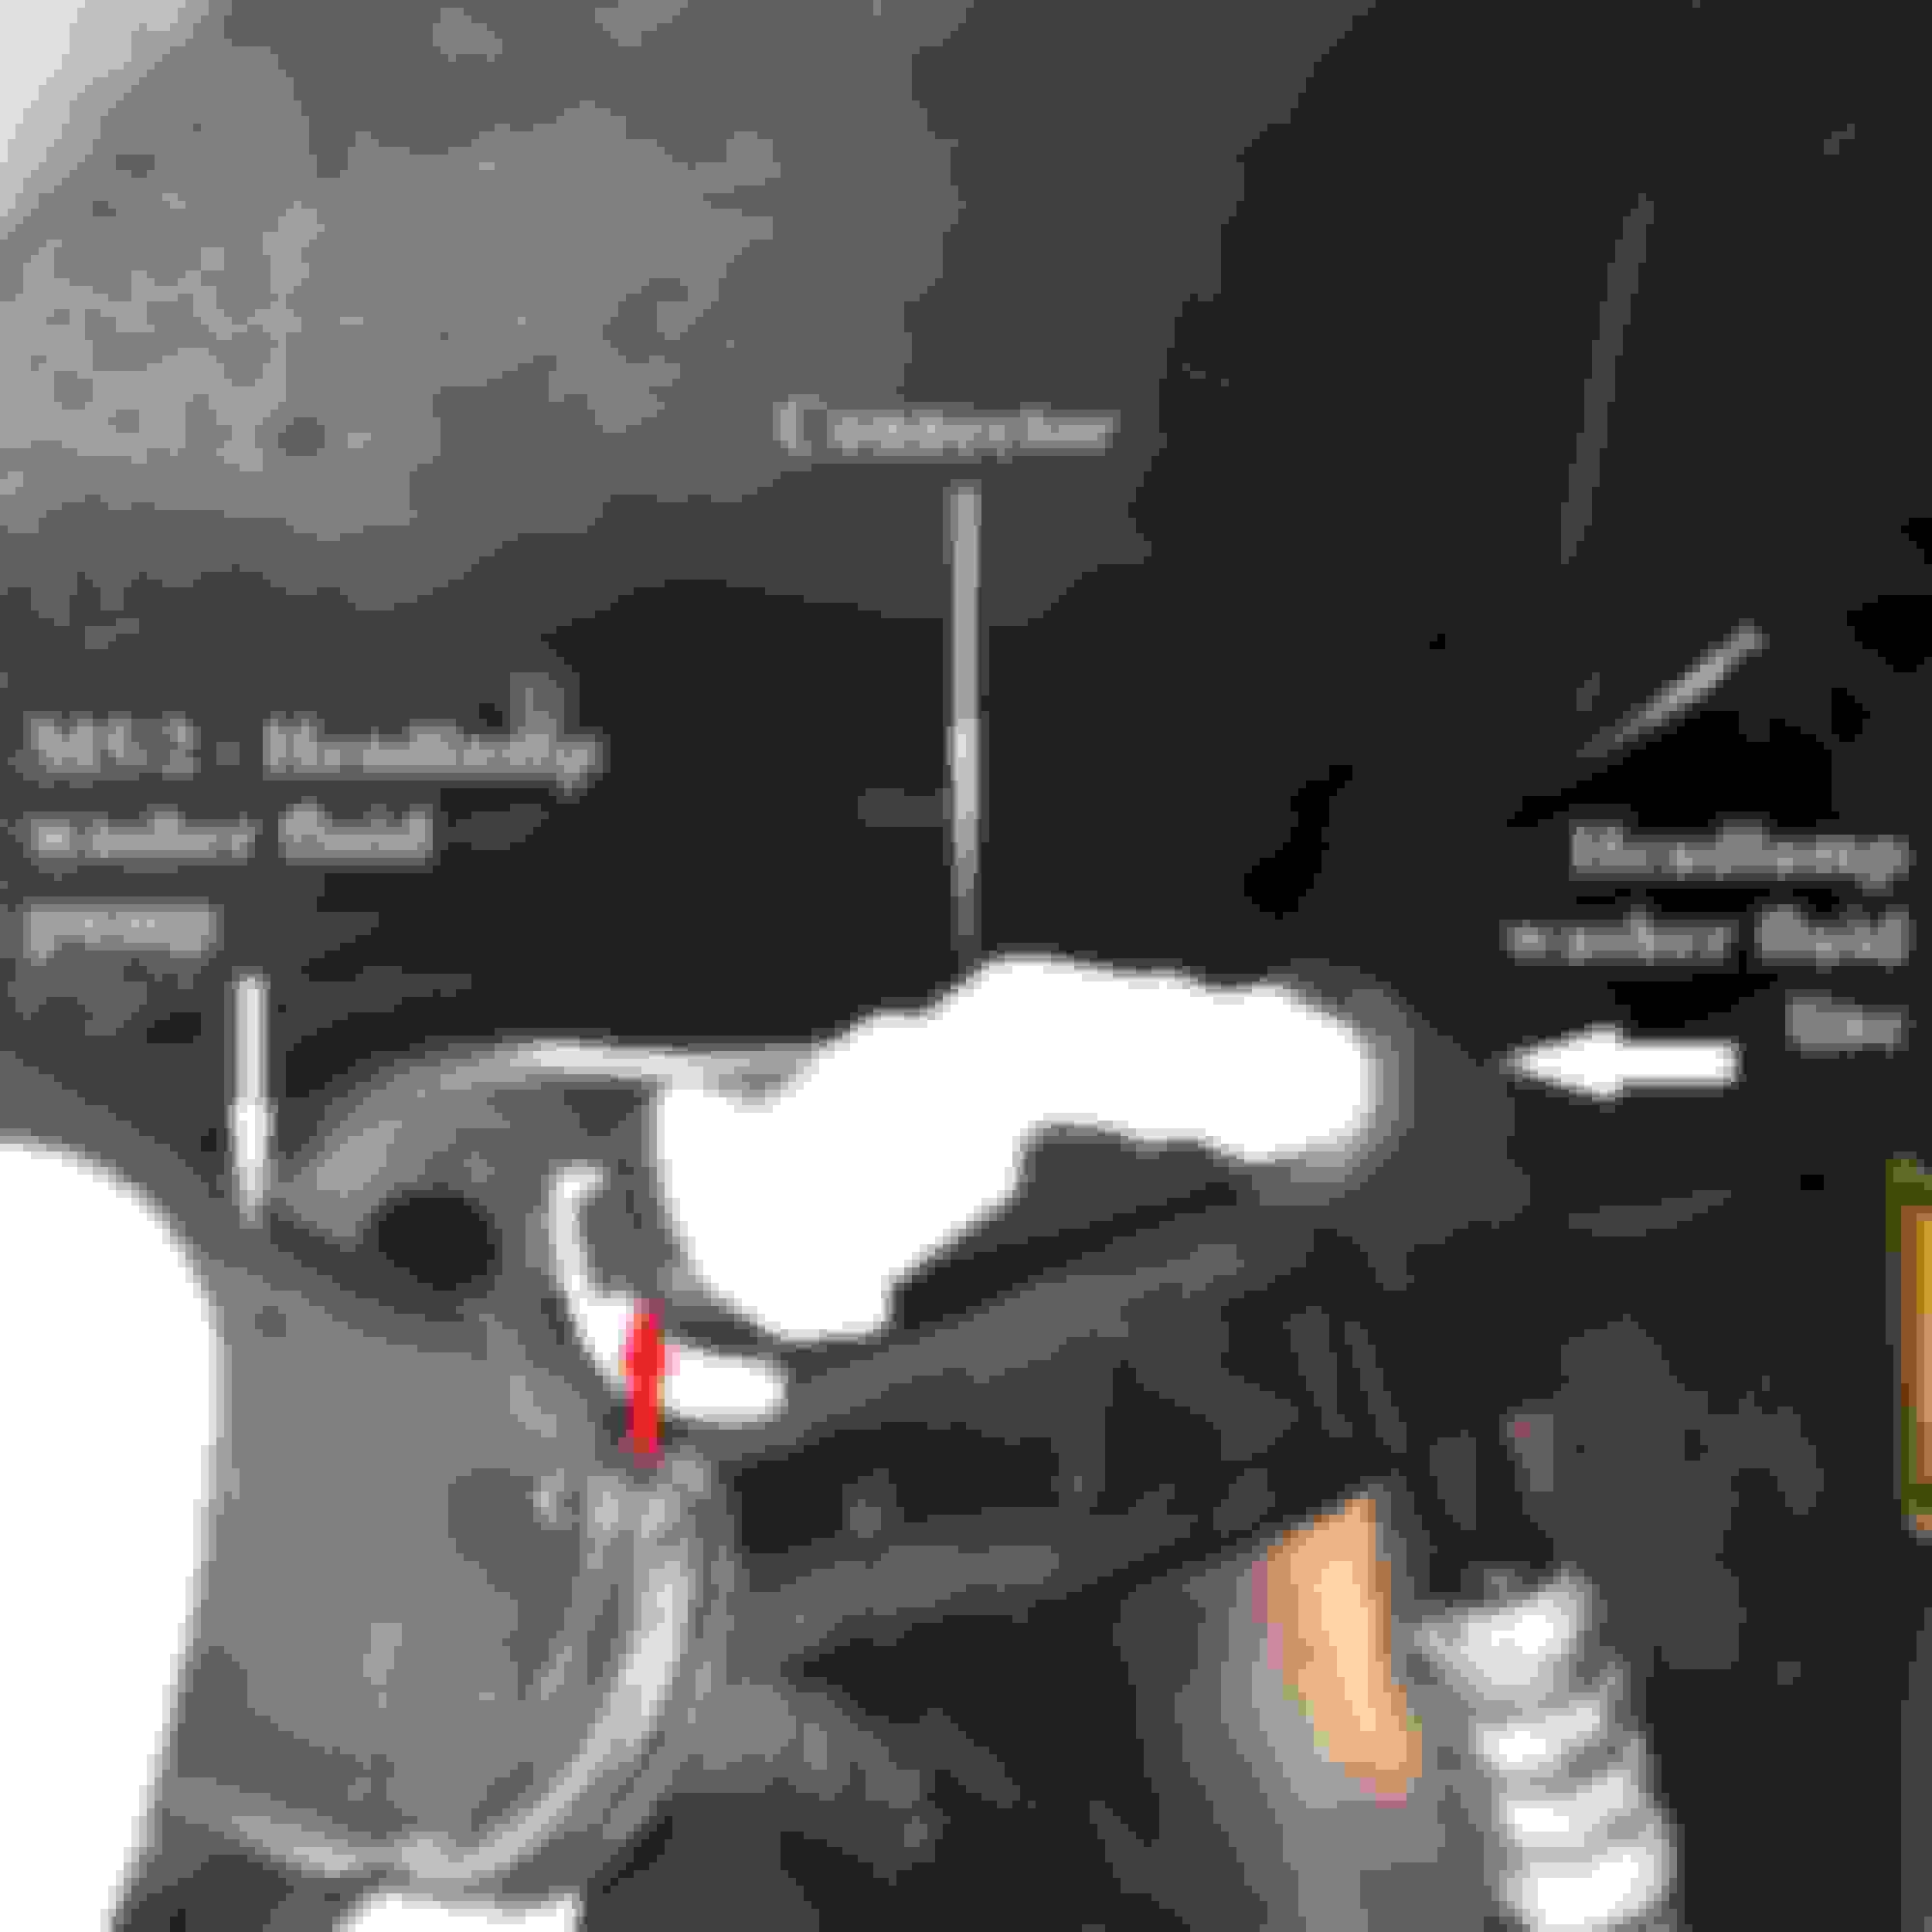
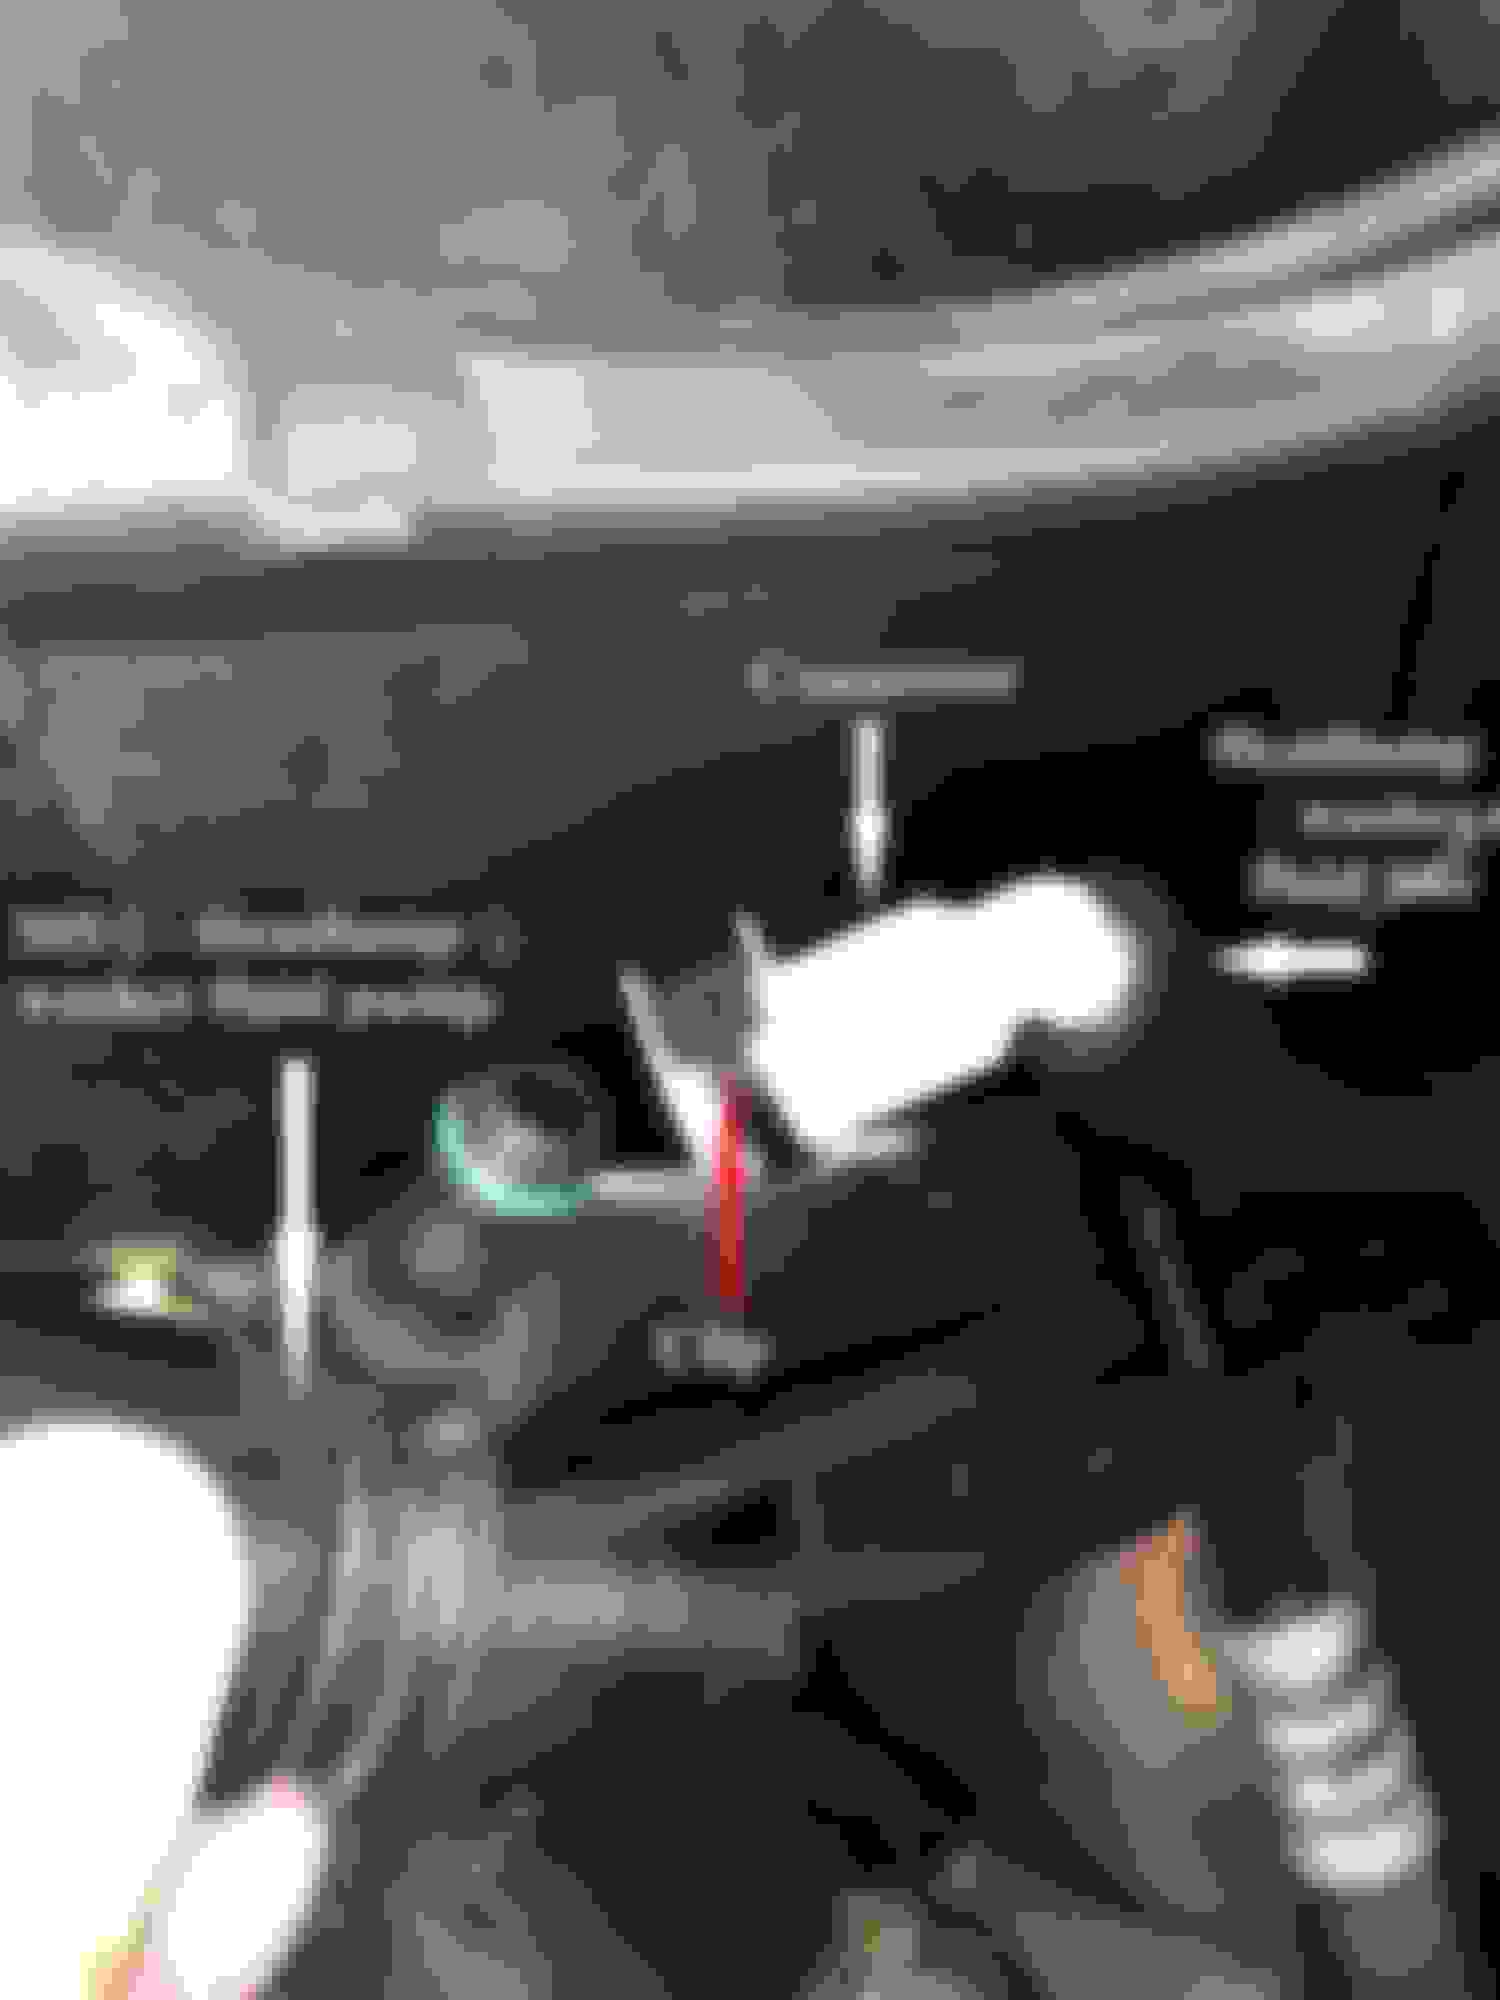
This is my write-up on reassembling the Windshield Washer Fluid Reservoir after replacing the leaking seal/washer under the M5/1 Windshield Washer Fluid Pump and replacing the broken off connector between the M5/2 Headlamp Washer Fluid Pump and the Headlamp Washer Fluid Line.
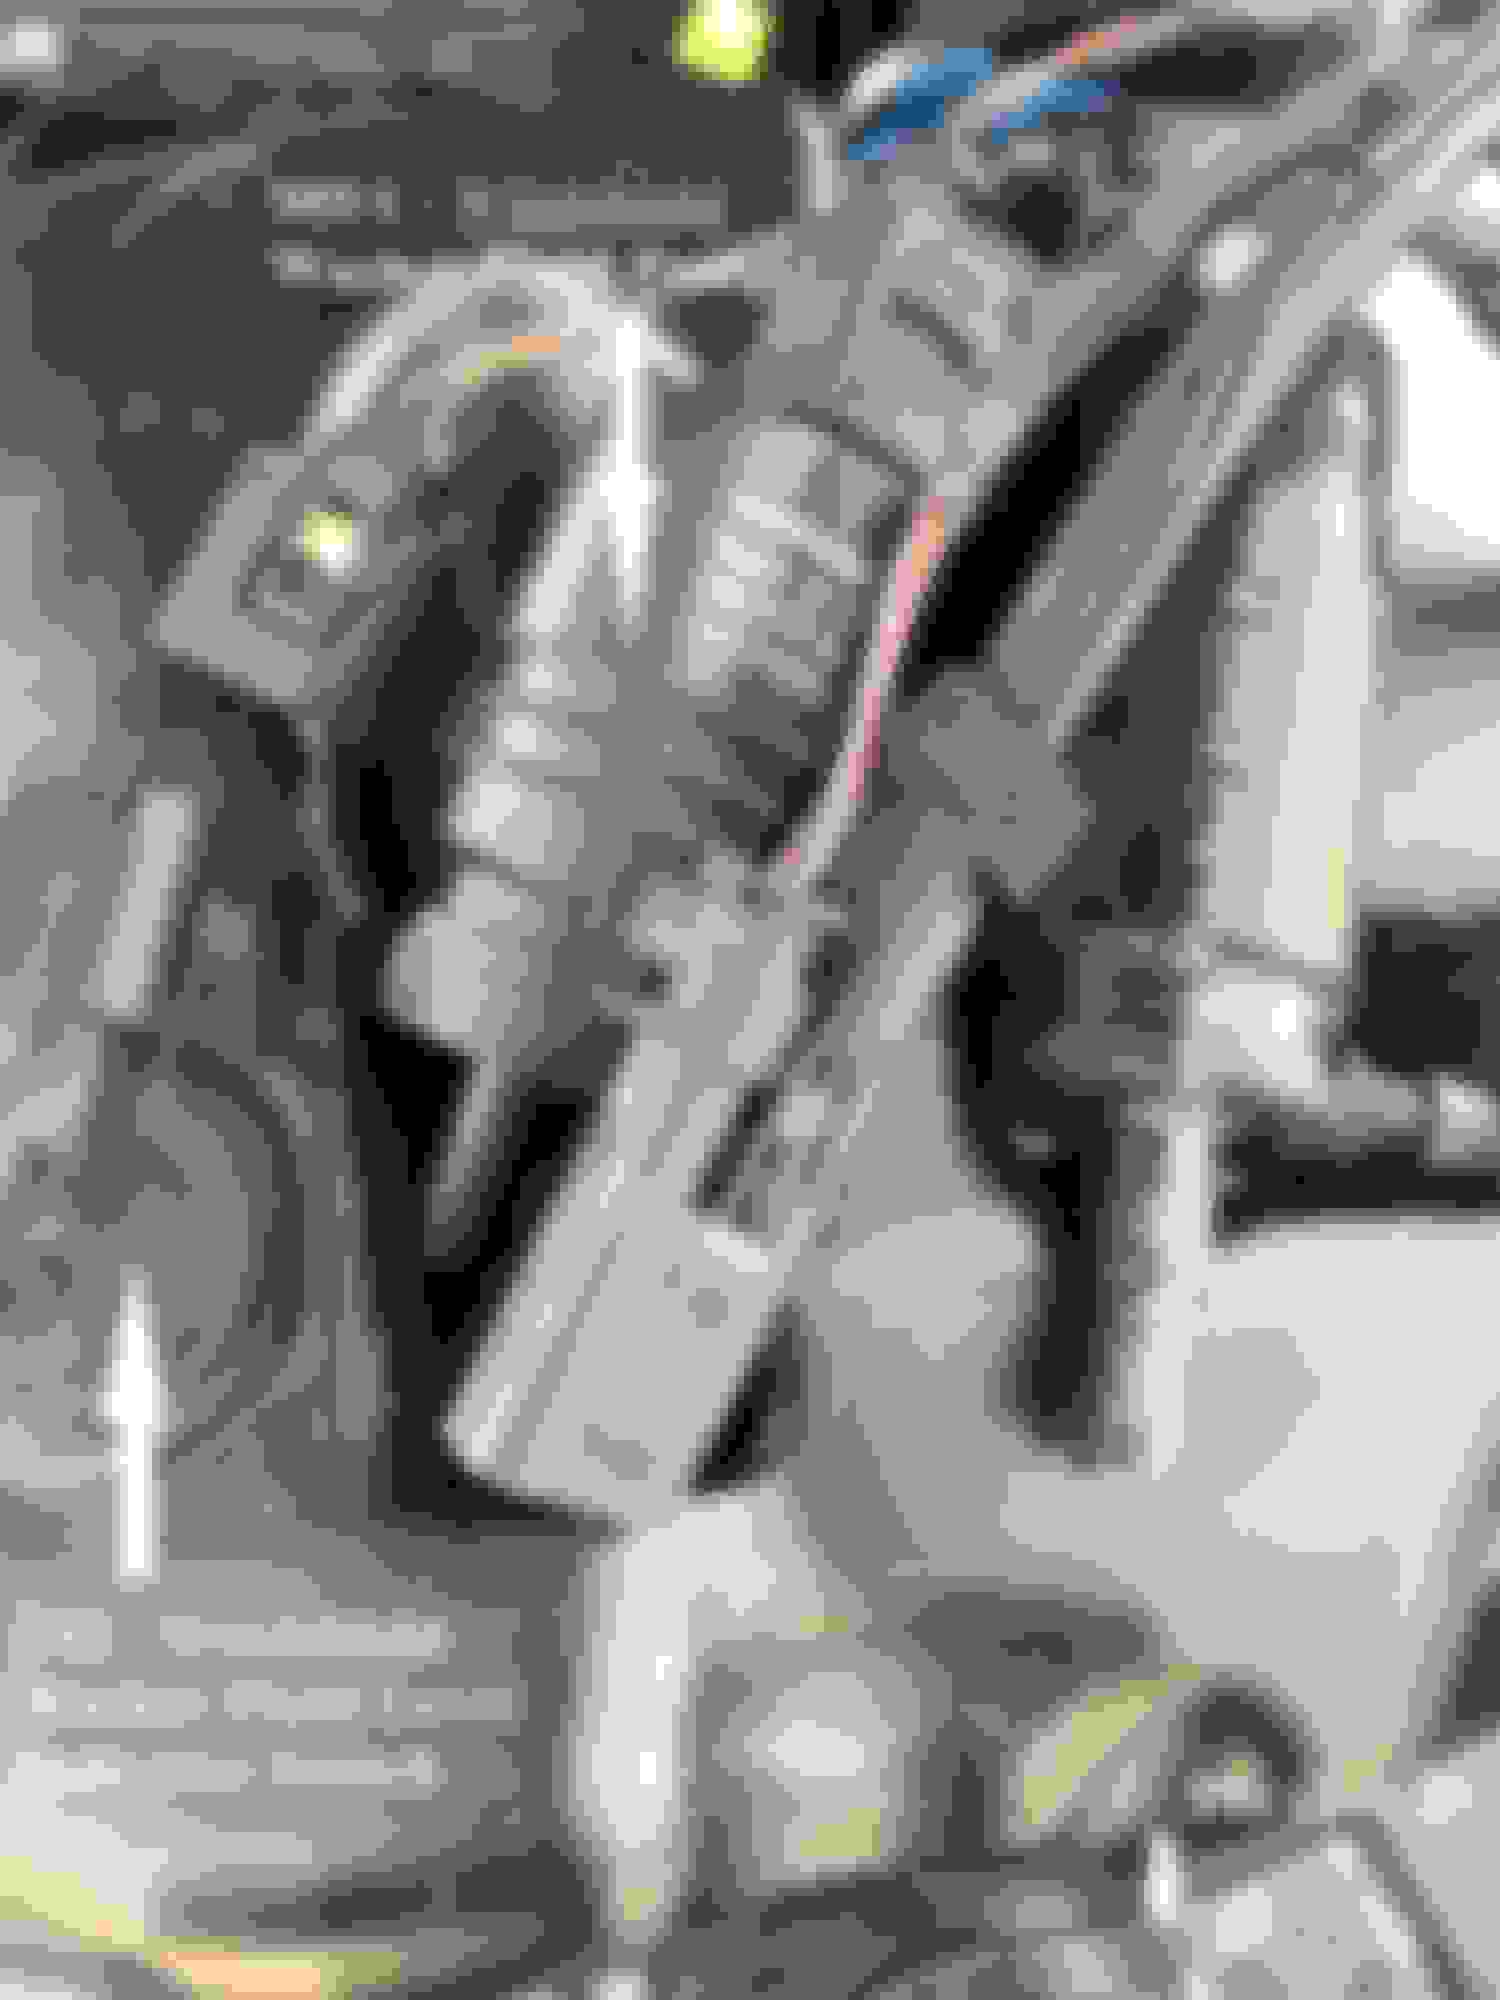
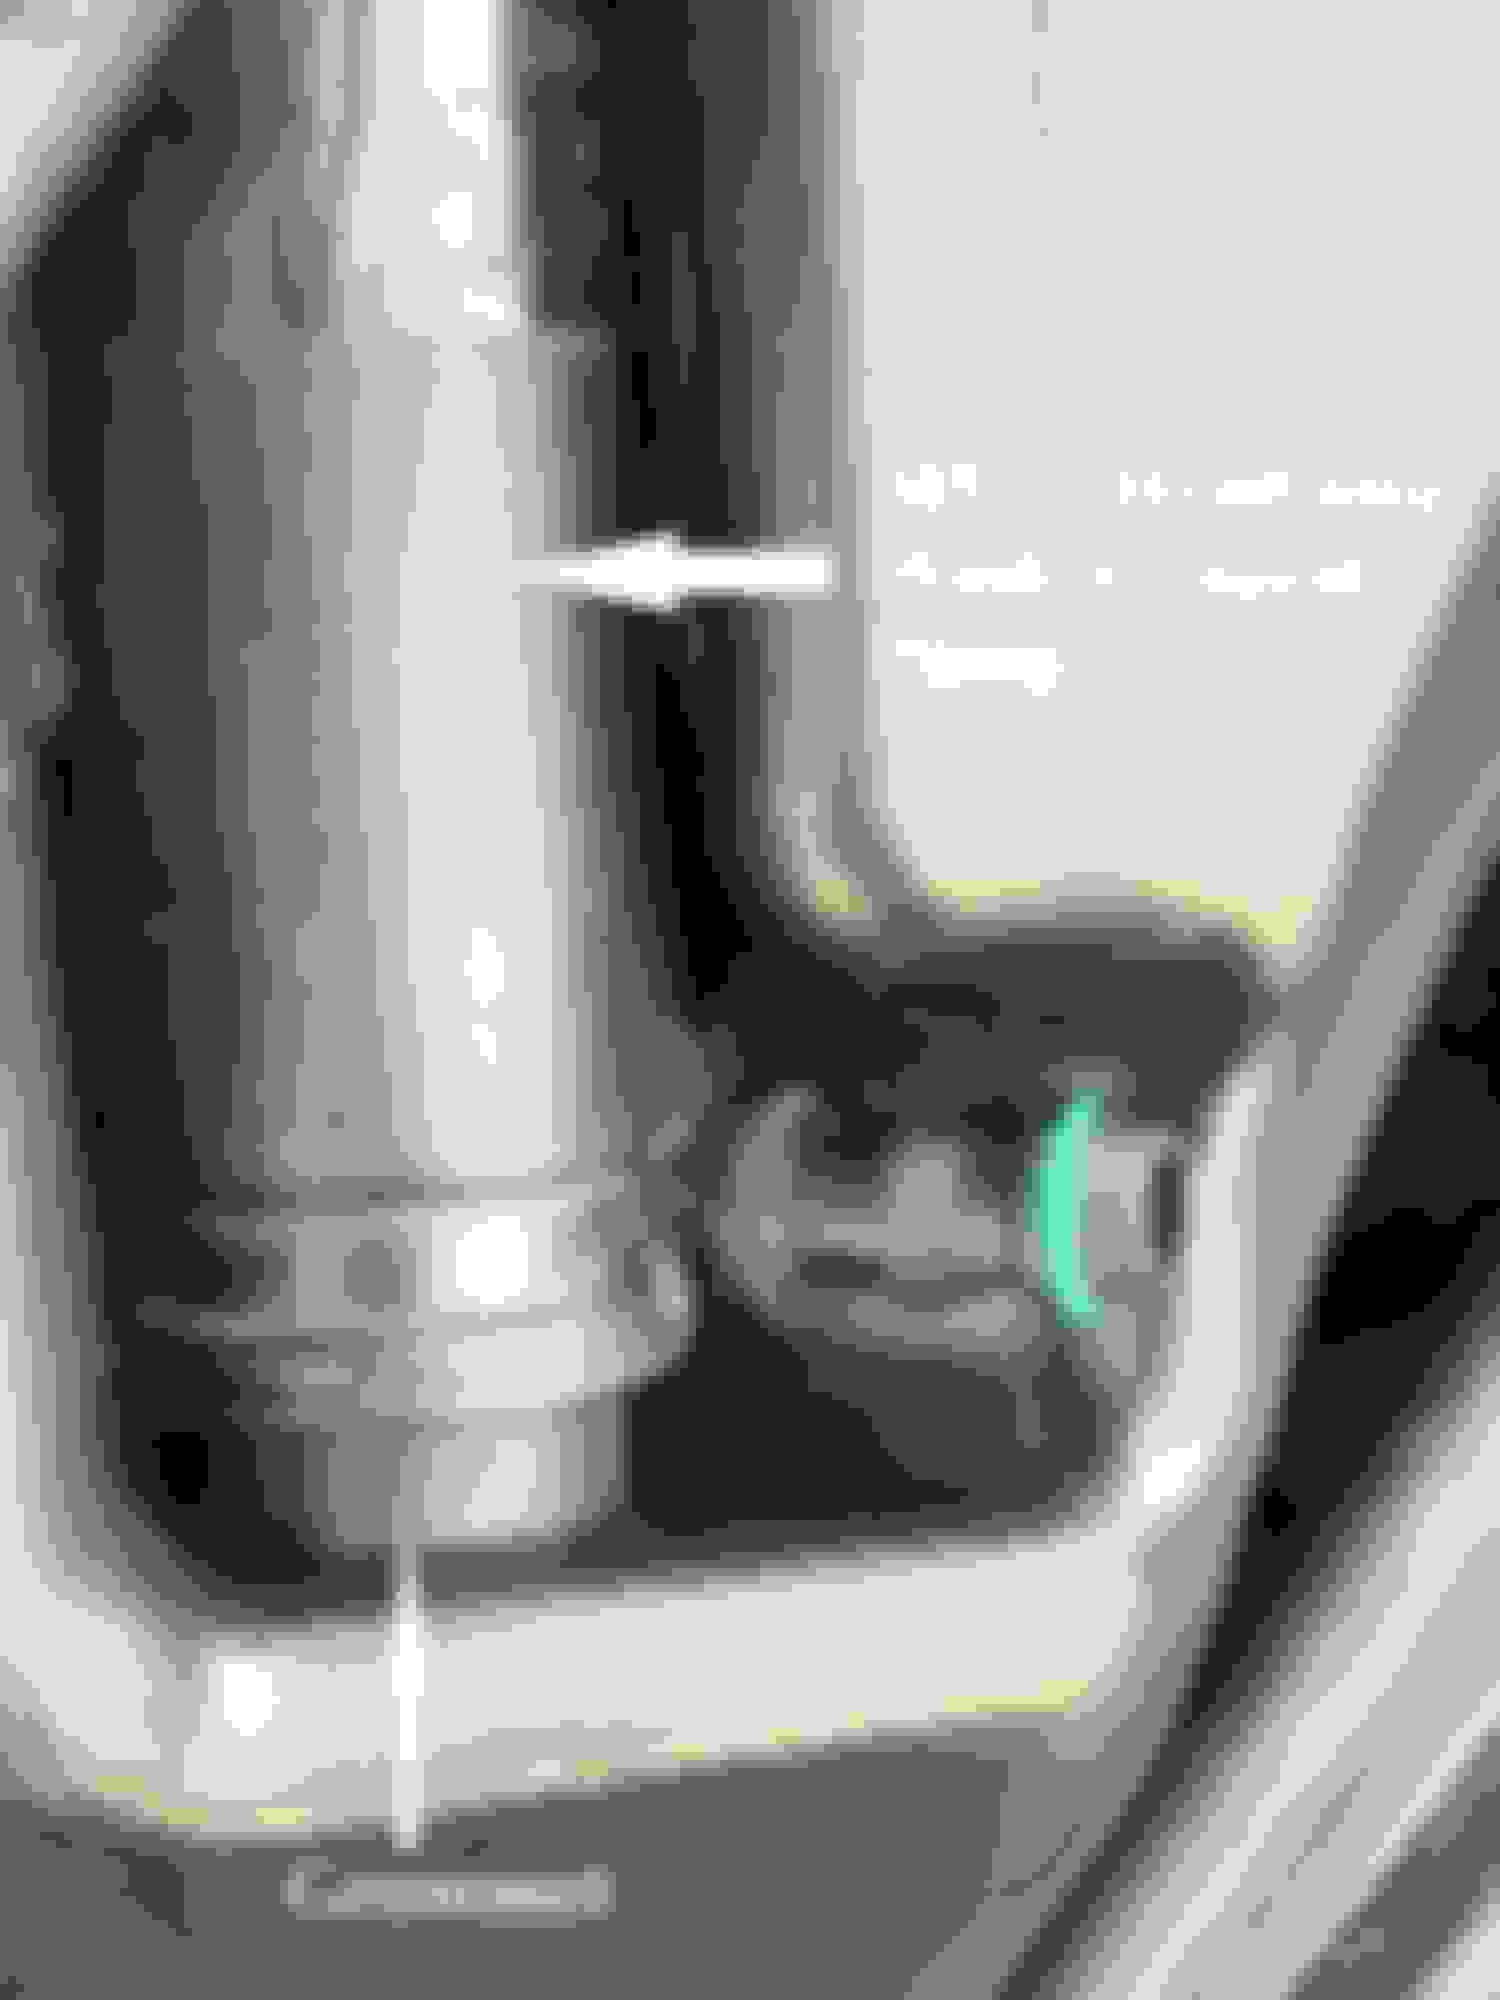
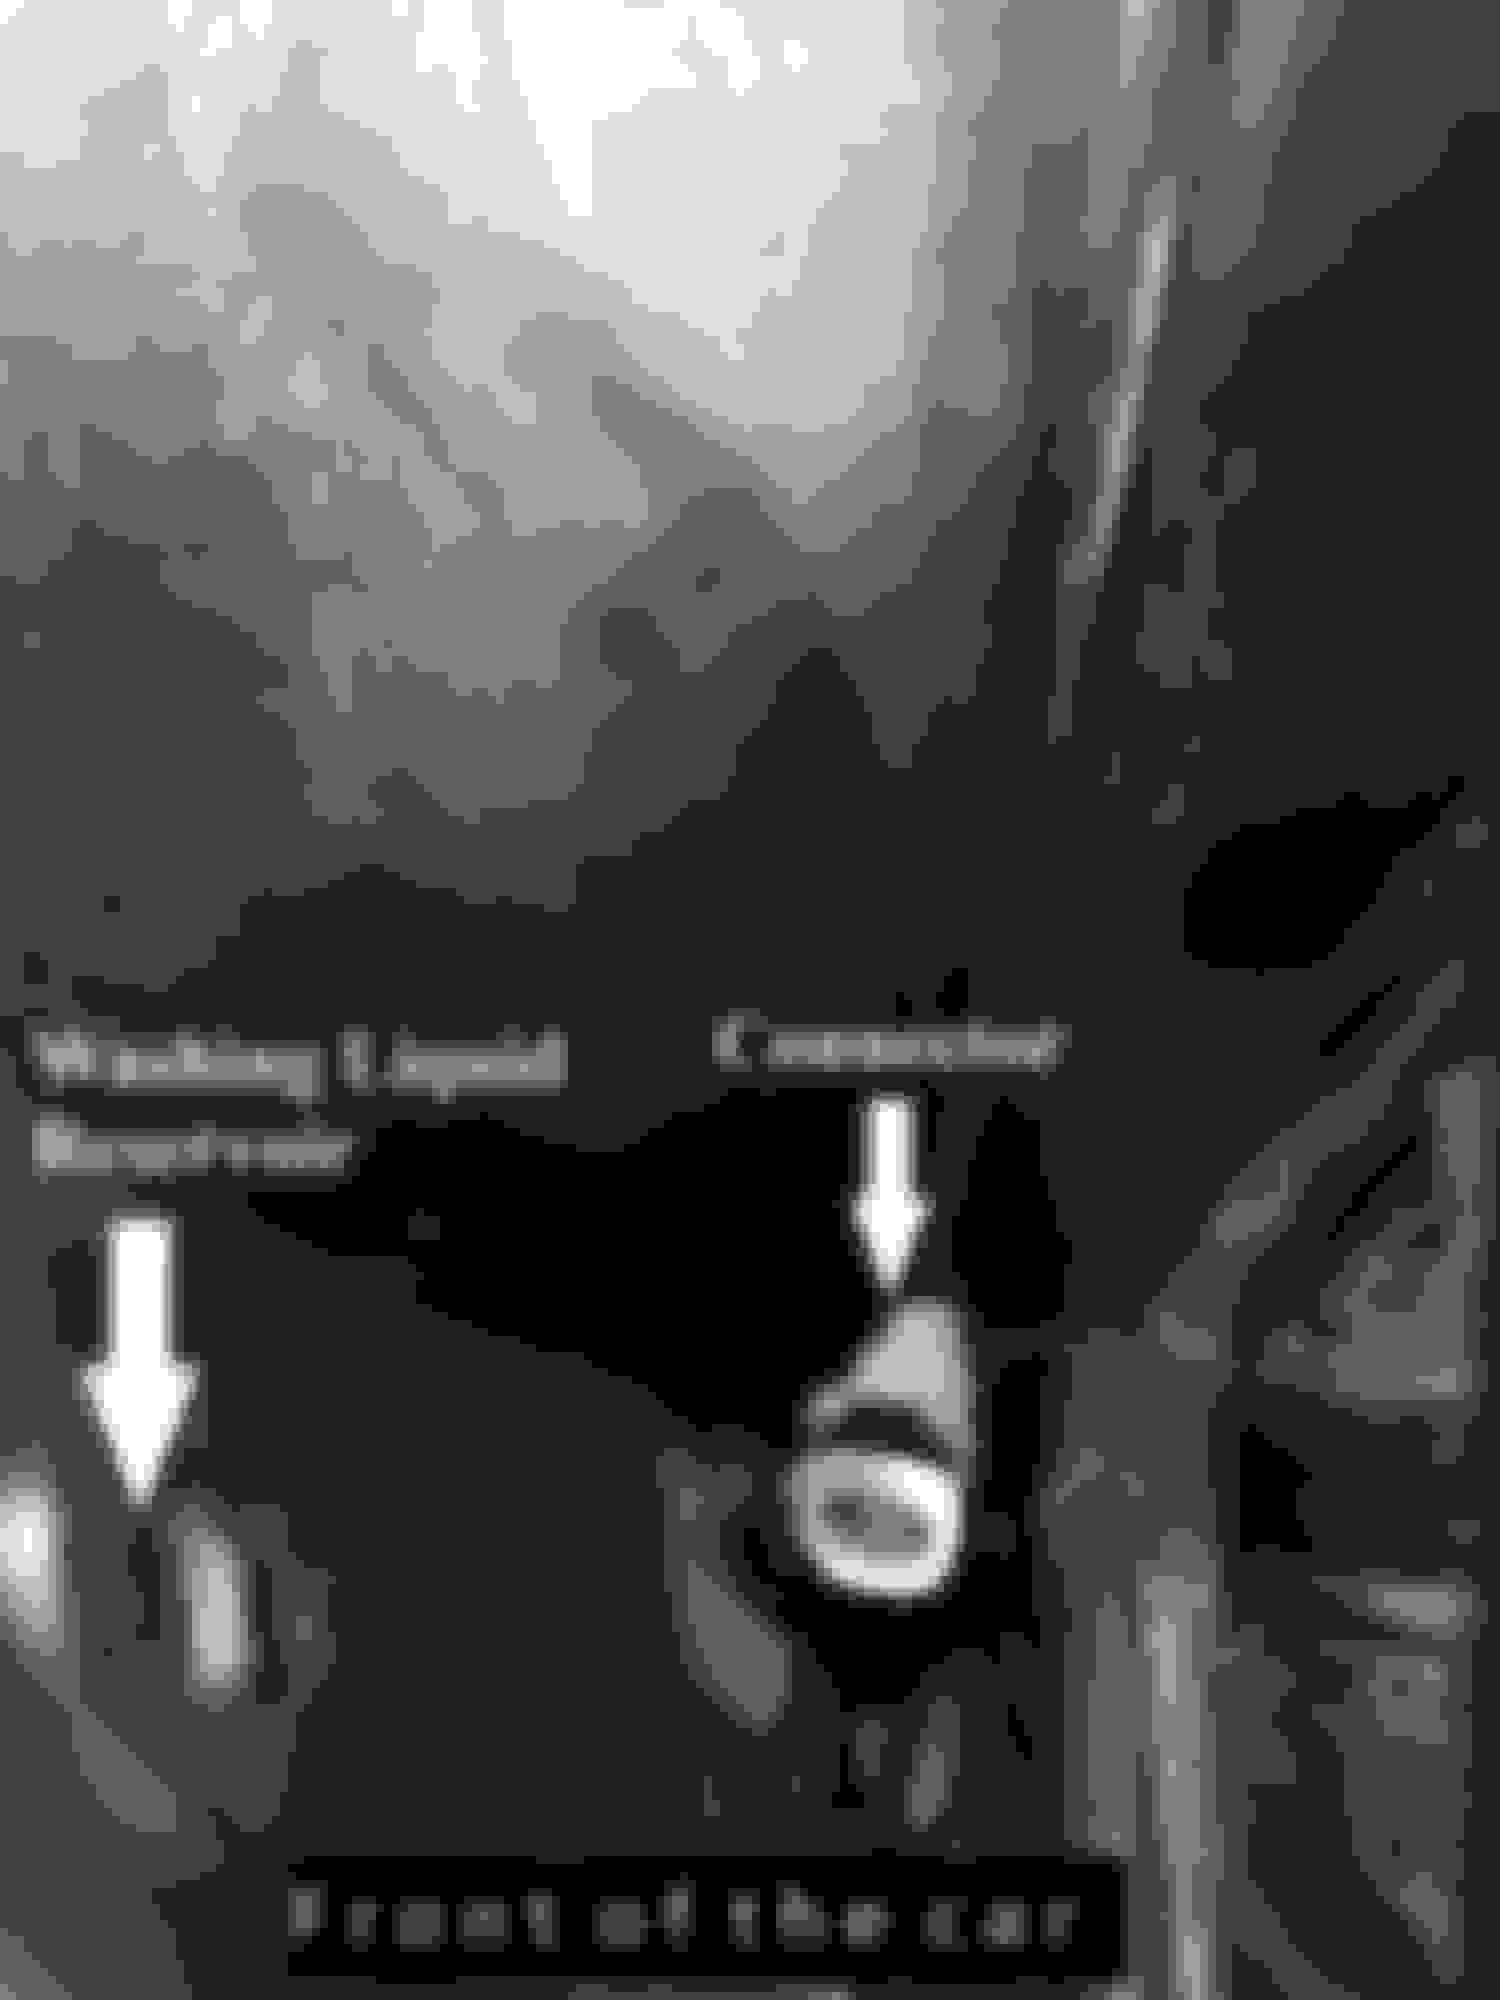
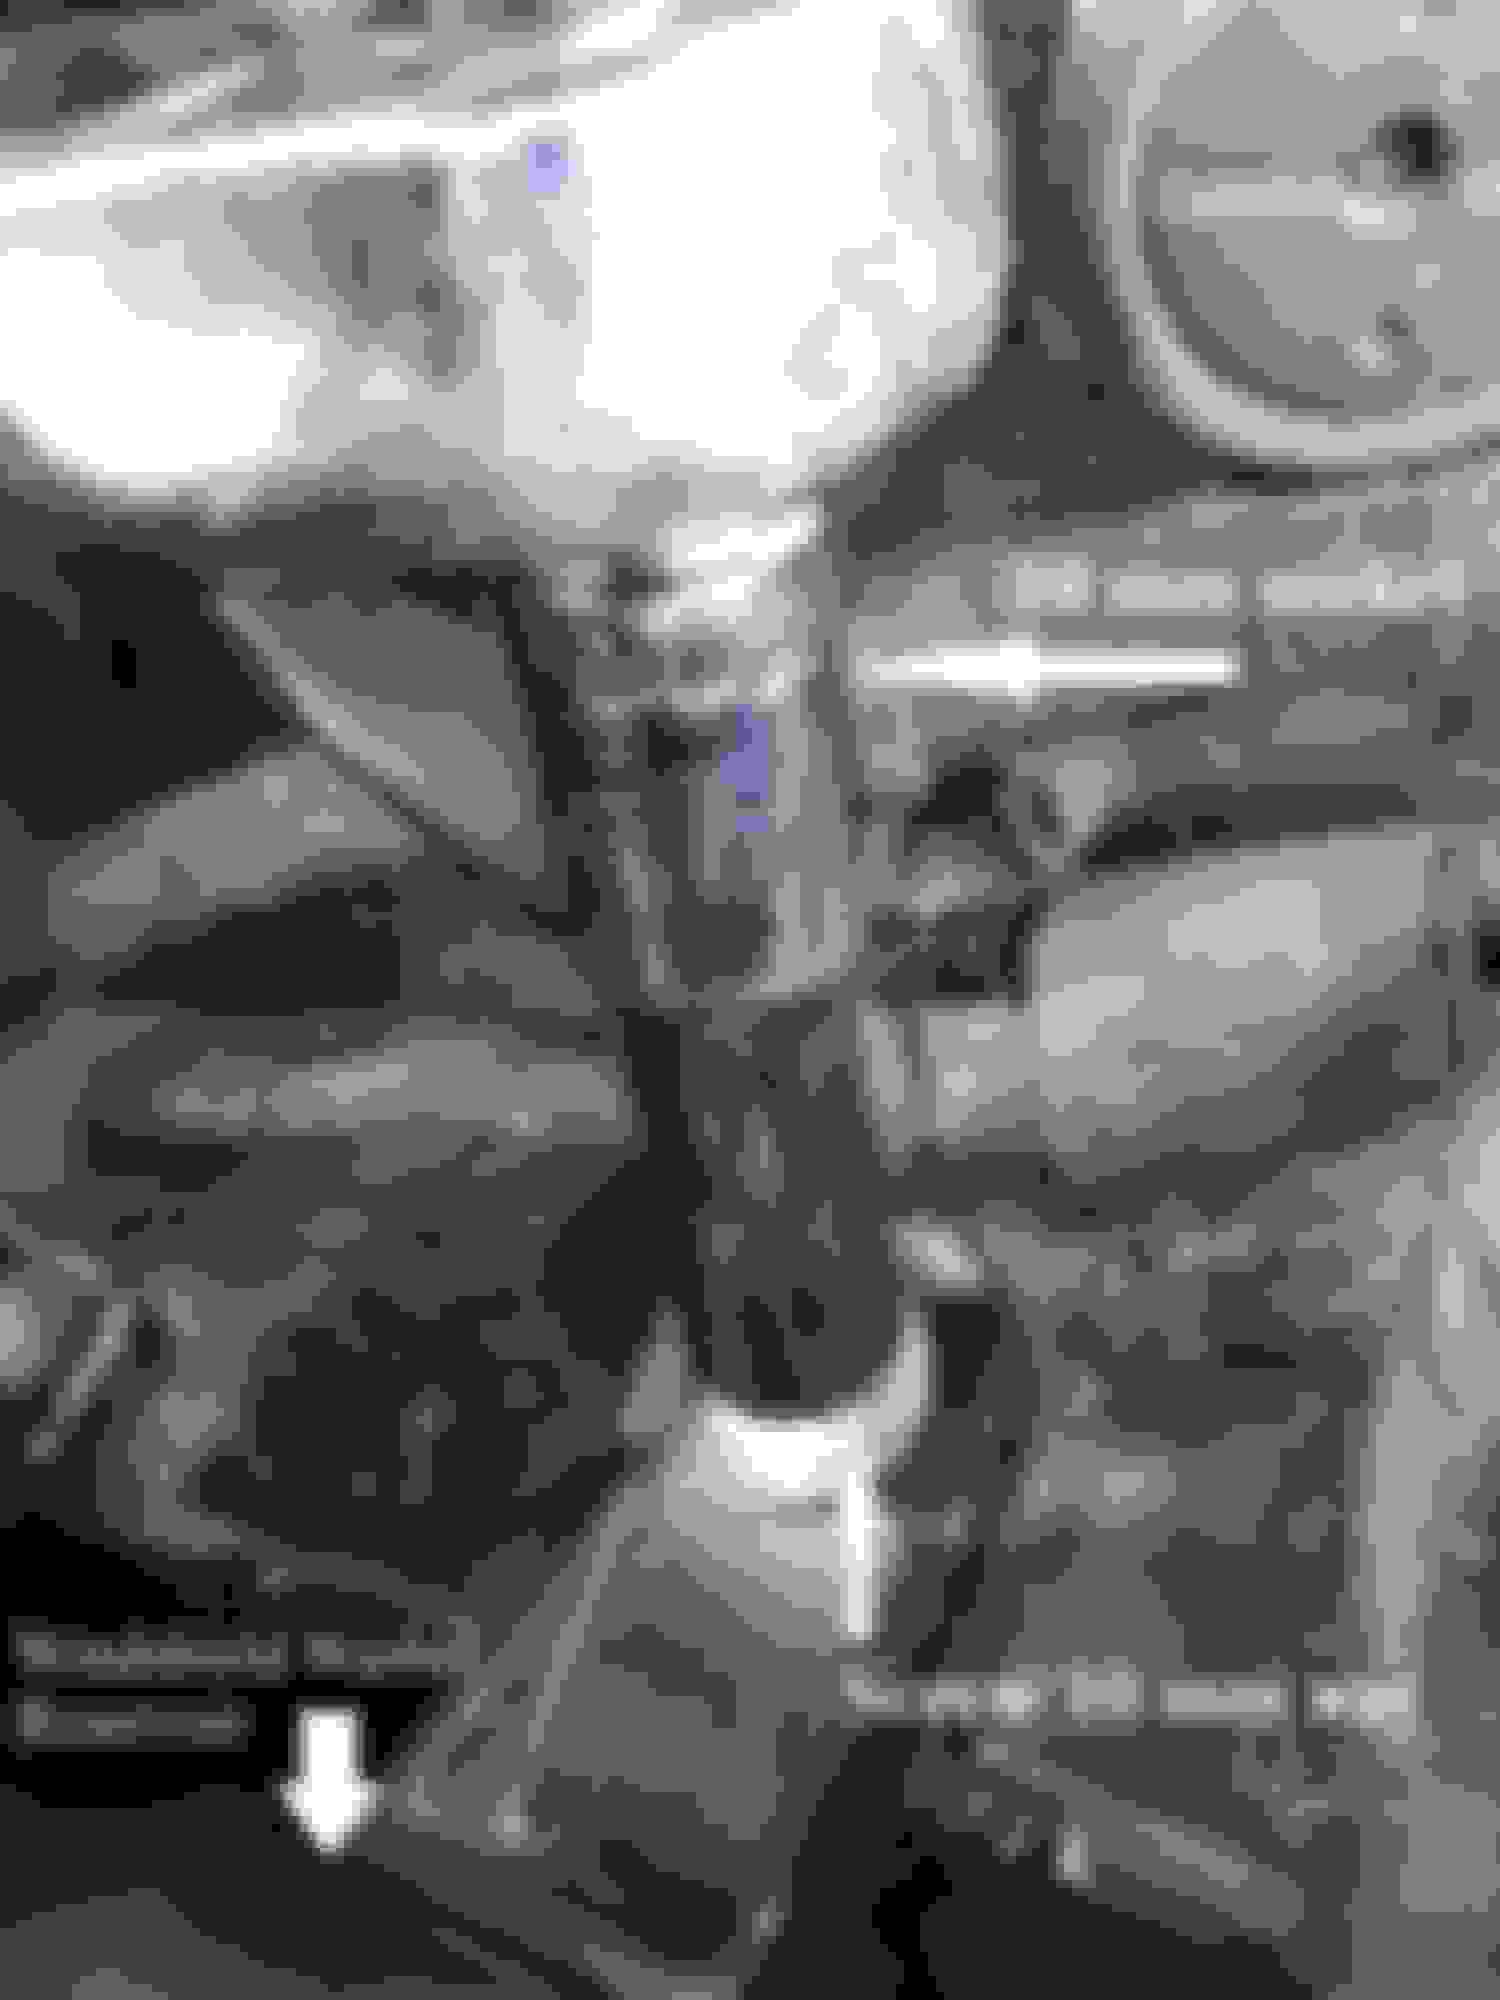
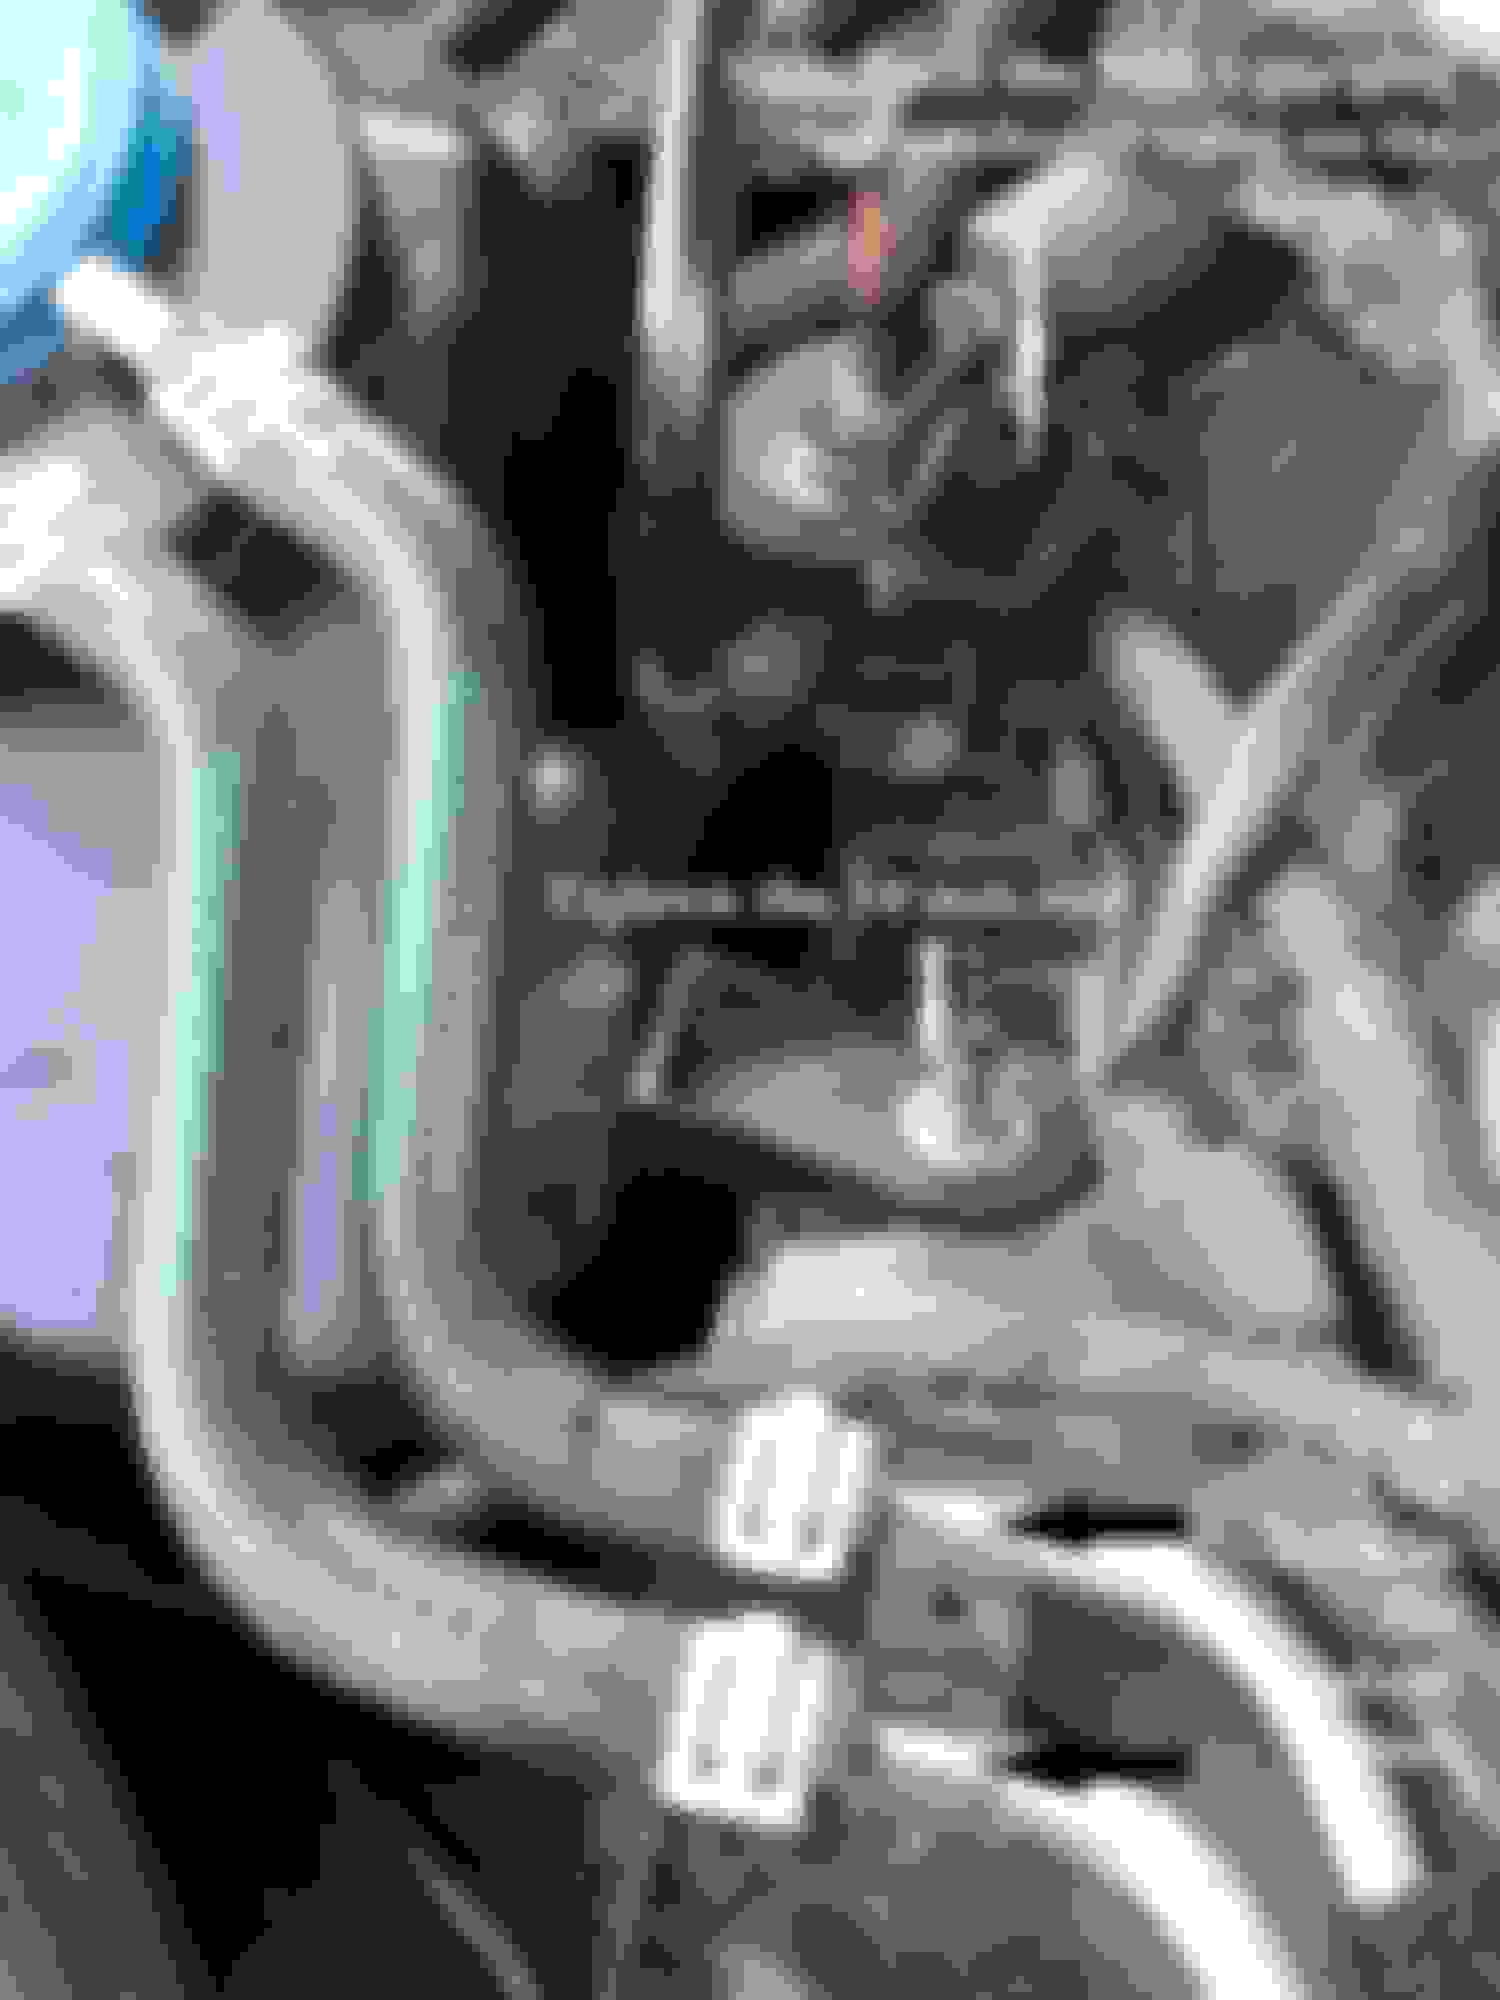
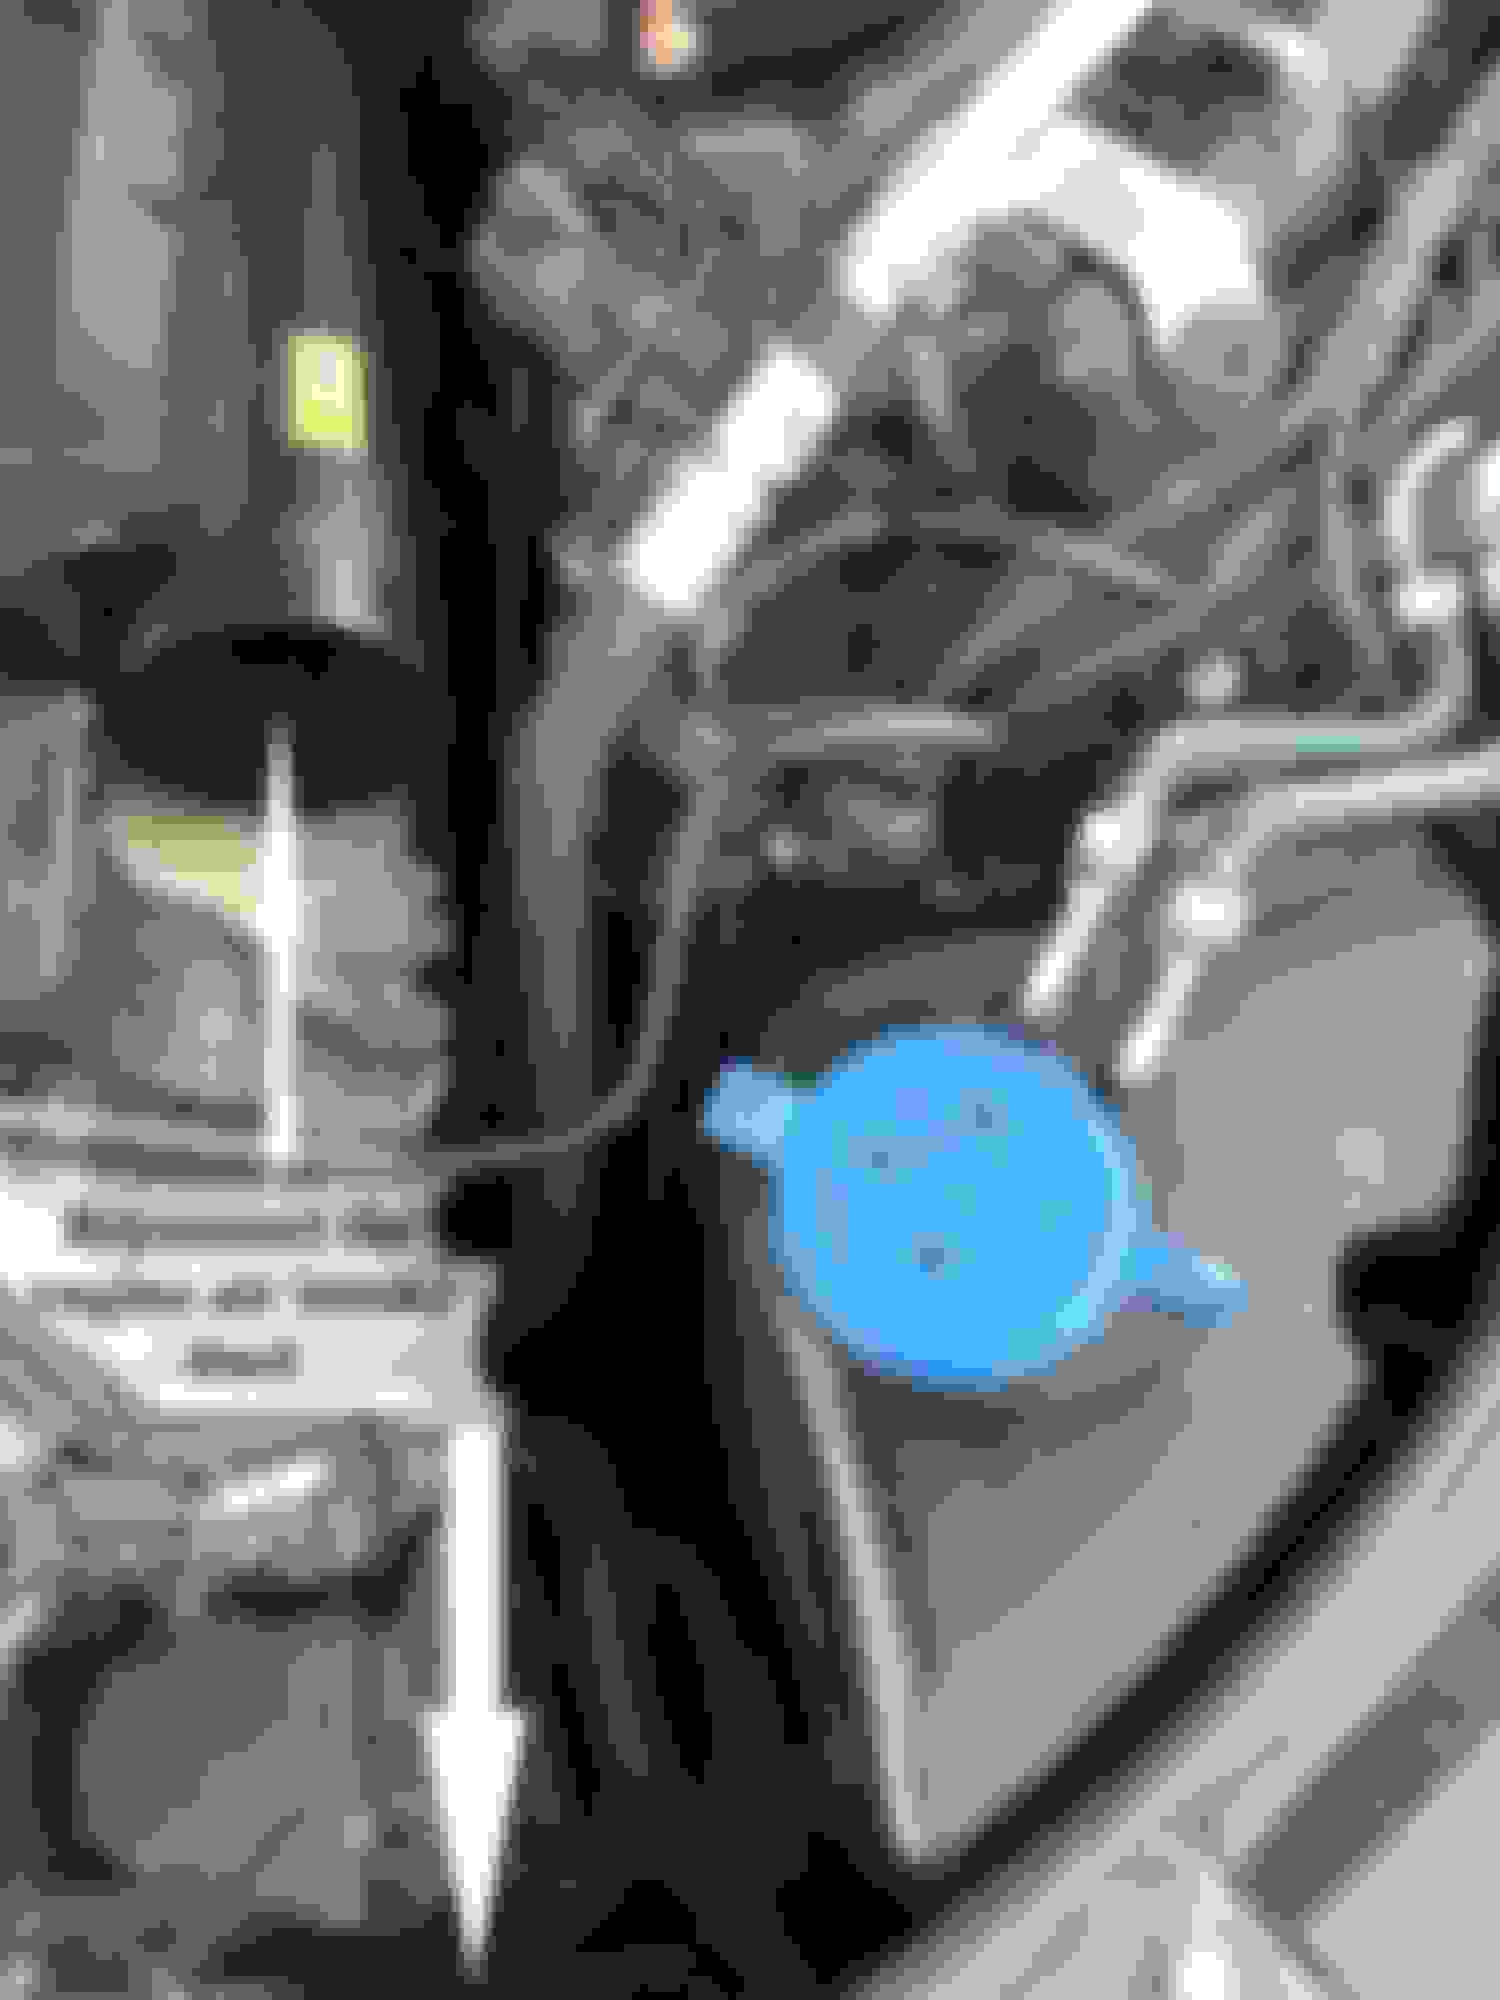
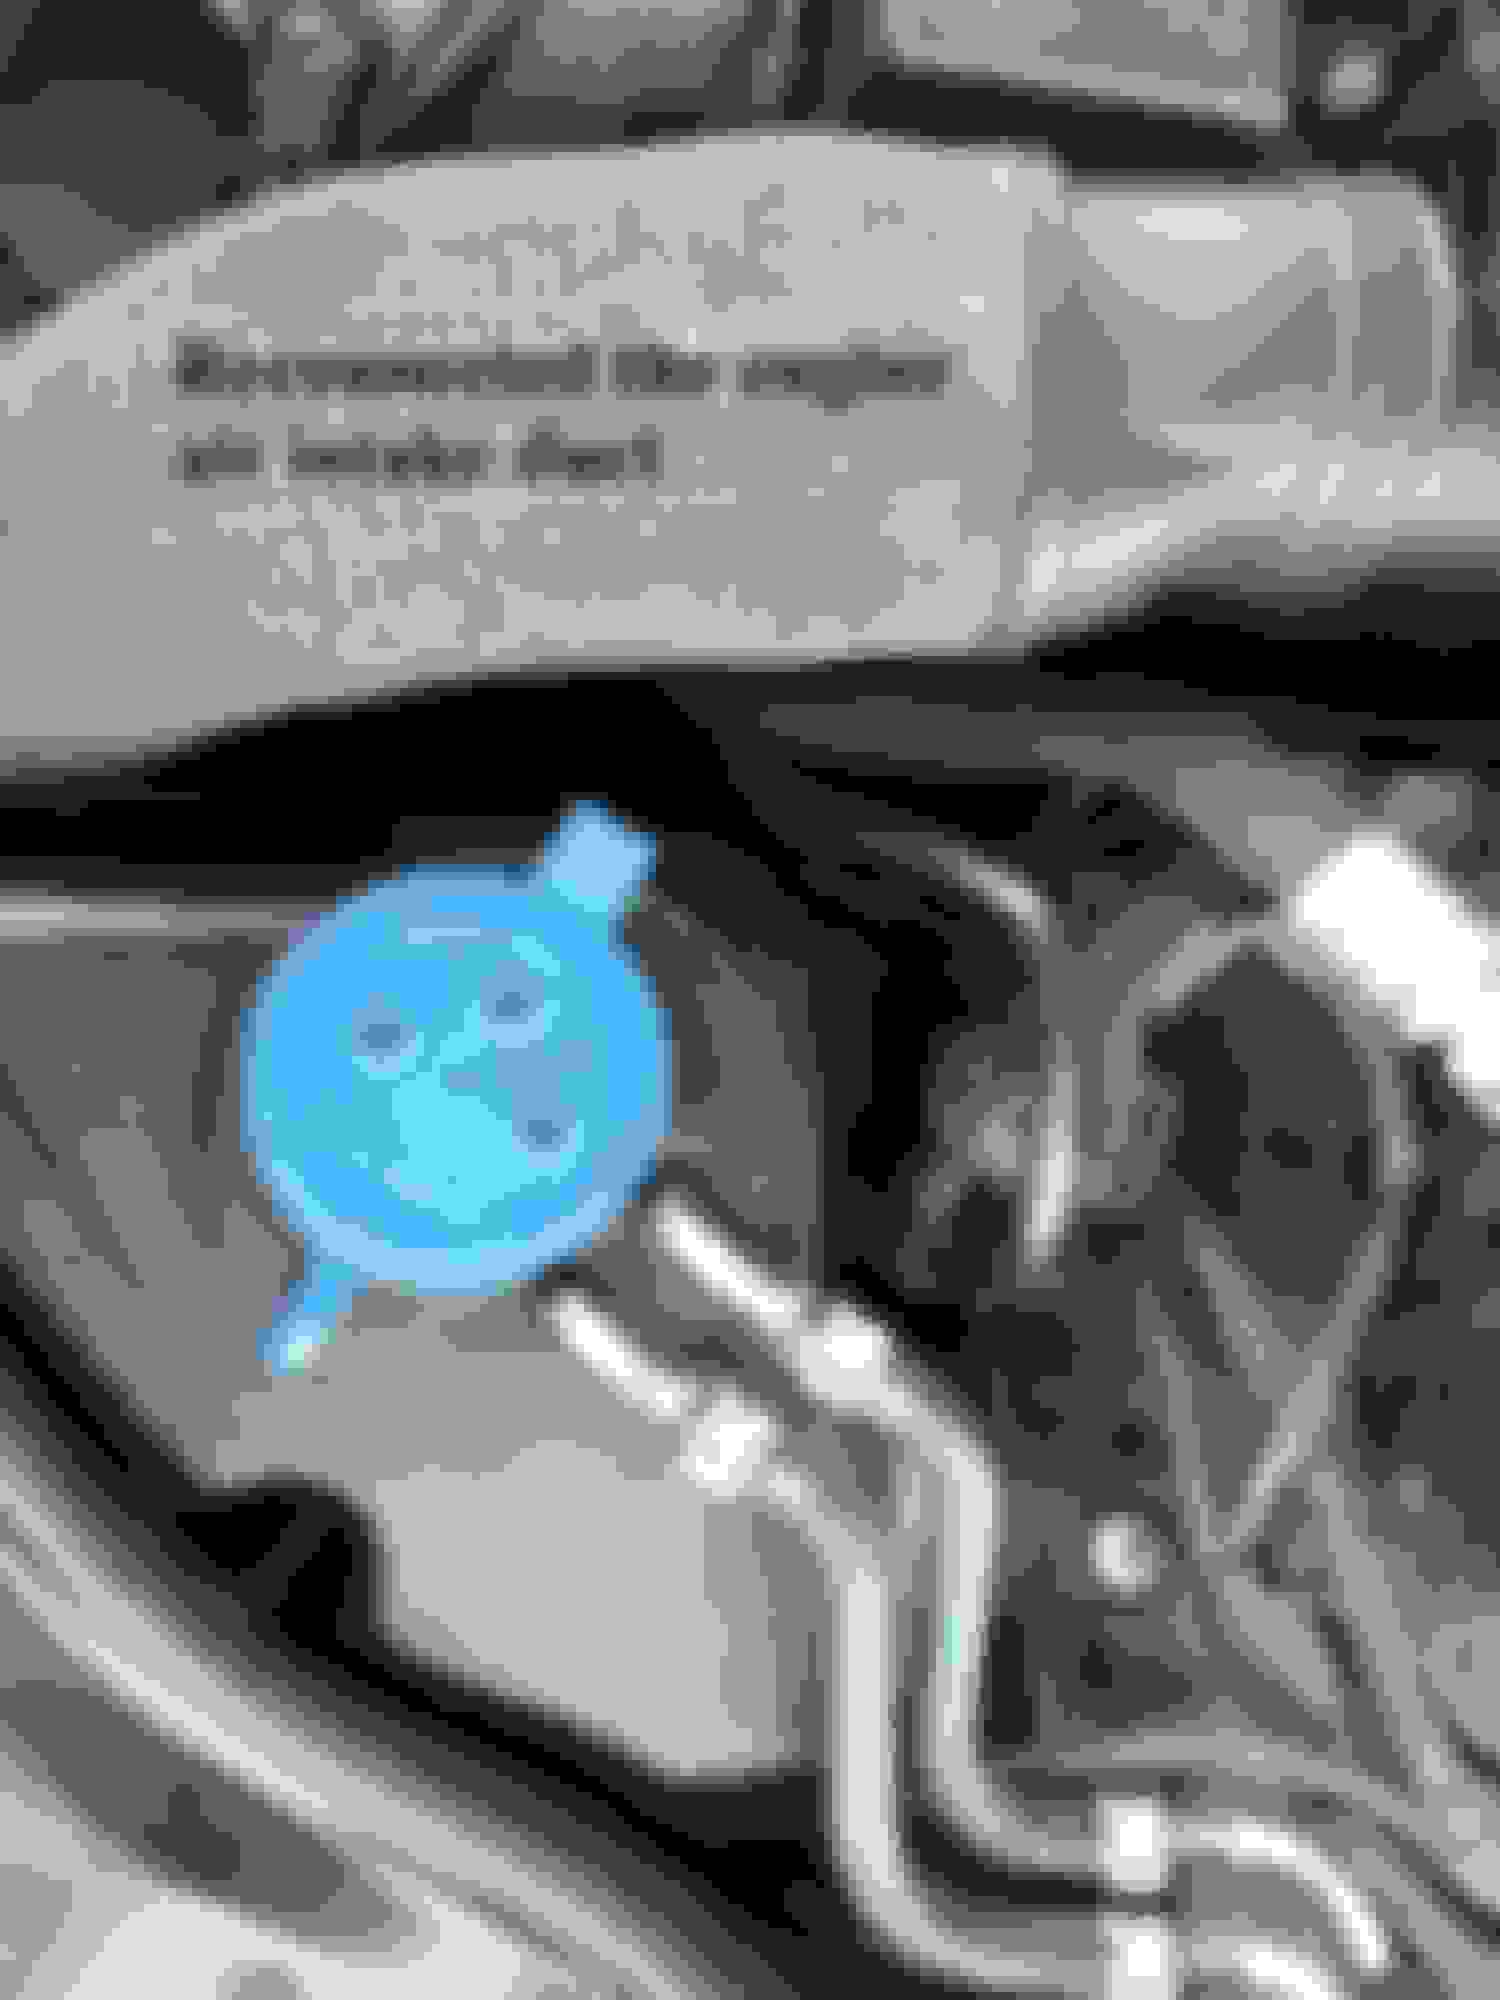
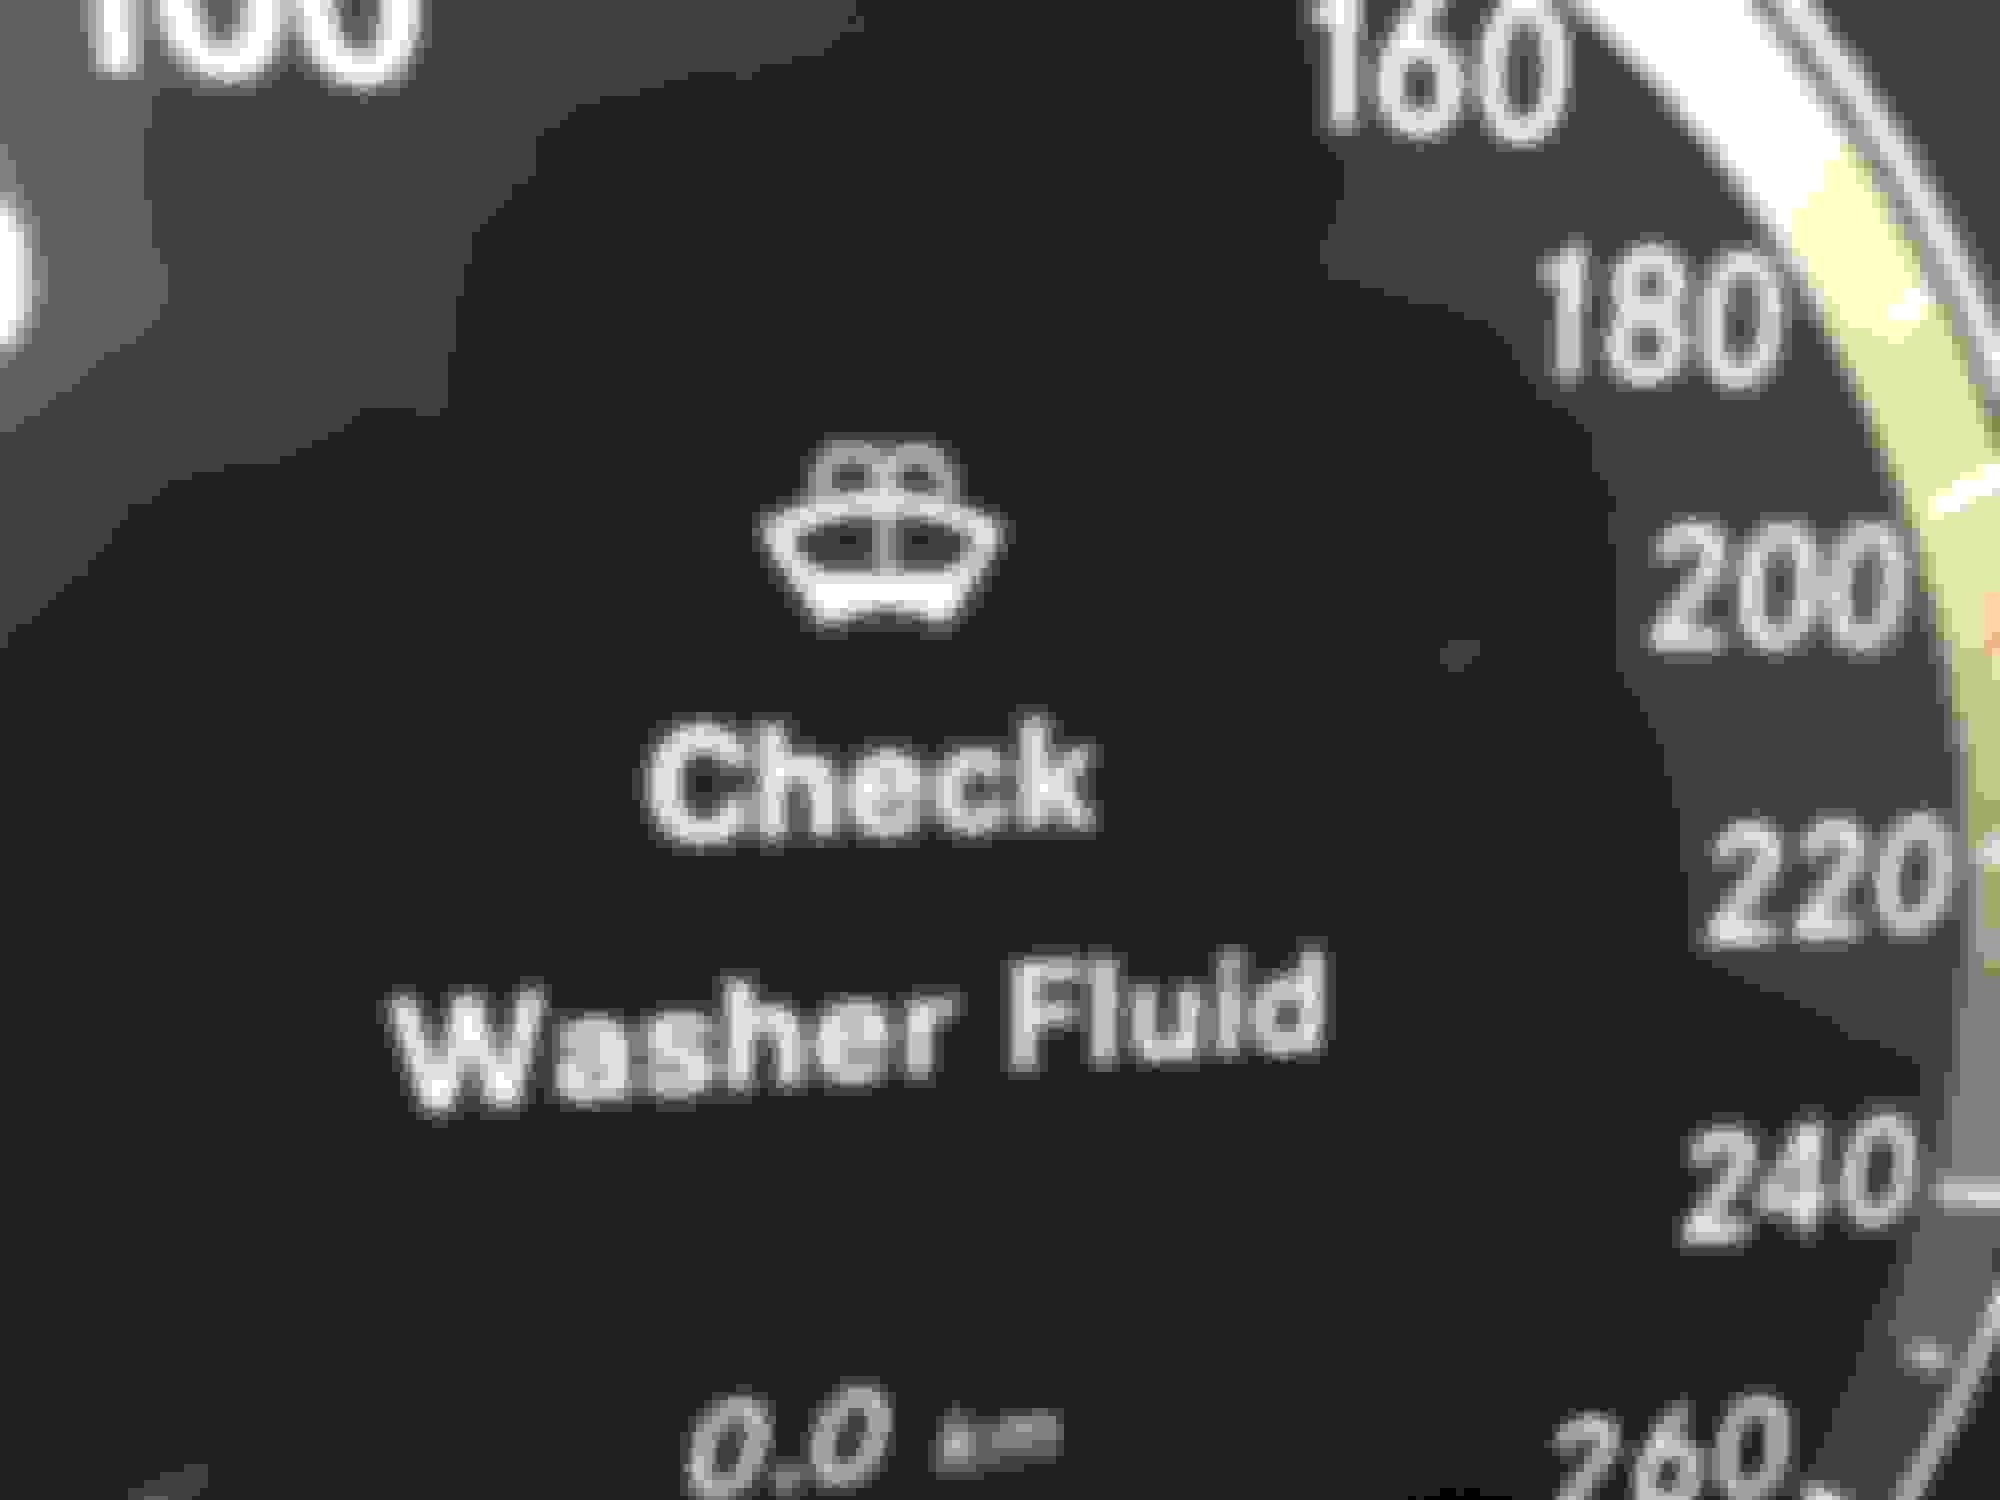
I disconnected, removed and cleaned up inside and outside of the Windshield Washer Fluid Reservoir. You can clearly see where the Washer Fluid Level Sensor, and both pumps are located. I installed brand new washer/seal (smaller on the left) and grommet (bigger on the right). The washer/seal was leaking badly especially when the ambient temperature occasionally drastically dropped down over the winter time. I had to replace the connector between the Headlamp washer fluid pump and the Windshield washer fluid line. I broke it off despite friendly reminders and warnings from some members. First, I firmly inserted one end of the connector into the Headlamp Washer Fluid line. I lined up all of the components to be reinserted and reconnected on the side of the Windshield Washer Fluid Reservoir. Close-up of the Headlamp Washer Liquid Pump and the thick rubber grommet it goes into. This is the final and most important step in reconnecting the Headlamp Washer Fluid pump and the Headlamp Washer Fluid line. The room is very limited down there. You have to snap the connector on the pump's spout. Do not remove the clip off the Connector while installing it. The manufacturer pre-lubricated (white grease), the inside of the connector on the "snap-on" end. I gently and slowly snapped on the connector after squeezing my hand in there. I had to use two straightened out fingers to accomplish it. The Windshield Washer Fluid Reservoir sits on two pins (part of the reservoir), that go into two rubber grommets underneath. This is an interesting photo. I took it looking down through the top round opening in the Reservoir. Familiarize yourself with surroundings inside. Find the round pocket at the very bottom and the center of the Reservoir. You will have to precisely slide in there the foot of the Heat exchanger. Close-up of the Washer Fluid Heater foot. It is extremely important that you do not use any force! Gently and slowly slide the Heat Exchanger Coil under the bulge (see the red outlined arrow). The moment the Heater's foot finds its final spot it will drop enough to slide it under the bulge. You will need a 10 mm socket to screw the 10 mm nut holding down the entire Windshield Washer Fluid Reservoir. First, clip back in the coolant lines (black arrows). Then, slide back the purging valve (soft rubber) on its metal bracket. Finally, tighten the 10 mm nut. Reconnect the engine air intake duct. Reconnected. Reinstall the front engine cover. The warning message still reads "Check Washer Fluid". Fill the Windshield Washer Reservoir. Inspect and adjust to correct level. Turn the engine on and try out if all the sprinklers (windshield and headlamps) work the way they are supposed to. There might be a slight delay (1-2 seconds) shooting the washer fluid out because there could be some air trapped in the lines. Check if nothing is leaking around the Windshield Washer Fluid Reservoir and right underneath it and under the car. No messages. No leaking. All works. Job well done!
I hope it will help someone with the DIY project, saving money and bringing satisfaction from completing the task on your own and your leisure.
id like to add on to this, i didnt do my research and put the rainx washer fluid in my reservoir and used as normal..after bringing it to the dealer for something unrelated i was told i put the wrong fluid in and damaged the sensor..is this accurate?
Yes, there is a bulletin advising not to use Rainx because it fouls the quantity sensor.
Thank you for this write-up!!! Previous posts have said the factory washer shrinks and that's what causes most of these links. Someone mentioned an aftermarket rubber washer that works better, is thicker and DOESN'T leak. Is that what you used???
Mine has been replaced twice by the dealer and I think it was the small factory washer that makes this happen again and again.
I bought a brand new washer at the local stealership. I did not bother with a cheap aftermarket replacement (e.g. Made in China). I did not want to wait 5-6 weeks for it. I wanted to fix it a.s.a.p. And I did.
OK, so i can no longer STAND the blue stains on my driveway, and having to refill my washer fluid every 2 days!! i would love to tackle this project this weekend. i want to have everything on hand to replace on the first try(aside from the reservoir itself and the pumps as im pretty sure they are fine)..the part number for that elbow i have as they are in this thread, but does anyone have the numbers for whatever grommets and anything else i need to be changing?..im buying that elbow as well because im positive ill be breaking that lol
HA, I thought I was the only one, but I filled the thing up with a gallon of Rain-X, and a week or two later it's telling me it's low. I have no intention of taking anything apart! No driveway stains, wonder where it went. I'll just wait till the weather warms up and try again. Hopefully warm weather will be all it wants. If it still leaks I'll do something about it. Lucky for me the Rain-X product leaked out. Next I'll get the other brand. I still rub Rain-X all over the glass (the water repellent stuff) so that's all the rain repellent I need. Hope that in the spring it won't leak. My W140 had a bag hidden in the fender that holds the washer fluid, and I screwed up the lines when I replaced that car's radiator, which I didn't even need to replace: I was just overfilling it. Then when I sold the W140 the buyer complained up a storm that the washer fluid system didn't work!!!
Then look at the fluid level and see what is installed at that level. That�s the item that is leaking
it will only leak down to the level of the defective/ leaky part and then stop
thanks bha, after filling it and narrowing it down. my problem appears to be the windshield washer pump and not the grommet(the grommet is brand new) has anyone ever had the pump itself leak?
This is my write-up on reassembling the Windshield Washer Fluid Reservoir after replacing the leaking seal/washer under the M5/1 Windshield Washer Fluid Pump and replacing the broken off connector between the M5/2 Headlamp Washer Fluid Pump and the Headlamp Washer Fluid Line.
I disconnected, removed and cleaned up inside and outside of the Windshield Washer Fluid Reservoir. You can clearly see where the Washer Fluid Level Sensor, and both pumps are located. I installed brand new washer/seal (smaller on the left) and grommet (bigger on the right). The washer/seal was leaking badly especially when the ambient temperature occasionally drastically dropped down over the winter time. I had to replace the connector between the Headlamp washer fluid pump and the Windshield washer fluid line. I broke it off despite friendly reminders and warnings from some members. First, I firmly inserted one end of the connector into the Headlamp Washer Fluid line. I lined up all of the components to be reinserted and reconnected on the side of the Windshield Washer Fluid Reservoir. Close-up of the Headlamp Washer Liquid Pump and the thick rubber grommet it goes into. This is the final and most important step in reconnecting the Headlamp Washer Fluid pump and the Headlamp Washer Fluid line. The room is very limited down there. You have to snap the connector on the pump's spout. Do not remove the clip off the Connector while installing it. The manufacturer pre-lubricated (white grease), the inside of the connector on the "snap-on" end. I gently and slowly snapped on the connector after squeezing my hand in there. I had to use two straightened out fingers to accomplish it. The Windshield Washer Fluid Reservoir sits on two pins (part of the reservoir), that go into two rubber grommets underneath. This is an interesting photo. I took it looking down through the top round opening in the Reservoir. Familiarize yourself with surroundings inside. Find the round pocket at the very bottom and the center of the Reservoir. You will have to precisely slide in there the foot of the Heat exchanger. Close-up of the Washer Fluid Heater foot. It is extremely important that you do not use any force! Gently and slowly slide the Heat Exchanger Coil under the bulge (see the red outlined arrow). The moment the Heater's foot finds its final spot it will drop enough to slide it under the bulge. You will need a 10 mm socket to screw the 10 mm nut holding down the entire Windshield Washer Fluid Reservoir. First, clip back in the coolant lines (black arrows). Then, slide back the purging valve (soft rubber) on its metal bracket. Finally, tighten the 10 mm nut. Reconnect the engine air intake duct. Reconnected. Reinstall the front engine cover. The warning message still reads "Check Washer Fluid". Fill the Windshield Washer Reservoir. Inspect and adjust to correct level. Turn the engine on and try out if all the sprinklers (windshield and headlamps) work the way they are supposed to. There might be a slight delay (1-2 seconds) shooting the washer fluid out because there could be some air trapped in the lines. Check if nothing is leaking around the Windshield Washer Fluid Reservoir and right underneath it and under the car. No messages. No leaking. All works. Job well done!
I hope it will help someone with the DIY project, saving money and bringing satisfaction from completing the task on your own and your leisure.
Mercedes SLR McLaren 722 S Is Extremely Rare Example Modified by McLaren
Slideshow: A one-of-one U.S.-spec Mercedes-Benz SLR McLaren Roadster became even rarer after a factory-backed transformation at McLaren's headquarters.