When you click on links to various merchants on this site and make a purchase, this can result in this site earning a commission. Affiliate programs and affiliations include, but are not limited to, the eBay Partner Network.
I finally installed the front bushings I ordered from K-MAC https://k-mac-camber-kits.com/ on my 2019 S560 4MATIC Sedan.
What an improvement in handling after the excessive negative camber was removed. The car actually feels like you are riding on the full width of the tires now with a tiny bit more effort needed to turn the wheel slightly at speed but that's OK and normal.
I took pictures as we installed them. I will try to remove the learning curves for you which will save time. Now, I could probably do these in my driveway with a floor jack and a helper except for the alignment.
I will explain the procedure after each picture.
Many Thanks to Kevin at K-MAC. His communication is fantastic. Being he's in Sydney Australia phone calls are received in the late afternoon and evening here in the USA.
The kit was $385 delivered. The install and alignment took about 3 hours total.
This is the result of a LF camber reading of -1.25 degrees (.75 degrees too negative). The only fix is to adjust the camber but the factory gives you no way of doing it. K-MAC to the rescue!
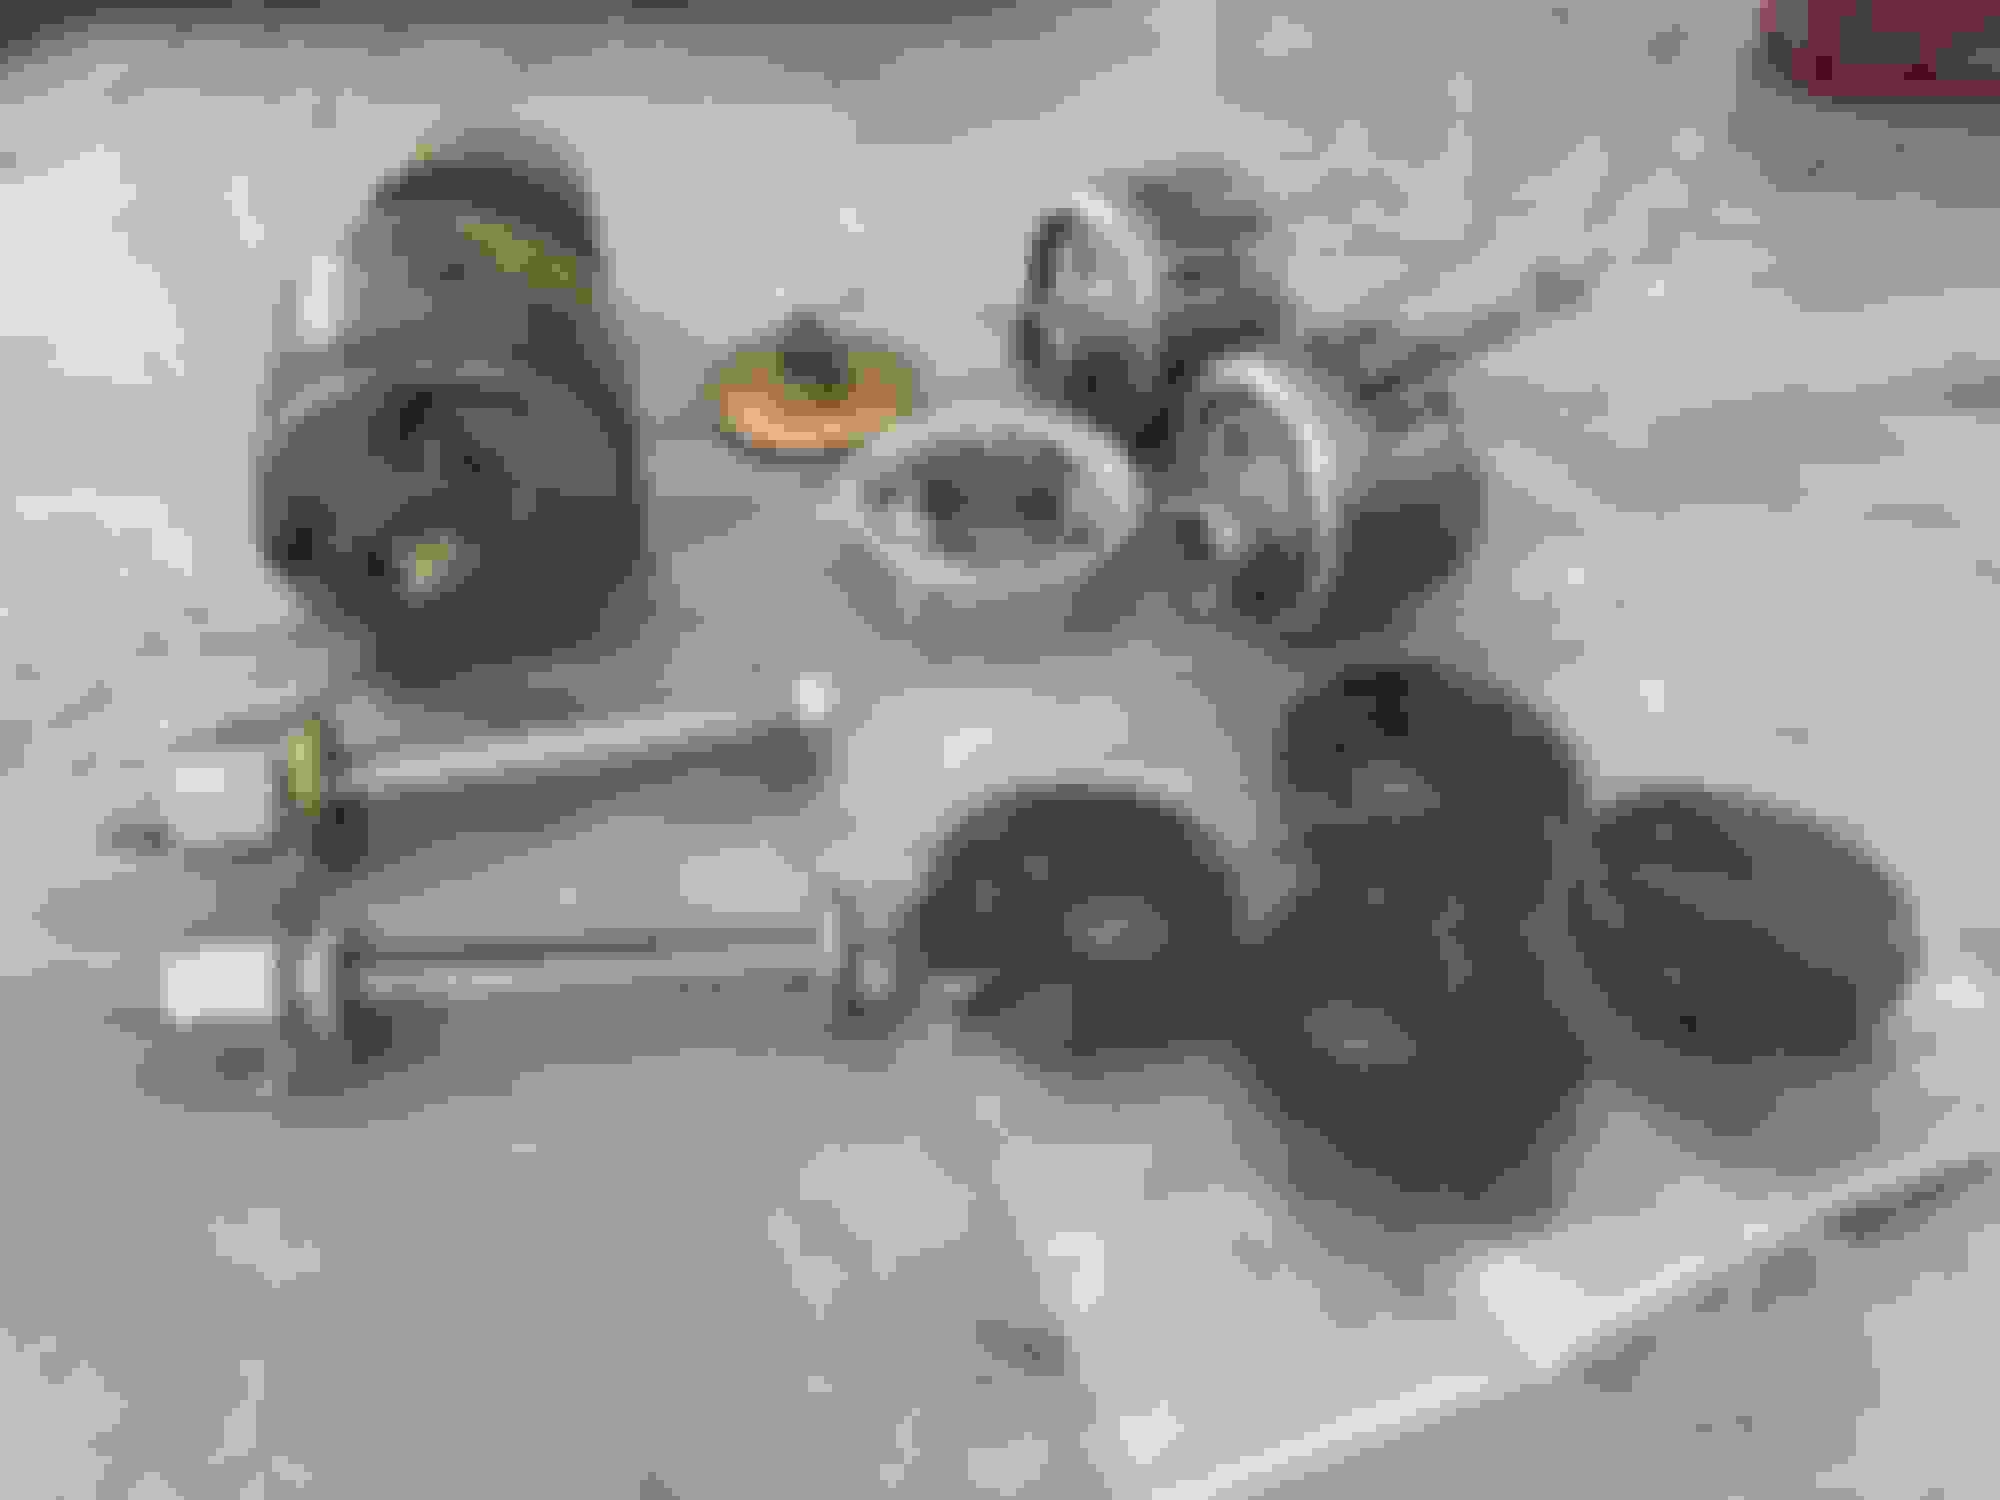
Here is what's included in the camber only kit. The brass looking parts are the tools used for extraction and insertion of the bushing. The silver disk tool and the brass piece behind it are used for installing only. I marked the side that goes towards the bushing on the silver disk. I also marked the holes in the brass tool as the center one is for the removal process and the offset one is for the installation. You can also see that I marked the "Stepped End" of each bushing as this is the side that goes in arm first to help it go in straight.
Raise vehicle.
Method 1: Use a drive on rack with air jacks in the center or raise vehicle on a normal lift.
Method 2: Jack car up just enough to get tire off of ground with floor jack and place jack stands in front
Remove these 2 panels from under the engine and transmission.
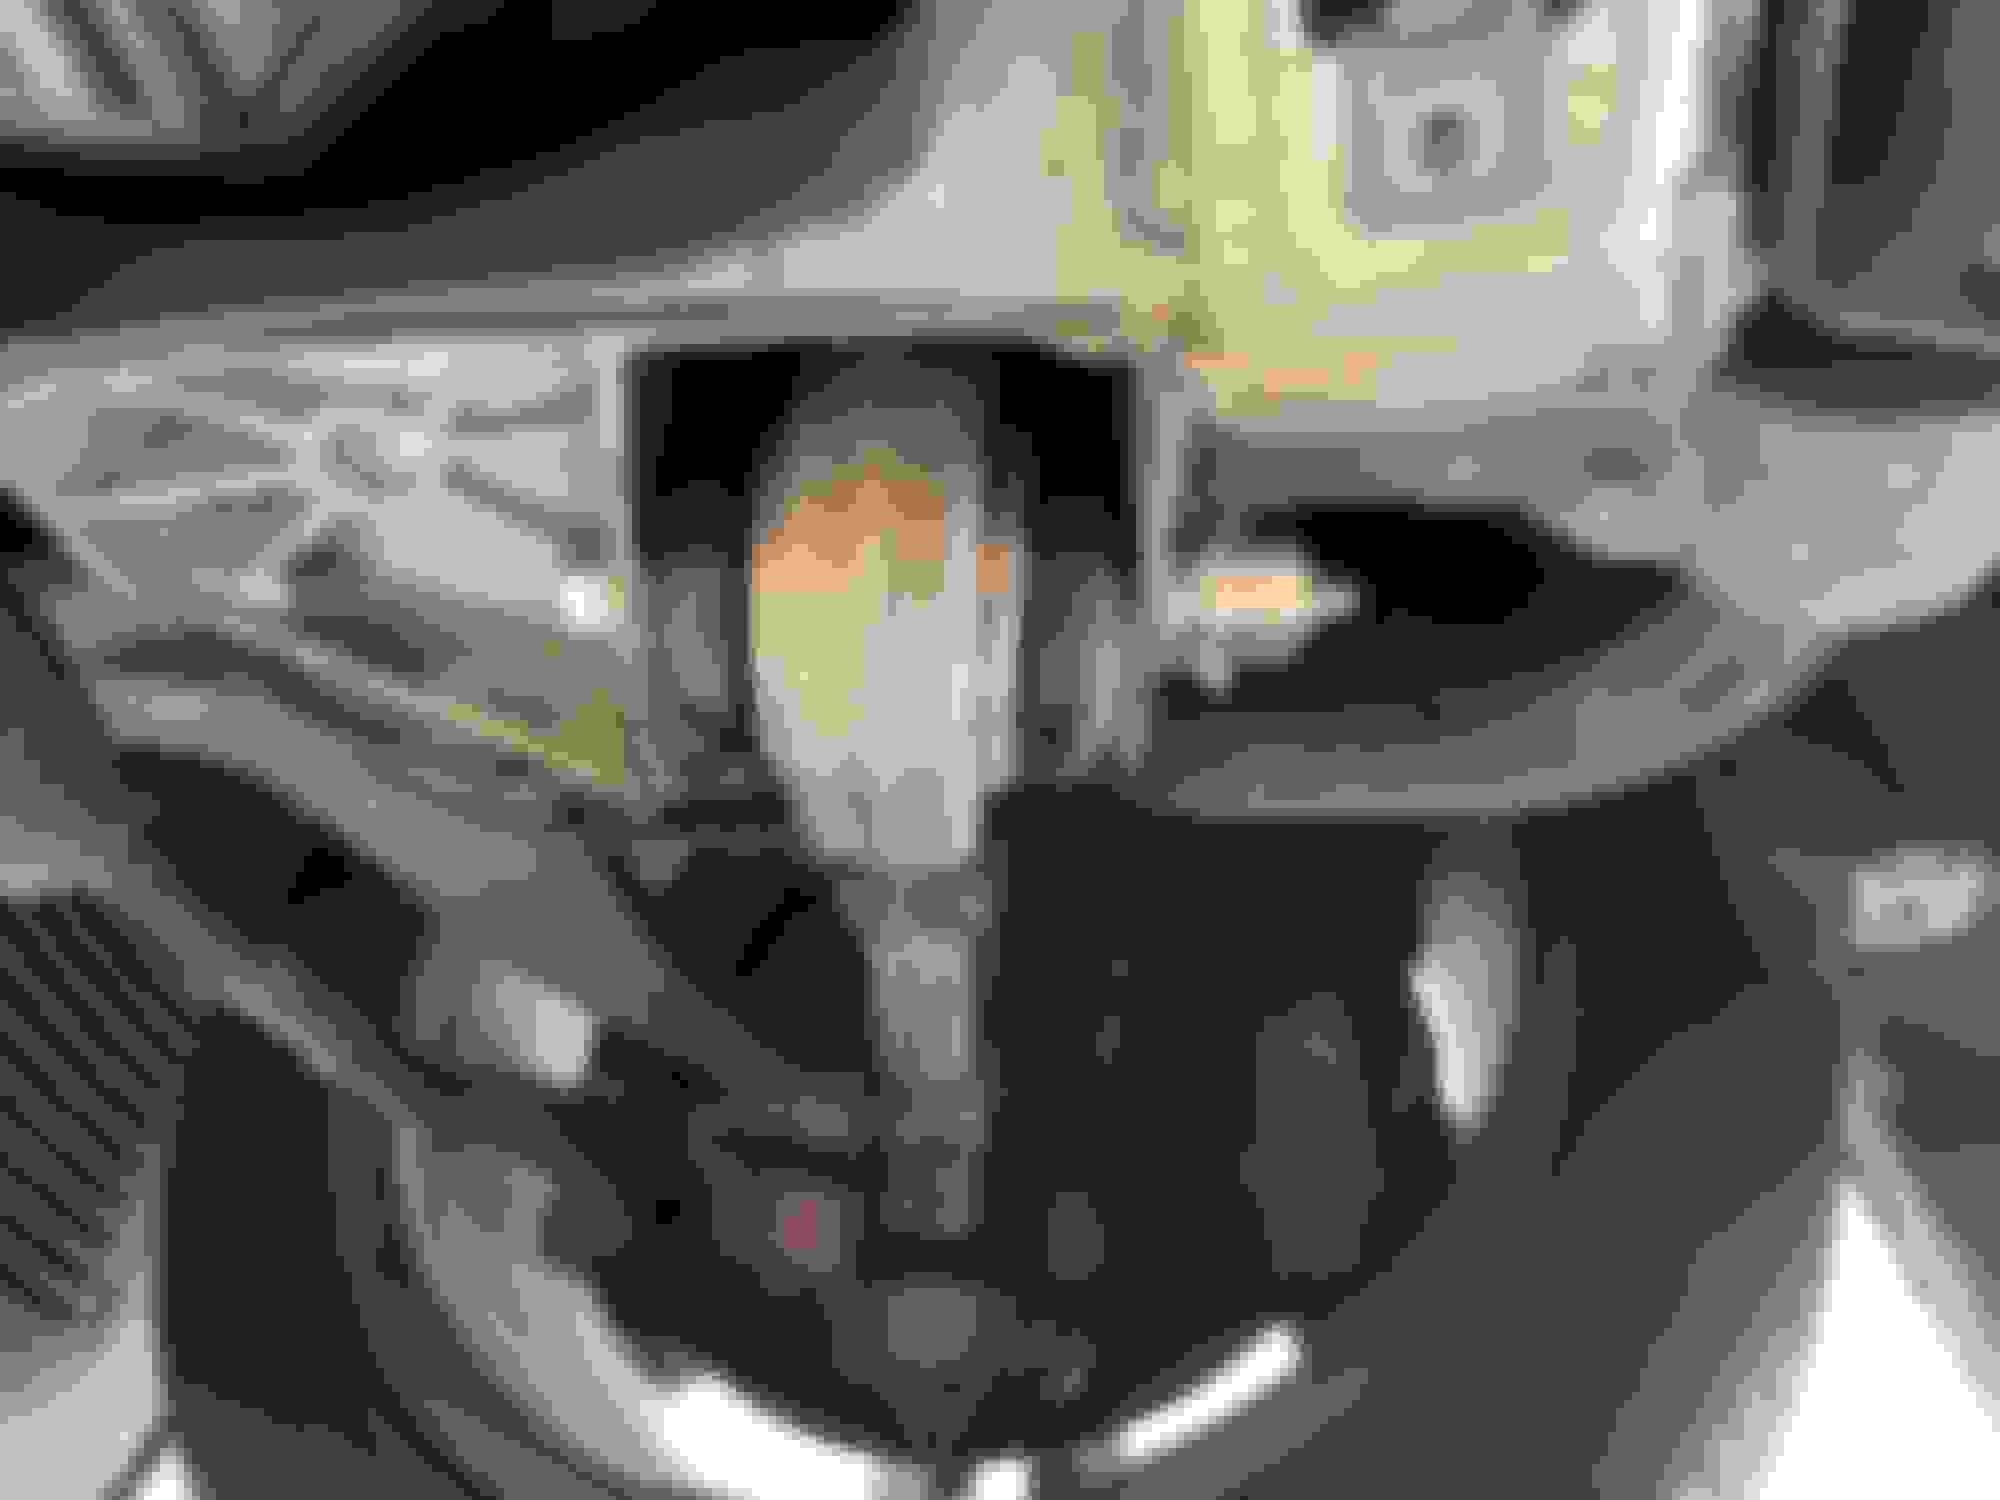
Now you can see the nut to remove. With the vehicle weight off the tire and nut removed tap the bolt out with a hammer. The arm should be loose enough to wobble a little as you remove the bolt with the weight off the tire. The arm is only going to come down and with little pressure. We have the screw jack under it so it doesn't come down far enough to pull on things attached to it.
.
Screw Jack but barely needed. It was more for not letting the arm hang down.
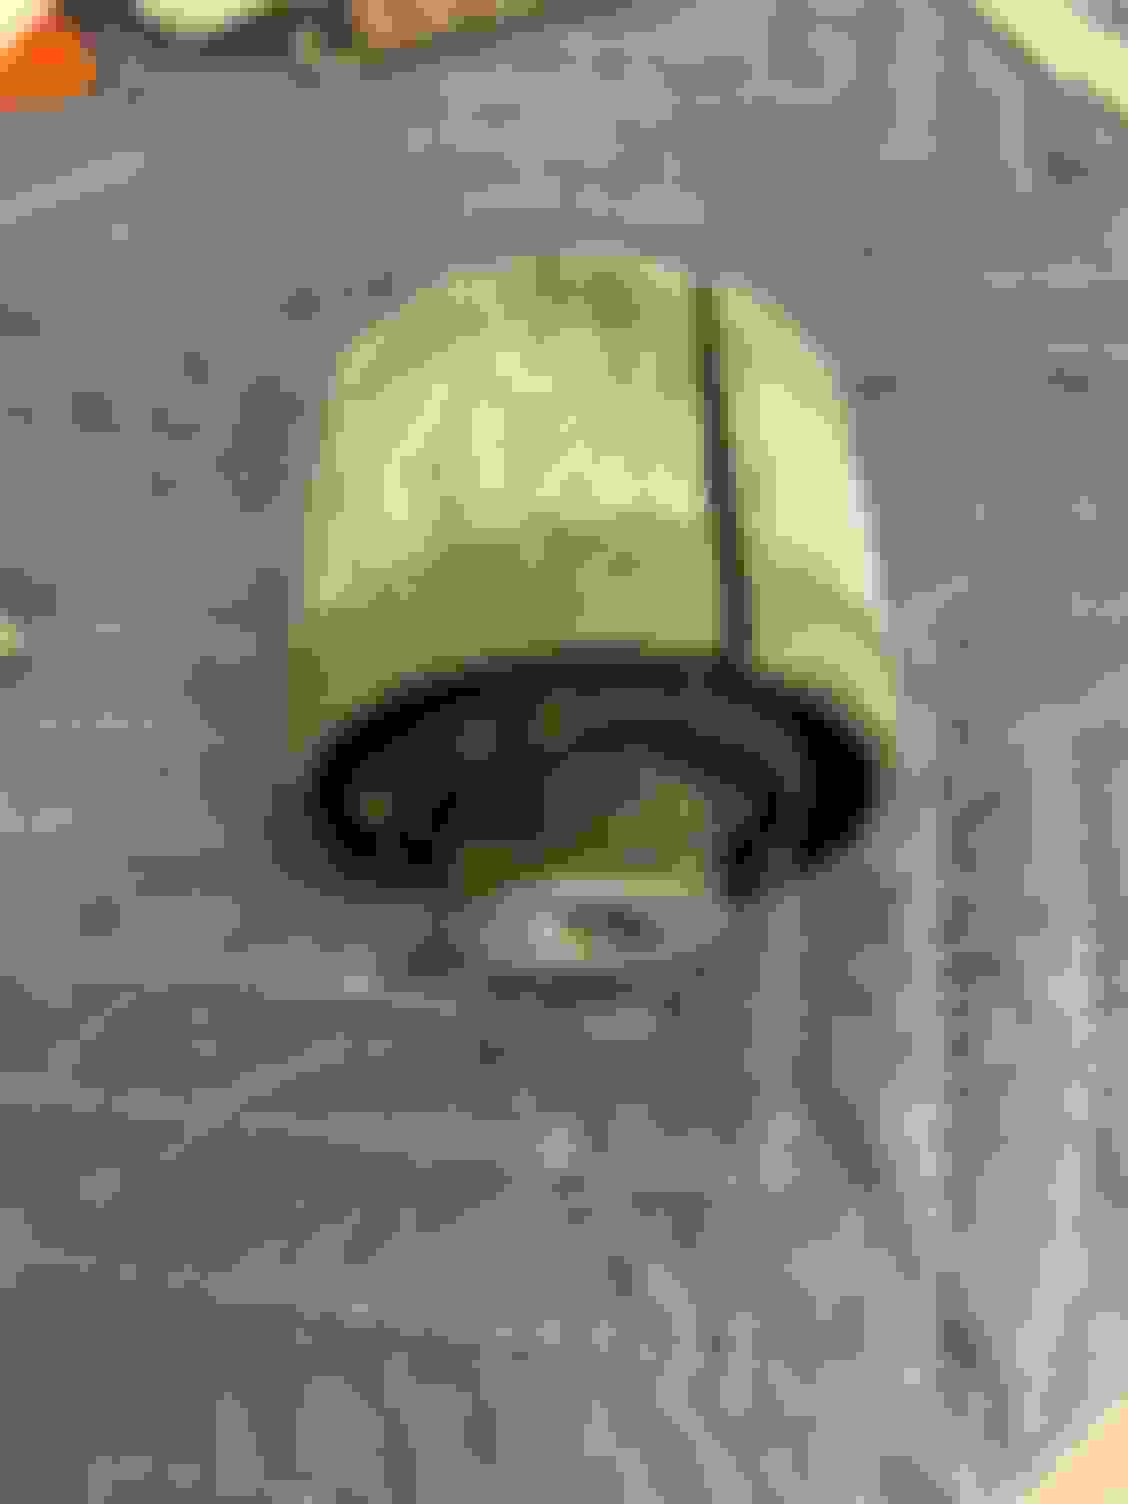
Got a picture of the tool being used to extract the old bushing. Worked like a charm. Be sure to lube the rod threads before starting. You can see the direction the factory installed the original bushing by the score lines on the bushing. We pressed it back out the opposite direction it went in. See picture of bushing for explanation. The original bushing has 2 slits in it. You can see 1 in the picture. The other is on the opposite side.
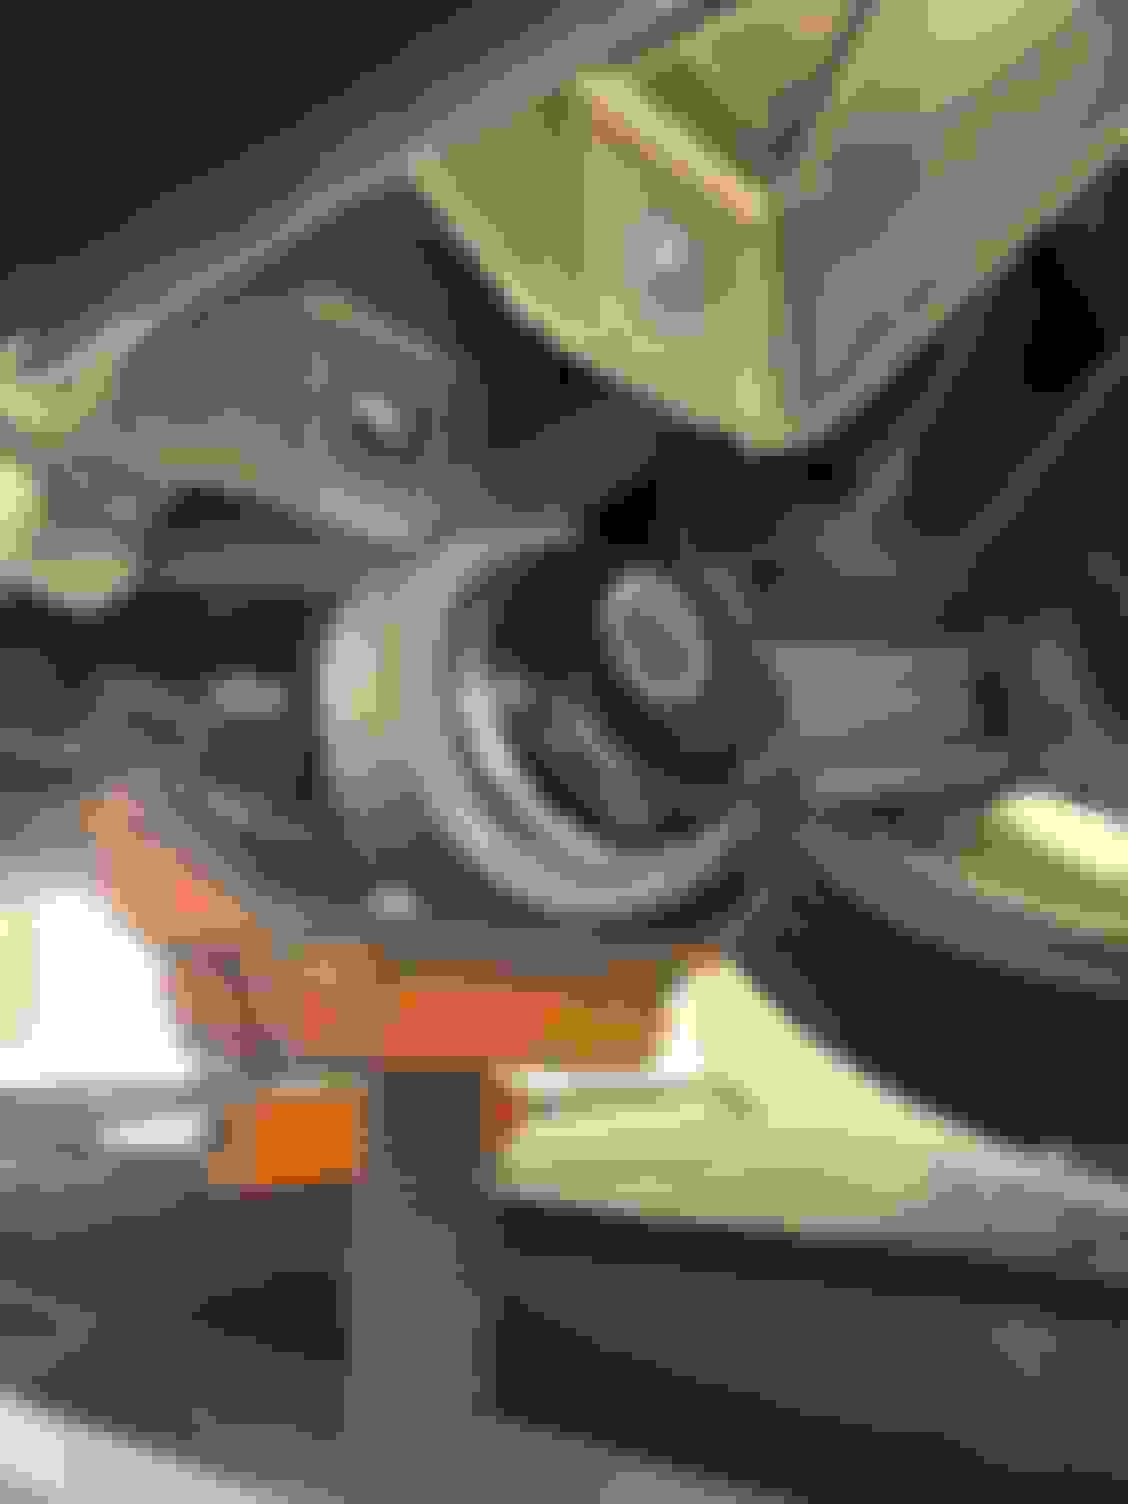
These pictures are of the new bushing installed with the black covers on each side. We tried to center the new bushings so an equal amount was exposed on each side of arm hole. When installing the bushings in to the arms be sure to put the bolt hole at 12 O'clock. The bolt hole is off centered. Also be sure to insert the stepped end of the bushing in the arm first. Do not run the silver disk installer tool all the way to the arm as that will push the bushing in to far. Push on the black caps after pressing in the new bushings. They have a line up hole so just line up the hole with the cap protrusion on back side of each cap. Reposition arm with hole in frame and insert the bolt with grip washer through the bushing. It's D shaped so the flat part of bolt should be up to match the flat part inside bushing bolt hole. 12 o'clock. Install the 2nd grip washer ( the pointy side of these goes towards the arm) then the lock washer both of which have D shaped holes and finally the nut. Do not fully tighten nut but tighten it some. You will torque it to 110 ft. lbs. after the alignment.
Get the alignment. The camber readings were almost perfect when we started the alignment. A minor adjustment to the left side by turning the bolt head and I had them both at -.4 degrees each. Perfect! We set the toe afterwards and the steering wheel came out perfectly straight. We torqued the nuts to 110 ft. lbs. , bent 1 retaining flap around each new bushing nut and reinstalled the 2 panels.
I paid for 3 hours labor which included the alignment. Well worth it!!
No more tires every oil change.
[QUOTE=MBGuy2022;8895526]I finally installed the front bushings I ordered from K-MAC https://k-mac-camber-kits.com/ on my 2019 S560 4MATIC Sedan.
What an improvement in handling after the excessive negative camber was removed. The car actually feels like you are riding on the full width of the tires now with a tiny bit more effort needed to turn the wheel slightly at speed but that's OK and normal.
I took pictures as we installed them. I will try to remove the learning curves for you which will save time. Now, I could probably do these in my driveway with a floor jack and a helper except for the alignment.
I will explain the procedure after each picture.
Many Thanks to Kevin at K-MAC. His communication is fantastic. Being he's in Sydney Australia phone calls are received in the late afternoon and evening here in the USA.
The kit was $385 delivered. The install and alignment took about 3 hours total. QUOTE]
Great write up! It almost makes me want to do my car because you make it look so easy...
 12-20-2023, 02:41 PM