When you click on links to various merchants on this site and make a purchase, this can result in this site earning a commission. Affiliate programs and affiliations include, but are not limited to, the eBay Partner Network.
For the DIY people... I know this is not for everyone. Many would just take the car to a dealer. I get it. But just in case there are other people who like to do simple oil changes themselves...
First, you need oil. Four grades of oil are approved on the 2019 AMG GT53 M256 engine. 229.51 is the older standard even though it is still acceptable. 229.52 is the newer standard, which is the easiest to find oil for on the market. I went with Valvoline XL-III 5W30. The car takes 9 quarts, so I used two 5 quart jugs for the change. There are two other two oil grades approved, but they have only 1 or 2 approved oils so I just ignored them.
The oil filter can be bought directly from your local dealer for about $24.
Tools: Metric socket set, including a 27mm socket for the filter cap. Flat blade screwdriver. Torque wrench if you have OCD. Gloves to keep your hands clean.
Step 1: Remove bottom protective trim pan
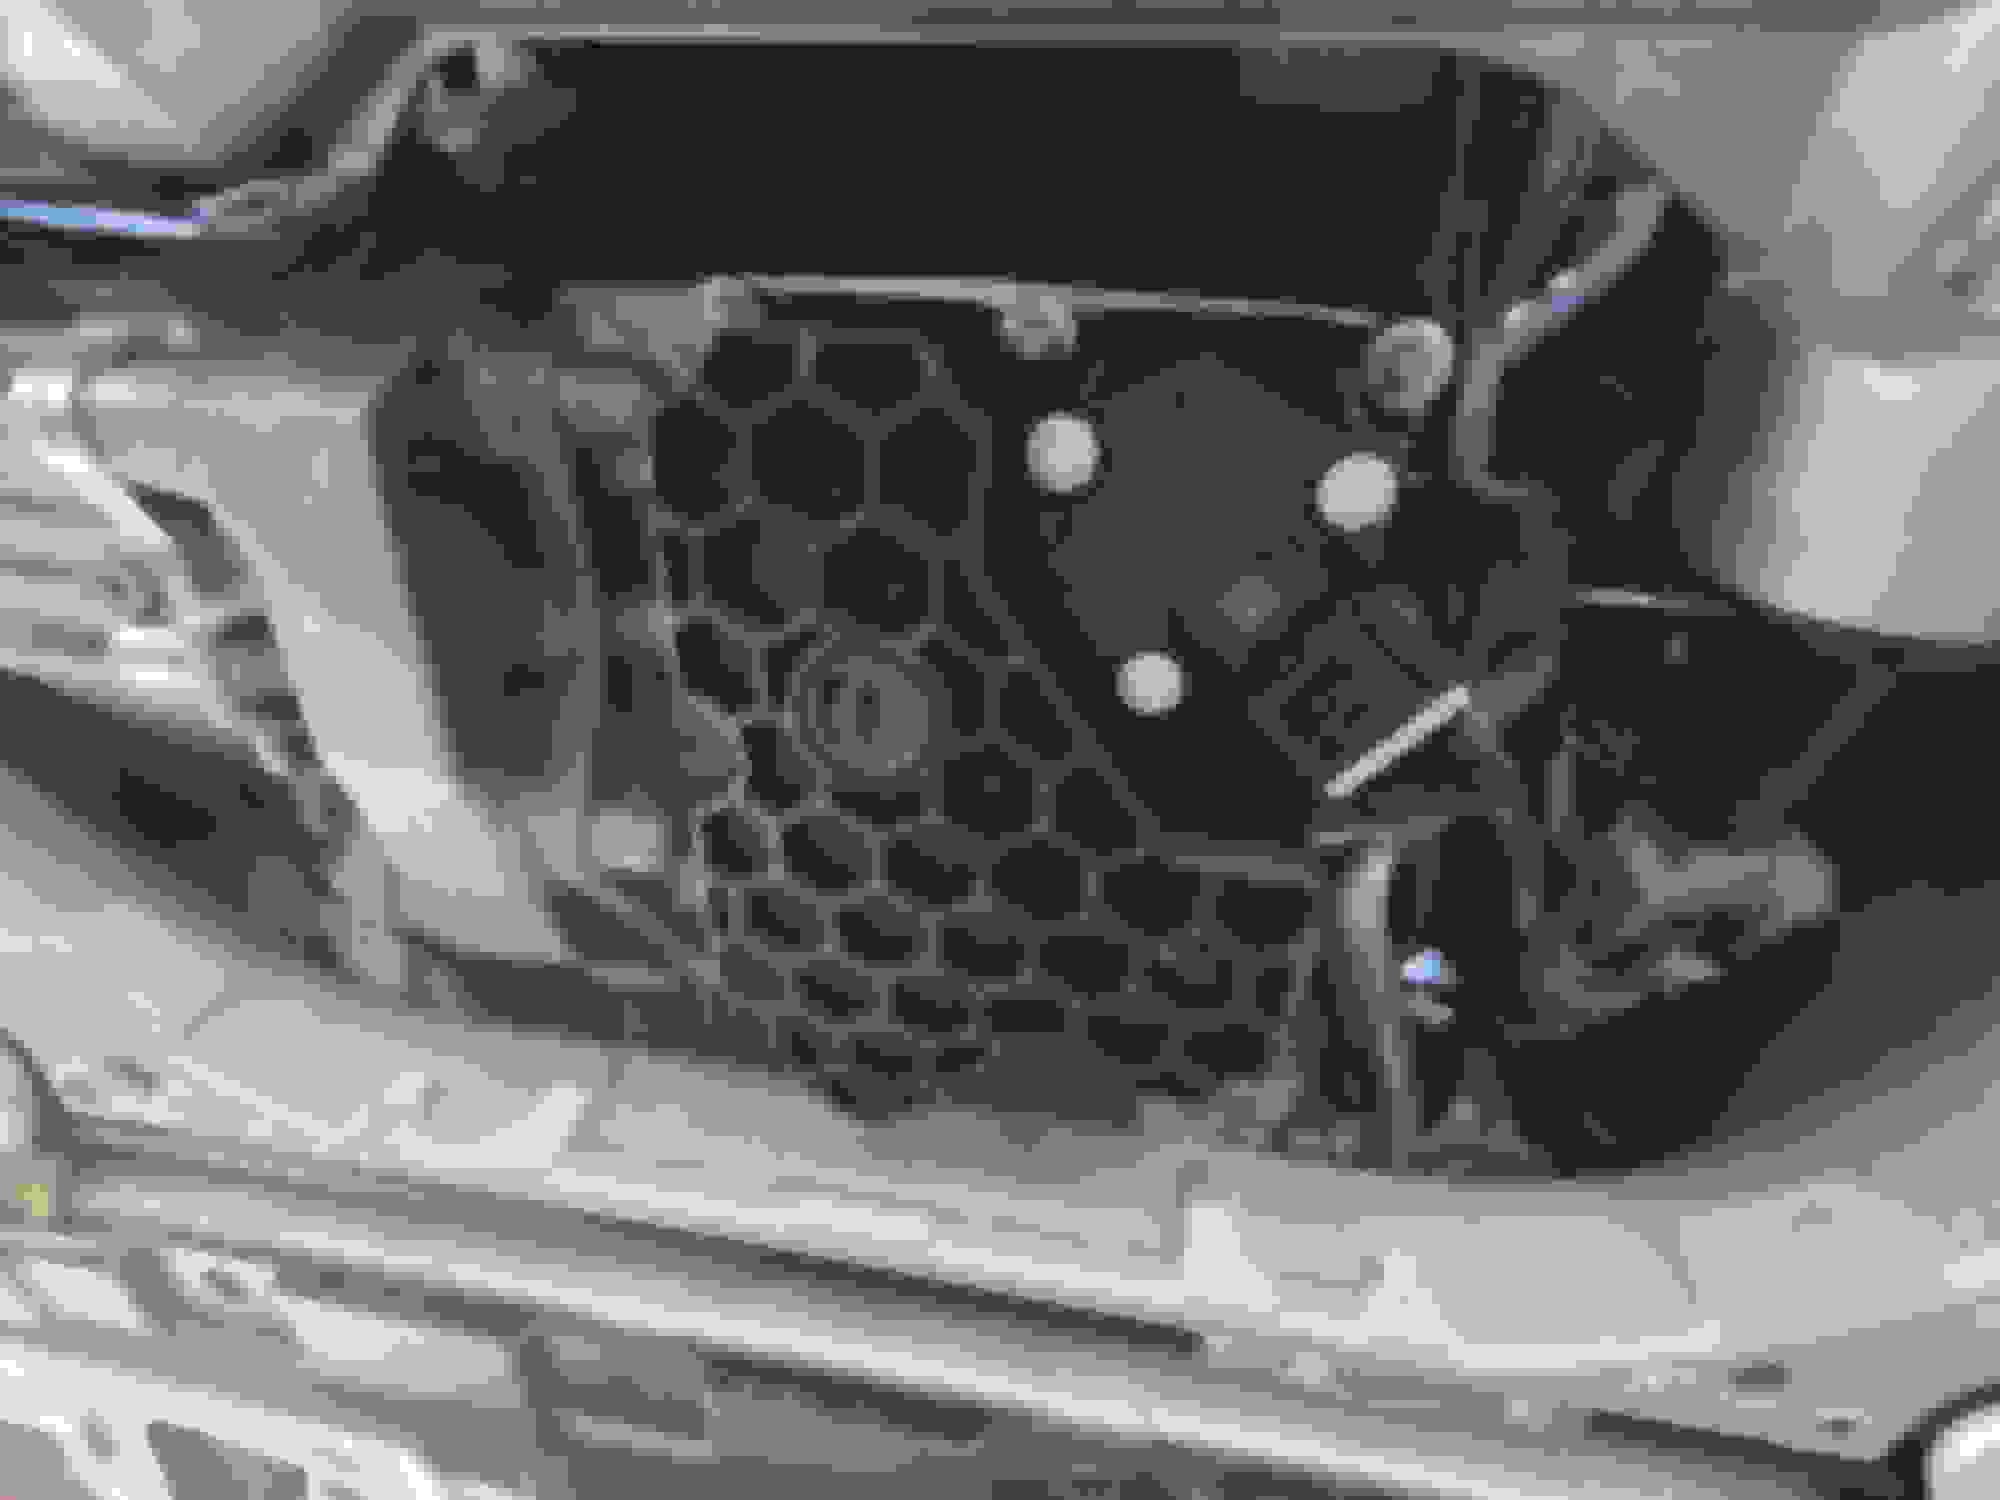
You have to get access to the oil drain bolt because there is no dipstick on the M256 and therefore no way to use a vac pump to get at the old oil. There are 10 screws holding the bottom trim pan in place (silvery galvanized screw heads in the picture below). I don't know why so many screws are used, but they really gave us our money's worth in terms of the quality here. The pan is stamped aluminum, and the screws are all huge. 2 of the screws are machine screws that are slightly larger, and the other 8 are sheet-metal screws. Remove the screws and slide the pan towards the rear of the car to remove it. The sheet metal screws take some cranking to get out and back in. The threads look a little chewed up once you get them out, but I guess they still hold ok.
Remove the 10 (TEN!) screws holding the bottom trim pan in place.
Step 2: Open the drain bolt:
The drain bolt is this plastic looking thing in the plastic honeycomb thing in the picture below. You don't have to remove it, just unscrew it enough that oil comes flowing out. I had about 4000 miles on the car at the time of this oil change, the oil still looked good.
The small circle thing in the middle of the honeycombs is the oil drain bolt. 4000 mile old oil
Step 3: Remove engine bay covers and cladding.
Sorry I don't have any pictures for this step. You essentially remove the engine cover, the front air intake scoop, and the air duct on the driver (US) side. All this is to get unobstructed access to the oil filter. If you are an experienced DIY'er, you'll figure out how to do this. There are three center-pop clips holding down the front air intake scoop, nothing difficult. You'll need a long flat blade screwdriver to remove the driver-side air duct, but the directions are stamped on the air-duct - very DIY friendly.
Step 4: Change the filter
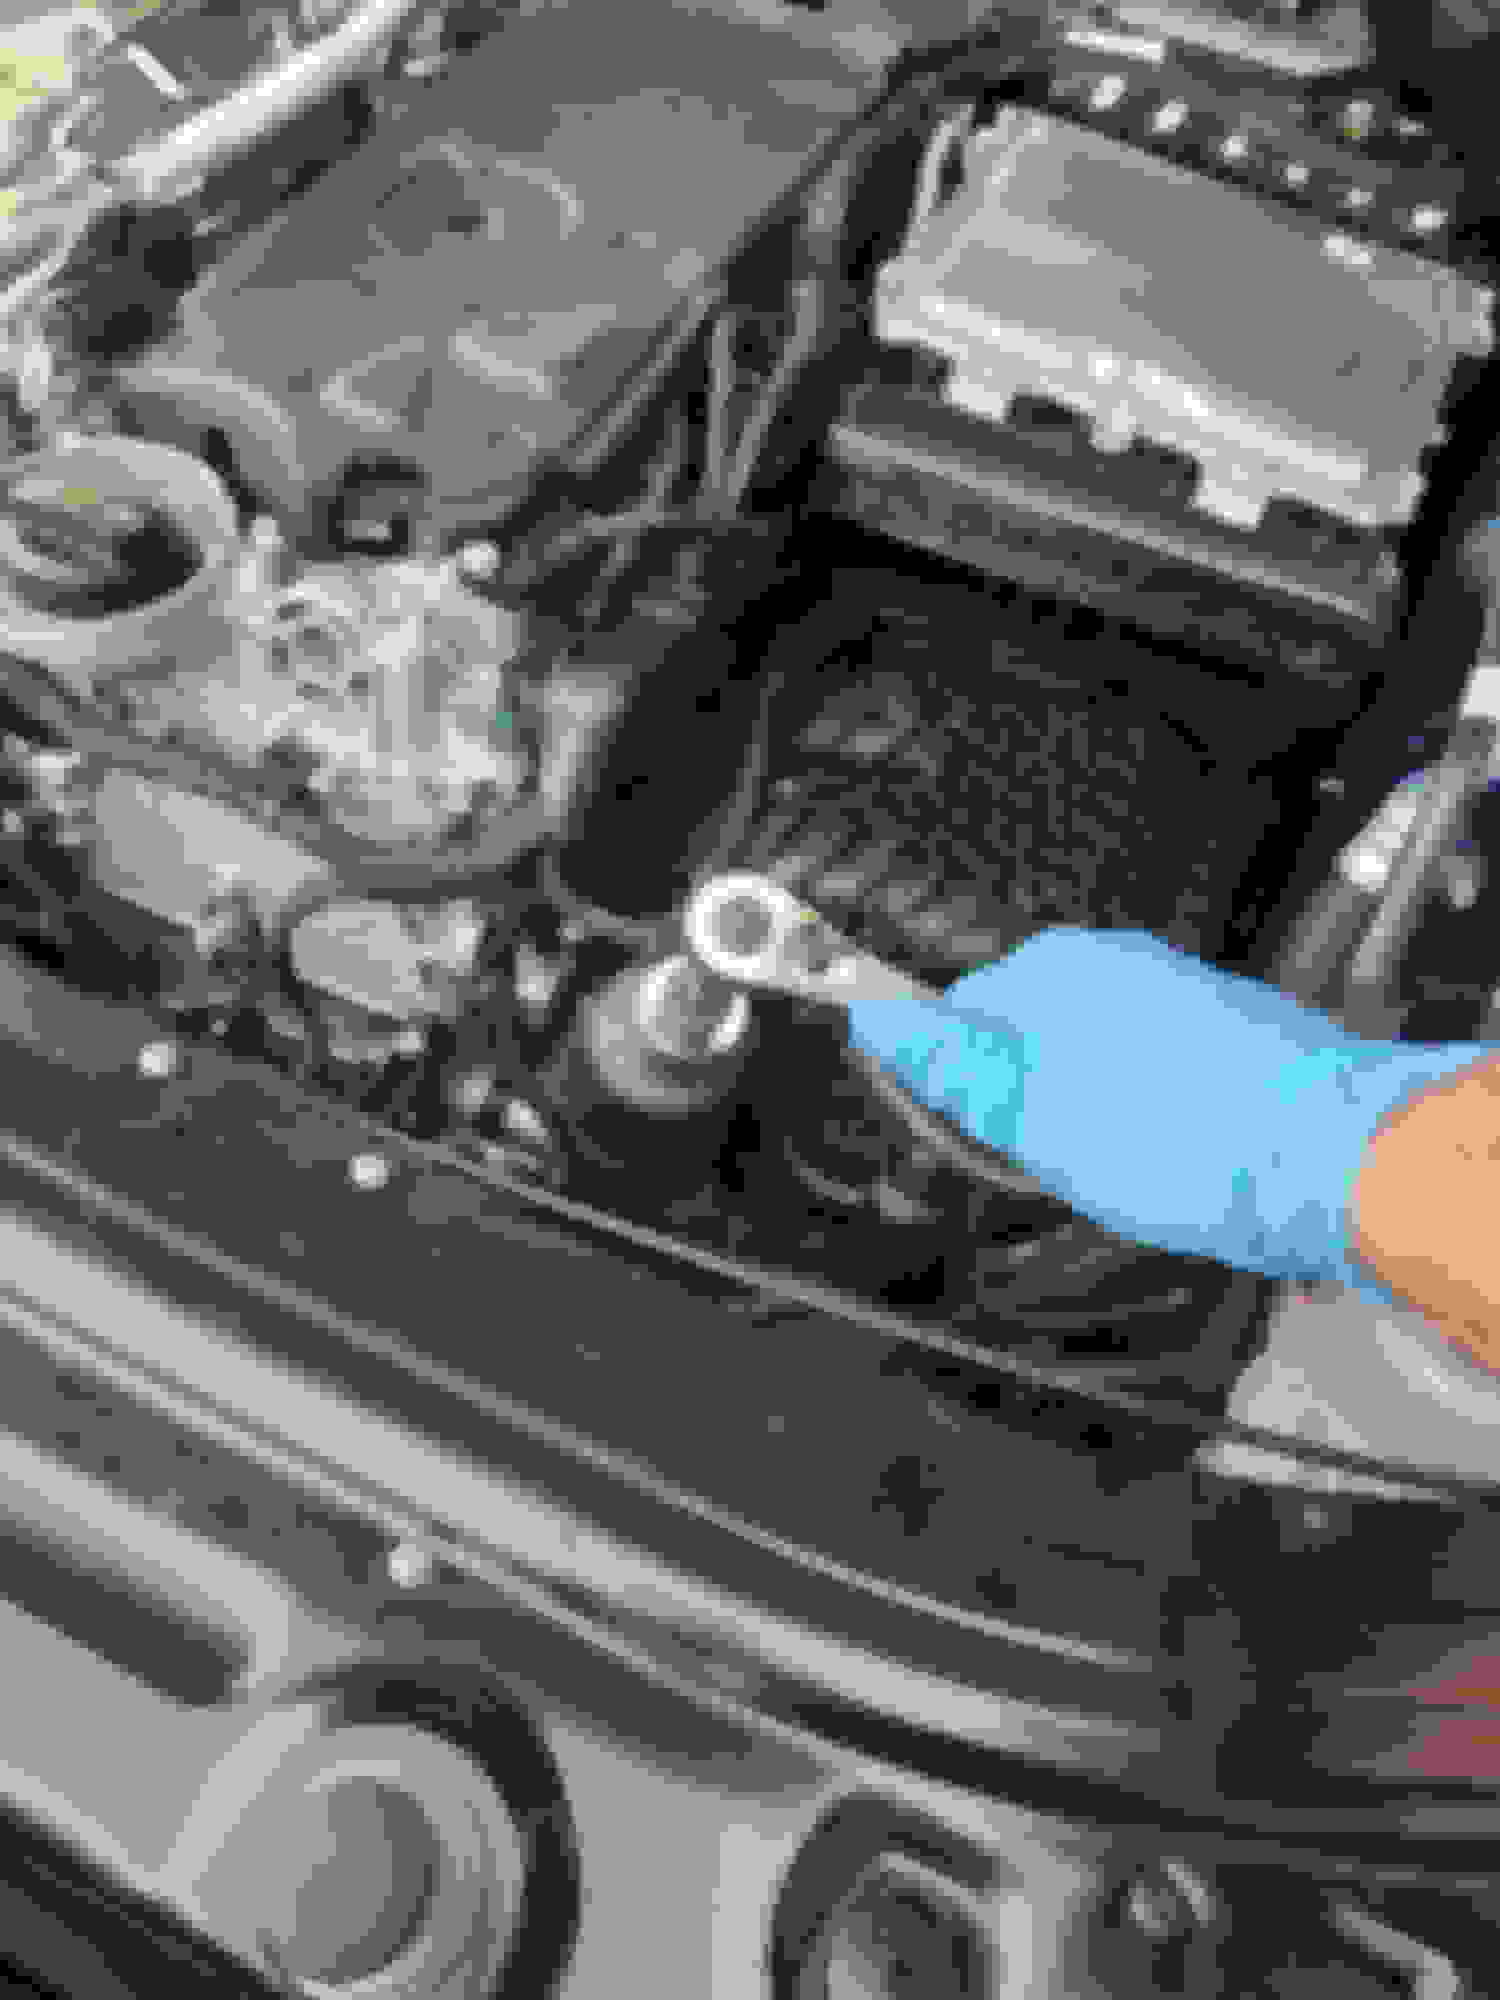
The 27mm socket on a 3-inch extension makes quick work of undoing the filter cap. Tool connoisseurs should be informed that I am using a USA-made Craftsman set that I bought in the late 90s. Fine stuff. Stuff some paper towels below the filter housing to catch any oil that may drip out. You have to pop the filter element out of the filter cap with a very firm pull. Push in the new filter element into the filter cap until it snaps in place. When screwing the filter cap back in place, make sure the little filter element nipple lines up with the hole in the filter housing - just look at it, it's obvious. The filter cap has the tightening torque stamped on it. You can use a torque wrench if you want to.
Removing all the plastic makes it easy to access the filter
Step 5 - Everything else
This guide is not exhaustive, because this is not a car that a new first time DIY would want to DIY on. You are only doing this because you've changed oil many times before, so none of this is new to you, you are only reading this in advance to size up the job. Obviously, at this point, you retighten the oil drain bolt, wipe away any oil drips, pour in 9 quarts of the new oil using your favorite funnel, stare at the big turbo for a while, polish the shiny heat shield over the downpipe, wipe down engine bay dirt using simple green diluted 1:1, reinstall the plastic trim pieces, wipe down the plastic trim pieces, check again that the oil drain bolt is not leaking, reinstall the bottom trim pan, clean and put away your tools, take the car off the lift/ramp, clean up the oil catch pan, put the used filter and rags in a plastic bag to drop off at the hazmat collection station next time you are driving that way. Obviously.
I know this post is a few months old. Regardless, it is/was well done. I find these types of write-ups few/far between for the demographic one typically finds buying a Mercedes or BMW product. This isn't meant as a slight; it is just fact. Most are quite "urban" and don't have the space, tools, expertise, or inclination to do this work. Aside from this, Mercedes, BMW and other manufacturers like them actually discourage/make it hard to get requisite information for parts and the like. (The most conspicuous evidence of these manufacturers catering to the aforementioned demographic is the elimination of dipsticks (WTH? - I hate this) to check oil level. I have a 2022 AMG GLE53 on order. My daily driver is a 2020 Ford F250 Limited, my wife a 2021 Escalade. The GLE is a 3rd car to be used "in the city", to the airport, etc. I do all of my own preventative maintenance, have a lift in the garage, etc. Your write up is great road map for what I'm sure is exactly what I'll find under the hood/vehicle with the new GLE 53. Thanks again.
RDT-G23, if you have trouble finding an oil that fits your cars criteria/ want to use an oil besides the mercedes factory oem oil, this website has all of the oil types you can use on your engines. You just have to find the oil(s) (ie. 229.71) your engine requires in your owners manual.
RDT-G23, if you have trouble finding an oil that fits your cars criteria/ want to use an oil besides the mercedes factory oem oil, this website has all of the oil types you can use on your engines. You just have to find the oil(s) (ie. 229.71) your engine requires in your owners manual.
I'll be using Mobil 1 0W-40 ESP; it meets 229.52 at least. 229.71 is stipulated if one wants "best fuel consumption". Heck, I'd have probably bought a GLE63S if I could get it this year. In other words, fuel consumption isn't on my list of concerns; I am from Texas, after all... The issue is that ESP can't be found in auto parts stores (at least yet). I've found it on Amazon, however.
Excellent how-to - thanks for posting this. My 2022 GLE53 with the M256 arrives in 4-5 weeks (fingers crossed), and I need to start planning my DIY oil changes. This was very helpful.
Thanks for the write up. How did you reset the service indicator?
Forum member superswiss outlined it here today, it is under ASSYST PLUS: https://mbworld.org/forums/wheels-ti...ml#post8730541
Edit: Oops, as always I should refresh the page before replying, already answered. Sorry about that.
Last edited by W205C43PFL; Mar 1, 2023 at 12:06 PM.
Reason: Oops
if you DIY and don�t buy from FCPeuro.com, you�re waisting money, as most everything you buy from them is �one-time� purchase and never buy again.
paynknce for engine oil, when your next oil change comes, purchase engine oil again, plus filter and additive if you like, and return old oil and filter in your original containers and they�ll credit you back 100%.
this goes for most everything! Rotors, brake pads, you name it.
Thanks for the write up and images. Similarly, I have a 2023 GLE53 with the m256 engine in the v167 chassis. 5094 miles and decided to change the oil since MB interval of 10k is jus too long for me.
Went to the stealership and picked up 10 qt (yes I wanted 1 extra) of MB oil . It was around $12/qt.
Picked up the oil filter, and also the replacement plastic oil plug.
That's where I wanted to share the details from the MB parts dept. He was very adamant that the plastic drain plug is a one-time use plug and must be replaced. Similarly to the older days where you would change the aluminum crush washer.
From the heat and age, this plastic plug cracks/leaks and wears out.
Now most will say this is just so that they can get 40 bucks for a replacement plastic plug. That might be true, but I didn't want to take a chance.
Another interesting point, is on the plastic plug, it is year and month stamped. My 2023 had a 10/2022 circle stamp on it.
The new plug was 06/2023.
Could this be how they're recording when the intervals of the oil changes are? That remains to be seen.
Lastly, after inspection of the oil filter, I did see some shiny one or two speckles of metal.
Mercedes SLR McLaren 722 S Is Extremely Rare Example Modified by McLaren
Slideshow: A one-of-one U.S.-spec Mercedes-Benz SLR McLaren Roadster became even rarer after a factory-backed transformation at McLaren's headquarters.