When you click on links to various merchants on this site and make a purchase, this can result in this site earning a commission. Affiliate programs and affiliations include, but are not limited to, the eBay Partner Network.
Have Trunk Soft Close / Trunk Assist problems. Here is how to fix DIY.
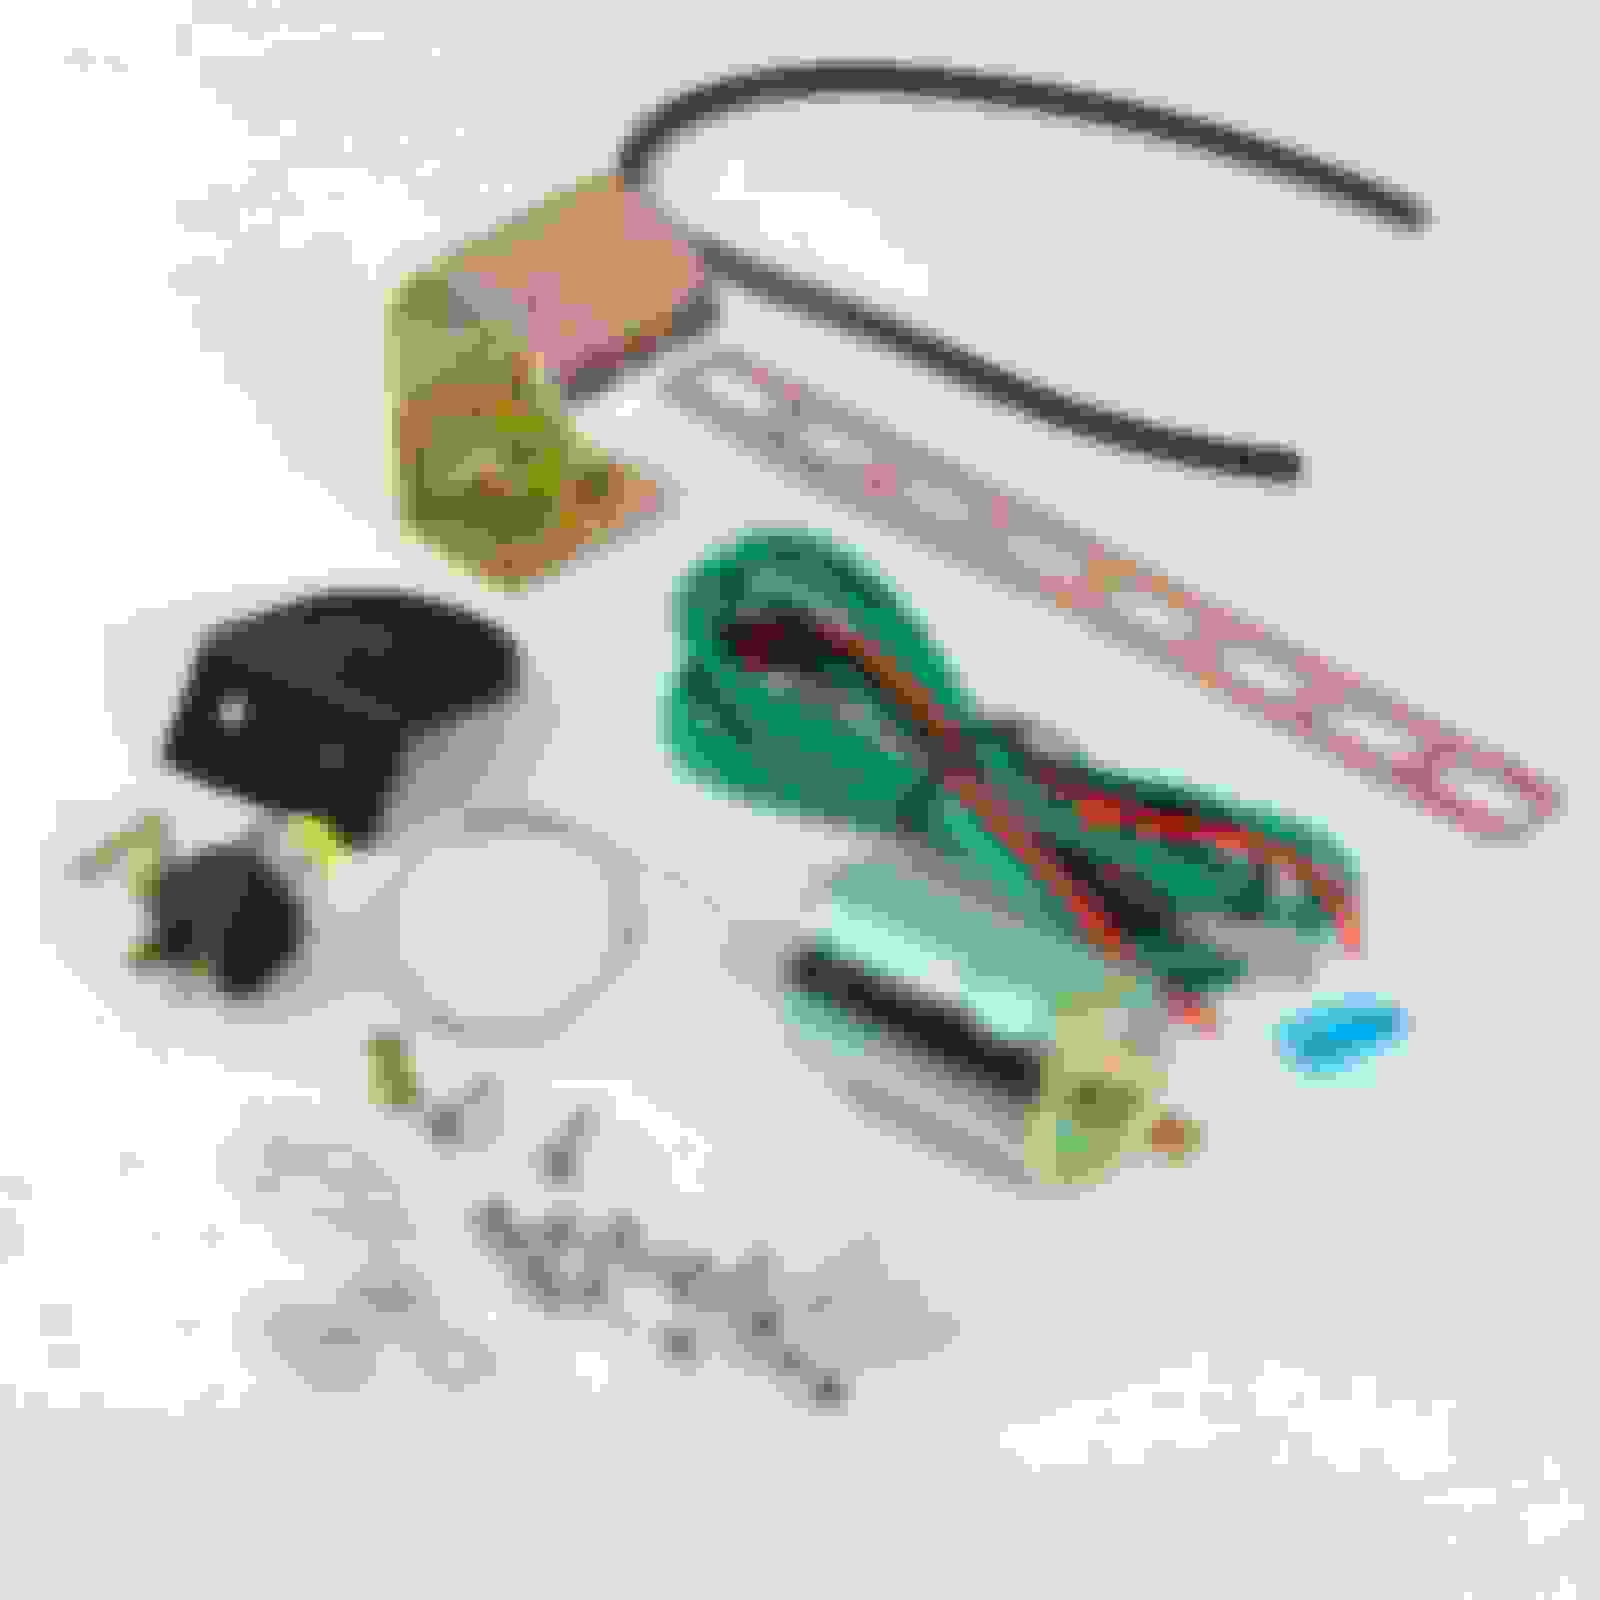
A common problem on many of our cars is the the trunk assist will randomly stop working one day, and you won't know why. You can unhook the convenience battery and reconnect, and the soft close function will begin to work again, but not for long. Eventually it will stop pulling the trunk closed again, and you will have to pull the fuse (or unhook the battery). This is only a temporary fix which could ultimately result in pump failure.
The problem with our cars is that the soft close latch is operated by air, and if there is a leak anywhere in the system, the pump times out, and the soft close function ceases to work until the system is reset.
So, on the latch mechanism, there are 4 air ports that mercedes plugged with small ball bearings. These bb plugs work fine when the latch mechanism is new, but as the plastic around them ages, it cracks where these ball bearings are. The cracks allow air to escape, and here is the problem.
The solution is to buy some $5.00 plastic epoxy, and glue the outside of the ports and the inside of the ports shut.
You will notice some orange silicone on the latch assembly. I initially tried to use silicone gasket maker to cover the ports, but quickly found out it was not strong enough , and the air pushed its way out. So make sure you use a strong plastic epoxy. Gorilla Glue makes a great gel (super glue) epoxy. I used it later...
In the next series of photos i will show you how to resolve the problem permanently.
After you pull the latch mechanism out reset your convenience battery, push the latch clasp in 1 click, watch as the pump actuates and closes the clasp fully, and LISTEN FOR AIR ESCAPING.. When you find the air leak, begin applying the glue there, but also apply it to the other ports just in case. Be generous..
You could take your car to the dealer and pay over $300+ to have a new latch installed, or you could fix it like i did in less than 30min and for less than $5.00
Last edited by NikleinR6; Jun 16, 2010 at 08:51 AM.
Don't spare the epoxy. The cracks can propagate up the tubes over time. You need to pull your fuse or disconnect the trunk battery to get the system to reset.
Excellent post! How long should you hear the air pump run after the trunk is shut? Just completed this fix and it is working. Unknown for how long it will work because I hear the air pump running for at least 3 seconds after the trunk is shut. The trunk assist is now $400 plus, just for the part. Thanks again for this post!
Don't spare the epoxy. The cracks can propagate up the tubes over time. You need to pull your fuse or disconnect the trunk battery to get the system to reset.
can anybody assist with exactly where the fuse is located for the trunk latch mechanism? TIA. AL
E 63S Wagon Renntech, E55 Renntech, SL65, SL 55 030, ML, bunch of old ones--they come, they go...
It's in ....
the aux fuse box in the rear storage compartment, behind the passenger compartment. A little bit of a pain to get to, you have to pop the cover up from the bottom , which is most easily done by removing the little front dummy trim panel. I believe it's the fourth fuse in from the left, if you're looking from your passenger seat towards the rear (which you will be, cause you're top won't go down). I believe it's a yellow 20A.
the aux fuse box in the rear storage compartment, behind the passenger compartment. A little bit of a pain to get to, you have to pop the cover up from the bottom , which is most easily done by removing the little front dummy trim panel. I believe it's the fourth fuse in from the left, if you're looking from your passenger seat towards the rear (which you will be, cause you're top won't go down). I believe it's a yellow 20A.
thank you very much for this info. the diy epoxy fix and fuse reset has been done and my trunk soft closes perfectly well for now =)
E 63S Wagon Renntech, E55 Renntech, SL65, SL 55 030, ML, bunch of old ones--they come, they go...
Oh well....
didn't work for me. Still stops working for no apparent reason. I wonder if I have a defective latch. It won't work from time to time when I grab the rear lever. When it stops working, the trunk open light on the door switch is on. I have reset the fuse maybe a dozen times, but even after this fix, it continues to malfunction. Suggestions? Thanks...
i did it too, and trunk working great now still. just an fyi, don't use orange high temp silicone as you will get it everywher. just use regular clear. lol
I just finished this repair a few days ago, and the system seems to work GREAT now. THANKS to all who added comments, but especially to NikleinR6 who did it originally and posted such great suggestions.
I highly recommend his suggestion of Gorilla Glue epoxy for this repair. It has low viscosity when first prepared, so flows around the cracks/BB's readily. I found it was better to plan on doing two of the repairs at a time instead of all 6, that way I could hold and rotate the motor in a way that the low viscosity epoxy didn't 'run all over'. I also applied a small vacuum into the motor with each seal I was doing (I used a mighty vac, but I'm sure good old mouth suction would probably be enough if done early while the epoxy is very fluid). This really should seal everything very well and permanently, as a small amount of the epoxy is pulled into any crack.
One other thing I'd suggest - before you start to remove ANYTHING, raise the trunk as if you are putting the top down. The 'flaps' then will uncover the two fasteners for the trunk liner, and you can easily remove the center pin from each one. This will make it much easier to get the trunk liner down when you've removed all the mechanical stuff and are ready to take the vacuum motor out. You then 'close' the roof to get the trunk closed and start the procedure.
Obviously When everything else is done, you reverse the process to put the liner back up into full position where the flaps are. Push the fasteners VERY hard to get them and the liner fully in position and re-insert the two center pins for those fasteners. You can't get to these with the trunk hinged at the front.
By the way - if you break any of the plastic the fasteners they are available at MB dealers, but VERY expensive!
Gary Knox
Last edited by kittyandgary; Jan 18, 2014 at 04:05 PM.
My brother recently helped me with my 2007 SL55 with this soft close option. He took out the latch and sealed up every potential leak. Took his time and made sure each one was completely air tight. Since this has been done, my trunk closes perfectly. Did it 10 times in a row and last time I took it out, no worries. This thread is what helped out in a big way.
Cheers!
Shaun
P.S. At the Dealership, they told me it was the pump and it was a $2,000 fix plus labour. It just seems Mercedes won't admit this part is not very well engineered and forums like these really work.
I had this issue. Purchased the car with the salesman slamming the trunk to get it to close. I wasn't sure I was on the right track here because when I would operate the truck handle the actuator would move. Several things happened Actually so I thought the assemble may be working hit something else was wrong. When I remove the fuse to reset the system though it was clear that the soft close feature had timed out. It worked again for one cycle and then stopped again. I could here air leaking around the assemble as is the case in this thread. I sealed everything with JB Weld. I did find a 5th ball bearing on my assembly that I sealed as well.
Fixed the issue for me and who cares if there is some sealer on it you will never see it hidden in the trunk.
Really no need to buy a whole new unit that will fail in the same way.
I just finished epoxying the 6 valve ends on my 2003 SL55AMG truck latch. I�m going to let it dry overnight and install it tomorrow. Thank you so much for the excellent tutorial. Very easy to follow.
I have high hopes and will let you know if it works.
Thanks again,
Wm
Used J-B Weld to epoxy ports
Has anyone installed an electric trunk opener? R230 was a great design idea for a new car, but with awful manufacturing quality and age getting close to 20 years old, all those over-complications are nothing but problems. I have fixed ABC permanently through non-Mercedes coil-overs replacement for example - ABC problems gone forever. I've fixed the trunk opener before but using Mercedes design. Broke again. So I'm thinking to redesign and put an electric opener like the one below - has anyone done that? Thanks!
(getting rid of the dual batteries would be another great improvement if anyone has perhaps done that already). Thanks!
[img alt="These are the coils to switch air between the open actuator and soft close actuator.
My question, is one normally open and the other closed since its only a 2 wire plug ?
Ive got a picture of the micro switches over by the open ( hockey puck ) linkage too.
Is there a wiring diagram for this latch assembly ?
Thanks "]https://cimg3.ibsrv.net/gimg/www.mbworld.org-vbulletin/2000x1471/pxl_20241111_150259886_f28e8a58f4c5a6a0e56b2ed37fa 32cfed4f44b68.jpg[/img] These are the coils to switch air between the open actuator and soft close actuator. My question, is one normally open and the other closed since it's only a 2 wire plug ? I've got a picture of the micro switches over by the open ( hockey puck ) linkage too. Is there a wiring diagram for this latch assembly ? Thanks
Last edited by VTP99; Nov 11, 2024 at 10:32 AM.
Reason: Imagine
[img alt="These are the 2 micro switches
Top one is first lock position
Bottom one is soft close position
These are connected to the 3 wire plug "]https://cimg0.ibsrv.net/gimg/www.mbworld.org-vbulletin/2000x1504/pxl_20241113_025051705_mp_c636ea39ae88f9dc84787632 ce5c3ffbd3a227b0.jpg[/img] These are the 2 micro switches Top one is first lock position Bottom one is soft close position These are connected to the 3 wire plug
05 SL55, 10 C63, 12 SLK3, 20 S560, 08Bentley GT Speed, 16 Aston Martin Vanquish
I just changed the convenience battery. I noticed that the battery tender was not showing a full charge and I was getting the convenience functions temporarily not available. So I replaced the convenience battery and now the soft close trunk functions as it is supposed to.
05 SL55, 10 C63, 12 SLK3, 20 S560, 08Bentley GT Speed, 16 Aston Martin Vanquish
Well it worked for a few times and is not working again. So I bought a new latching mechanism. Trying to assemble it today and dropped the part that attaches to the ball and the arm. Had to remove the liner and in so doin broke the left flap. I’m getting to old for this.
I'm reviving this thread because it seems to have the fix for the trunk not latching all the way. Which mine has been doing for a while. But, I only see 4 ports with a ball bearing.
Mercedes SLR McLaren 722 S Is Extremely Rare Example Modified by McLaren
Slideshow: A one-of-one U.S.-spec Mercedes-Benz SLR McLaren Roadster became even rarer after a factory-backed transformation at McLaren's headquarters.


 , and the air pushed its way out. So make sure you use a strong plastic epoxy. Gorilla Glue makes a great gel (super glue) epoxy. I used it later...