When you click on links to various merchants on this site and make a purchase, this can result in this site earning a commission. Affiliate programs and affiliations include, but are not limited to, the eBay Partner Network.
Just sold my '11 Porsche TurboS cab for an '03 SL55!
Belt Trim R&R Experience?
The Belt trims are the black anodized trim strips at the top of the door and at the base of the door and Quarter glass that hold the weather-strips.
Mine are oddly quite faded on the drivers side and I'm looking to replace them. I considers a 'wrap' but it won't match and I just grabbed the door piece cheap on ebay. Now looking for the quarter window unit, it's over $100 from the on line MB parts sources.
I've pulled these on some other cars and it can be quite a task.......with tricks learned along the way.
Wondering if any members have done this job, and what I'm in for?
Thanks for the help.
MK19
Just sold my '11 Porsche TurboS cab for an '03 SL55!
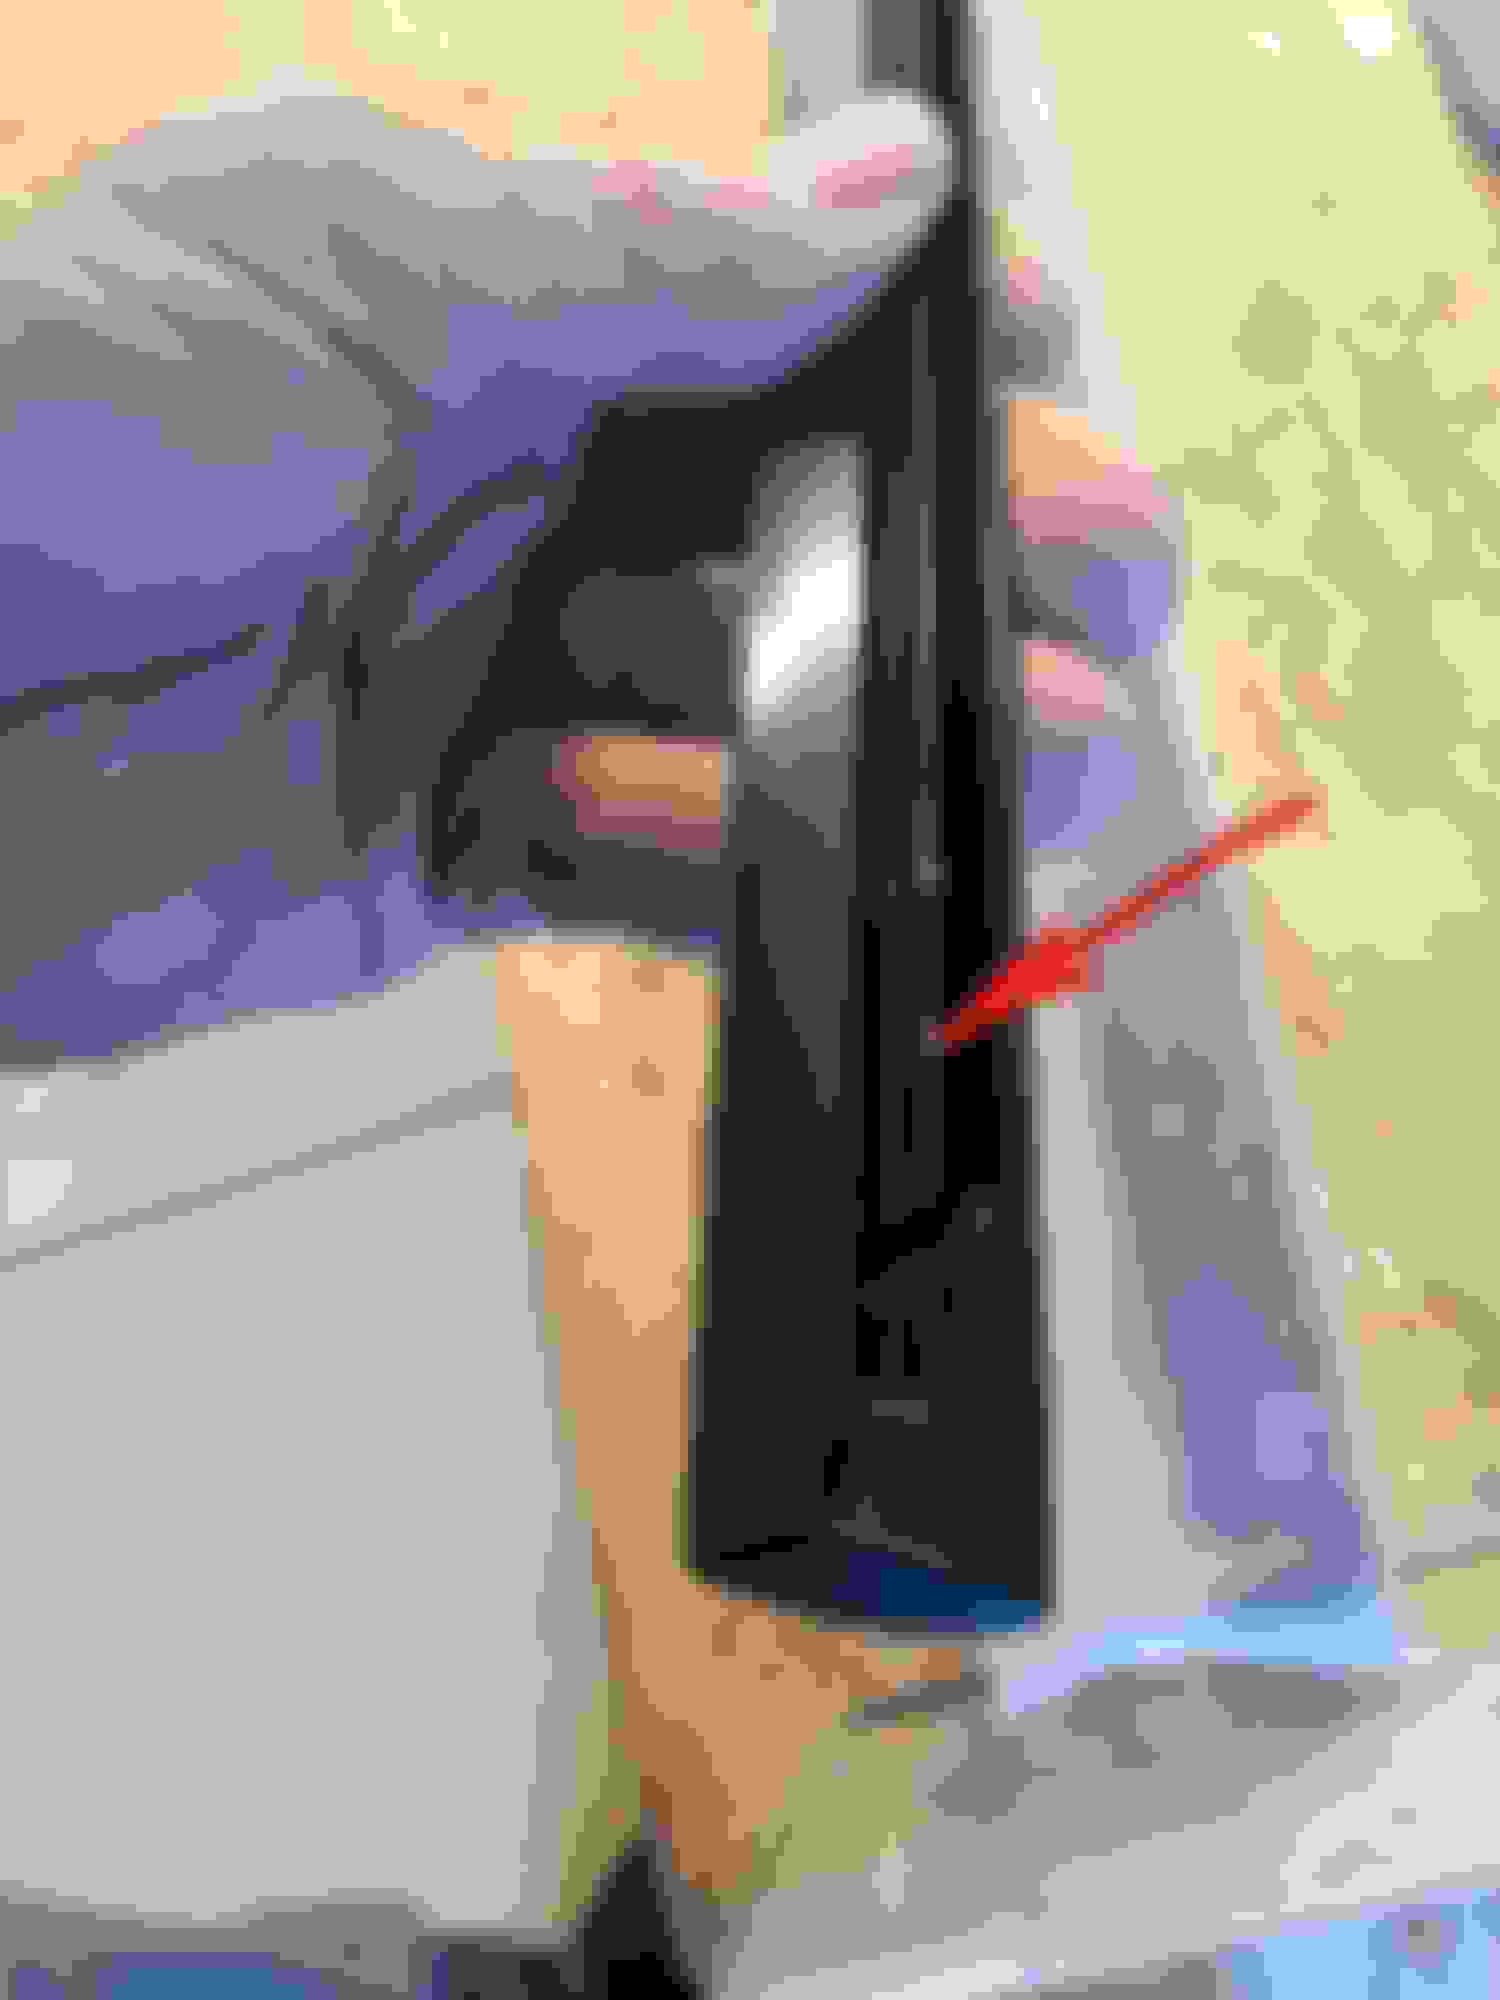
I've solved my mystery! There are barbed clips (1st photo) on the top of the door that receive a rib on the under side of the belt trim refer to the photo where red arrow points to this rib, where you may be able to see the minor gouge left by the barb. It took me awhile to figure out how to remove this trim, but in the 3rd photo, you will see my wide (2"+) plastic trim removal tool with the hook under the trim on the glass side. There is no other disassembly required. At the side mirror, the trim goes under the mirror mount, but once free of the barbed clips, I was able to pull it straight back and get it out. The last picture show the nice, new black trim next to the faded, bronze color trim that prompted this job. All of the other black anodized trim around the windows on both sides looks fine. But for some odd reason, possibly different anodize batches, the two trim strips at the windows on the Left side are faded to a bronze hue and just plain look 'old'. Once removed, these could be either painted, or wrapped in gloss black as new these are over $100 each. They came off without becoming bent or damaged and could just as easily go back on. I got lucky and found the door trim on and found a new one on eBay for $29 delivered, but am still looking for the rear strip. I may just have to buy it for the $108 price tag. If I can get the window seal/scraper off with minimal effort I'll likely replace those too, but they seem to be pretty firmly in place. Cheers, MK19
Just sold my '11 Porsche TurboS cab for an '03 SL55!
Belt Trim R&R Experience
I was asked to post more pictures but as I look at my old post, I think I see all that I have anyway. But maybe these two pictures and further discussion here will help.
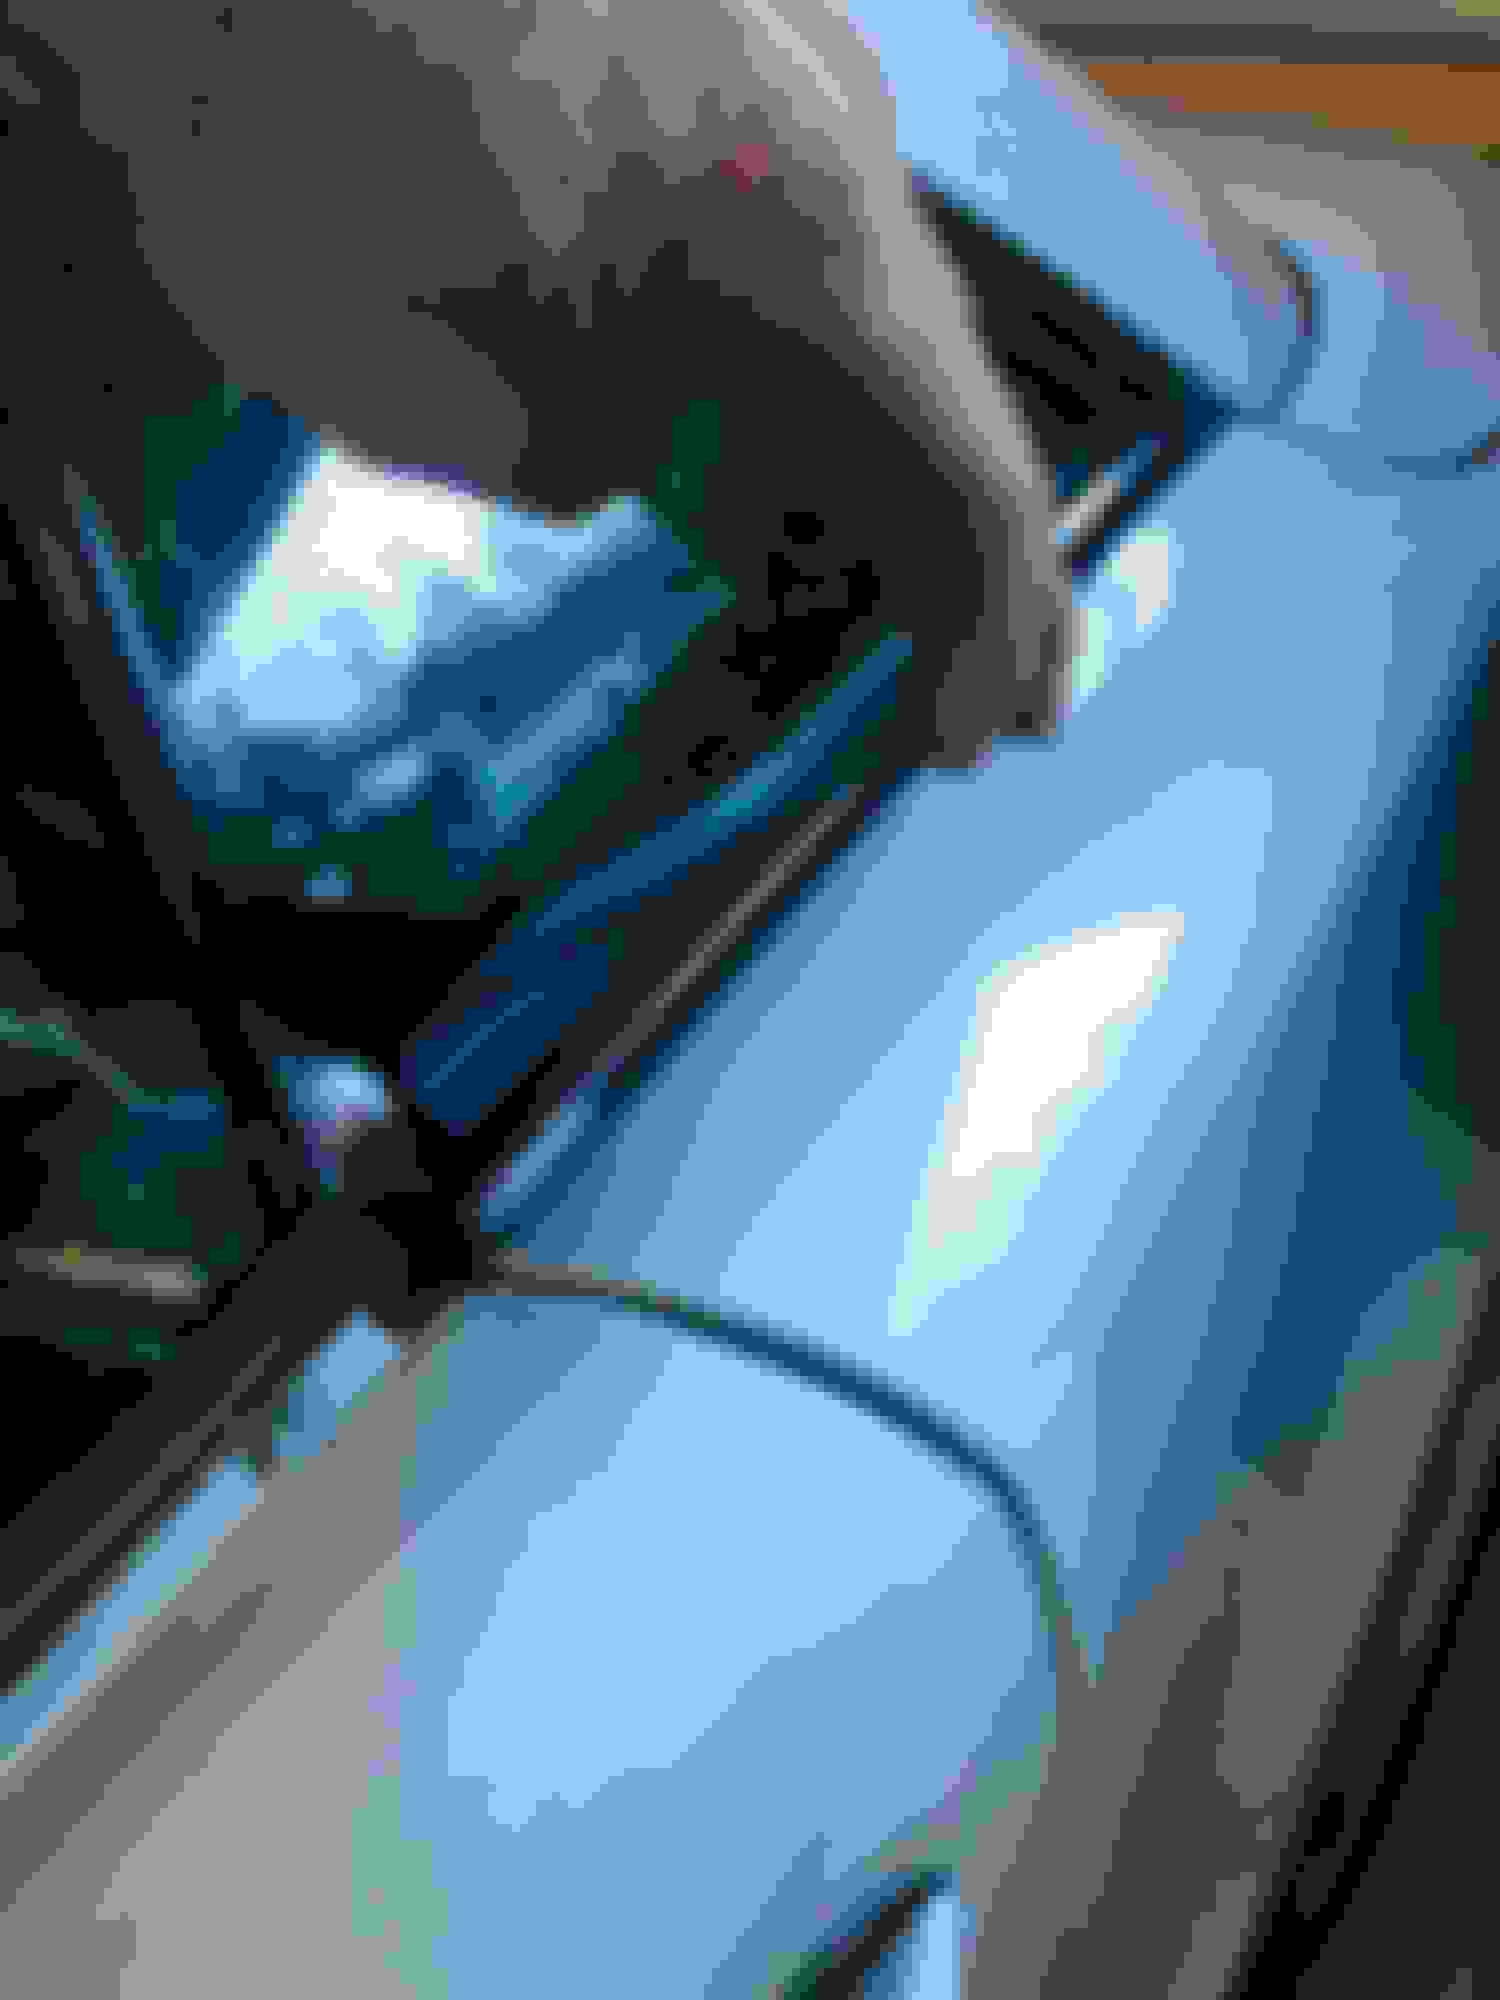
You'll see that I'm using a Blue Plastic trim tool that's about 2" wide and getting the hooked end of the tool under the belt trim to pry it up. The round hook on the tool is against the glass and that's the levering action that is creating a vertical force on the trim, although it's also pushing the trim outboard a bit, but that still worked for me. The trim does not just pop or snap up. It must be worked a bit as the metal "claws" on the body or door are hooked into the groove in the trim. But once you get one end loose, it comes along somewhat easier from there.
Those steel hooks on the body need to tear through a bit of the very soft aluminum trim to le loose, and they can be deformed in the process. and Thats why I suggested in my post above that they be bent back into a form that will grip the groove in the new trim.
Hope this helps.
MK19

 01-08-2022, 04:18 PM