
04 Bi Xenon Install III

Thread Starter
MBWorld Fanatic!
Joined: Oct 2006
Posts: 3,642
Likes: 13
From: Caribbean/Florida/Colorado
E-ZGO 53hp., 1999 E 430 sport, 2004 E 55, 2008 Tahoe LTZ on 24"s
04 Bi Xenon Install III
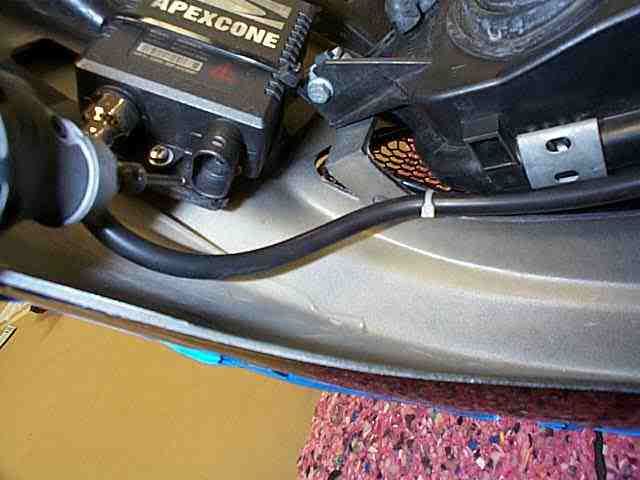
At this point we are ready to reassemble, I have an HID kit on my fog lamps and this is a great time to "clean up that install" I need to grind a little notch for the fog lamp wires.
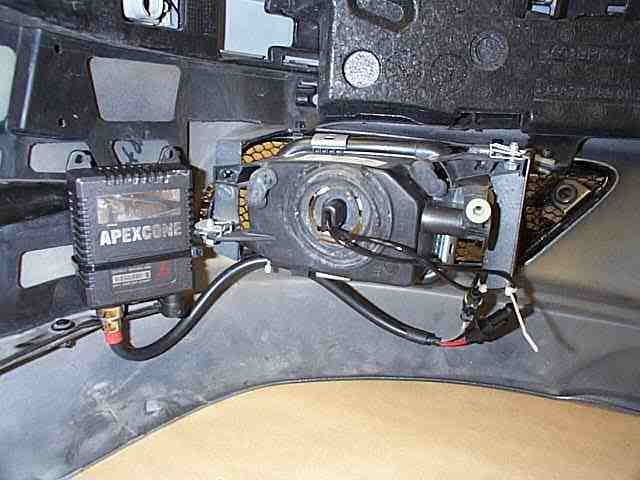
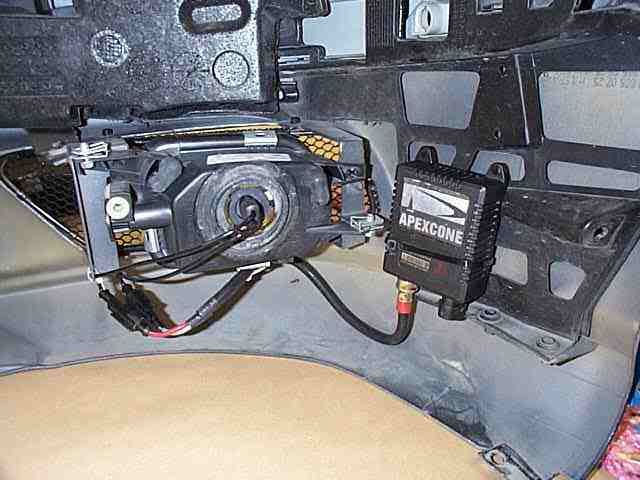
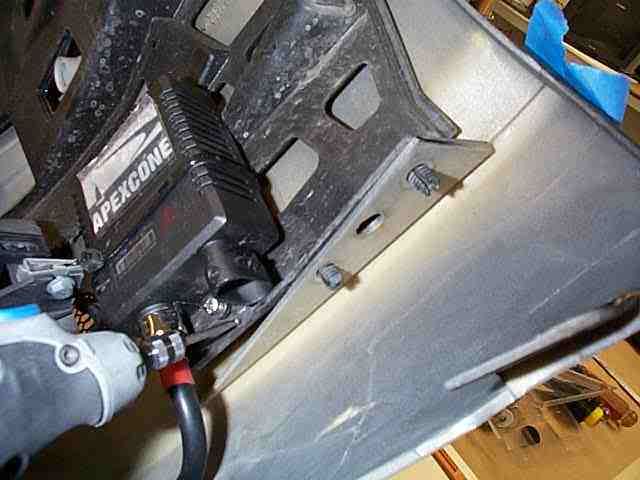
And a little grind on the other side is needed, I'll remount ballasts too
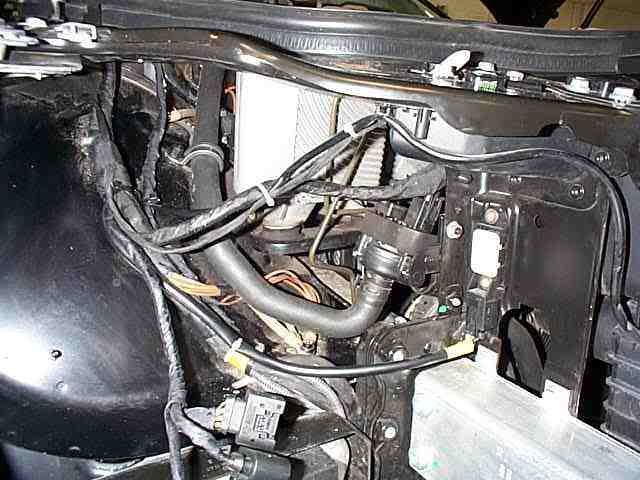
Time to prep car, here I put a light grease film to the fender so that the clamp will slide back in to position correctly.

All the wires are checked for routing and solid connections, then tied in position on both sides
Now you must set the mount nuts on the lamp to the same hight as your old lamp, set all 8 four on each
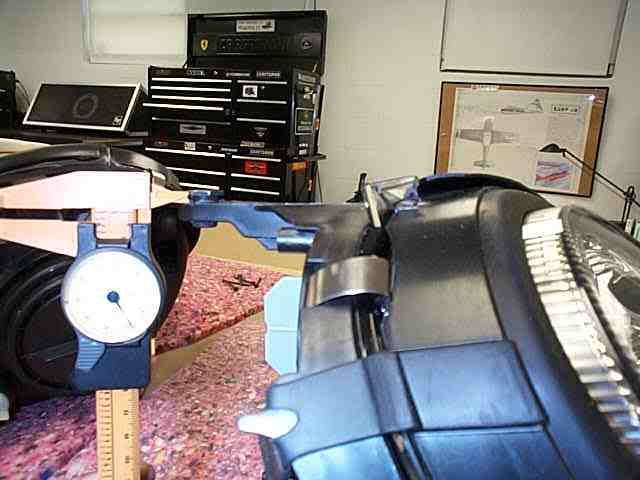
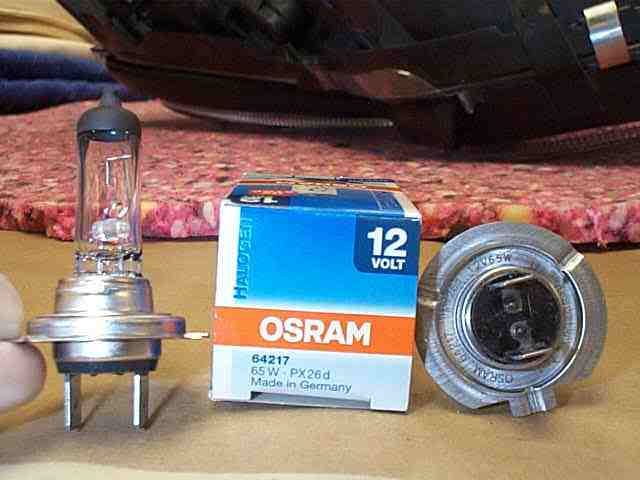
This is a good time to upgrade any bulbs, I changed my city lights and changed high beam to 65 watt.
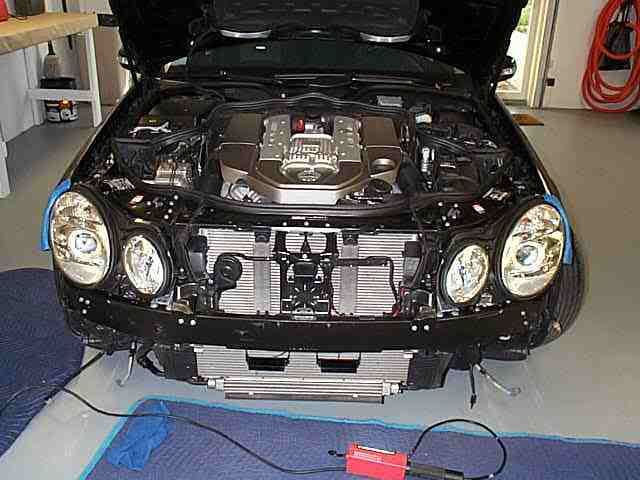
Now install both lamps & plug in wires and test. Do not start the car yet just turn on ignition and check function of all lights. You will need to get the car version coded at a dealer for the new Bi Xenon to work correctly when the engine is running, dealer must set Star Diagnostics to Xenon present.
Last minute dremel work
The HID kit came from Creative a sponsor here and will not throw a malfunction code like many HID kits will.
OK time to replace the bumper, just the reverse order, don't forget the side marker lamps, I thought the fender to bumper clamp would give fits but a little grease and no problem. I would say this work took me 4 total time.
Hope it serves as reasonable guide.

Done, now for the version coding at the dealer.
And a little grind on the other side is needed, I'll remount ballasts too
Time to prep car, here I put a light grease film to the fender so that the clamp will slide back in to position correctly.
All the wires are checked for routing and solid connections, then tied in position on both sides
Now you must set the mount nuts on the lamp to the same hight as your old lamp, set all 8 four on each
This is a good time to upgrade any bulbs, I changed my city lights and changed high beam to 65 watt.
Now install both lamps & plug in wires and test. Do not start the car yet just turn on ignition and check function of all lights. You will need to get the car version coded at a dealer for the new Bi Xenon to work correctly when the engine is running, dealer must set Star Diagnostics to Xenon present.
Last minute dremel work
The HID kit came from Creative a sponsor here and will not throw a malfunction code like many HID kits will.
OK time to replace the bumper, just the reverse order, don't forget the side marker lamps, I thought the fender to bumper clamp would give fits but a little grease and no problem. I would say this work took me 4 total time.
Hope it serves as reasonable guide.
Done, now for the version coding at the dealer.
Last edited by Yacht Master; Feb 16, 2008 at 09:38 AM.


