When you click on links to various merchants on this site and make a purchase, this can result in this site earning a commission. Affiliate programs and affiliations include, but are not limited to, the eBay Partner Network.
You got it right , it's quite a bit of work, 3 days for me with some mechanical experience... what i did since mine snapped 2 times because of the torque the car makes i bought front differential bolts, drilled out both rears and re threaded them to the front size ... it was a while back so i am not 100 % sure of the size but i do know they are the same thread the lug nuts are. I will check see if i still have any notes and pics and i will follow up ... email me at ogwc23@gmail.com if you want and i can walk you through what i did
Does that mean you'd have to drill out the mounts too? It sounds like a good idea but tapping the frame and drilling the mounts may prove difficult, I feel like I've been crawling around way too much for this car already. I'm just scratching my head at how this can happen. I'll probably just buy the OEM bolts, replace and torque to spec, but your idea is very tempting. The fact this is happening to so many people makes your solution a good one. I am wondering what I will have to take apart to get it back together and what else I might have damaged as the rear end doesn't appear to be sitting right. I just put a flex disk in, I'll be checking that, did my exhaust bend? How are my control arms? I will probably will need another alignment. Hopefully I'm over reacting and it will be easy. First I have to figure out how to jack the car up on stands, I normally use the rear diff with a thick Rubber block on the jack then put jack stands at the lift points (with adapters to fit). I hope my local Mercedes stocks these bolts.
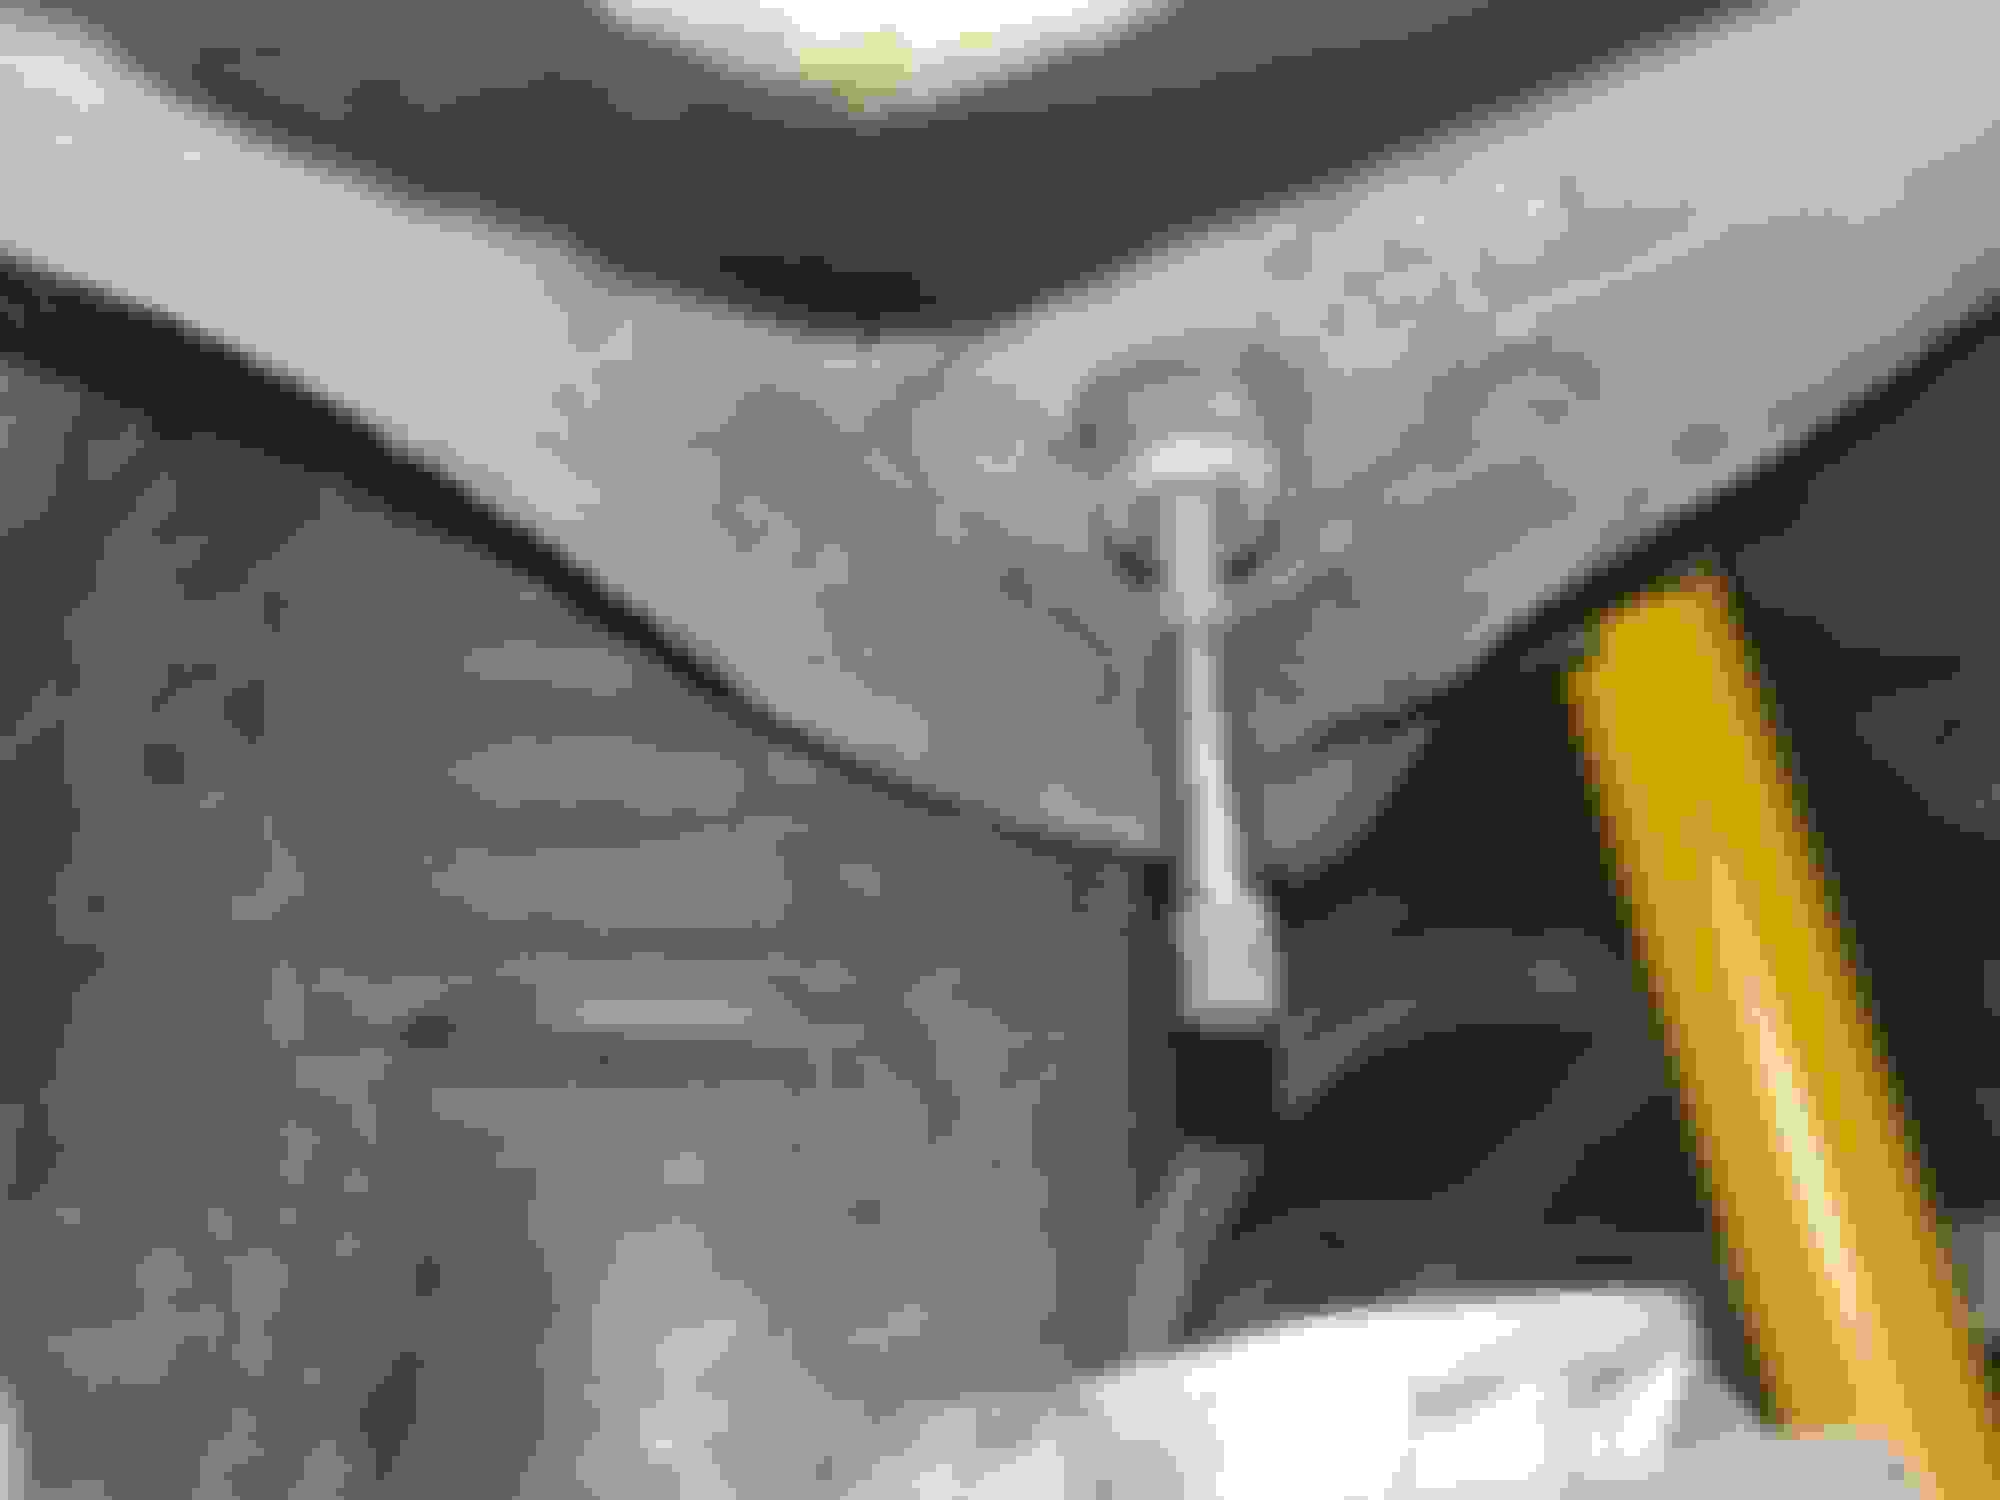
Looking closely at my second photo, it looks like that bolt has some spots at the sheared area, I'm now suspecting the bolt may have been broken, maybe even before I purchased the car at 60k.
This is not going as planned. First I tried slotting what was left of the bolt with a dremel and extracting with a screwdriver, a trick I've used many times. After bending a big screwdriver I ground down a prybar, then the bolt broke. I ground it smooth so I could center the drill and now I have drilled the bolt, I have an extractor in it but if I put any more pressure I'm afraid to break it. Maybe I need to drill larger and larger and just do what you guys did with the larger front camber bolt. I was hoping to back the bolt out and just replace it. I have a larger higher quality extractor I may try. I need some quality LONG reverse drill bits since I'm carefully going through the bushing then lowering the sub frame with a jack to inspect and attempt to extract. Why can't it just be easy? I tried a bit of heat around it carefully with no luck. What do you guys think? Do I need to just drill this out bigger, tap it then make a hole in the frame like everyone else? I'm starting to think you guys that had the retainer bust out of the frame are the lucky ones.
IT MOVED! Hopefully this will work as well on the other side. I think the very carefully applied heat was crucial to breaking loosen the locktite. I also adapted that extractor to a small 12 point socket and raised the subframe a little giving me a really good feel on a wratchet. I think I'm nearly home. Thanks for the thread guys! My car is not the beast yours is so if I can just replace what's there I think I'll be ok.
The other side took me 20 minutes. I did notice it was much easier to remove the other side and this car has been in a rear end accident at one point. I chased the thread of the difficult side with a tap and put it back together. I noticed the bolt was becoming very difficult to tighten so I backed out and tapped it before applying too much stress. I suspect someone was too lazy to do clean it up at one point and it caused the bolt to weaken when they tried to seat it properly. I think it's all better, thanks to you guys I know what to look for and I'll notice if one breaks. I didn't even take the wheels off, I could probably replace both in an hour now that I know how. I just replaced both with the stock bolts. If it happens again I will do what you guys did with the larger bolt and washer. I also think it's a good measure with your more powerful cars. Thanks for this thread, I thought the car had some major problem when it happened.
with the factory bolt (0029907422) can you still use a washer at the top for added strength or its not long enough ?
I don't see why you can't add a big flat washer, if the bolts are long enough to reach thru. Even better if you can weld a piece of flat plate steel to strengthen it.
But either way something is better than nothing at all.
with the factory bolt (0029907422) can you still use a washer at the top for added strength or its not long enough ?
My bolts broke in middle of the bolts, the threaded side of the frame remained intact and I was able to remove the broken bits and reinstall stock bolts. A washer would not have helped. To add a washer you'd need to cut the side of the frame out, if you're doing that you really should add a larger bolt as it's not much extra work at that point to drill out the threads in the frame.
The two types of failures experienced by users here are: 1. The bolts break 2. The threaded portion of the frame completely rips out of the frame.
The stock bolts may not have enough thread inside the frame to just add washers. If you just added washers and stressed the rear enough to where the frame nuts would have ripped out of the frame, the bolts will likely break instead.
@Mad Davey I am being proactive about it. So if I am using a stock bolt I don't need to cut the side of the frame (wheel well)? I was under impression that you need to cut it b/c there is a nut on the top. I could be wrong
@Mad Davey I am being proactive about it. So if I am using a stock bolt I don't need to cut the side of the frame (wheel well)? I was under impression that you need to cut it b/c there is a nut on the top. I could be wrong
The whole point of this mod is to put the washer and nut on the top, which requires drilling a 2" hole in the side of the wheelwell. Just replacing the factory bolt with a new one will not prevent the failure mode where the mounting boss rips out of the body. You need the washer, and preferably a stronger bolt. I used 12mm 12.9 grade bolts when I did mine, but they seem to be impossible to find now. Drilling the hole to accept a 14mm 10.9 grade bolt, nut, and washer would be a good alternative.
@JoeJErnst I agree for best results a stronger bolt (12.9) in a stock width (12mm) but longer or a thicker 14mm (10.9) bolt both with a washer is a way to go to mitigate/prevent the 2 points of failure of bolt itself and/or mounting spot. This requires drilling a hole in the wheelwell.
Since 1 point of failure is the bolt itself due to stress over time and mileage (most of us are above 100K miles) maybe stock bolt replacement for stock/mildly driven cars is a step in the right direction. To me, it only makes sense if the bolt replacement DOES NOT require cutting a wheelwell. BUT if a stock bolt swap requires cutting a hole in the wheelwell in order to tighten a nut THEN going with a better bolt/washer setup is a way to go.
So can someone please confirm if swapping a tired stock subframe bolt requires tightening a nut above it which means cutting a wheelwell.
Also is it worth replacing the bushings? Do they really go bad?
Agreed on all points. To clarify, you do NOT need to cut a hole if you are just replacing the factory bolts with new factory bolts before they fail. It's a simple 5-minute job of removing the old one and installing a new one. There is no nut or washer on the top in the factory setup.
I have a question for everyone that did this repair. Have a C32 with a freaking ripped mount on the rear passenger side. Is there a way to drill an access hole through the side of the mount (wheel well side, behind rear wheel) instead of the "rear" which means i have to drill in the plastic spare tire well too? Below is a pic of what i'm trying to avoid. Thanks in advance for the replies and really helpful threads everyone!
Found a DIY from Google, Am going to do that to prevent this happening. Considering that I'm going to do performance mods then I wanna make sure I dont find myself on side of the road with crooked rear end.
I might suggest the obvious in order to not snap the opposite bolt while replacing the other, simply make sure you apply enough lift pressure (i.e.-with a jack) to keep the subframe from drooping when you attempt to extract a bolt. I mean of you jack up the rear of the car on jack stands with whole rear suspension hanging unsupported from below with bolts that are 10+ years old attaching the Subframe to the body, the weight of the subframe might shift unexpectedly after extracting one bolt and cause a bolt to break in that instance. I'm days away from doing mine after I complete a Rear Main Seal repair. I just thoroughly cleaned my Trans Valve Body over the weekend and will renew the flex disc's, rear Bushings in Subframe to body as well as to Control Arm and those supporting the differential, Hubs, Flanges, Rotors, pads, UPD Toe Arms, New rear thrust Arms on the front side, new shocks and Air Springs! Even though some places are starting to open after the nefarious CCP Wuhan Virus, it's still kinda lame having to be seated with no bars open so with none of those distractions I've got my head down and moving forward with this rear end build!!
I had both bolts sheer, based on what I've seen here those of you with the hotrod version should probably consider the entire thicker bolt and washer mod to actually hold to the frame. I was lazy and was able to replace the stock bolts in place, I got very lucky I think. My rear sub frame bolts are only stock now but my car is only the CDI and I'm not racing. I suspect I may have been driving with one broken bolt for some time since an alignment shop told me to buy one adjustable camber arm to get the alignment correct, I replaced both sides for symmetry. I'm betting I can put the stock arms back in now since I really don't need an added possible failure point. I will be monitoring the bolts going forward since one can break and the car would still drive, I feel this is something that owners should check regularly.
What are the symptoms of a broken sub frame bolt? I have a loud creak / rub when I brake at slow speeds. When braking, the weight shifts to the front and I hear the noise from the passenger rear... Could this be a broken bolt? How does one know when the bolt in this thread has broken?
What are the symptoms of a broken sub frame bolt? I have a loud creak / rub when I brake at slow speeds. When braking, the weight shifts to the front and I hear the noise from the passenger rear... Could this be a broken bolt? How does one know when the bolt in this thread has broken?
Get under the car with the breaker bar and the big Torx socket and see if they are tight. A broken fastener will just spin + that corner of the subframe will hang low with the car lifted up.
I did did mine on the hoist using a plasma cutter to cut holes. Cut out 1/4� thick plates shaped just so to fit in the opening above and welded the plate in place and the nut to the plate once all was good and tight. Bigger stronger fasteners are a must. Got to do this for my E-55 as well as Jay�s K8. Weld the holes shut and paint it for a permanent fix.

 08-13-2019, 09:49 PM