
**EuroTeck W211 E55 & E63 Diffuser Group Buy**


Super Member
Joined: Jan 2012
Posts: 590
Likes: 2
From: Washington
10 E63, Sold -07 E63
Got mine installed, was not so bad, took 30mins to remove and install. Yes removed the pre installed screw, heated the whole diffuser just a little and lined it up, then pre drilled, used 4 screws and all was good.


MBWorld Fanatic!
Joined: May 2011
Posts: 1,109
Likes: 20
From: Las Vegas, NV
1000Hp Diesel Trucks, 2019 E63s
Junior Member
Joined: Mar 2013
Posts: 26
Likes: 1
From: Westchester PA
2014 E63S wagon
I have my old diffuser ripped off and prepped for install. Grabbed 6-32 x 1-1/4 screws. Did you guys take the bumper off or just use an angle drill to get your hole then screw it in? its a tad tight to work in the corners?

MBWorld Fanatic!


Joined: Jan 2011
Posts: 2,159
Likes: 160
2006 E55
Got mine yesterday, too.
For those that installed or going to install, post up how difficult it was and how fitment is. I likely won't attempt this myself, I'll probably take my body shop to do it, just curious on difficulty and alignment.
For those that installed or going to install, post up how difficult it was and how fitment is. I likely won't attempt this myself, I'll probably take my body shop to do it, just curious on difficulty and alignment.

MBWorld Fanatic!
Joined: Jan 2009
Posts: 3,182
Likes: 15
From: Northern VA
W211
[QUOTE="pnoyworx;5810529"]Got mine installed, was not so bad, took 30mins to remove and install. Yes removed the pre installed screw, heated the whole diffuser just a little and lined it up, then pre drilled, used 4 screws and all was good. [/
are the screws on the corners hidden ? Figuring best method to drill the self tapping screws into diffuser. Two at the Bottom and one on each corner.
are the screws on the corners hidden ? Figuring best method to drill the self tapping screws into diffuser. Two at the Bottom and one on each corner.
Last edited by novae500; Oct 18, 2013 at 07:20 PM.


Junior Member
Joined: Mar 2013
Posts: 26
Likes: 1
From: Westchester PA
2014 E63S wagon
I instated mine yesterday. Pics to come. The fitment is decent. The corners were a pain to get to stay in. A little heat and some time. I used 2 # 8 3/4 pan head screws on the 2 under sides of the corners to ensure it will not rip off at high speed. You can't see them unless your under the car.
I'm happy with it
I'm happy with it


Member
Joined: Oct 2012
Posts: 230
Likes: 1
From: Santa Monica
2005 e55
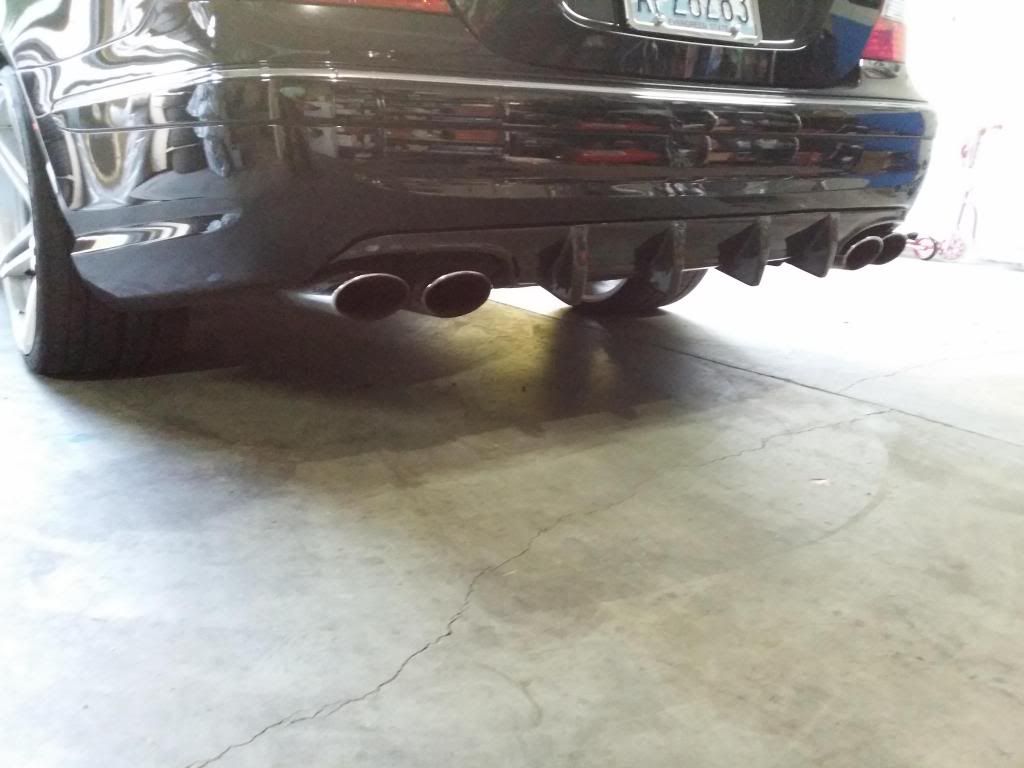
Yes the epoxied screws ripped out. And screws placed on the lower part of the diffuser where you cant see them. In between the top of the muffler tip and bottom of the bumper

Member
Joined: Oct 2012
Posts: 230
Likes: 1
From: Santa Monica
2005 e55
dont even worry about the epoxied screws and don't epoxy more on. just get all the remaining epoxy of the diffuser.
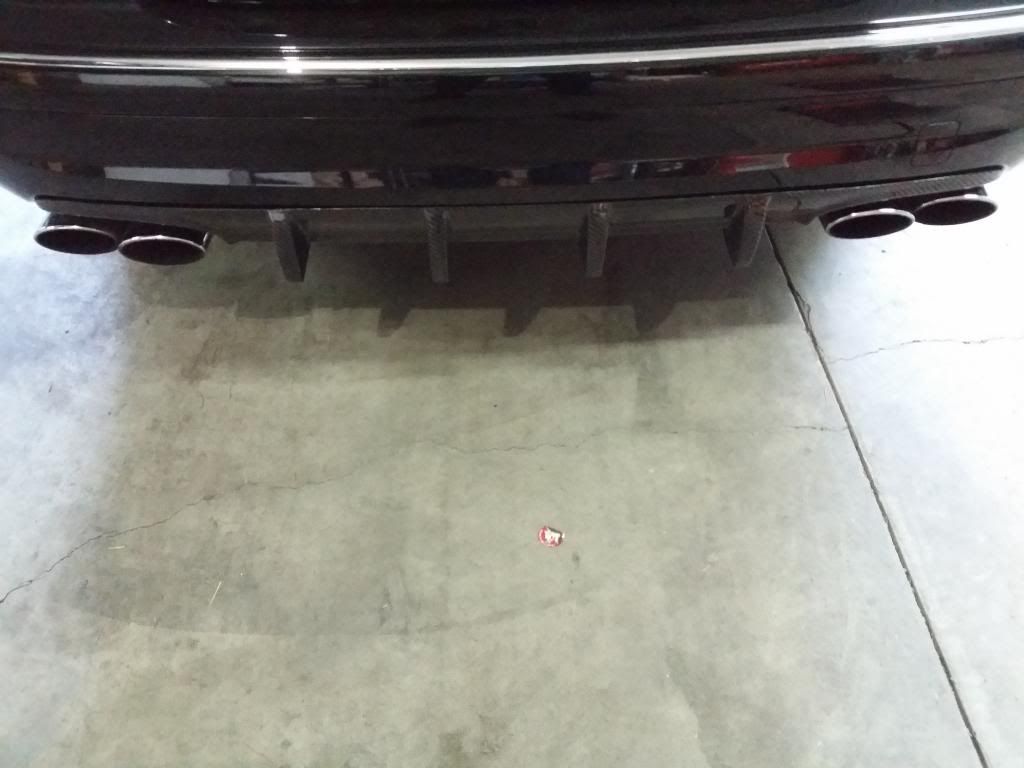
here is a pic of mine installed. I ended up taking the back section of the exhaust of
1. cause I have a lift
2. it made it so much easier to line up and get right.
3. it makes getting to the bolts real easy.
4. you can see the screw now, I am gonna dab it with some charcoal paint or black paint
Here is were I placed the screws. I used metric truss bolts as they were the thinnest headed screw with a wide head on them.


MBWorld Fanatic!
Joined: Jan 2009
Posts: 3,182
Likes: 15
From: Northern VA
W211
I tried today but no avail w a blow dryer to get the corners to bend enough to align close enough to have it flush. Rest of diffuser sits nice and flush. Not much oem bumper material to screw from under the cf diffuser to oem bumper.
Super Member
Joined: Jan 2012
Posts: 590
Likes: 2
From: Washington
10 E63, Sold -07 E63
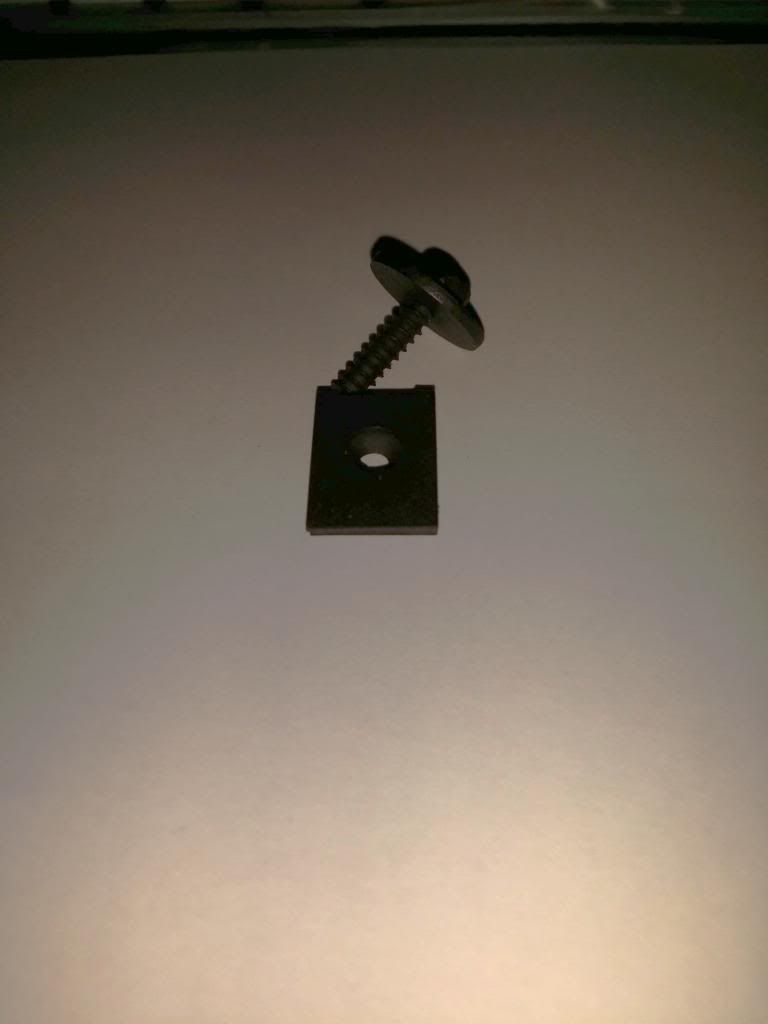
It's flexible enough for it to fit flush, and there is enough lip on there for your to screw into. I recommend using the screw type I used, which clips onto the bumper and where the screw tightens onto metal rather than just the plastic. The clip also acts as resistance from the screw vibrating around and getting loose over time. Using a washer will also reduce possibility of creeping cracks from drilling into the diffuser. Use tape to hold the diffuser into place first then line it up. Mark the area where you want the screws to be and pre drill. If you're using the clip style screw set I used, you can clip those on the bumper, and then pre drill with the diffuser one side at a time.
Member
Joined: Oct 2012
Posts: 230
Likes: 1
From: Santa Monica
2005 e55
as was said above. there is enough material left after you drill in to bumper. I drilled into diffuser first and made sure I was as close to the inside crease as possible. I then used metric truss screws with lock nuts and blue loctite.
I did not pull the tape off until i had both holes drilled and diffuser aligned. then put one screw on on side and then pulled tape
I did not pull the tape off until i had both holes drilled and diffuser aligned. then put one screw on on side and then pulled tape

Junior Member
Joined: Apr 2011
Posts: 58
Likes: 0
From: Upstate NY
C55 AMG
These people at euroteck owe me a front lip, when this group buy for the diffuser was beign conducted I was purchasing a front lip for my c55 that was 5 months ago, I still have not received my front lip they are ignoring my emails and phone calls. I truly hate conducting business with shiesty companies. Truly gets me ticked off 5 months for a damn front lip really? Paid 800.00 for the darn thing.
MBWorld Fanatic!
Joined: Jan 2009
Posts: 3,182
Likes: 15
From: Northern VA
W211
Dont do it mang.. I finally got mine installed and cant stop looking at it. Really transforms the rear of the car!!! I modded my car for "Go" for first couple years and now working on the "Show" part. Dont rush cause its a nice diffuser and for a good price.


