
Heat Exchanger Install - Eurocharged
 10-16-2014, 11:33 PM
#1
Member
Thread Starter
Heat Exchanger Install - Eurocharged
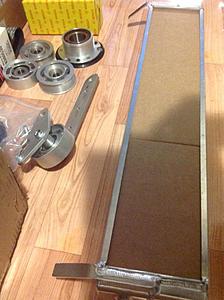
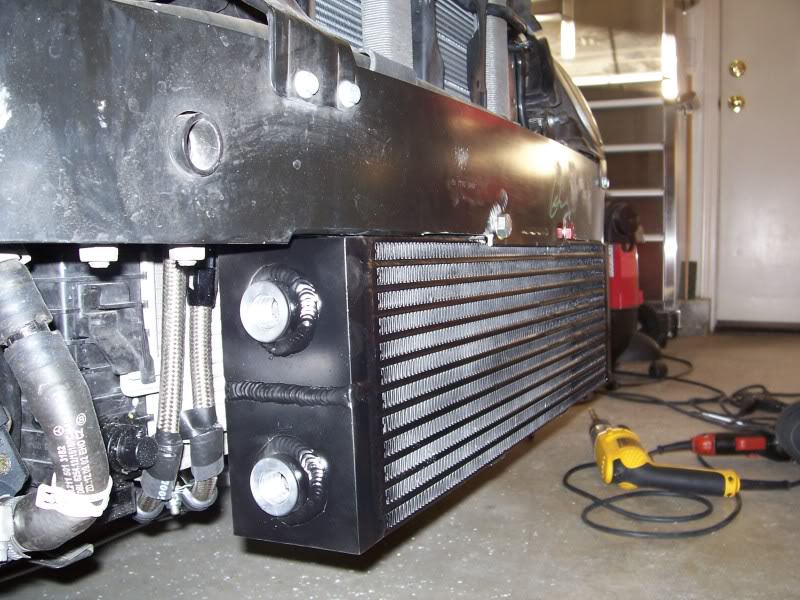
Pretty straight forward install but looking for any additional tips on this H/E vs the rest. Drill the mounting tab for bolt along with bumper support. Hangs from the front...
Question is: do you guys just walk the bolt into the support till snug ? I'd rather get a nut onto the bolt from the back side though. Support is double sided I believe (hollow middle)

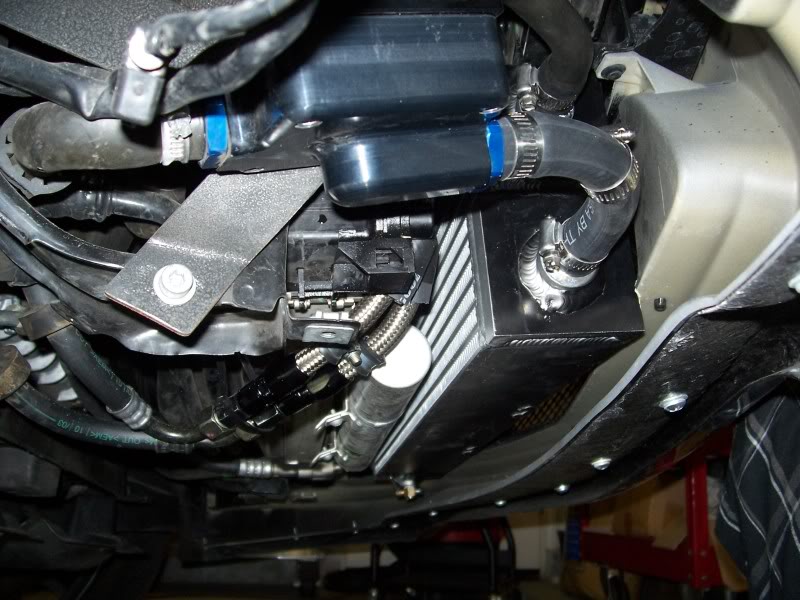
E55 bumper guys - trimming on the lower H/E corner for the Eurocharged unit ? Also read some posts about not being able to reuse some mounting bolts
Pic I looked up for general reference:
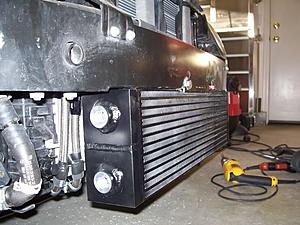
Noticed the trimmed edges around the exchanger
Question is: do you guys just walk the bolt into the support till snug ? I'd rather get a nut onto the bolt from the back side though. Support is double sided I believe (hollow middle)

E55 bumper guys - trimming on the lower H/E corner for the Eurocharged unit ? Also read some posts about not being able to reuse some mounting bolts
Pic I looked up for general reference:
Noticed the trimmed edges around the exchanger
Last edited by RikTT; 10-17-2014 at 12:09 AM.
 10-17-2014, 09:32 AM
#3
Super Member

As you said, pretty straight forward. I didn't trim anything, just mounted it. Ask a friend to help you as it makes removing and reinstalling the bumper cover much easier.
10-18-2014, 11:08 PM
#4
Member
Thread Starter
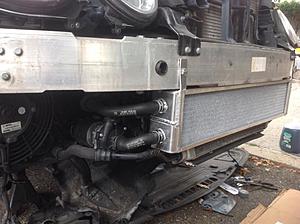
Got it mounted today. Solo job on this install as with almost all my projects..
For future searching, hope these can help.
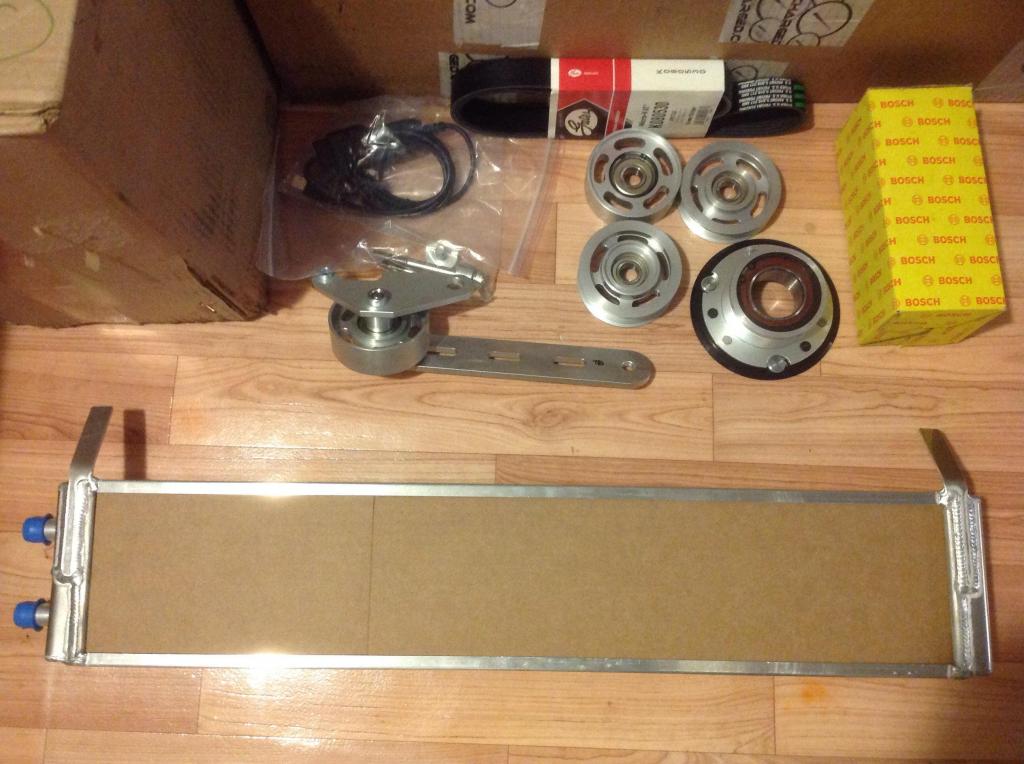
Line up the the H/E to sit in the middle.
I used a jack and some wood stacks to hold it in place so I could drill a pilot hole thru the mounting tab and leave a mark onto the bumper support. Do a pilot hole onto the crash bar next. Then step up to what size works for you. I used 3/8's bolts to secure mine.
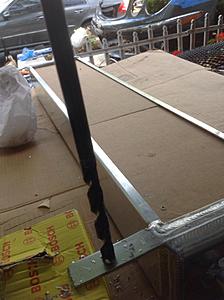
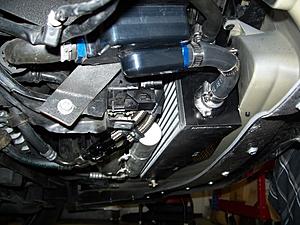
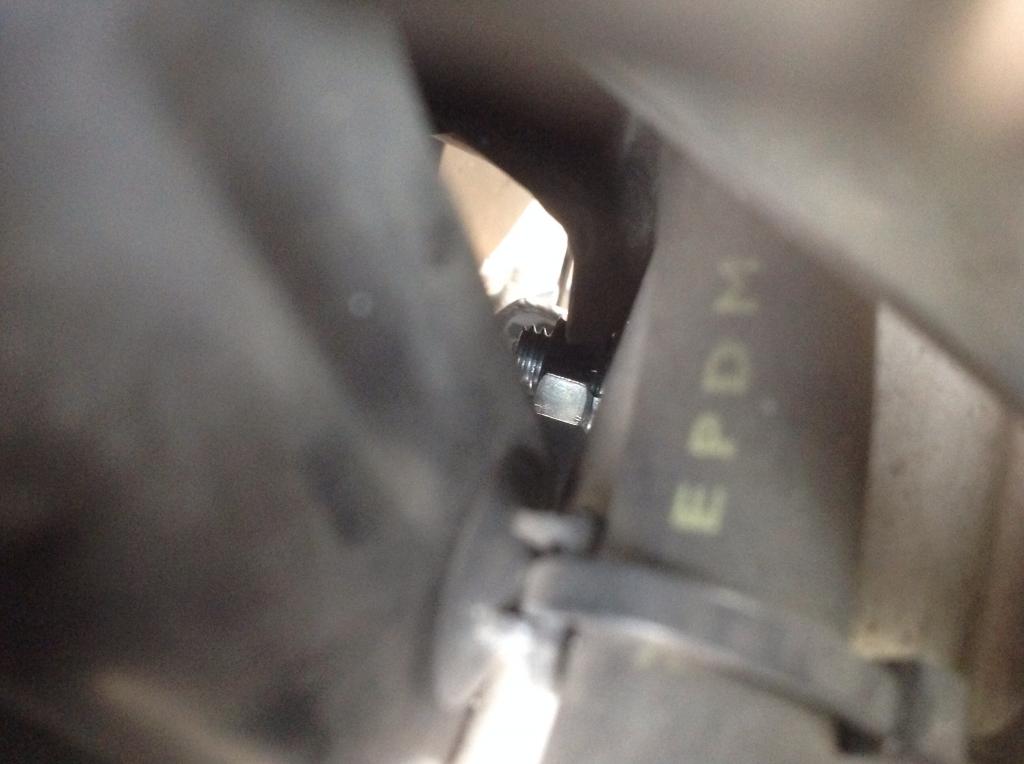
Now in my original post I wasn't too thrilled about the thin walled crash bar (hollow inside) holding the bolt on 'snug' for the exchanger. I used a longer drill bit and went right thru to the other side so I can secure it with a nut
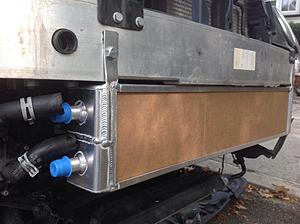
I had bought some longer 3/8's bolts so I then cut them to my desired length and used a lock washer/nut as you see in the pic below

I managed to get the lower cooler to sit exactly like stock & reuse the air diversion sheilds to it. Even the one all the way to the rear (under radiator/condenser). I would prefer these H/E's to have mounting tabs for it honestly. It does not touch or interfere with lower bumper or tray but it's in all how you set it up. H/E fits well too with no notching of the bumper to fit. I will fab up some mounting brackets on the 63 front bumper install next round.
The space between the Heat exchanger and the bar, you lose the 2 mounting bolts for the bumper b/c of the H/E mounting tabs being right in the way. I then trimmed the mounting holes off the rear of the bumper but I left some real estate so that still slides between the H/E and crash bar so it acts like a buffer and also seats the bumper still.
Hope this helps others.
For future searching, hope these can help.
Line up the the H/E to sit in the middle.
I used a jack and some wood stacks to hold it in place so I could drill a pilot hole thru the mounting tab and leave a mark onto the bumper support. Do a pilot hole onto the crash bar next. Then step up to what size works for you. I used 3/8's bolts to secure mine.


Now in my original post I wasn't too thrilled about the thin walled crash bar (hollow inside) holding the bolt on 'snug' for the exchanger. I used a longer drill bit and went right thru to the other side so I can secure it with a nut
I had bought some longer 3/8's bolts so I then cut them to my desired length and used a lock washer/nut as you see in the pic below
I managed to get the lower cooler to sit exactly like stock & reuse the air diversion sheilds to it. Even the one all the way to the rear (under radiator/condenser). I would prefer these H/E's to have mounting tabs for it honestly. It does not touch or interfere with lower bumper or tray but it's in all how you set it up. H/E fits well too with no notching of the bumper to fit. I will fab up some mounting brackets on the 63 front bumper install next round.
The space between the Heat exchanger and the bar, you lose the 2 mounting bolts for the bumper b/c of the H/E mounting tabs being right in the way. I then trimmed the mounting holes off the rear of the bumper but I left some real estate so that still slides between the H/E and crash bar so it acts like a buffer and also seats the bumper still.
Hope this helps others.


