When you click on links to various merchants on this site and make a purchase, this can result in this site earning a commission. Affiliate programs and affiliations include, but are not limited to, the eBay Partner Network.
I finally got some time after the move to socal to tackle my motor and trans mounts. The job took 6 hours and was worth it considering that the shop wanted over a grand to do the job.
And on with the pictures
First step is to place the emergency brake on! Next jack up the car onto two jack stands facing opposite directions.
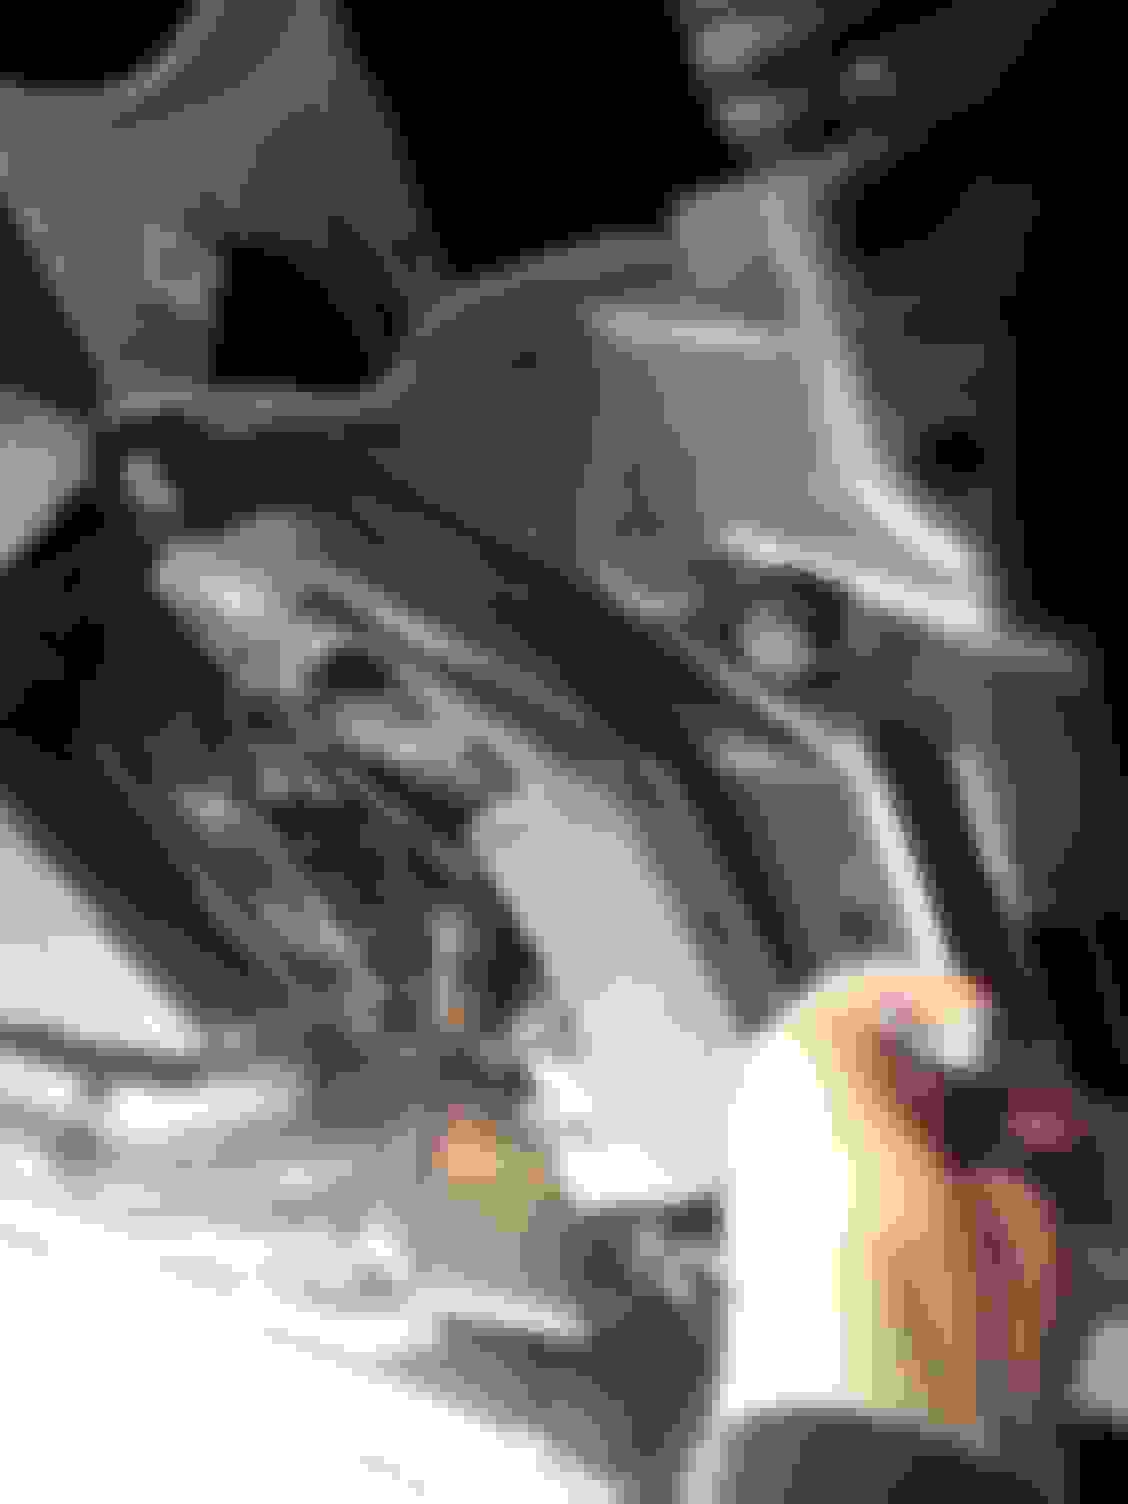
Next step is to remove all three plastic covers from under the vehicle (not shown). Once the covers are off (8mm socket) remove the metal cover and steering linkage. The steering linkage will have nuts on top of the bolts. I used two 18 mm wrenches to break them loose, then my air gun with the 18mm wrench holding the nut on top to remove the bolts.
Another angle of the steering linkage with bracket on top.
Here is what the steering linkage looks like without the cover. It is loose and you can pull it down. Be advised that it is a pita to align the bolt holes back in place To resecure the linkage.
Next undo the sway bar left and right side and hammer it off of the screw holding it in place to allow for some movement of the bar.
Another angle showing which nut needs to be removed.
Next step is to remove the lower motor mount bolts
next step is to loosen the upper motor mount bolts. You can see the top of the motor mounts underneath the exhaust.
Next step is to jack up the engine by placing a 1 foot long 2 by 4 sideways ontop of the jack and jacking up infront of the sway bar about 1 to 2 inches. The further up the more room you have to push the sway bar out of the way.
Once the motor is on top of the jack finish removing the upper motor mounts. It really helps having 2 people as one person can be under the vehicle holding the 16mm flat wrench on top of the bolt while the other person breaks it loose. Once loose it's easier to remove it from below.
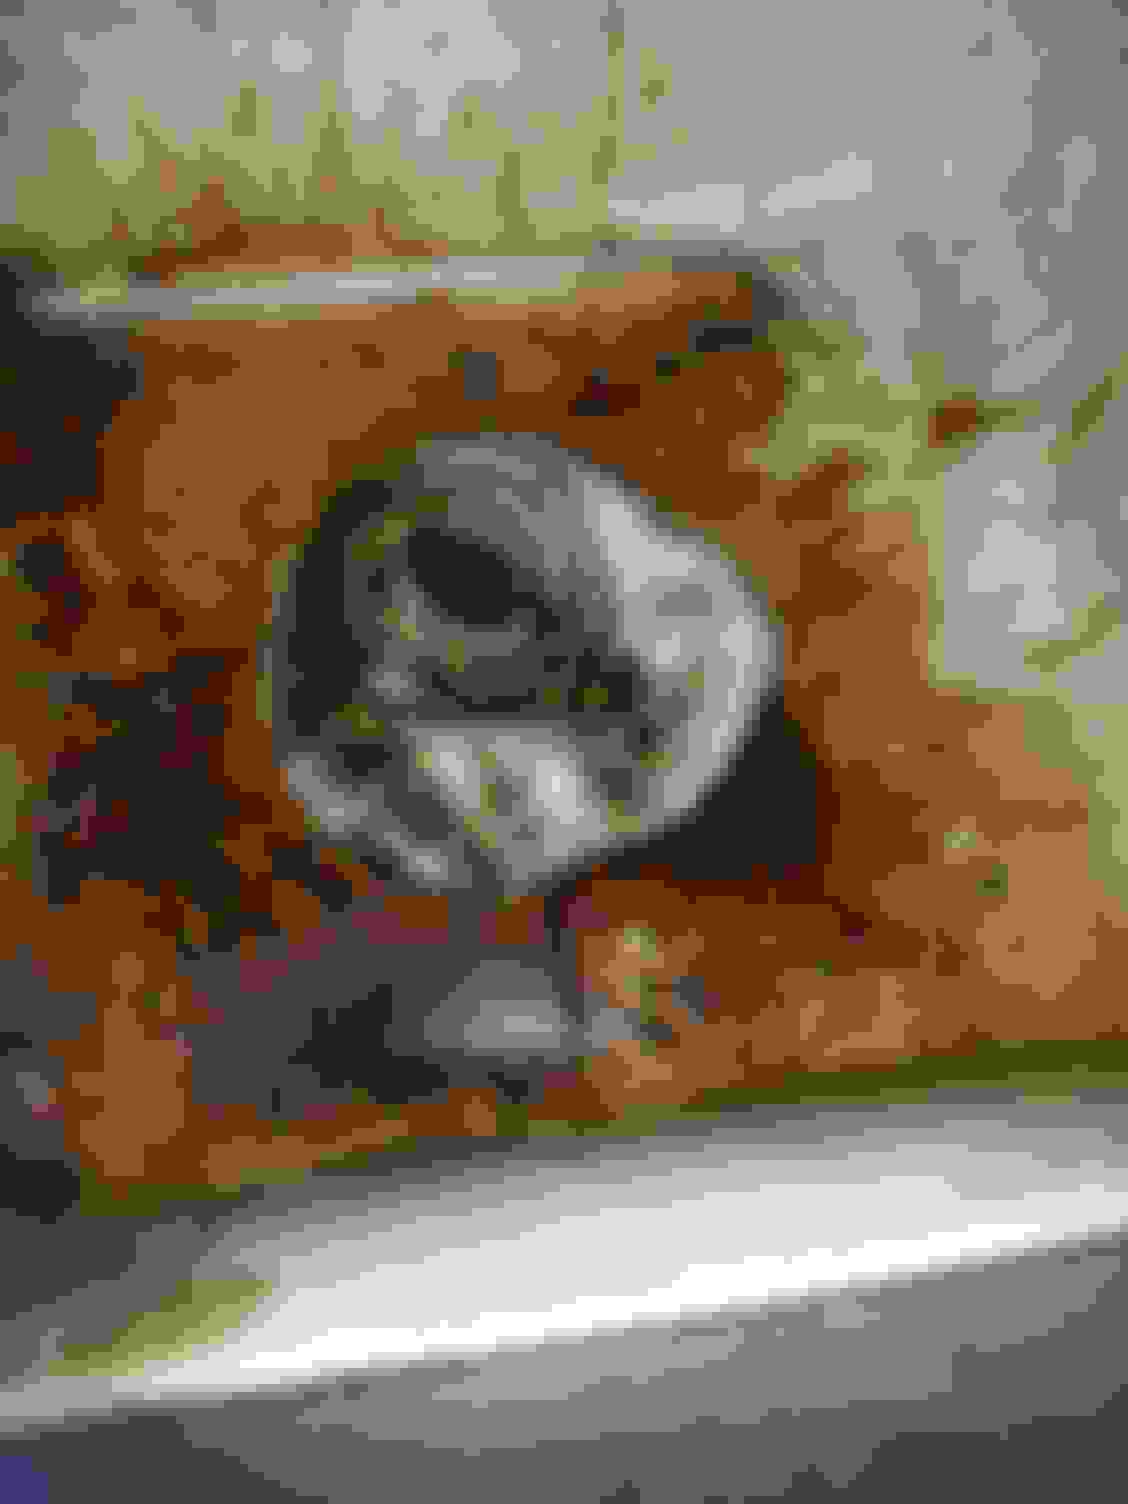
When removing the old motor mounts be advised they may soak you with oil. Be prepared to catch the oil. I recommend turning the mount before trying to extract it to see if it leaks oil everywhere. My drivers side leaked but my passenger side did not.
Once you squeeze the motor mounts out you'll need to squeeze the new mounts back in the same way. I removed the rubber cover for the drivers side as it's a very tight squeeze. The passenger side mount will come out very easily. Once you've squeezed the mount back in put the cover back on and line it up with the pin ontop of the mount and push it into place.
While putting the mount back in you'll need to align the upper pin to fit in the groove of the motor. You can feel it with your fingers. I had to lower my car to be sure it went into the groove. These metal caps must also go over the top of the motor mounts. You'll need to align the hole to the part of the motor that comes out next to the grove for the mount to slip into. It took a few trys to get it right. Place the upper and lower bolts on with lock tight and torque into place.
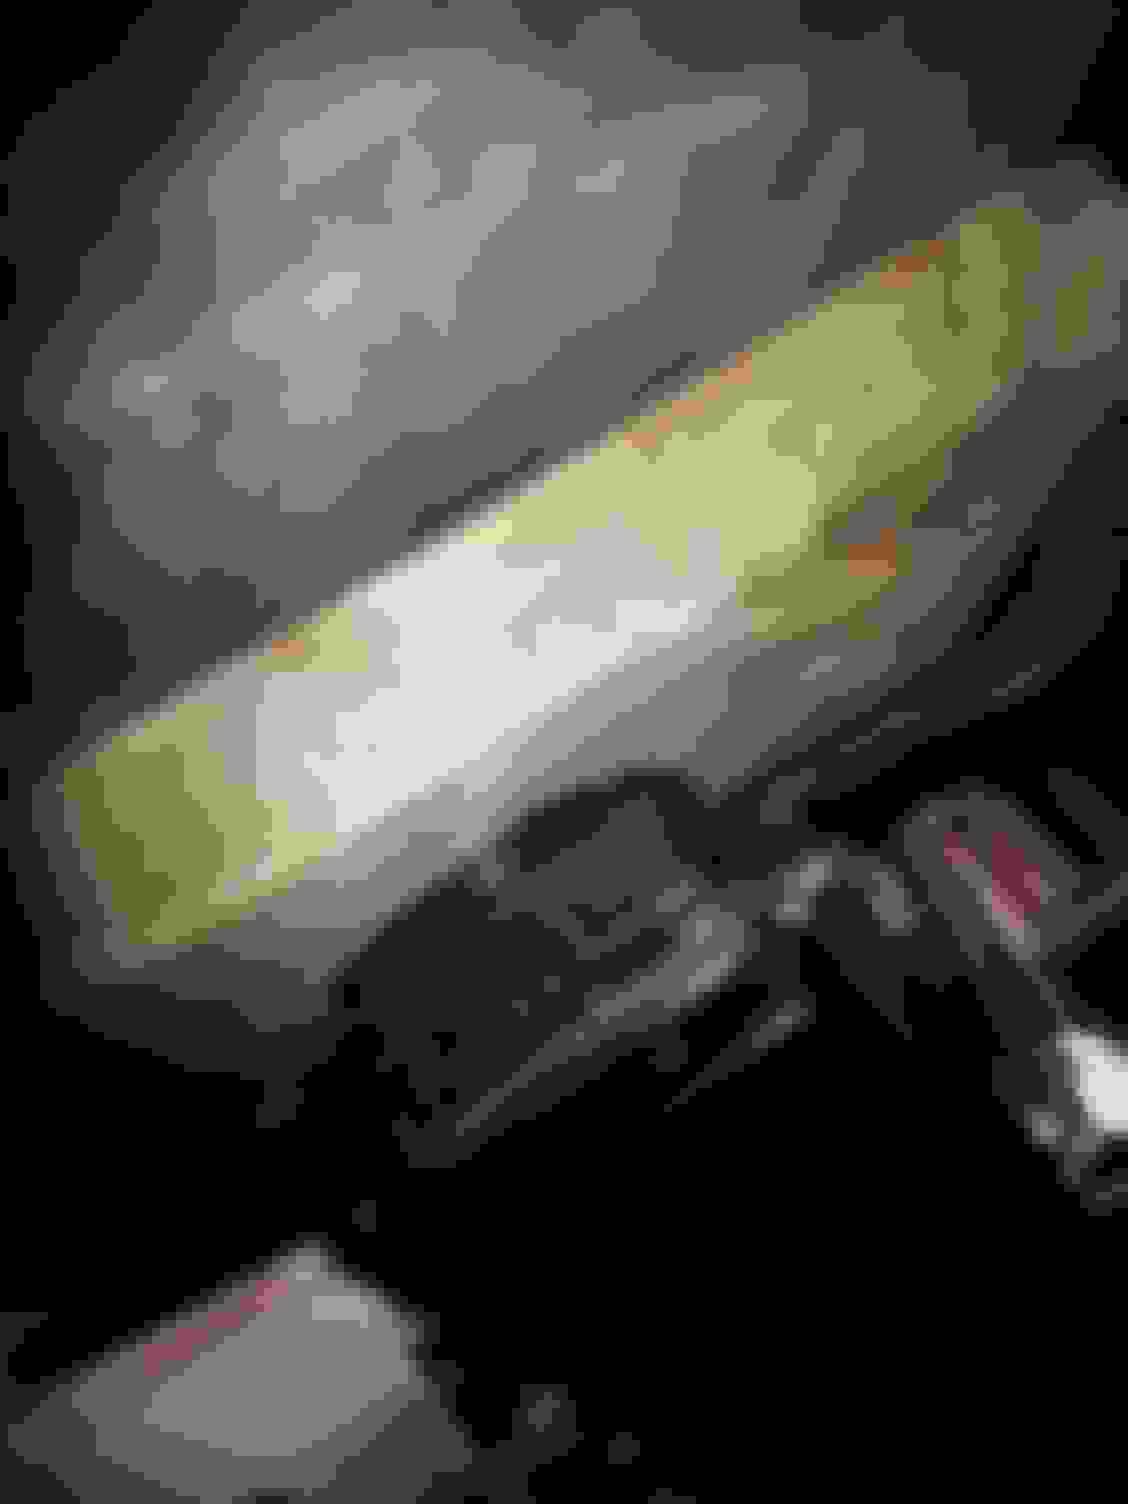
Once finished with the motor mounts you'll need to lower the jack and using a 1 foot by 1 foot board as pictured jack up the transmission from the pan only enough to support it's weight.
Remove the 8 bolts holding the metal cover onto the transmission mounts
One side of the cover. Once removed remove the final two bolts holding the transmission mount to the transmission.
It's imperative the you don't use air tools when installing the new transmission mount. As you can see I broke one of the bolts and had to tap and ease it out. Lucky for me I had a comparable replacement. Also use lock tight on every single bolt you undo to make sure they don't rattle loose while driving!
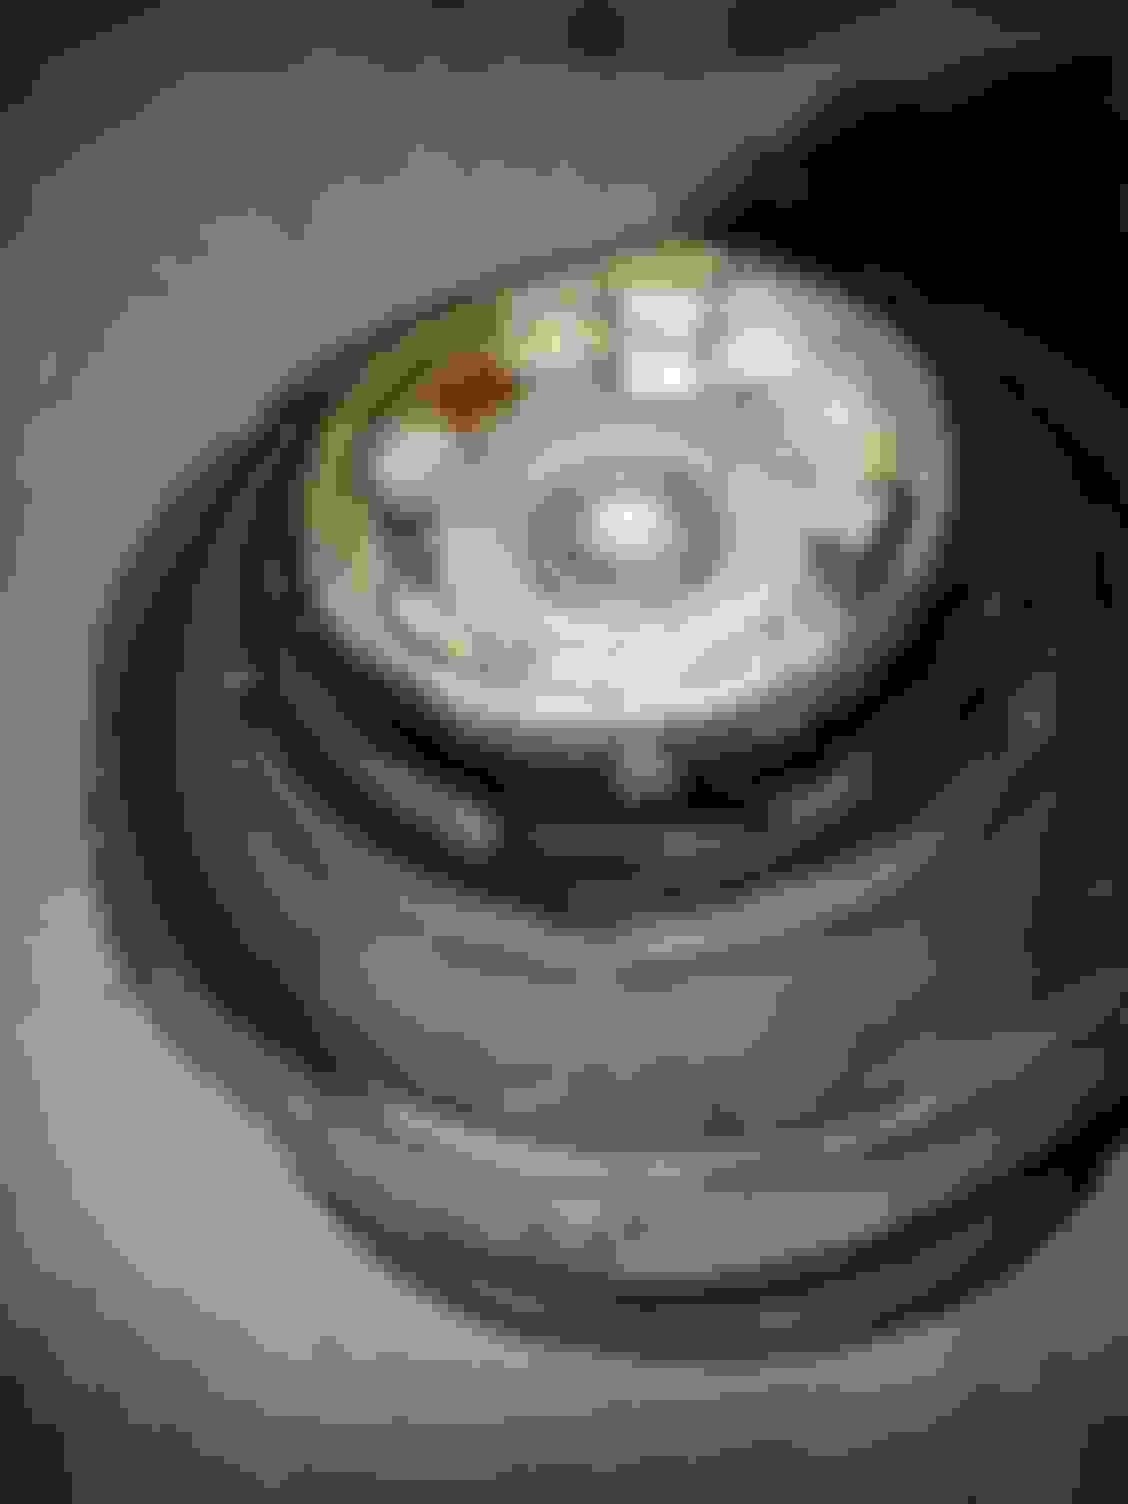
Trans mount was wripped all the way around on the inside. Very bad!
Another angle
Old mounts!
The 16mm straight wrench was a lifesaver for the upper motor mount bolts!
Perfect timing, as I will be ordering my mounts tomorrow. I will be installing headers at the same time. Do you think the mounts will be easier to change once the exhaust manifolds are out of the car, but before the headers go in?
Perfect timing, as I will be ordering my mounts tomorrow. I will be installing headers at the same time. Do you think the mounts will be easier to change once the exhaust manifolds are out of the car, but before the headers go in?
Thanks for the detailed writeup!
Yes, once the exhaust is out the mounts will slide right out.

 08-10-2015, 12:51 AM