When you click on links to various merchants on this site and make a purchase, this can result in this site earning a commission. Affiliate programs and affiliations include, but are not limited to, the eBay Partner Network.
It has been a while since I made a DIY thread. This time I noticed my car was leaking radiator fluid. At first I thought it was just the large hose that connected to the lower end of the radiator pump, but alas I was mistaken and today the vehicle decided to pour radiator fluid all over the driveway upon start up. There was also a grinding noise coming from the water pump so it was time to change it out.
The job took a little over 4 hours to complete taking my time.
Item that you will need to do this job
you will need a full set of Torx bits male and female.
Sizes of the sockets.
As always start off with placing the car in park with the e-brake engaged.
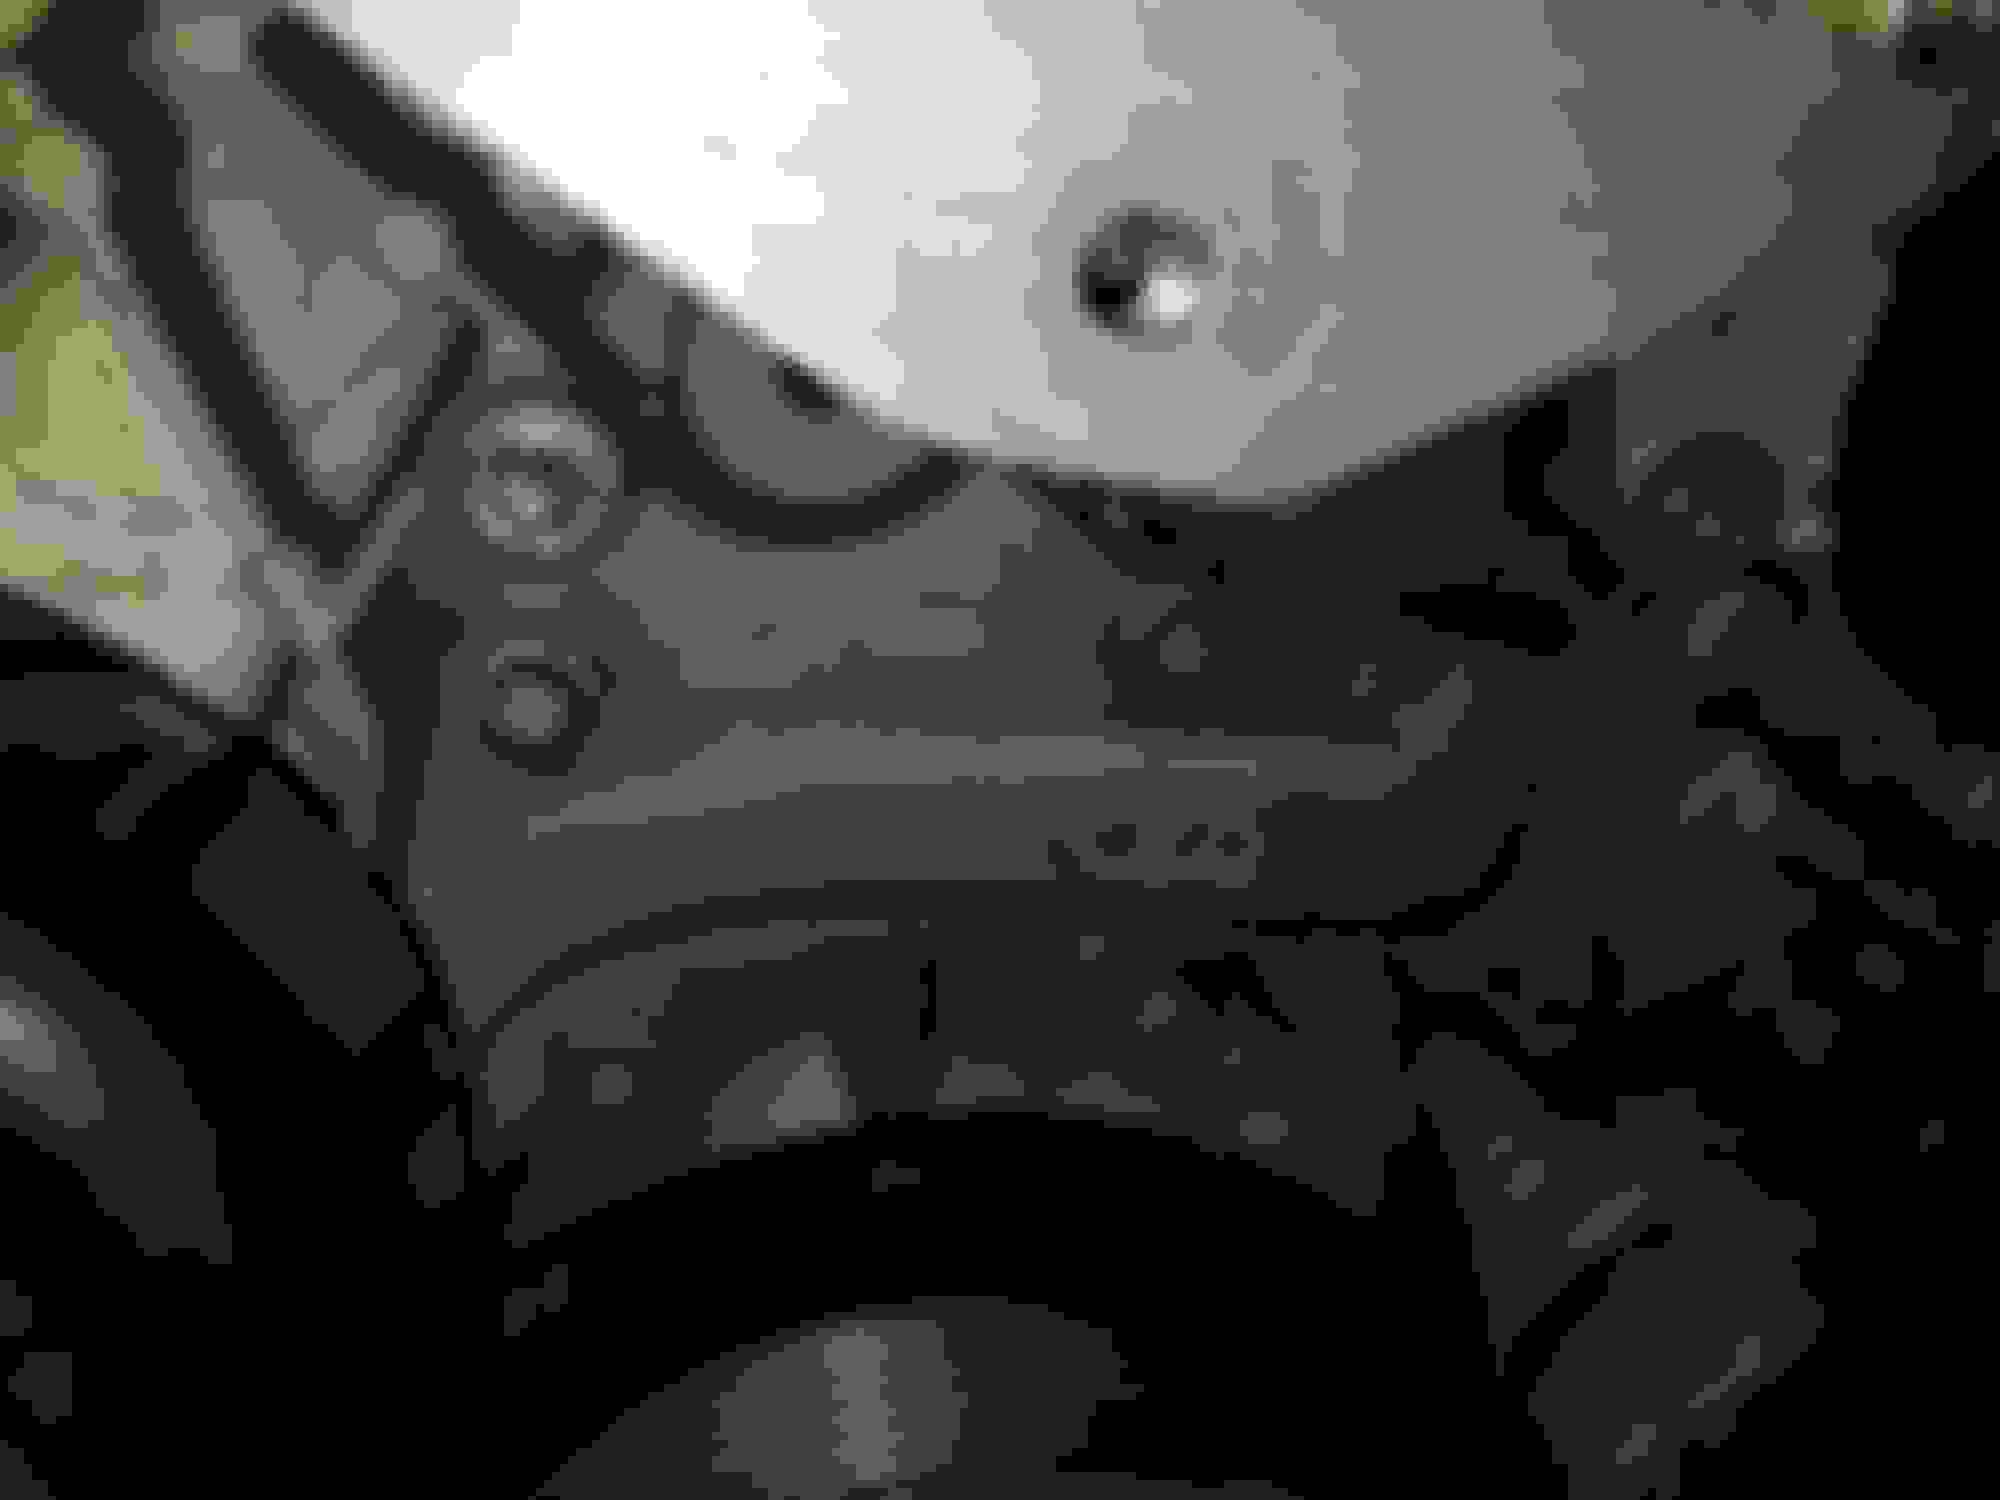
The first thing that comes off is the Mercedes plastic pulley cover with the badge on it. Set it aside.
The next item to remove is the Fan shroud. You must remove all nine bolts. Once removed you can set it aside.
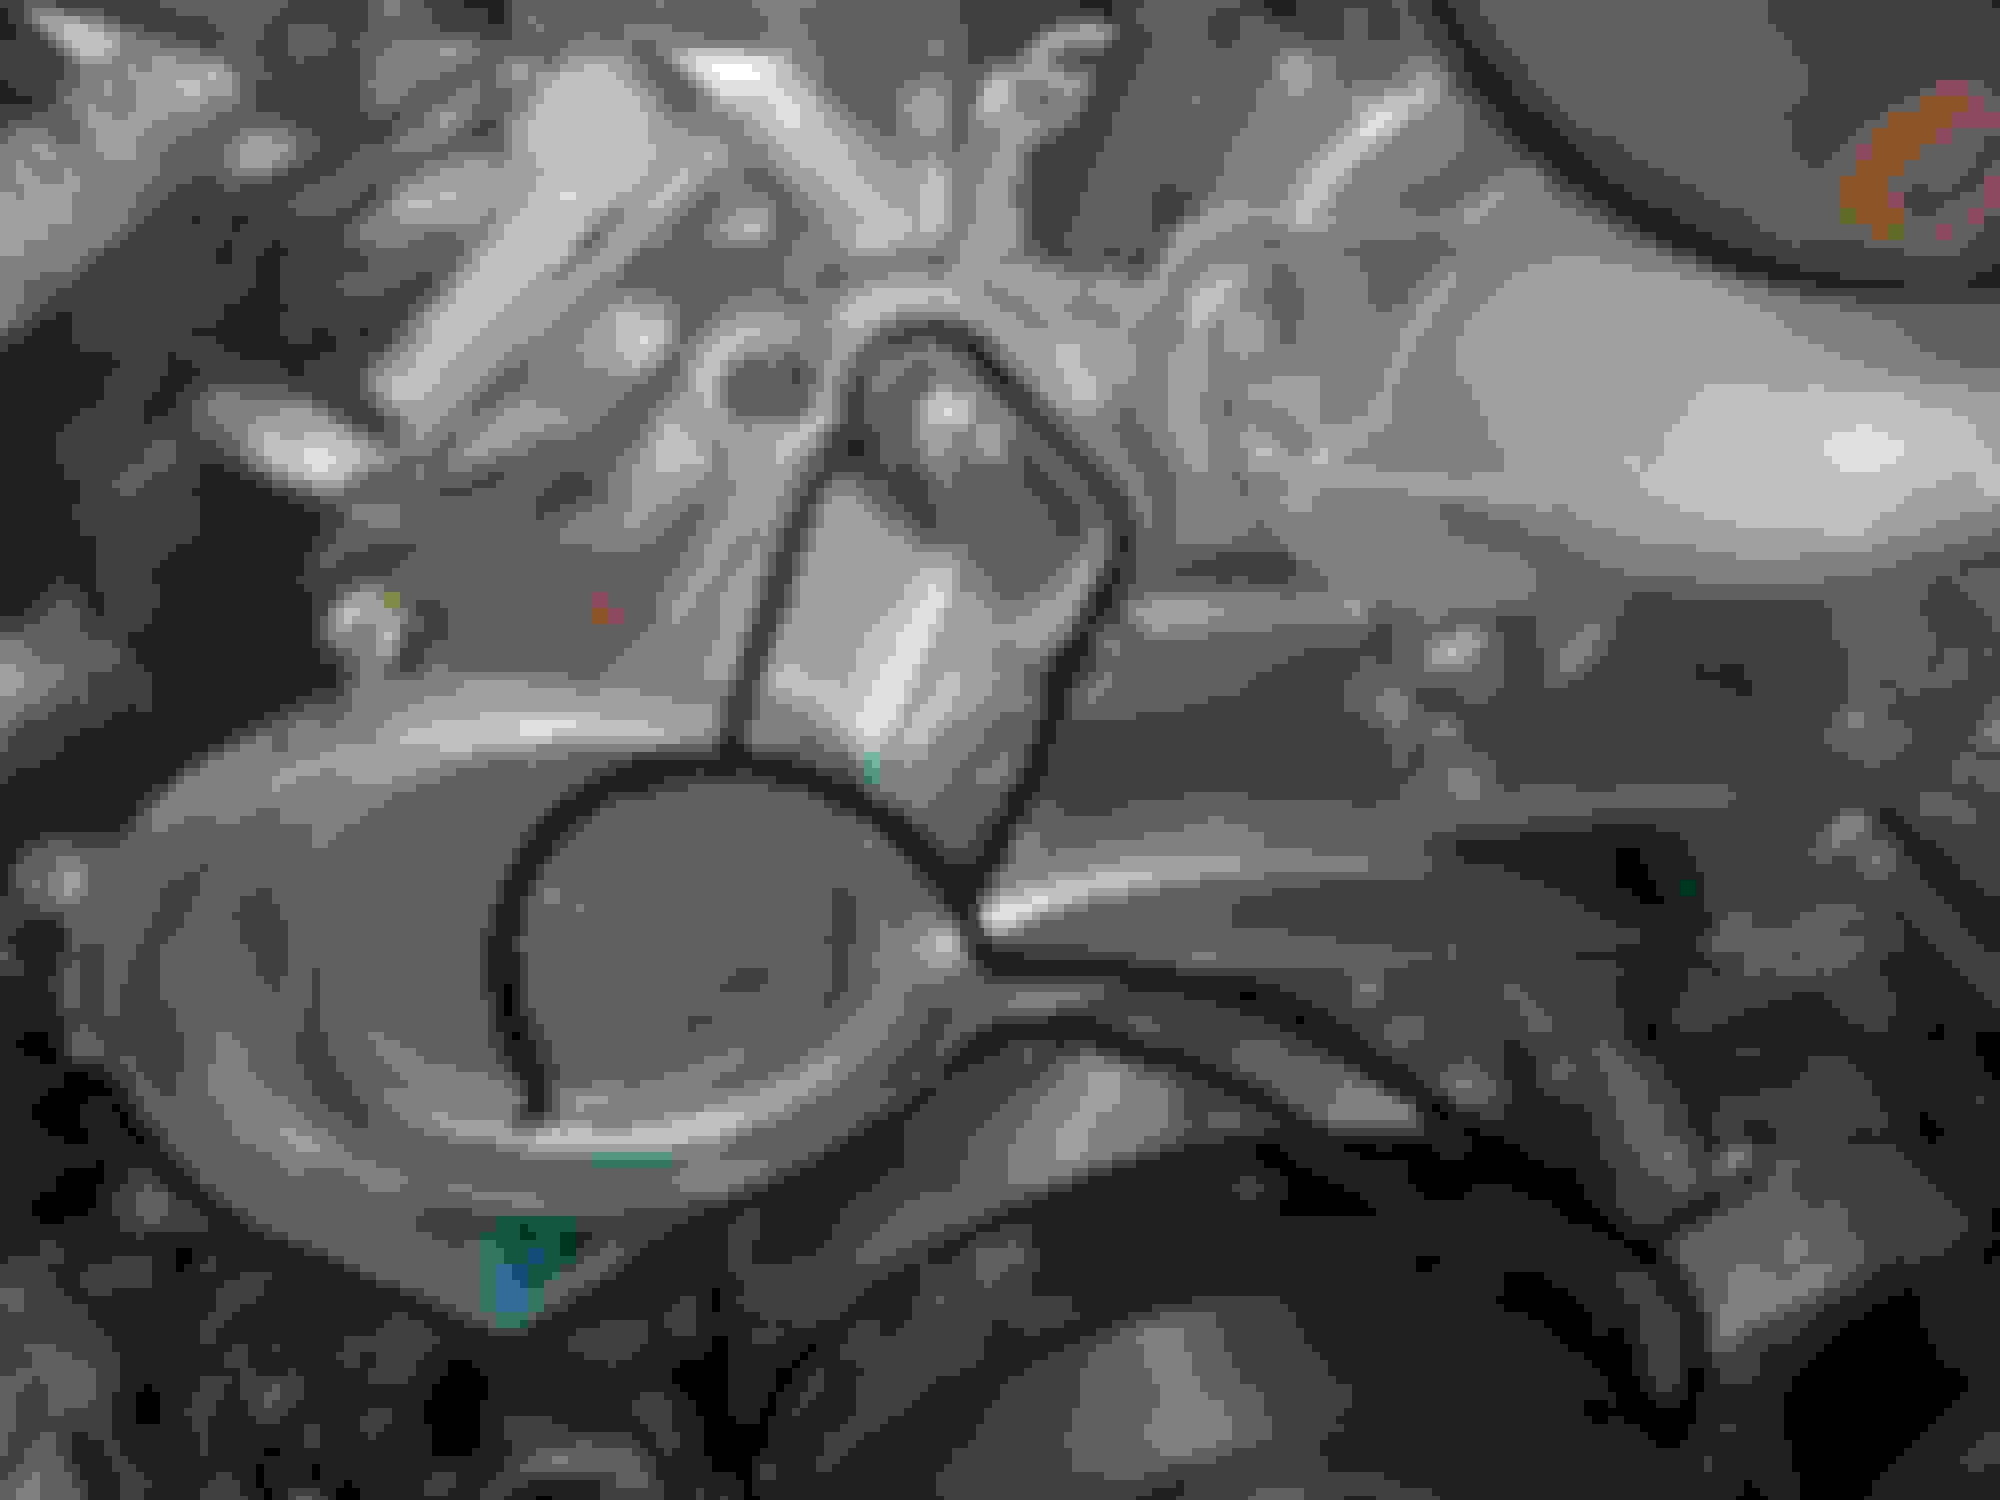
Once the fan shroud is off you will need to disconnect the fan from the power connector on the passenger side of the fan. See picture below.
You will then need to take off the two clips that hold the fan in.
Once the clips are removed, remove the air intake hoses from both sides of the vehicle.
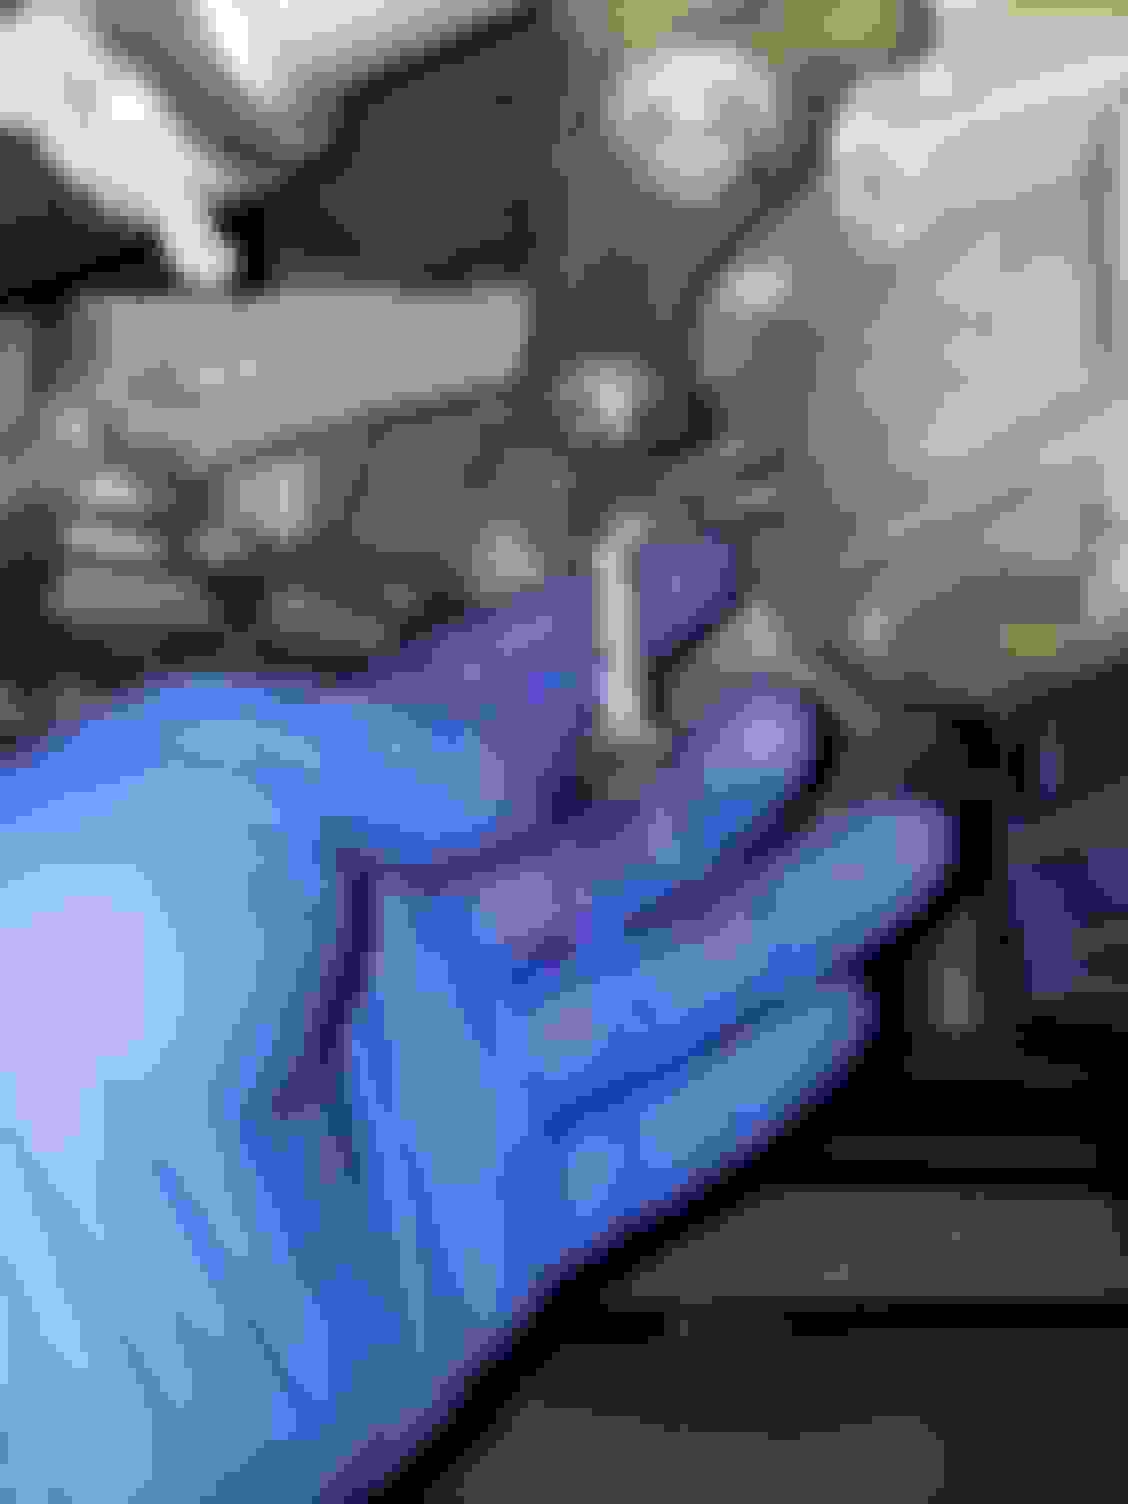
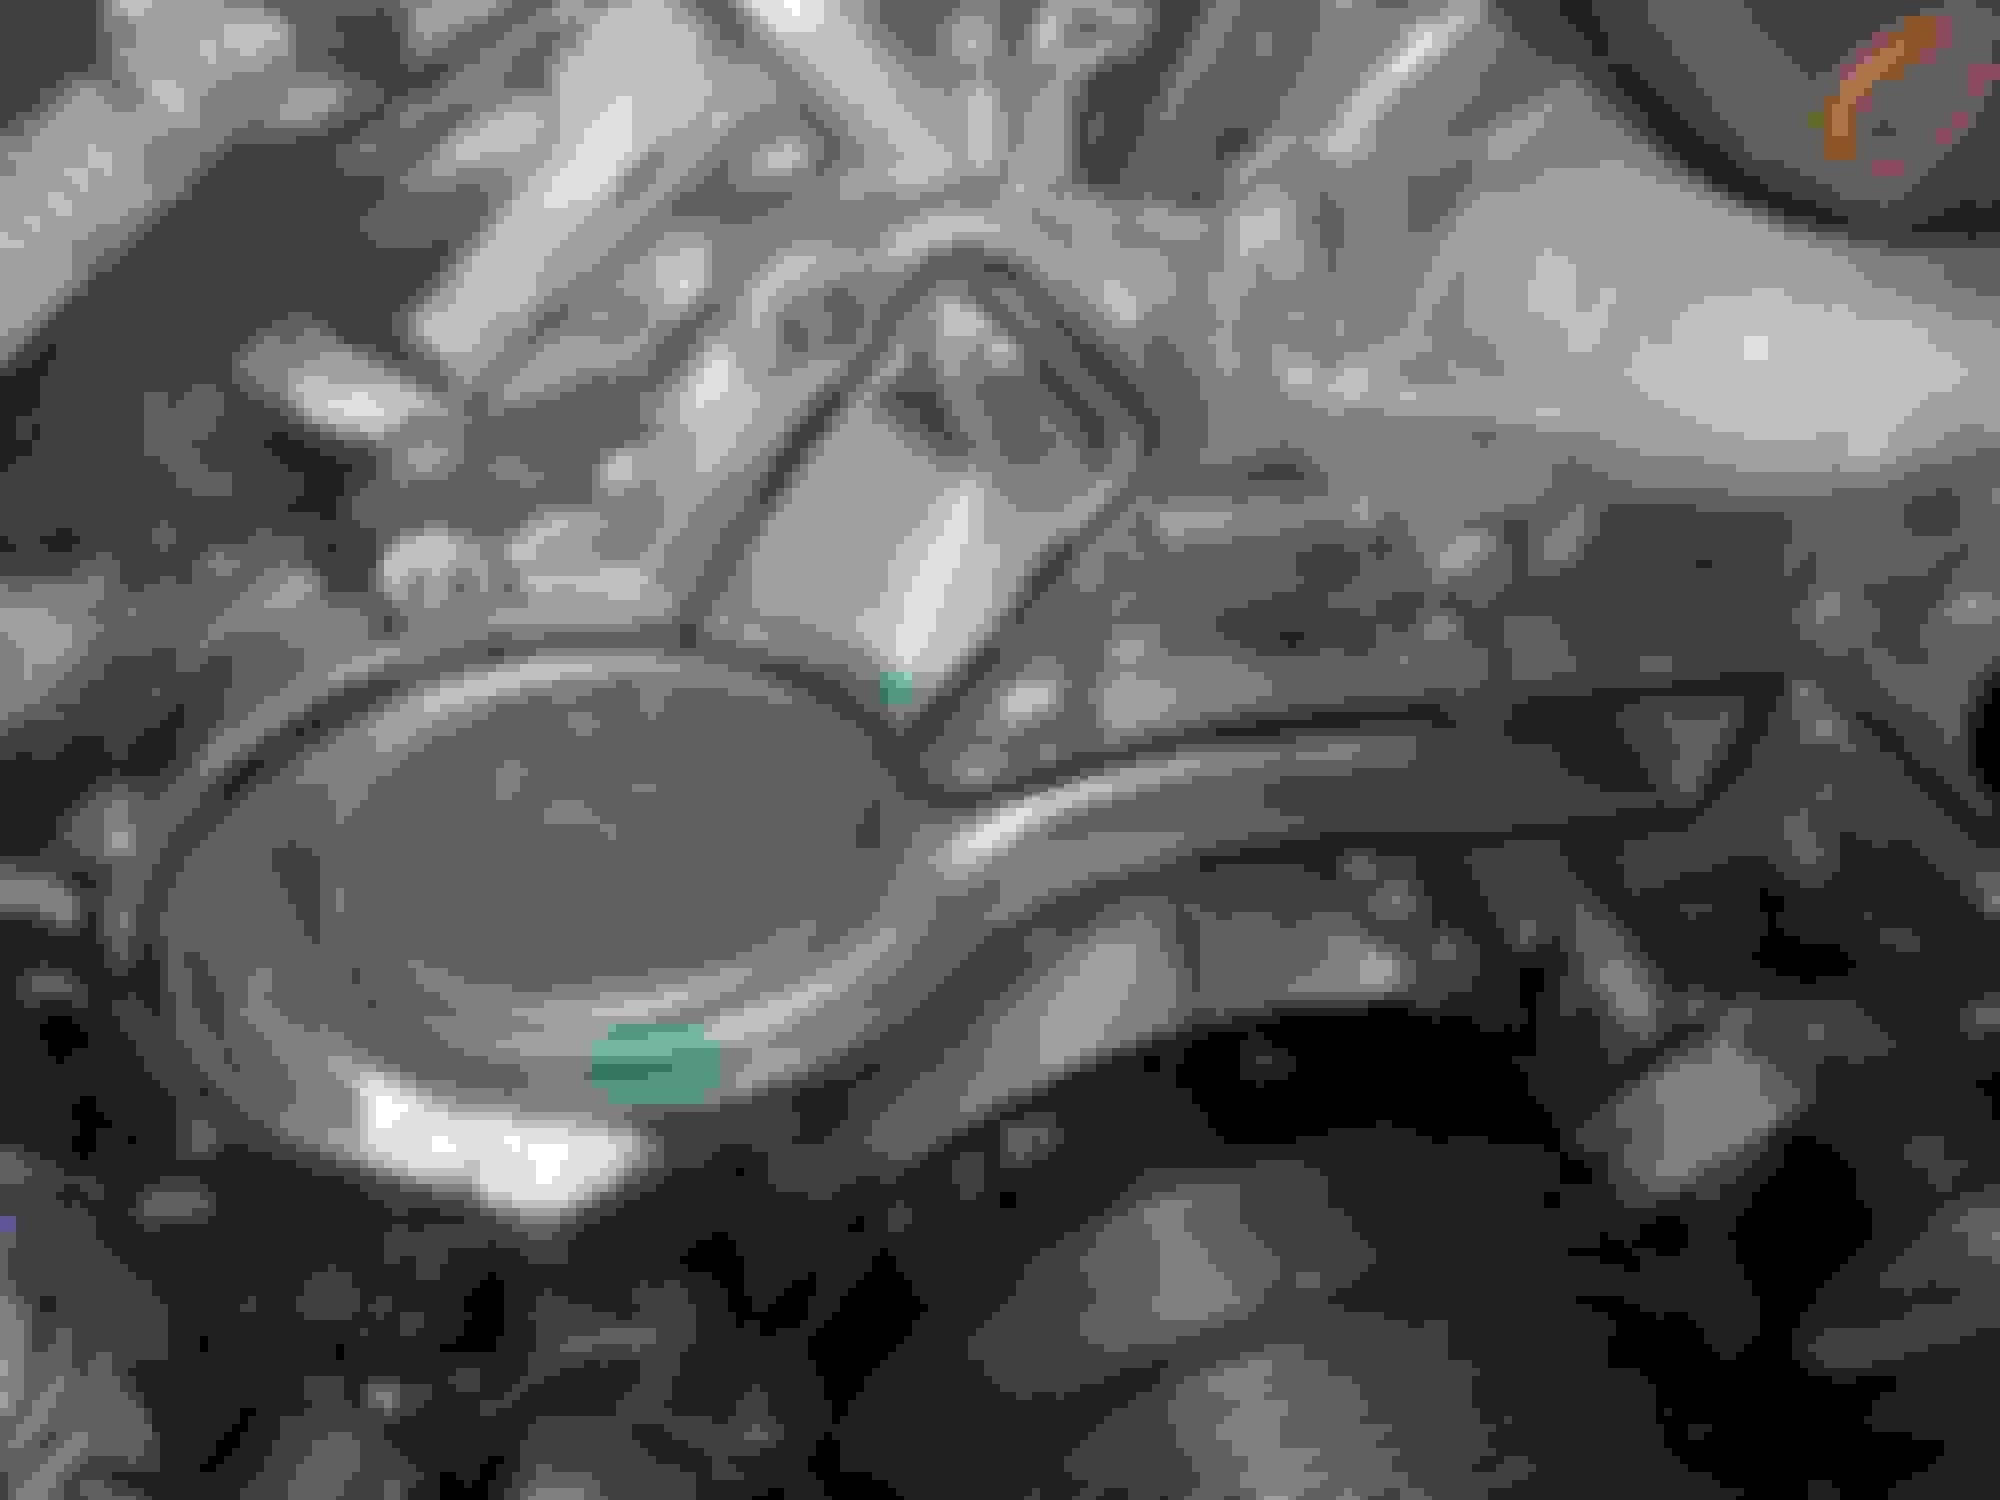
Now you are ready to remove the fan. on the drivers side there is a plastic holder for the two water lines about halfway down the fan. remove the hoses from the plastic holder before you try and pull it out. Once removed pull straight up until you feel resistance. Once you hit resistance you will notice two black tabs on either side of the fan. You will need to pry those tabs up over the water lines and the fan will come right out.
the black tabs on either side of the fan.
Once the fan is out set it aside.
If you have a belt wrap kit you must remove it before removing your belts. You will need an allen key set for this. It was the second largest in my set that fit. you will need to remove the cross bar and the pulley. Once removed set them aside. Remember which way you remove these pulleys as they have spacers on both sides and will need to be put back in the same way they were removed. I set them down with the bolt holding everything together a ways away from my work area.
Mine was a bit frozen so a single hit of the hammer loosened it right up. careful of your radiator while hammering
Now you are ready to remove the serpentine belt and the supercharger pulley belt.
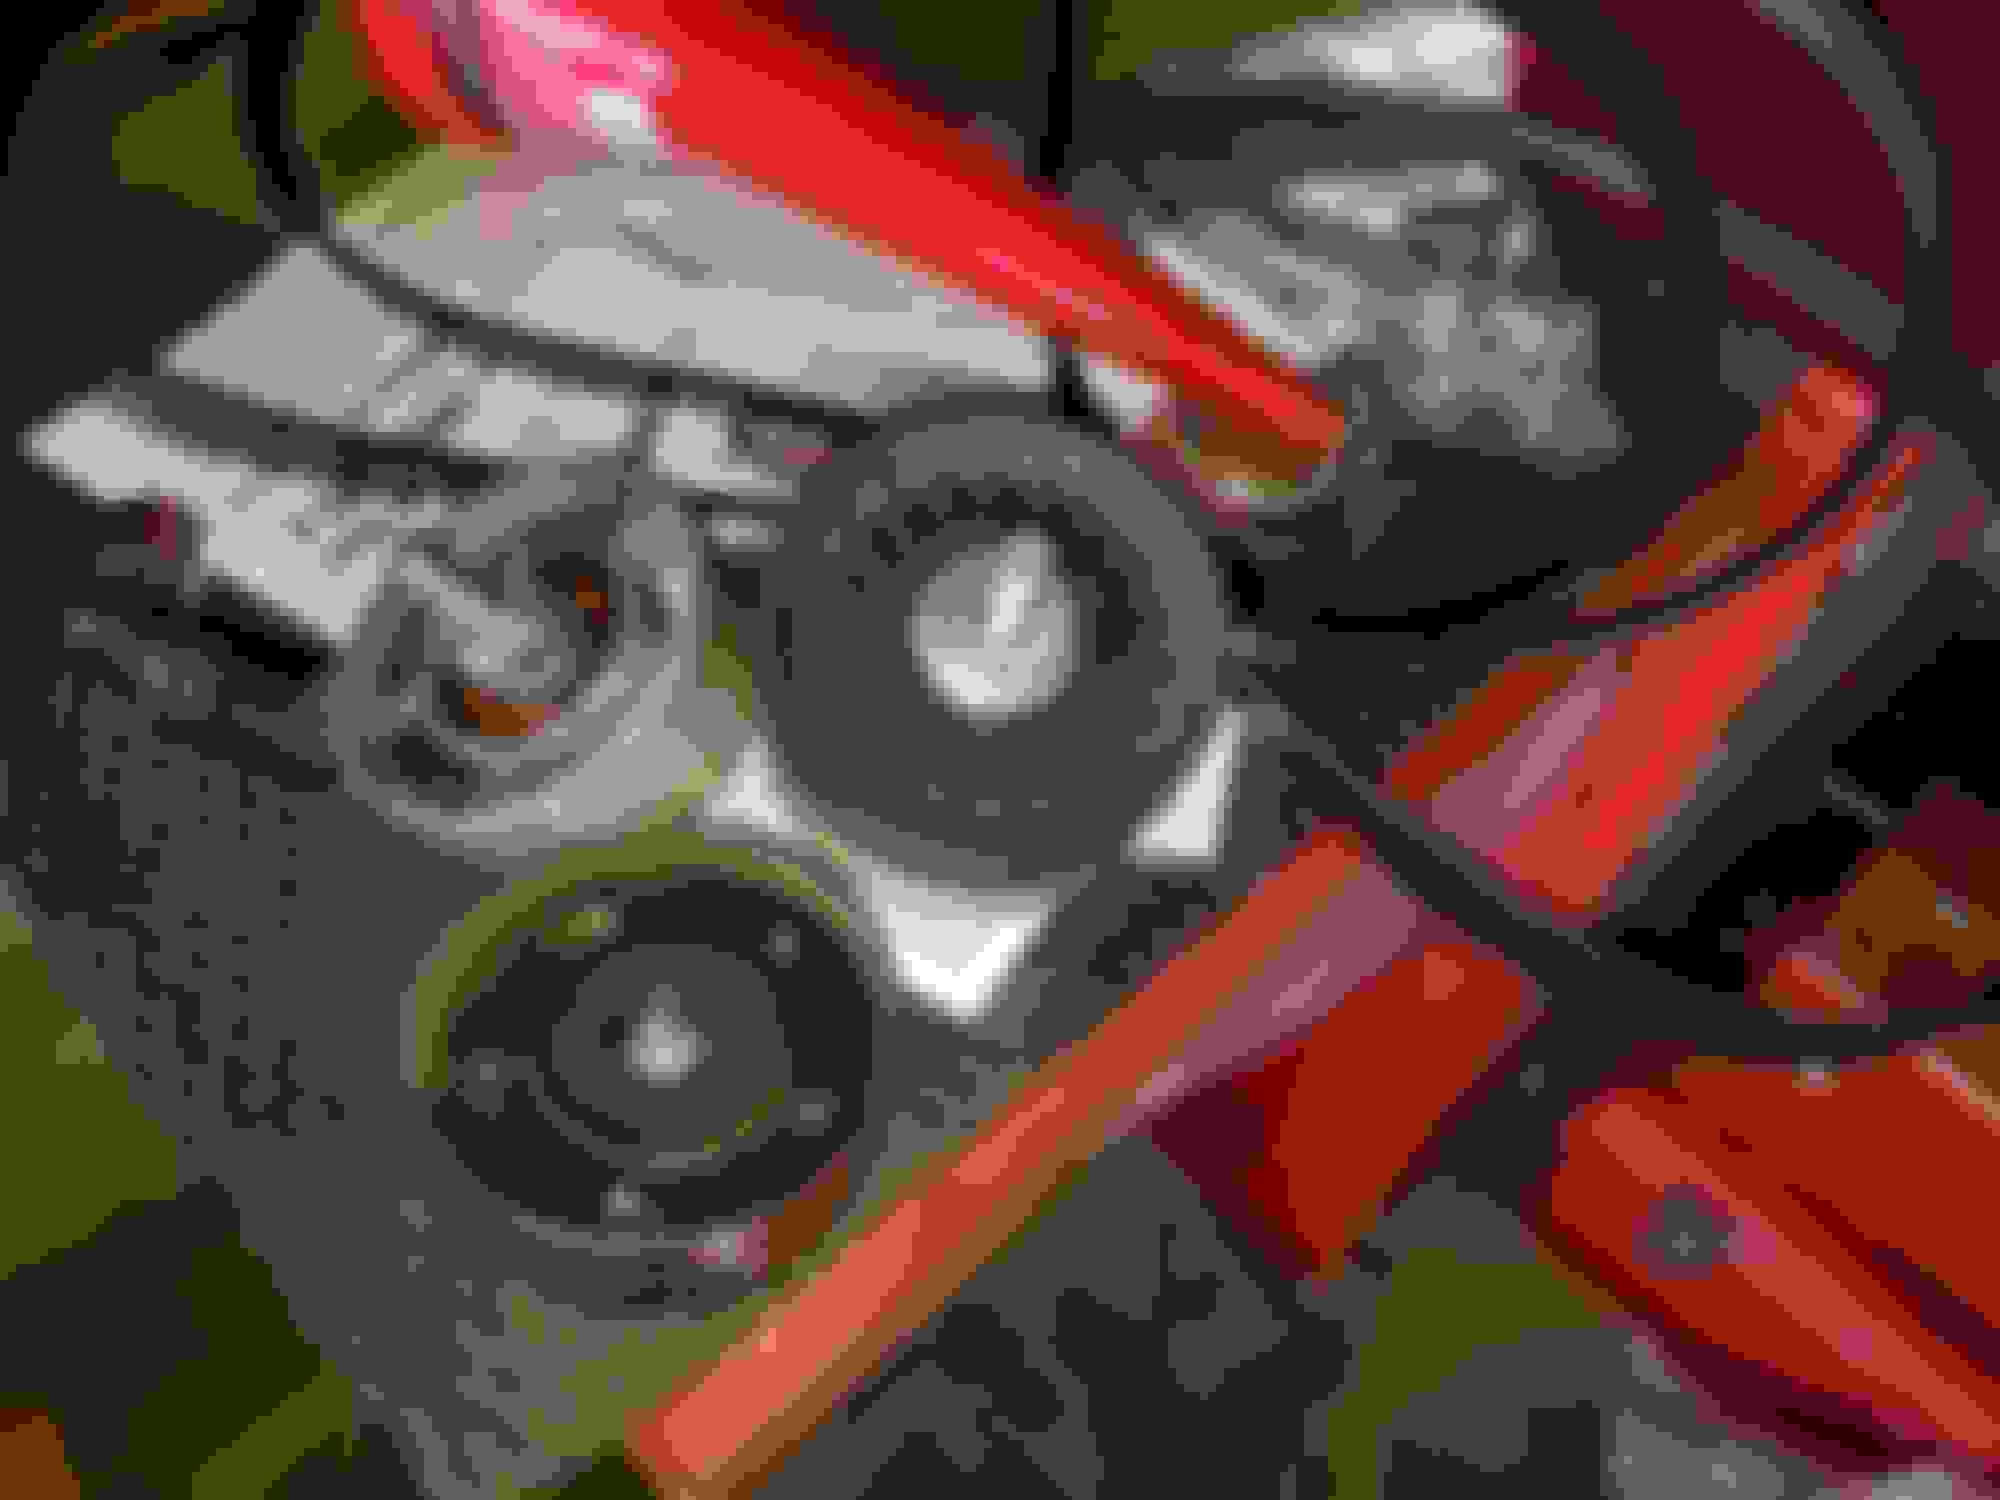
It requires a 17mm socket. You will need to apply force on the two pulleys to loosen the belt. See pictures below.
Supercharger belt tensioner
Serpentine belt tensioner
remove the belts completely and set them aside.
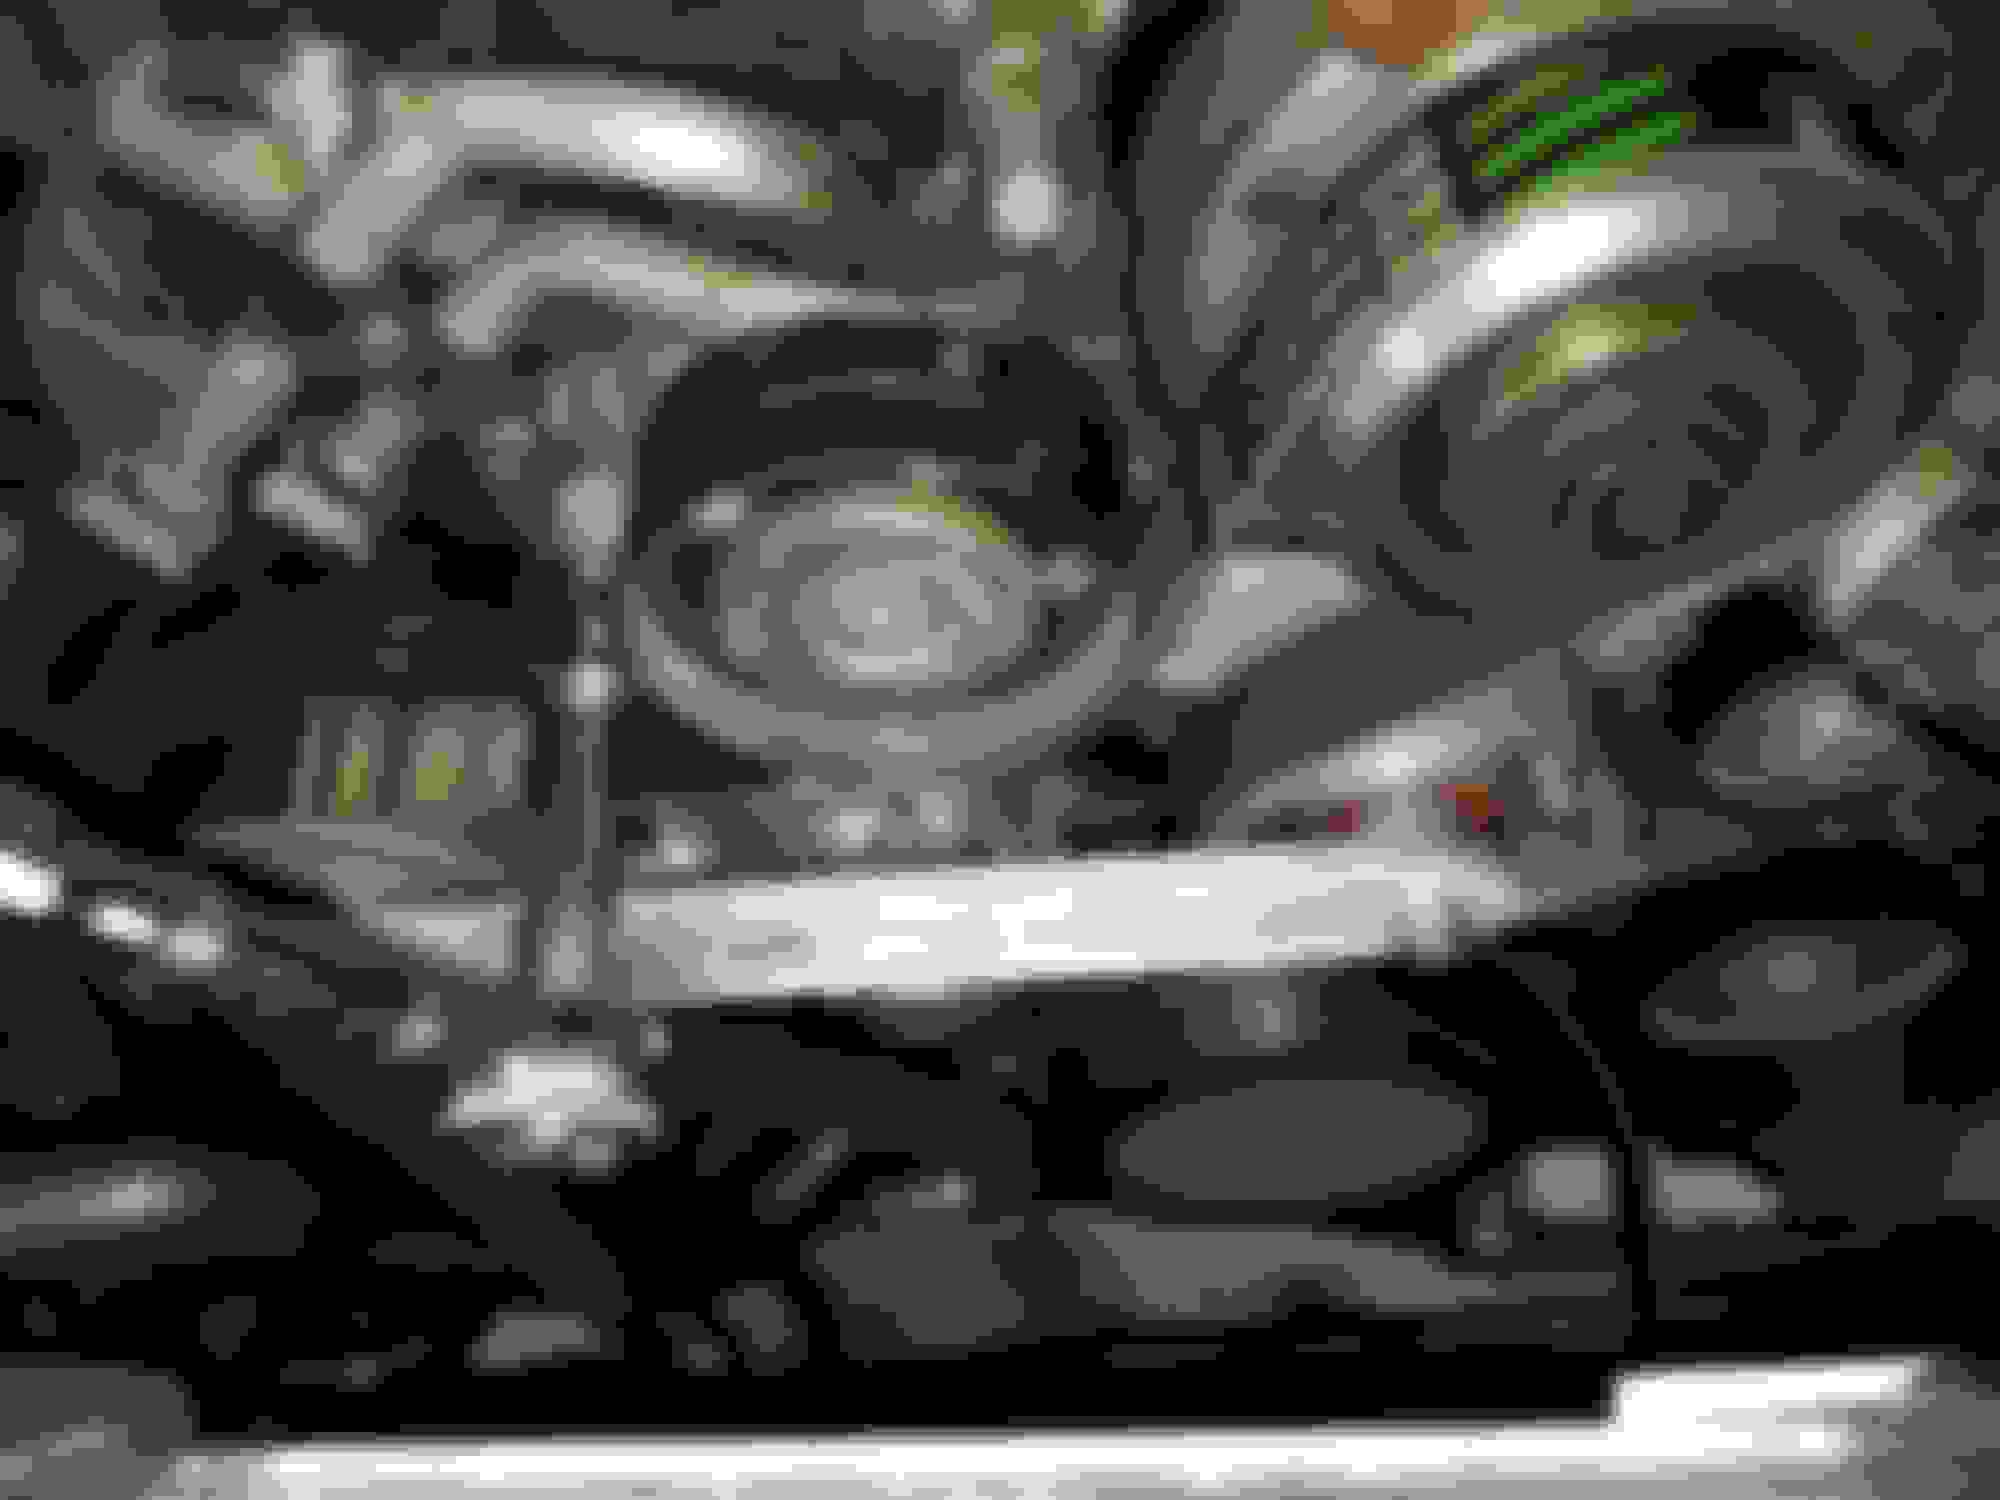
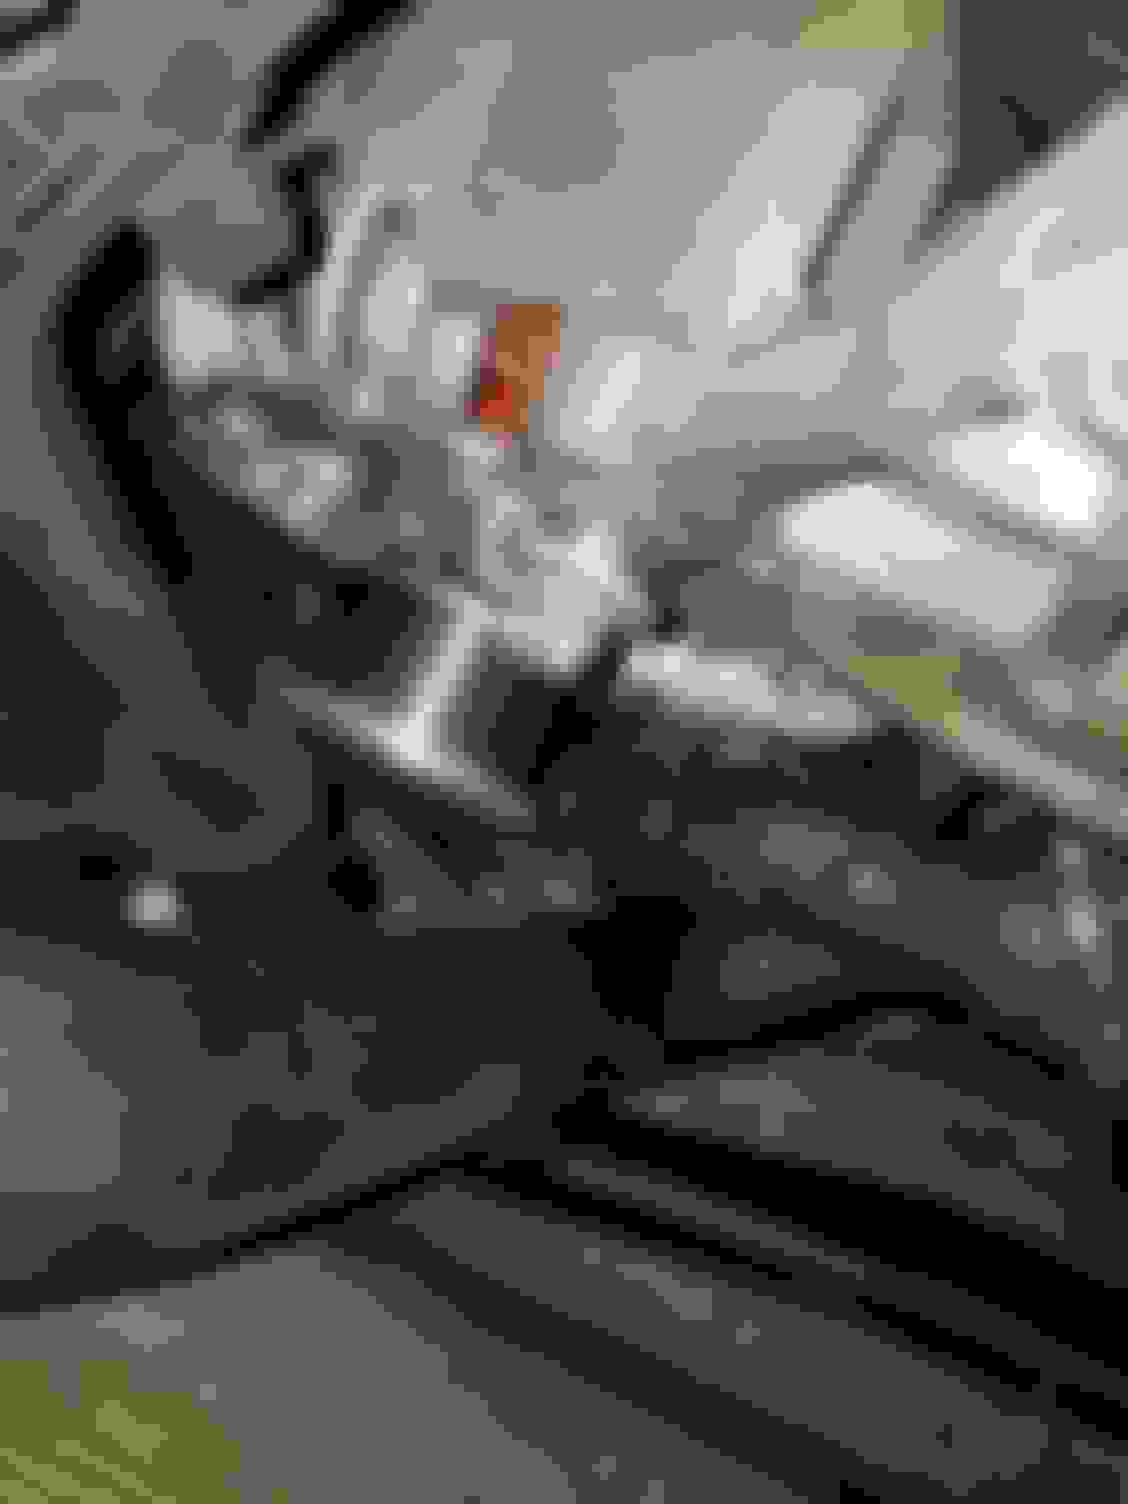
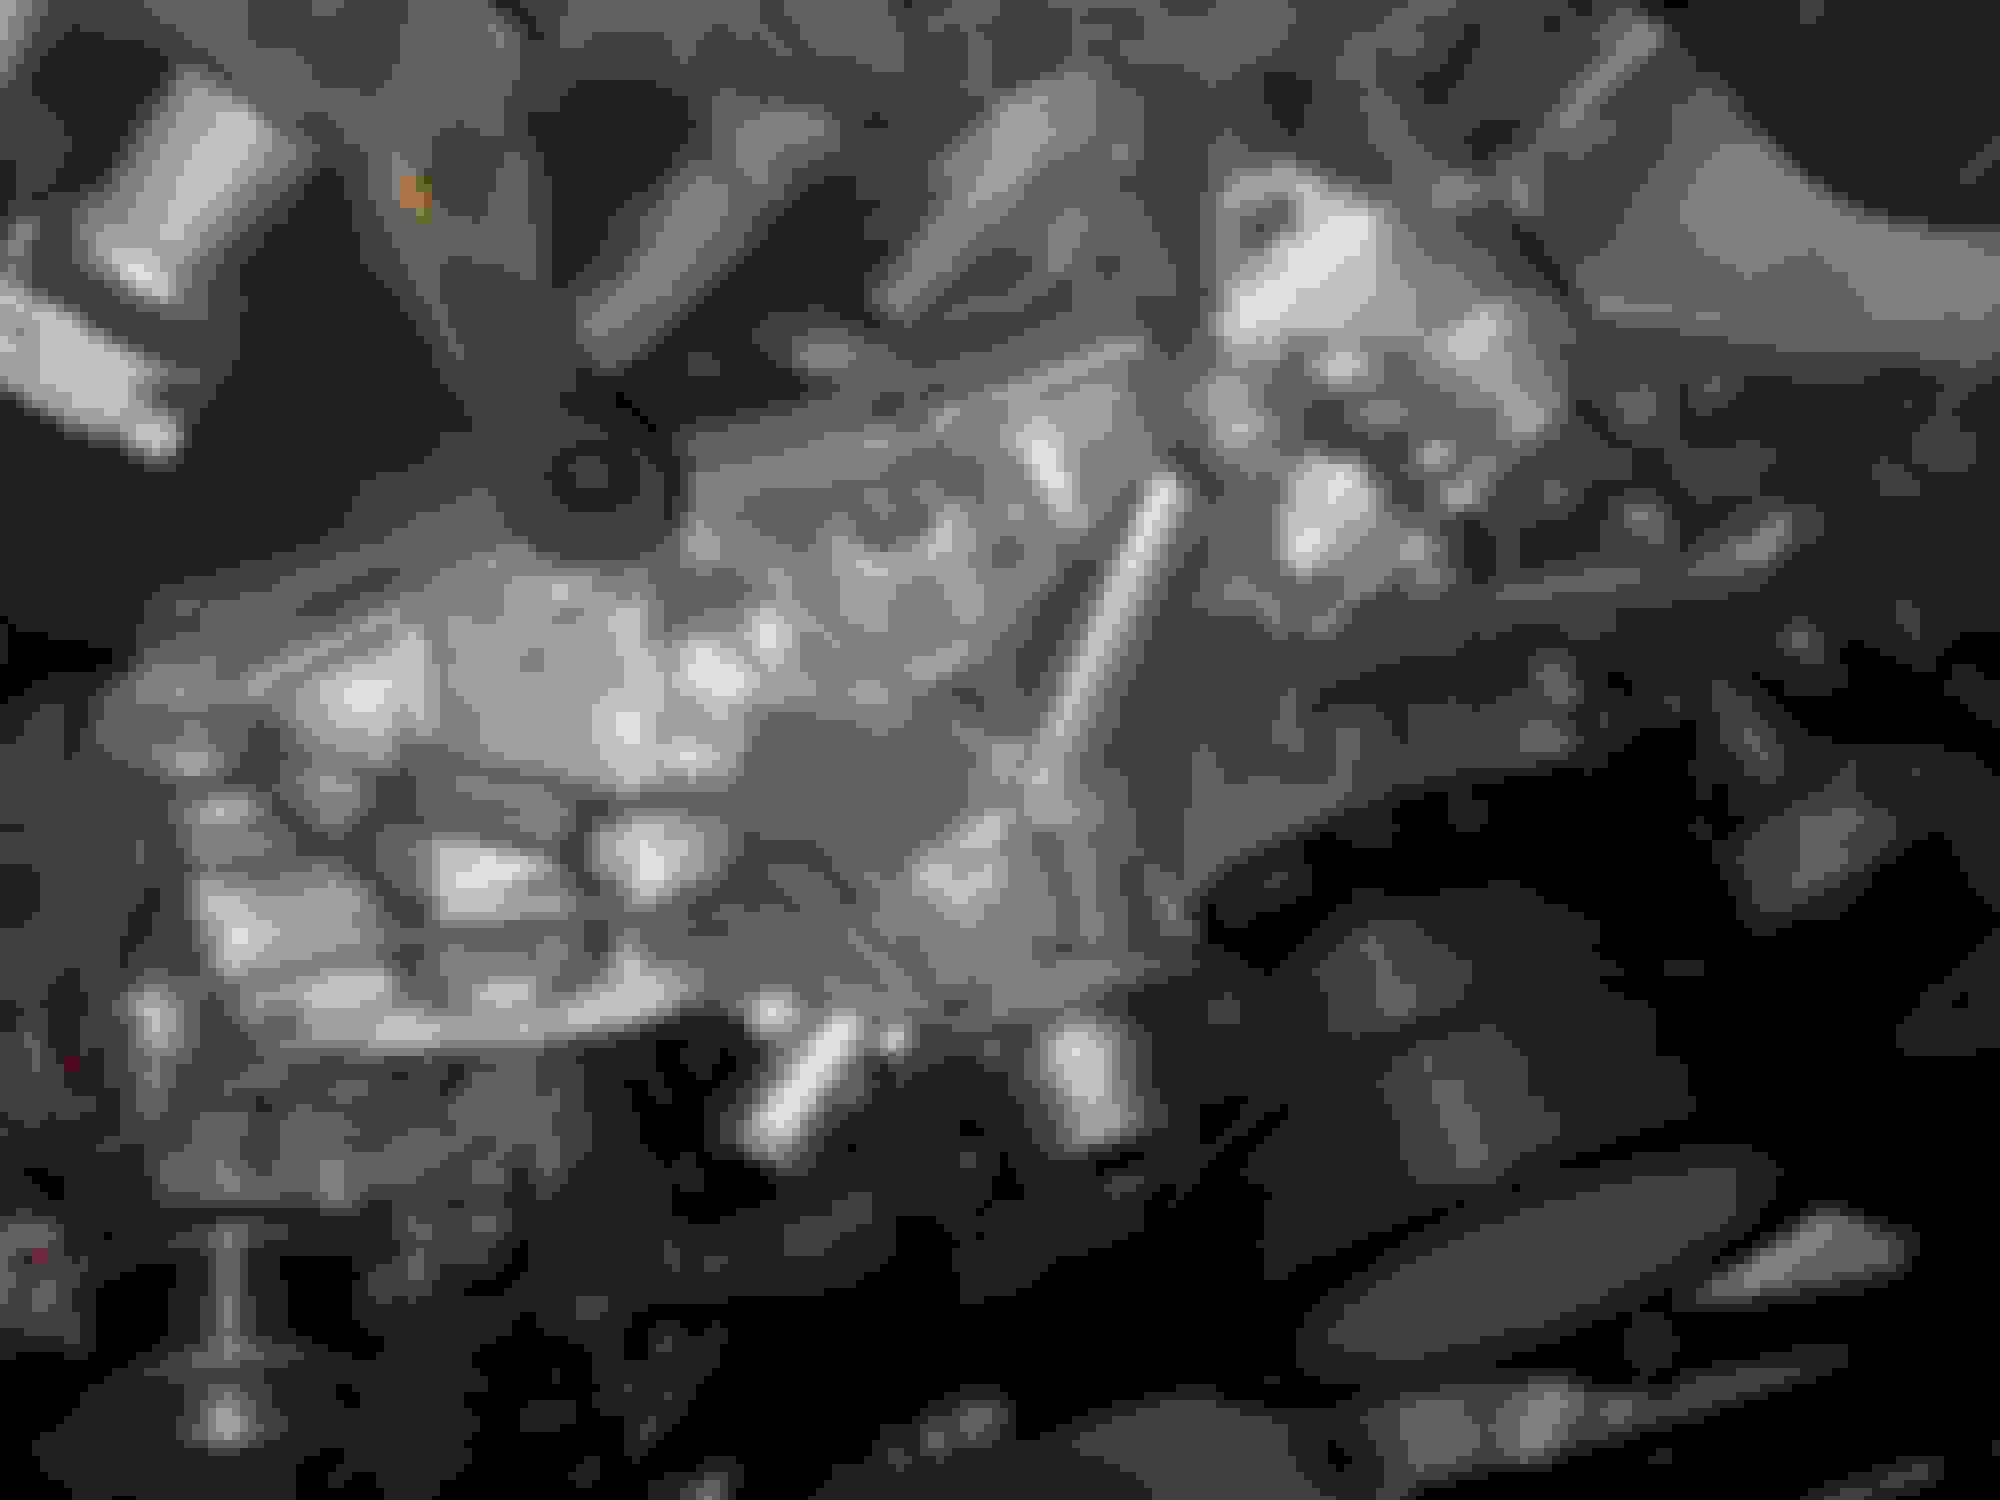
Now that the belts are out of the way it is time to begin removing the other bolts and pulleys. Remember to take pictures of what bolt you removed from what hole as there are a lot of bolts to remove. I will have a lot of pictures below of the various bolts that were removed. You will also be removing the two hoses at the bottom of the water pump. You should have at LEAST a 3 gallon bucket to collect all of the radiator fluid as it will gush out once the hoses are removed.
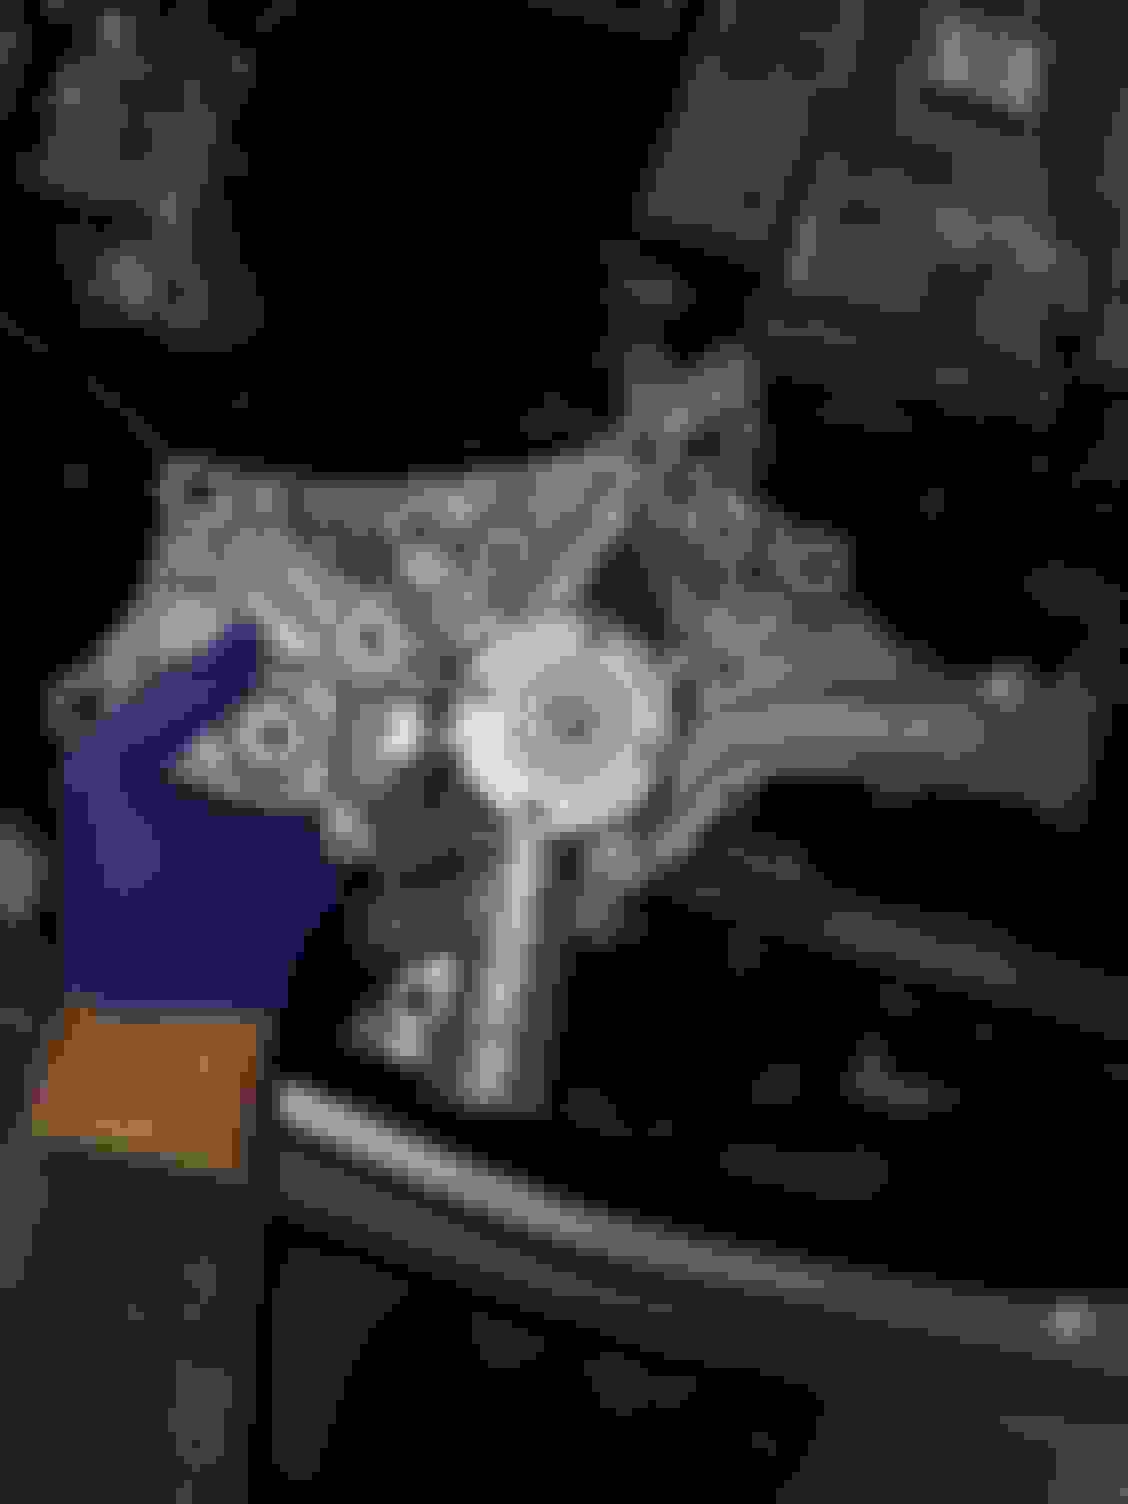
Here is the new water pump. see all those holes you will be removing bolts from each of them.
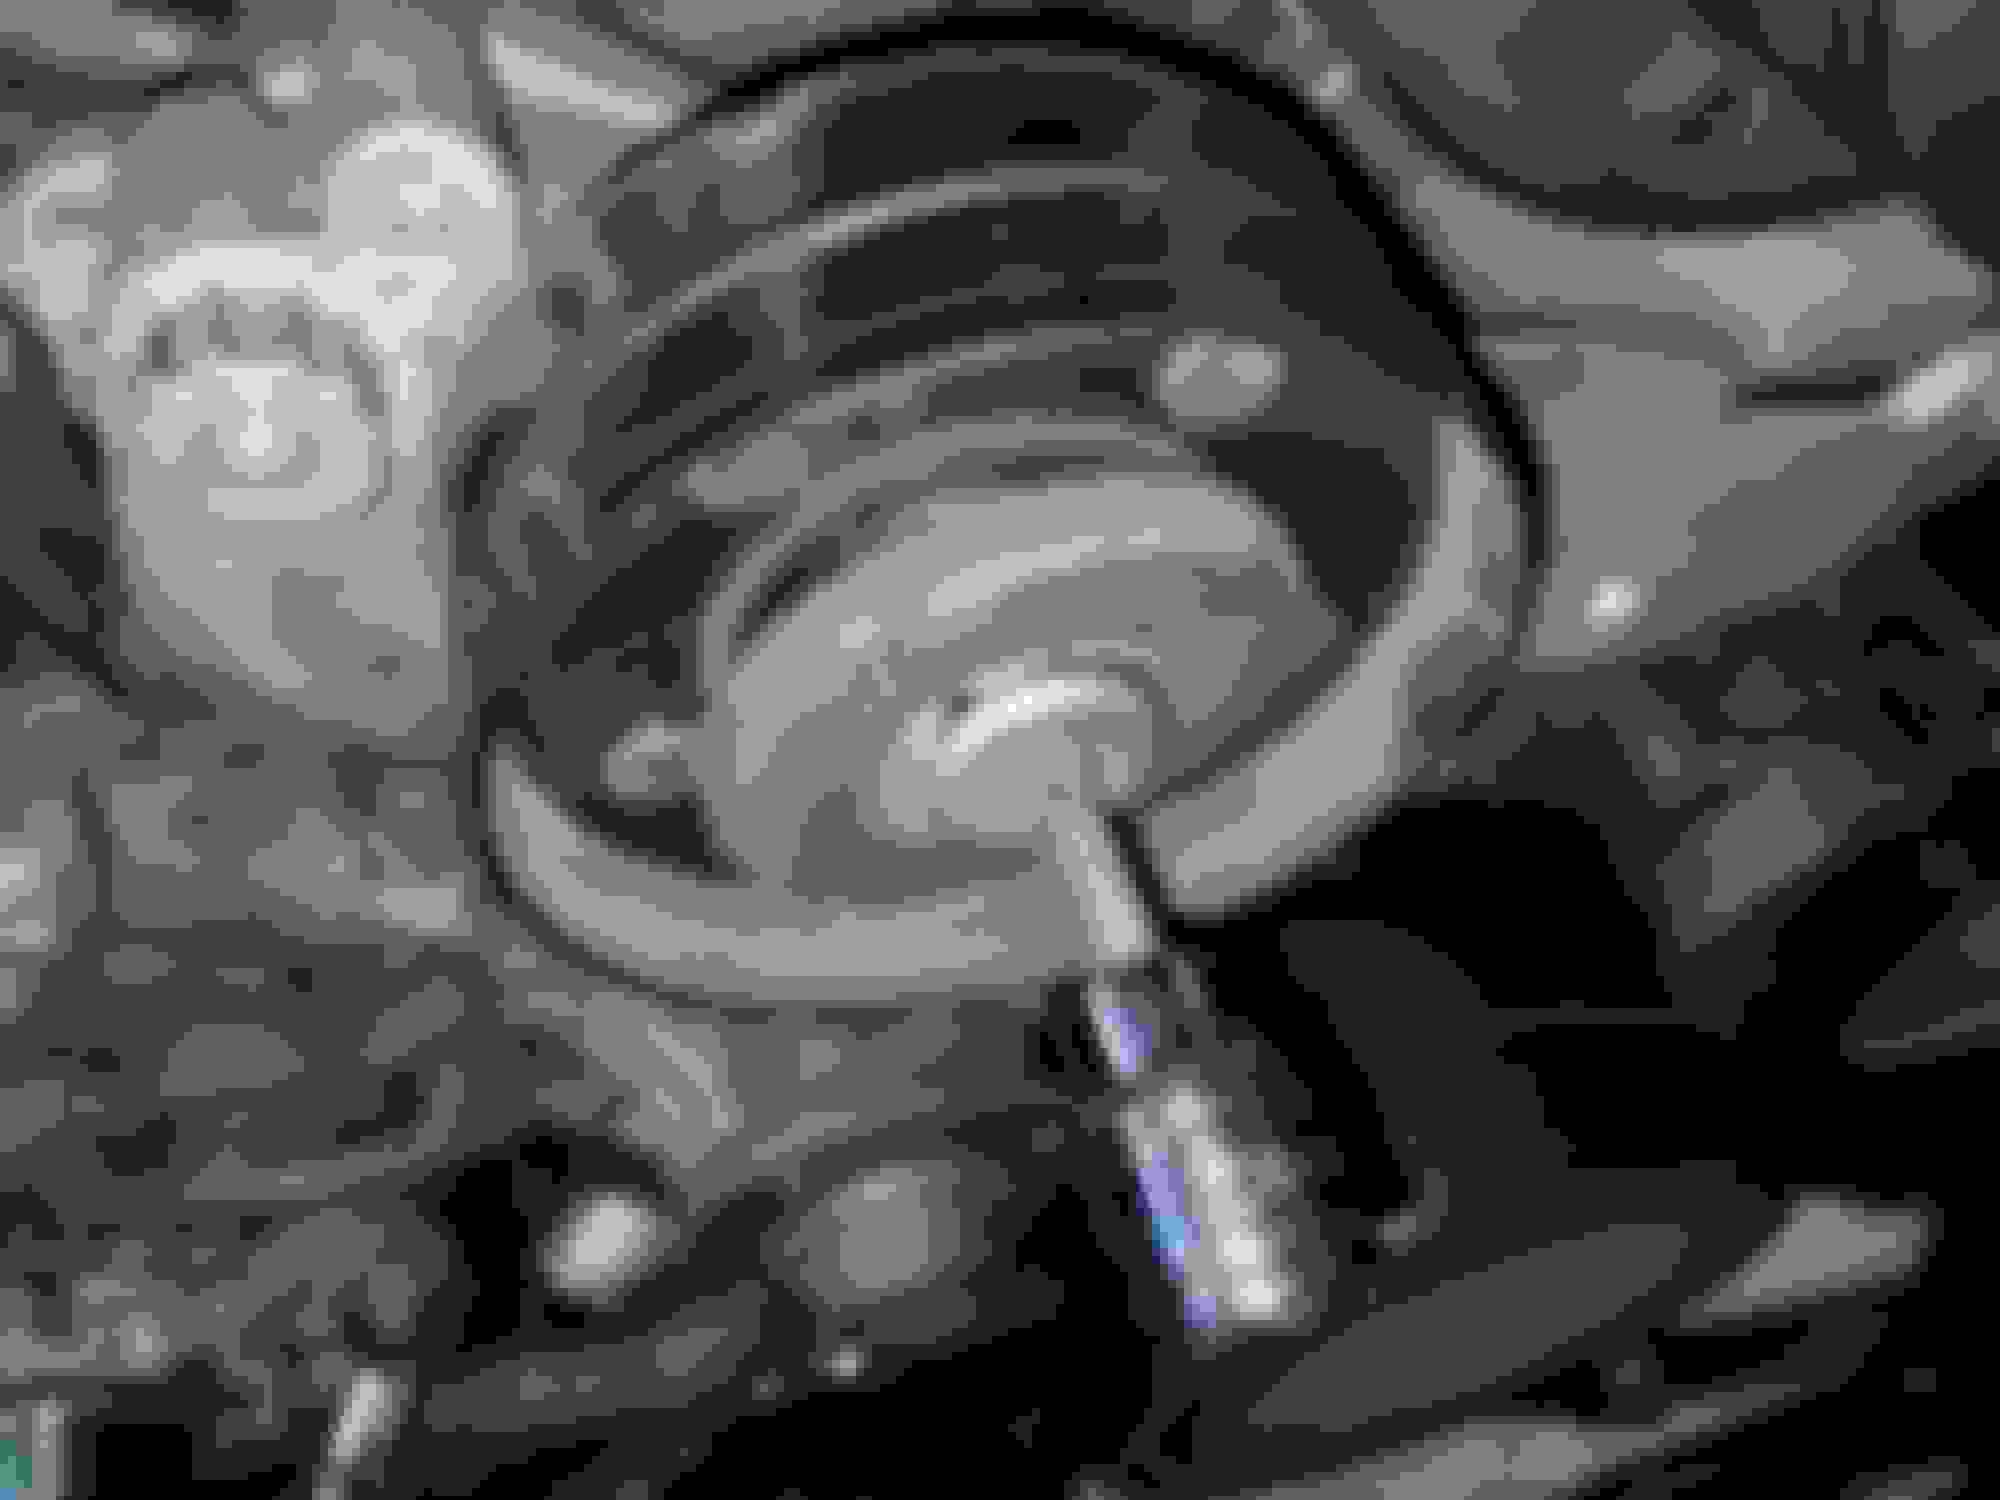
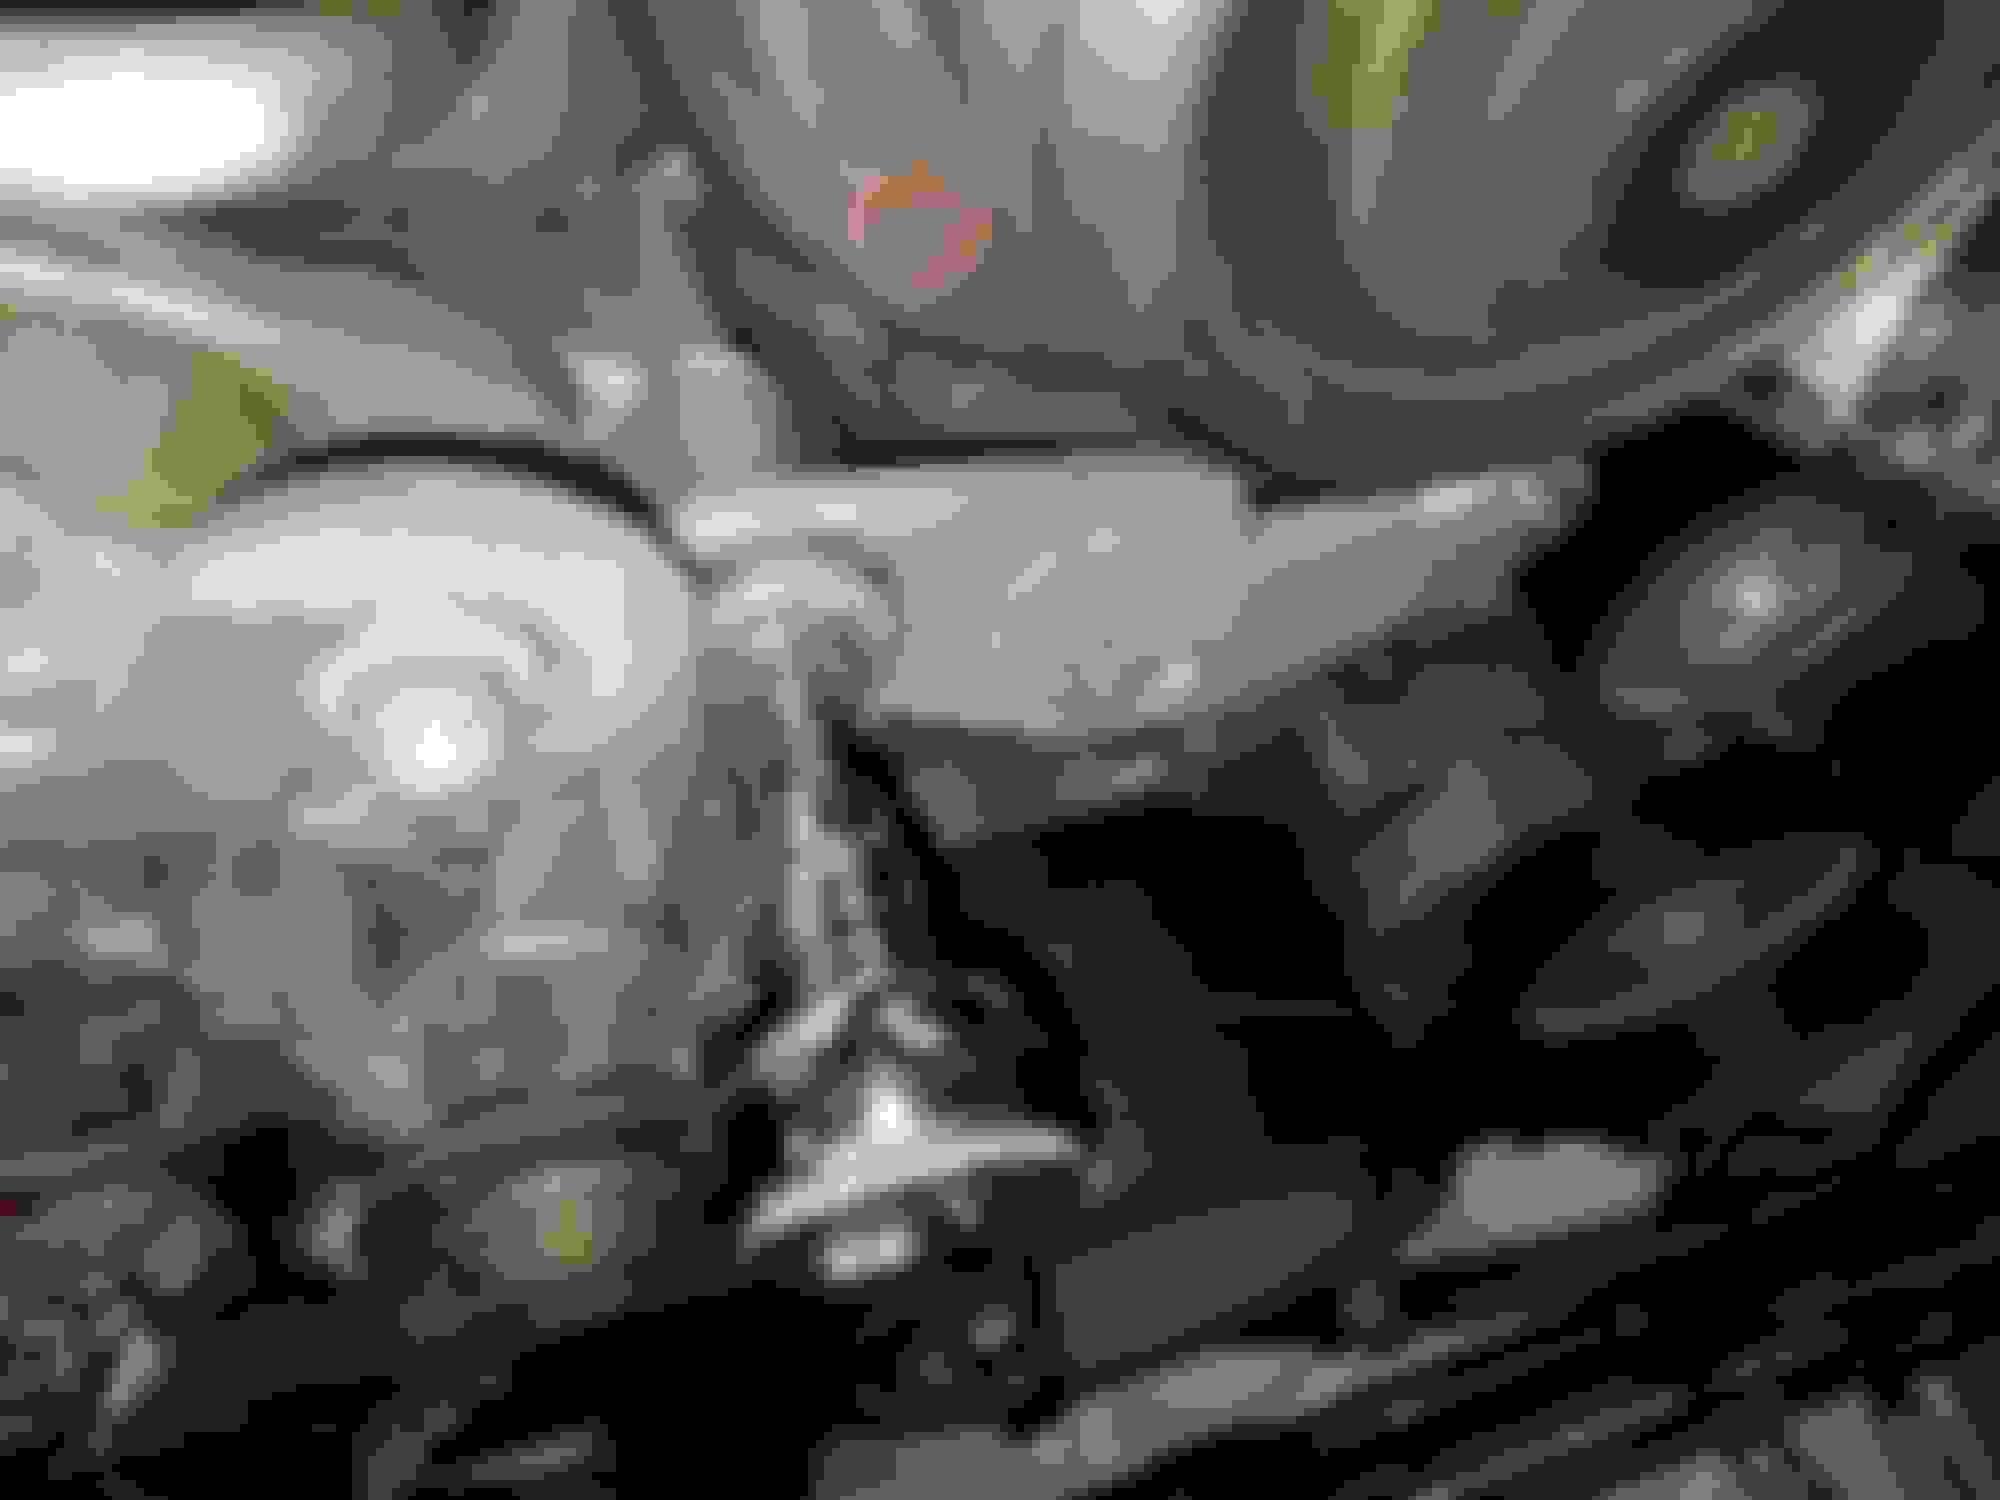
Here is where the radiator fluid was weeping out of the weep hole it is right above the large radiator hose so it can make it appear like the hose is leaking.
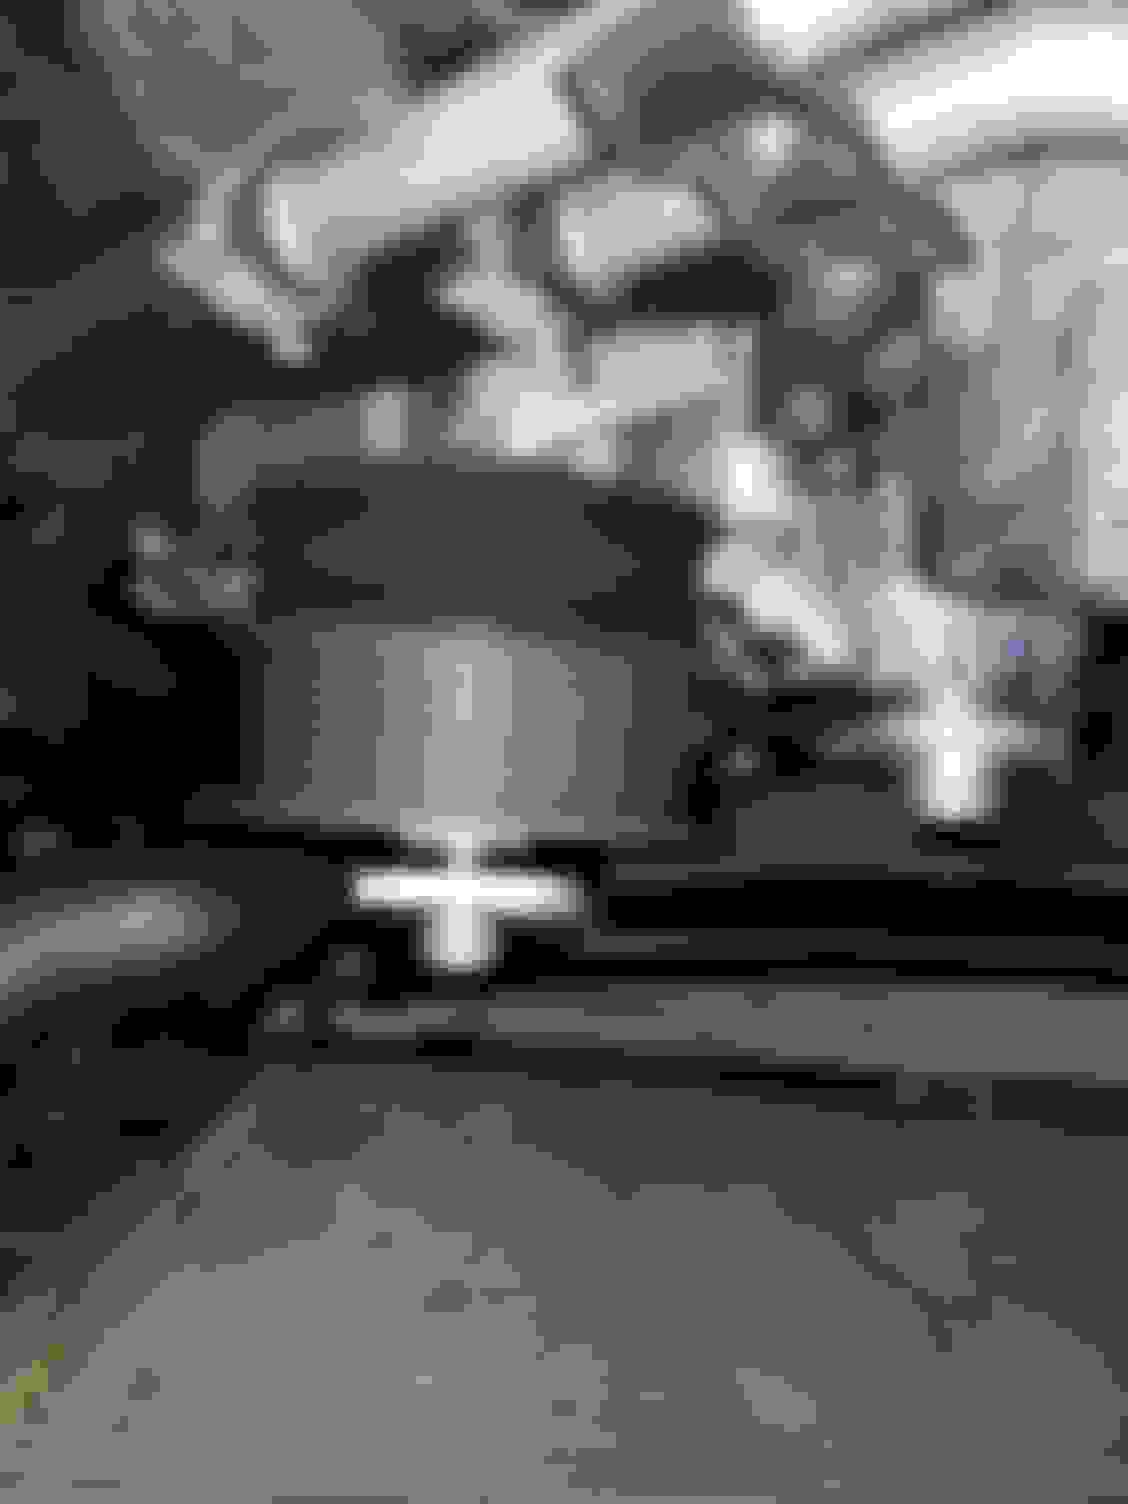
remove the supercharger tension pulley
removing the bolt behind the tension pulley requires you to use a 17mm wrench to pull tension on the pulley to get to the screw. There are 4 screws holding the pulley on remove all 4.
Another bolt I believe this one holds the supercharger tension pulley on. There are 4 bolts that hold the pulley assembly on.
Here is another portion of the belt wrap kit that needs to be removed.
Here are the three pulleys that needed to be removed FYI one of them is the belt wrap kit so disregard that one if you don't have the kit. Alto the black 4 bolt pulley is not pictured here and will also need to be removed.
Here is a bolt holding the water pump to the block.
you will need to remove the 4 bolts holding the black pulley onto the motor. I used a 10mm wrench , I was able to hold the pulley with one hand while wrenching with the other to break the bolts lose.
Here is another holding the water pump to the block. You will need to remove the black pulley to see this bolt.
Another bolt uncovered once the black pulley was removed.
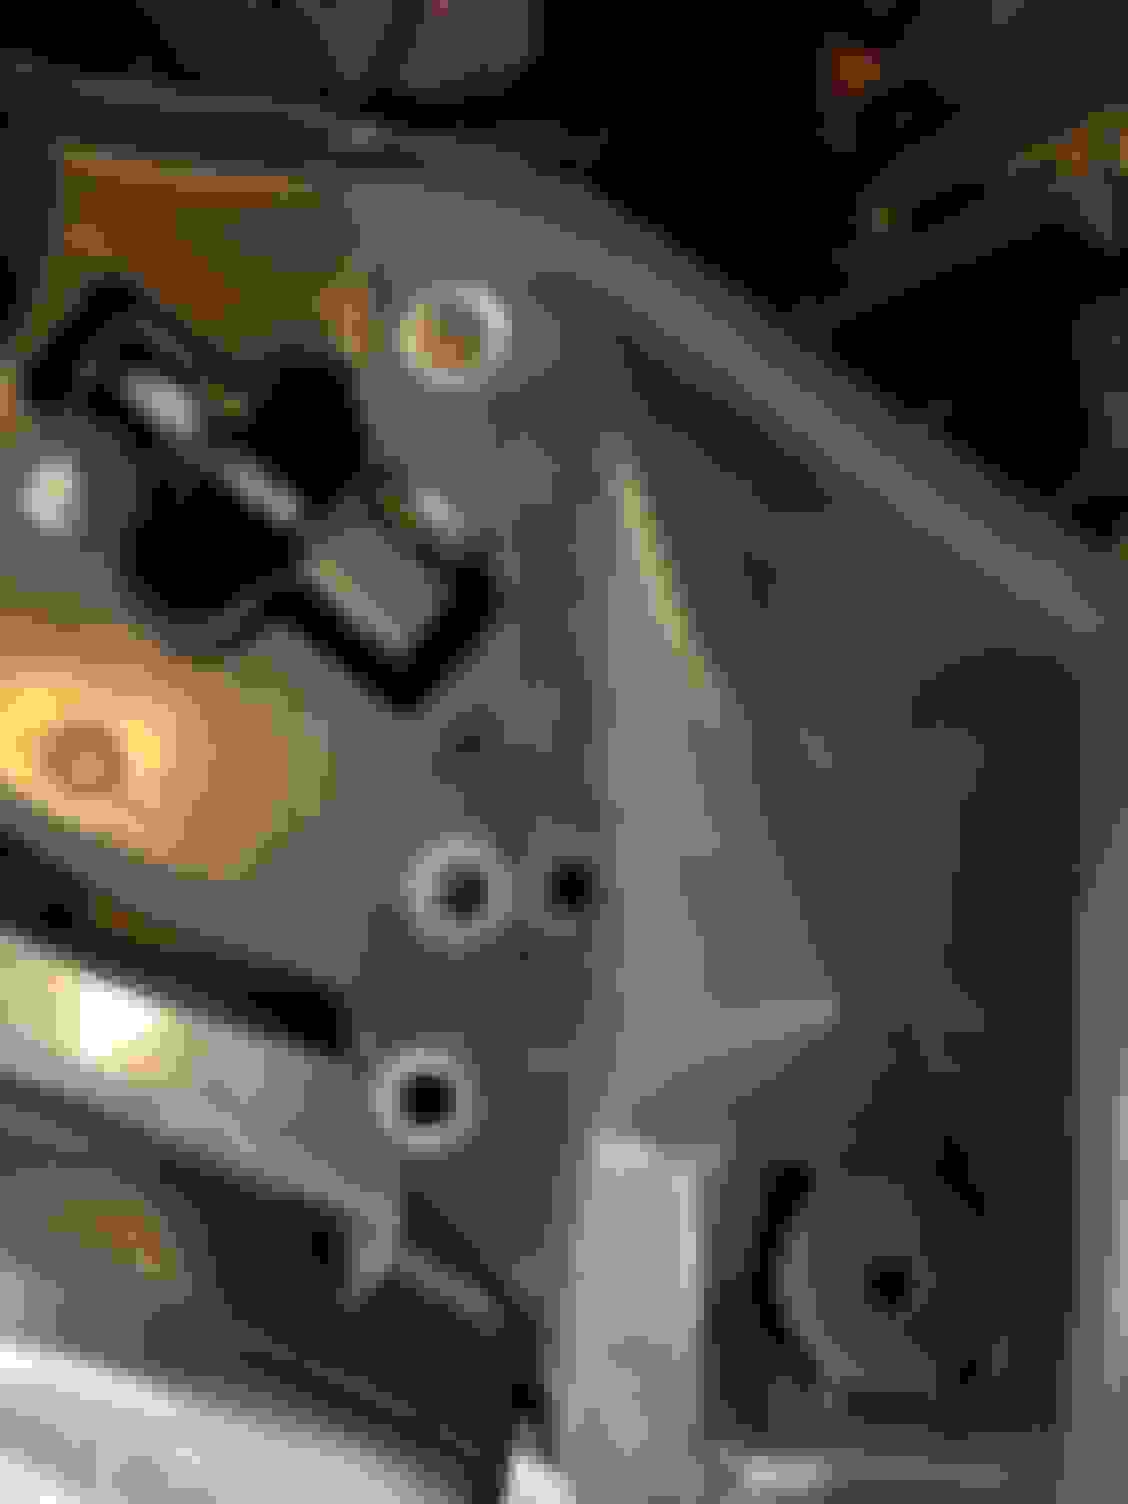
There are 7 bolts that need to be removed from the drivers side lower portion of the water pump. FYI the upper left and right bolts are different and will need to be put back in the proper place so take pictures.
Another bolt location.
Remove the alternator upper bolt.
remove the large radiator hose. Mine was an 8mm socket.
Remove the smaller radiator hose mine was a 7mm socket. You can also see the weep hole in this picture clearly full of radiator fluid.
Remember when you remove the radiator hoses you probably should have a large bucket underneath the car to collect the fluid.
Remove the double idler pulley (I think this is a picture of me putting it back in but you get the idea)
Here is the final bolt count minus the few bolts underneath the supercharger tension pulley assembly and the 4 bolts that attach the black pulley on and the individual pulley bolts from the other 2 or3 pulleys if you have the wrap kit.
When you put the pulleys back on the two bolts that hold the supercharger tension pulley to the water pump will need to be self threaded back on as the pump (if new) does not have threads on those holes. Also the same for the double idler pulley.
Once removed you will need to clean up all the dirt that fell onto the inner water pump area and clean out the gasket grove as well. I placed a paper towel where the lower inlet is to the motor to block dirt from getting into the motor.
Here was my problem.
Here is the old water pump as you can see the seal to the bearings went back and it looks like oil leaked onto the turbine.
here it is with the new gasket placed in the groove and cleaned out. here is a picture that shows the paper towel that I placed to block debris from getting into the motor. There is a tab on the passenger side of the water pump that has a corresponding tab in the gasket that sits in the groove.
Be very very careful when you put the new water pump in as you don't want the gasket to fall out of the groove and get destroyed when you tighten everything back down.
Use the BLUE loc tite on every bolt. Also don't over tighten the bolts this is aluminum after all. I went maybe a quarter of a turn past when I felt they were snug. just get a sense of how much force was required to remove them (not much) and use that as a reference for when you are tightening your bolts.
Here is the new water pump going in. Remember to take a lot of pictures so you don't put the wrong bolt in the wrong hole.
I used 1 and a half of these mixed 50/50 with distilled H2O. remember that this engine will self bleed the air out. You will need to carry some with you when you drive and fill it as it gets low.
There are some guides to put the belts back on already on this forum use the search function.
eFifty5AMG (04-03-2019),fazxs (08-19-2019),kingwazir (08-02-2019),MACEDON (03-22-2018),seanol (03-22-2018),tw2 (03-22-2018) and 1 others liked this post. (Show less...)
thanks for this - I have a question on the tapping of the holes - are the bolts self tapping and did you thread them when the pump was on the car or did you do it before you put in place ?
thanks for this - I have a question on the tapping of the holes - are the bolts self tapping and did you thread them when the pump was on the car or did you do it before you put in place ?
The bolts are self tapping. I threaded them when the pump was on the car. Just use even pressure and make sure you start the bolt square in the hole.
Just a few points that I would like to address here:
Distilled water is really bad for the engine block unless your tap water is super duper hard (more than the average amount of minerals in it). MB released a really nice pdf about it a while ago. I can only recommend to anyone to read it for education. It’s an eye opener. I can put a link up to the file.
Instead of taking pictures of where the bolts came out, take each bolt as it comes out and stick it into the corresponding hole in the new pump.
The radiator has a nice little valve on the driver side to release the coolant. No need to let it gush out and spill all over the engine.
The air intake tubes can be removed right after you take the engine cover off.
A better belt wrap kit and there is no need to remove that to remove the belts.
its always good practice to post the proper torque specs for all the screws.
Last but not least, thanks for taking the time for this nice write up. Good job overall.
Last edited by Mackhack; 04-02-2019 at 08:11 PM.
Reason: Typos
Just a few points that I would like to address here:
Distilled water is really bad for the engine block unless your tap water is super duper hard (more than the average amount of minerals in it). MB released a really nice pdf about it a while ago. I can only recommend to anyone to read it for education. It�s an eye opener. I can put a link up to the file.
Instead of taking pictures of where the bolts came out, take each bolt as it comes out and stick it into the corresponding hole in the new pump.
The radiator has a nice little valve on the driver side to release the coolant. No need to let it gush out and spill all over the engine.
The air intake tubes can be removed right after you take the engine cover off.
A better belt wrap kit and there is no need to remove that to remove the belts.
its always good practice to post the proper torque specs for all the screws.
Last but not least, thanks for taking the time for this nice write up. Good job overall.
Yes please post up a link to the pdf file. Always good to learn.
Sounds about right for screws going into aluminum cast. But I would always double check with the correct WIS document if you don’t wanna end up with a surprise that cost you $$$.
Sounds about right for screws going into aluminum cast. But I would always double check with the correct WIS document if you don�t wanna end up with a surprise that cost you $$$.
Oh I know. I confused 75 in lbs for 75 ft lbs while doing my valve cover gaskets. I knew it was too tight too. Durr. Fortunately I was able to get the broken bolt out of my block with ease with a set of pliers. But now I�m overly cautious with my torque wrench.

 03-22-2018, 12:00 AM