When you click on links to various merchants on this site and make a purchase, this can result in this site earning a commission. Affiliate programs and affiliations include, but are not limited to, the eBay Partner Network.
I started on the roof and will work my way to the bottom of the car. It�s like washing a car you never start at the bottom and go up as you don�t want to bring the dirt to the top, or be washing dirt from the top to the bottom of what has already been cleaned.
First thing was to wash the car and get it clean, and then clay bar each panel before starting the process.
I did a 3 step process of sanding to correct the finish using a D/A style finishing sander with a added interface pad.
I started the first step using 3M P2000 dry to remove the heavier scratches and any water spots on the surface. This particular paper is used dry only. Once that was done it was blown off and wiped clean with water.
The second step I used 3M 3000 trizact foam disc wet. I used a sprayer bottle with water wetting the panel and pad while sanding the surface. This was done to remove the P2000 scratches and smooth the surface more.
The third step I used 3M 5000 trizact foam disc wet. Same as before, keeping the surface wet while sanding and removing the 3000 scratches.
By now the surface is is starting to get its shine back some but it�s still obvious that the surface is dull.
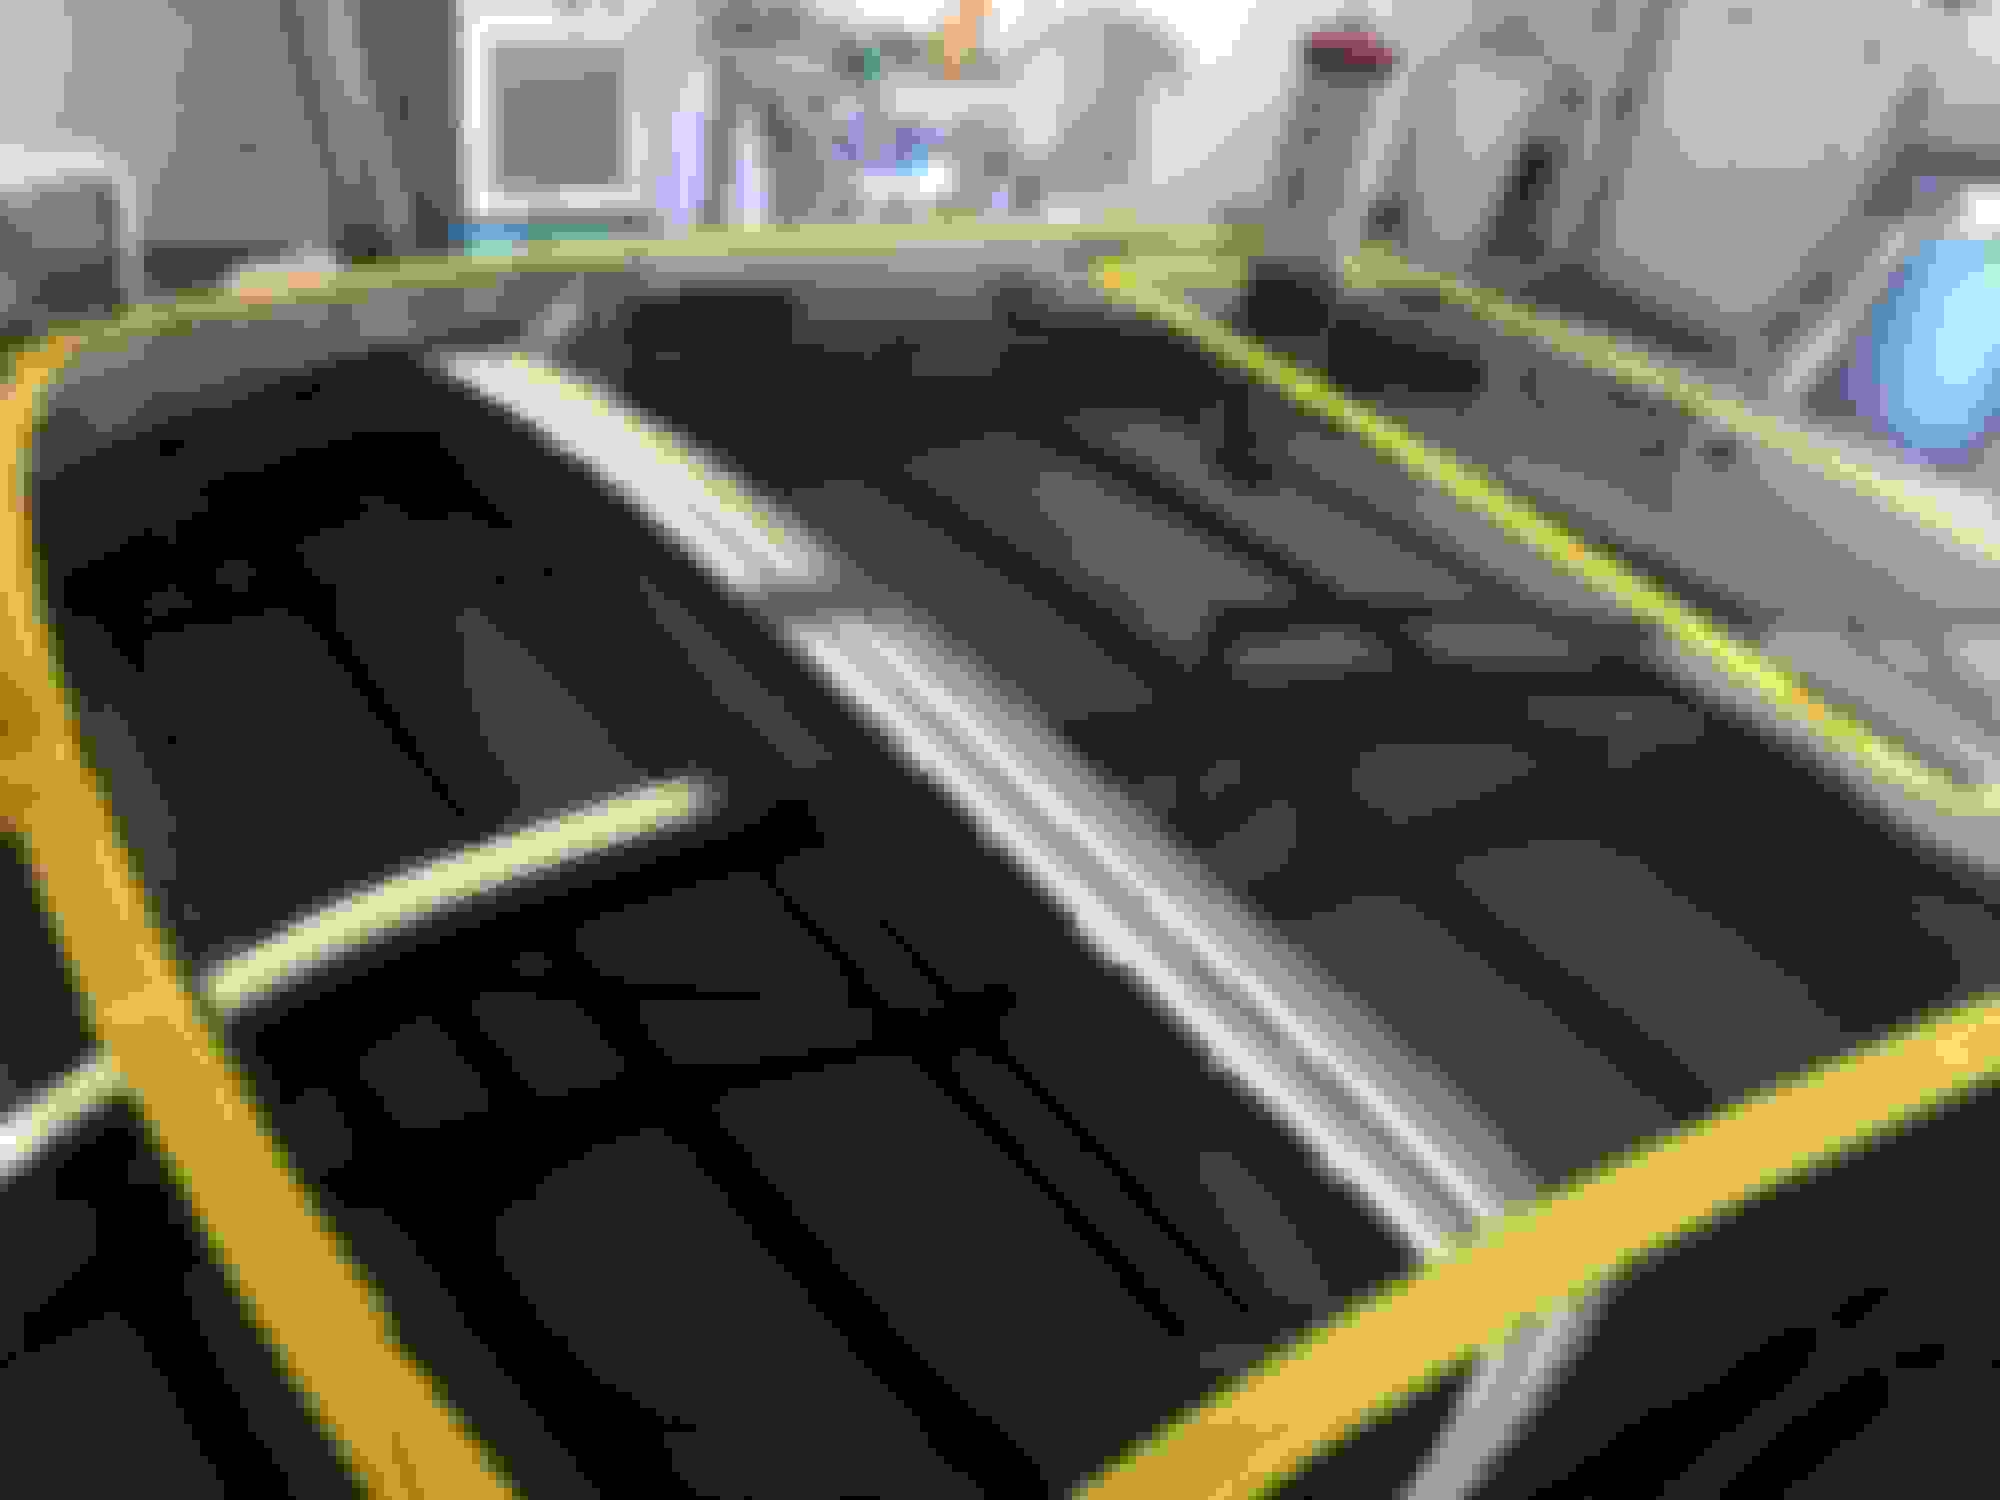
Unfortunately I somehow deleted the pics of the roof sanding process!!!!!!!
But I do have some of it finished!!!!!
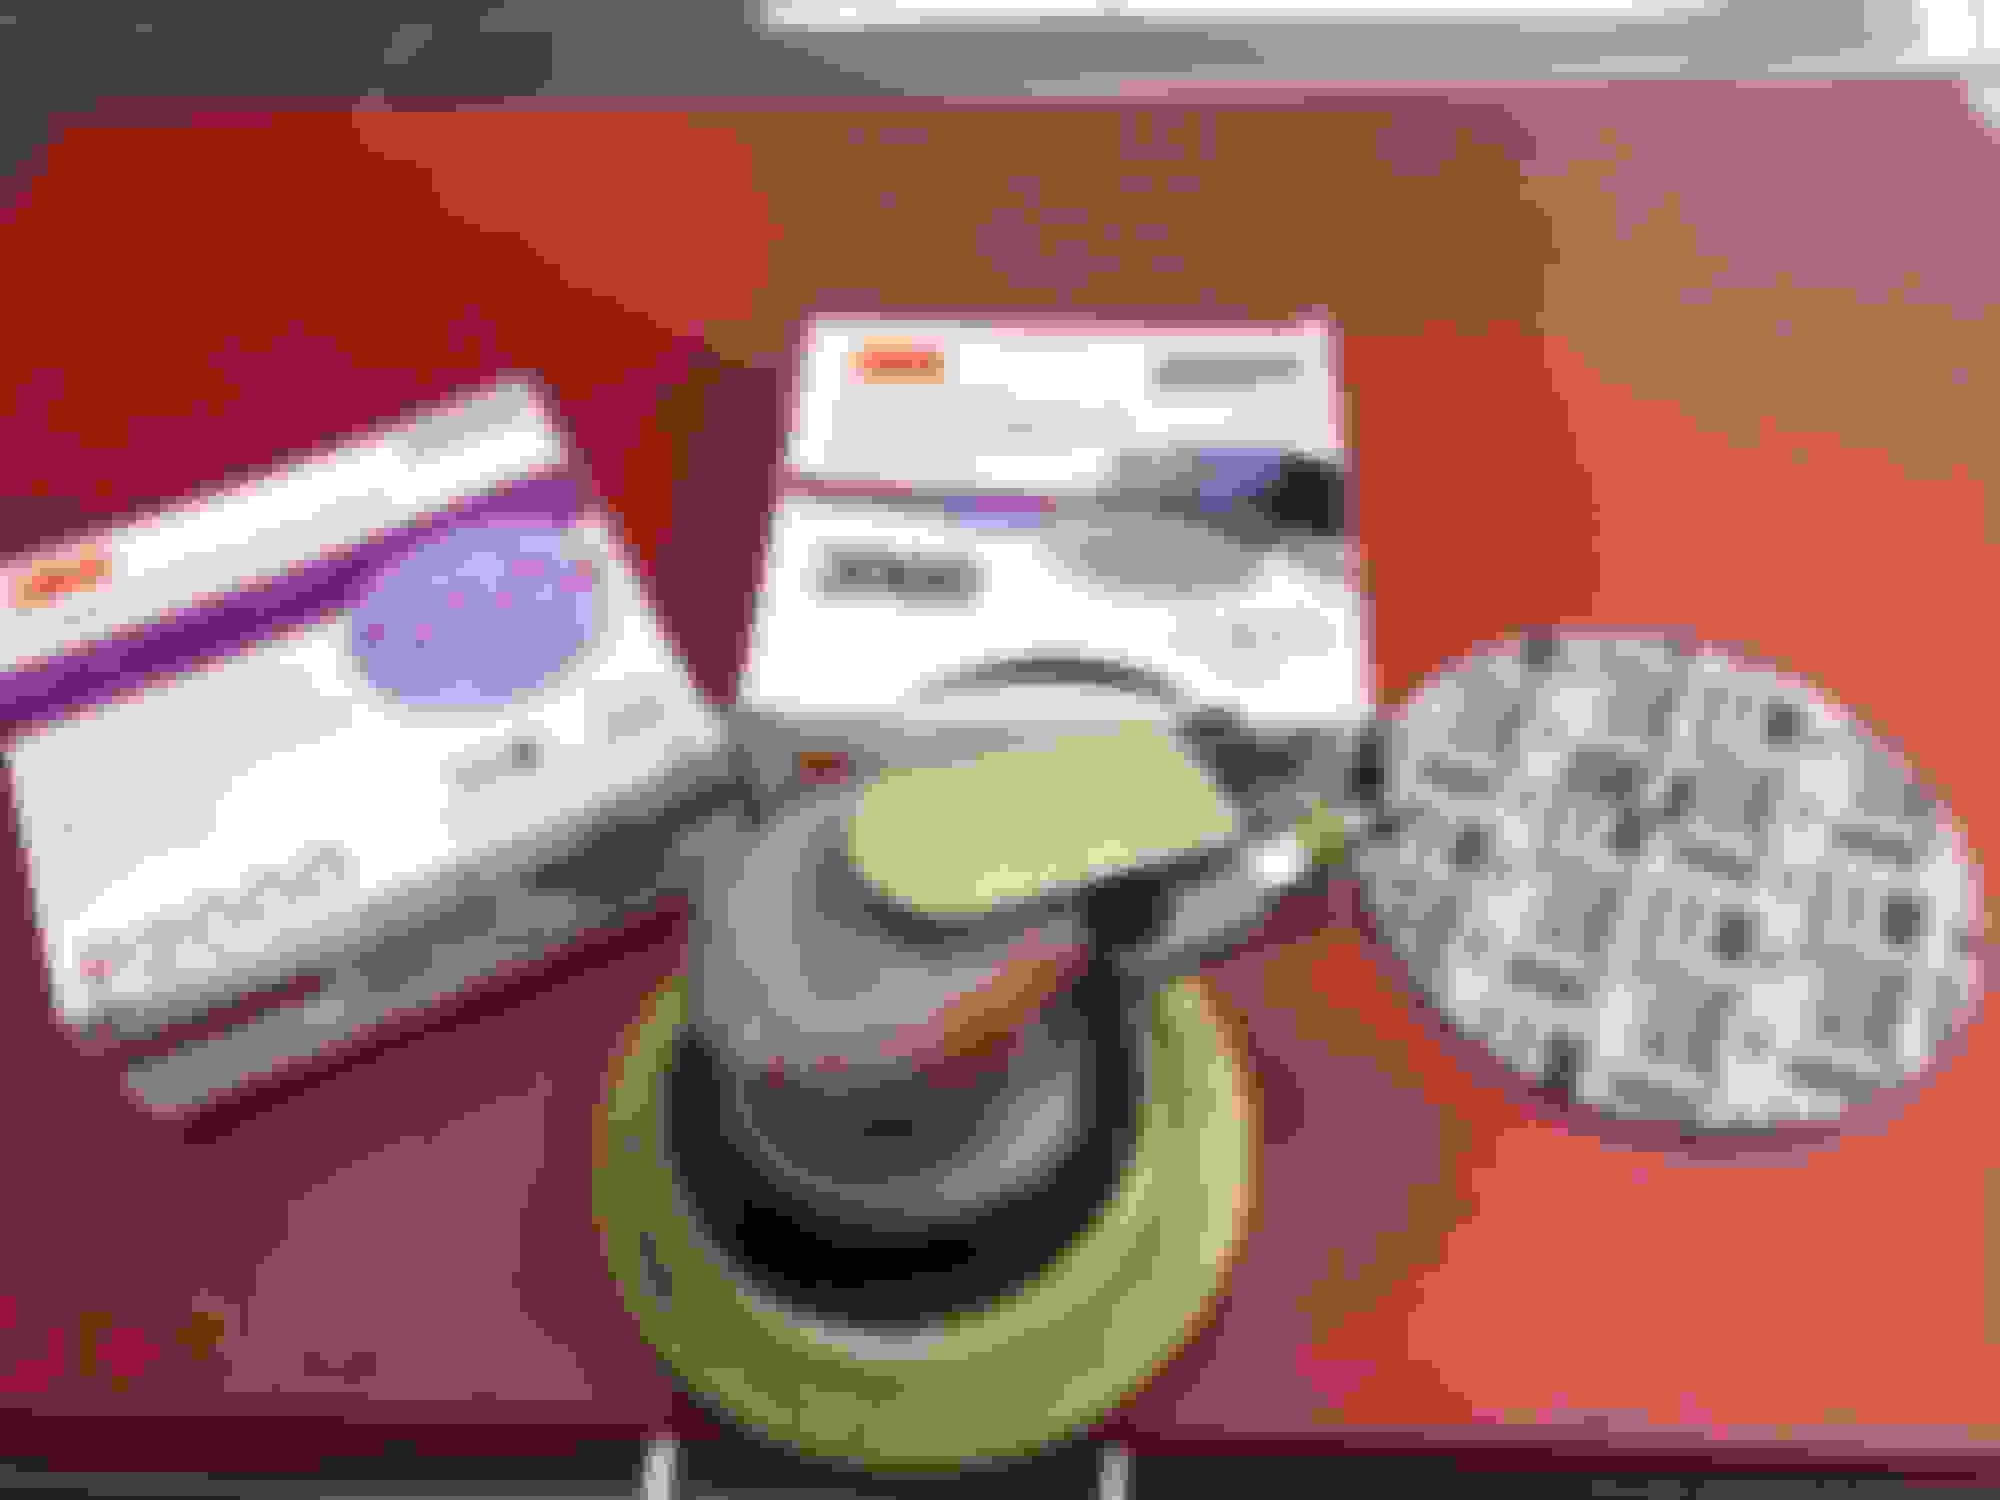
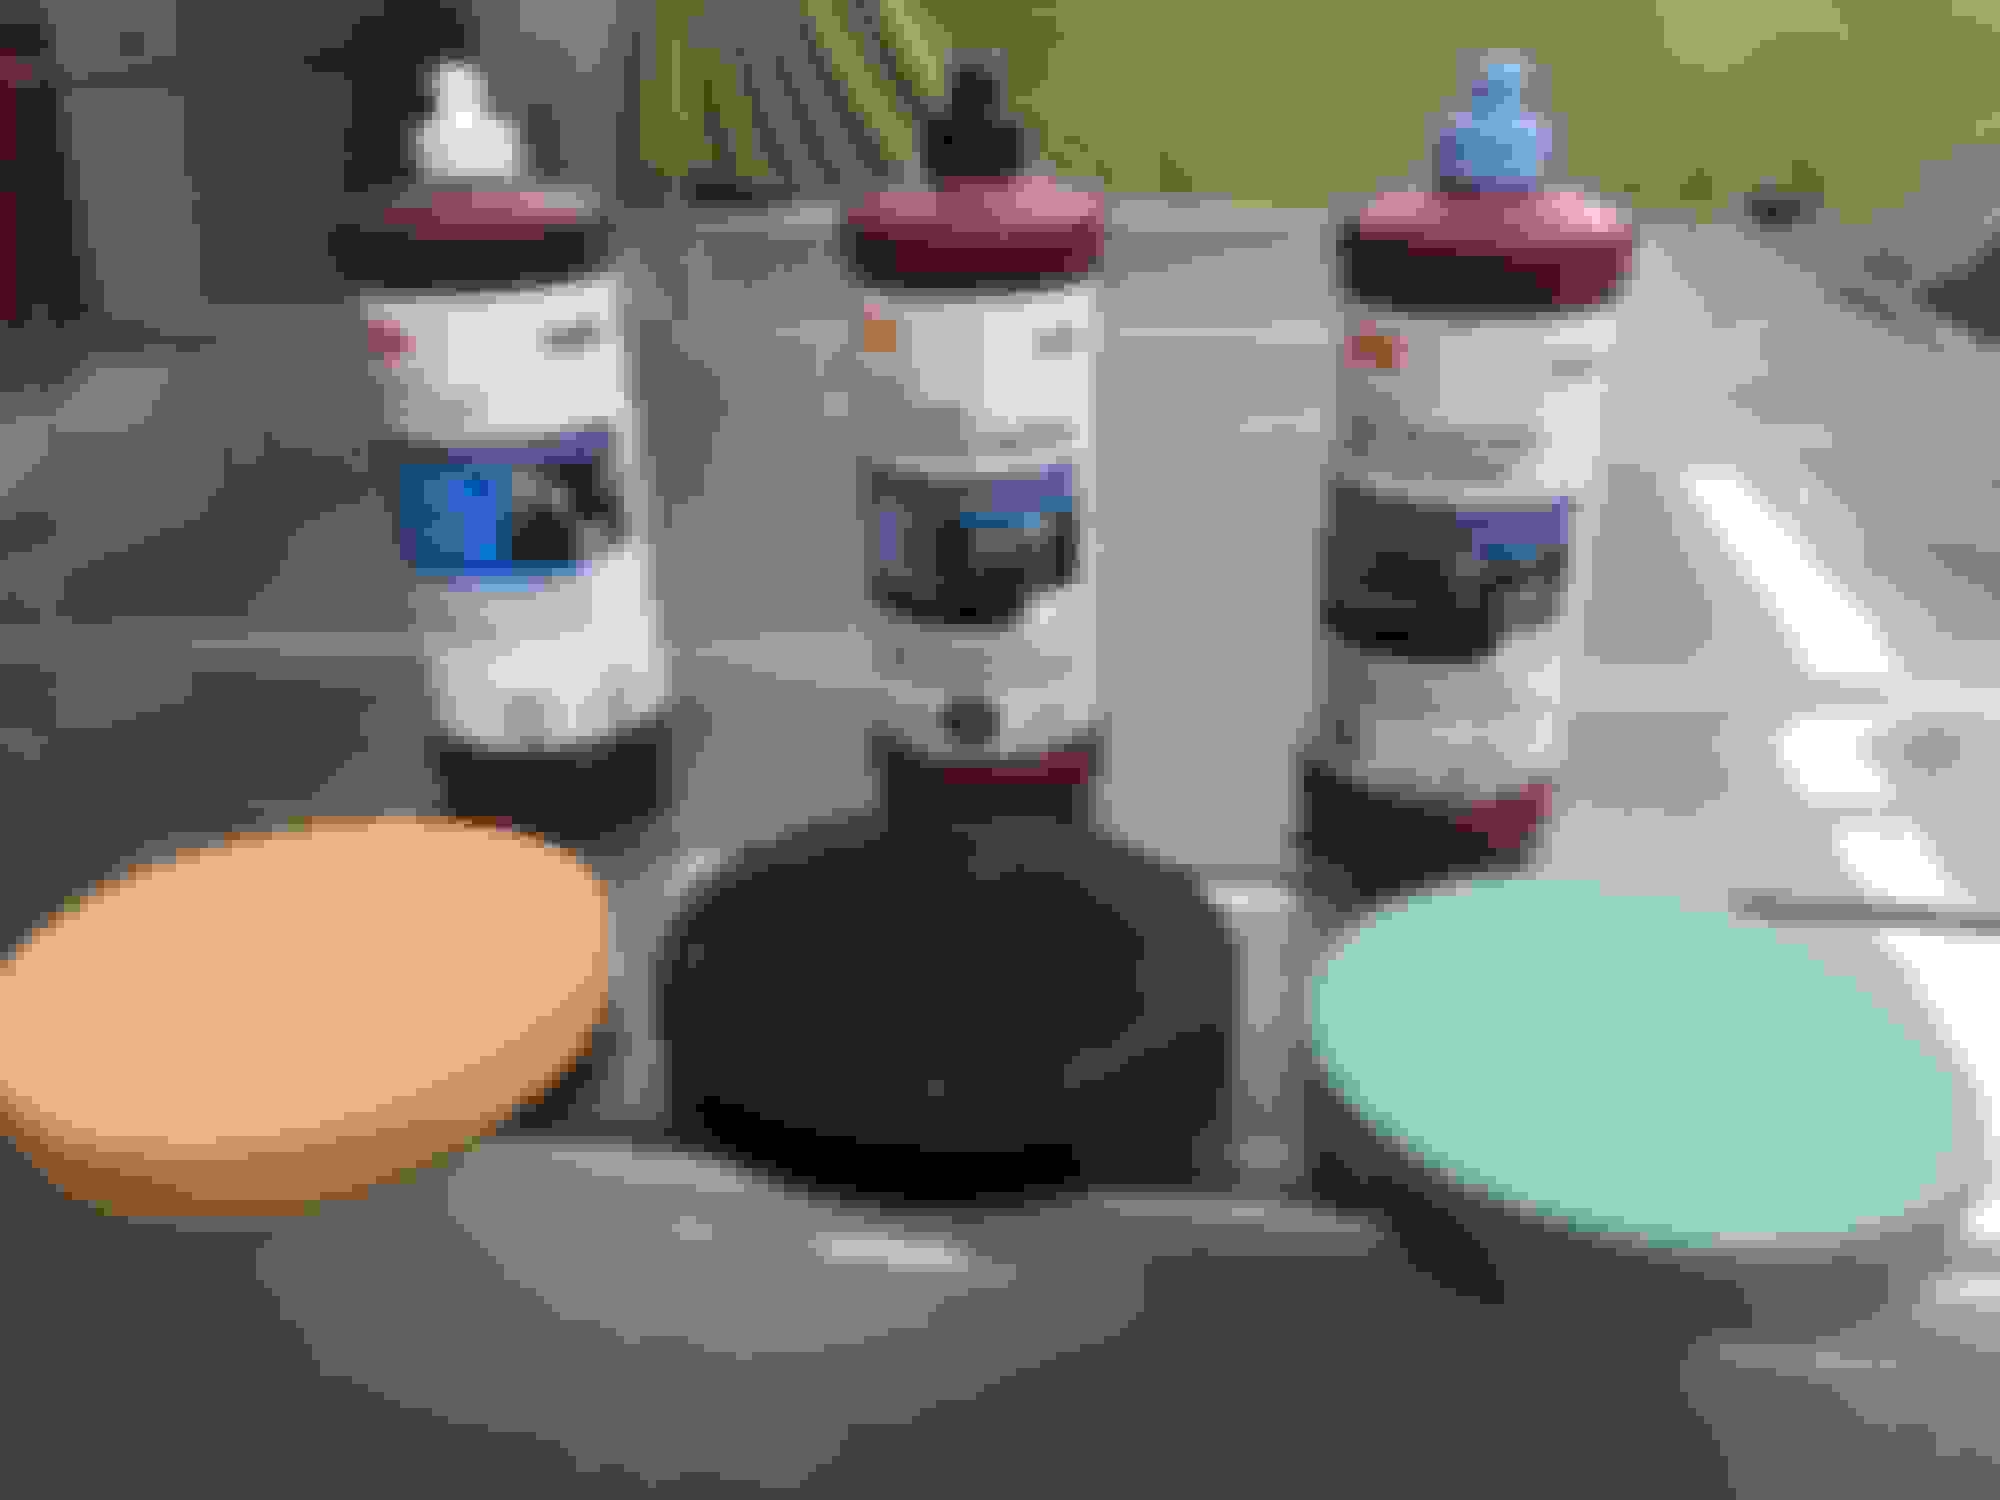
Now it�s time to start the polishing steps. These steps and products work for me and are used in the Collision and restoration industry. Everyone finds the products they like and what works for them. That being said this is what I like to use (at the moment) hahaha.
3M machine polishes. Step 1, 2, 3. Using the foam pads on dual action orbital polisher. Rupes as an example.
The trunk lid wasn�t as bad as the roof but still had a lot of brush washing scratches. I didn�t want to remove the antenna for the fear of causing a leak or breaking something. I worked around it with a 3in. polisher and did the antenna by hand.
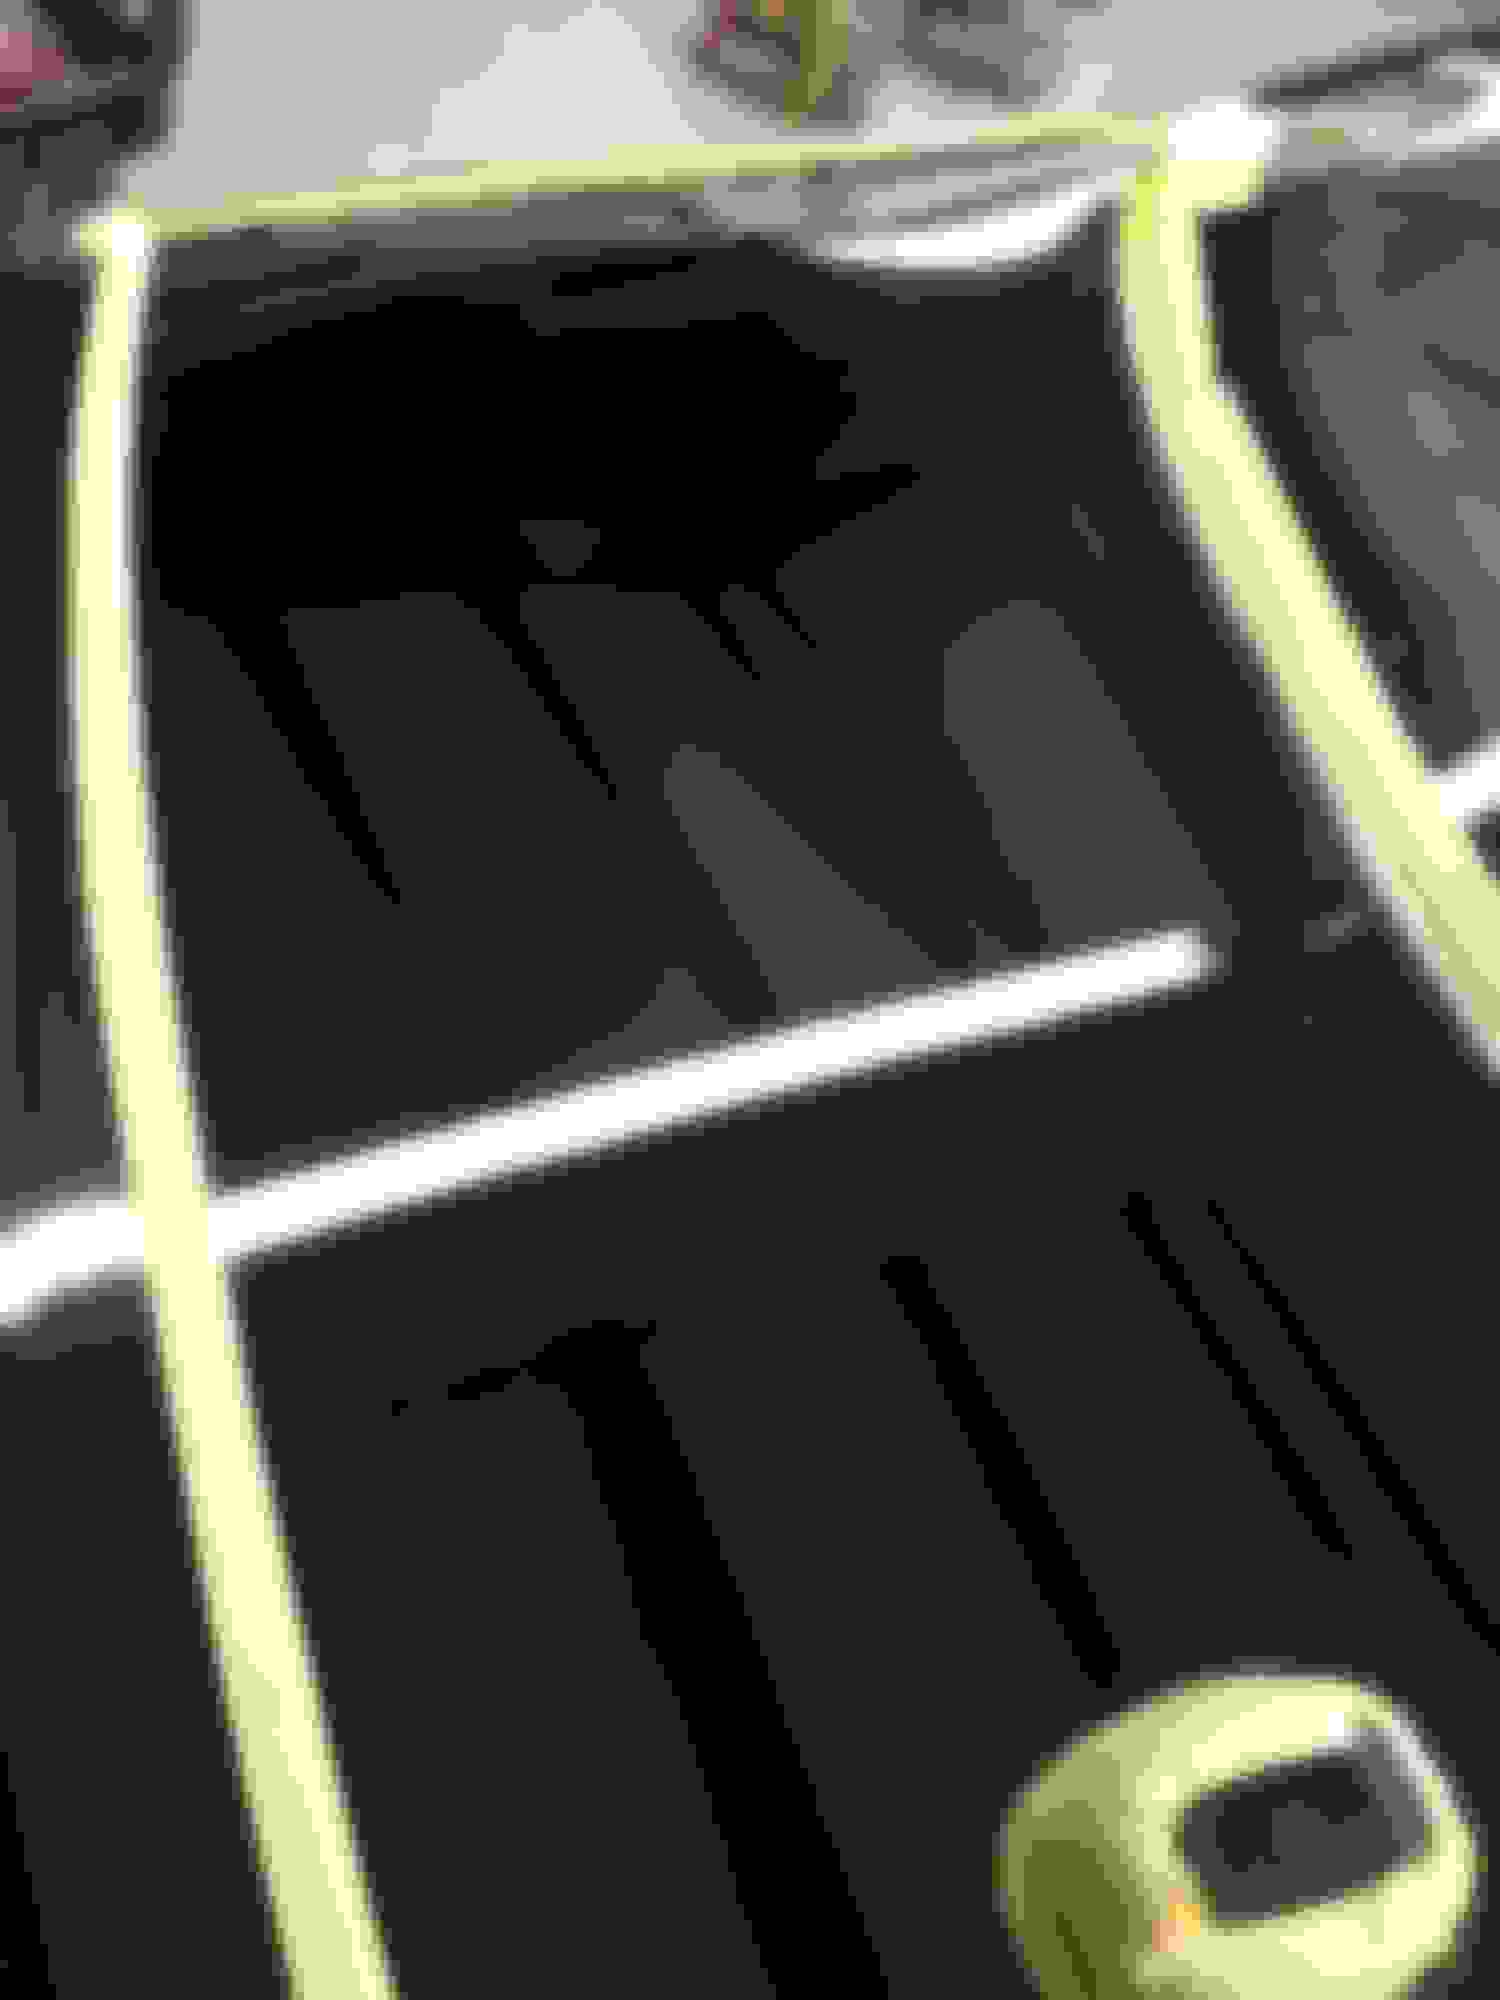
In these pics you can see the water spots on the rear spoiler. After the trunk lid was finished I masked it with plastic before polishing the spoiler.
Tim, assuming the memory areas have not been overwritten, just use an "undelete" program to recover the photos. You can find some pretty interesting things in the supposedly deleted files...
Personally, if I do want to permanently delete information, I use Bleach Bit file scrubbing program (endorsed by Clinton's email server administrator!).
The progress on the car is looking great. I wish I had as much energy as you do...
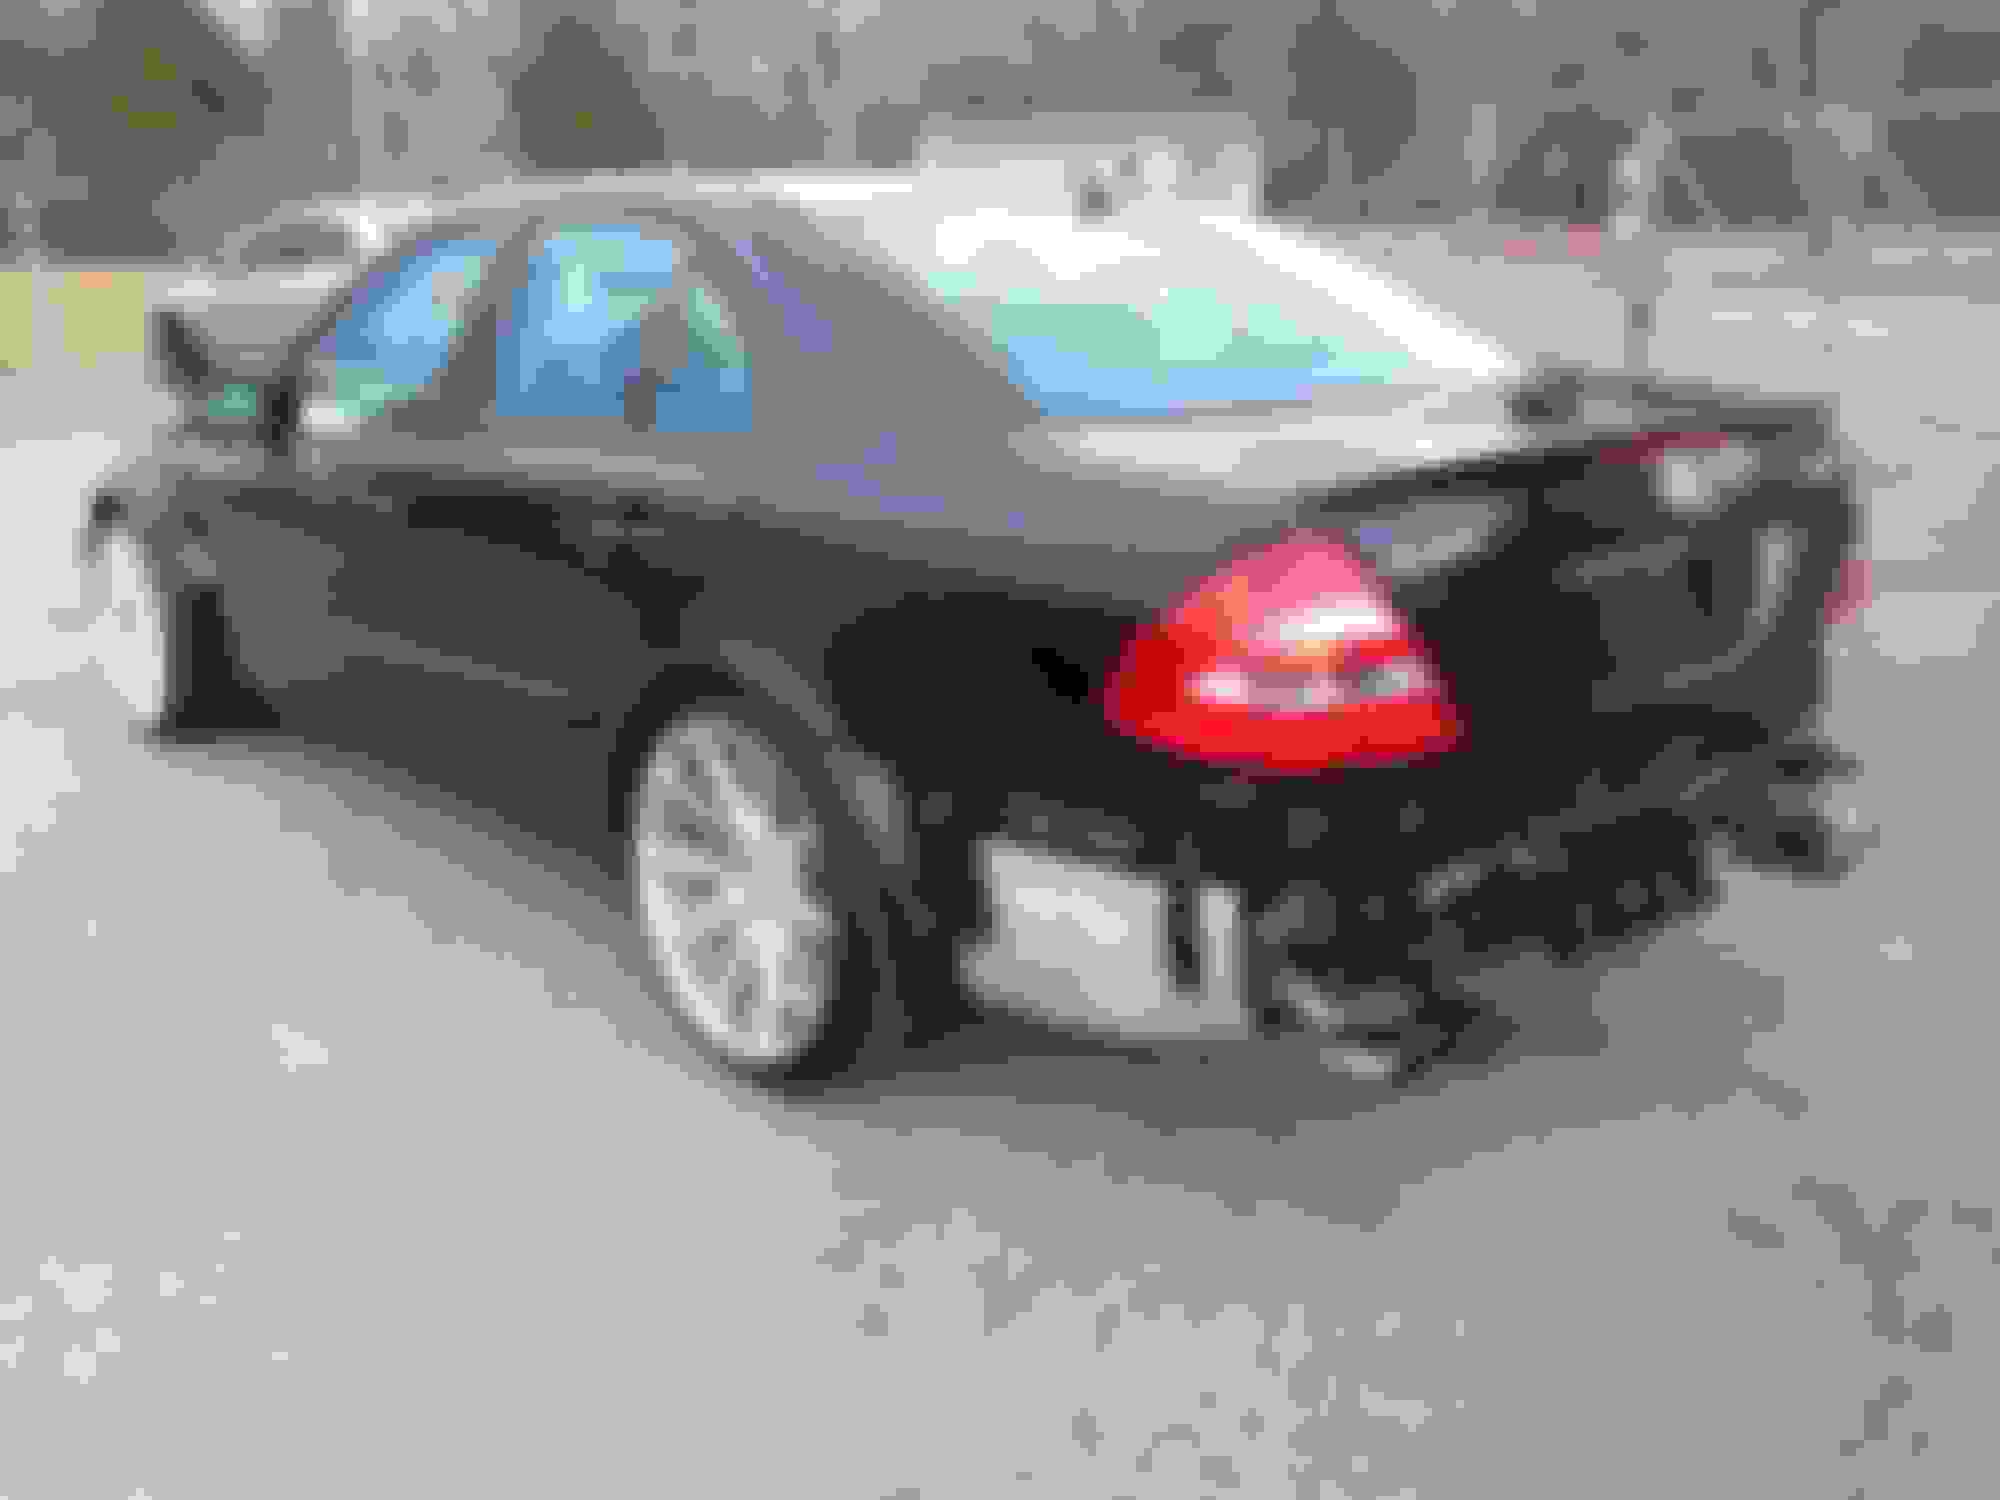
So there was a door ding in the left quarter panel about the size of a dime and It was forward of the taillight. I contacted a local PDR (Paintless dent removal) guy that did some work for me in the past.
I was kinda concerned how well it would come out as I really didn�t want to do any paint work on the quarter panel. He wasn�t concerned at all when he saw it.
We pulled the taillight out and he was able to access the dent from the back side and work it out by pushing the low spot out and then tapping any high spots down that he may have. A lot of times now he is pulling small dents with just gluing studs to the panel to remove the dents.
I think it turned out great! I watched him do it and afterwards I couldn�t find it!
Once he was finished I started some sanding and polishing on the quarter panel. No signs of the dent and the paint is looking really nice again.
Is anybody else working on their cars?? Spring weather is coming and will be time to get them out and roll!
More progress!
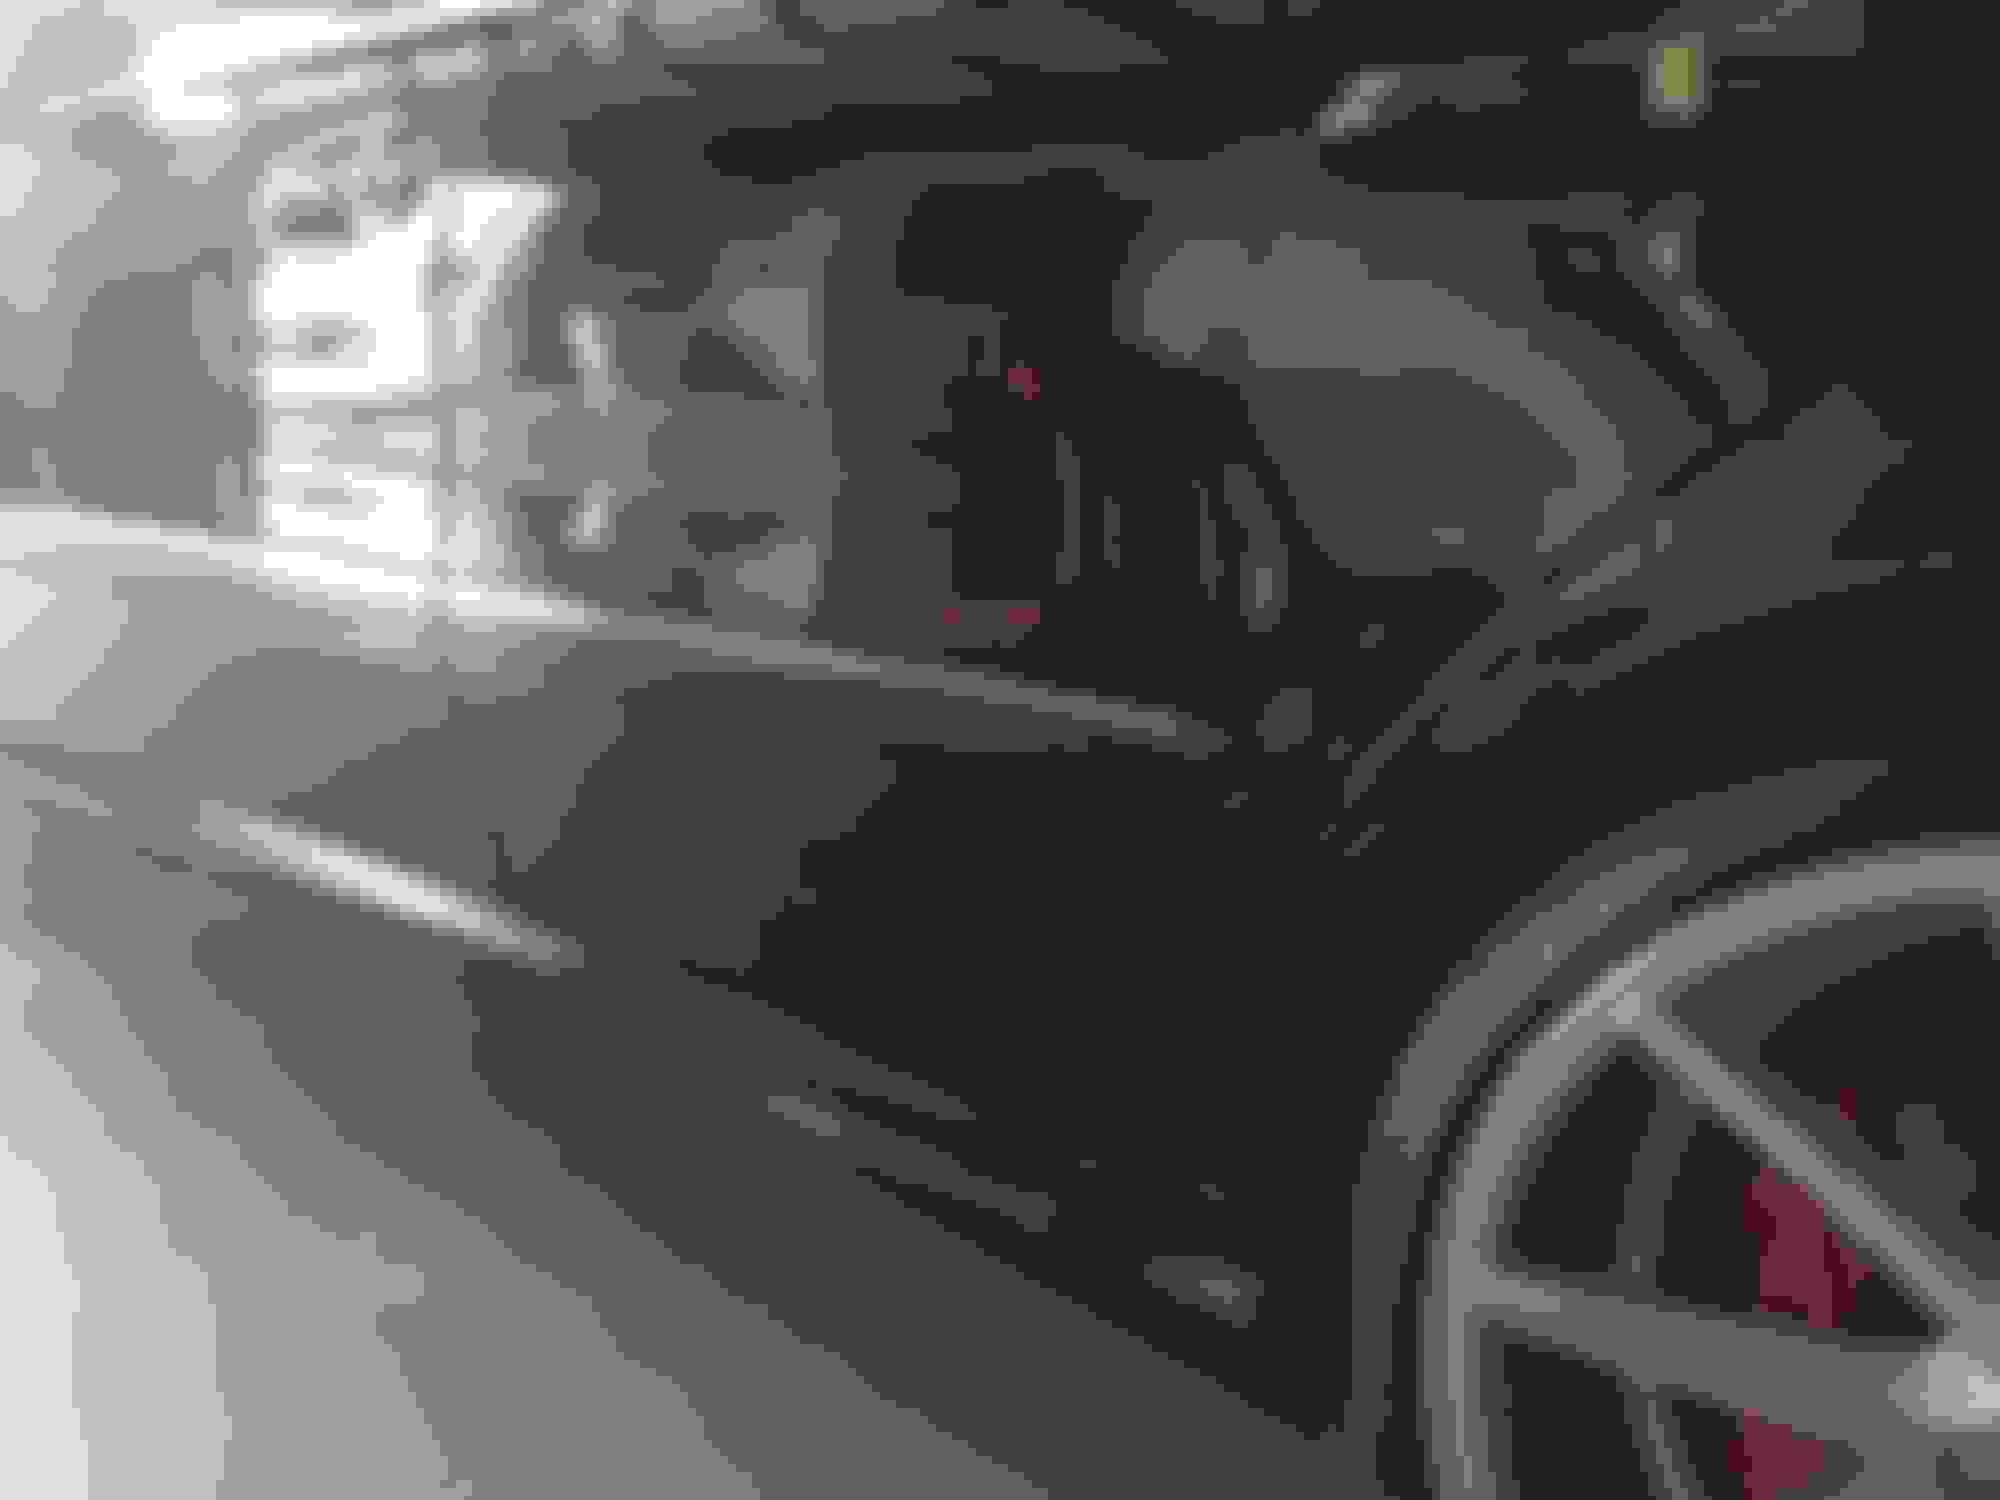
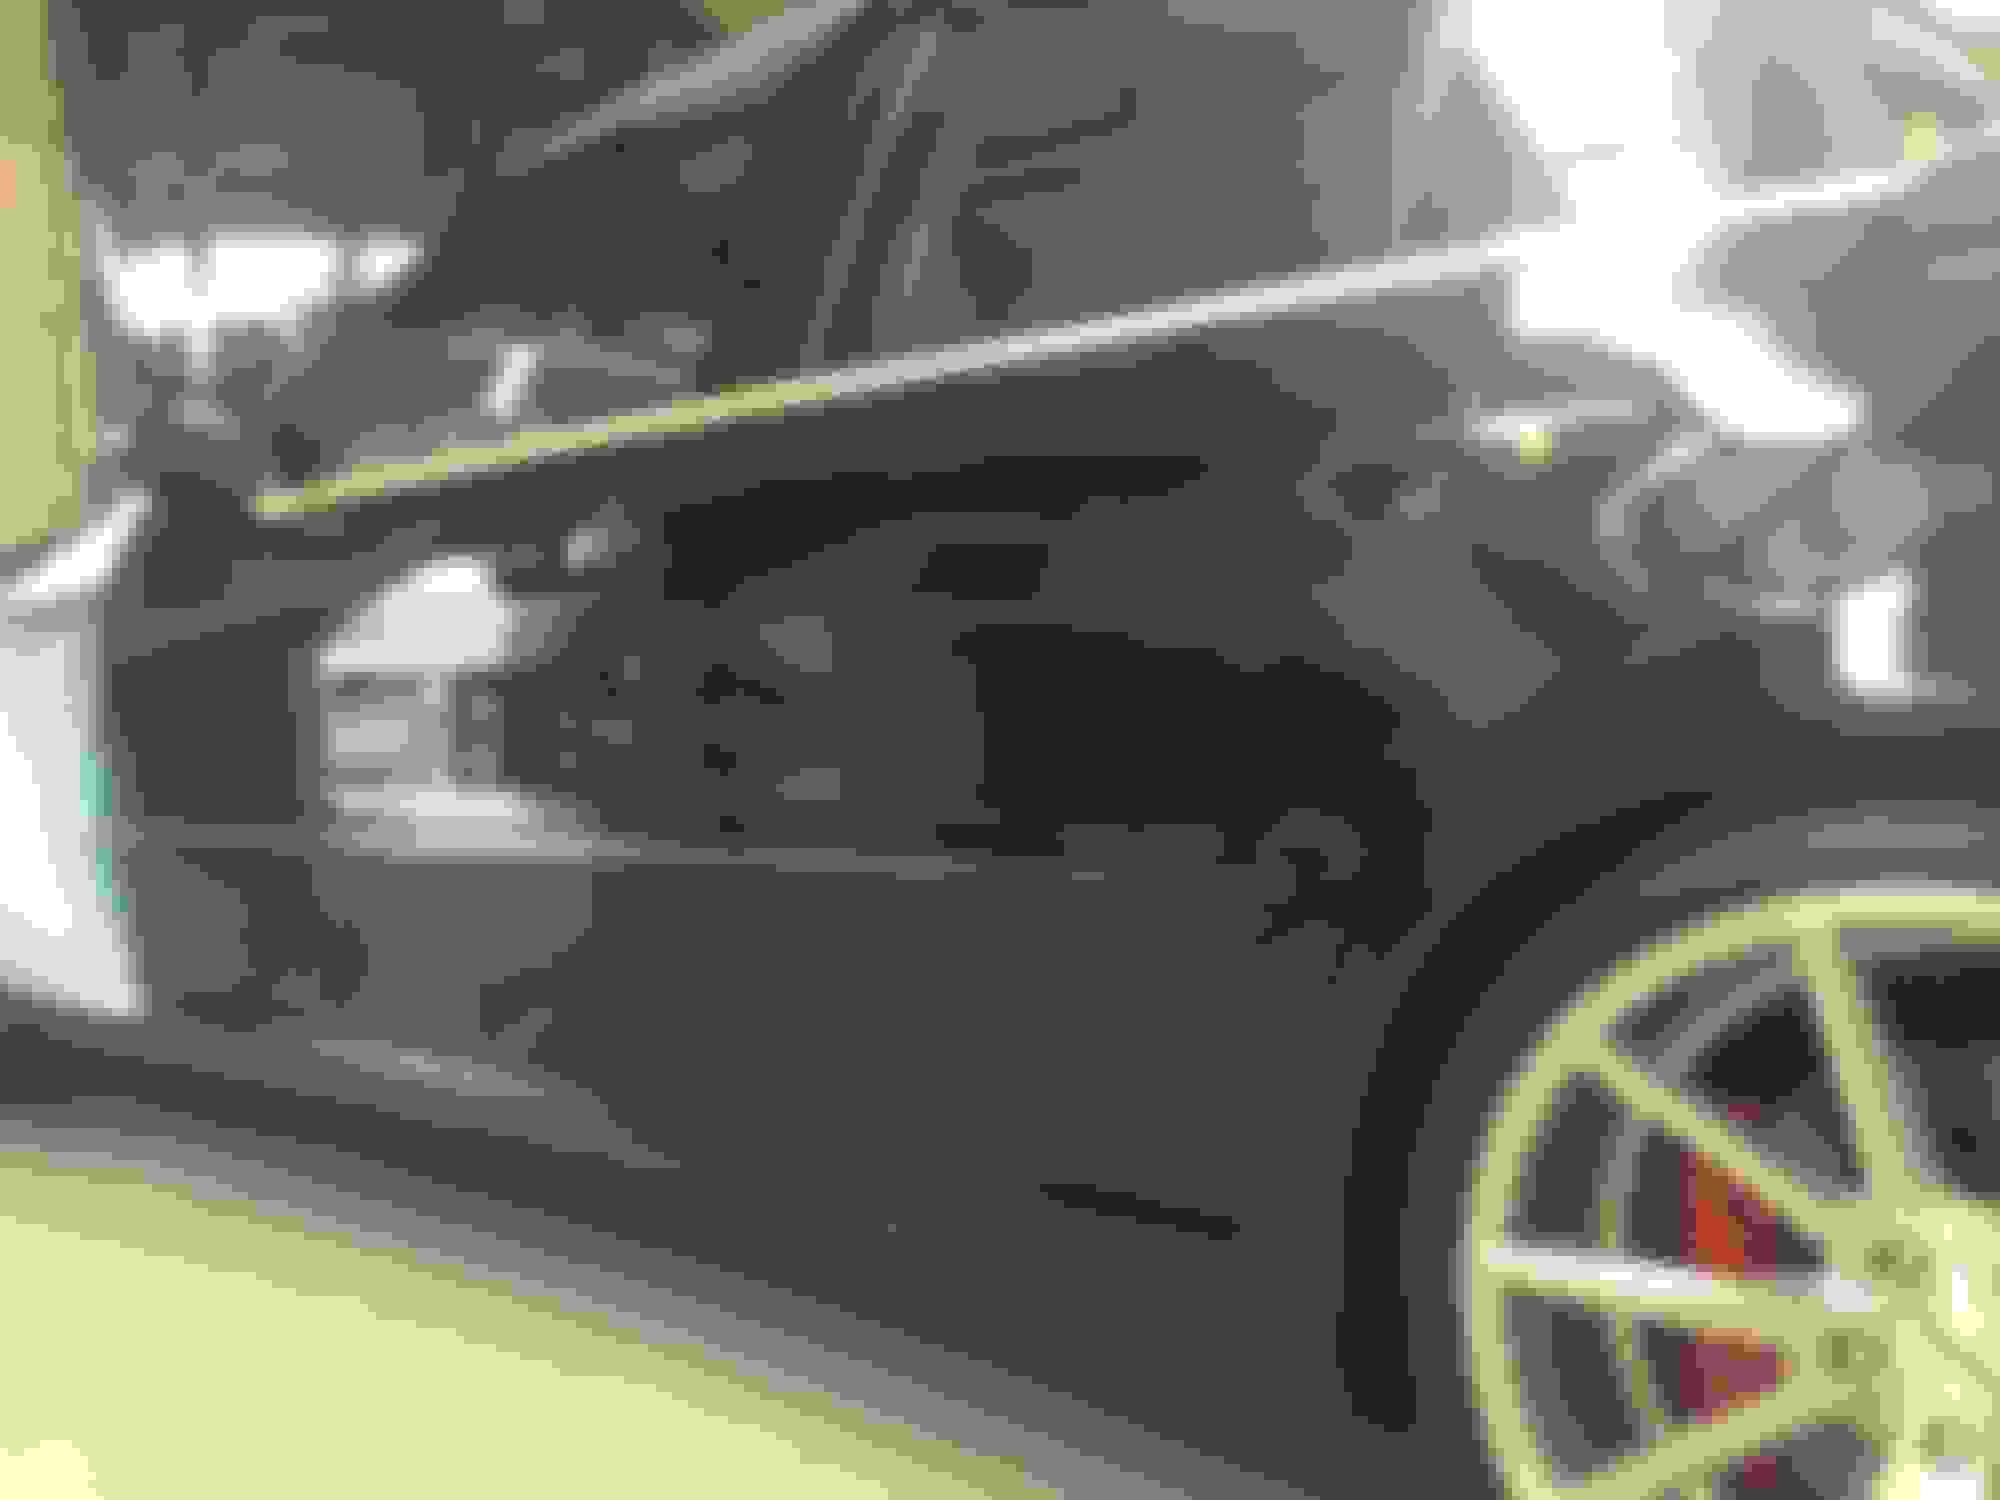
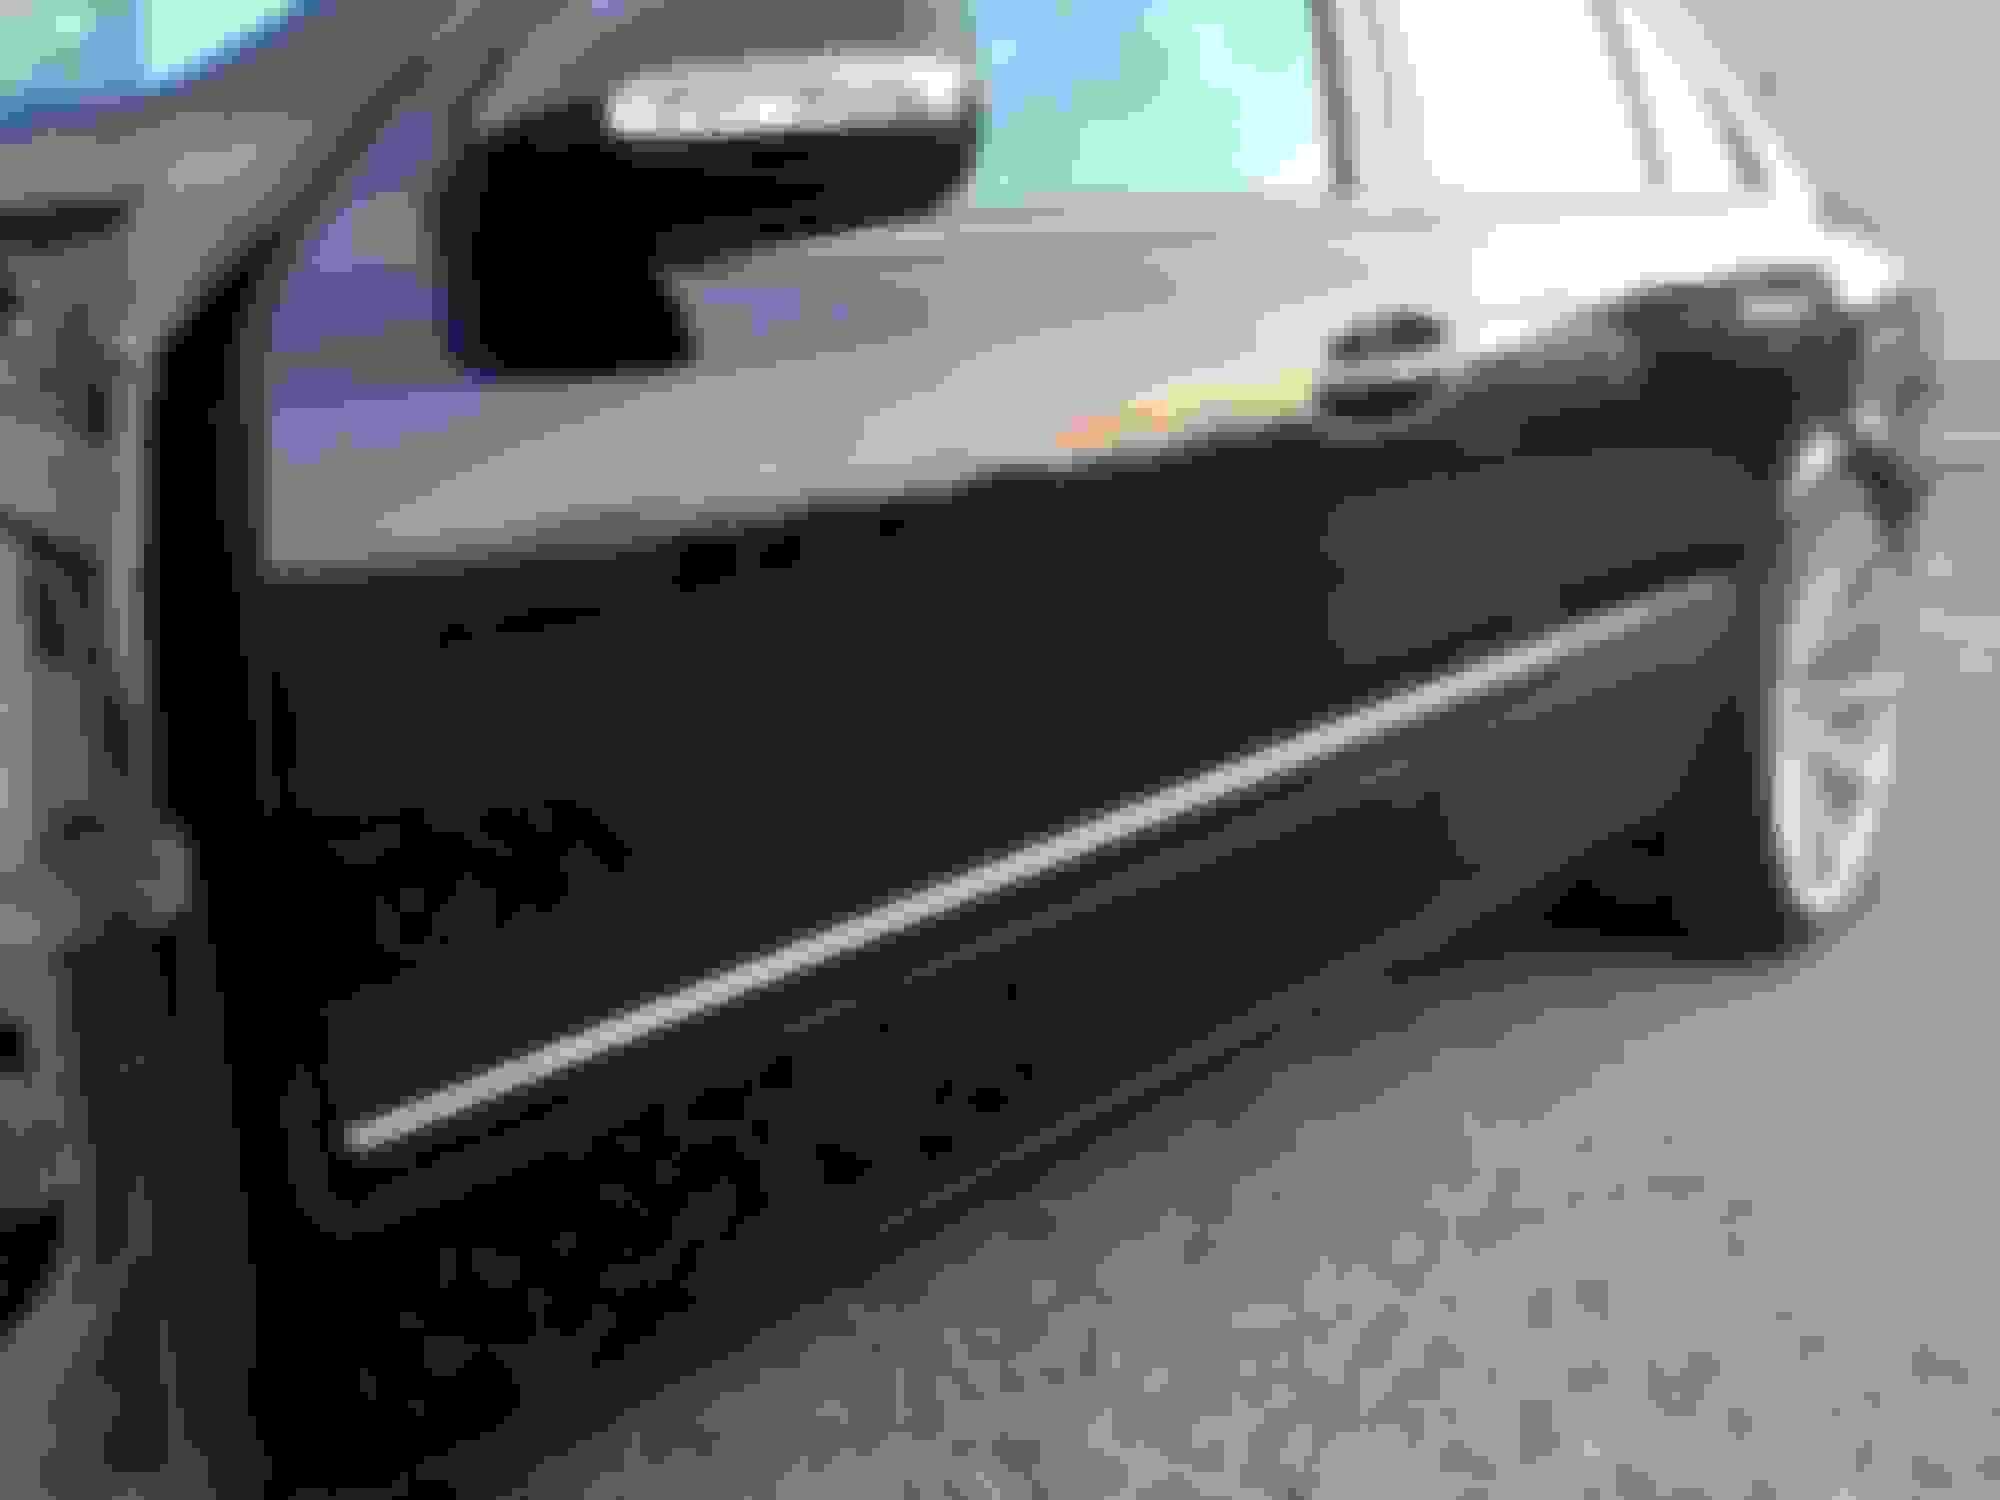
Finished up the left side doors and quarter panel. Did the same process as the top and deck lid. Working on getting the right side done and moving on to the front panels. Going to do the front bumper, rear bumper, and side skirts last.
Pics really don�t show well since the car is so dark. The second pic shows the results better I believe. But it is a huge change in the final results!
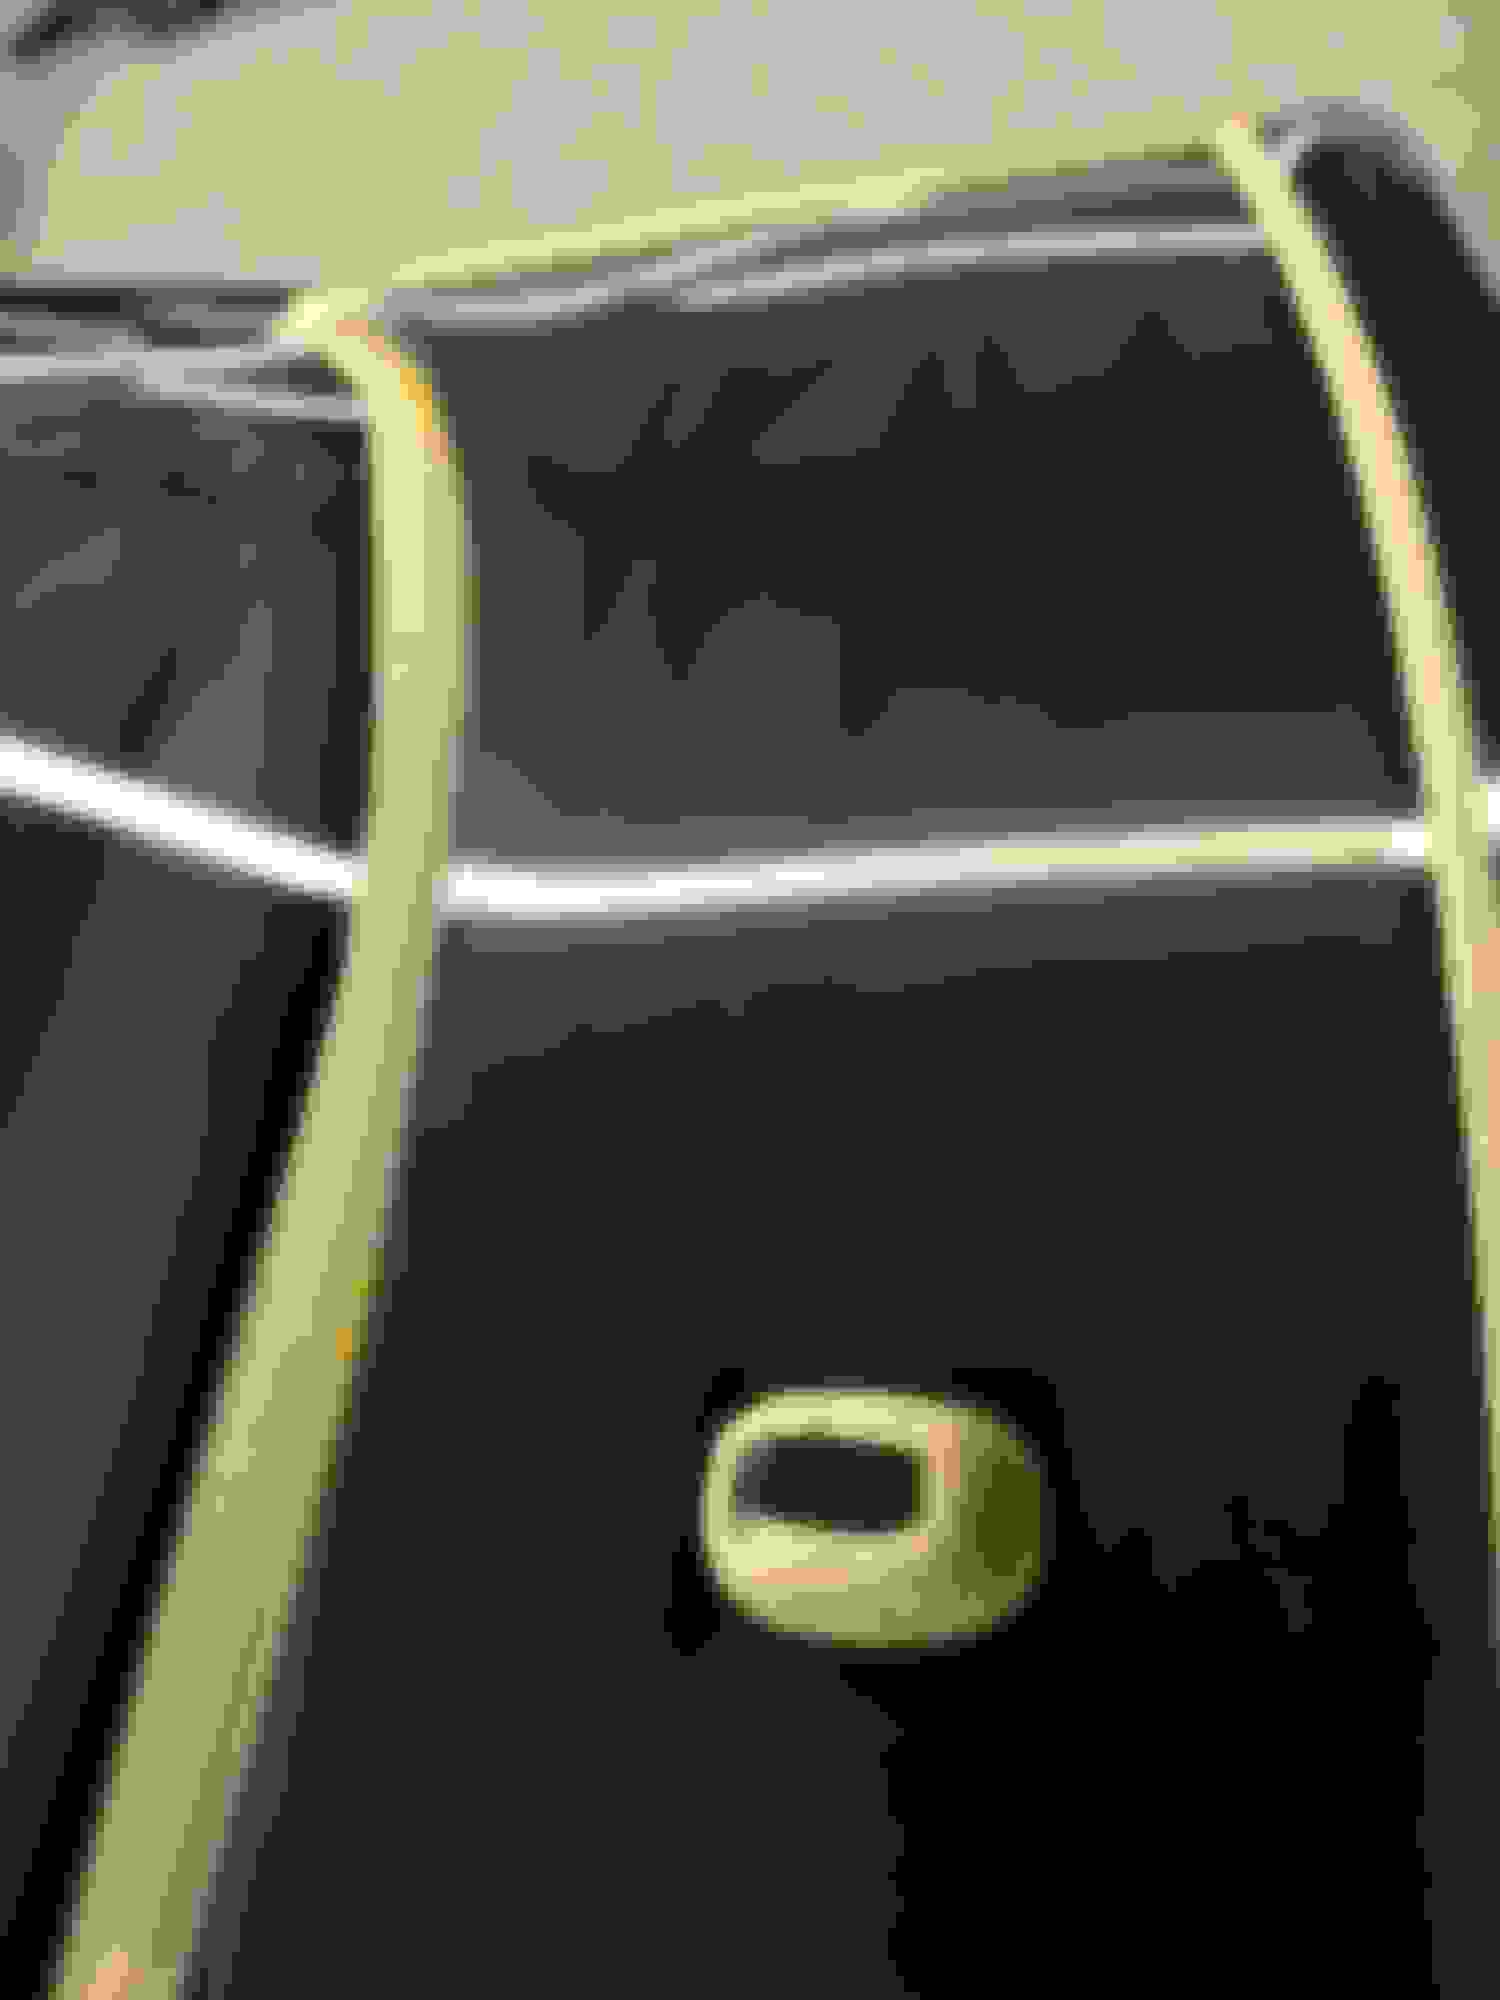
When I was polishing the sides I removed the outside mirrors. The gaskets were deteriorating so I ordered some replacements from eBay. While I had them apart I removed the glass and motor, cleaned everything up, and greased the pivot points so it would move freely.
There are how-to threads on the forums for replacing the mirror seals so no need to go through all that again.
The new gaskets really make everything look nice again for sure.
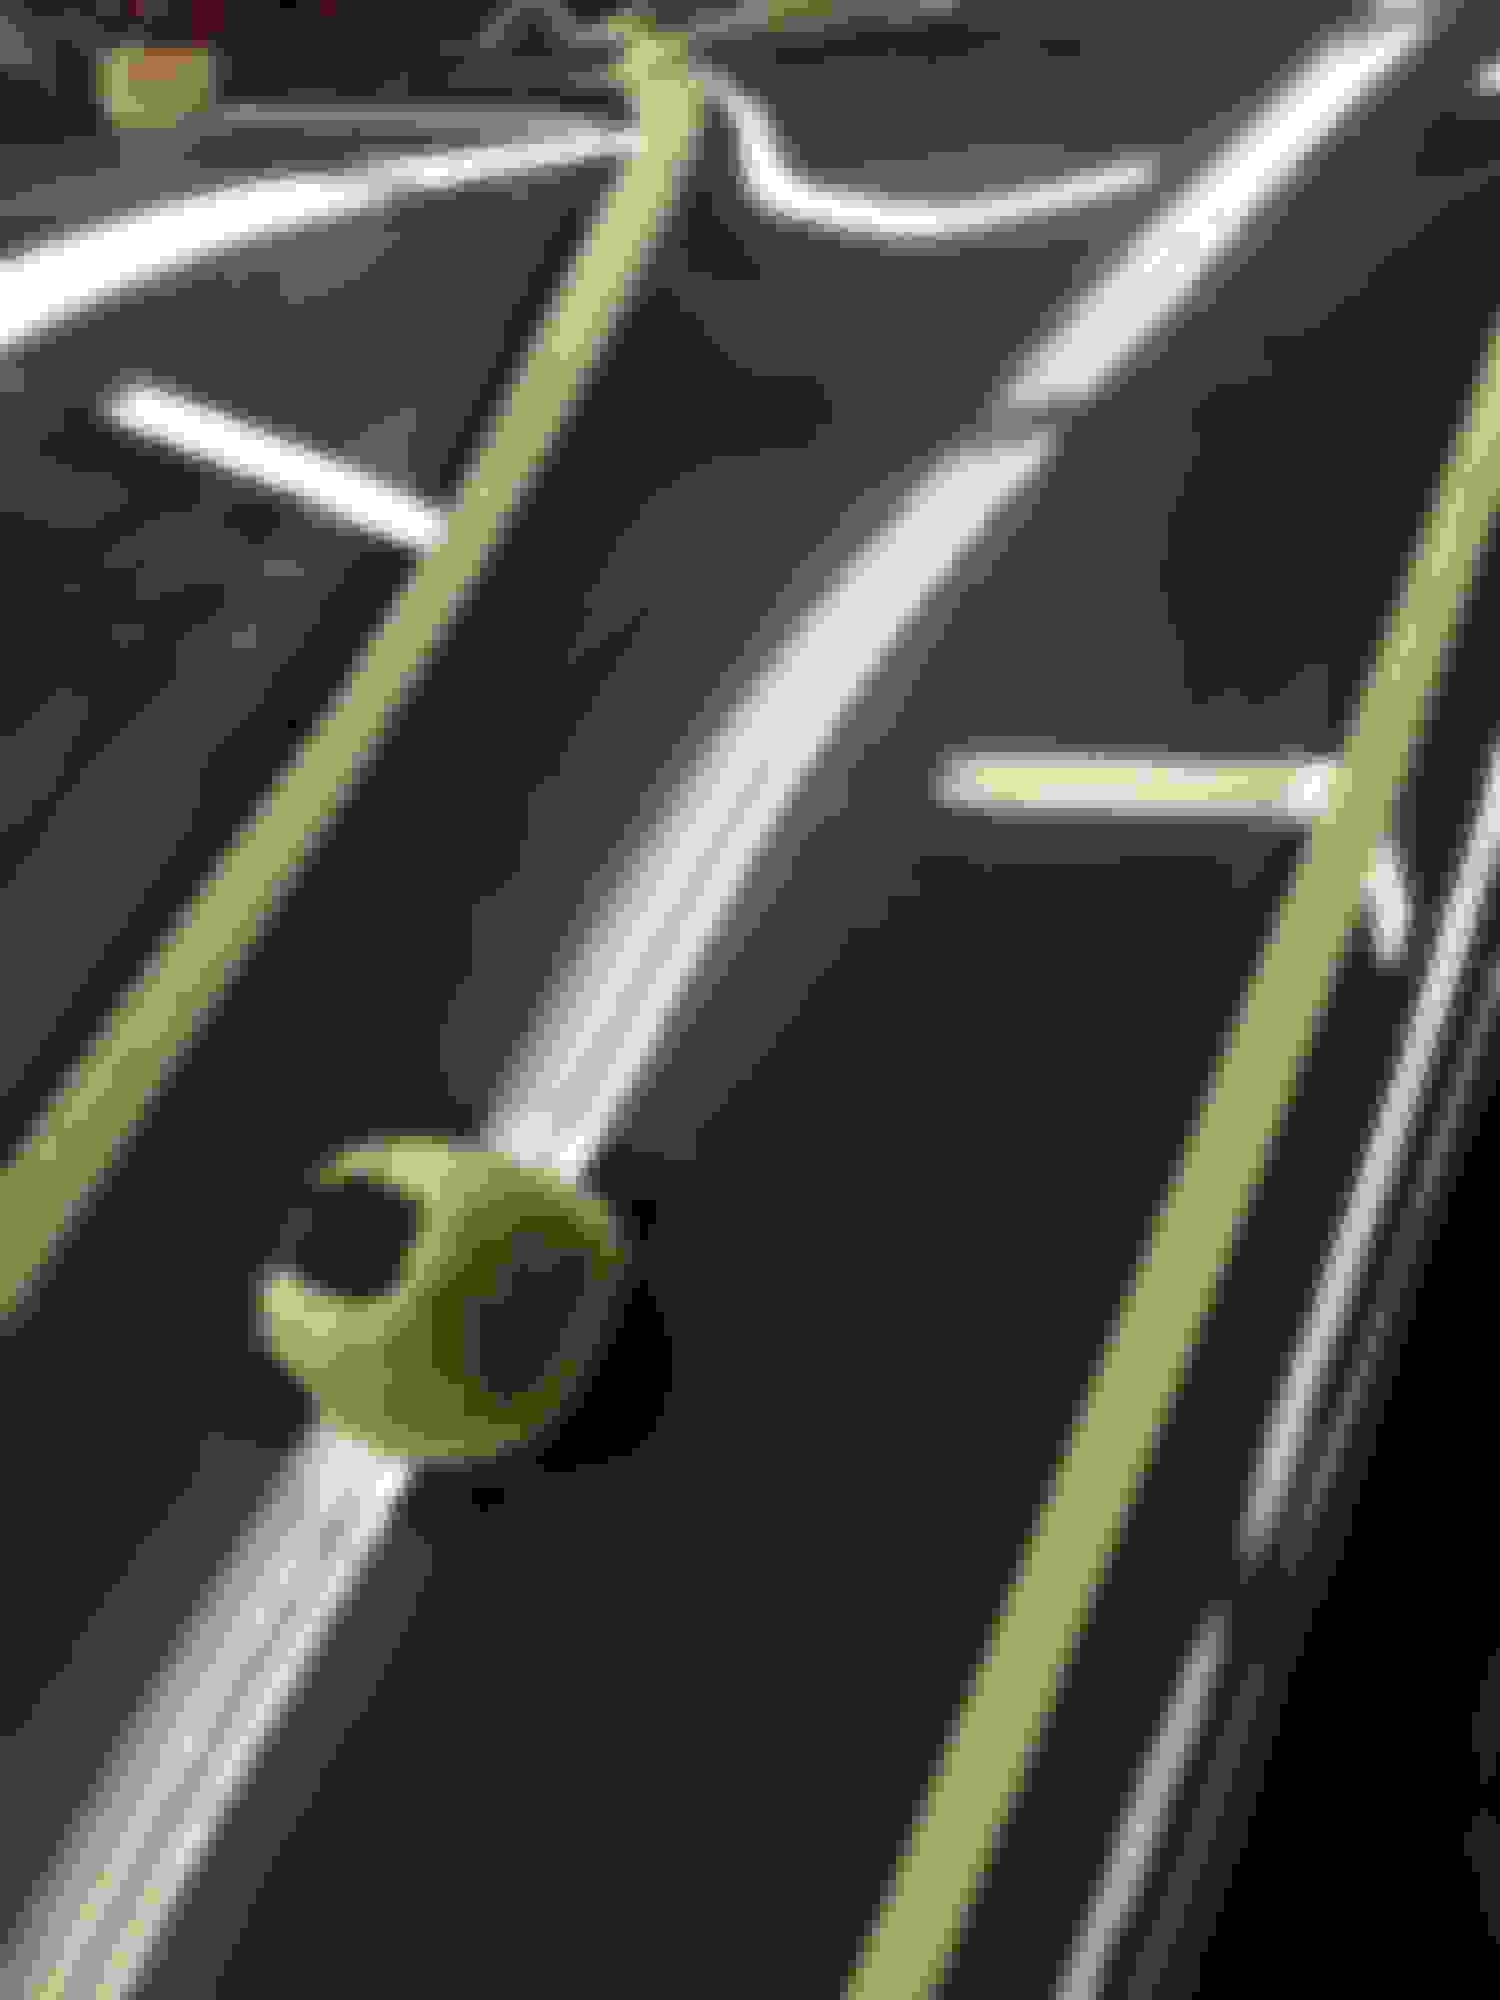
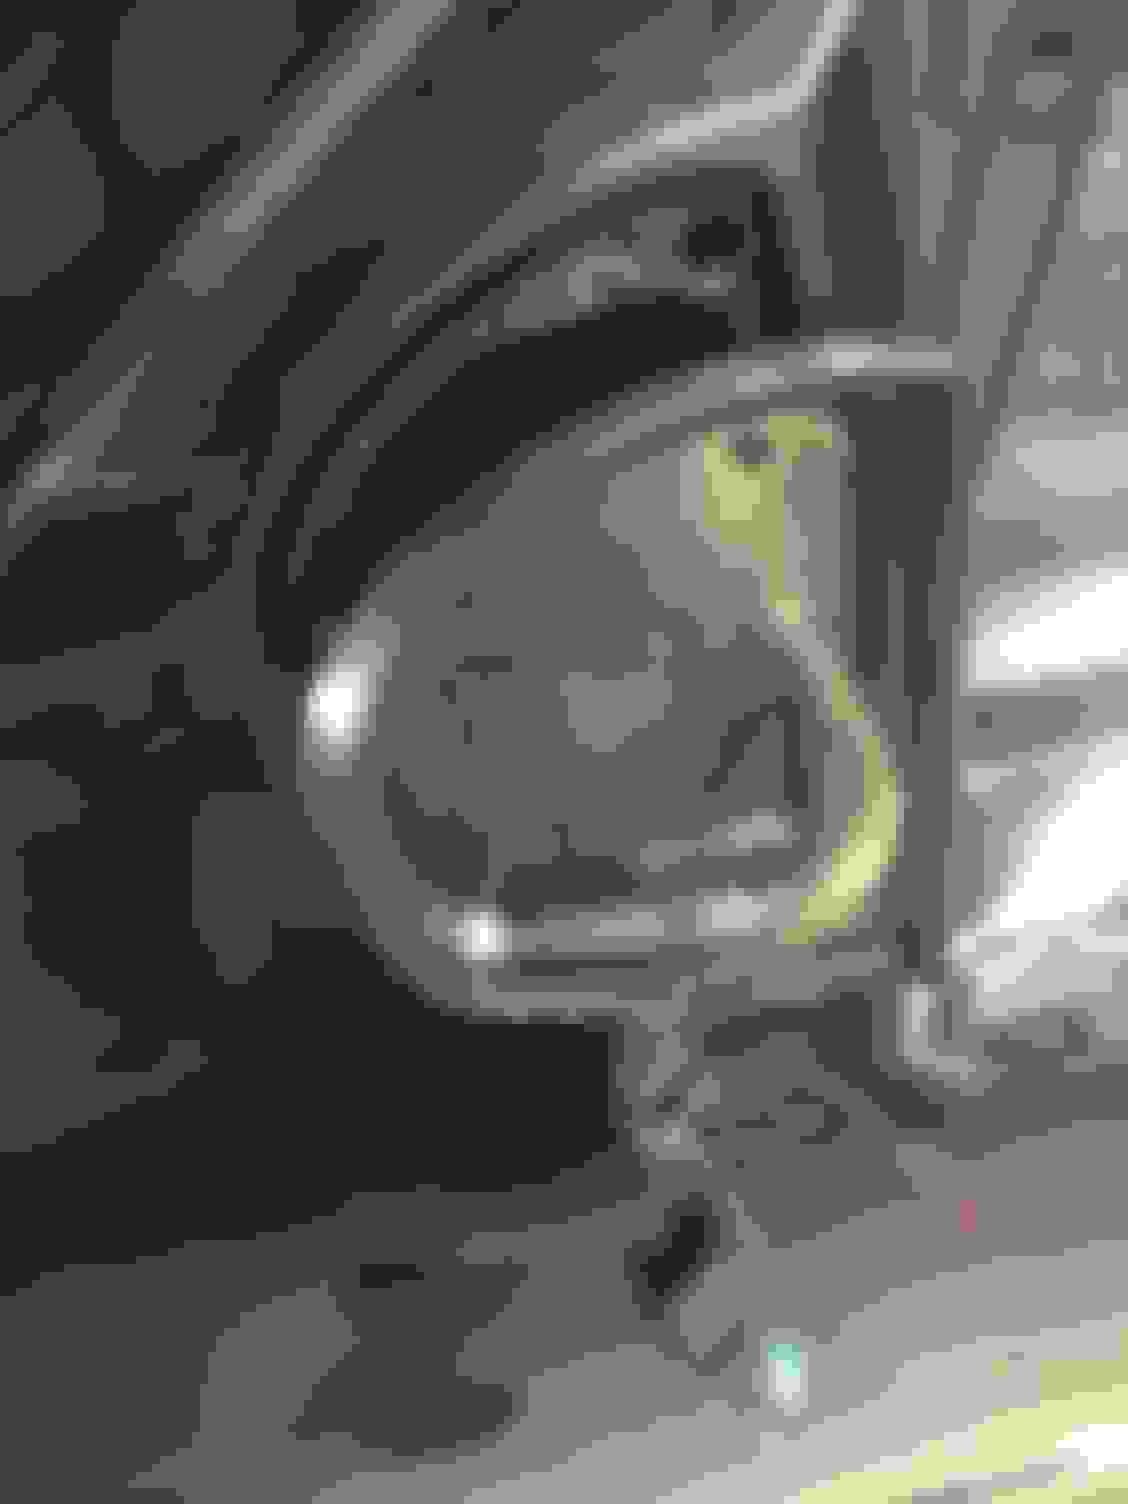
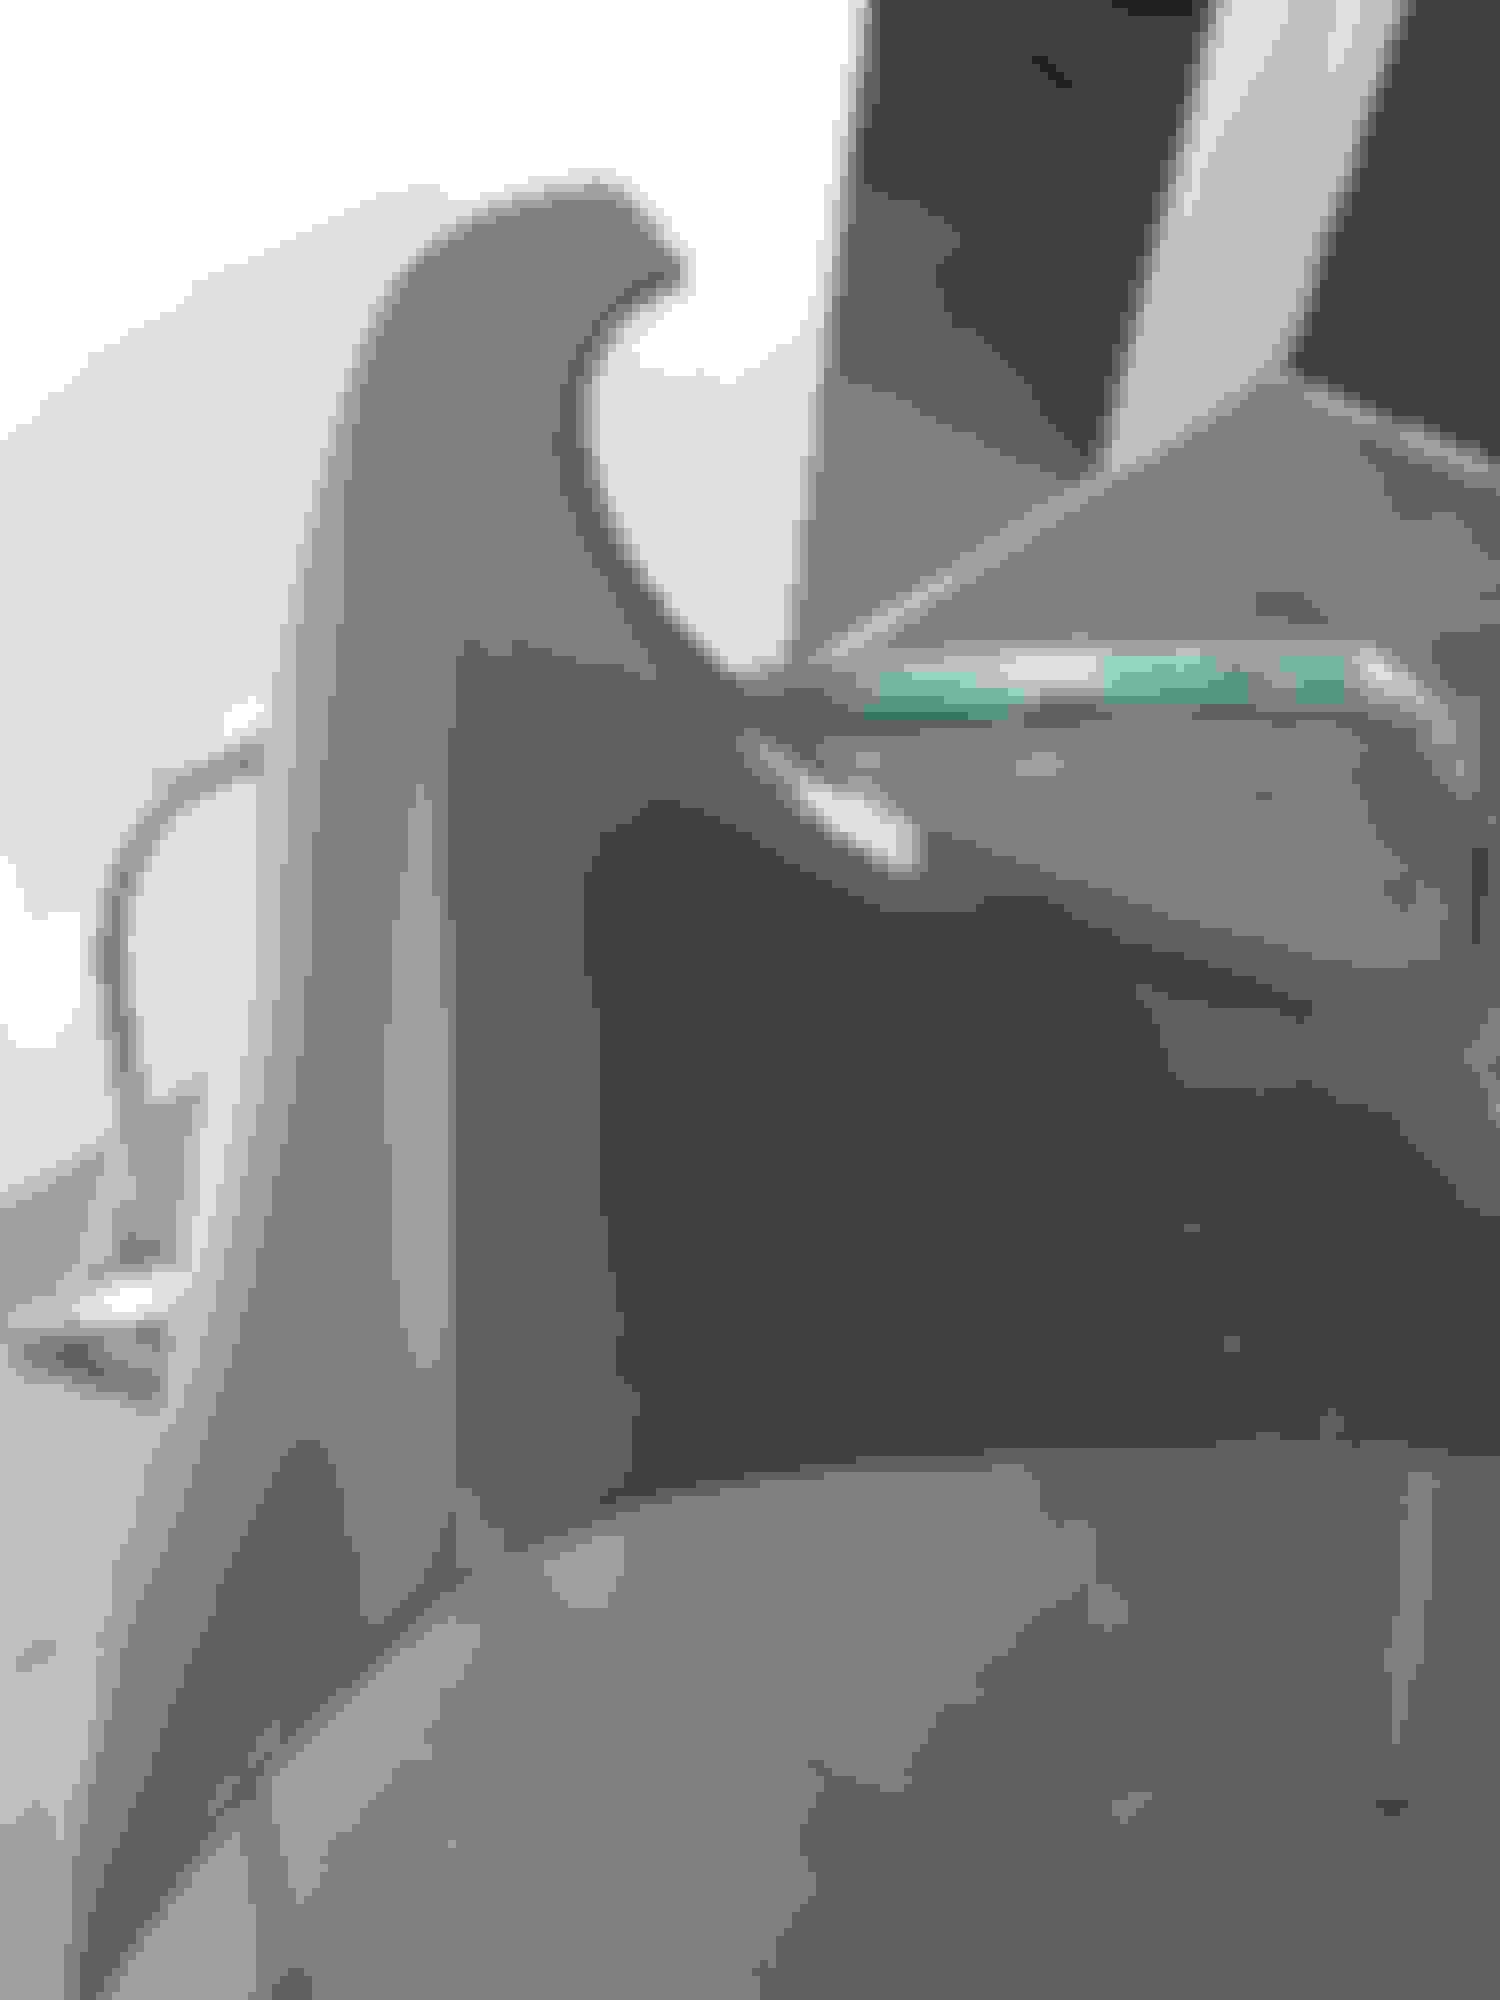
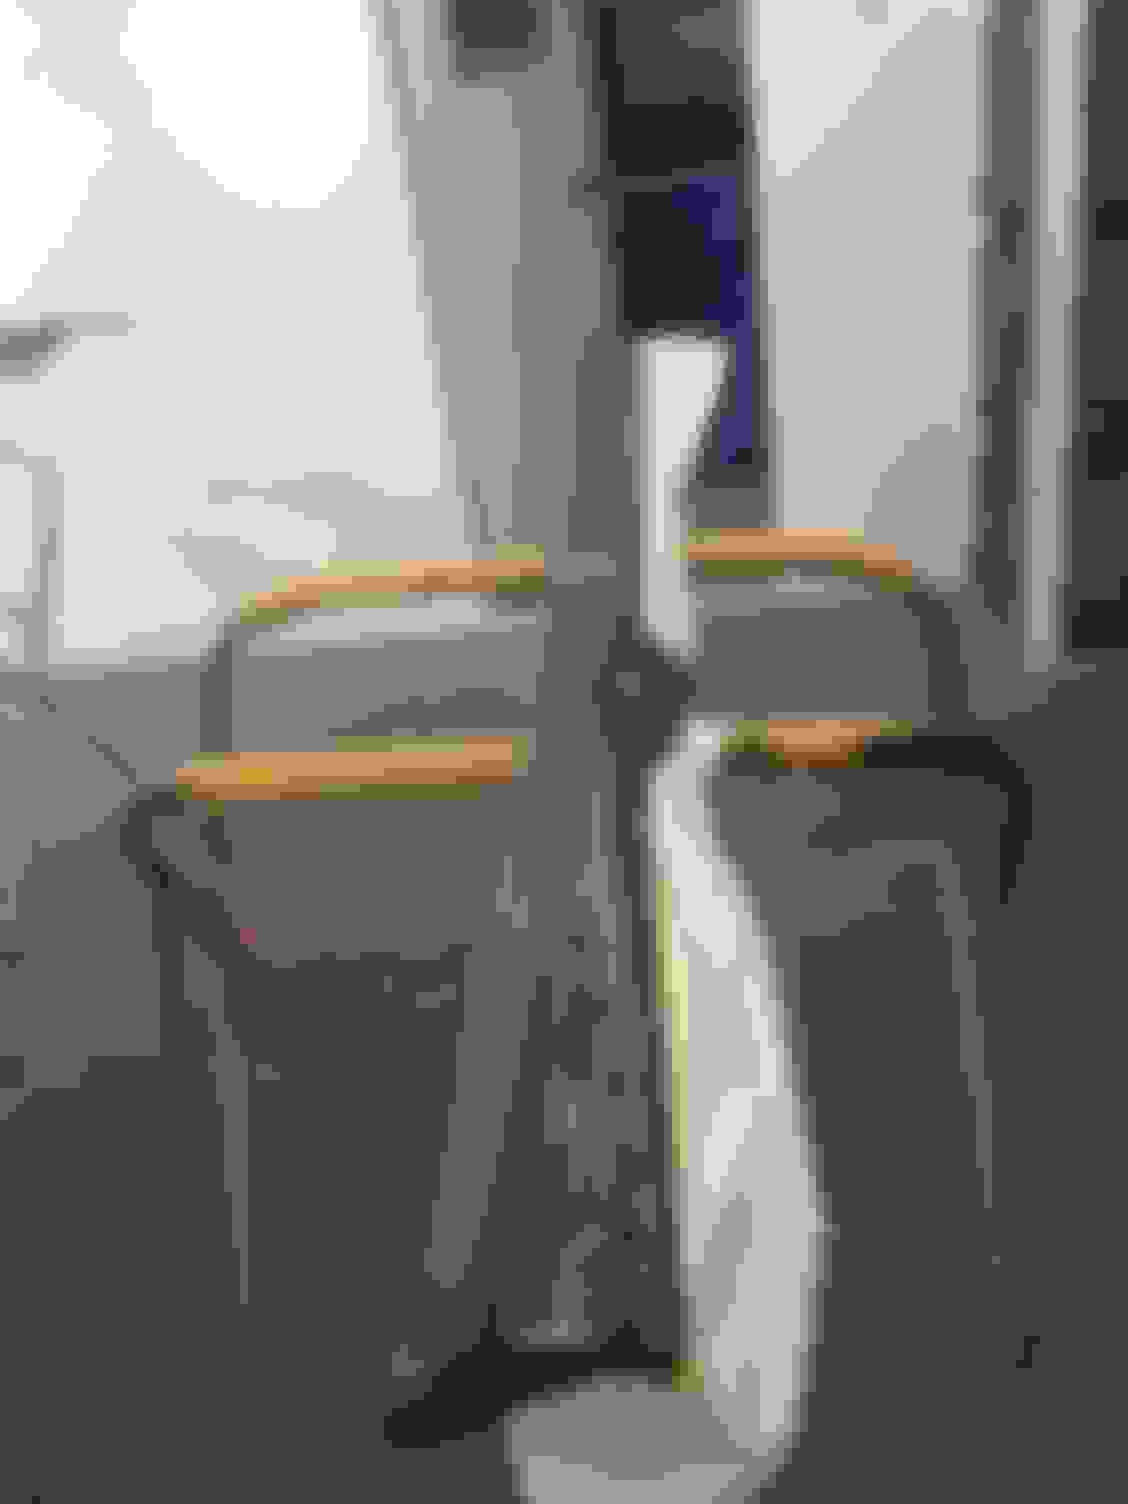
The silver rod with the bend is what holds the glass in. It’s hooked in a few places and lifts up to release the mirror.
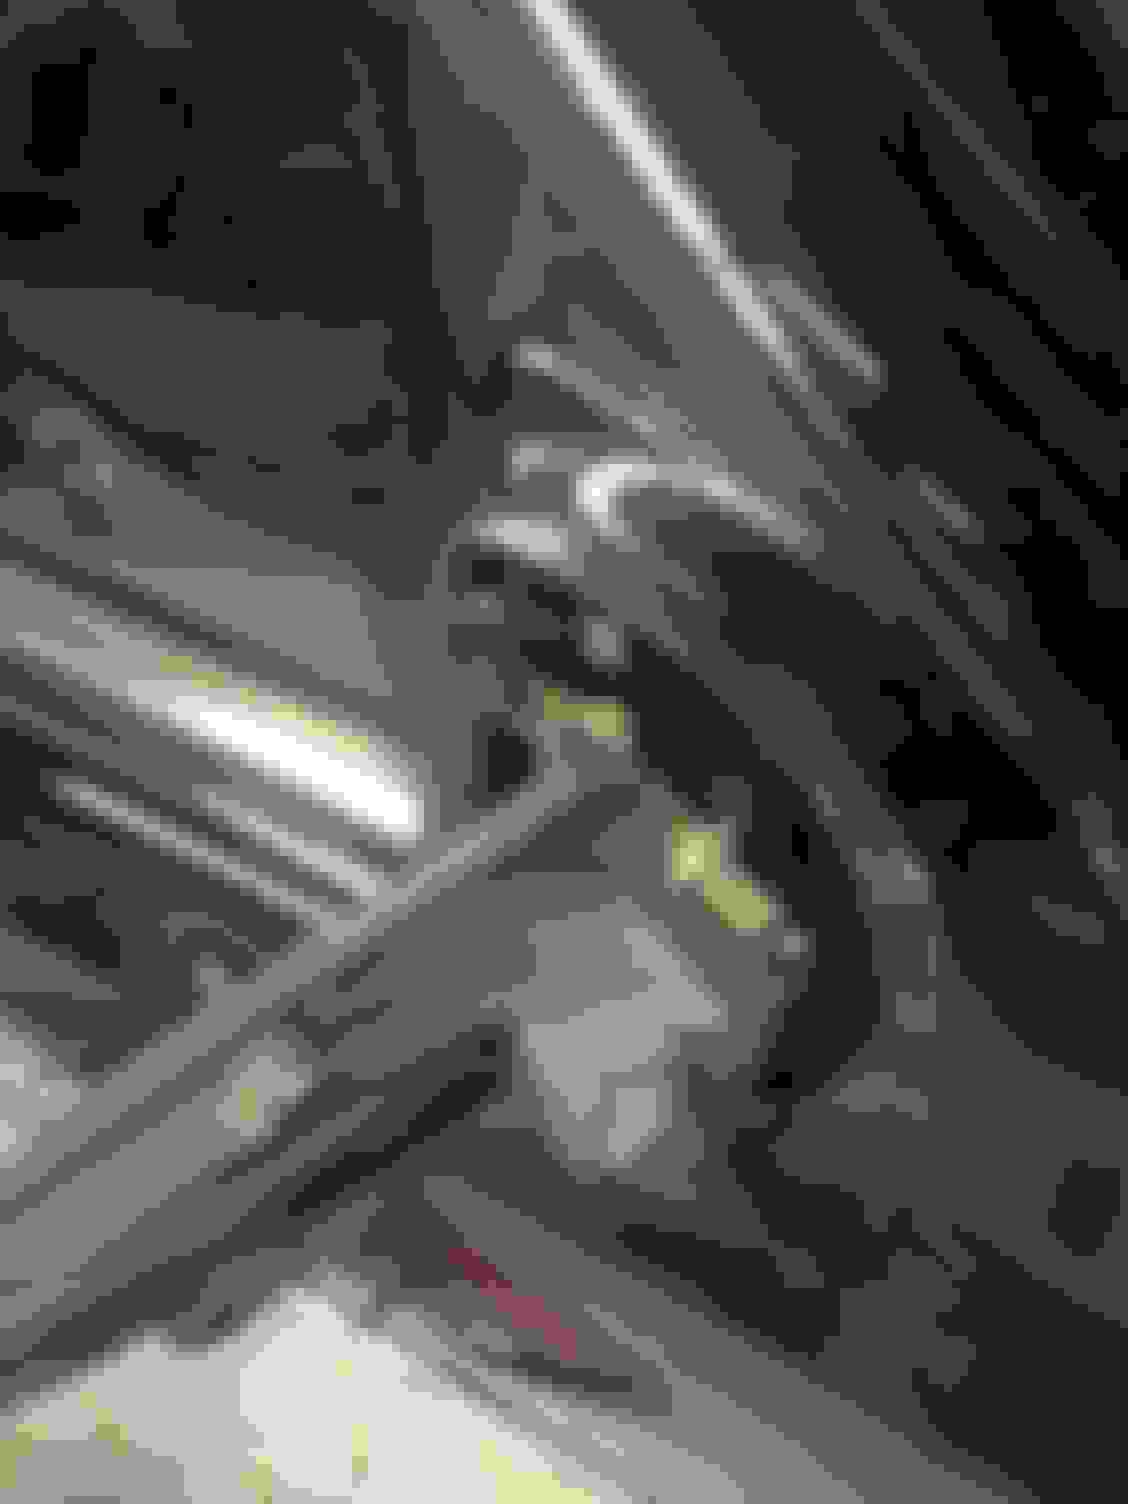
Applied some grease to the metal tabs.
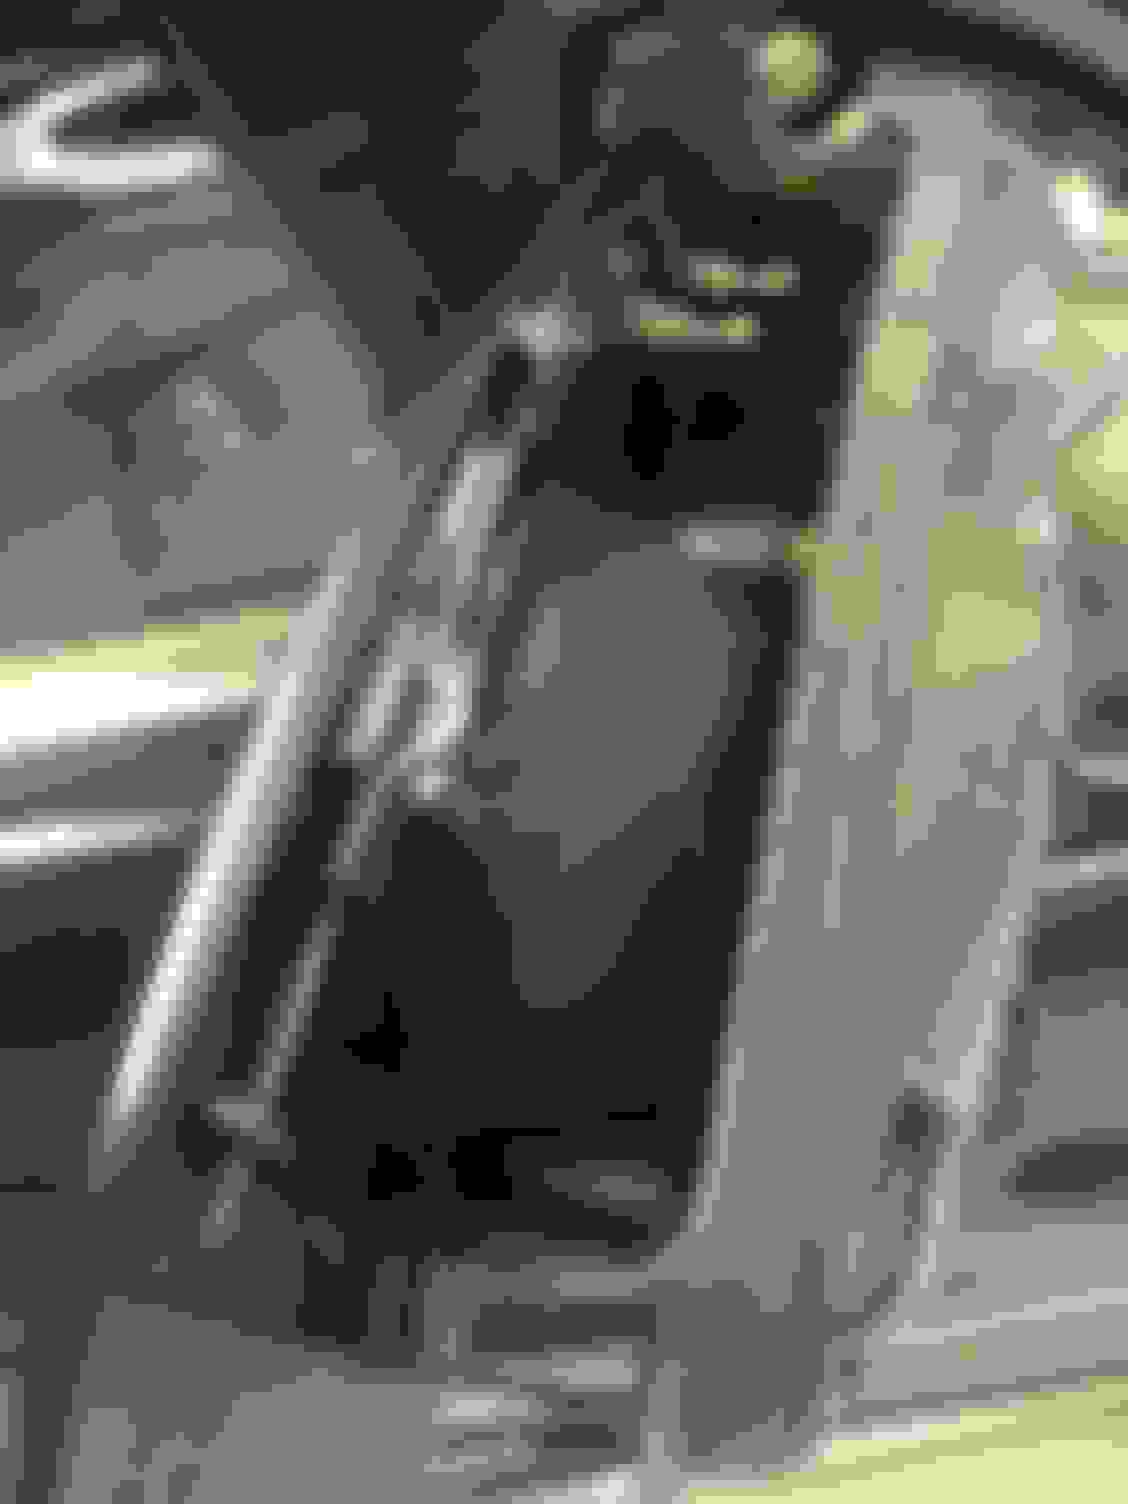
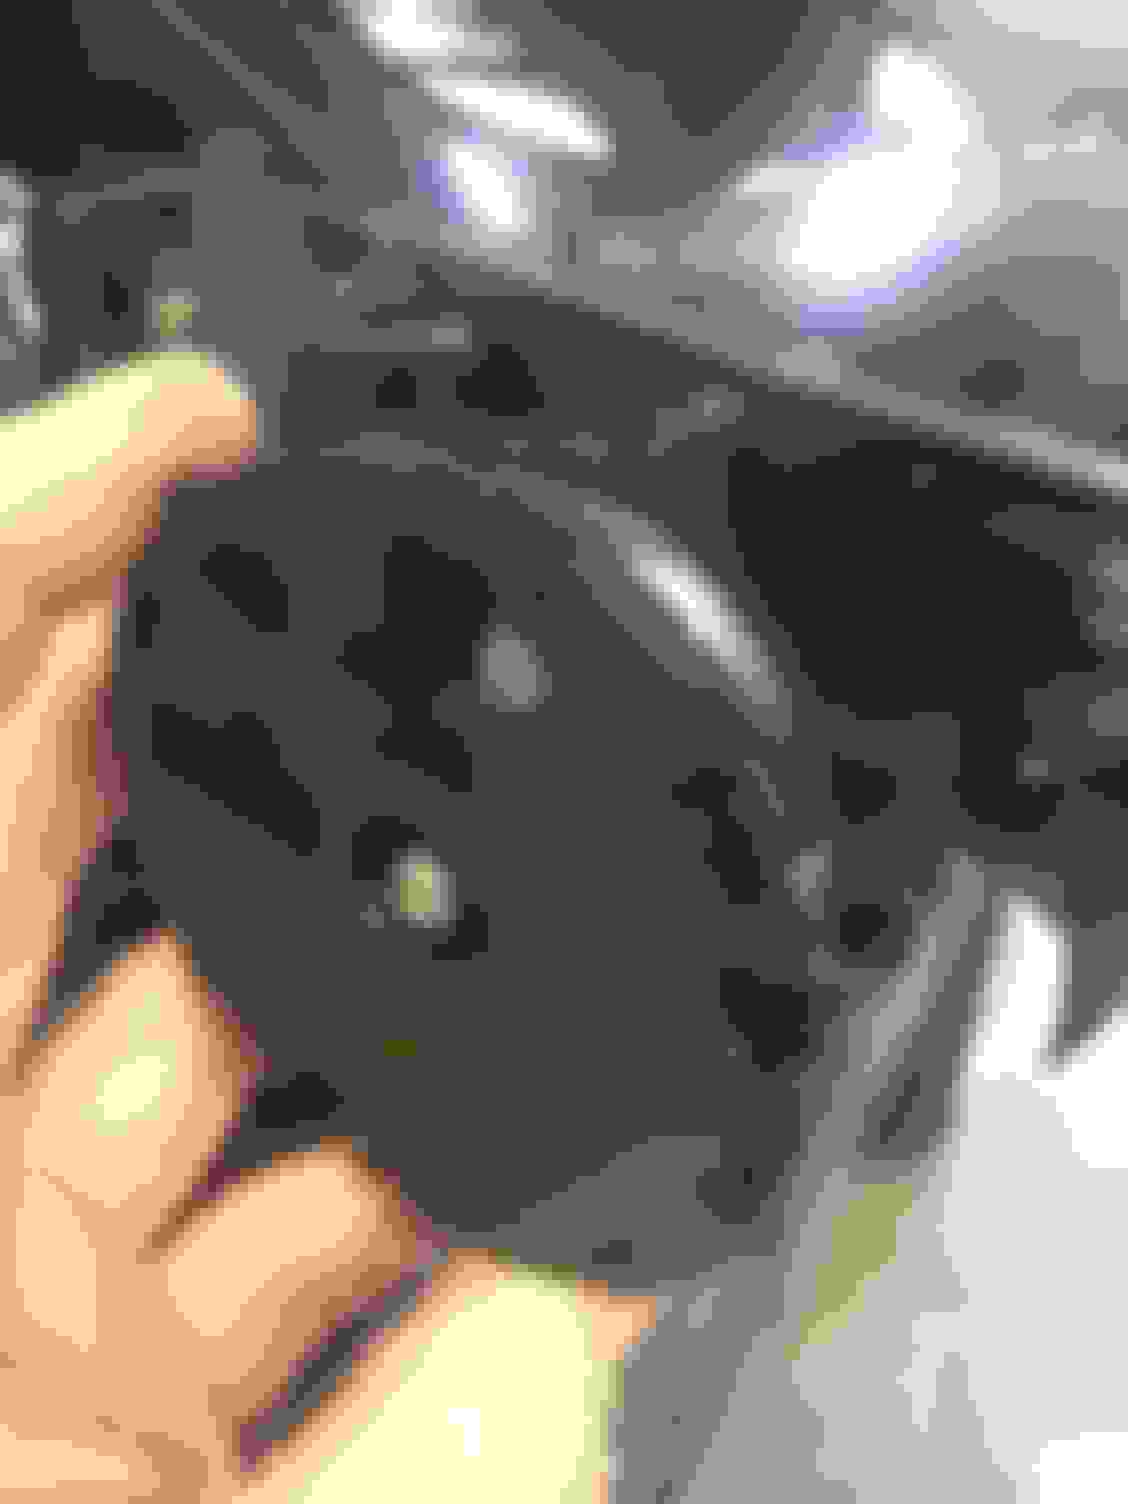
Mirror electric motor.
Like new again!!!
I popped the covers back off and polished them off the car after this pic was taken.
Is anybody else working on their cars?? Spring weather is coming and will be time to get them out and roll!
Always working on her! Compression test & smoke test tomorrow. Redo windows tint next week and hopefully get my 68 fixed pulley back from ZPE with Griptec. Then dyno her for a retune. I�ll try to fit in clay barring her and give her a quick coat of armor shield to brighten her up.
Question...where did you purchase paint for engine cover and surge?
Got new XY Lip from Gary Lo; messed up the old one on parking bumpers.
The Seymour Alumi Blast I get from Tarheel Parts inc. during the Charlotte Auto Fair swap meet. But I see it�s listed on amazon also. It�s good to 250F on Seymours site for 250F.
The Seymour Alumi Blast I get from Tarheel Parts inc. during the Charlotte Auto Fair swap meet. But I see it�s listed on amazon also. It�s good to 250F on Seymours site for 250F.
thanks T, I found the black Wrinkle and aluminum blast in autozone. Can�t find the bumper coater. I�ll google...saw bumper coater in Home Depot but not SEM brand
While color sanding the front fenders, I cut through the color on both of them. This isn�t the first time in my career that this has happened and I�m sure won�t be my last.
Left side fender I knew the fender had previously been resprayed and afterwards had been color sanded and polished making the clear thin and is the cause of me cutting through into the color.
Right side fender had a previous PDR spot (not done by me) that remained a little too high and while I was color sanding I cut through it too.
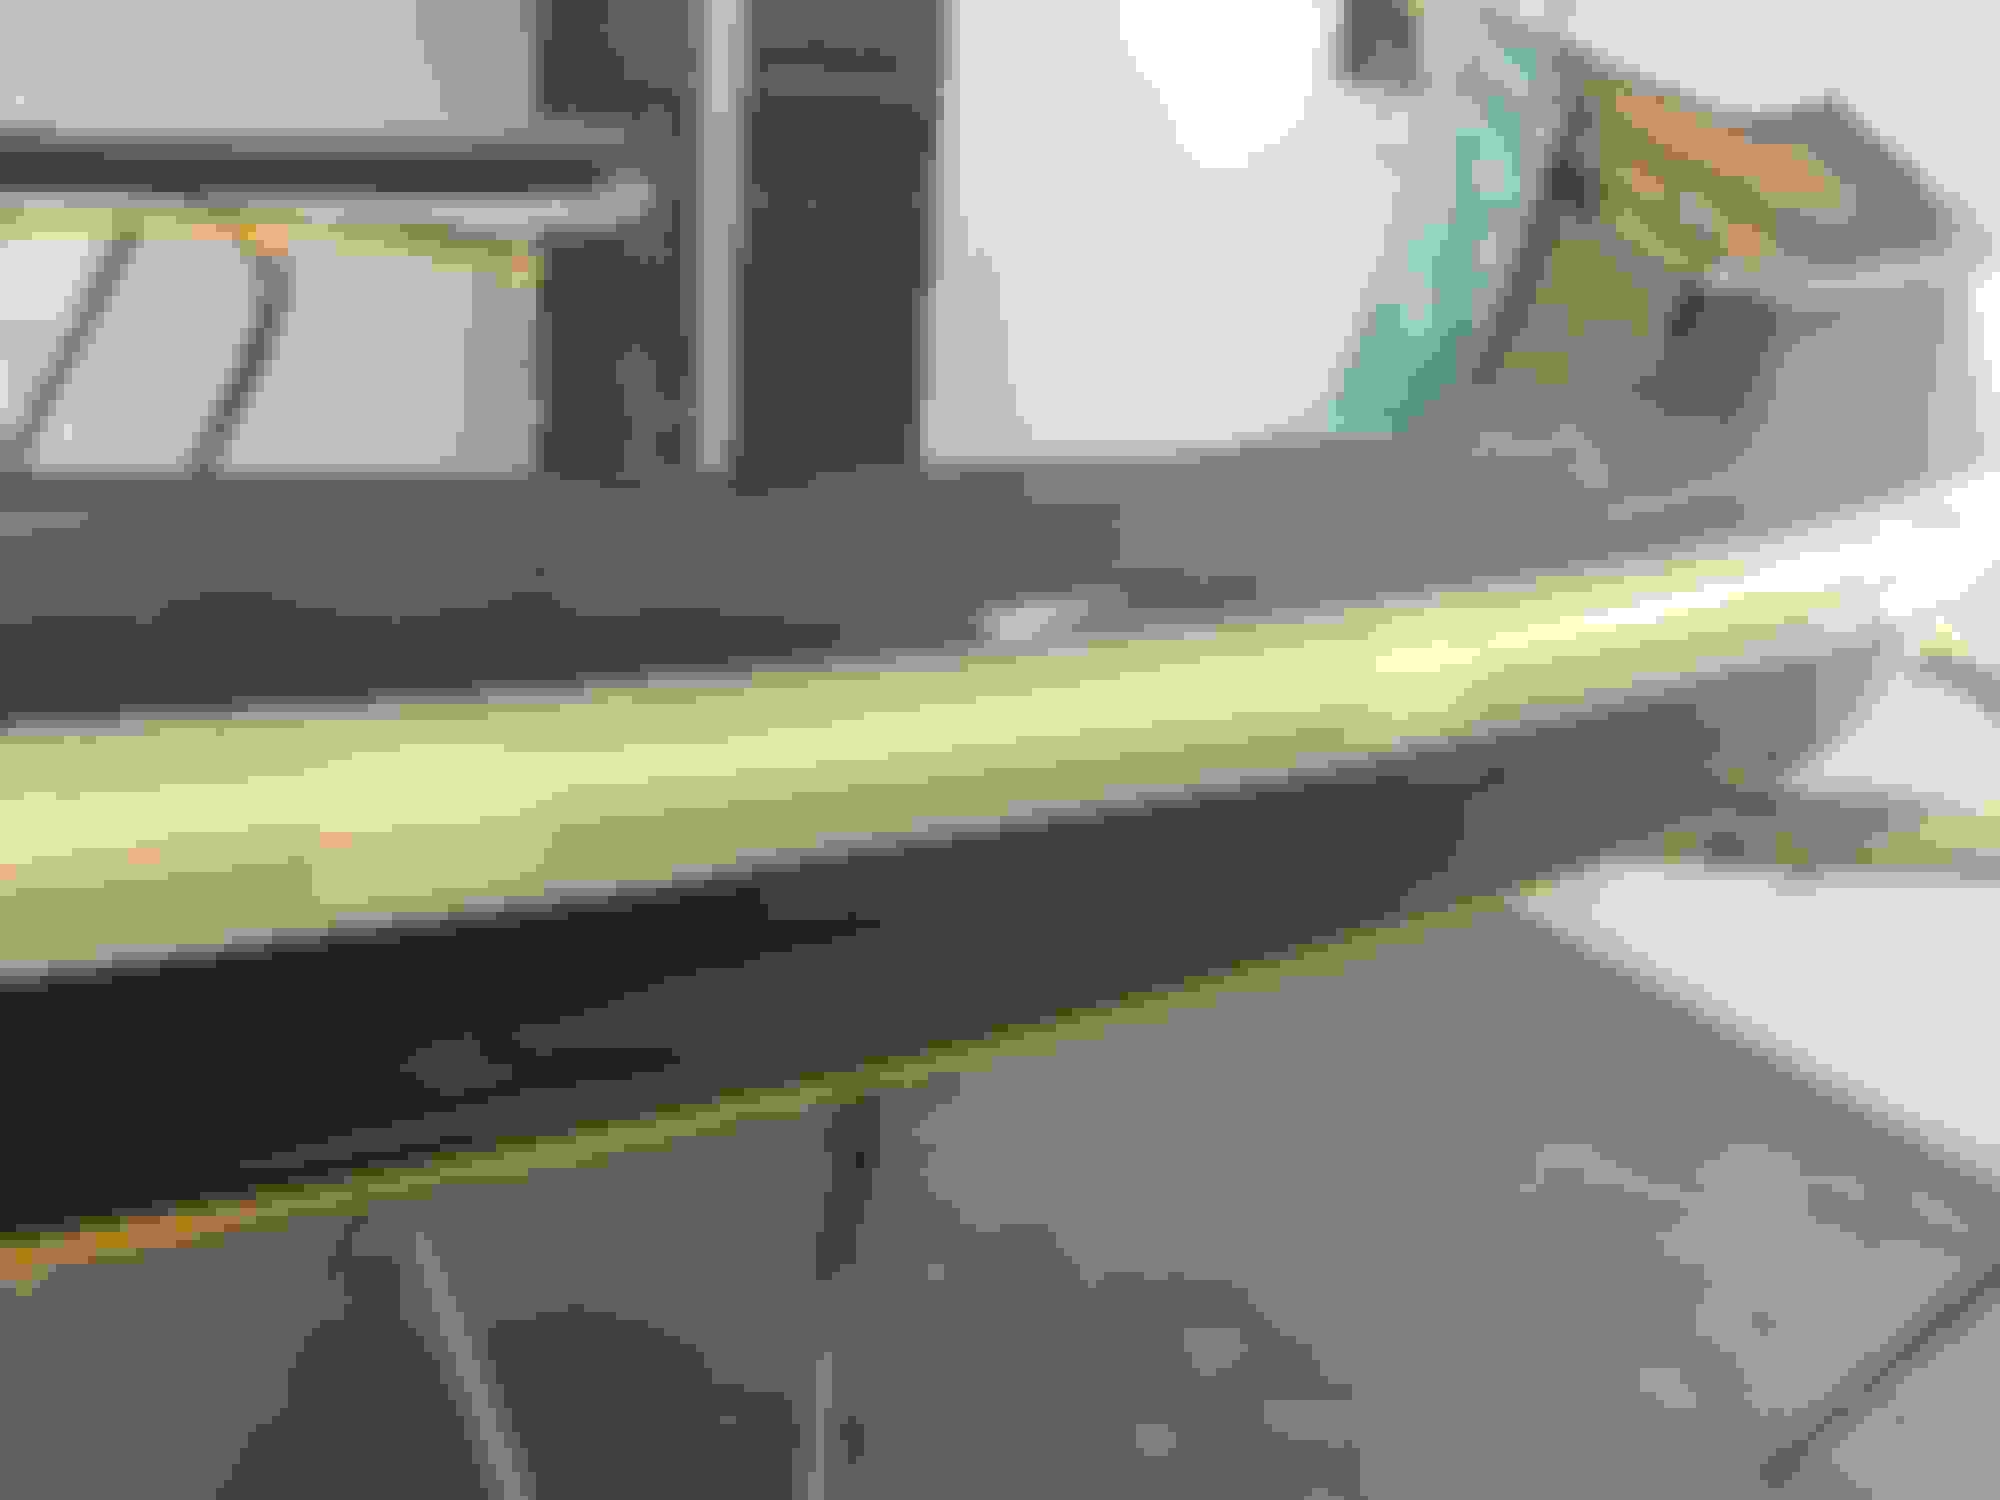
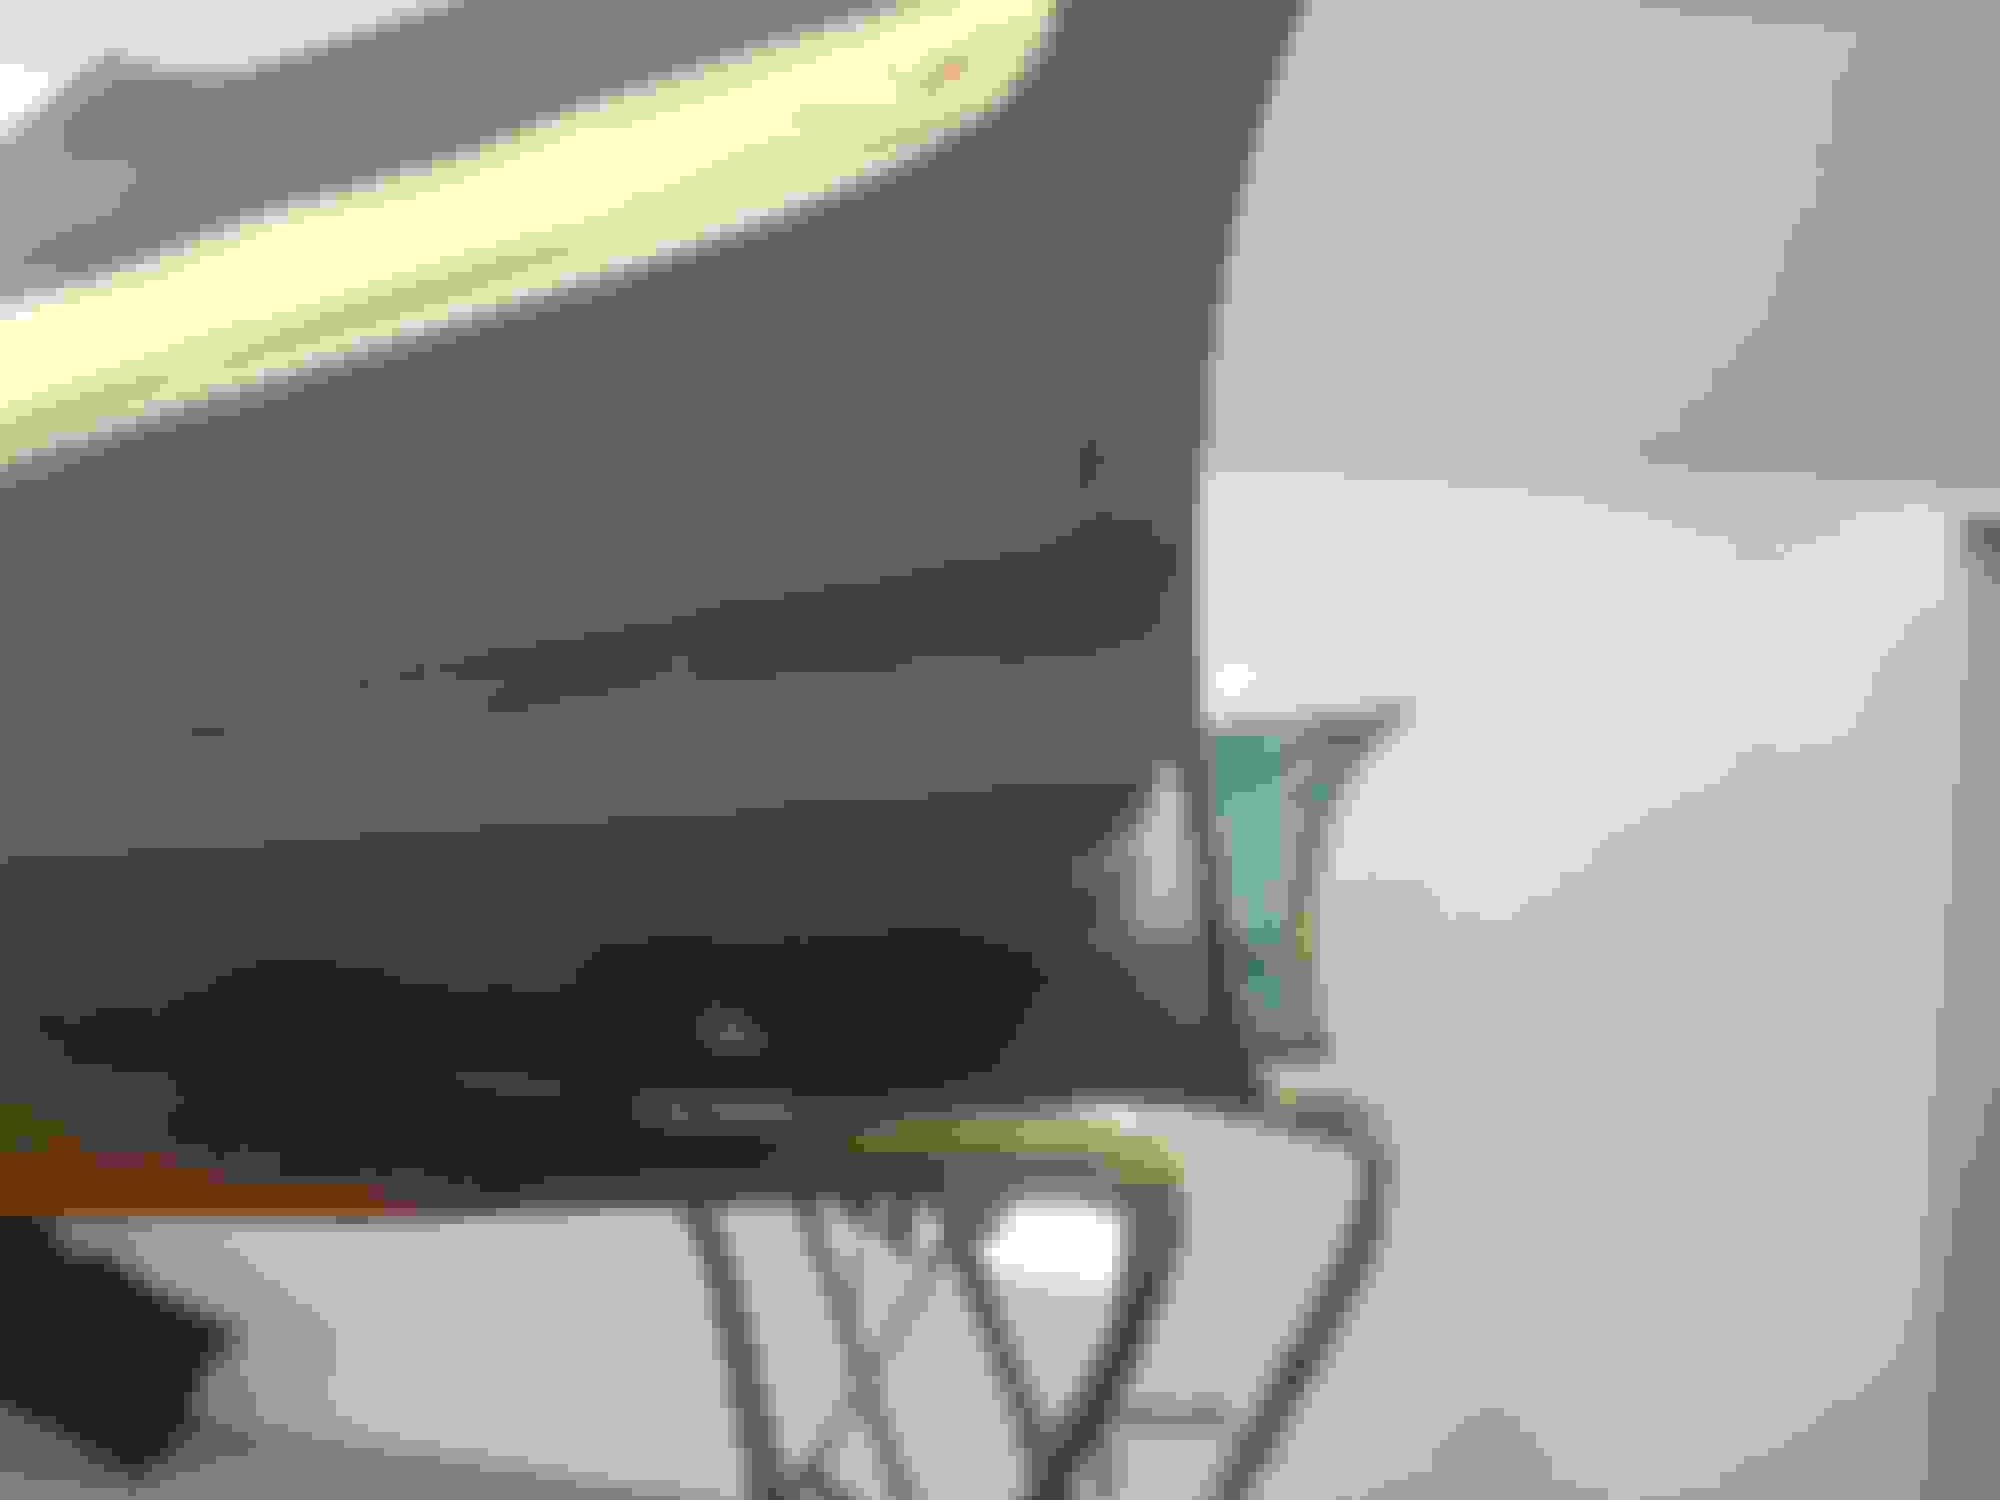
Left side cut through.
Right side PDR high spot cut through.
At this point the next step was to remove the emblems.
Heavy fishing line will cut the adhesive tape loose and not scar the paint surface.
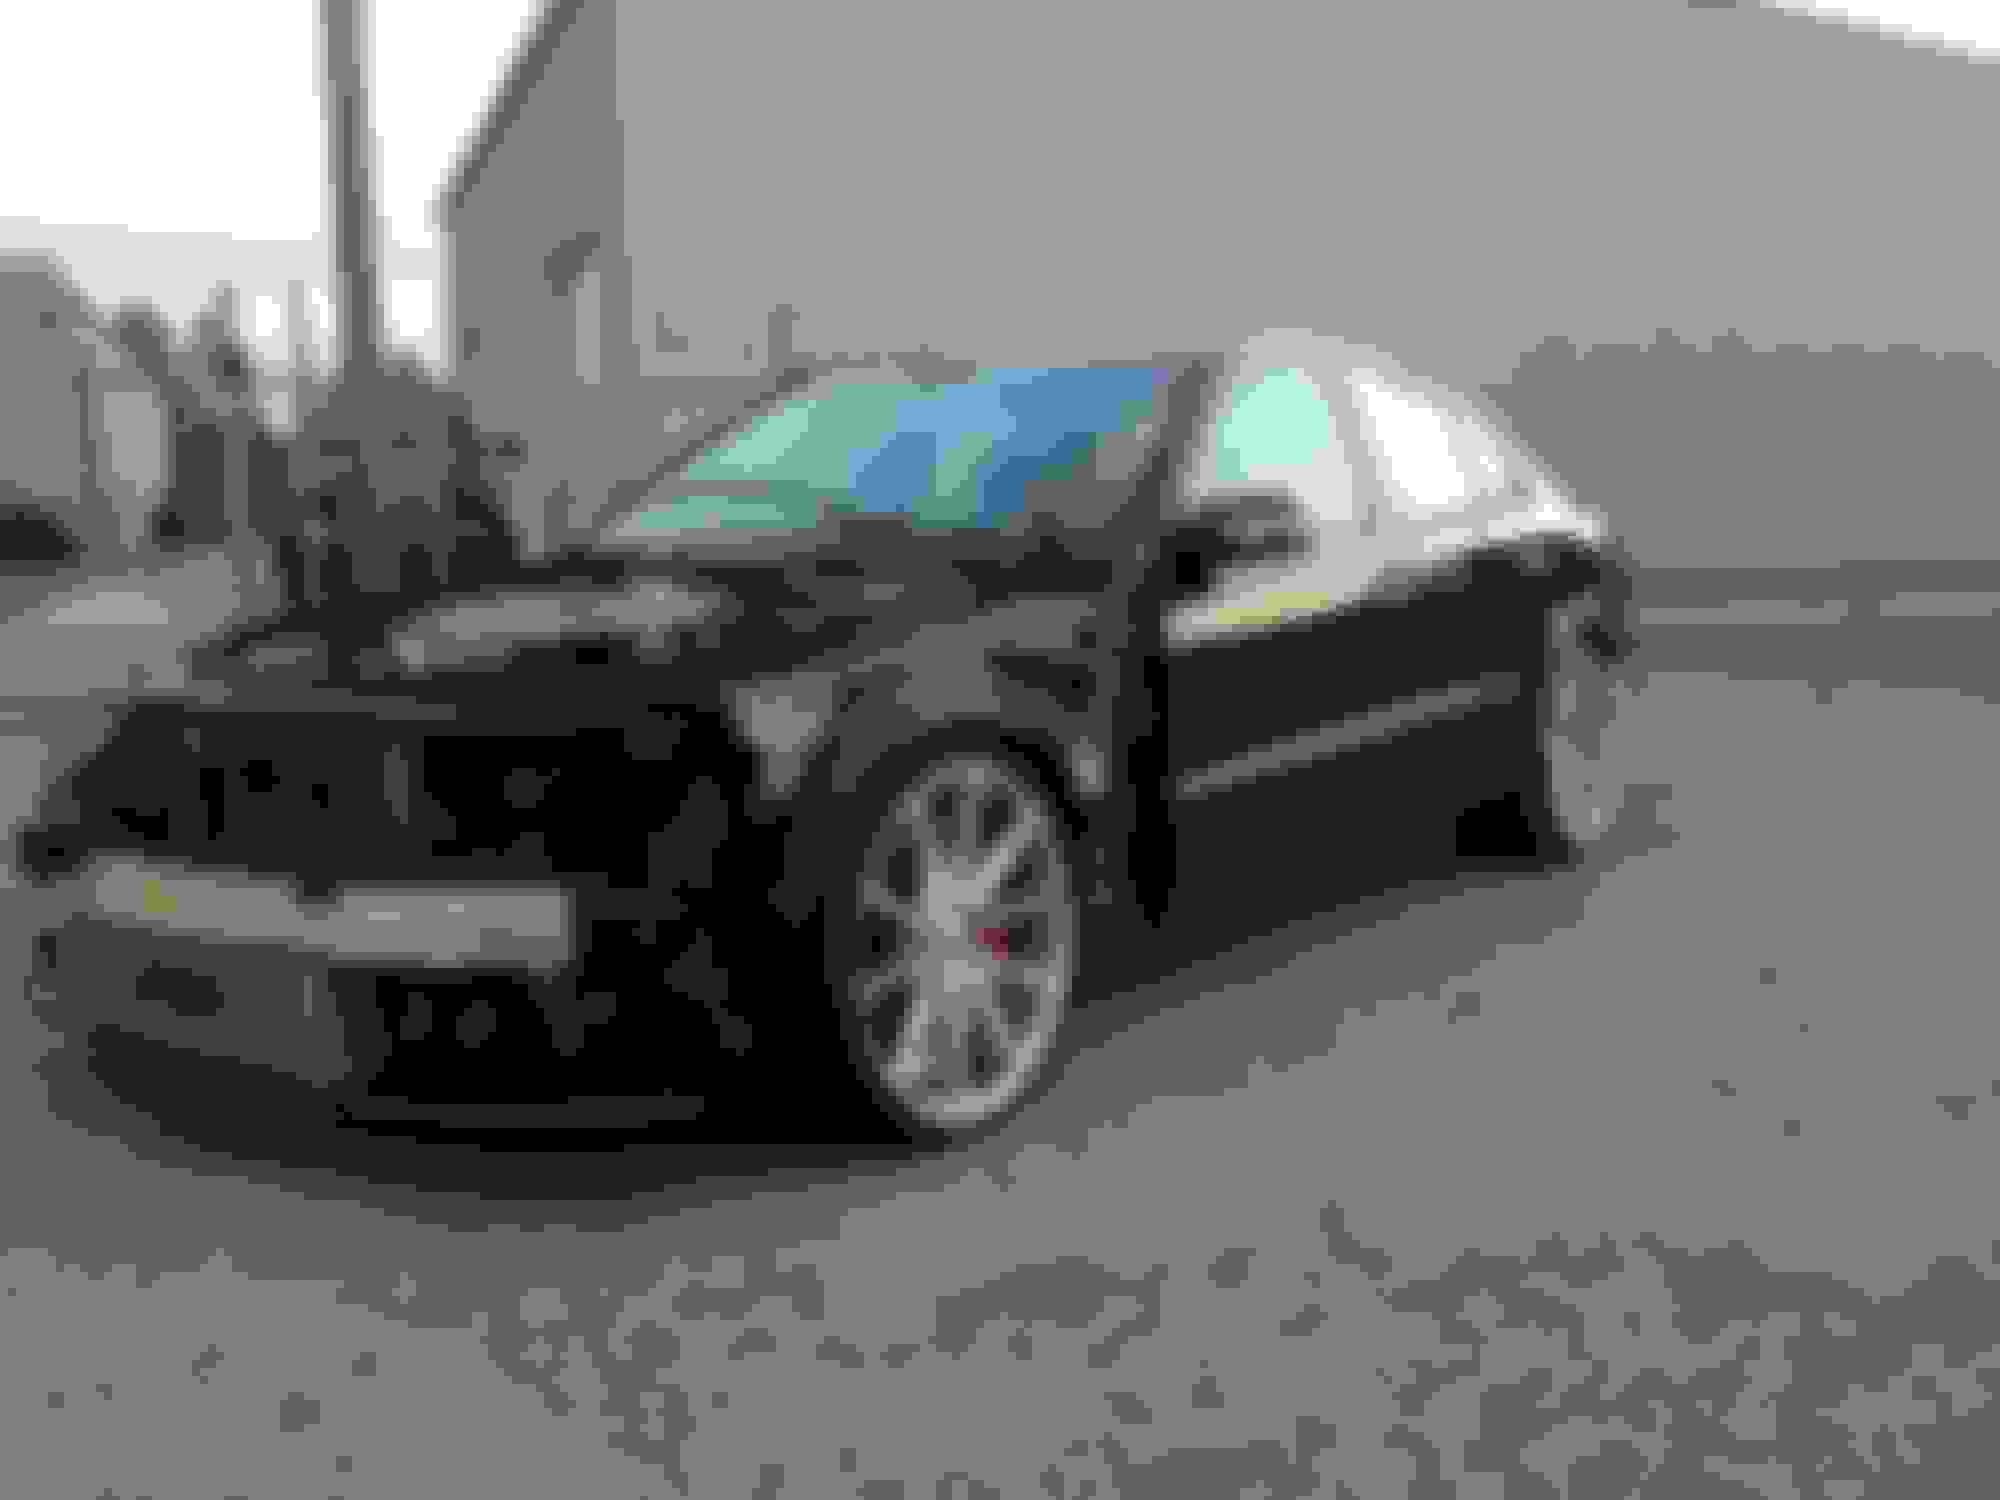
Pulled the car outside to check out the polish work on the paint. Working with the Capri blue color is about like working with a black car. Everything has to be looked over several times for missed places or swirl marks.
I removed the side skirts as they have a few scratches along with the sand blast at the lower sections of the panels from the highway driving. I also found a previous paint blend on the rear bumper that wasn�t up to standards, and a few scratches near the trunk opening, probably from getting things out of the trunk. So I�m going to refinish these along with the front end parts.
I was able to repair the right fender with very little filler. The ding was small since it had been PDR. I used a 2 part finishing putty then primed it with a 2k primer. I took care of the rock chips on the front edges of both fenders also. I�ll let it dry for a day then get the primed area block sanded and ready for paint.
The left fender was just a cut through of the color and clear coats so no bodywork was needed.
I�ll only color what�s needed and blend towards the rear of the fender leaving the original color at the back where it meets the door and then clear the entire panels. When it�s done the blend shouldn�t be visible and the fenders still match the doors.
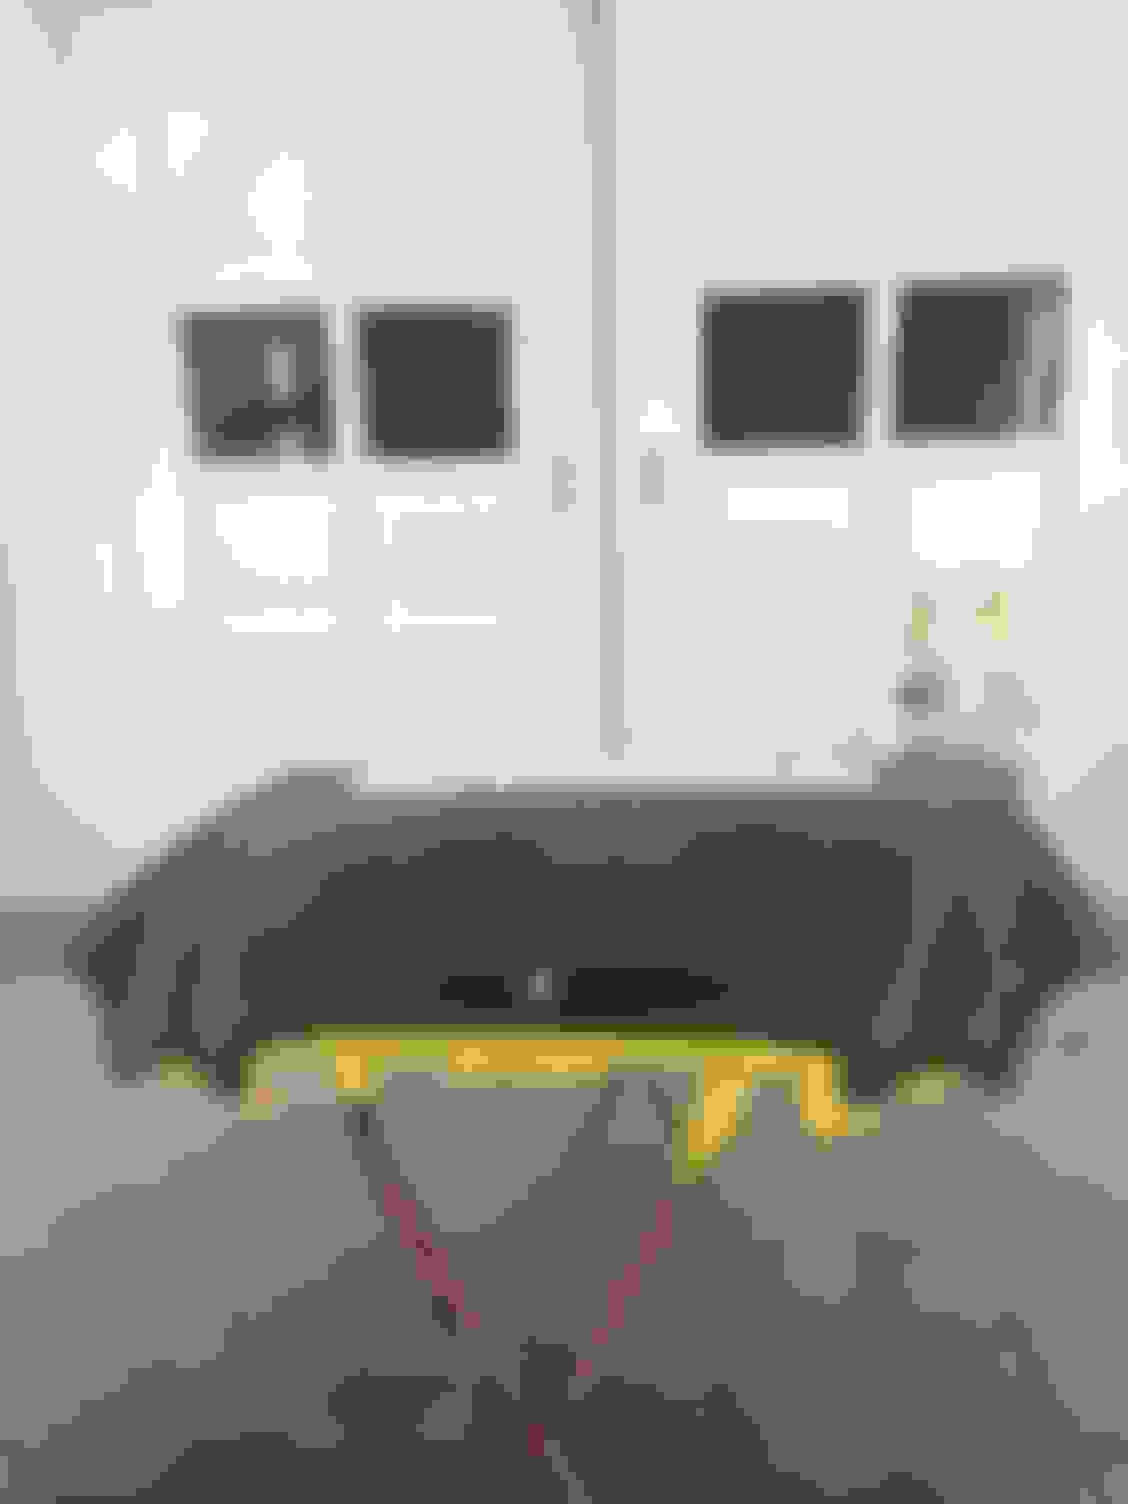
Prepping some panels for primer! All of the panels removed were completely disassembled and washed on the front and back sides before starting the repairs.
The hood had scratches all over and numerous small rock chips a long the front edge and through the middle. Some of them where feathered out of the paint and some where small enough that the primer would cover.
The front bumper cover had a few scratches along the bottom and rock chips. Nothing that needed plastic repair, most would fill in with the primer also.
Side skirts had normal sandblast at the lower parts and one had some scratches along the bottom maybe from running over something in the highway. Sanding them out wasn�t a problem.
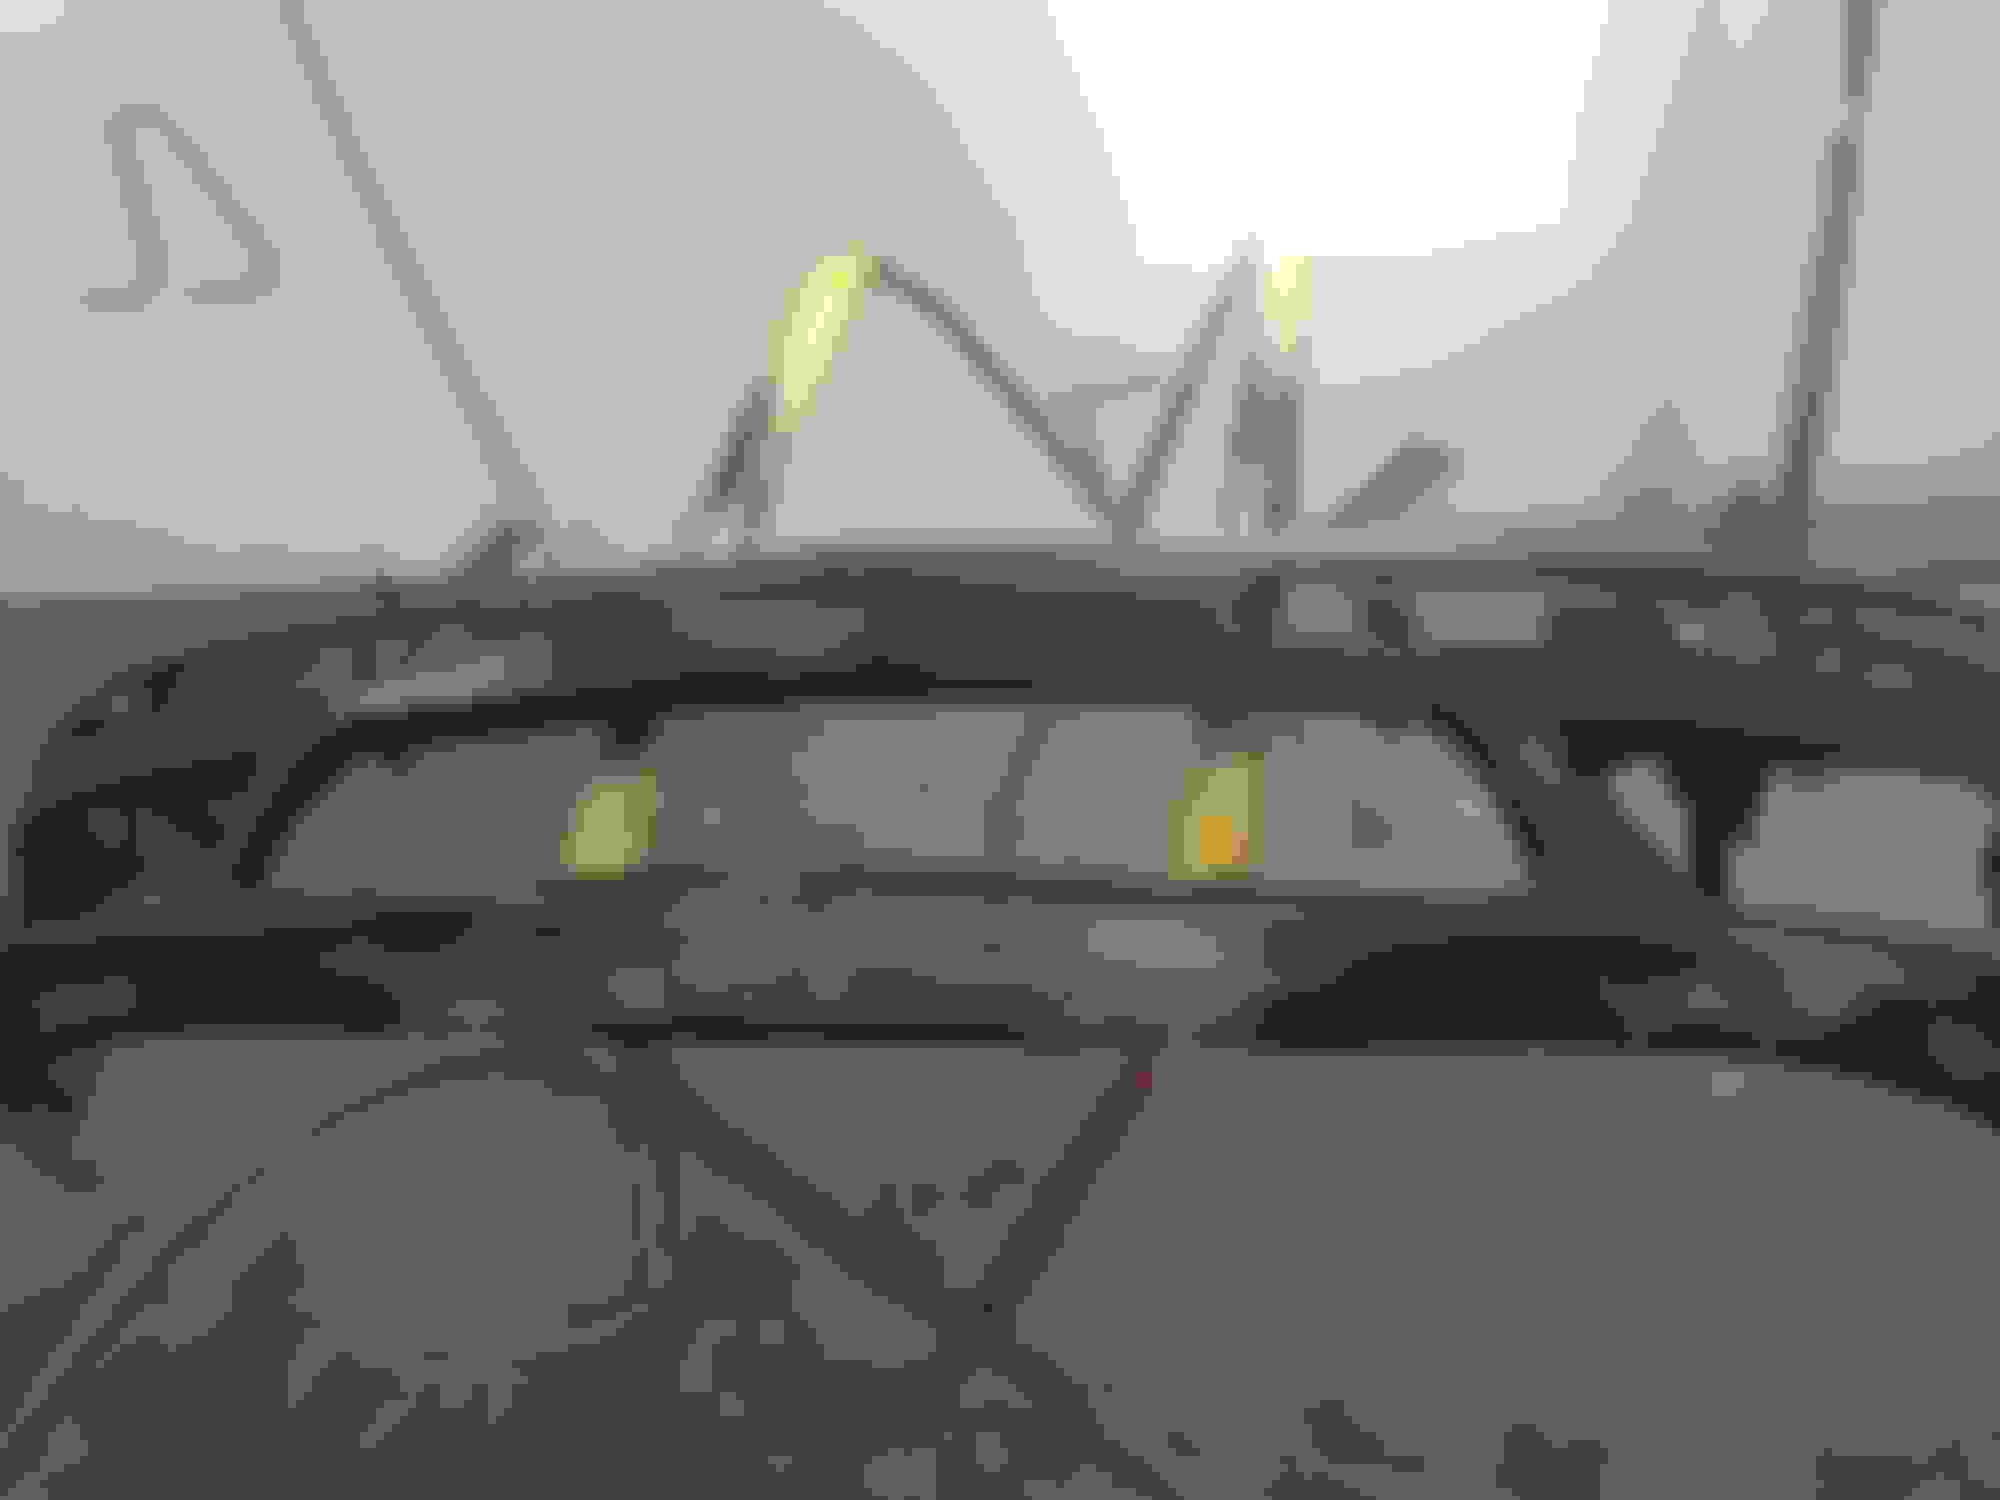
The rear bumper had a previous color blend and a few places in it that needed attention. One area along near where it meets the trunk opening and the mldg in the middle of the bumper at the same place. I�m sure it was from getting things from the trunk.
The bumper mldgs are removed and the tan tape is just to keep primer out of that area. The entire bumper will be colored when sprayed.

 02-25-2020, 12:19 PM