When you click on links to various merchants on this site and make a purchase, this can result in this site earning a commission. Affiliate programs and affiliations include, but are not limited to, the eBay Partner Network.
There�s been topics before on what to do with discolored faded headlights. Sanding and polishing, sanding and clearing, and of course replacing them.
I have been sanding them and removing the damaged layer (considering that it�s OG headlights) then spraying a automotive urethane clear coat on them. If they have been coated before and are flaking all of that material will need to be removed before applying new clear.
Everyone has their own preference and I�m not saying the way I do it is right or that it will last forever, but it does turn out nice.
It�s better than store bought restoration kits with clear products to coat them with for sure. I�ve seen several sets of headlights that have been bubbling and flaking off.
Any good collision repair shop should be able to do this for you using automotive urethane clear coat.
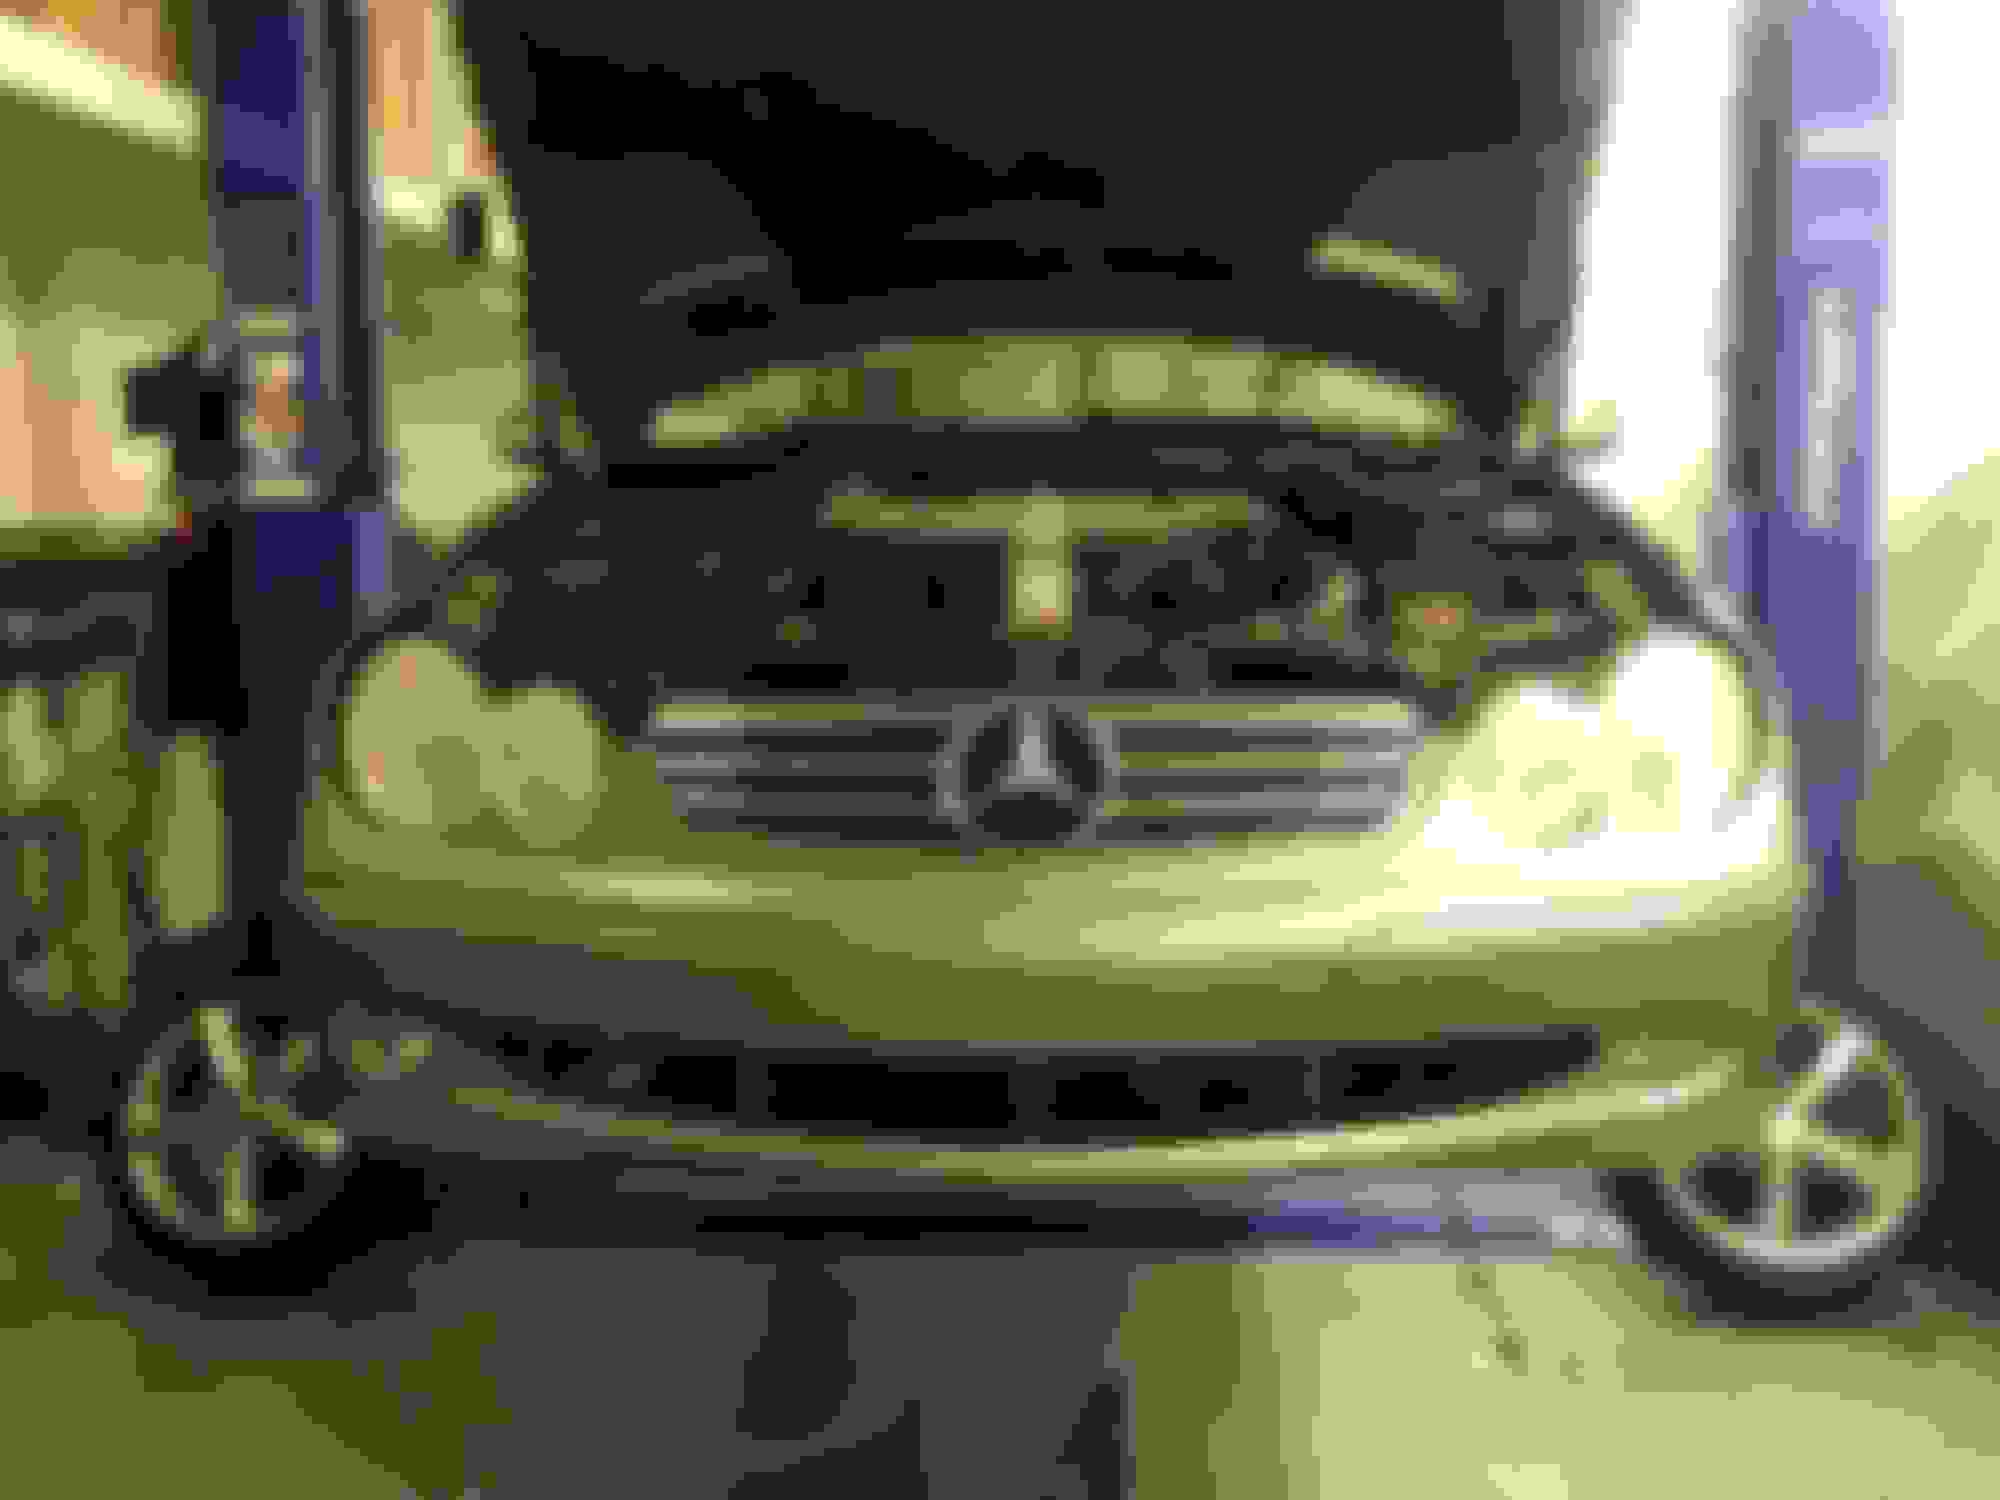
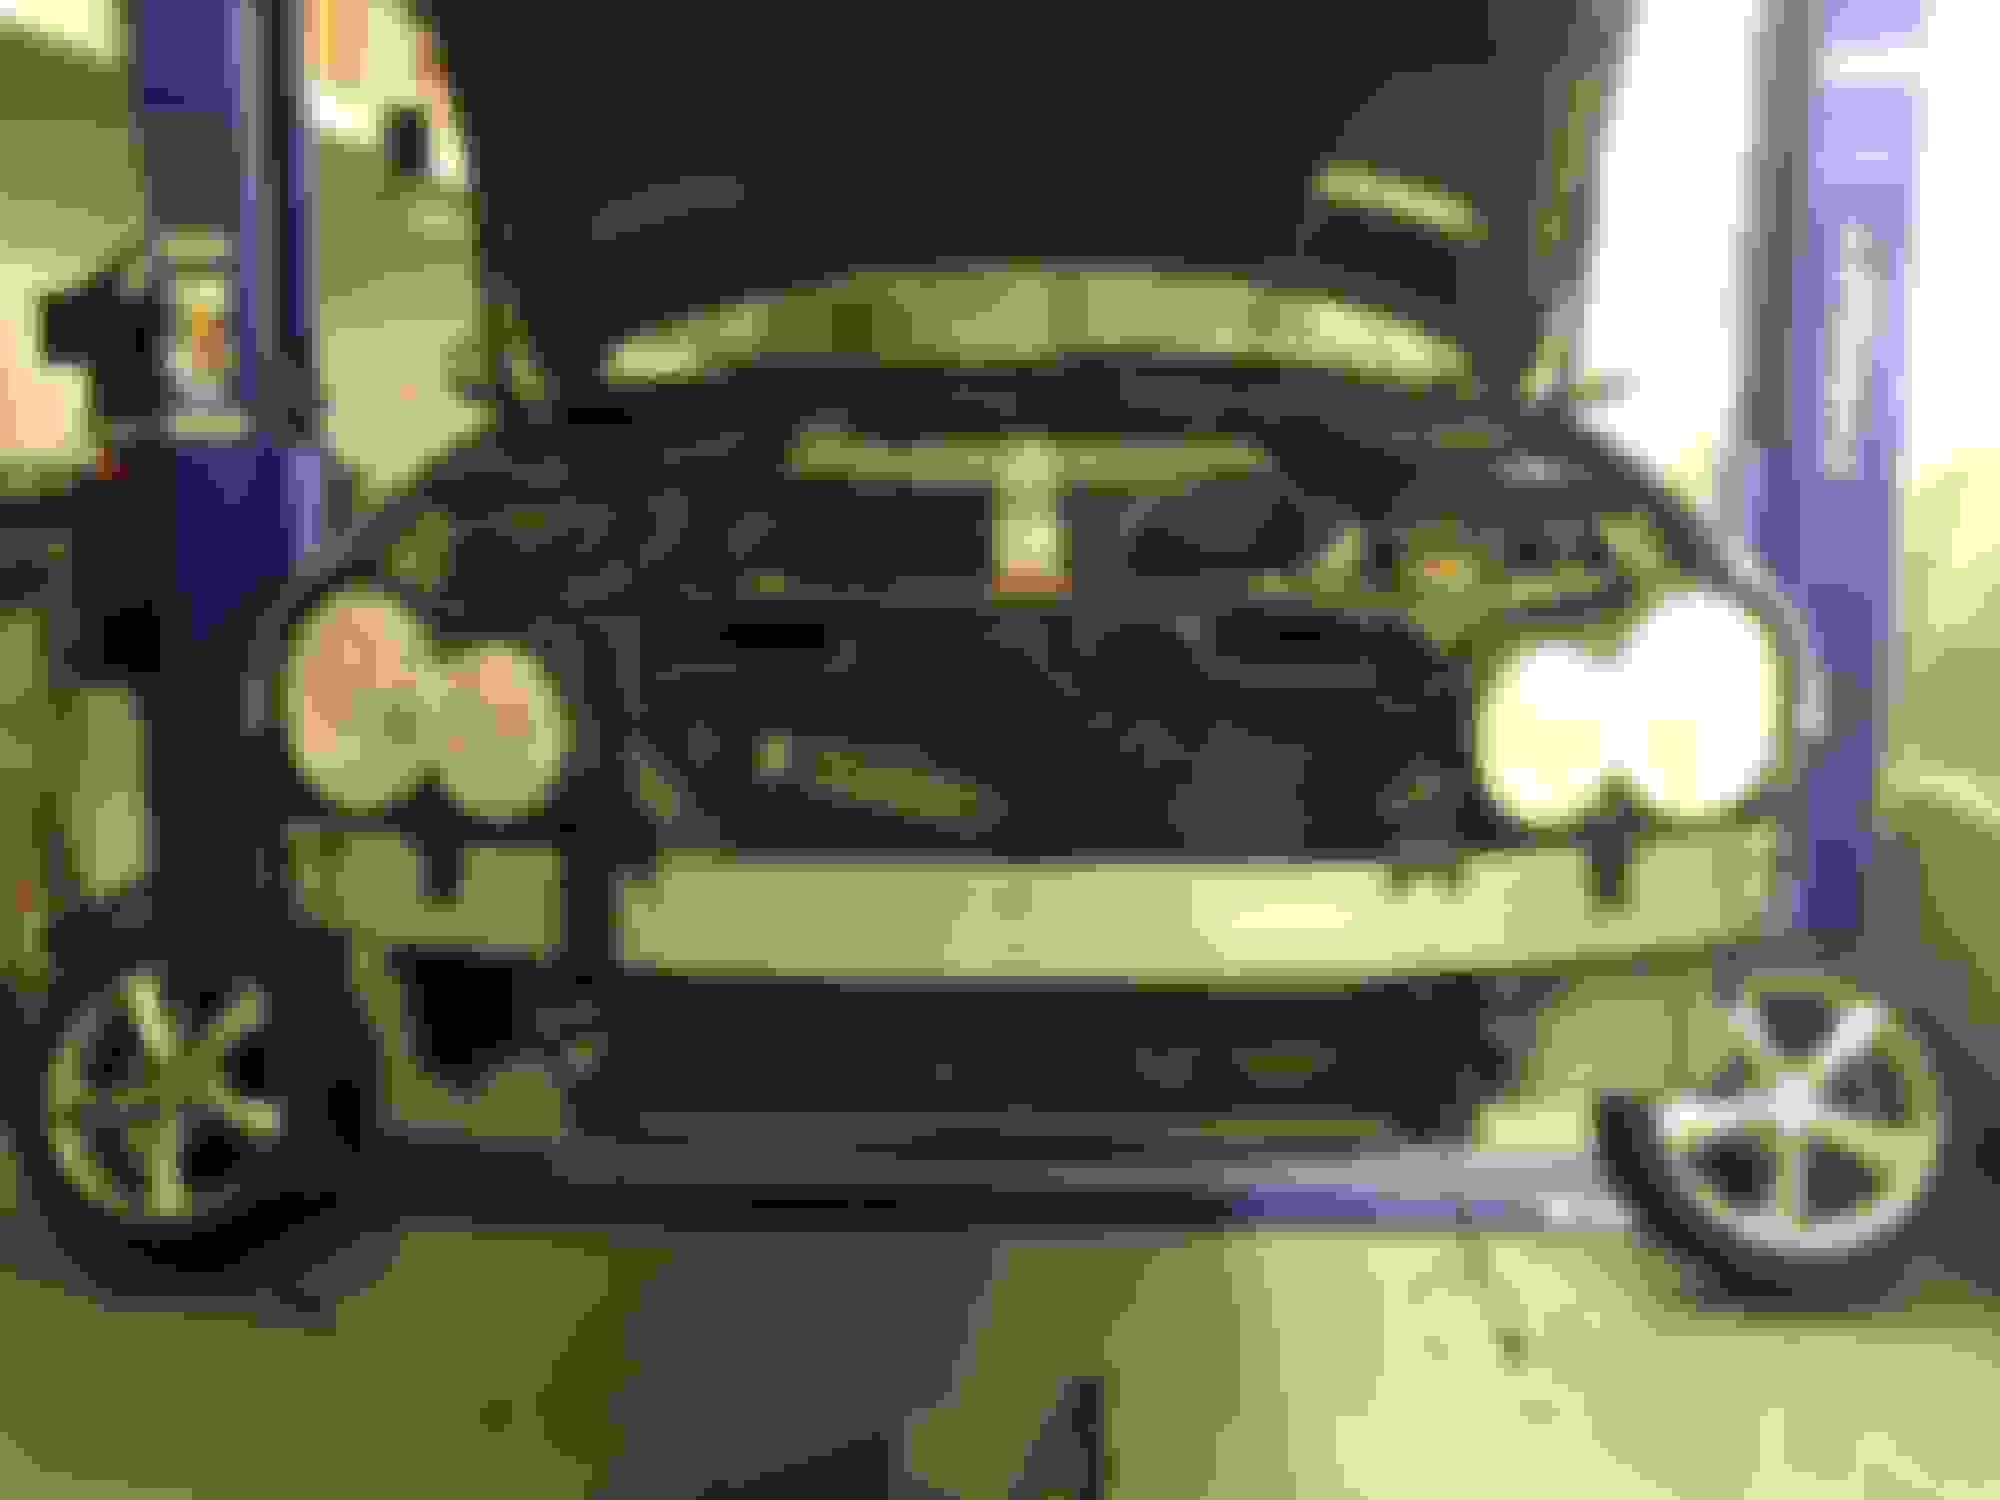
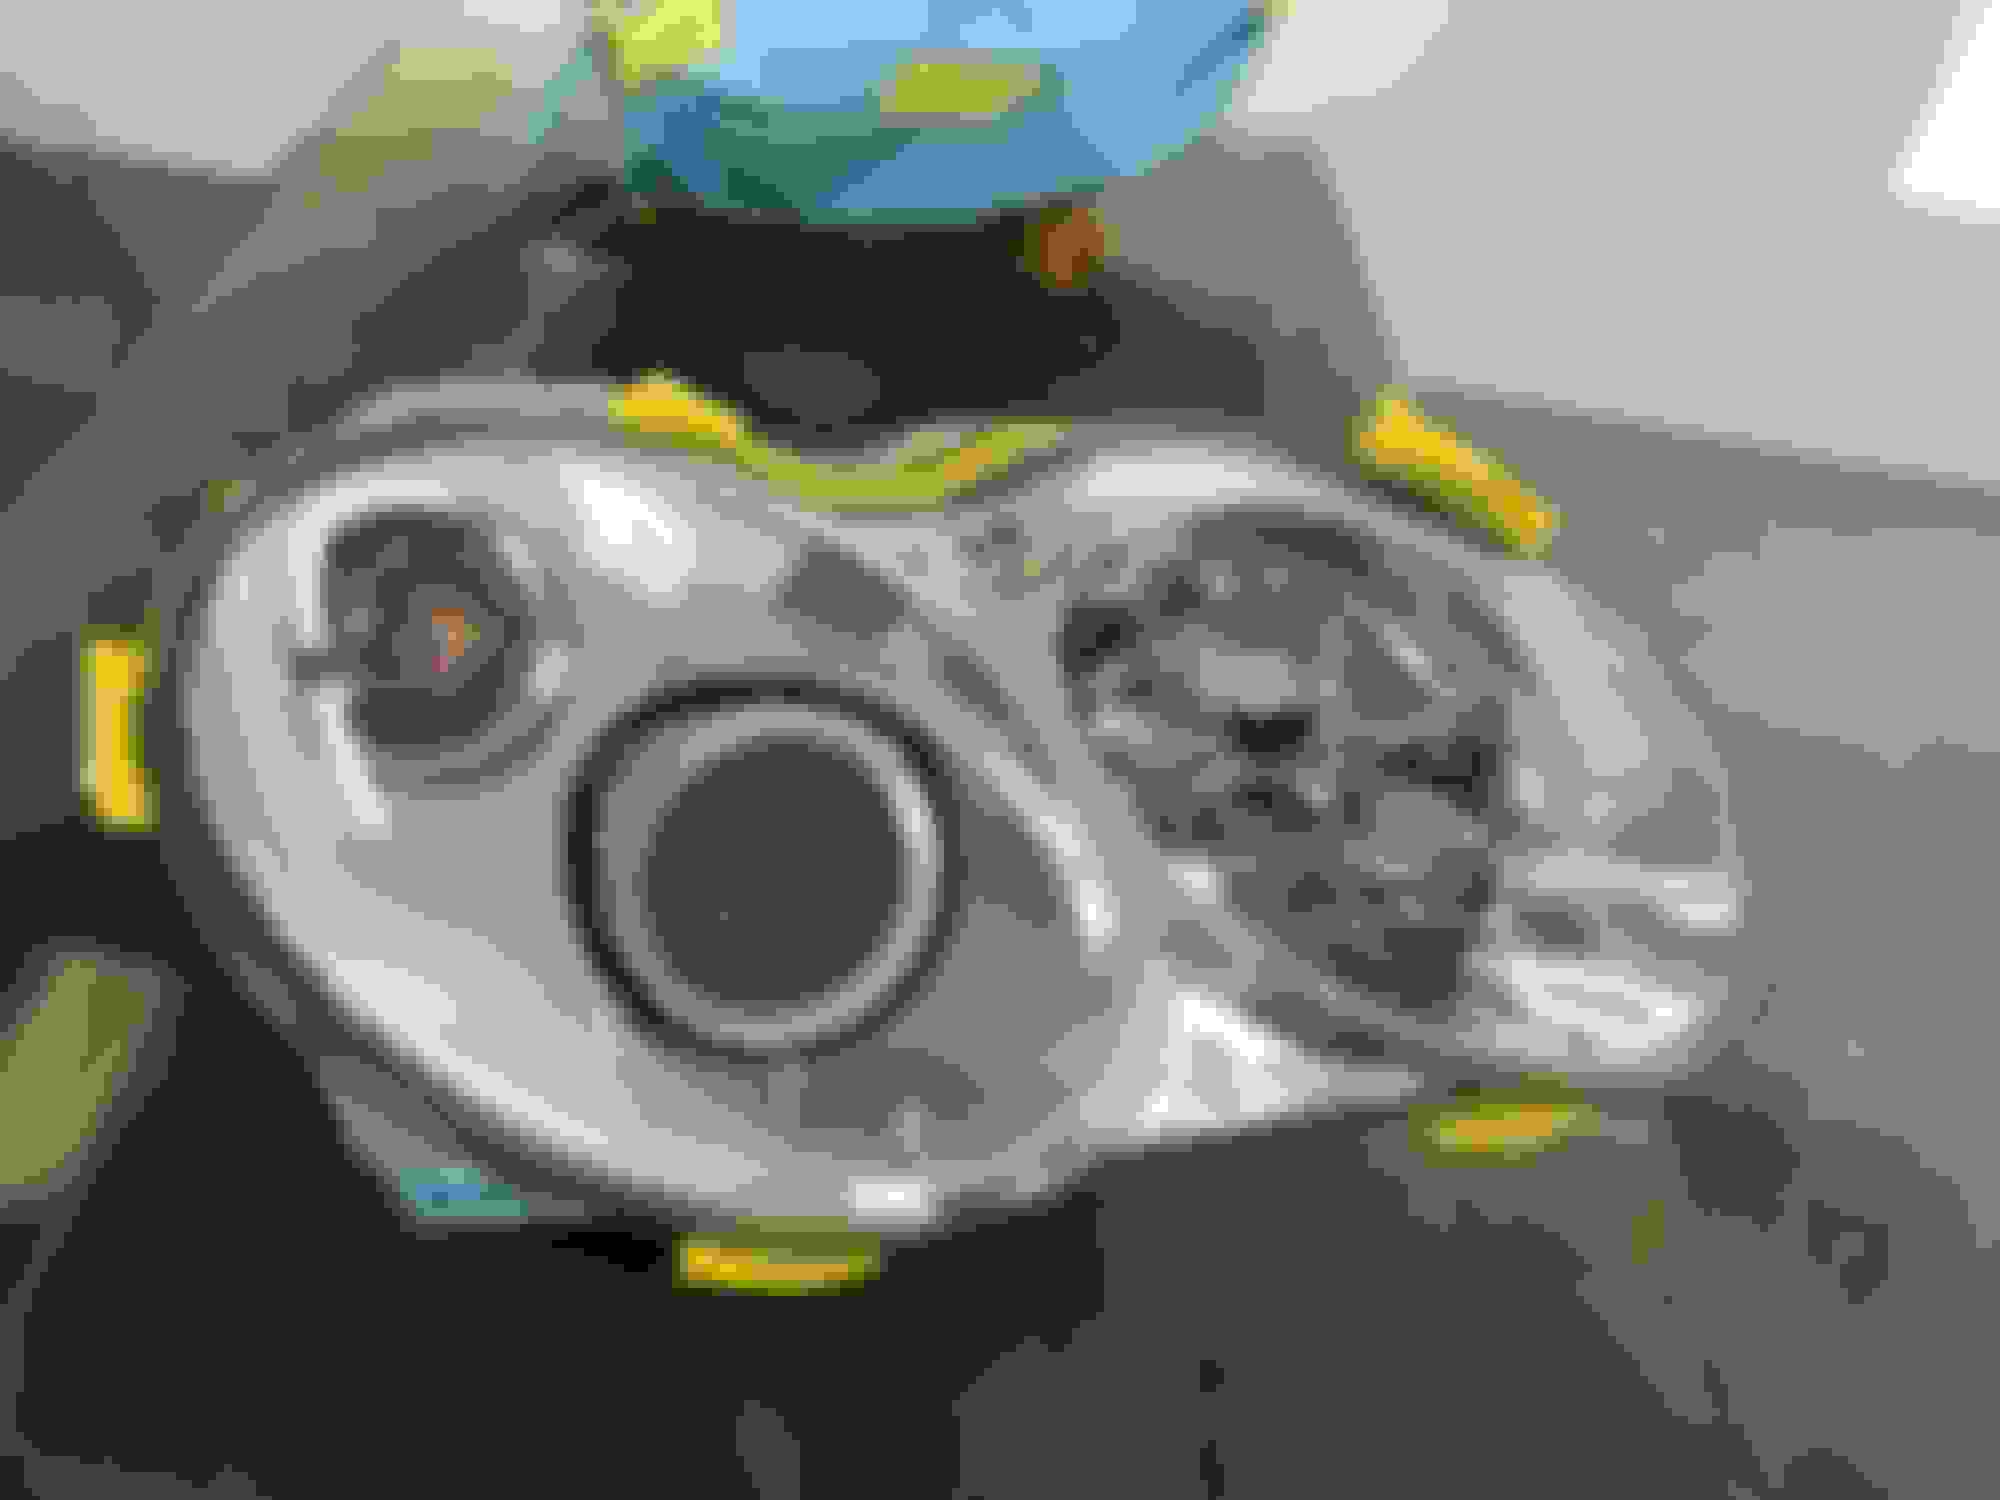
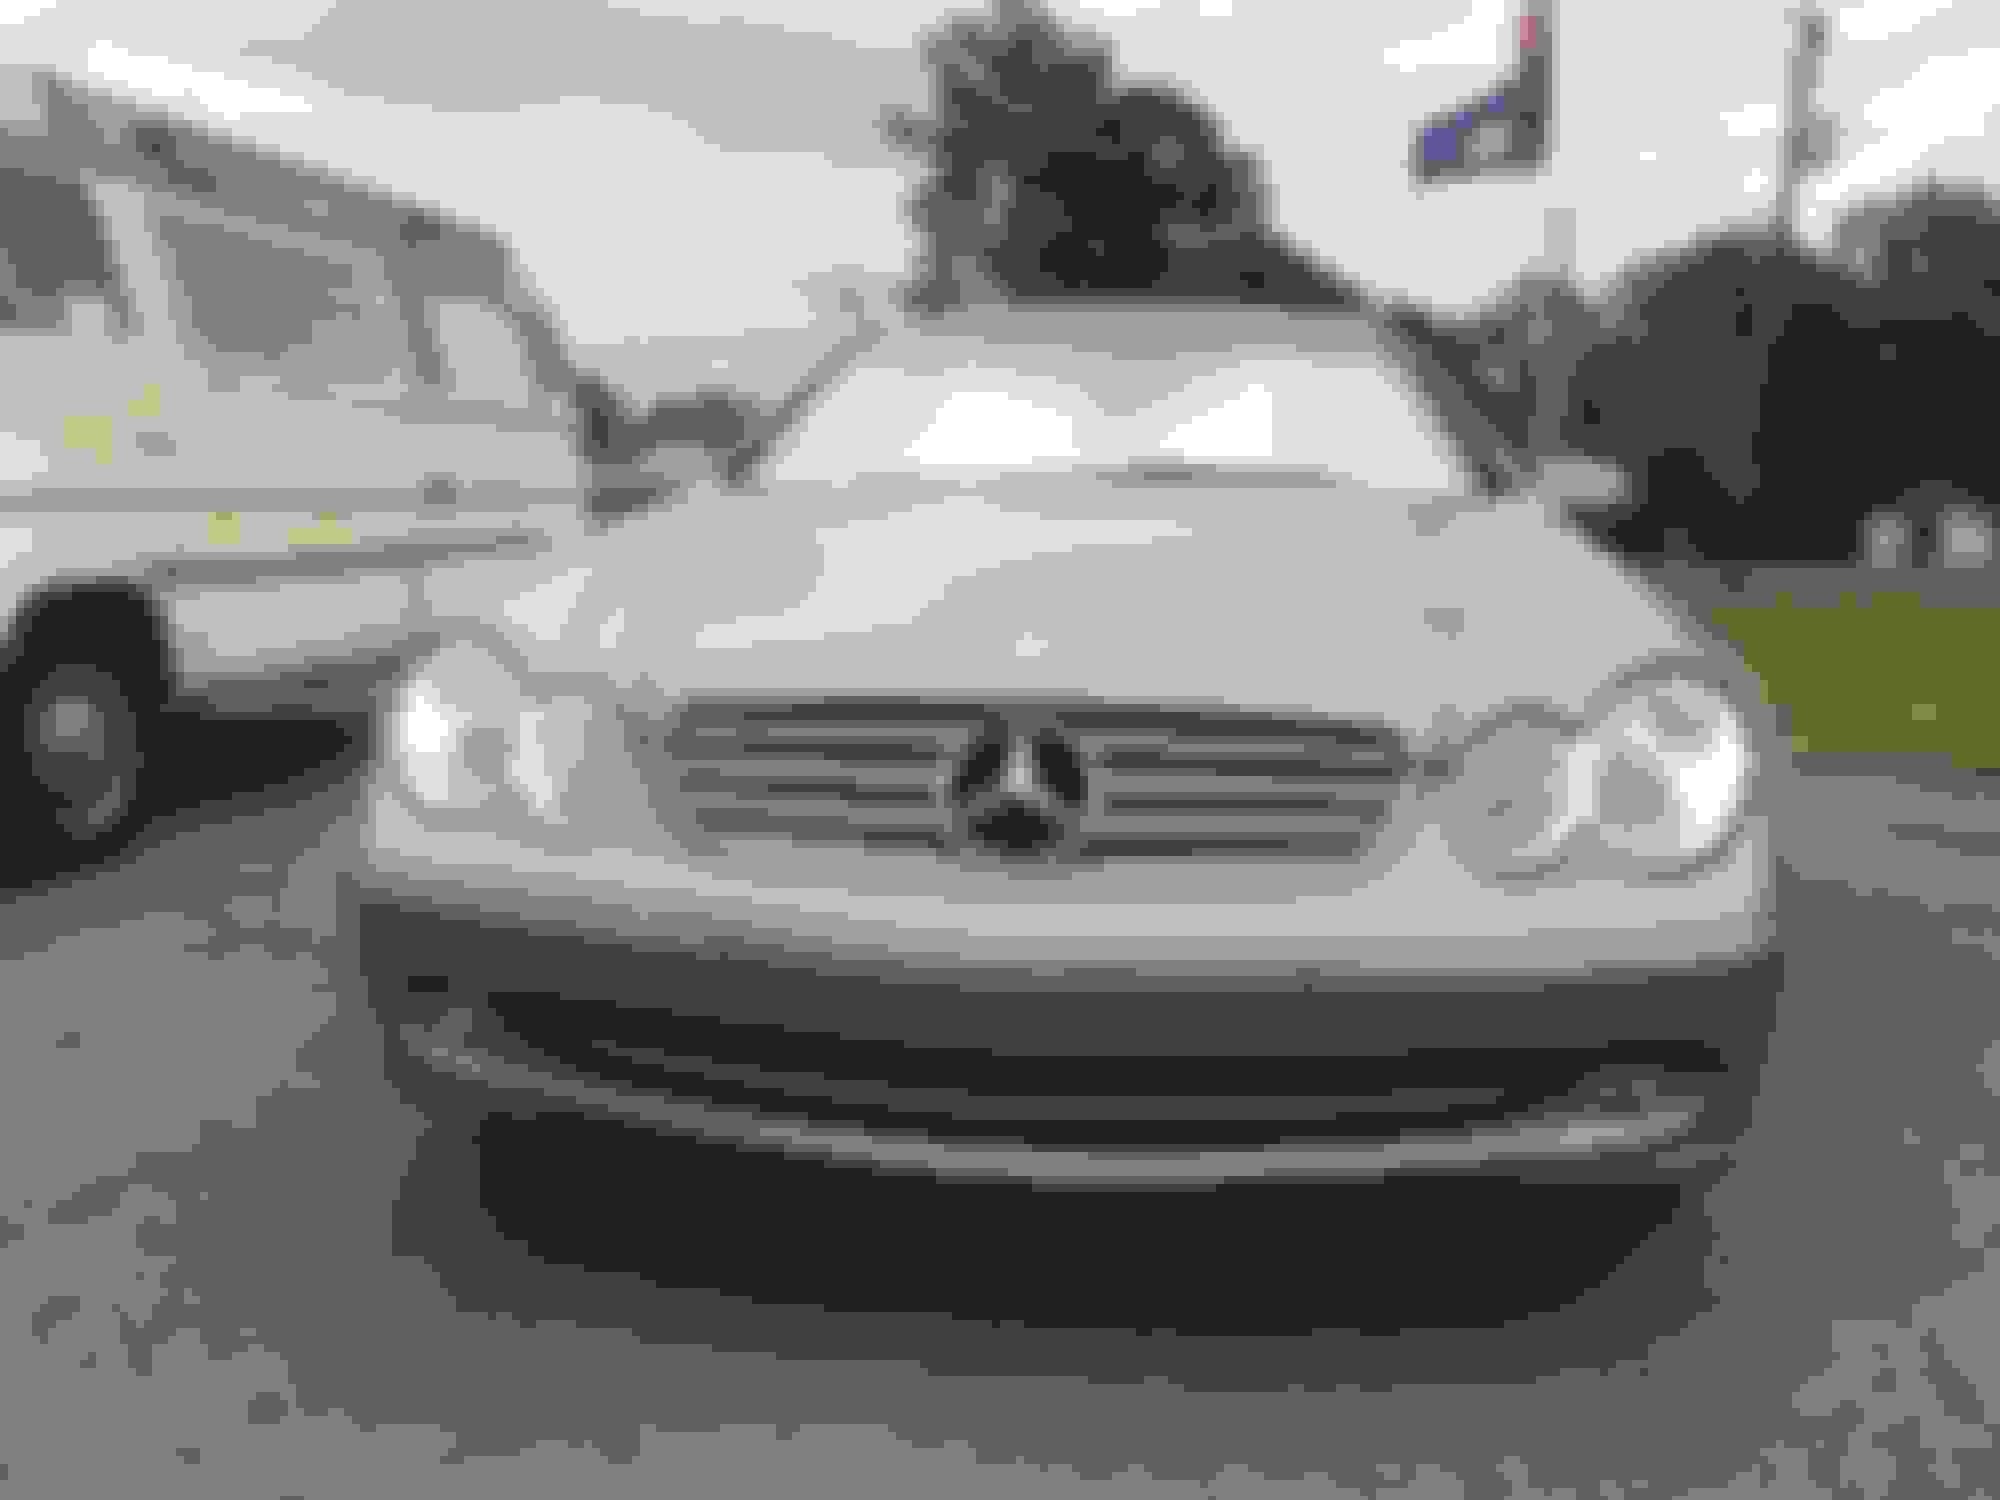
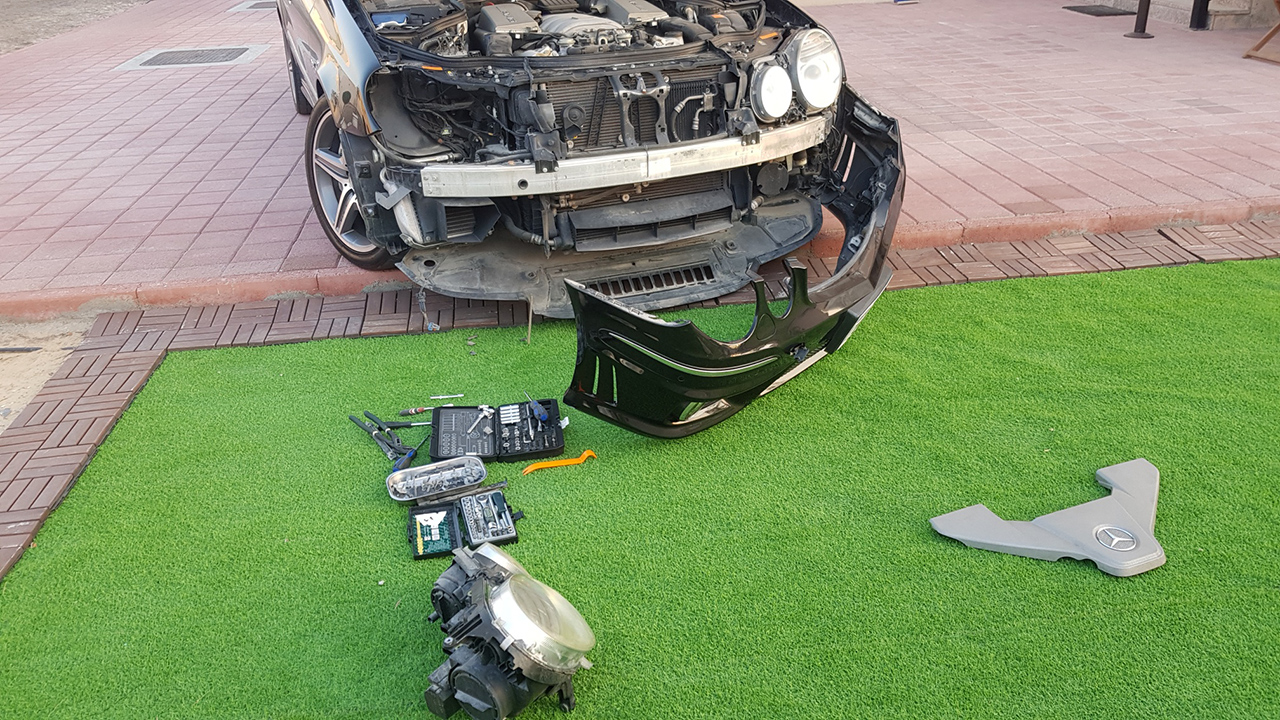
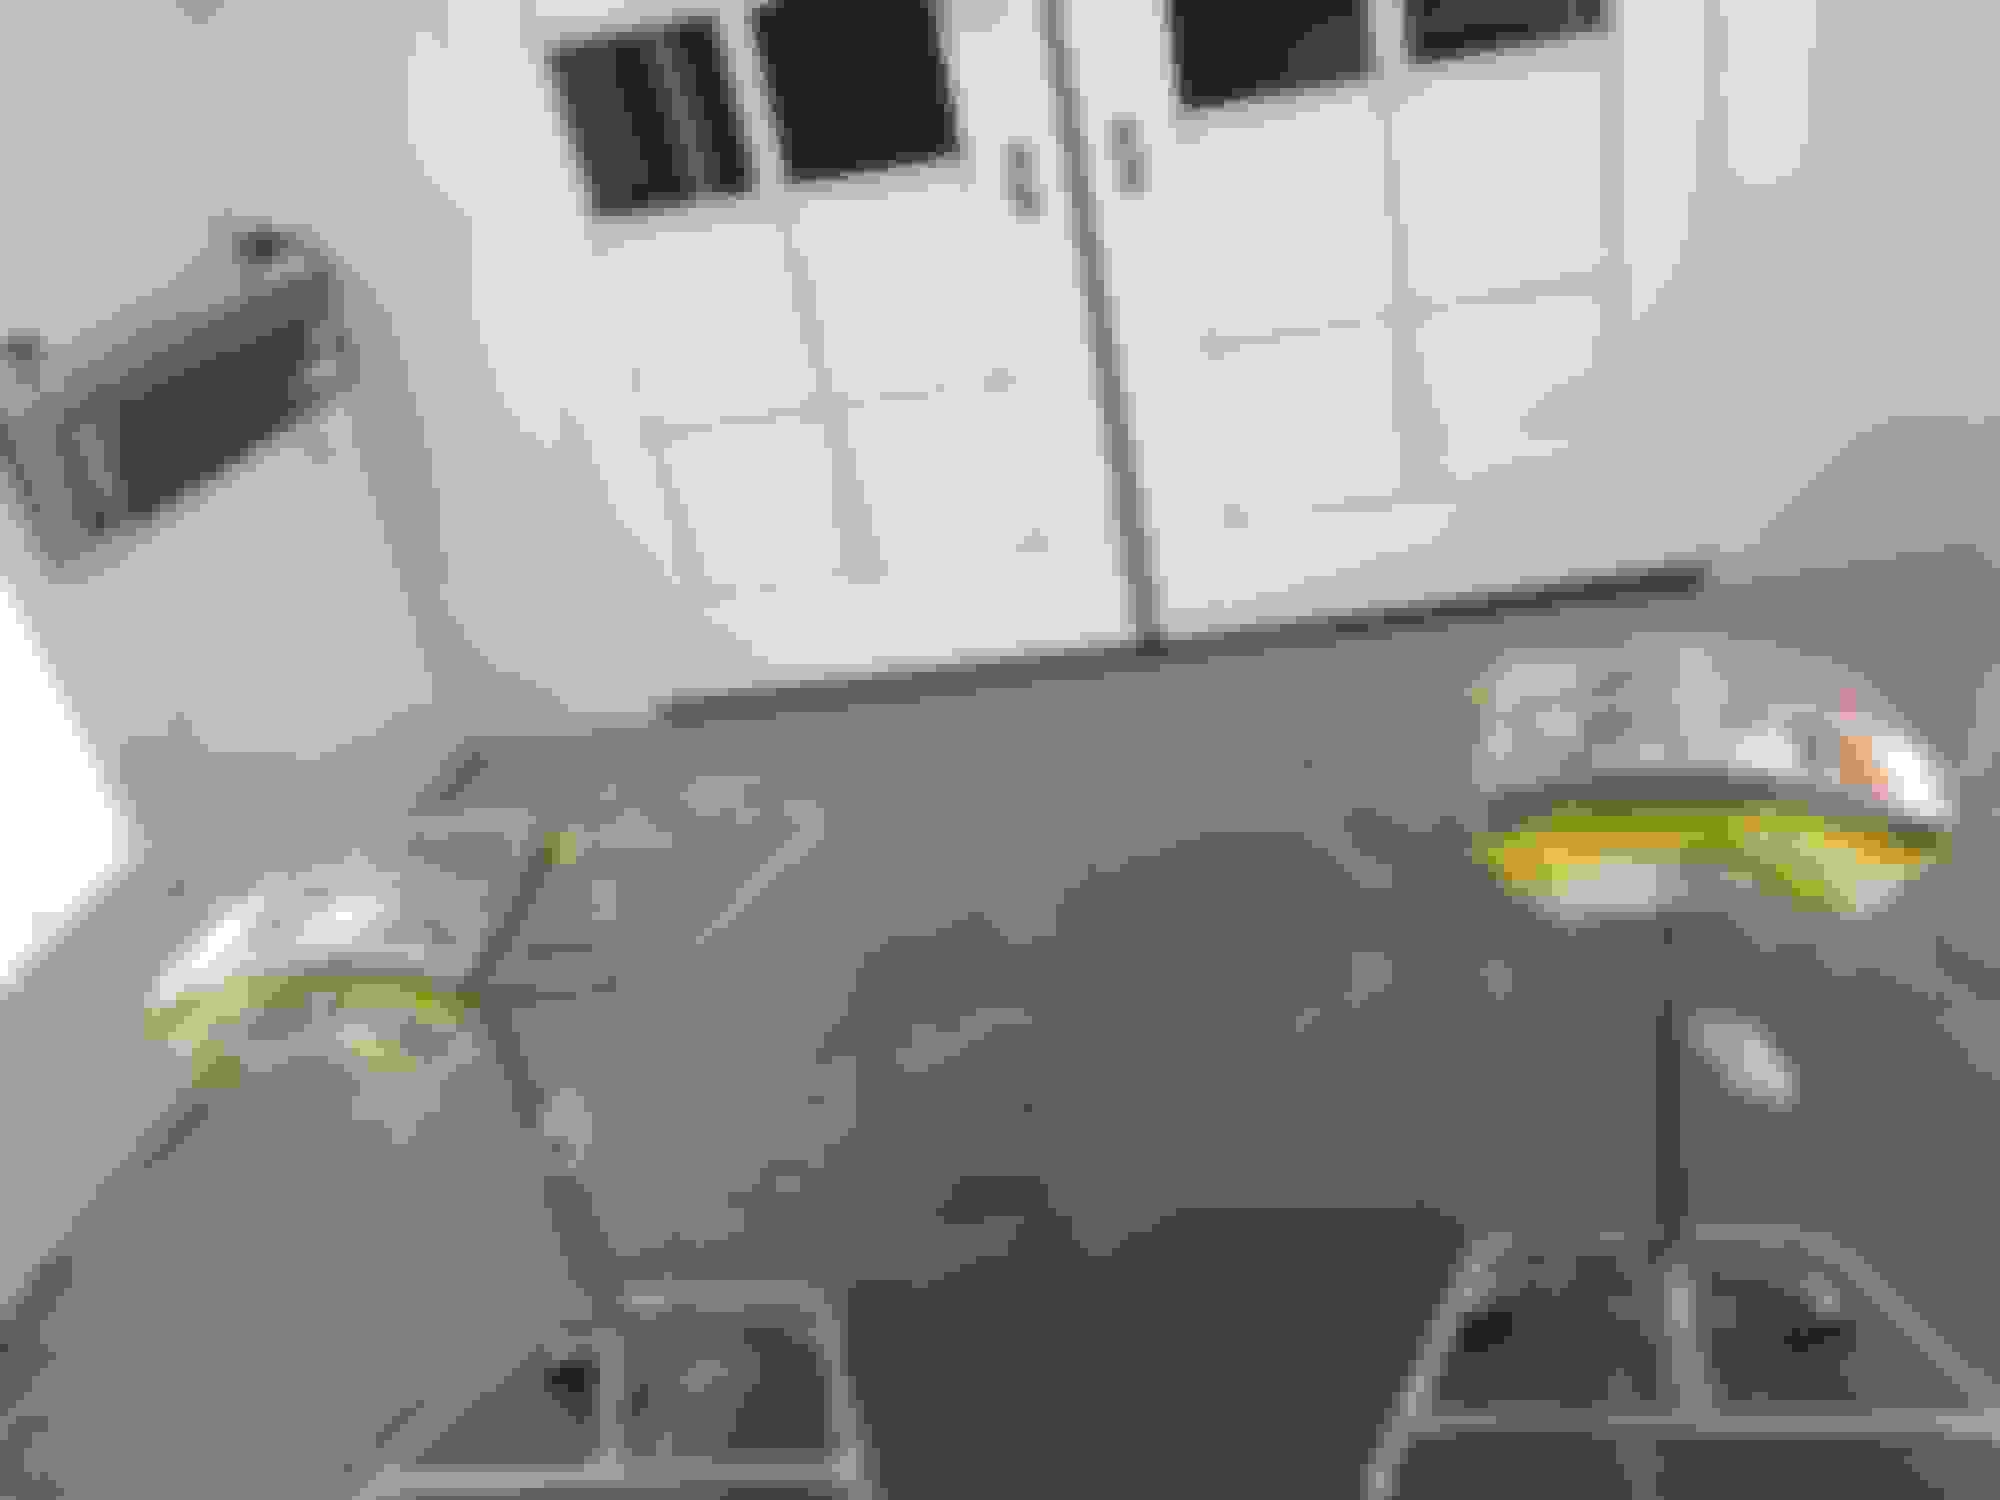
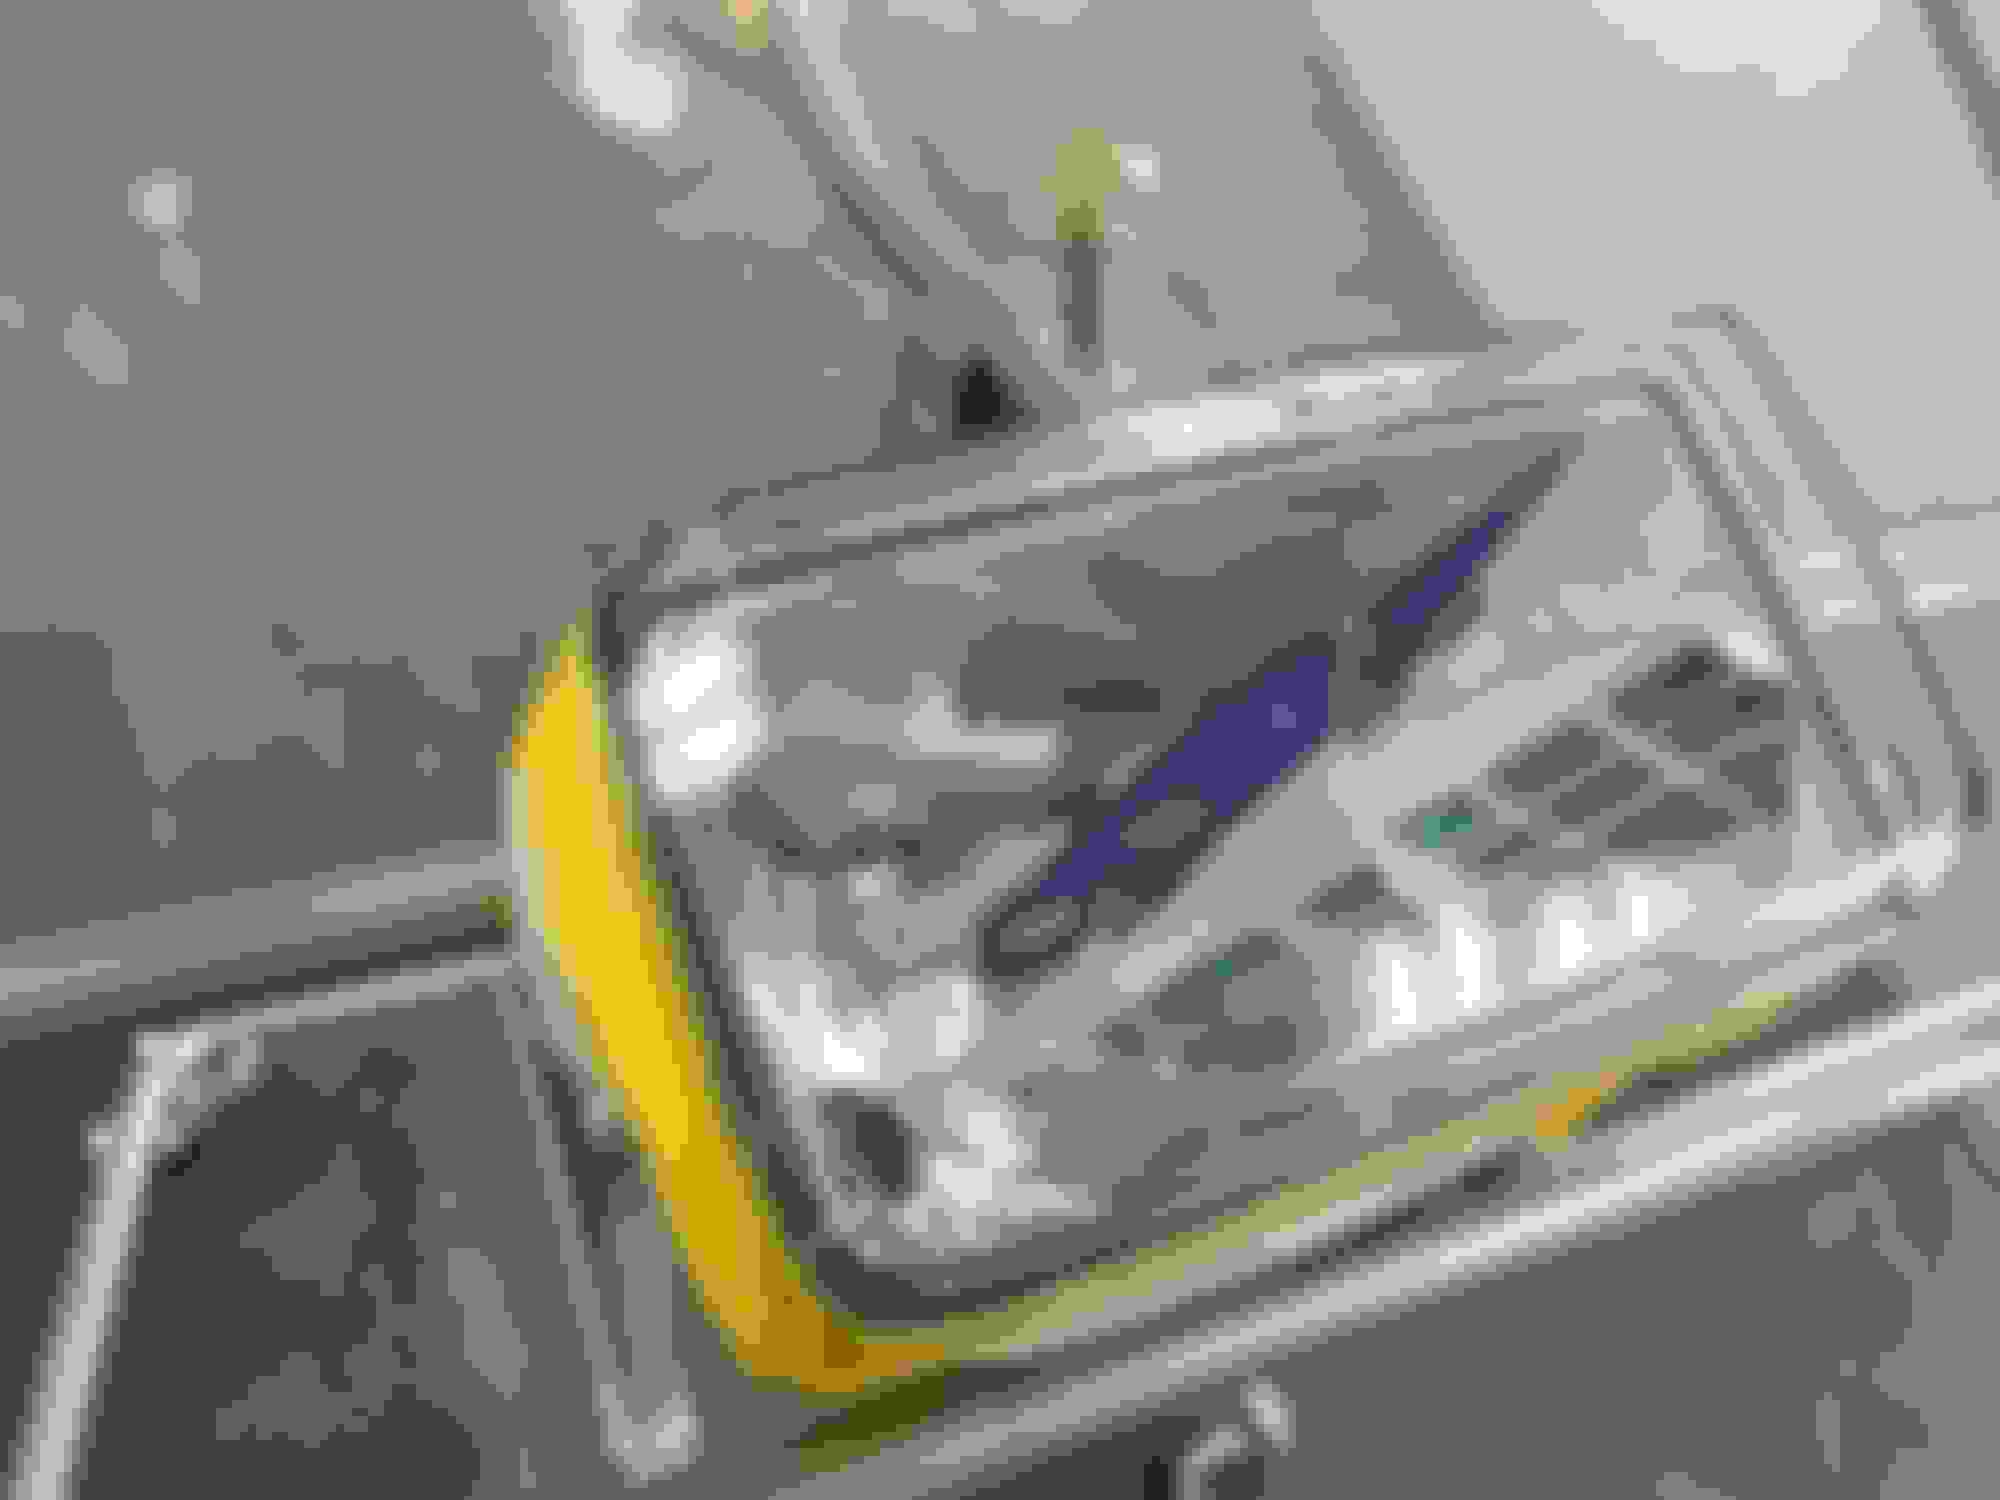
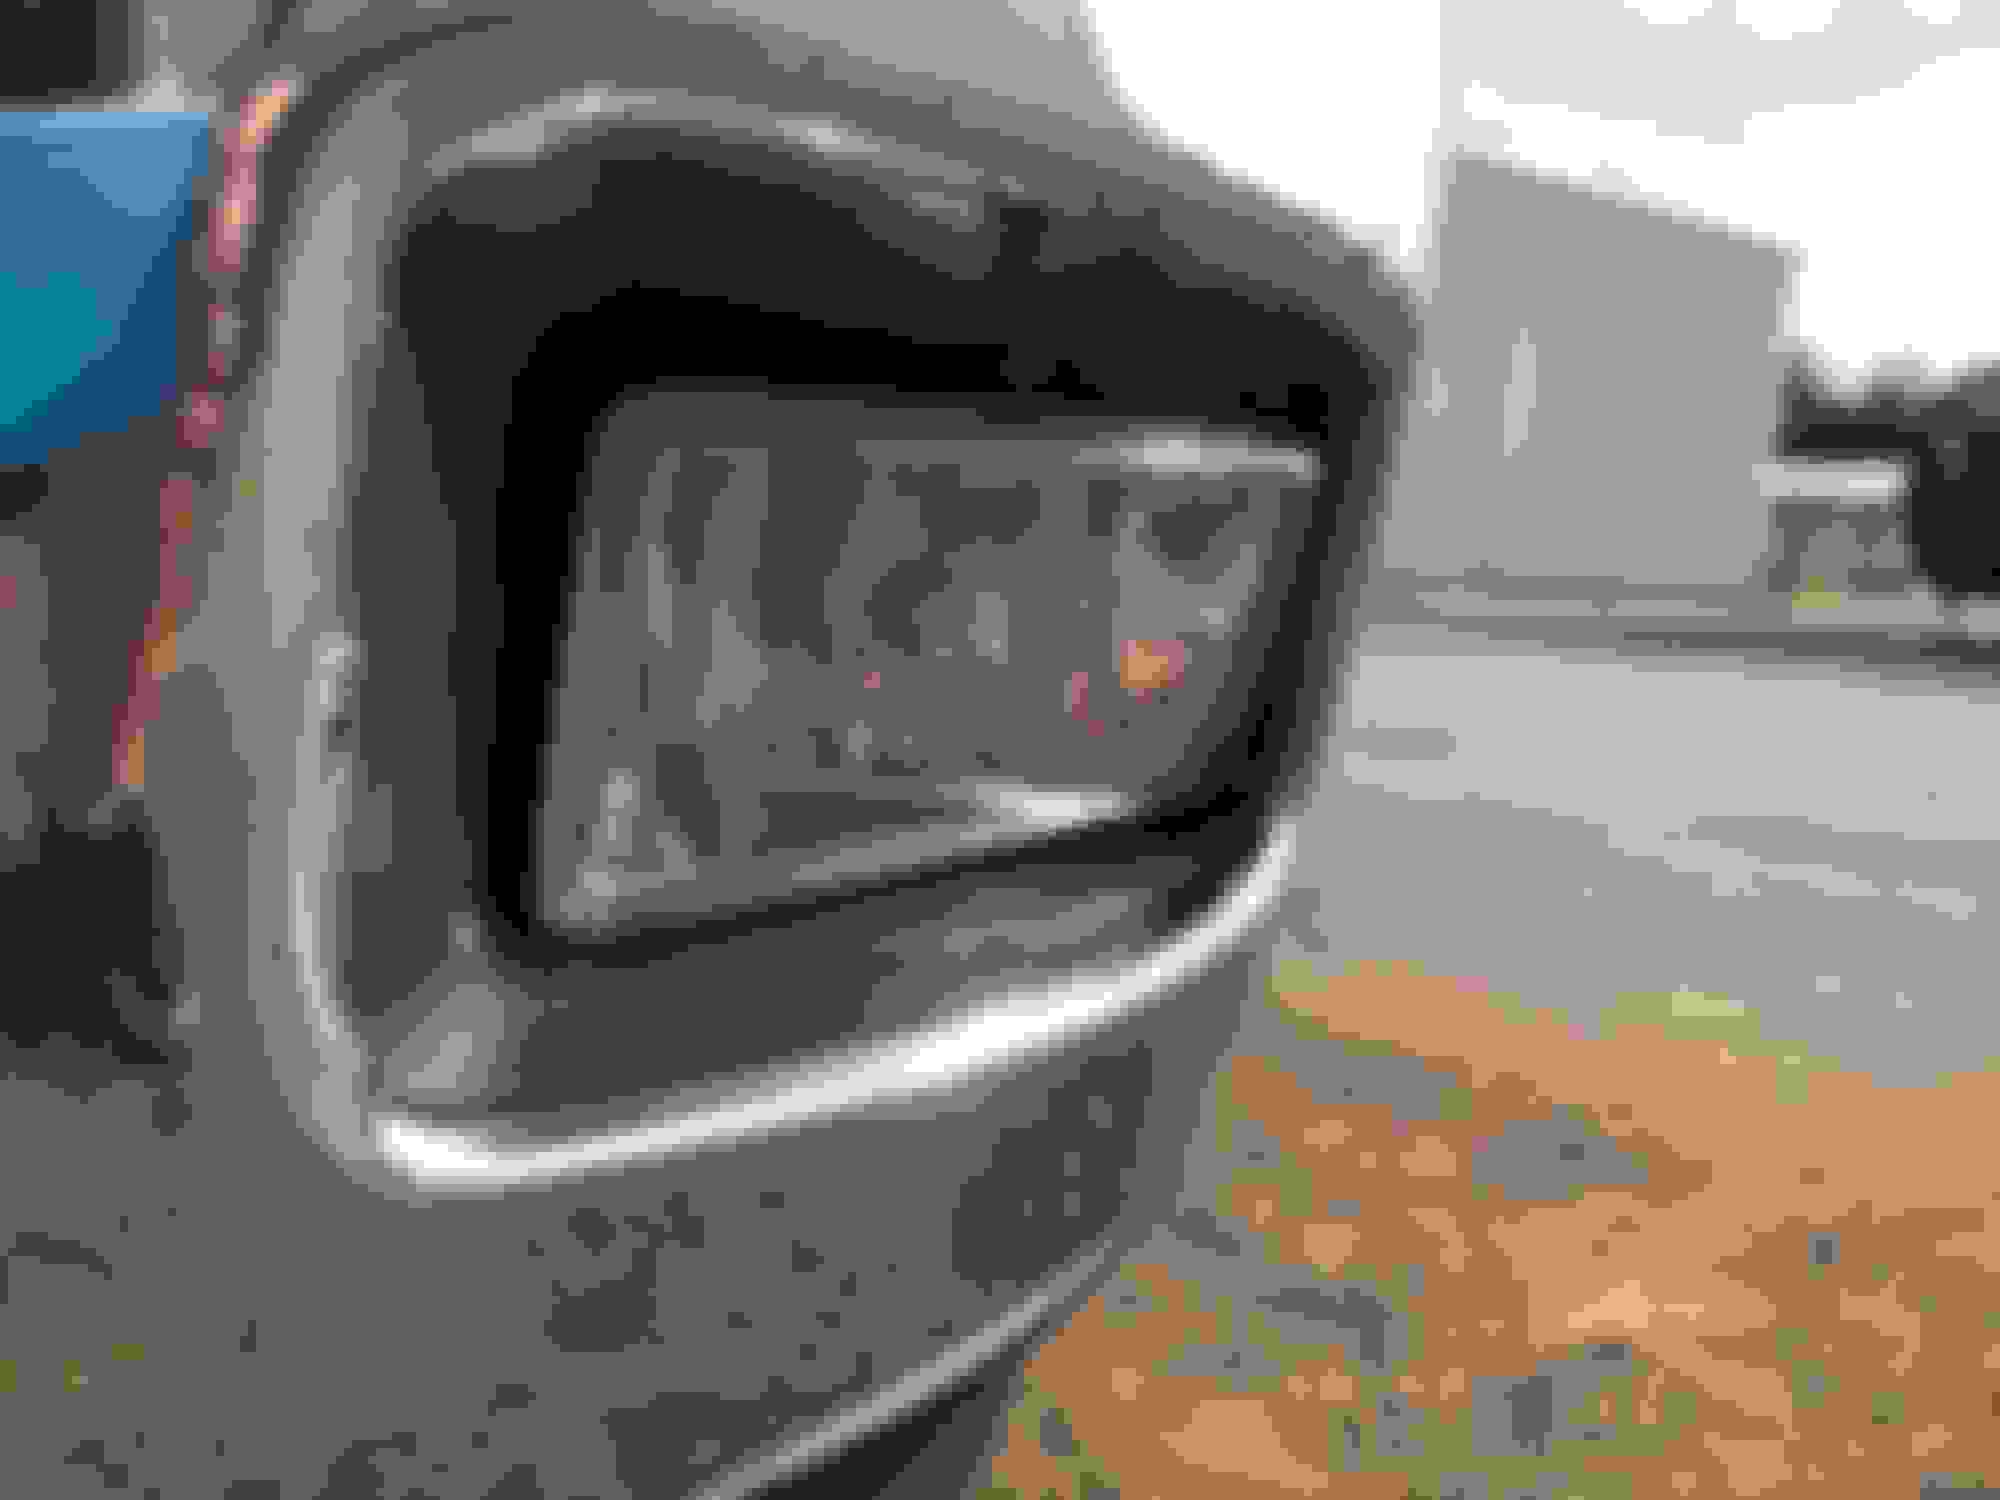
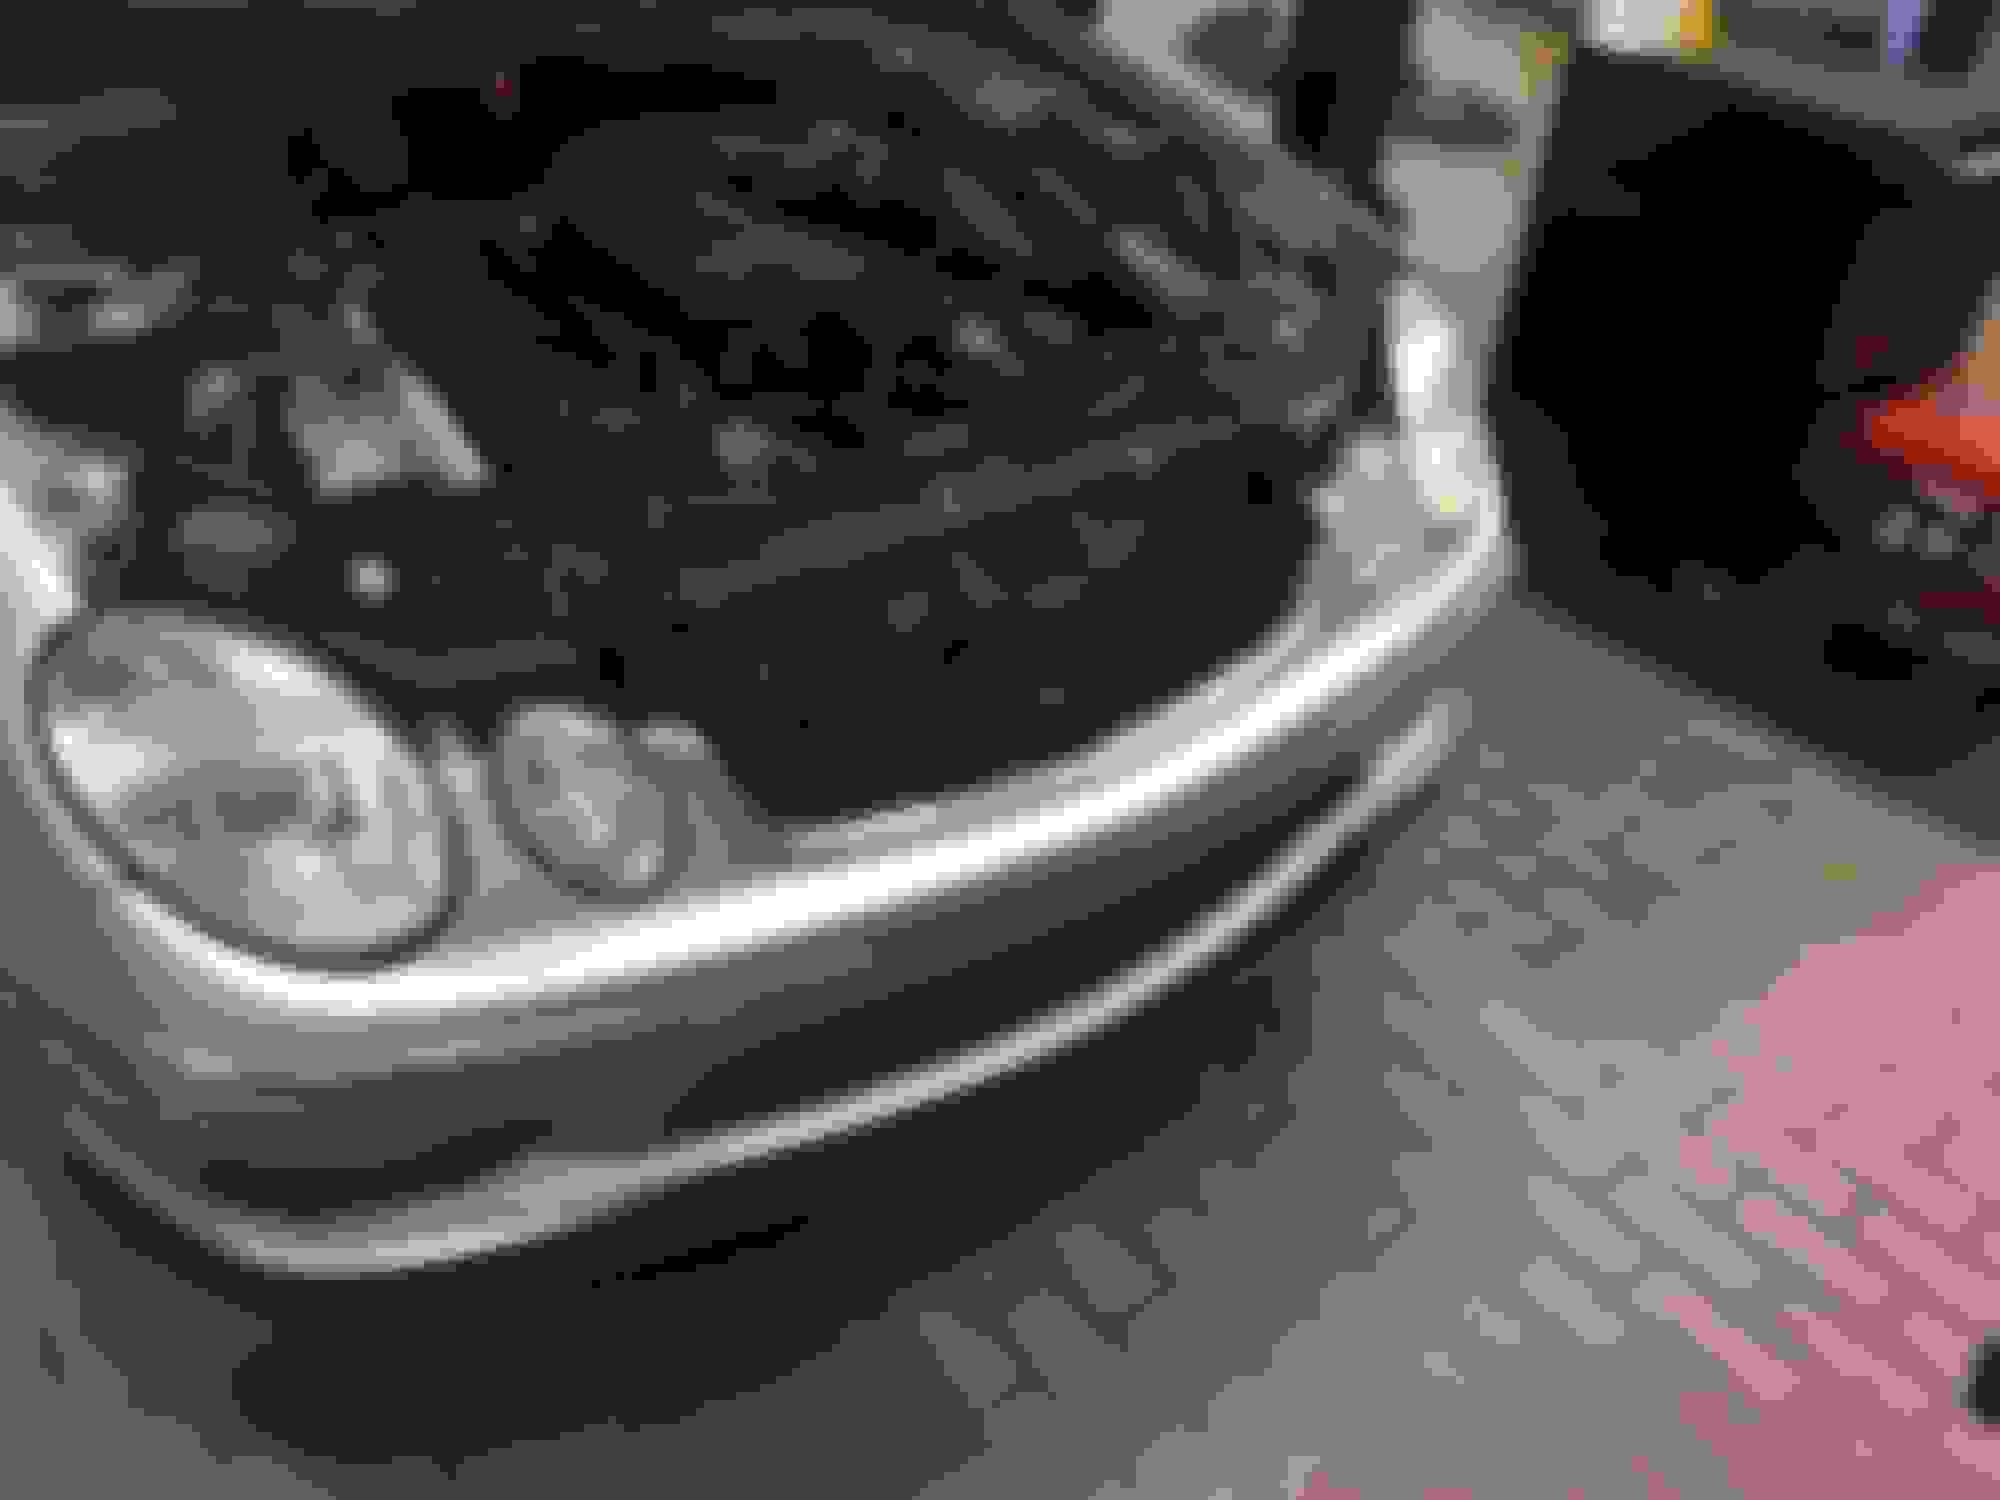
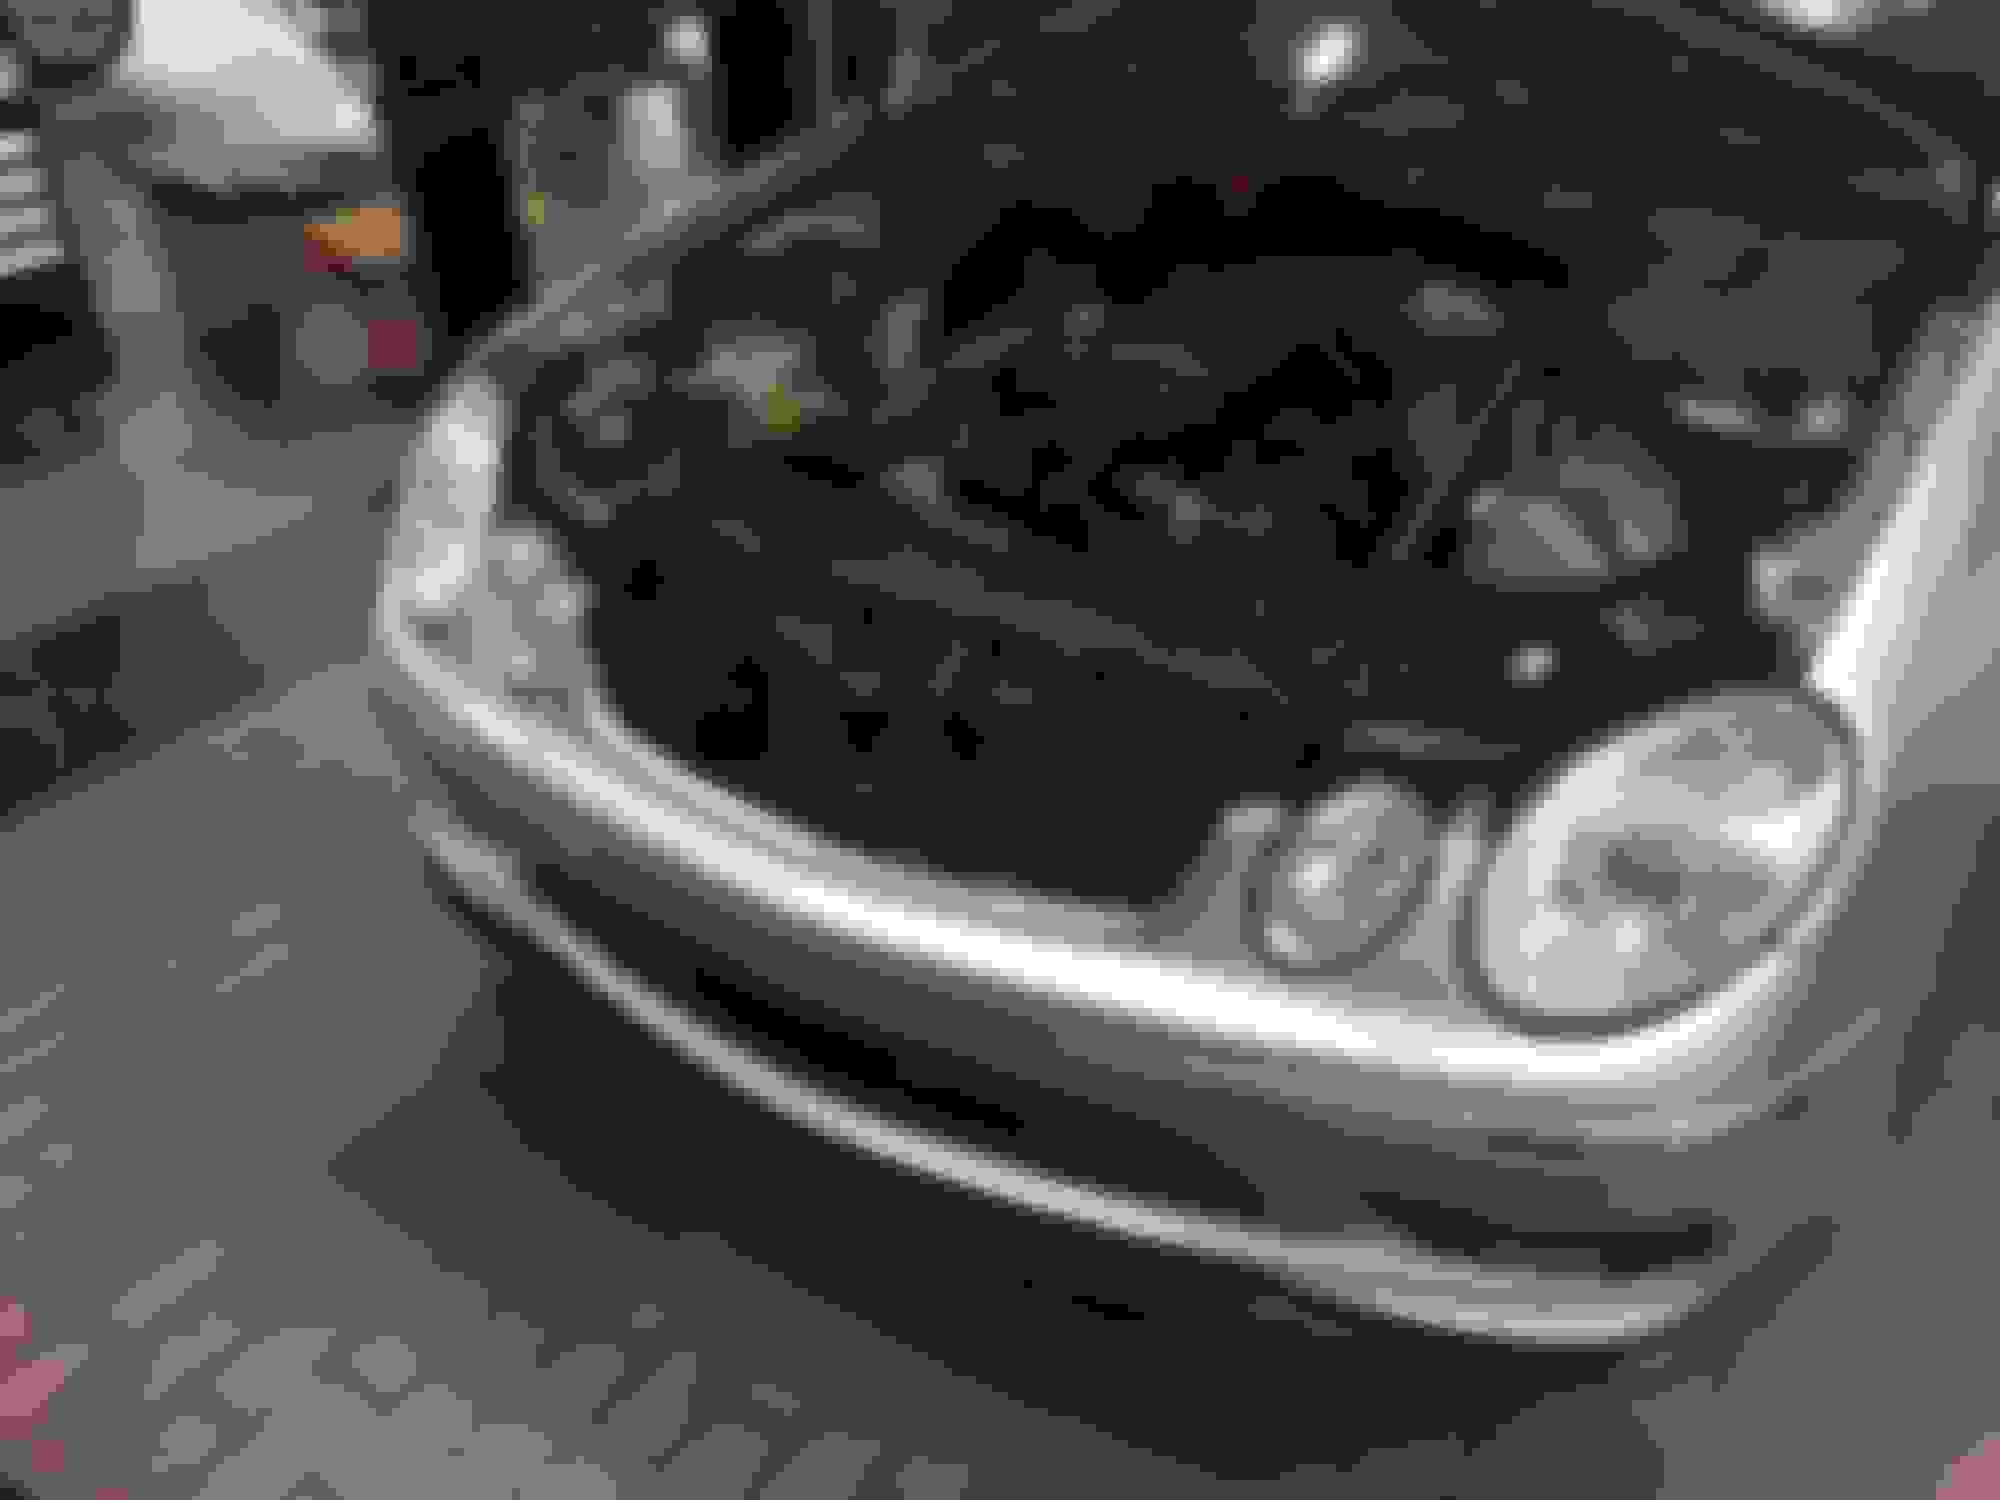
This is my son�s CLK he drives daily. I�m not going to list all the steps in removing the bumper and headlights.
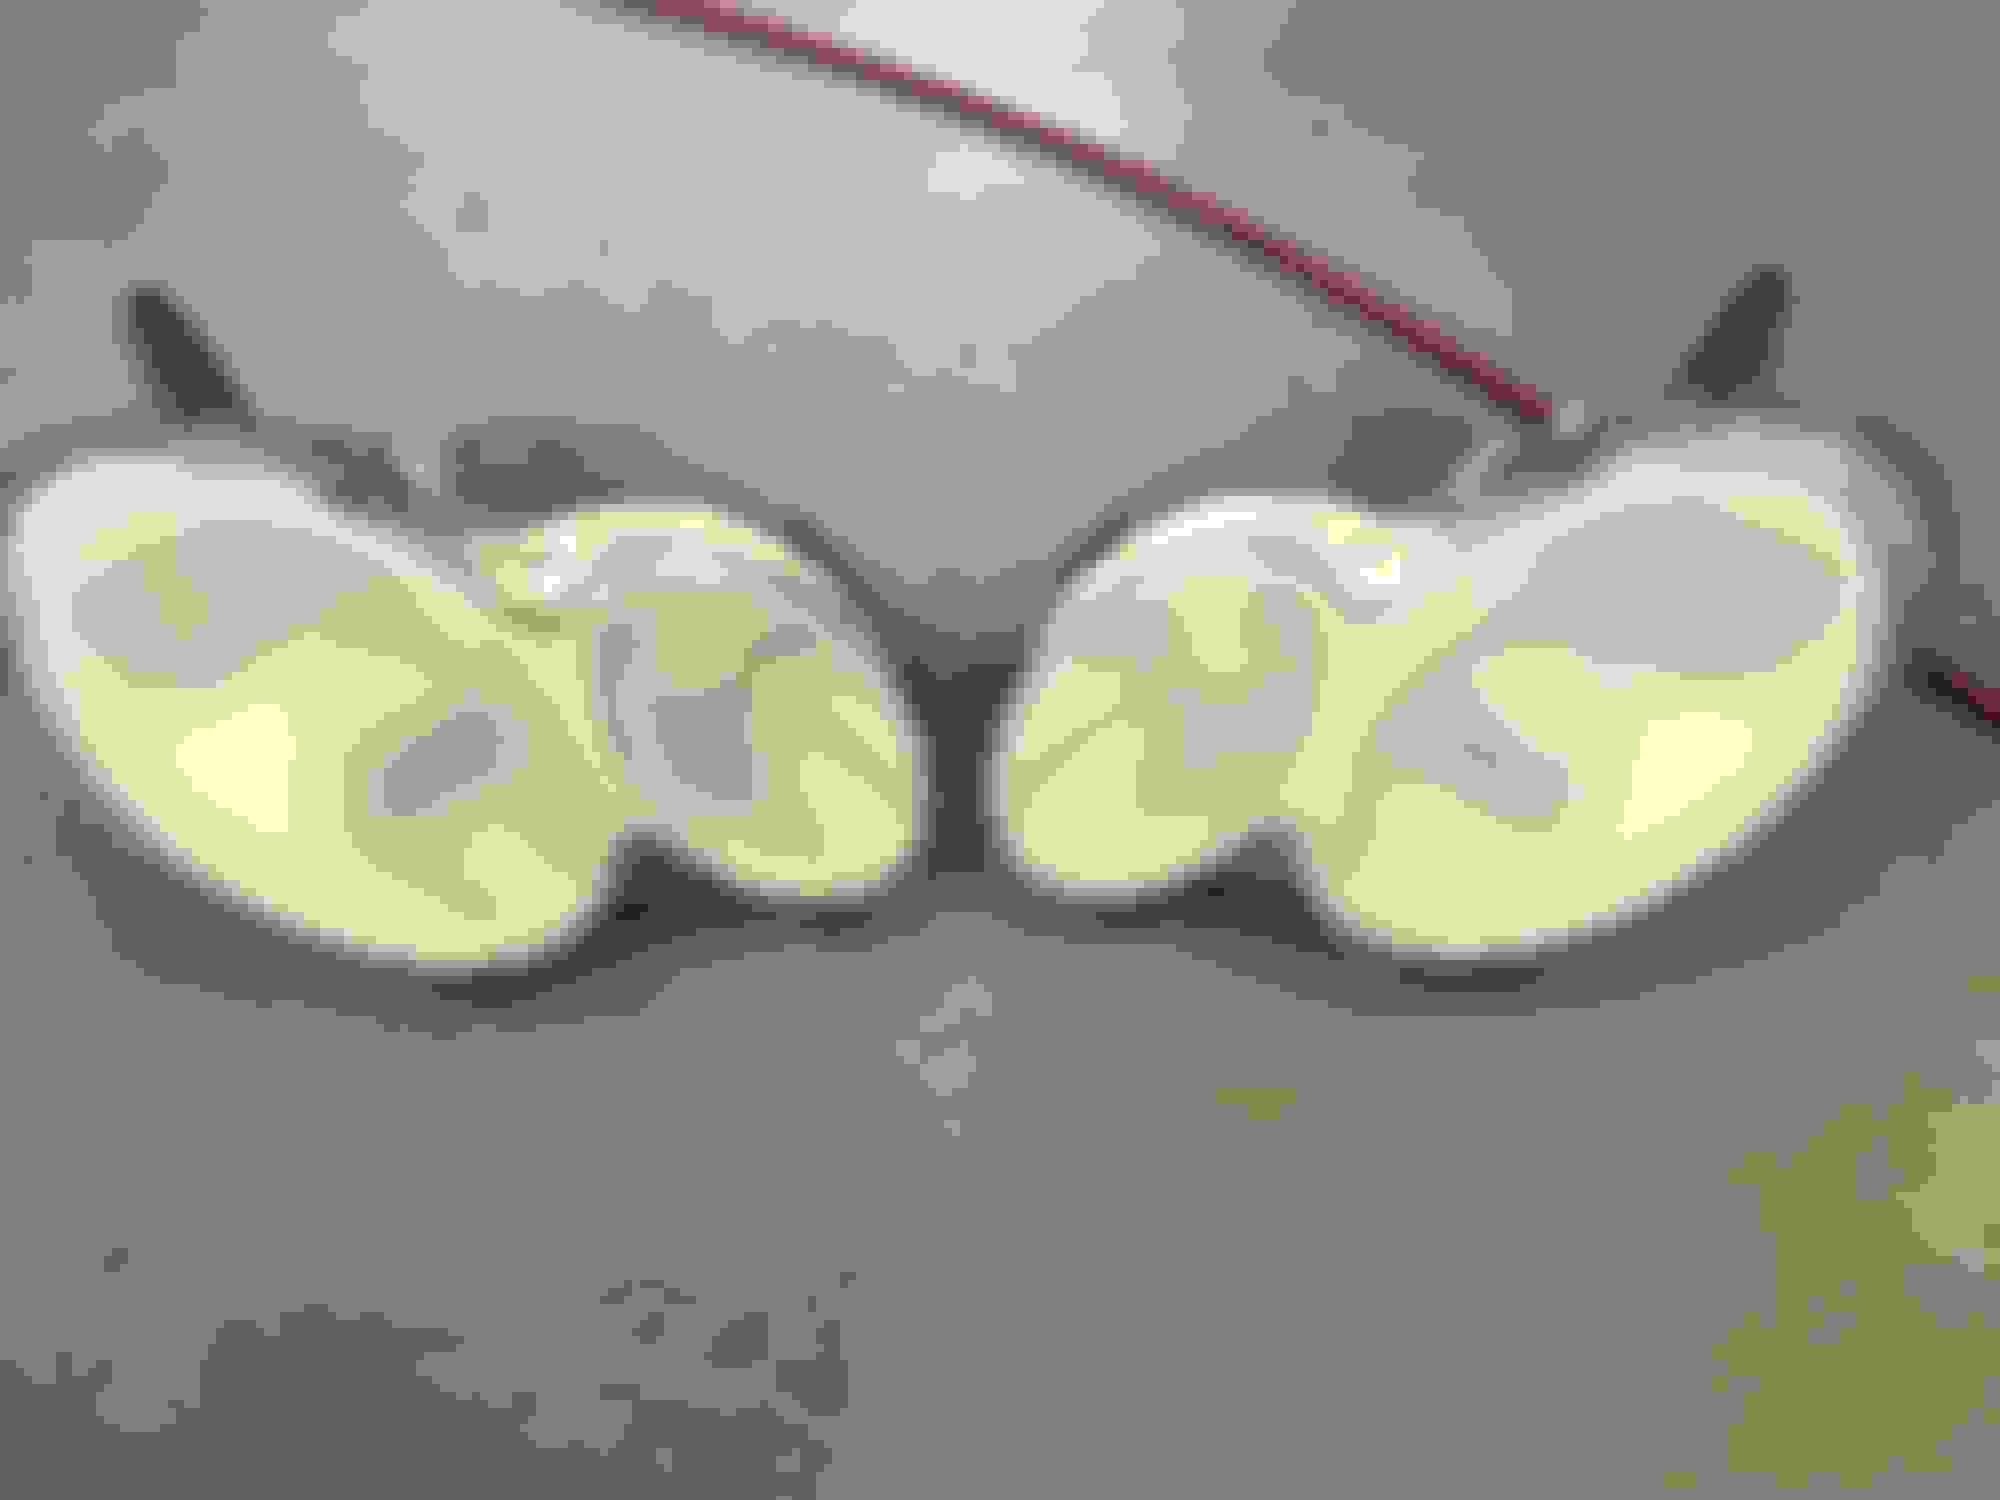
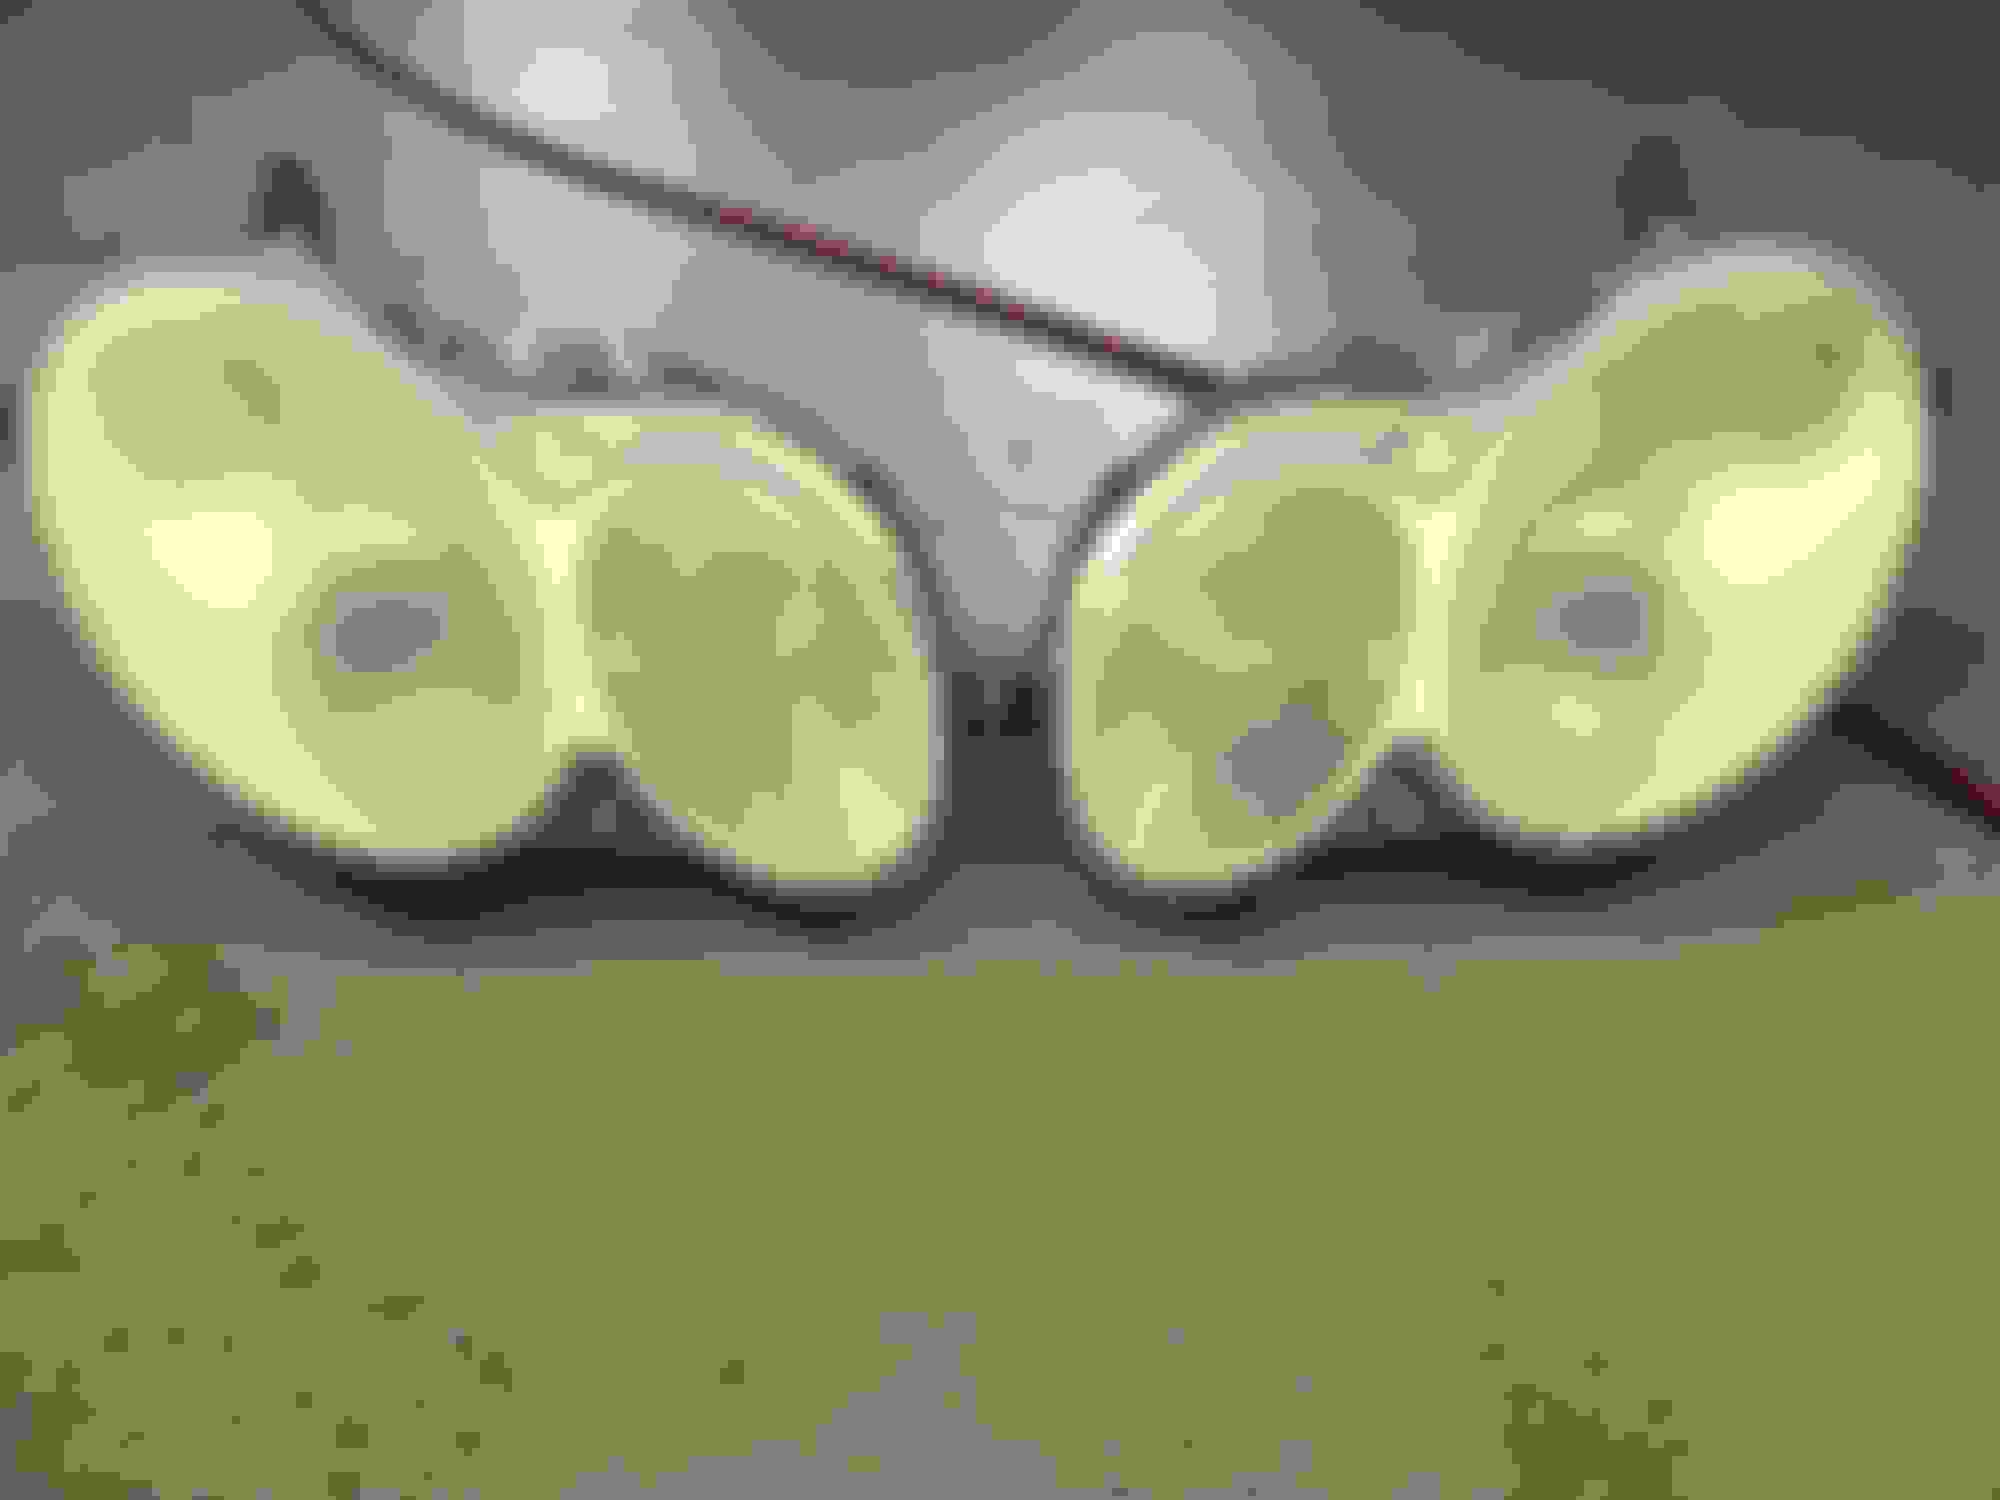
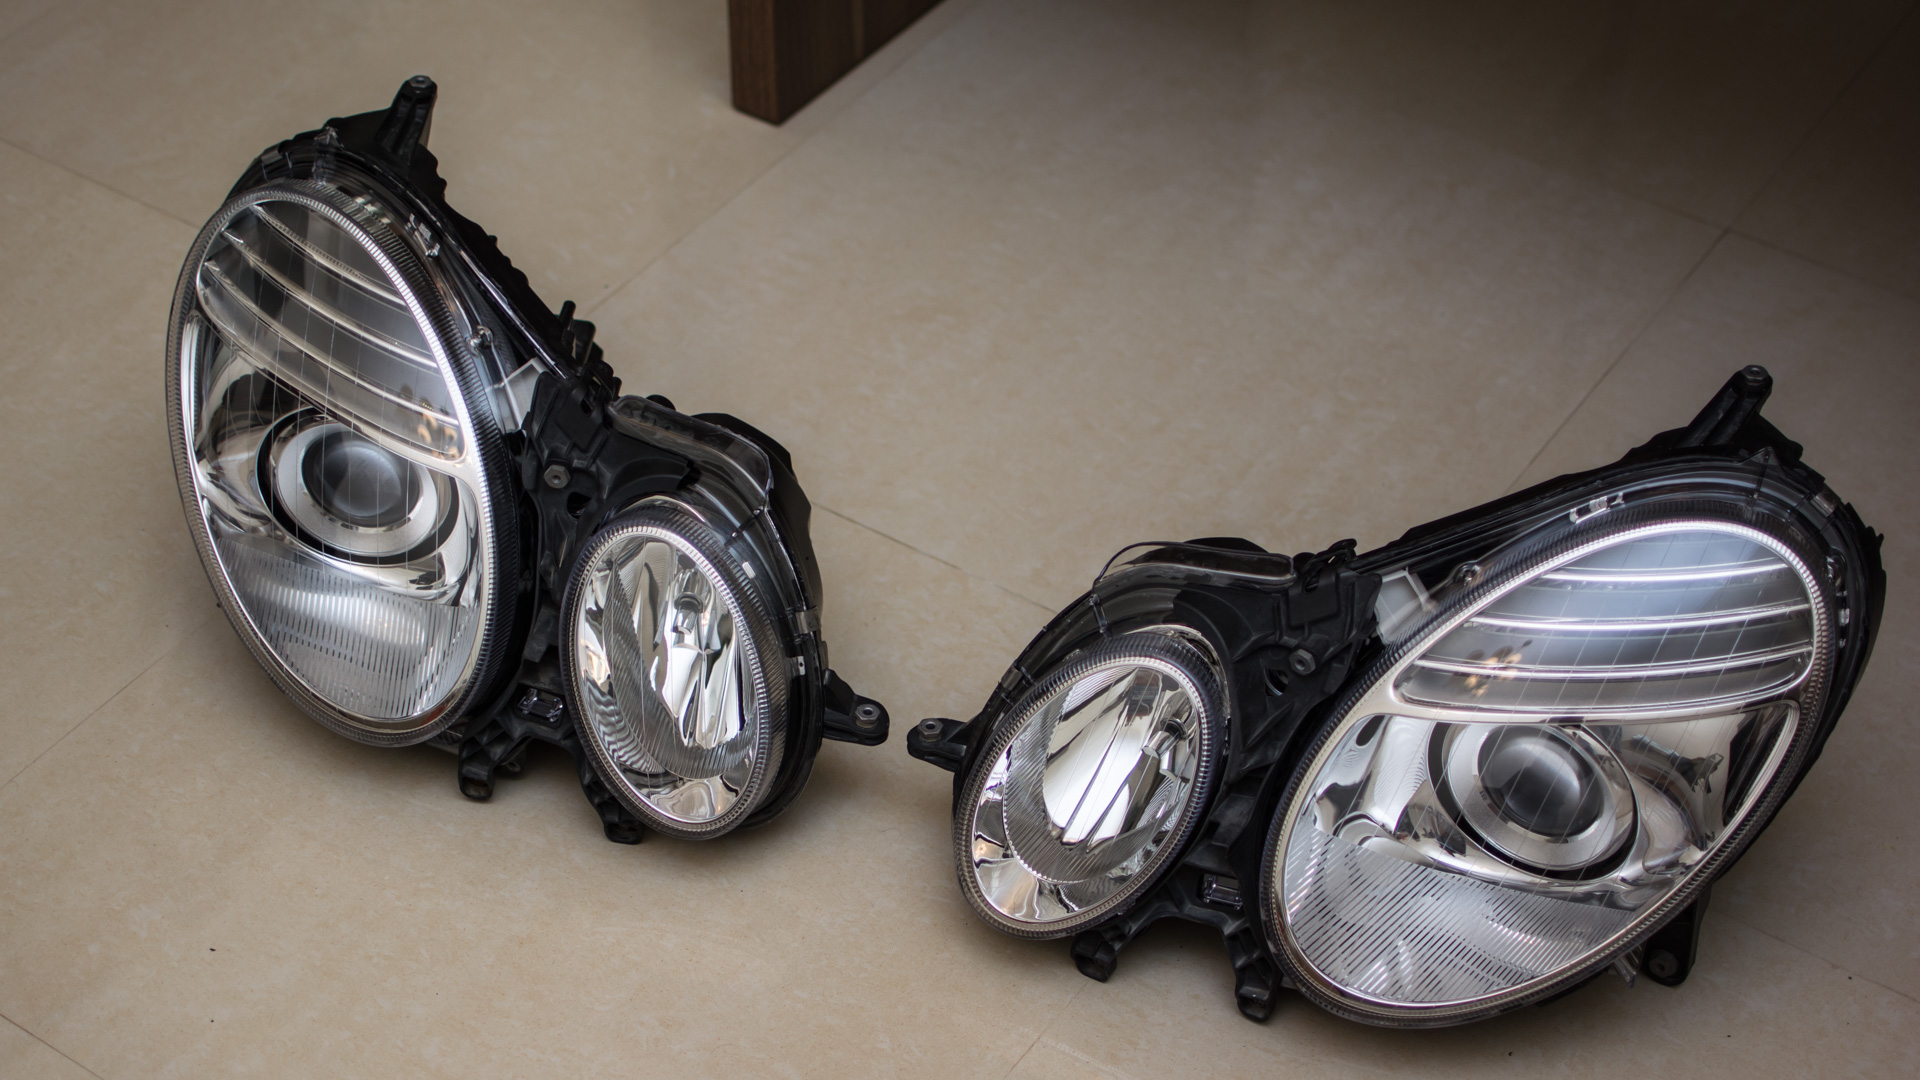
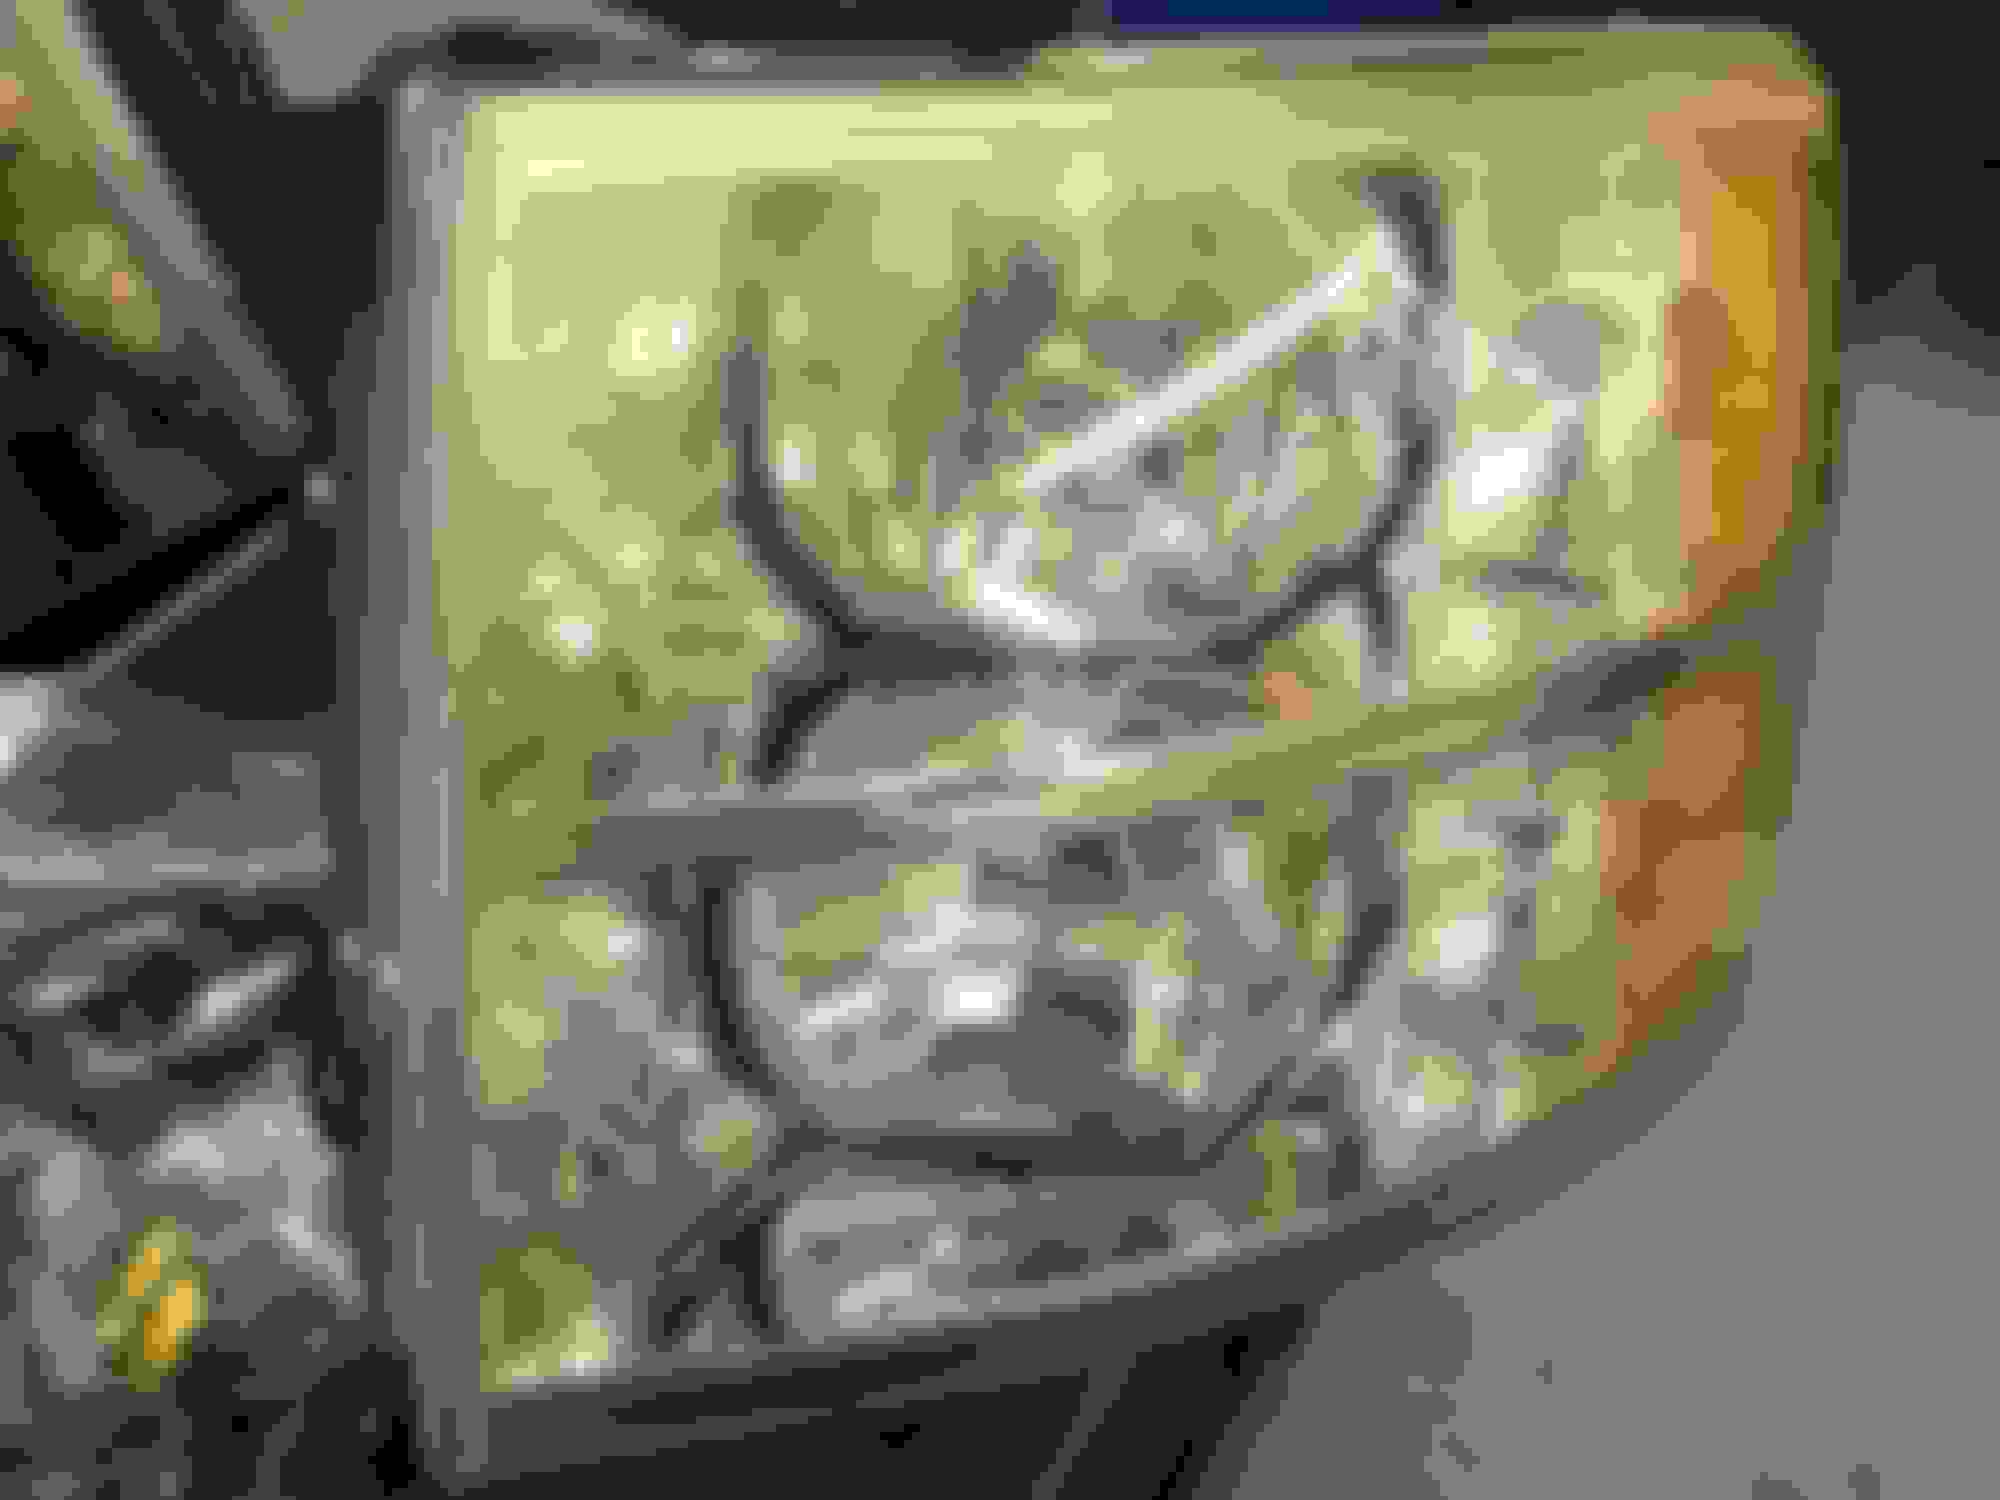
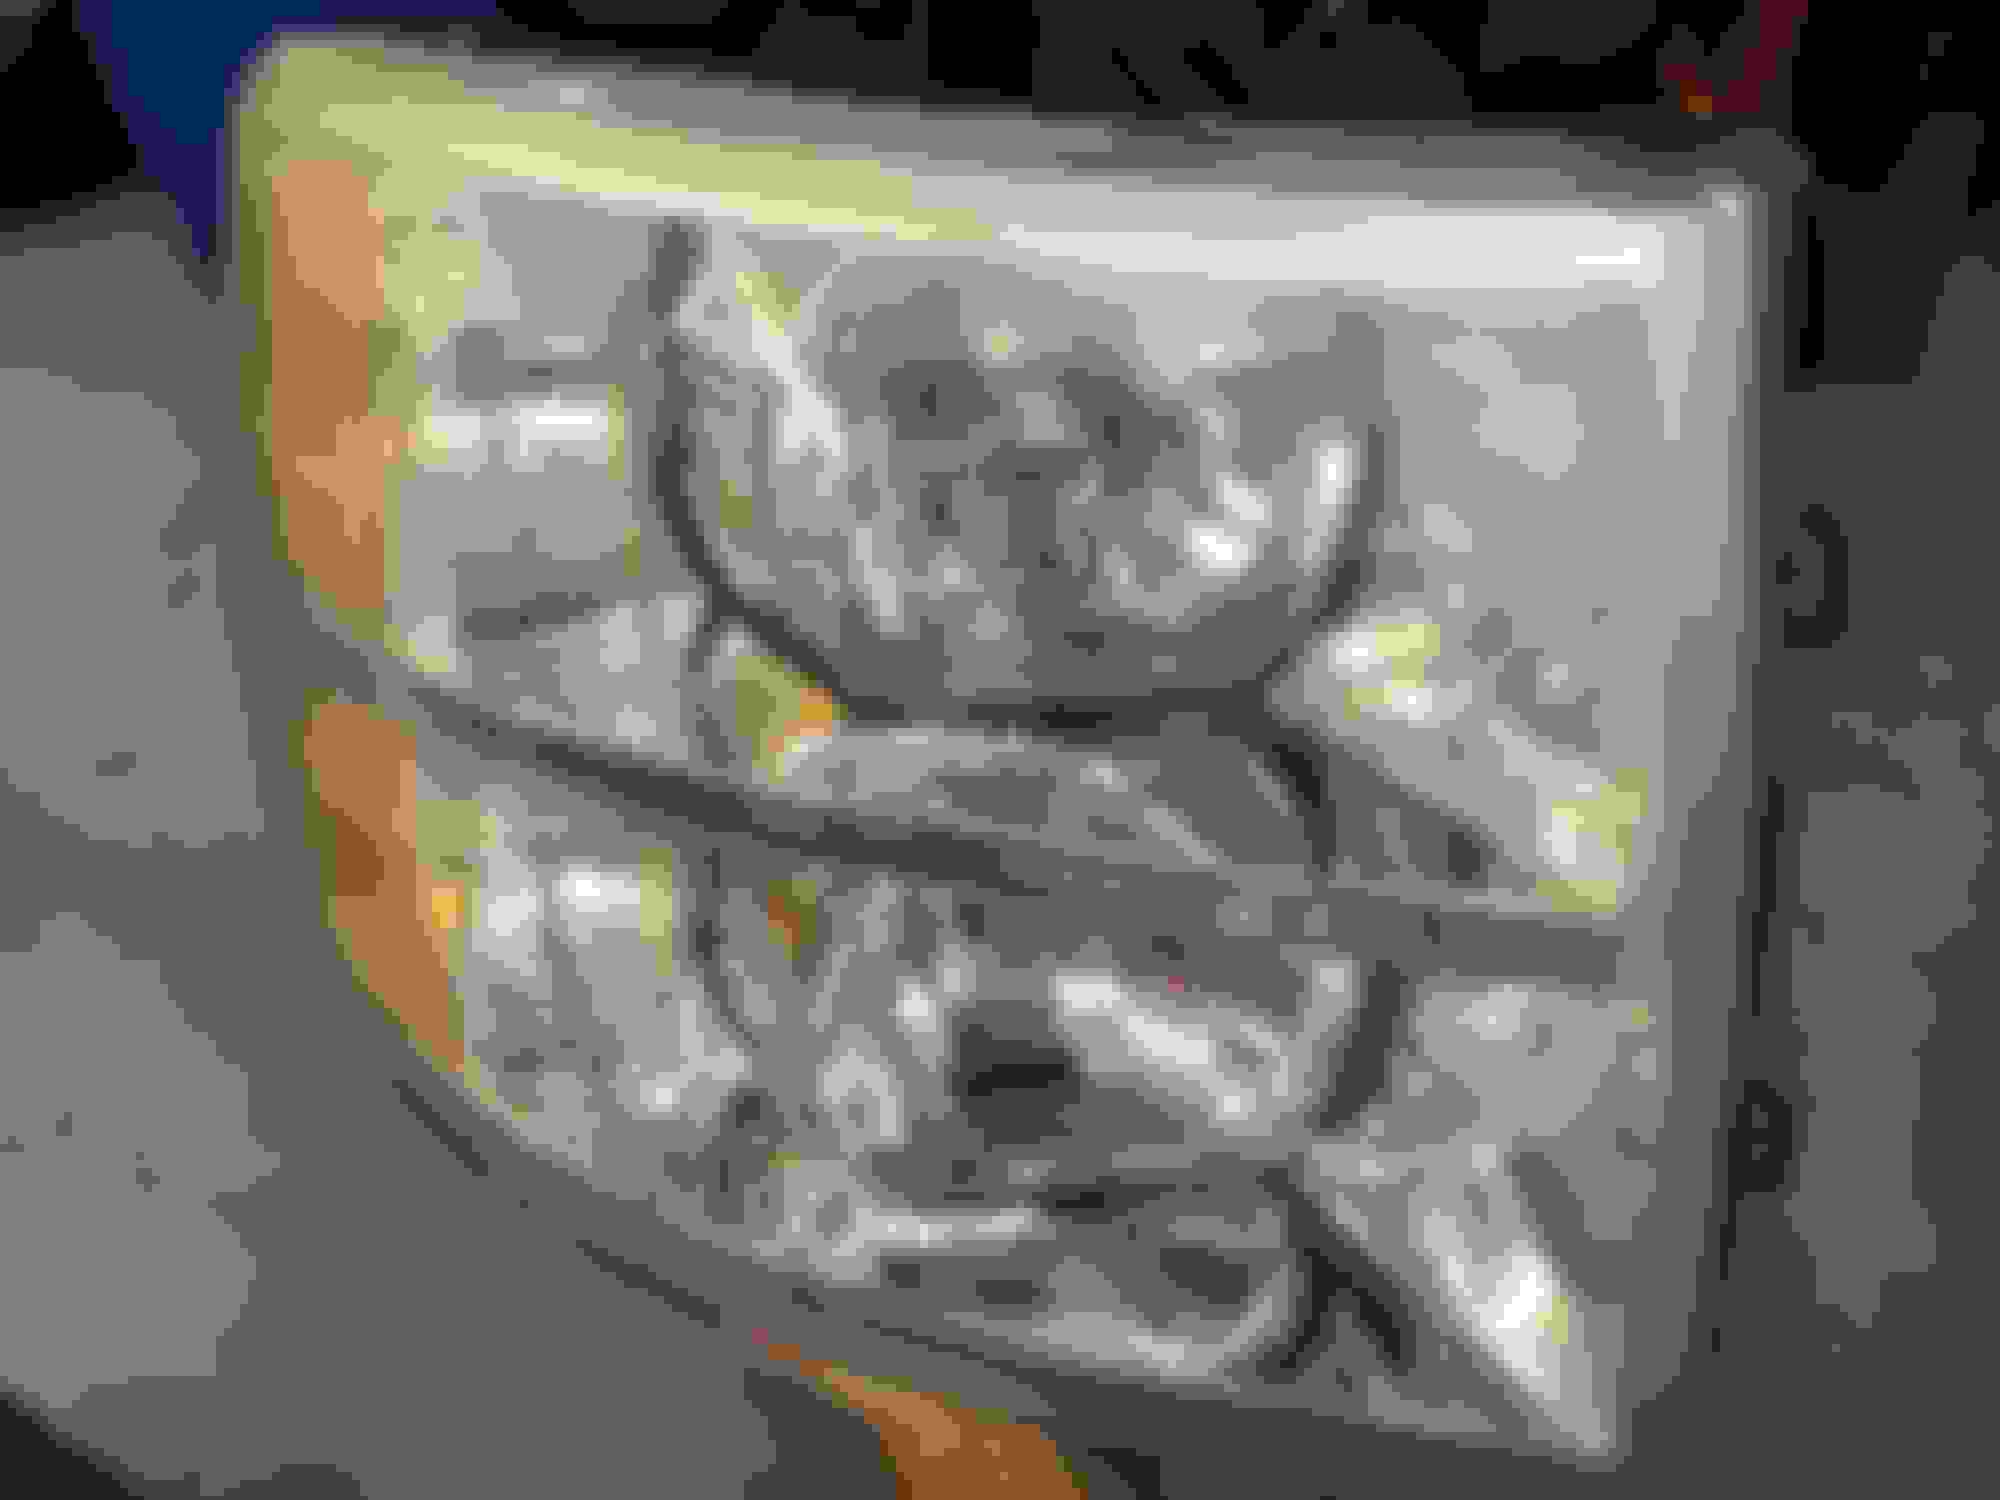
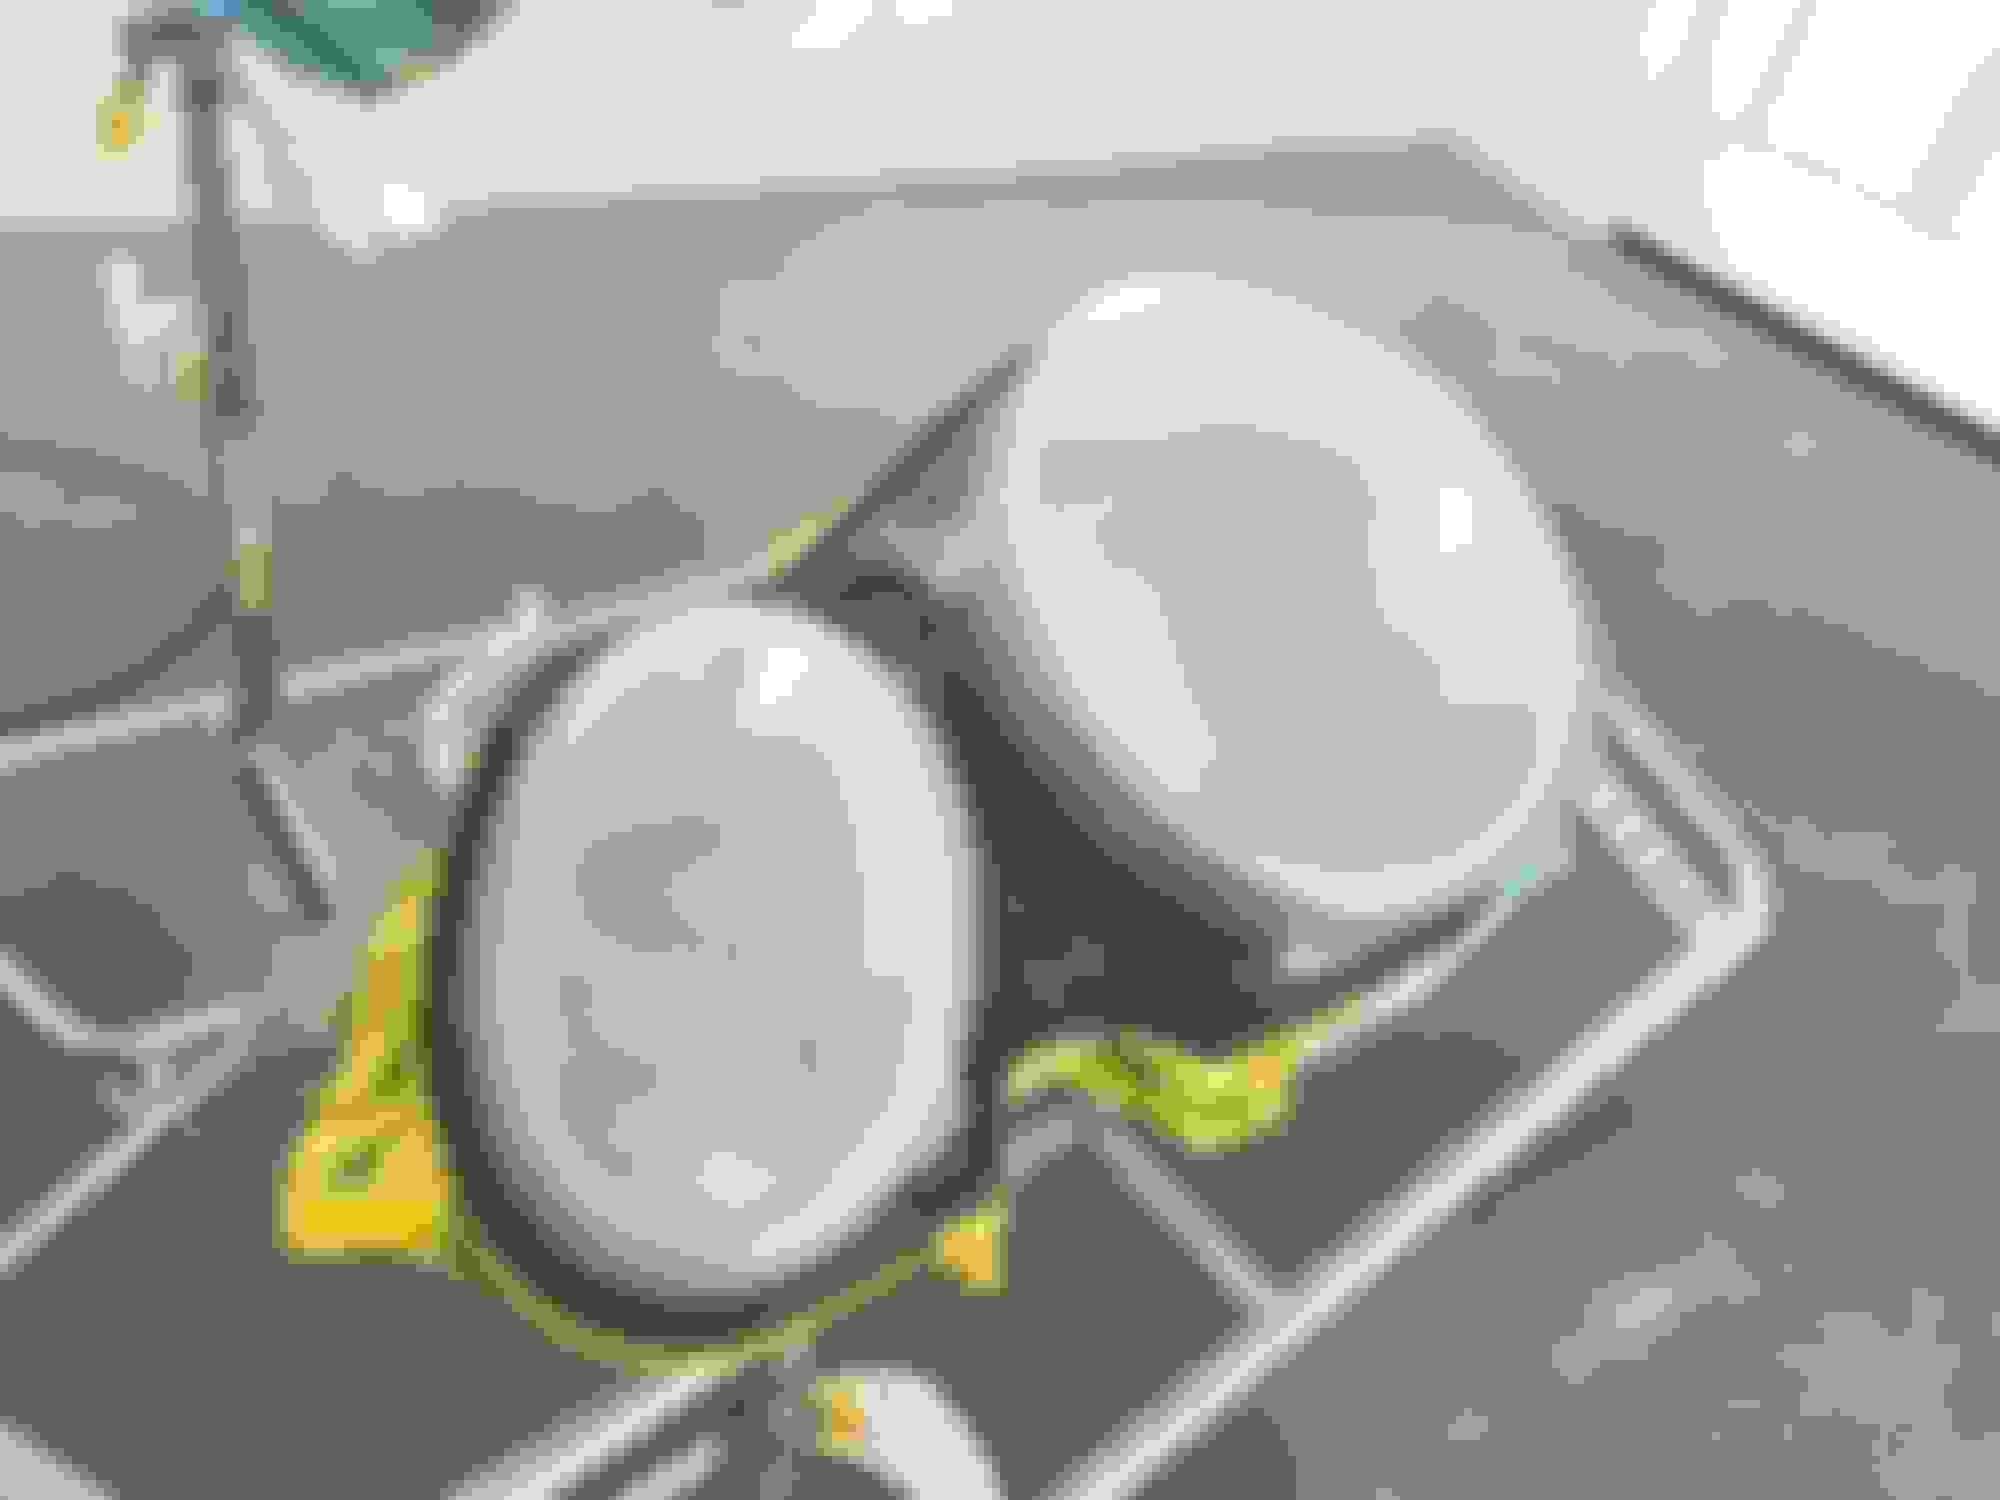
This is what we started with 2004 CLK.
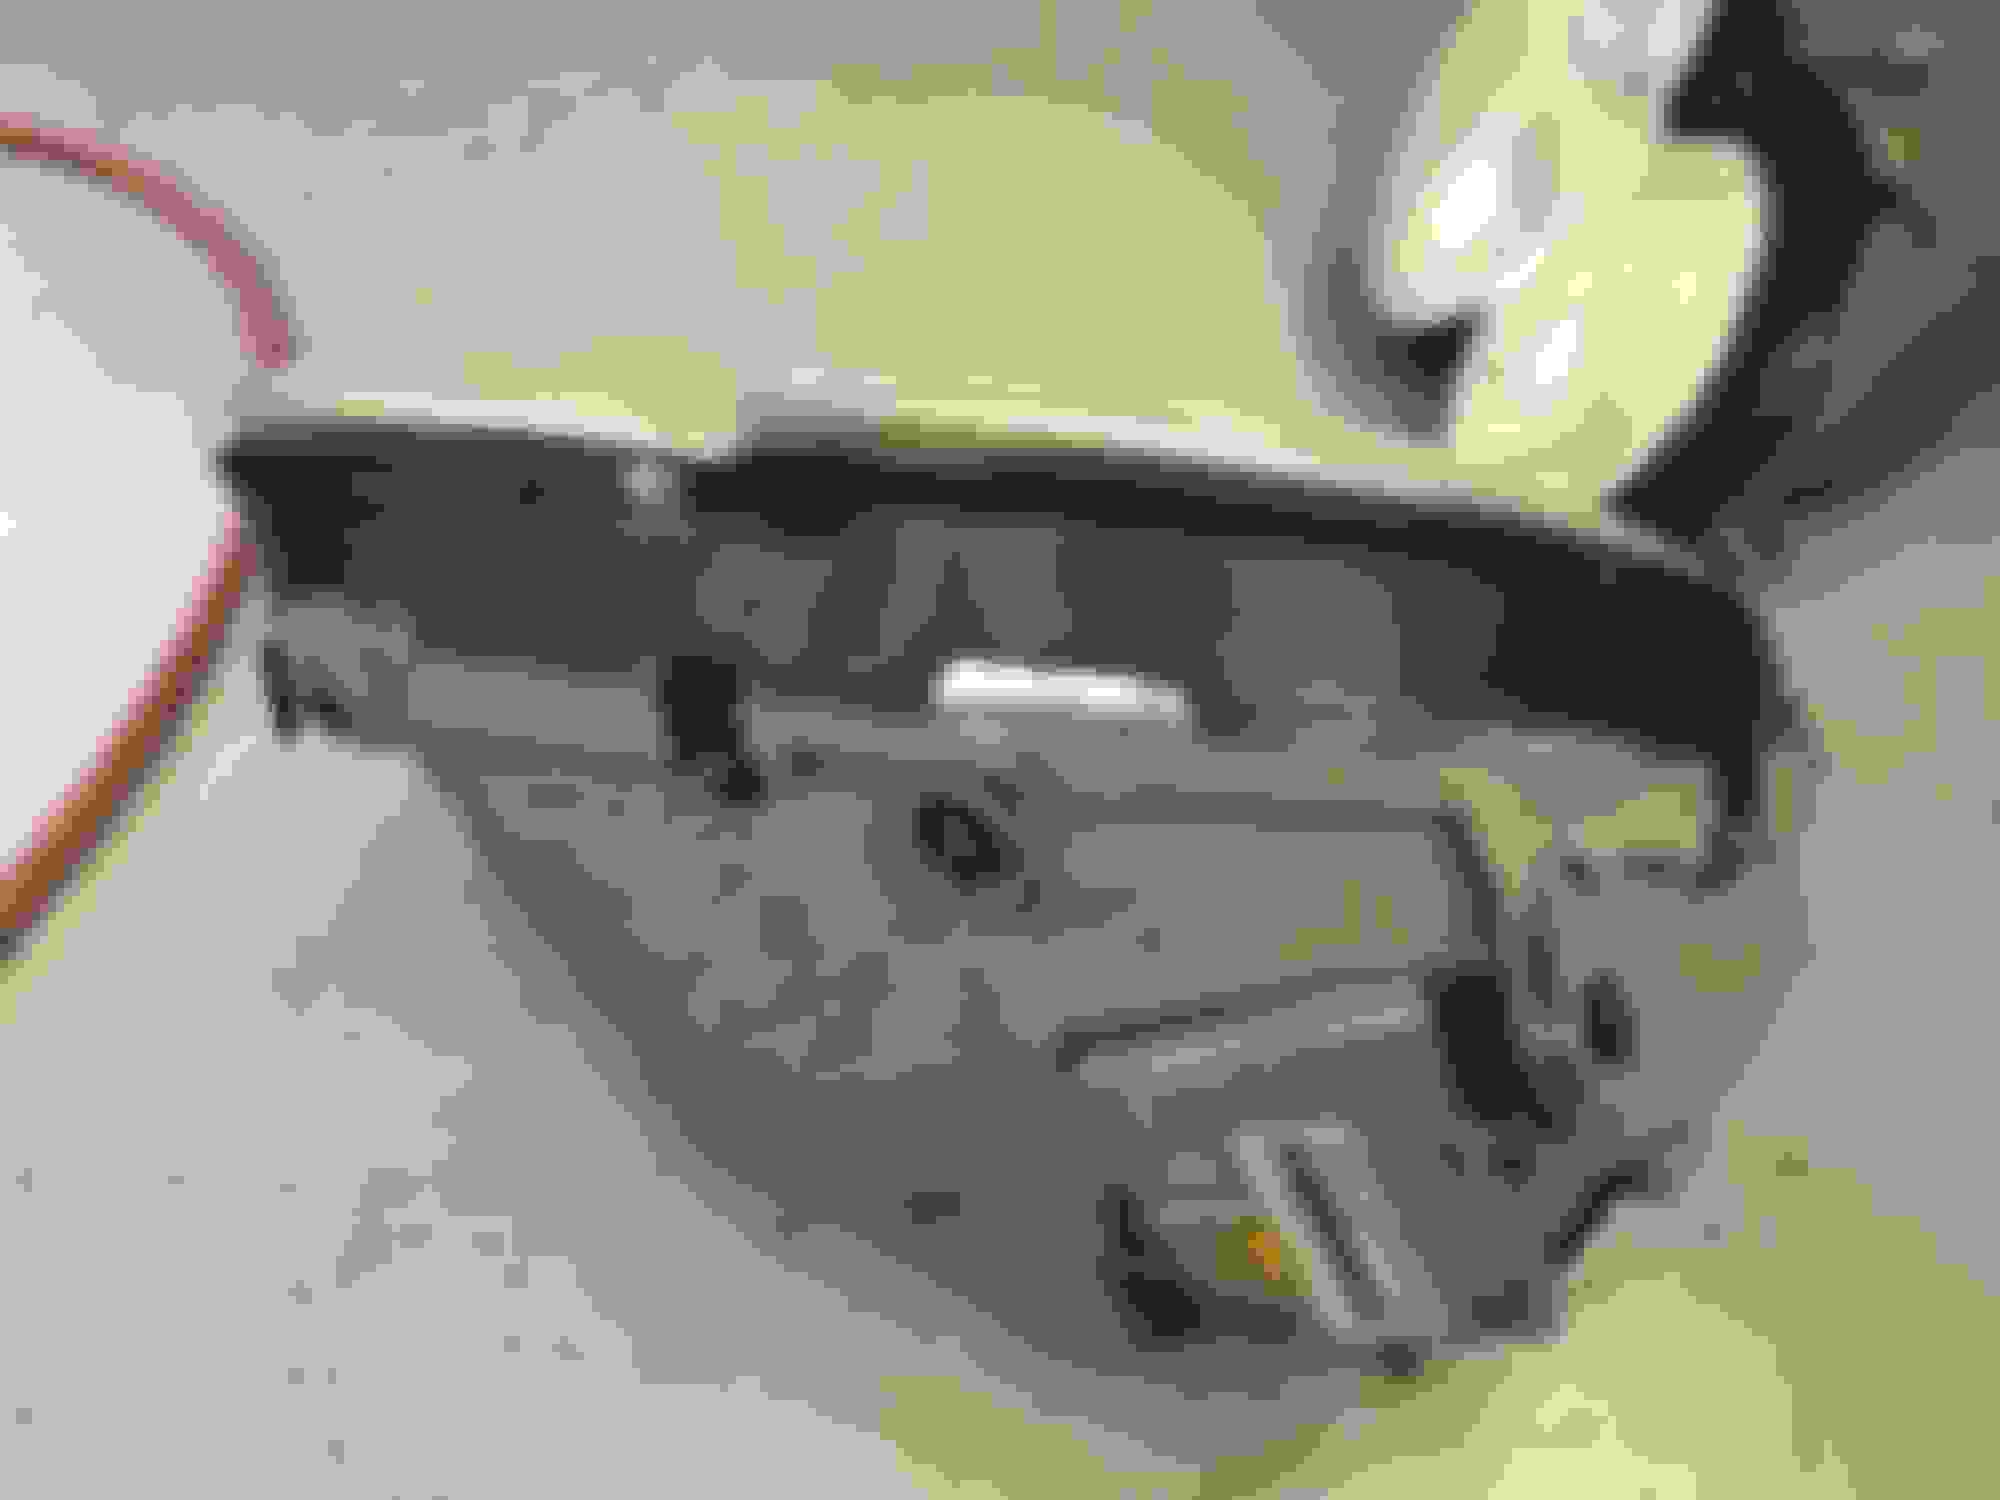
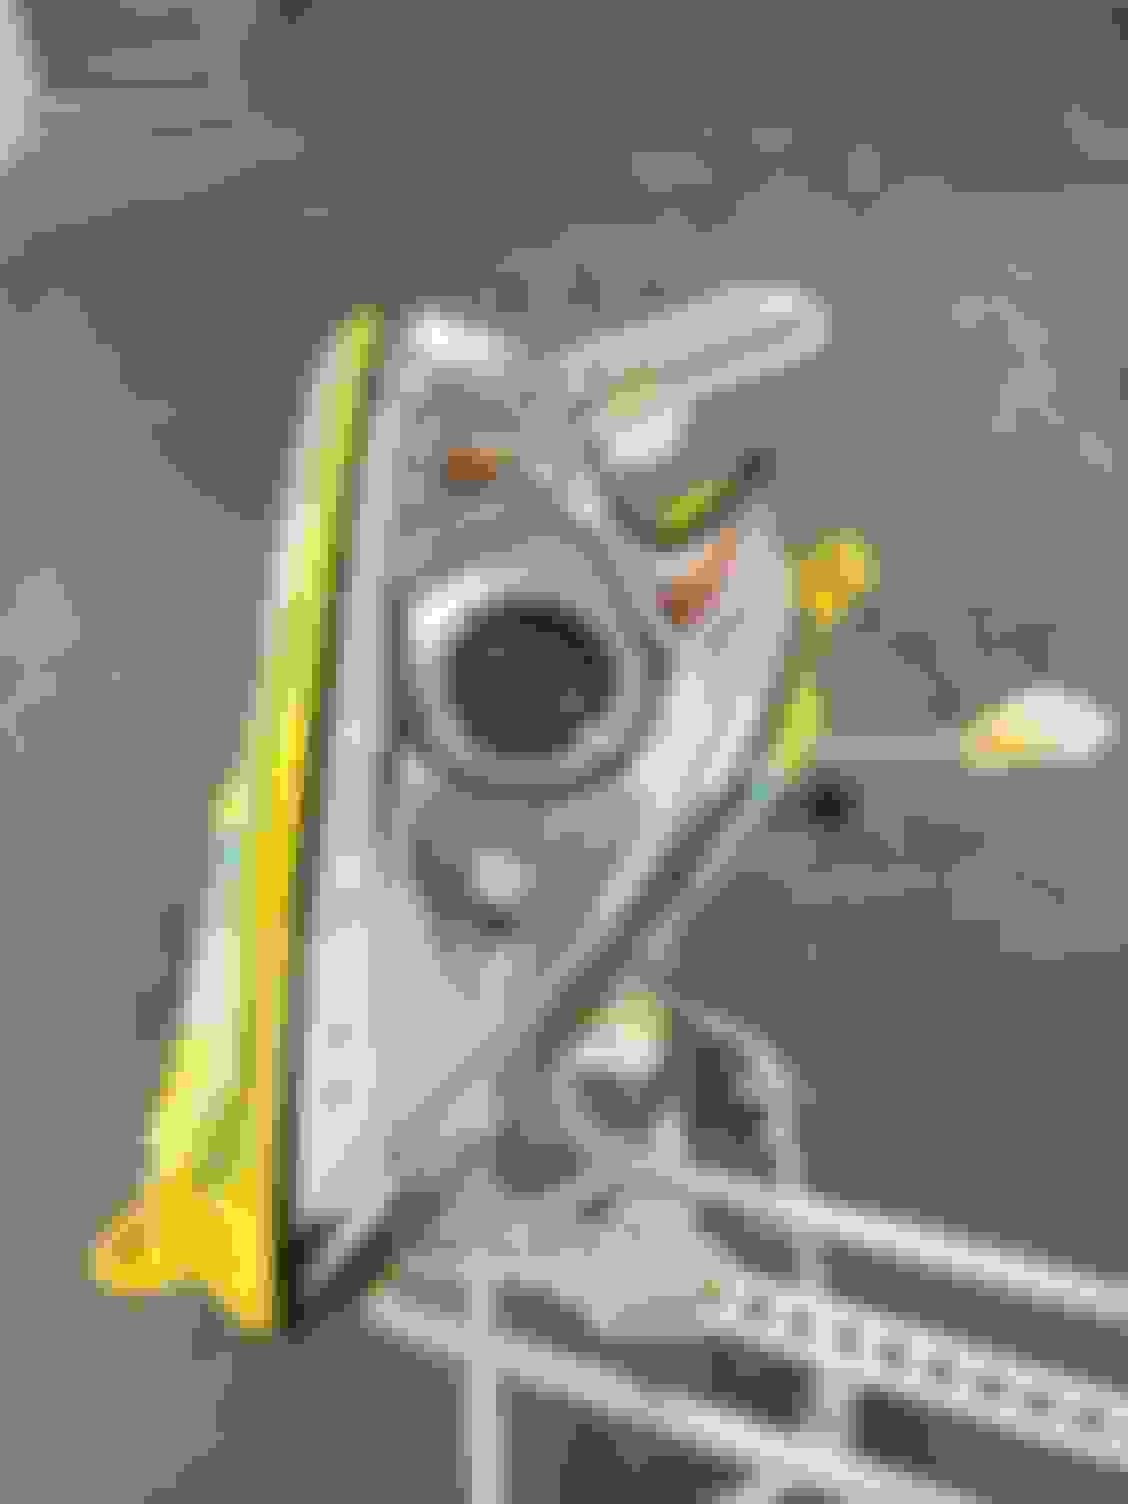
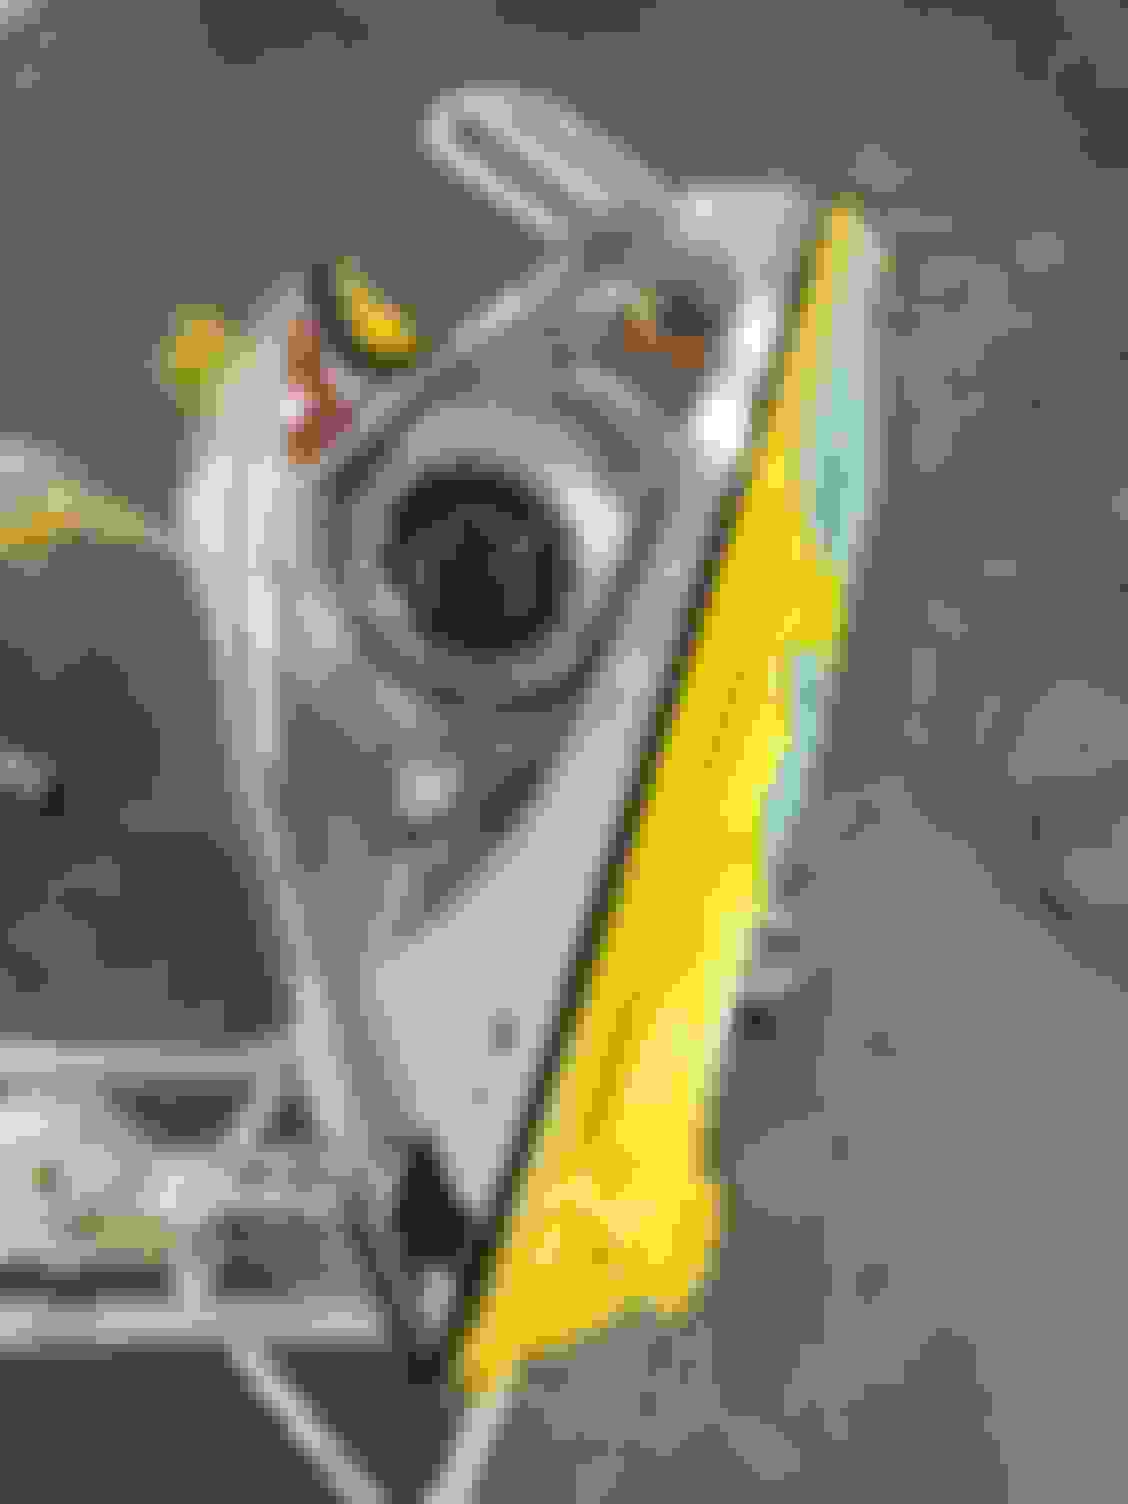
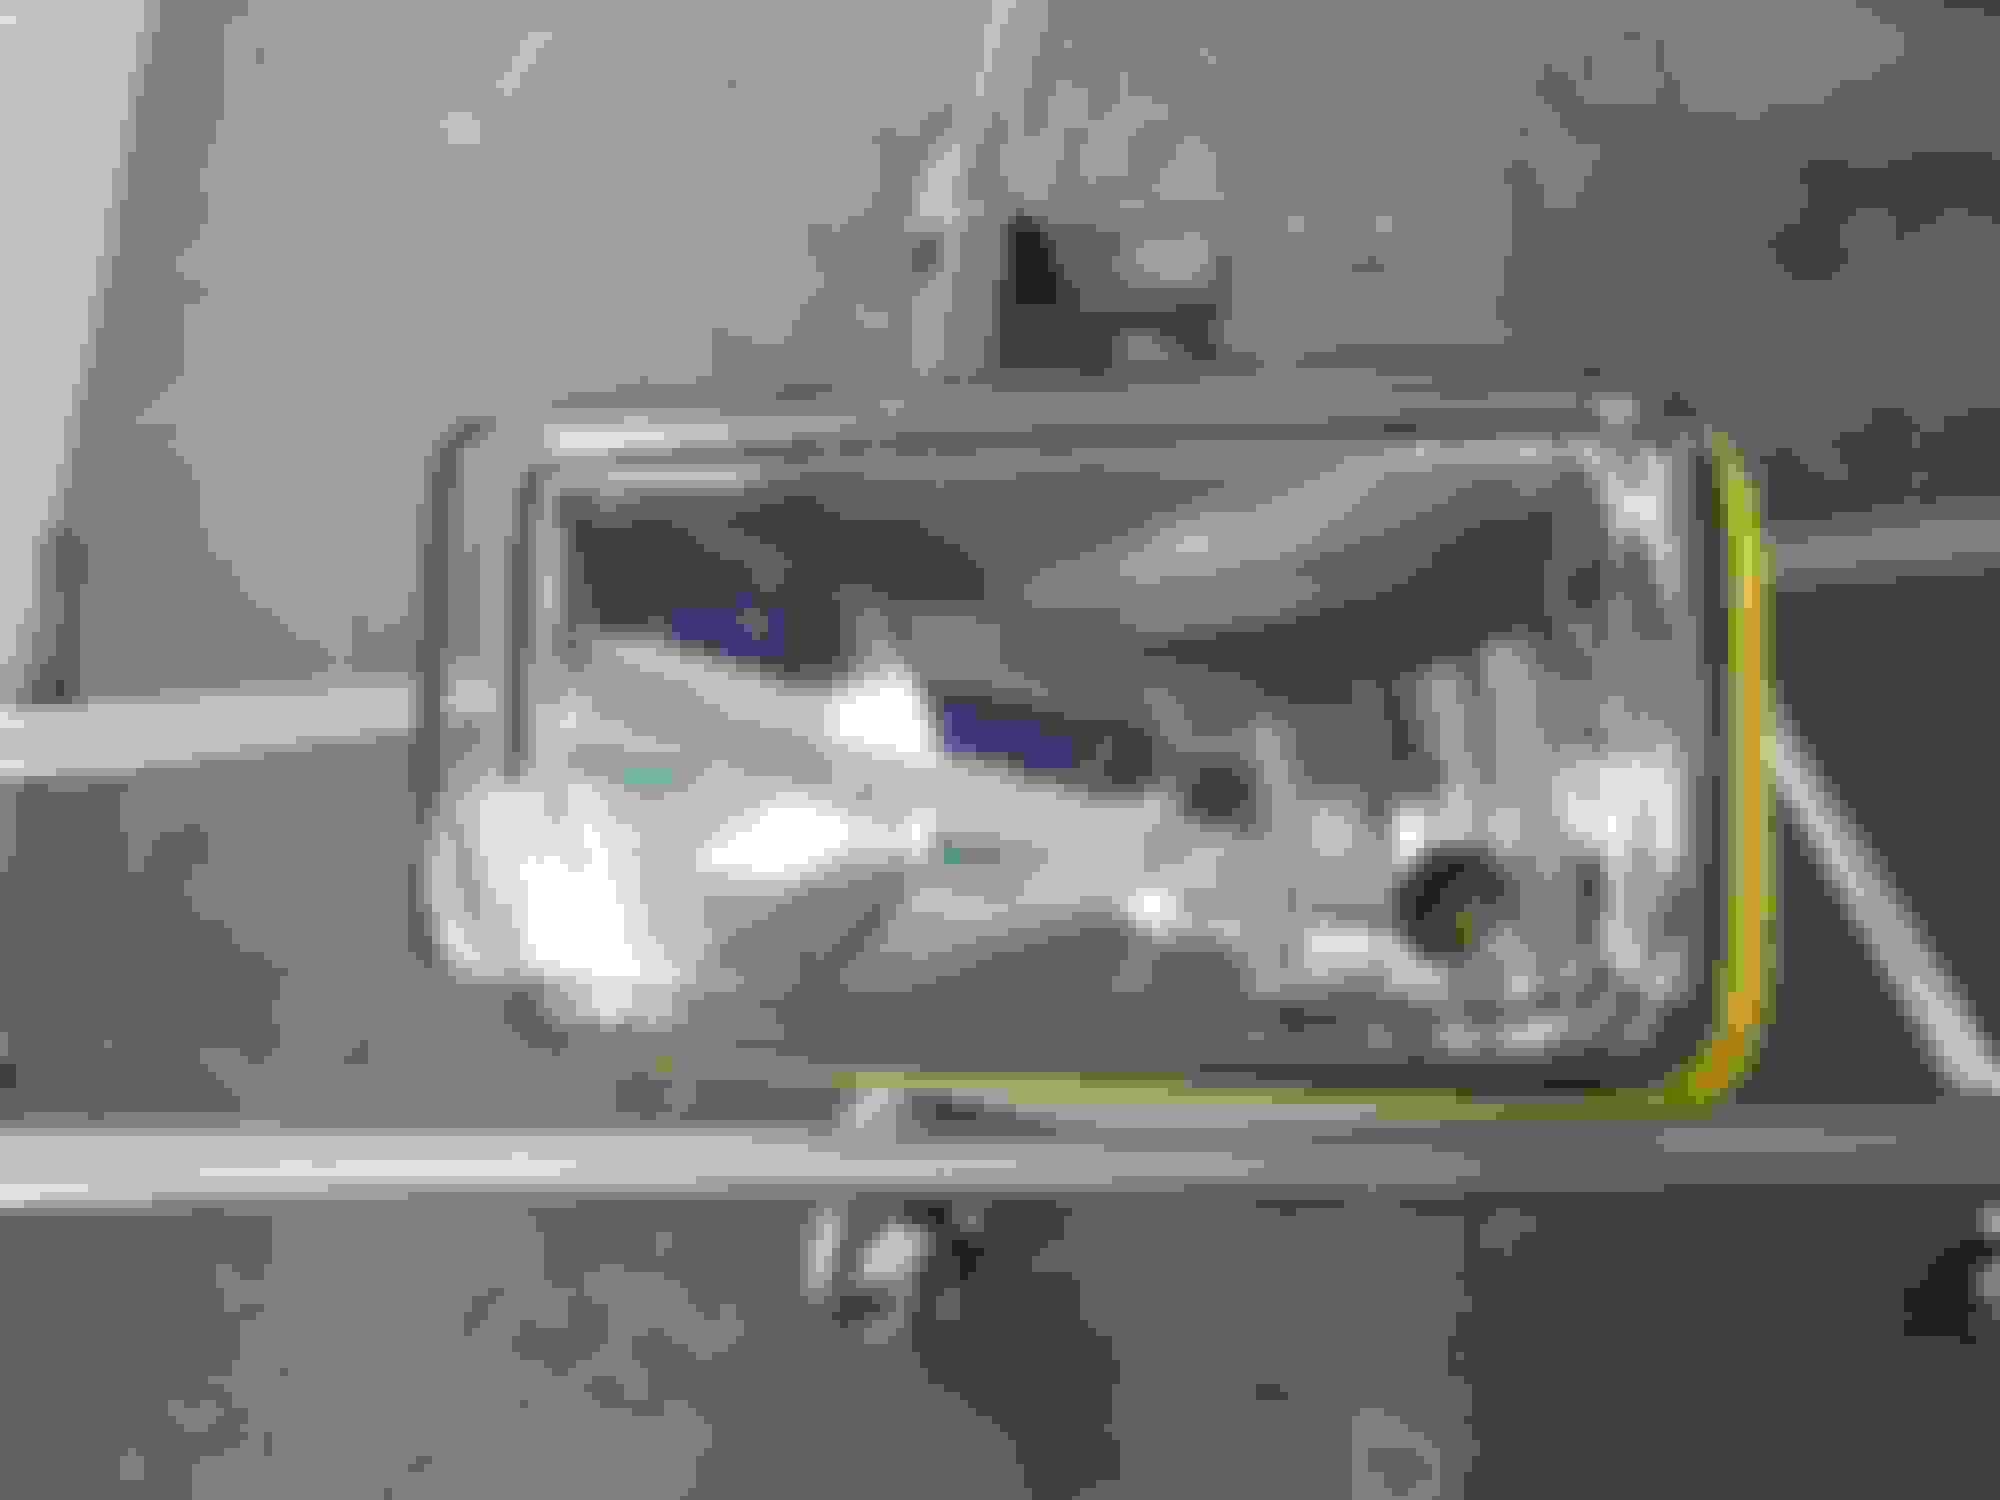
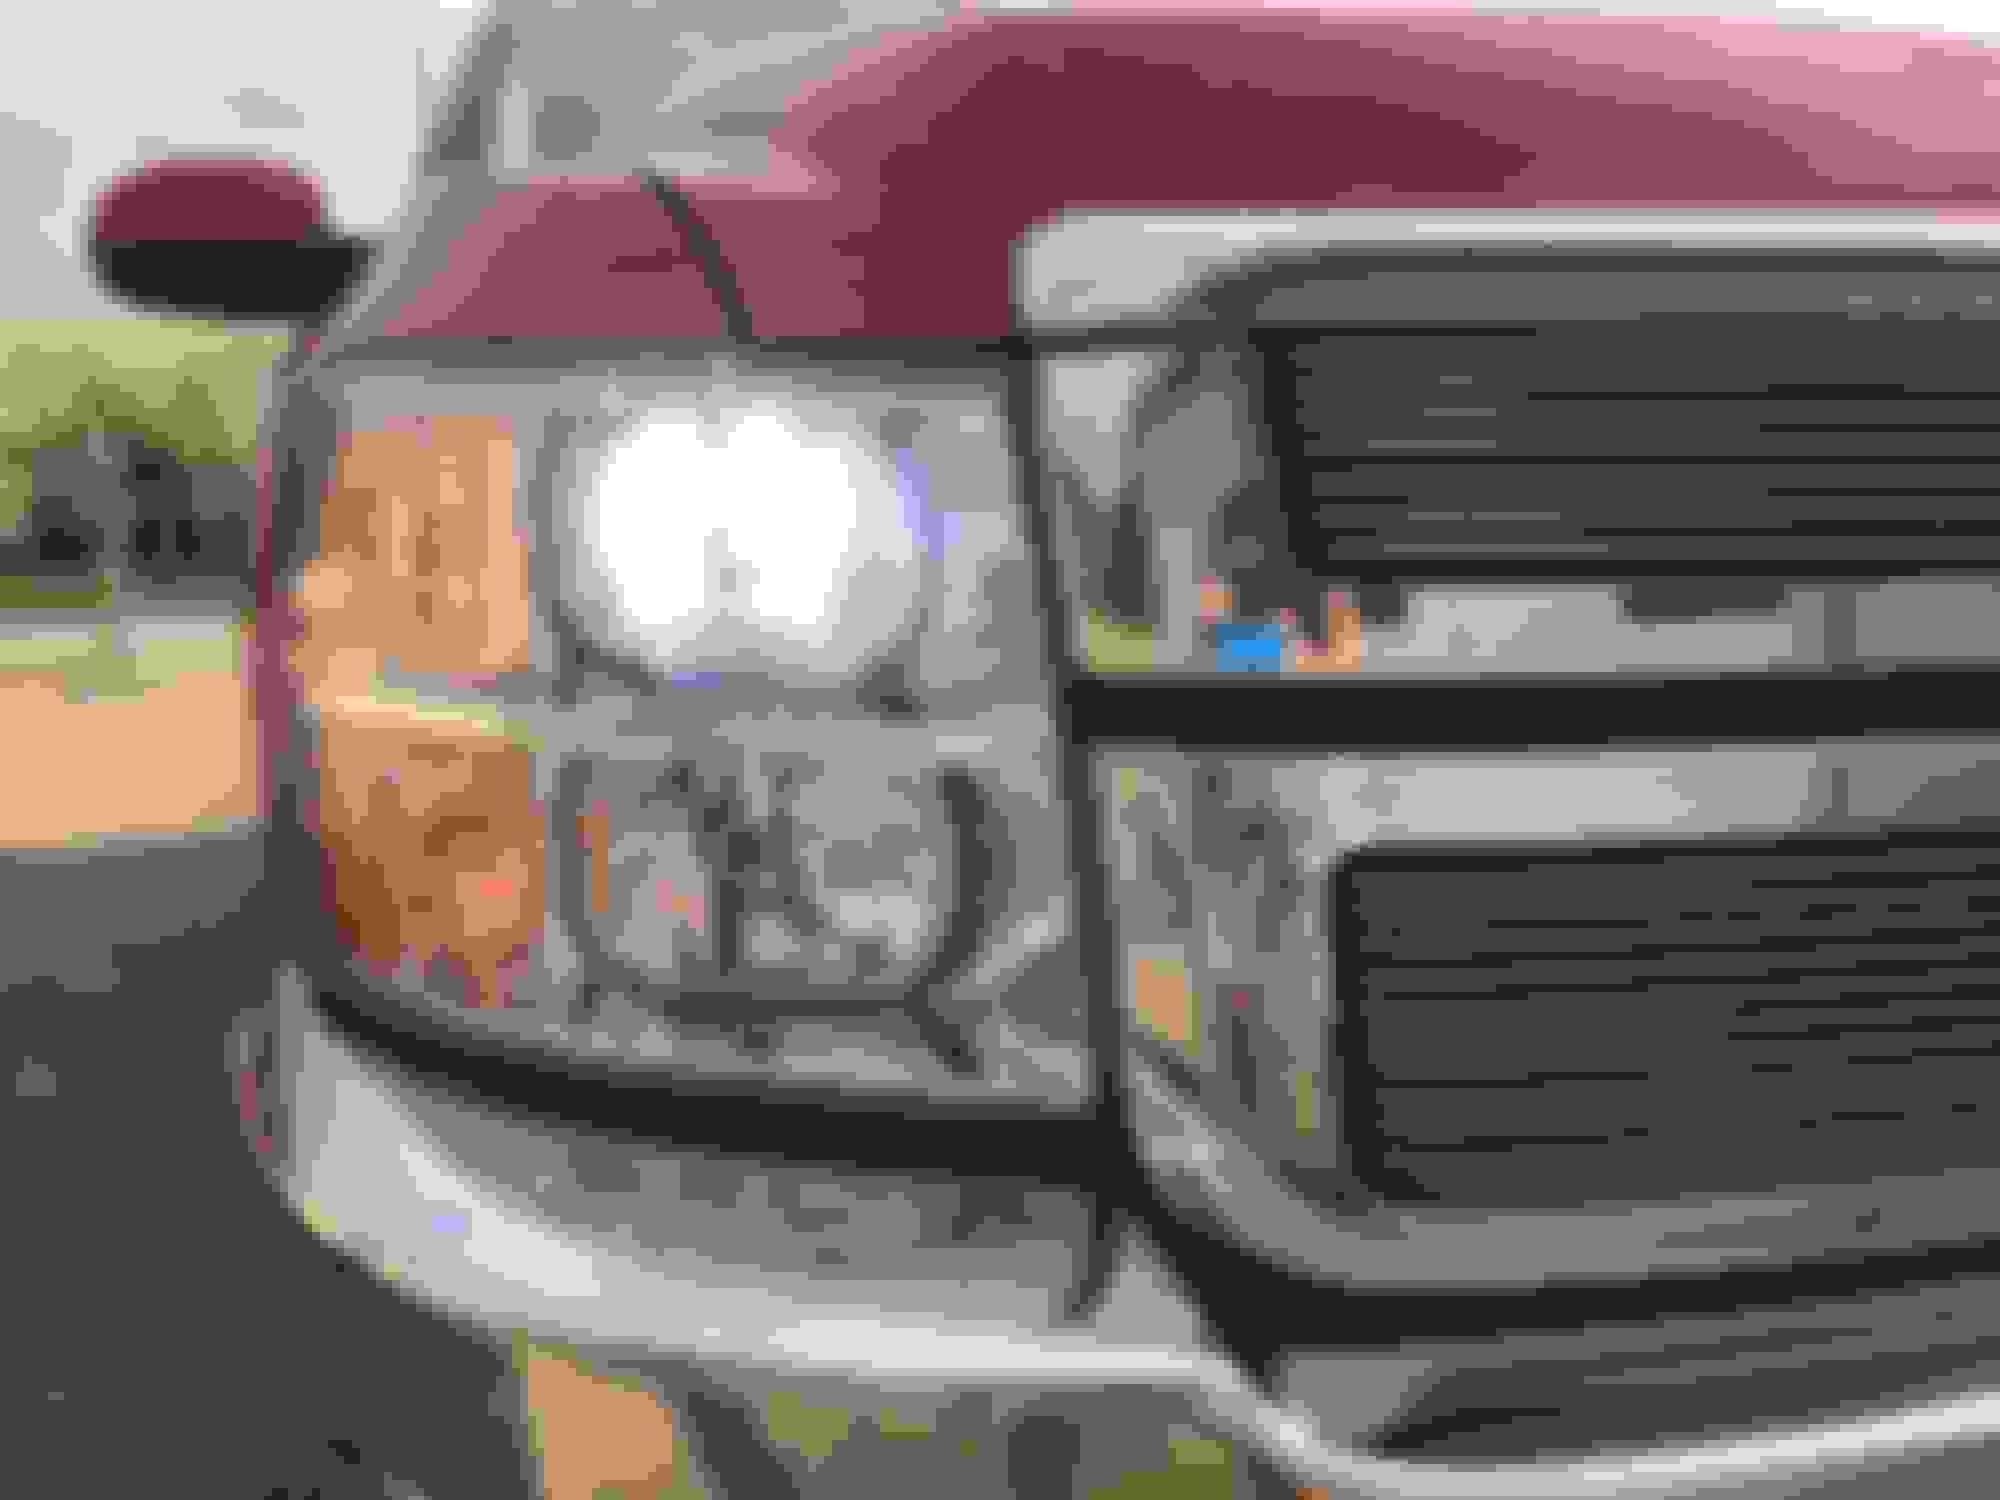
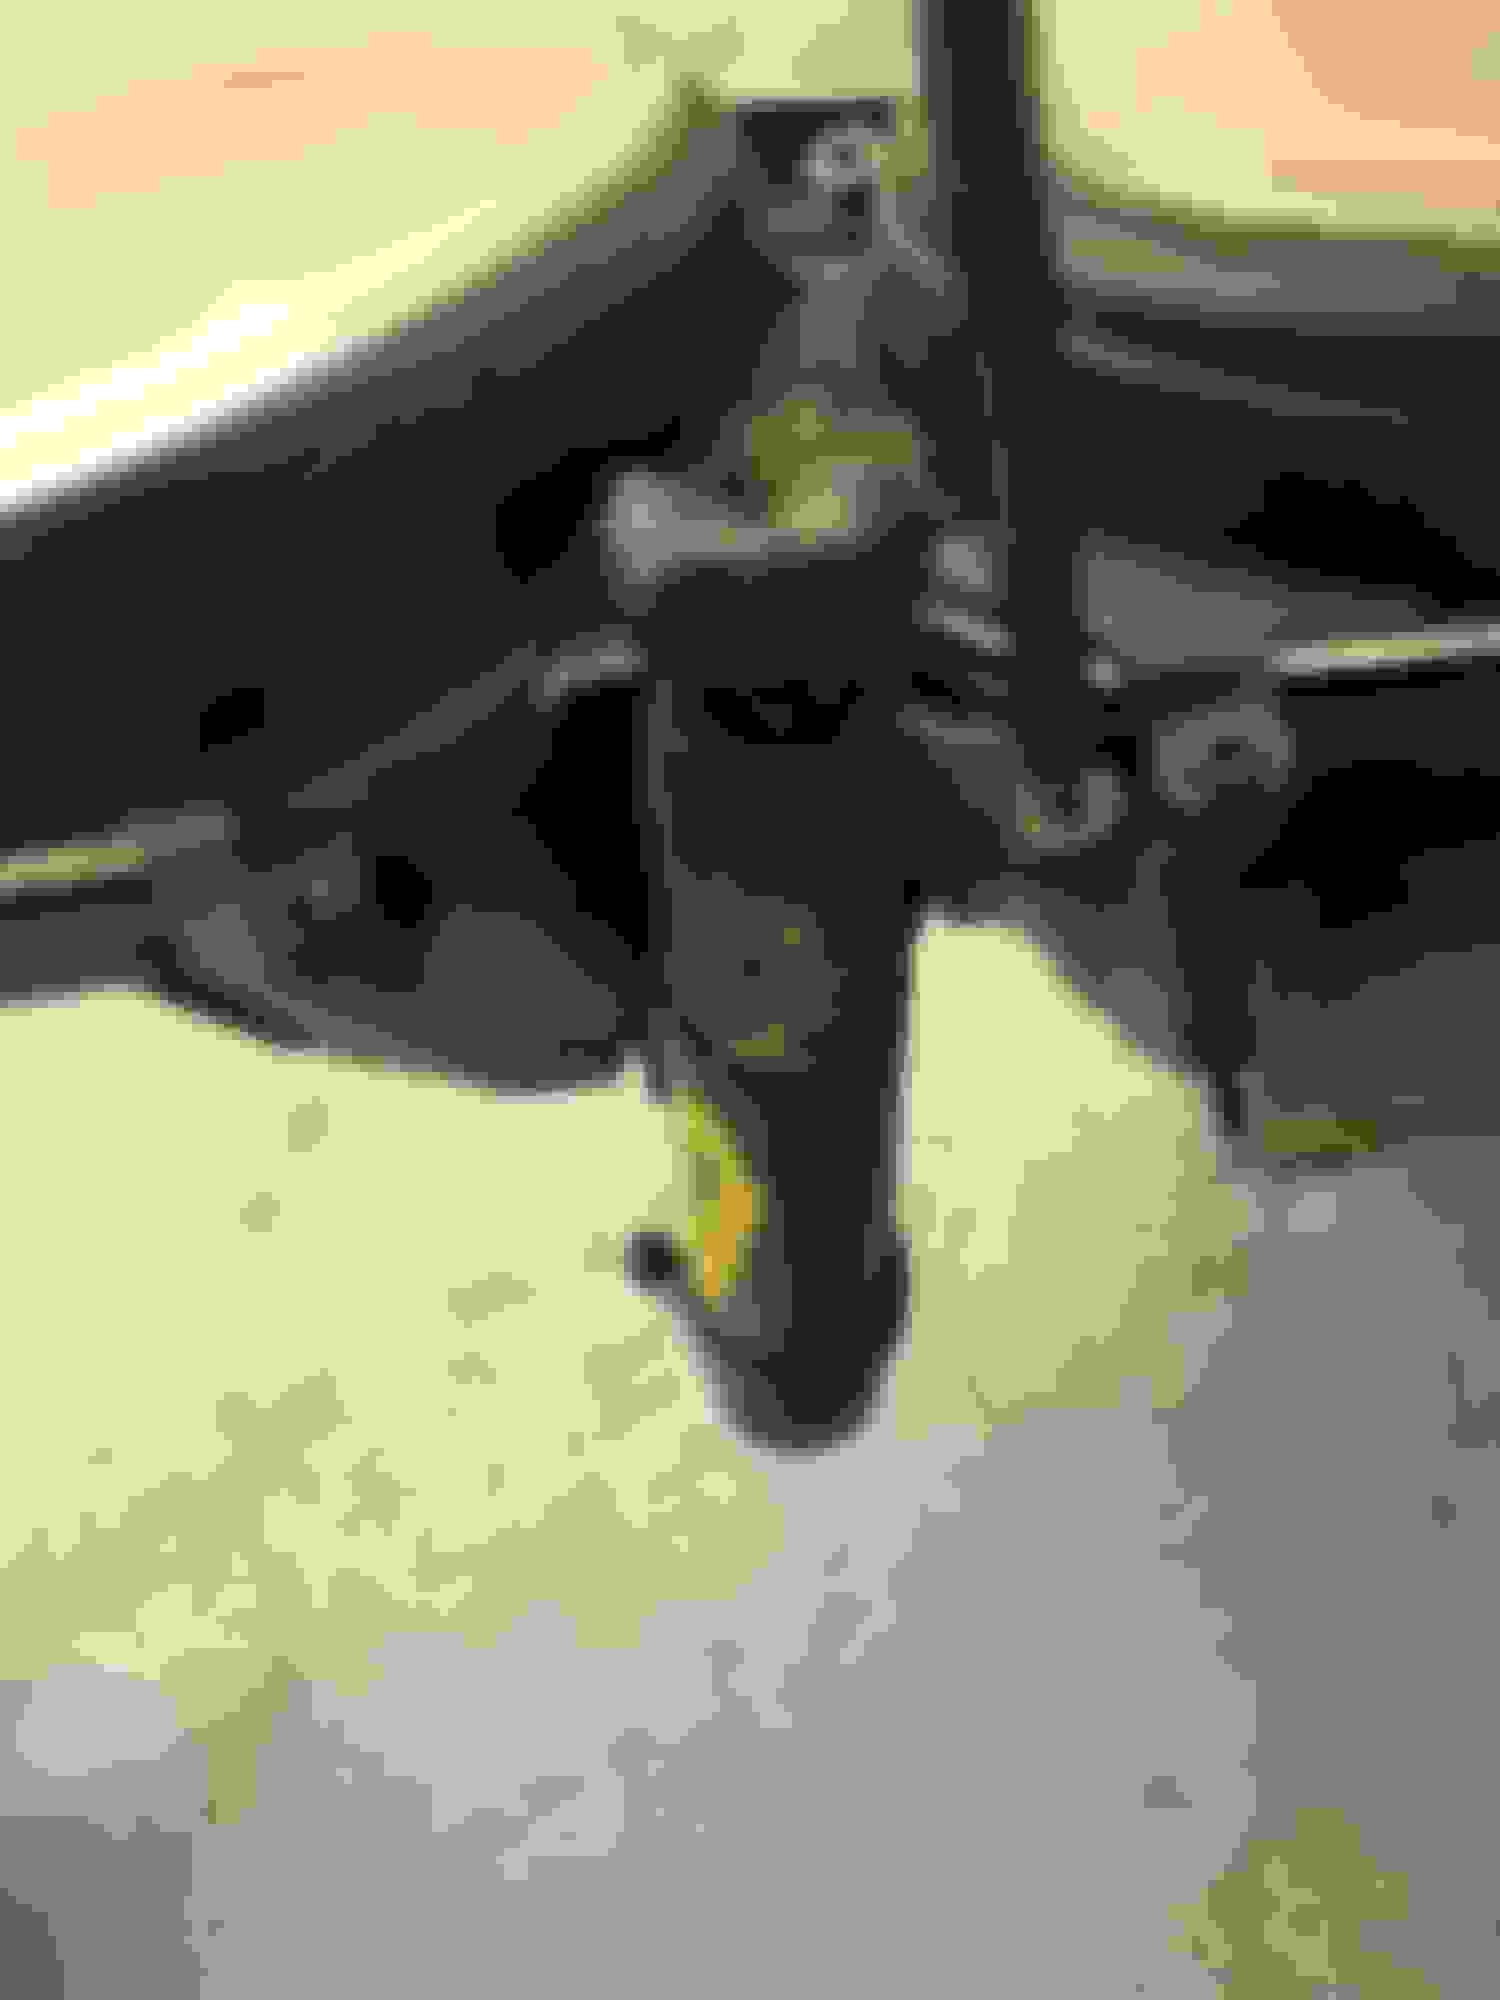
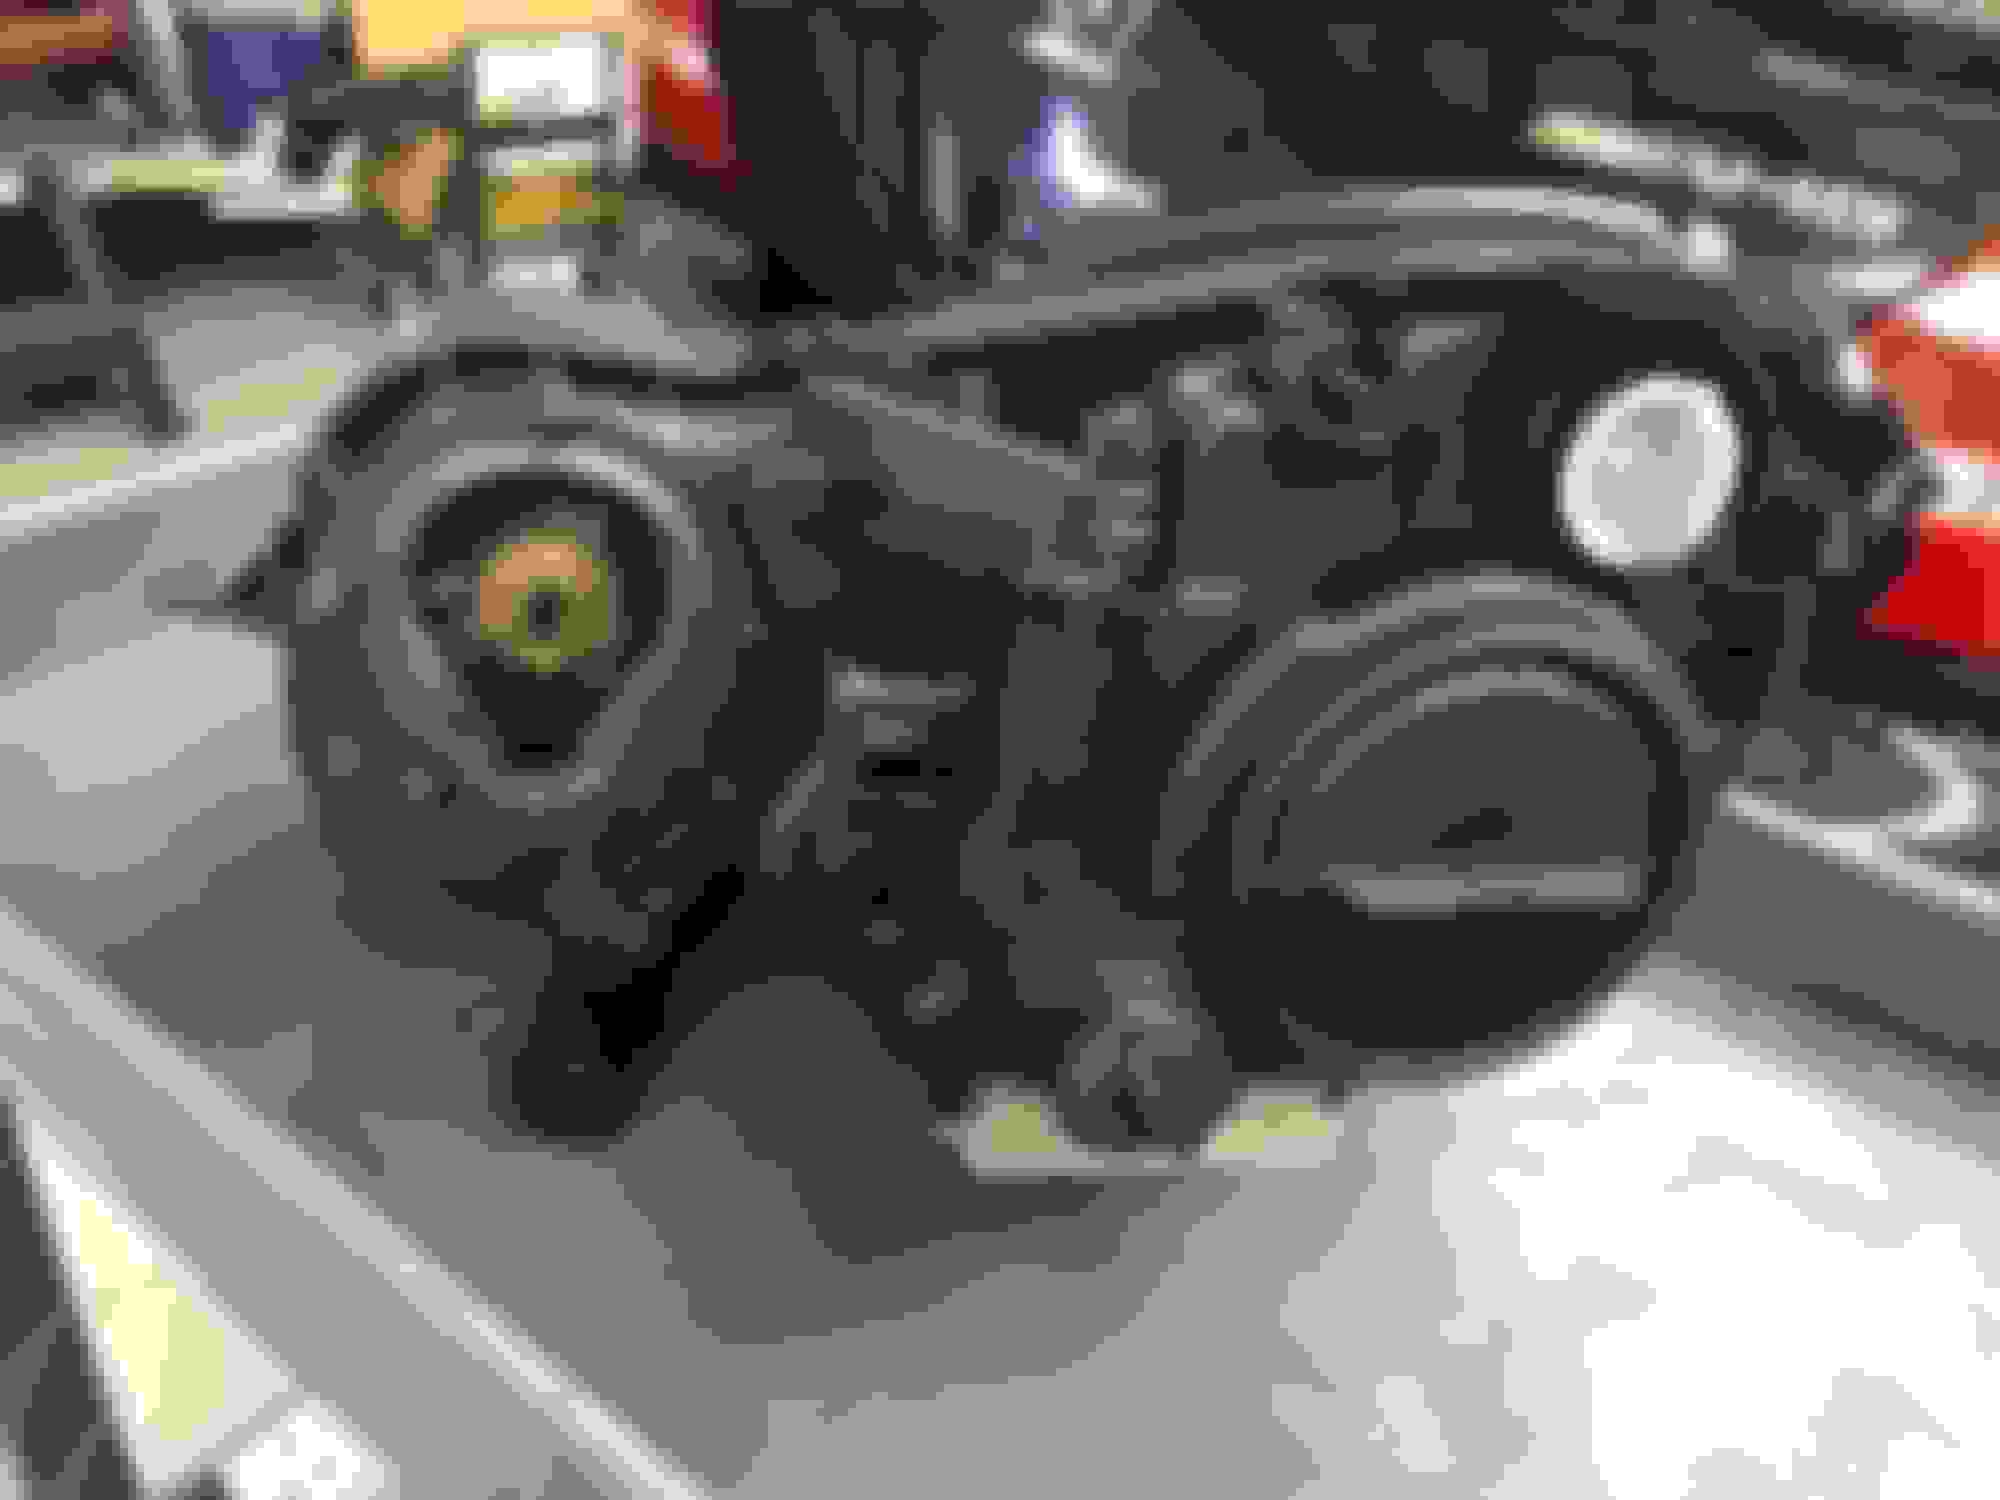
The bumper needs to be removed to remove the headlights.
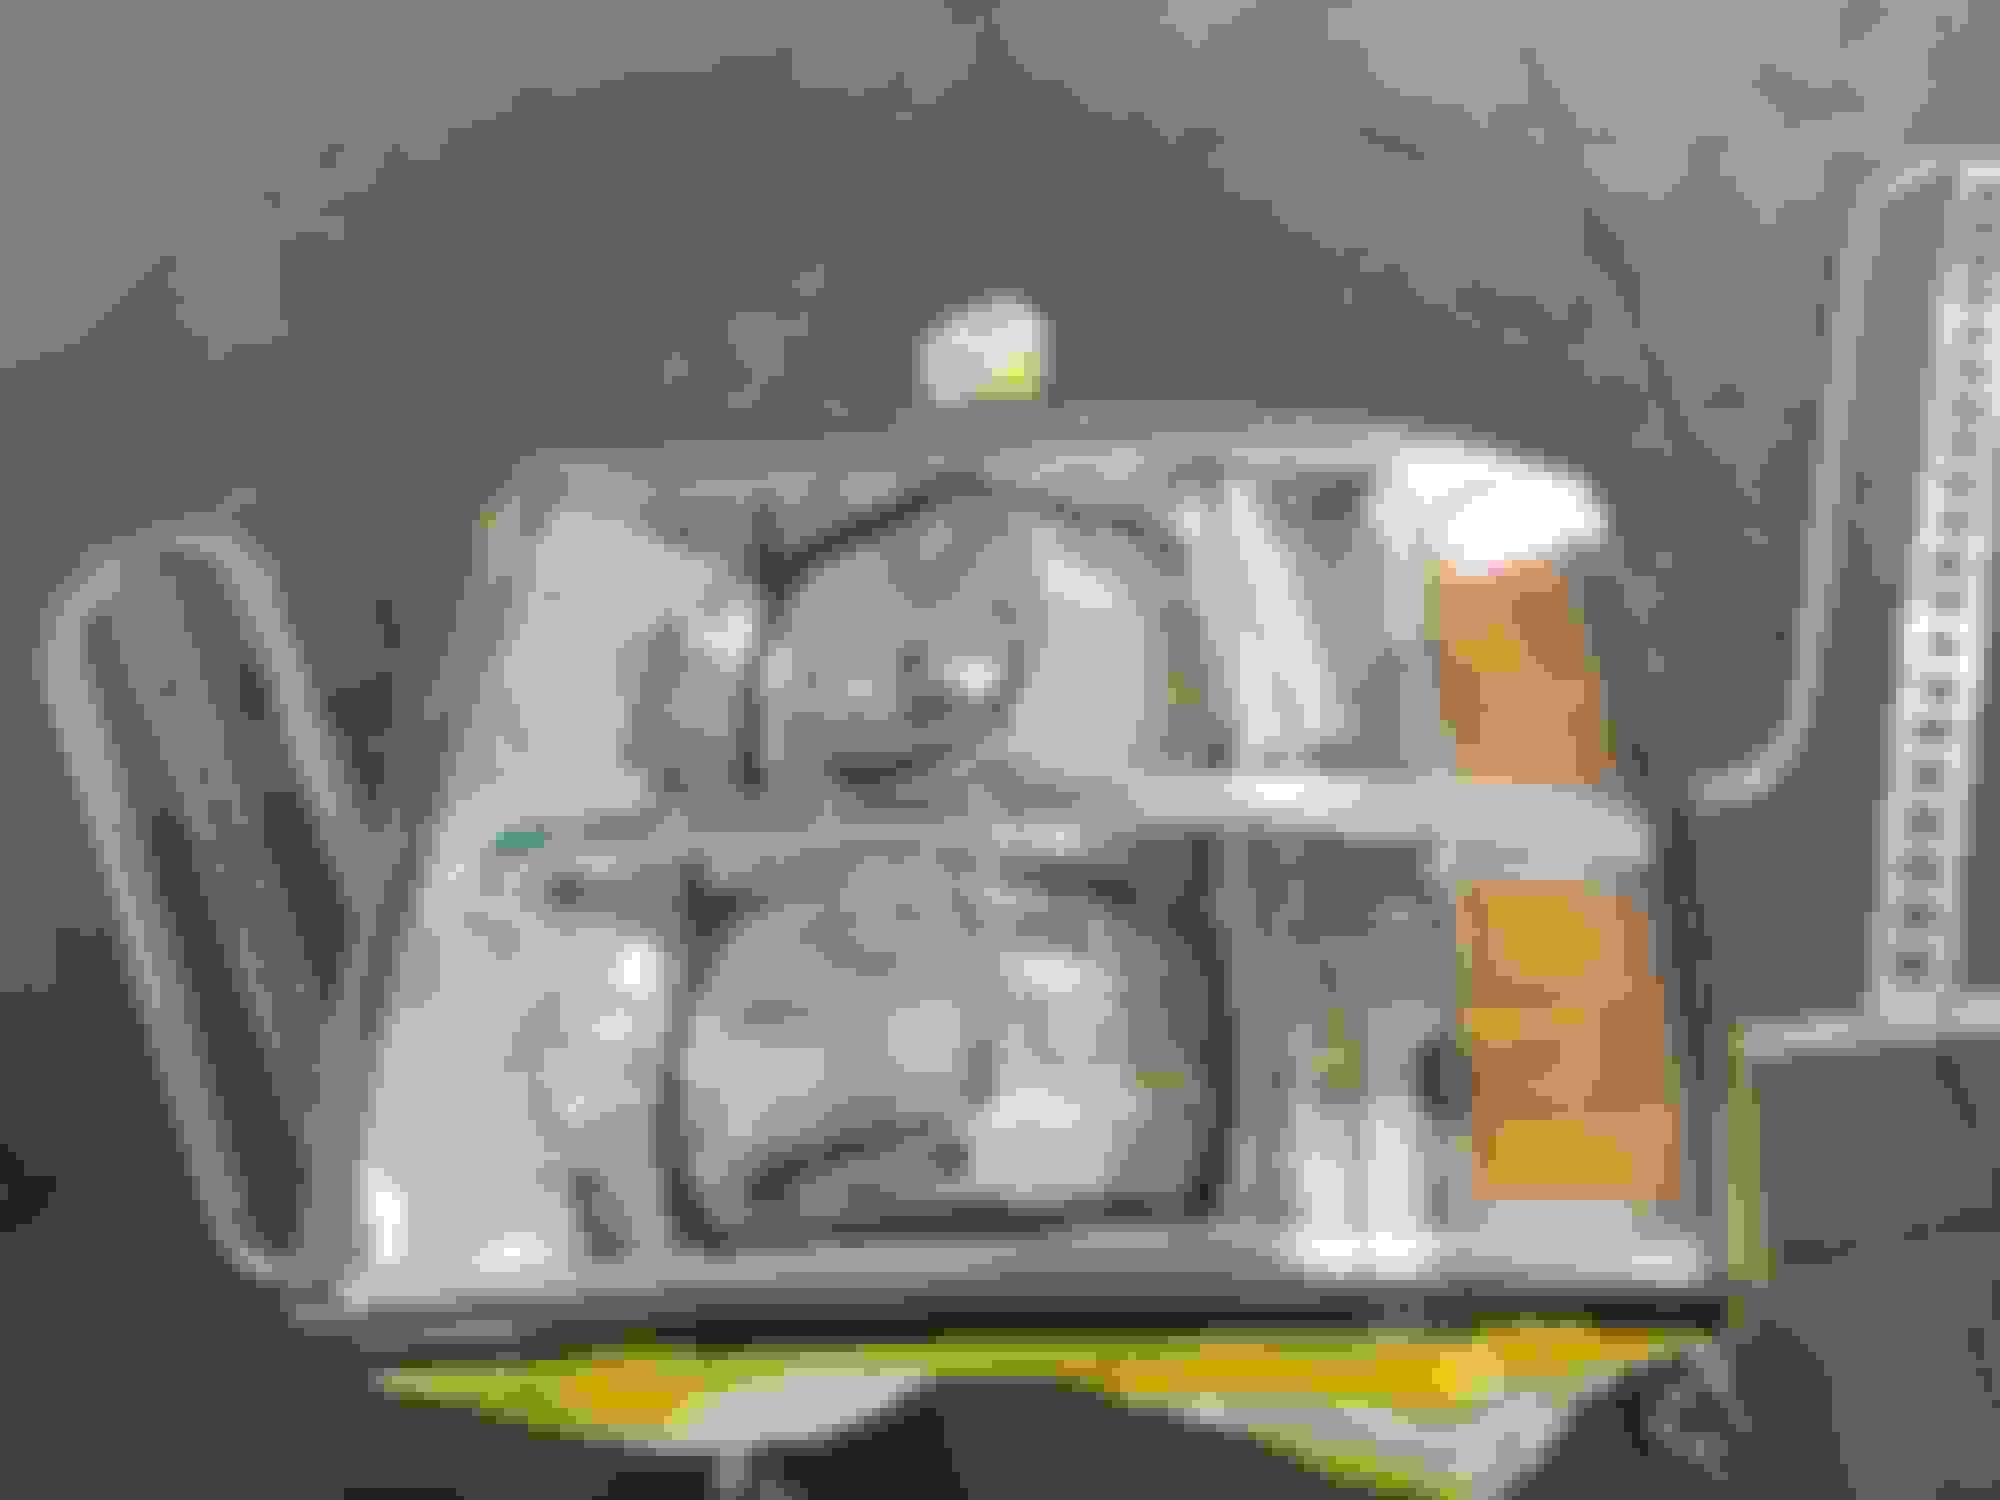
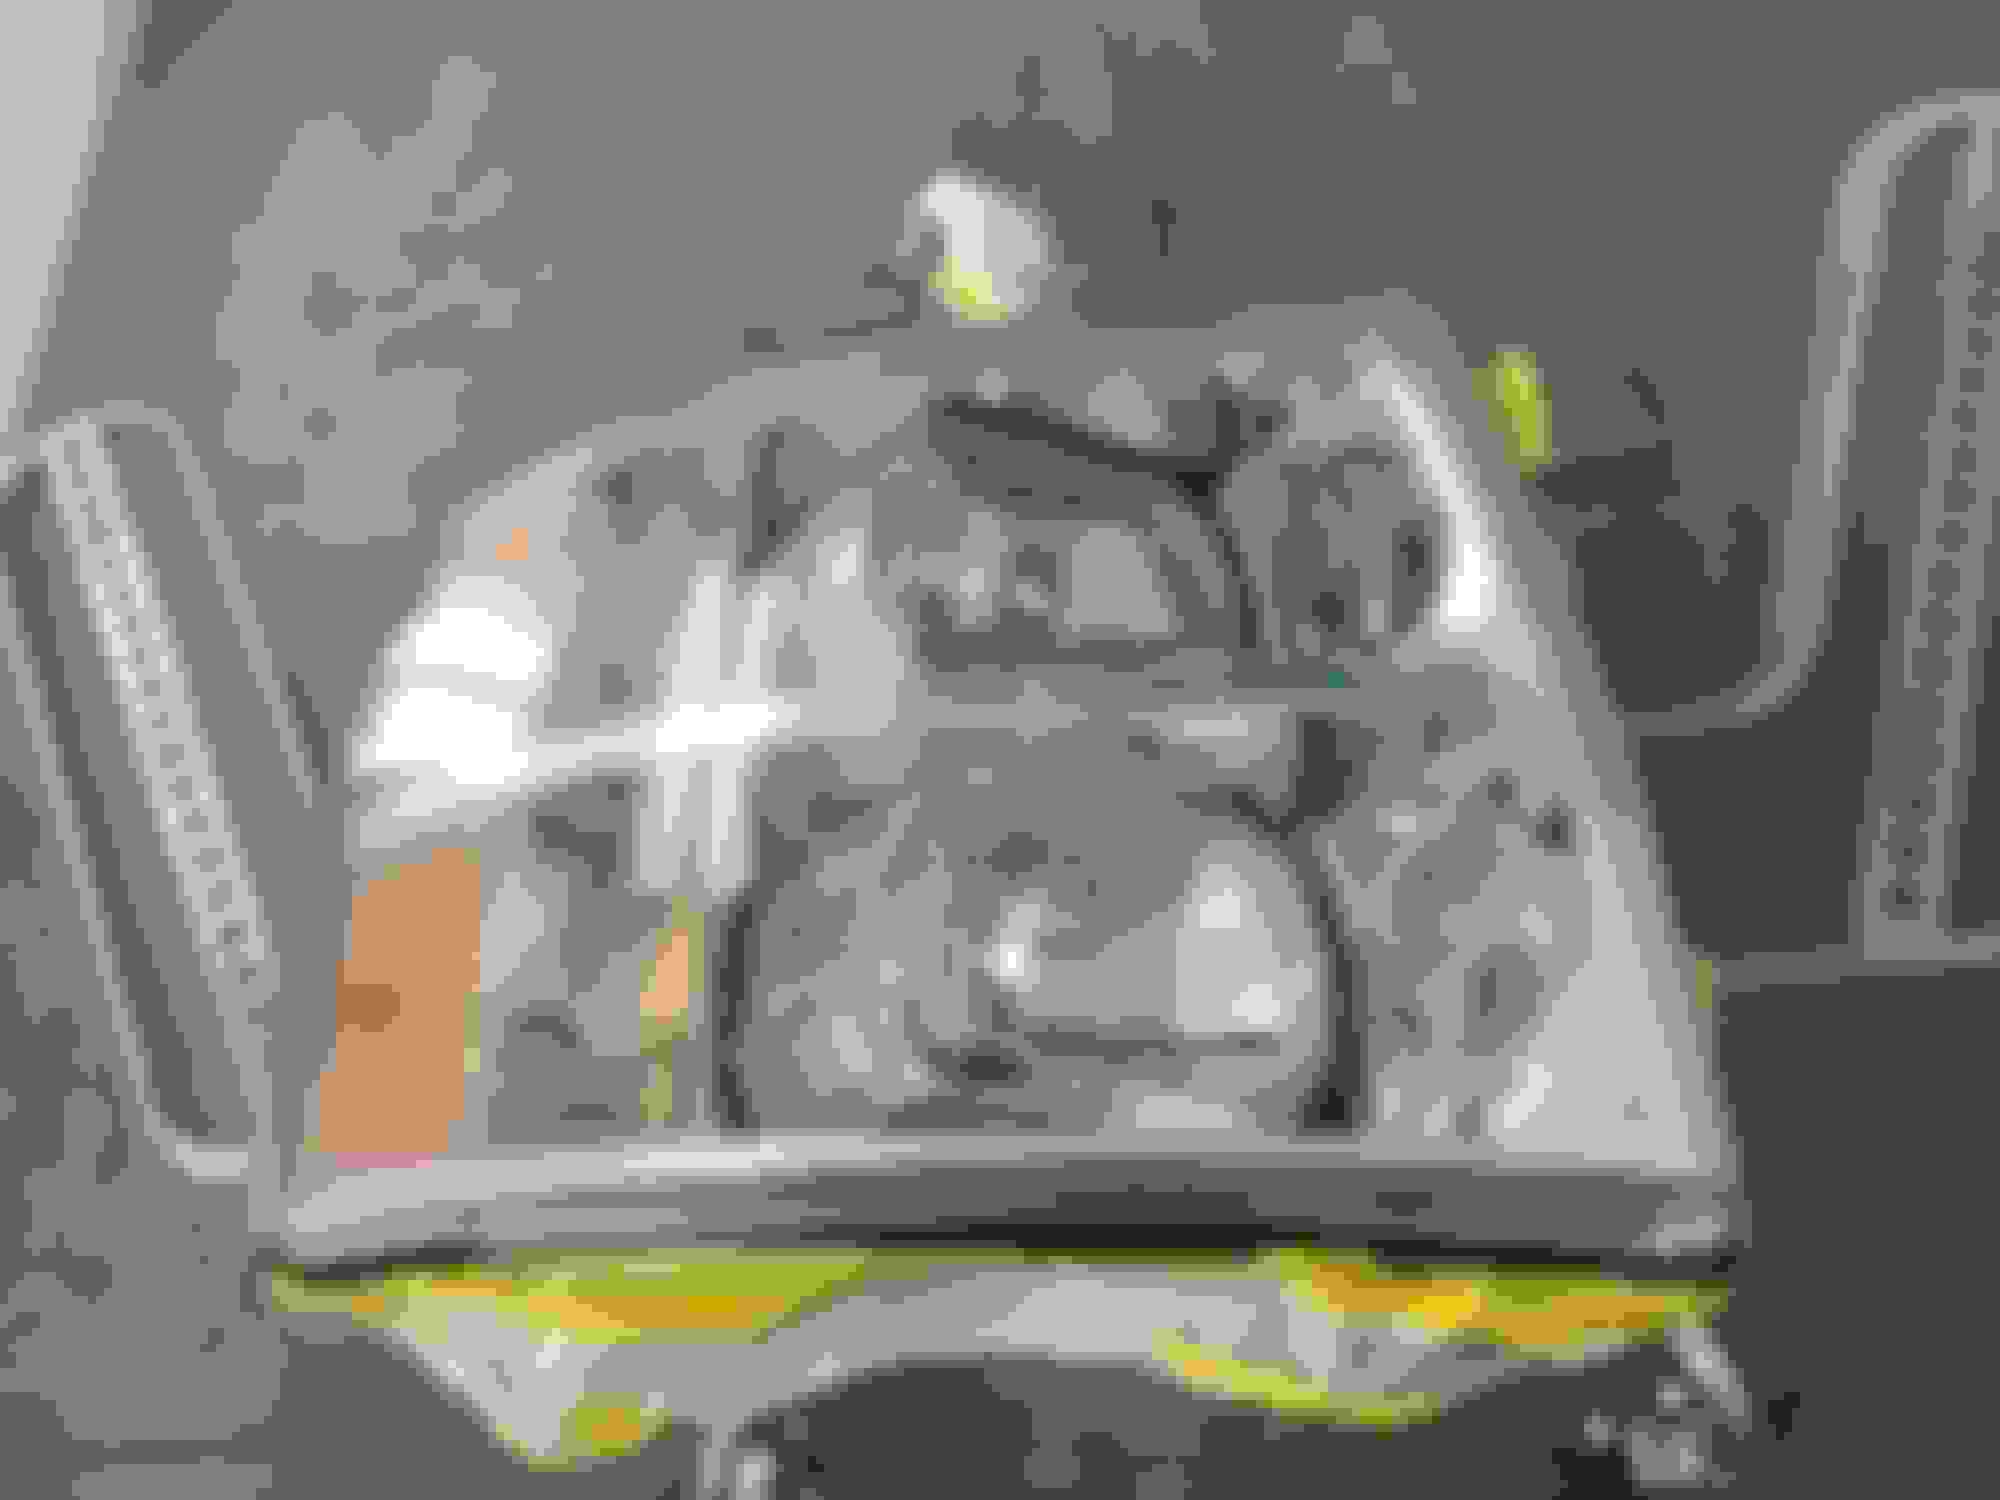
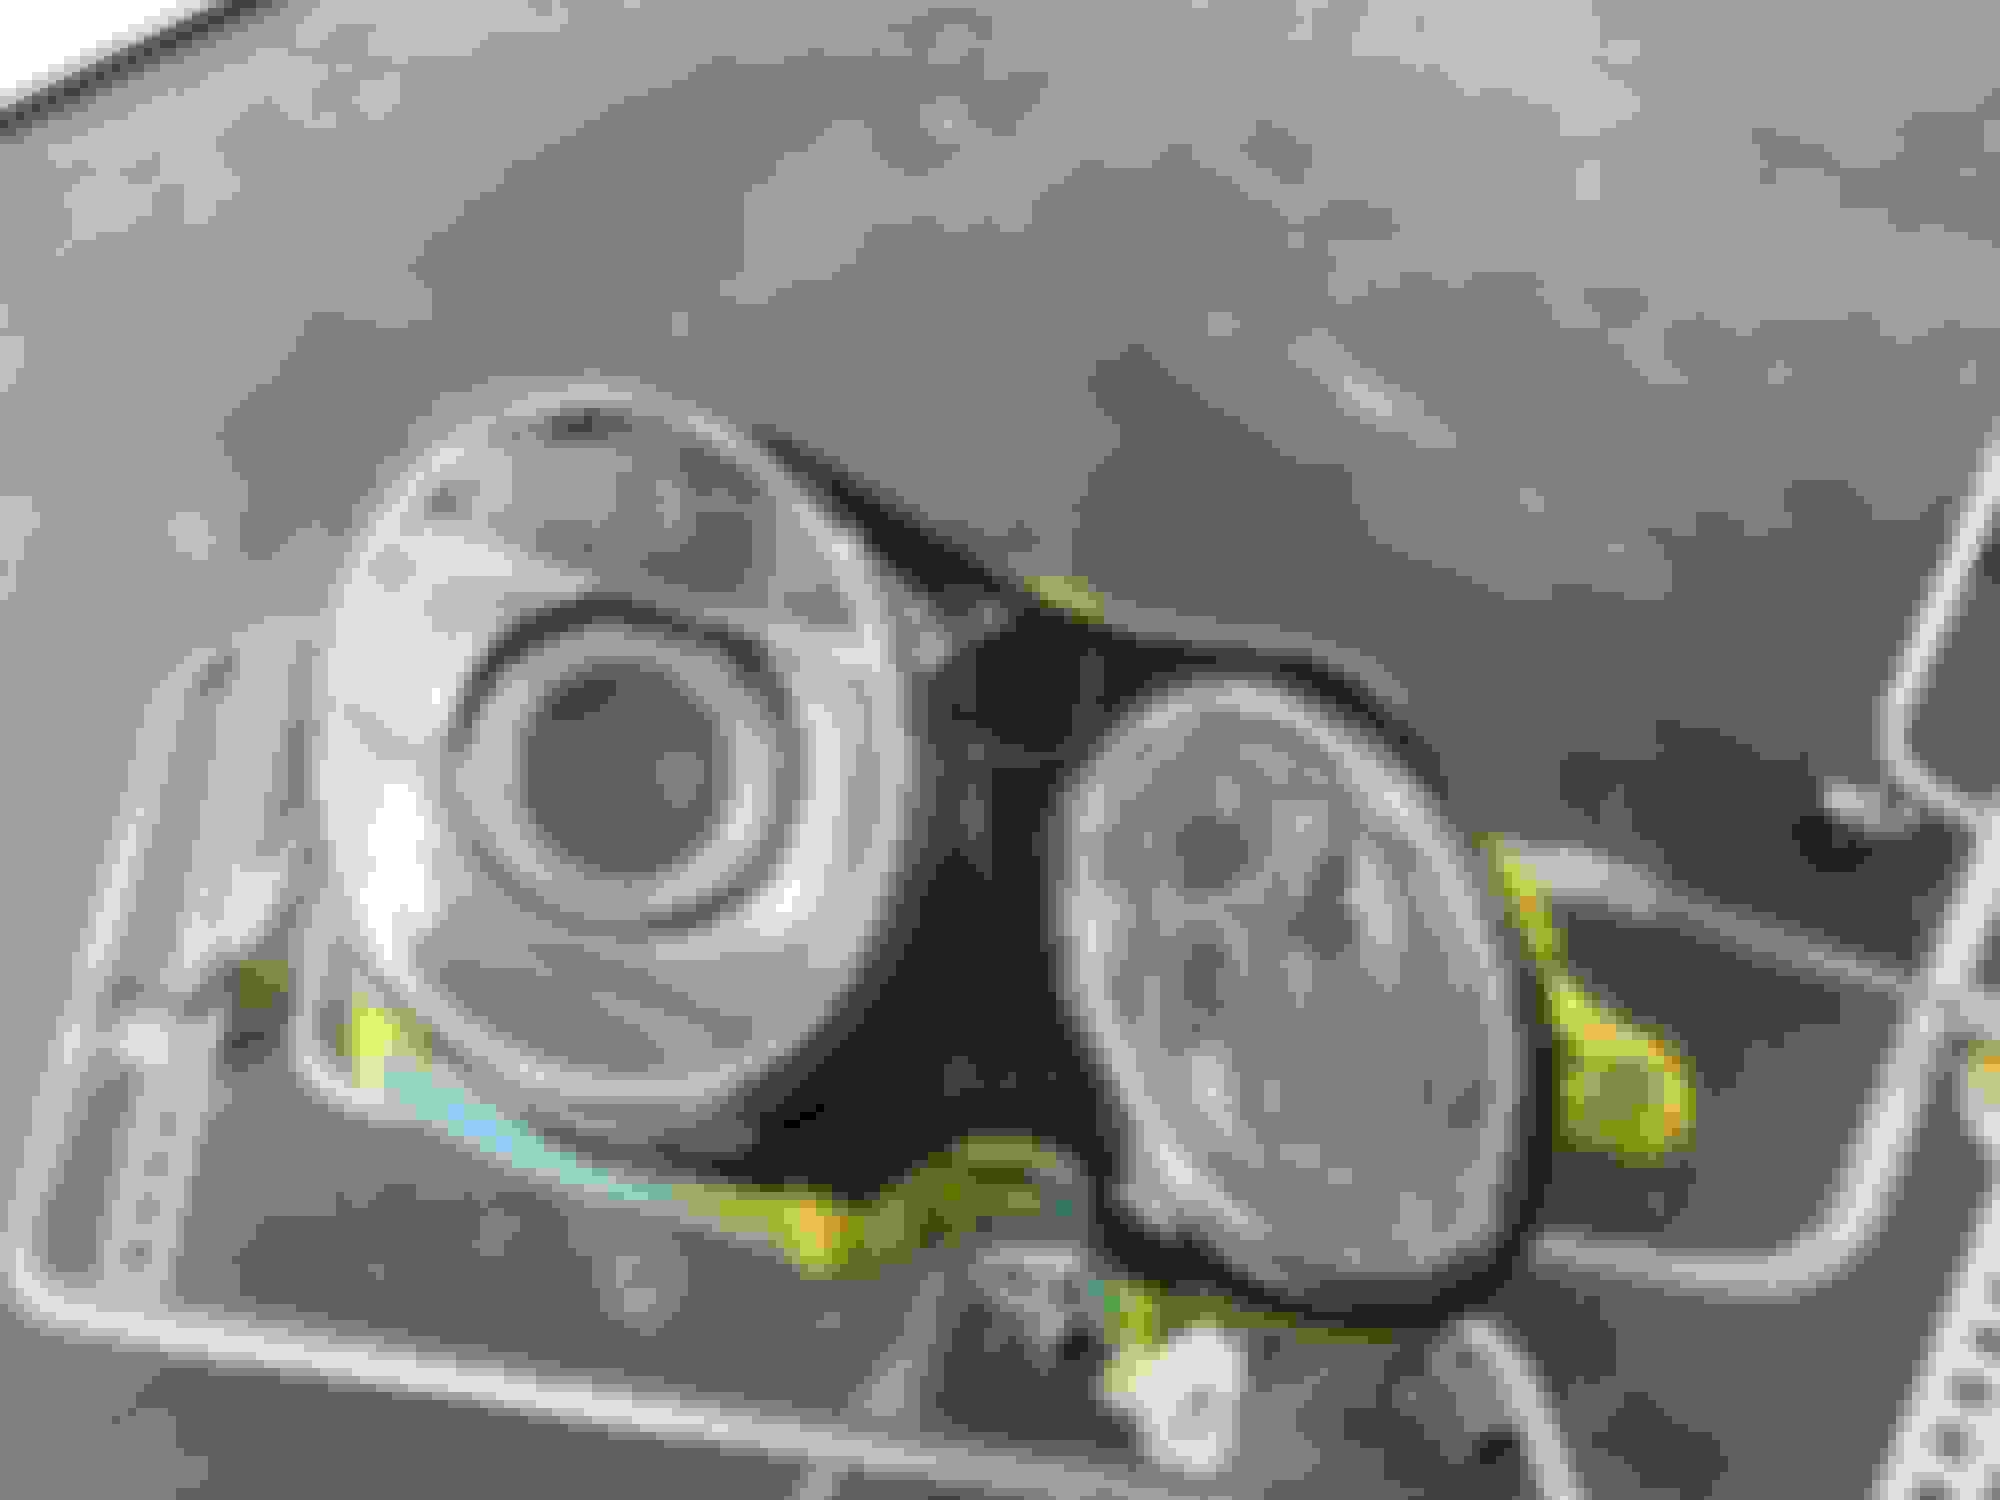
Next step is to disassemble any seals or rubber parts.
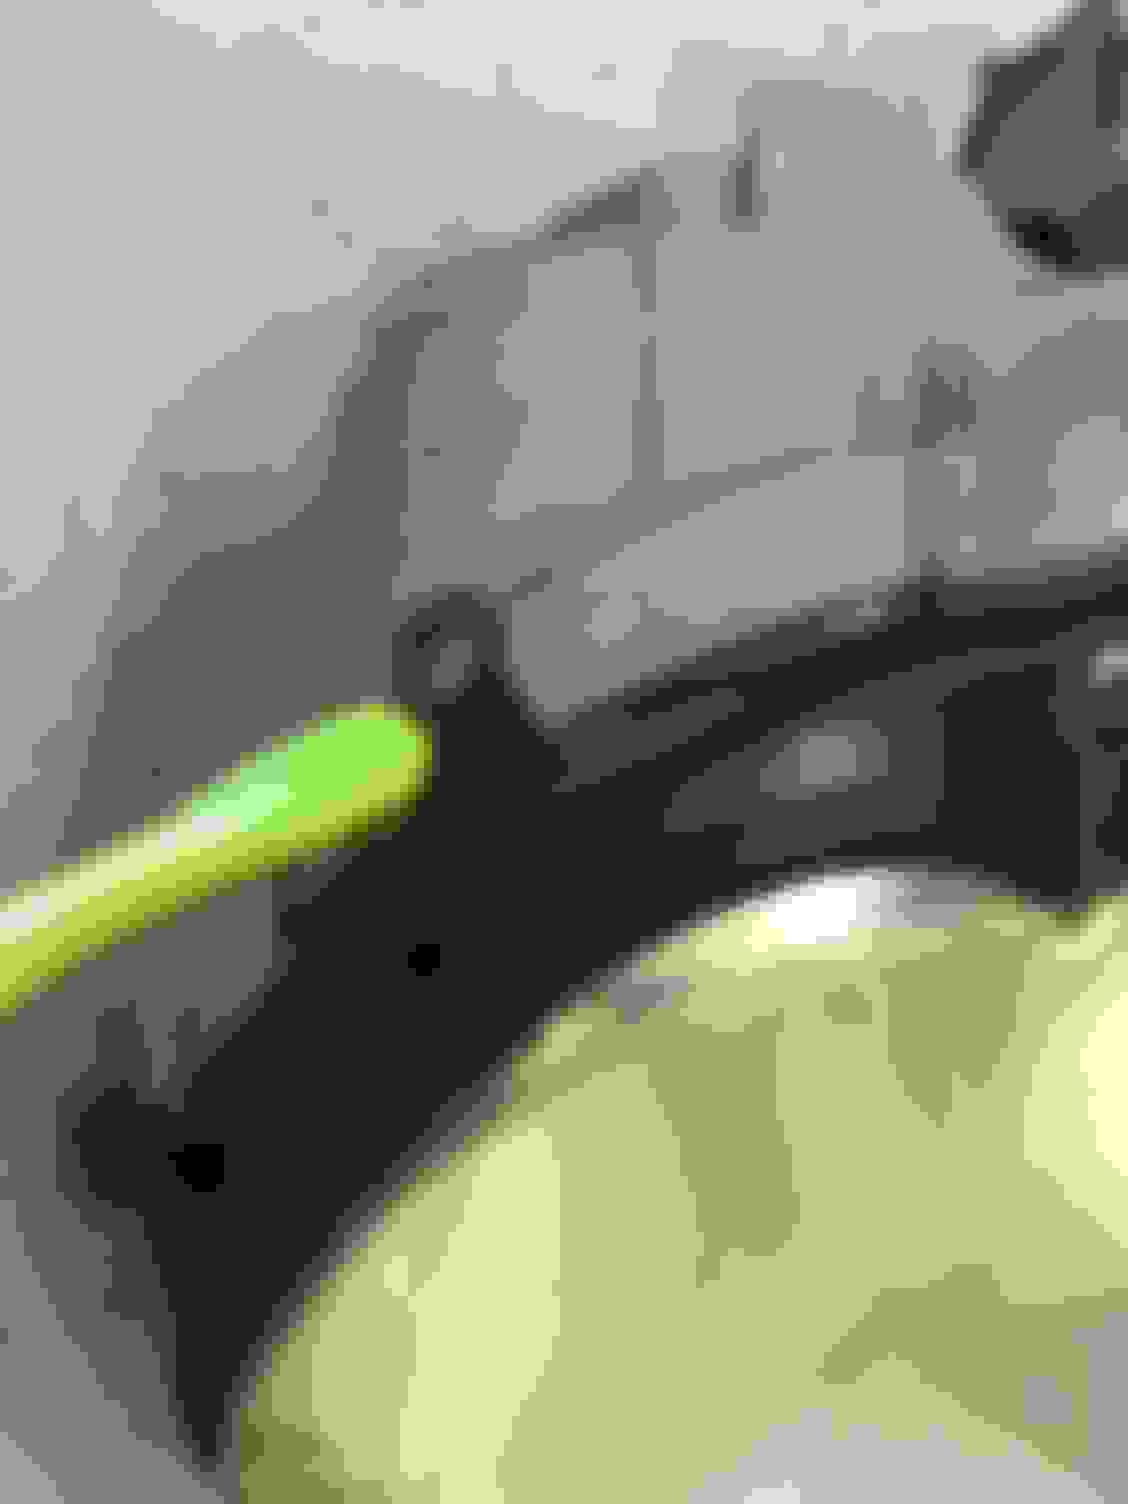
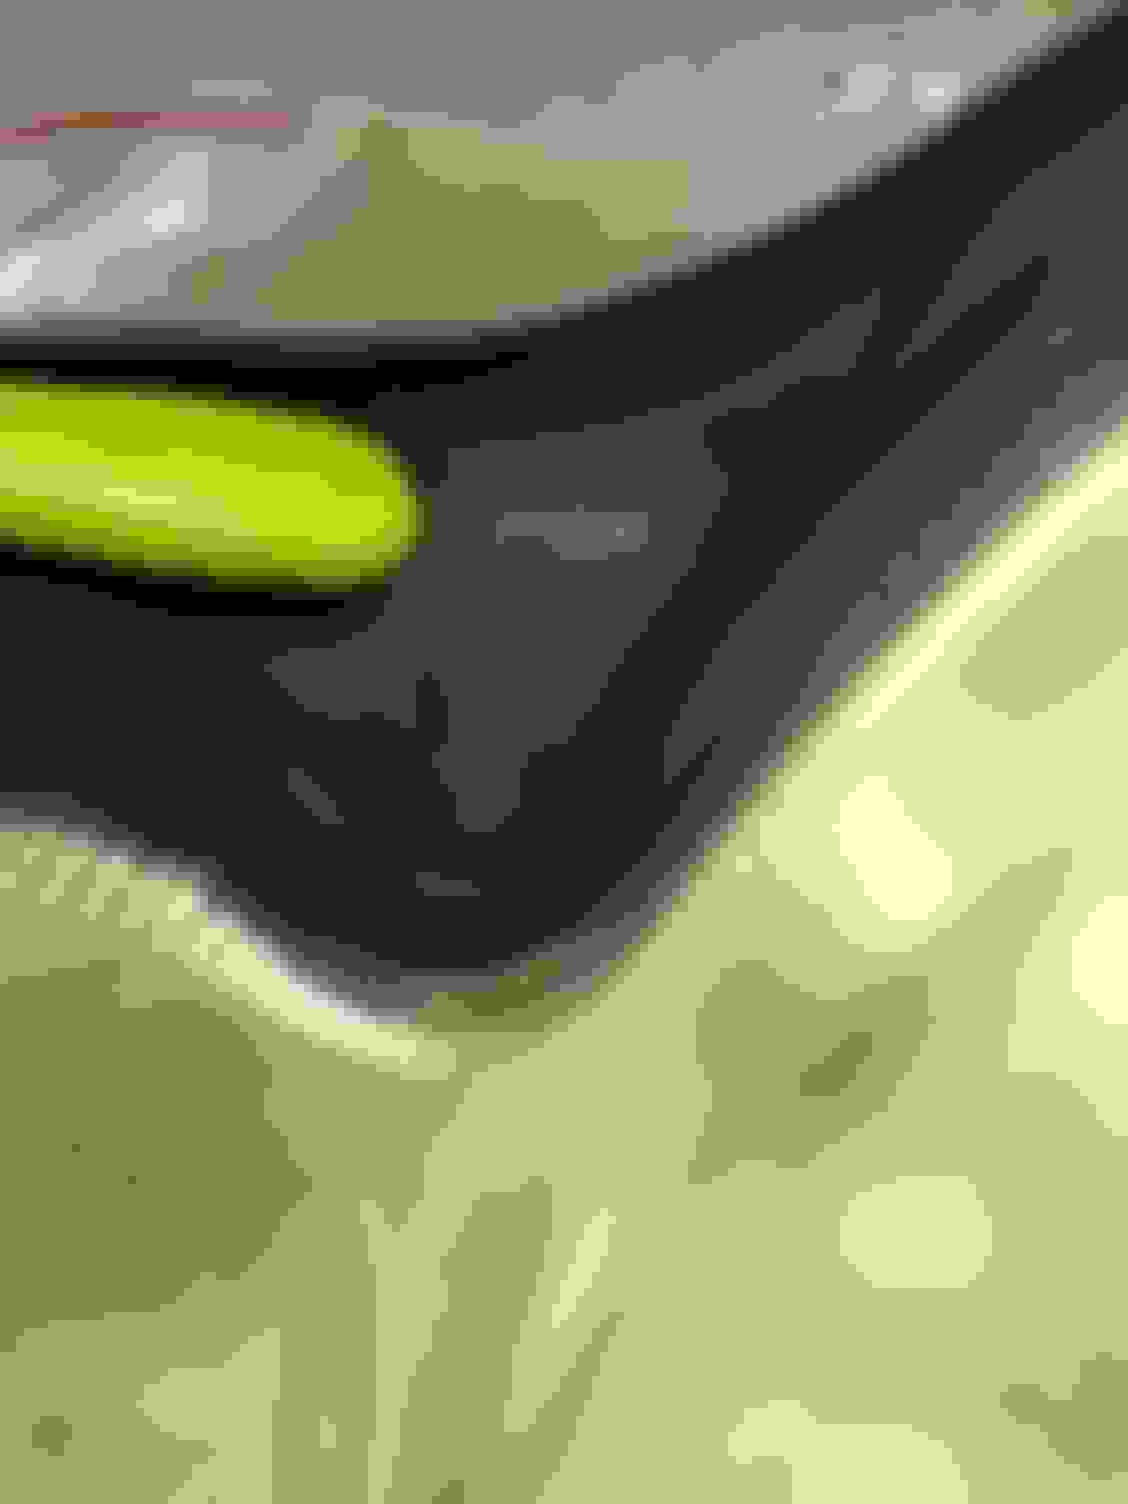
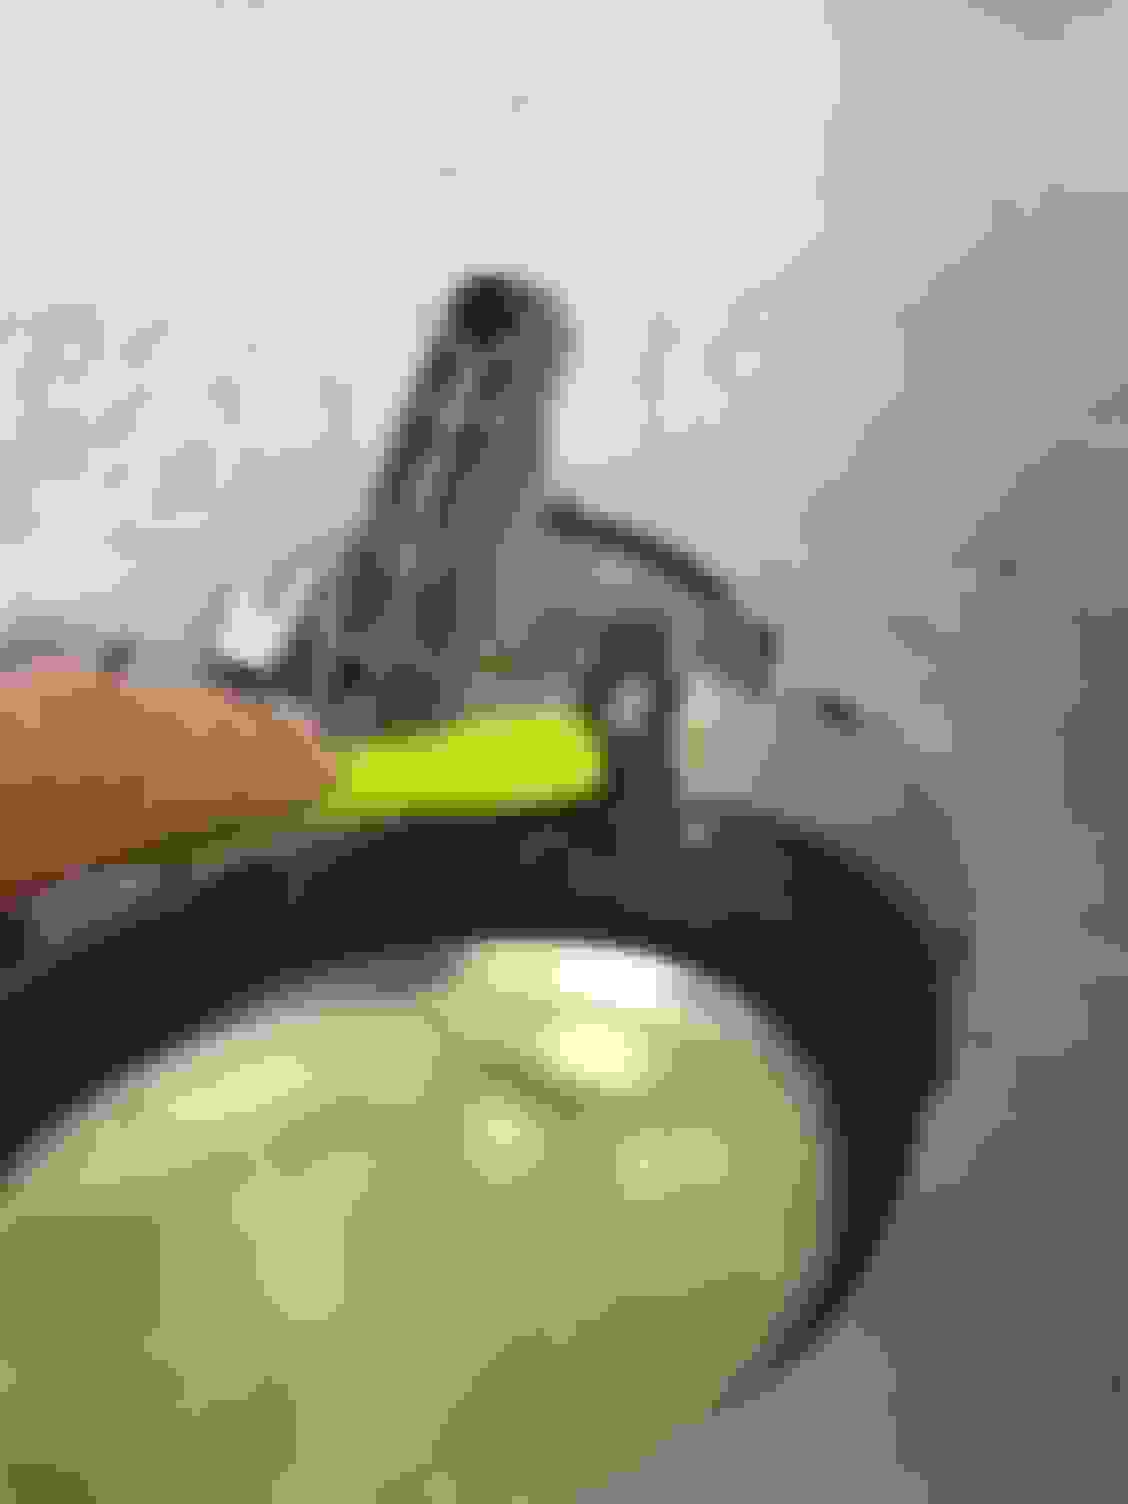
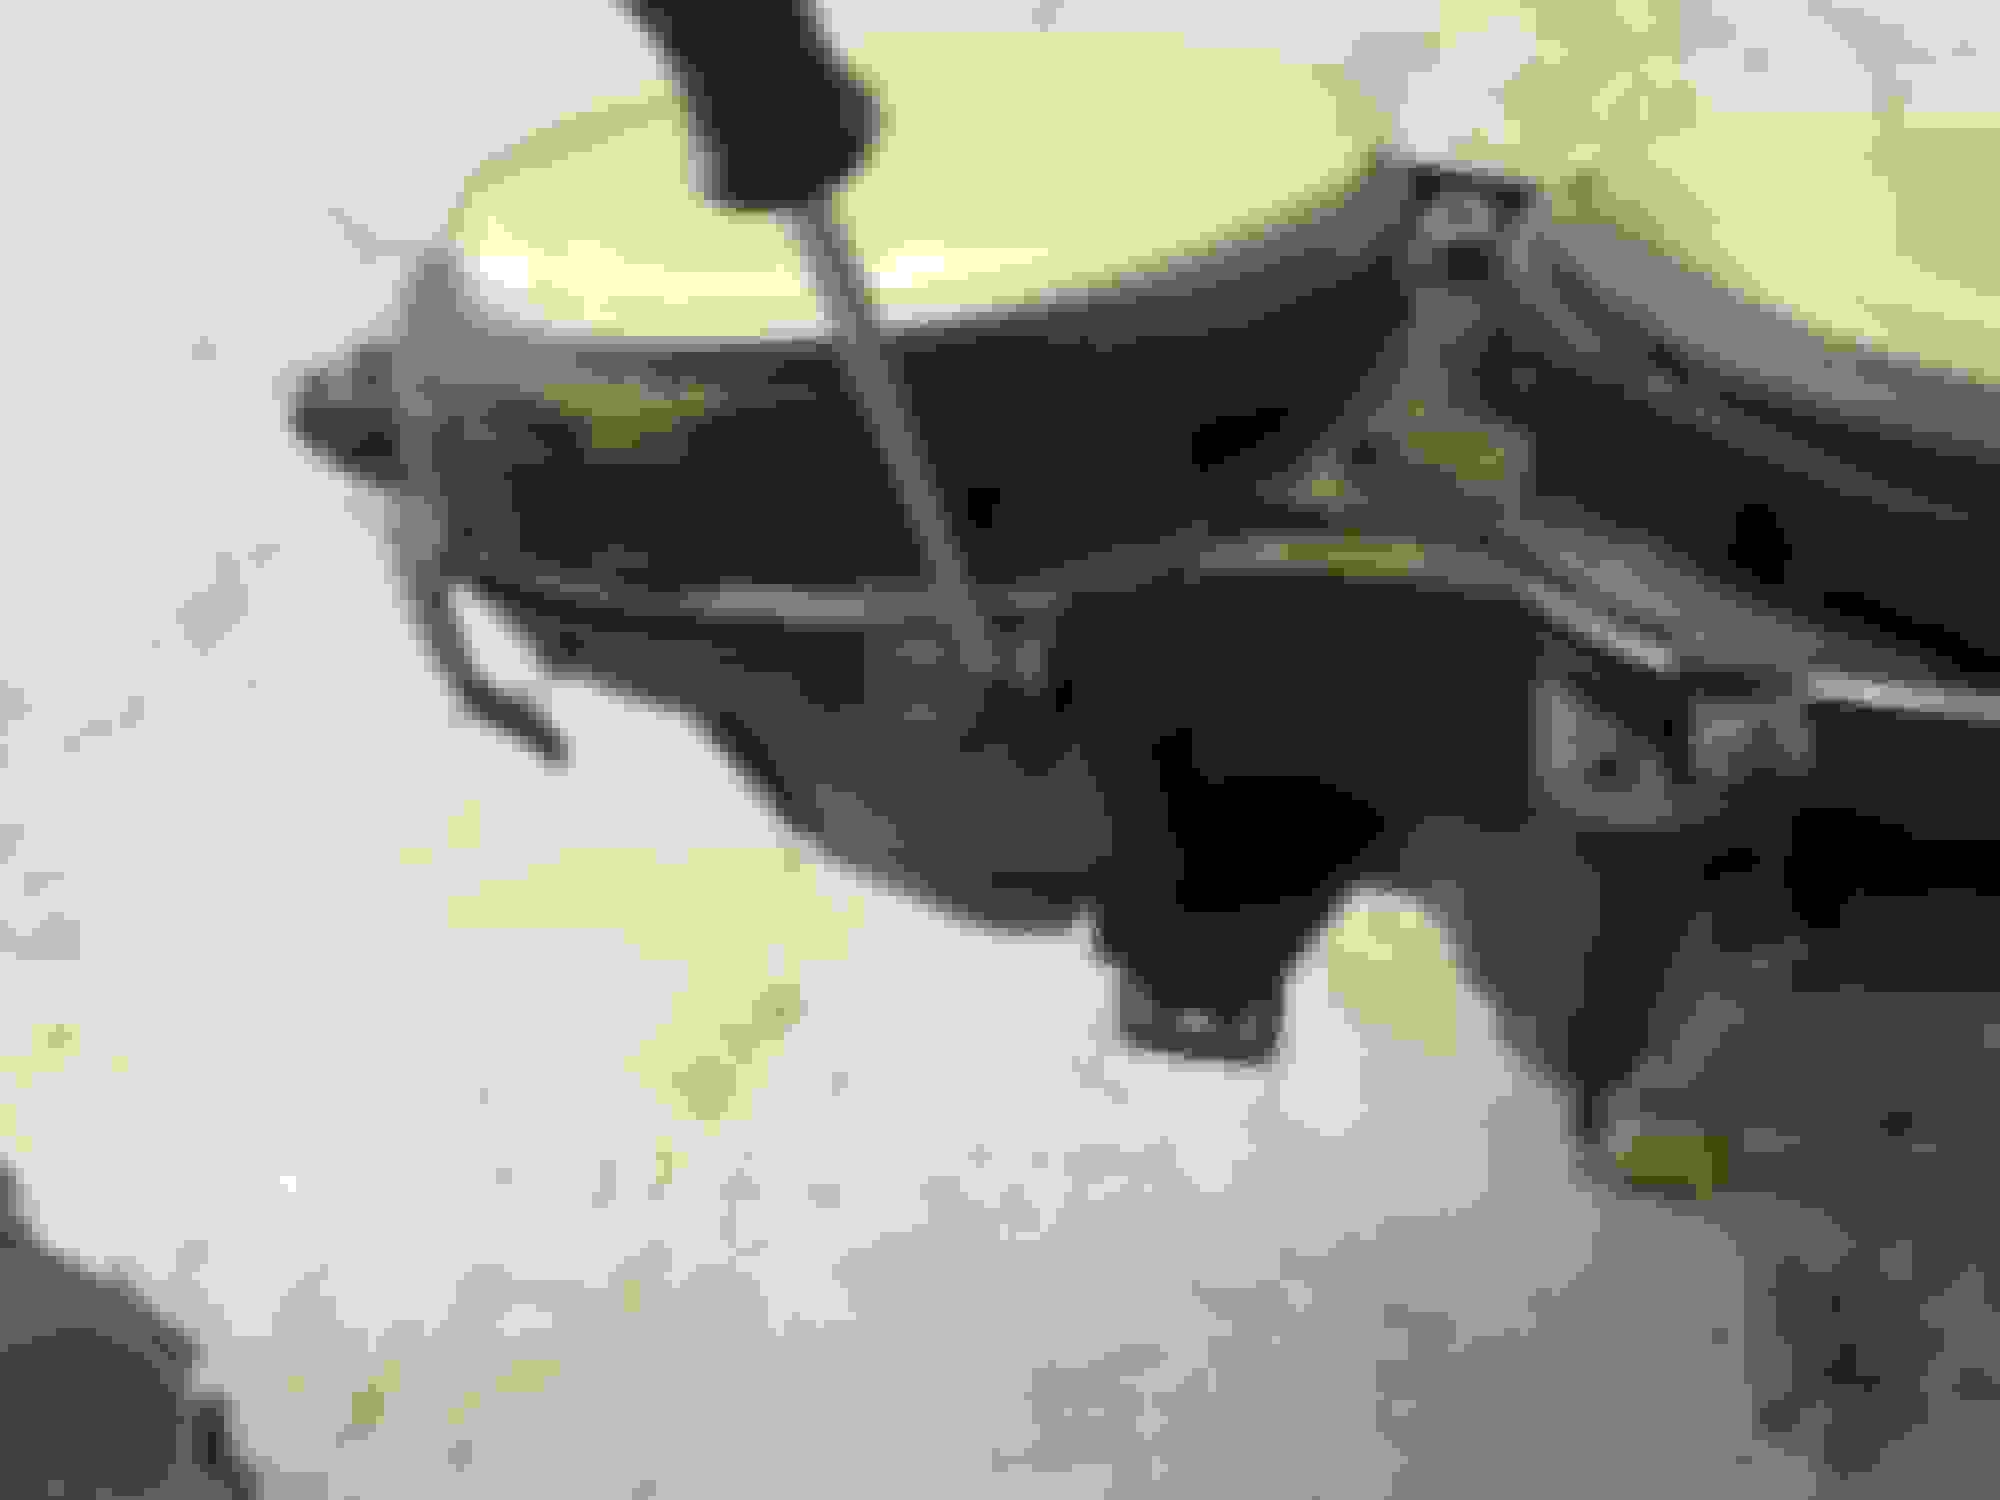
Tabs that hold the rubber covers on the headlights
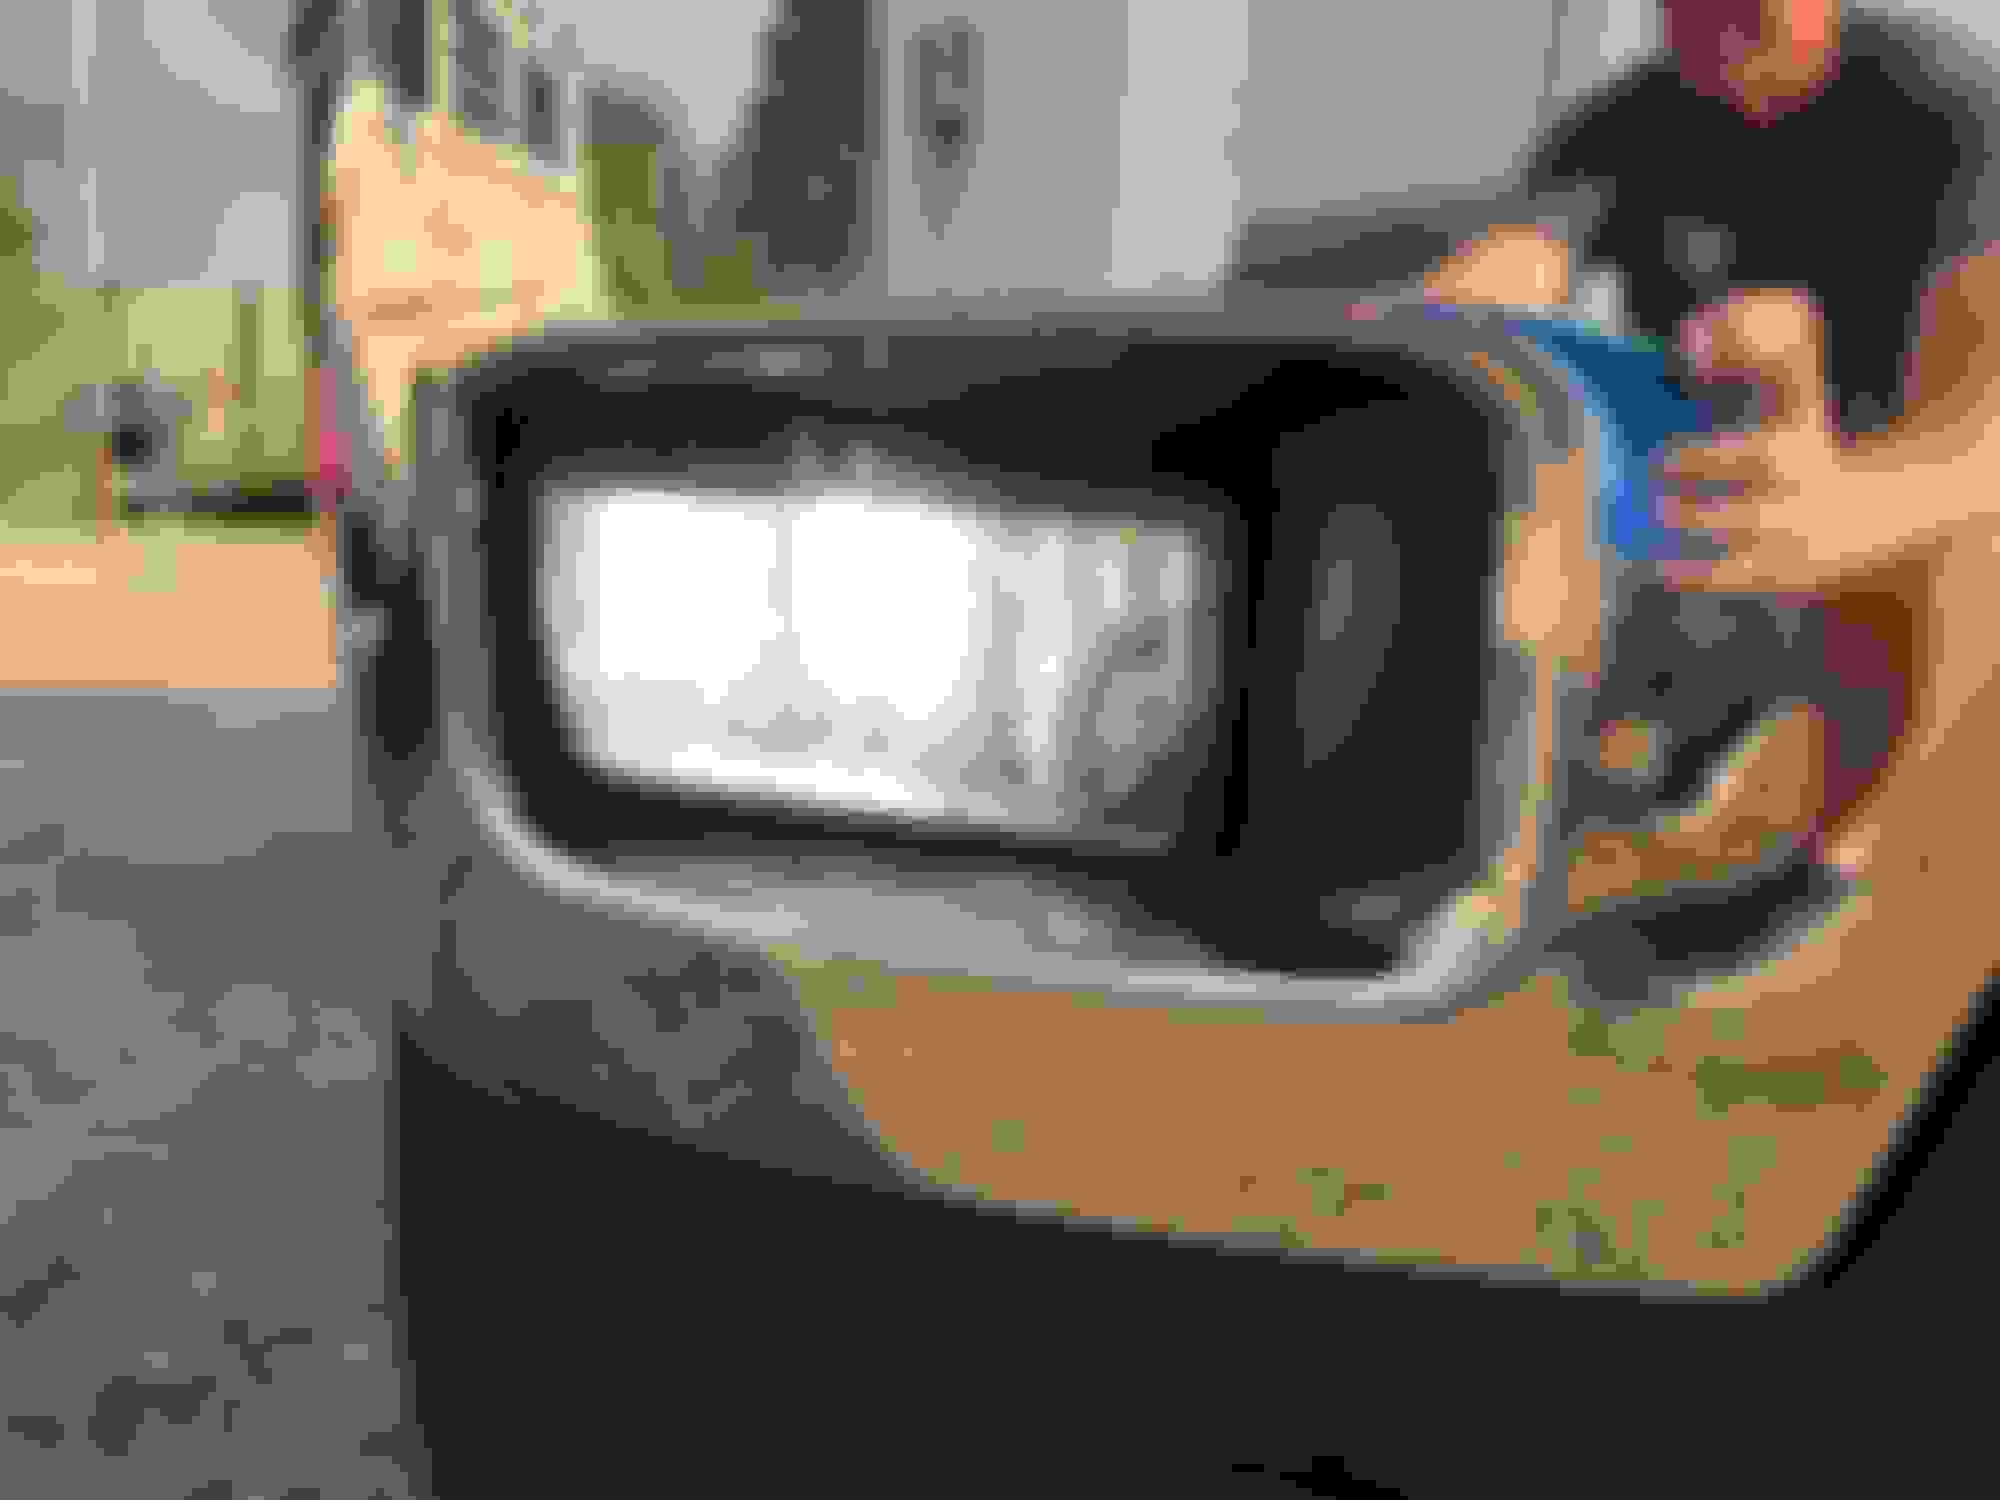
Centering alignment pin.
Tabs on the bottom and side.
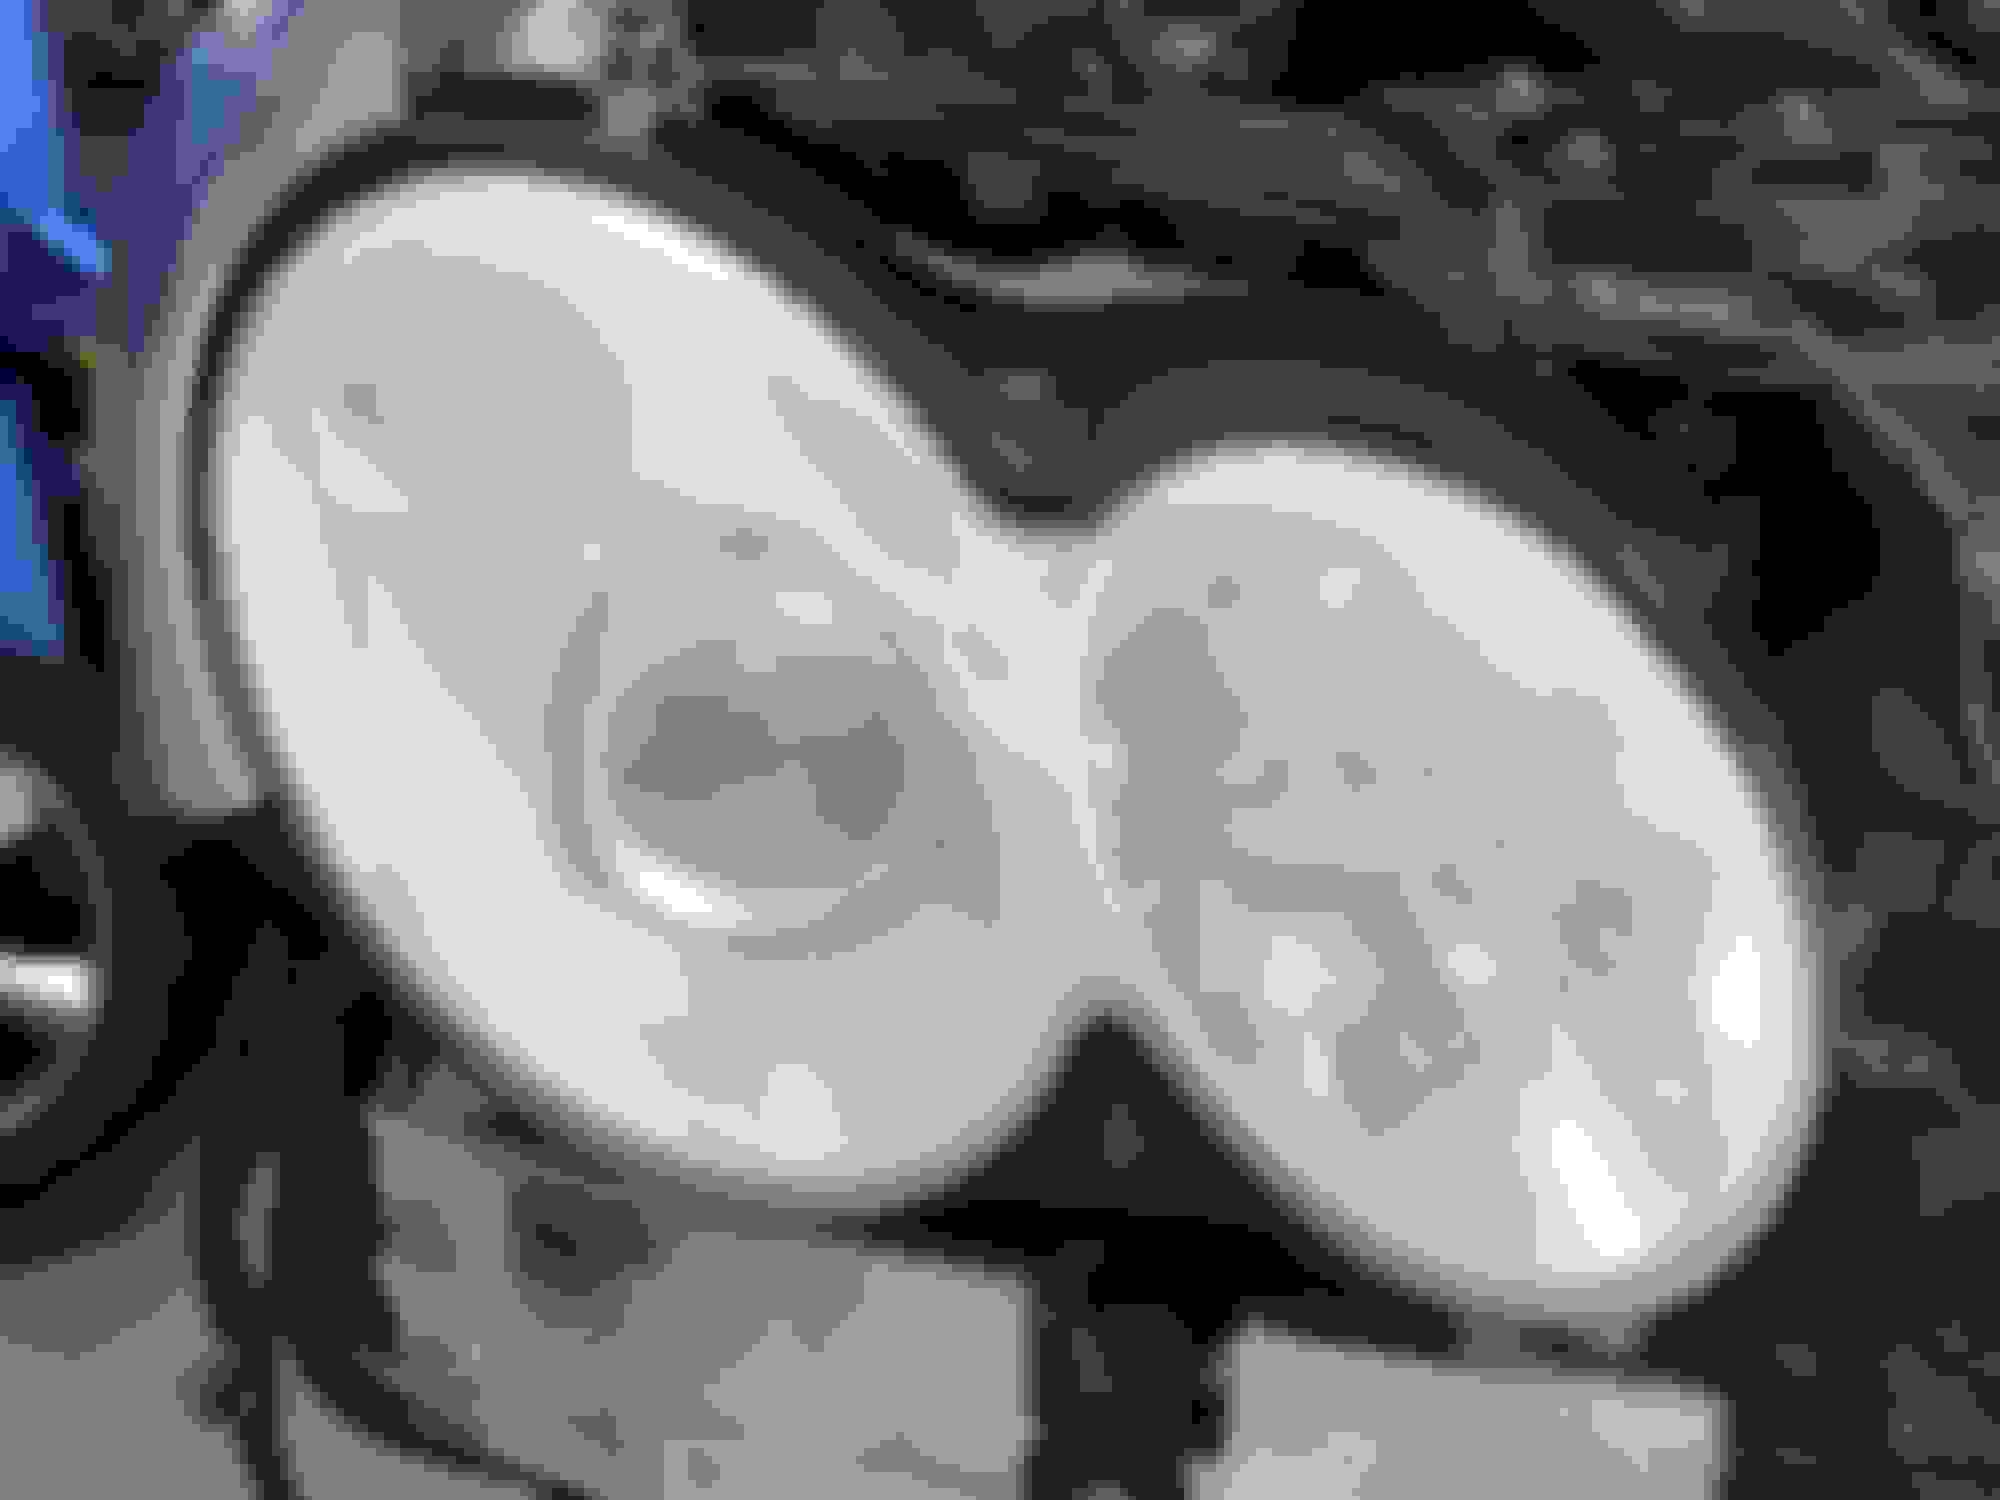
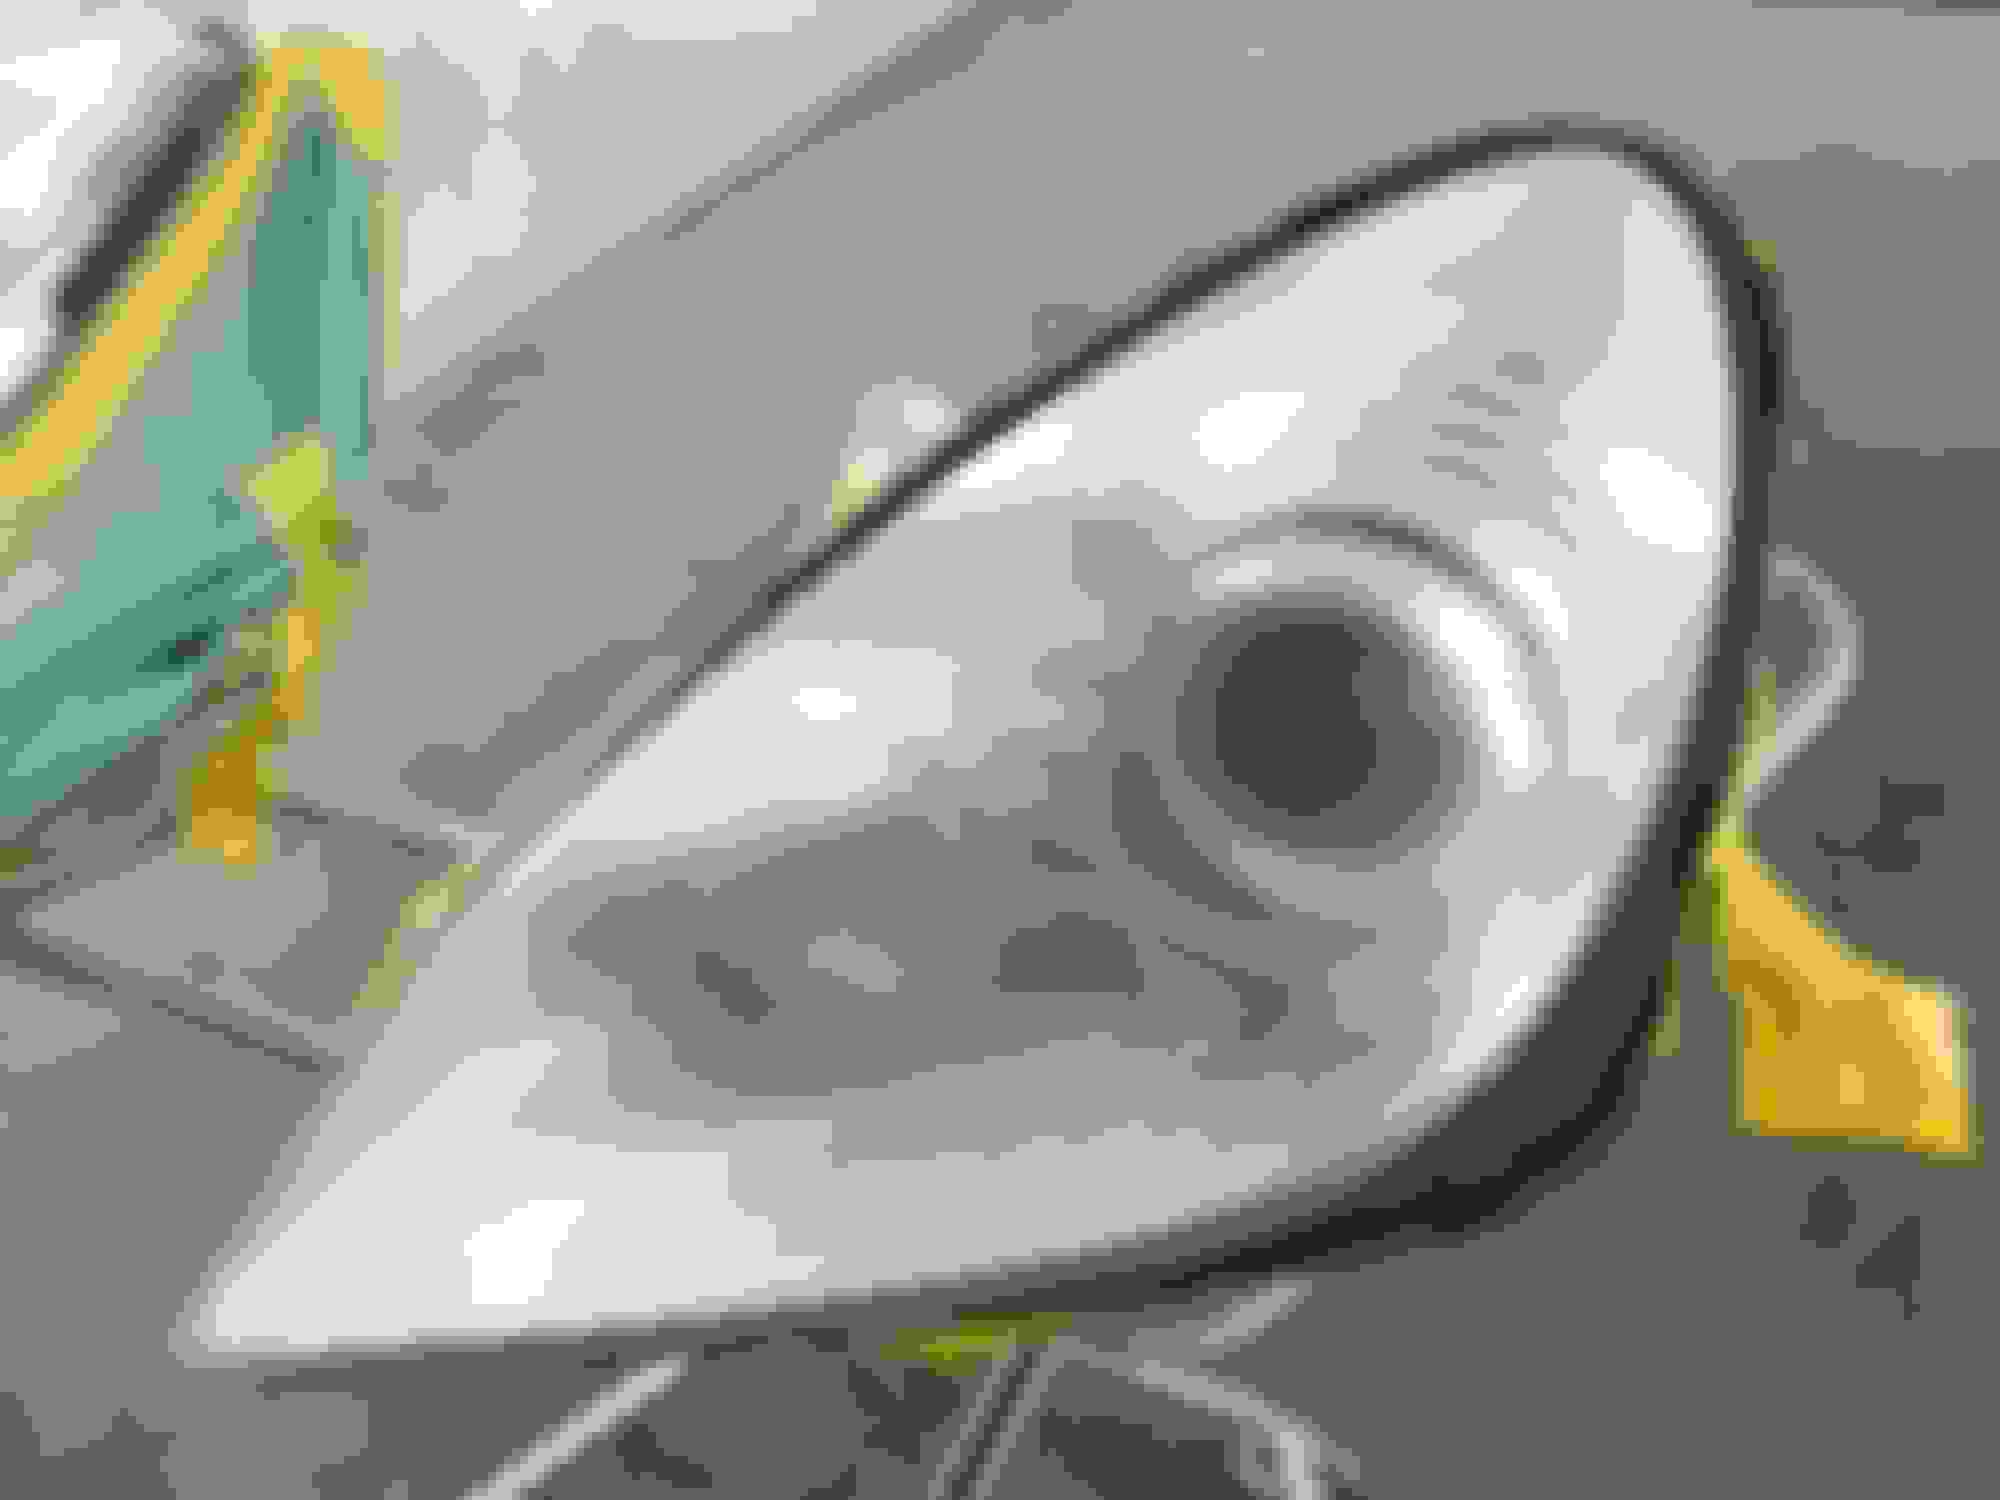
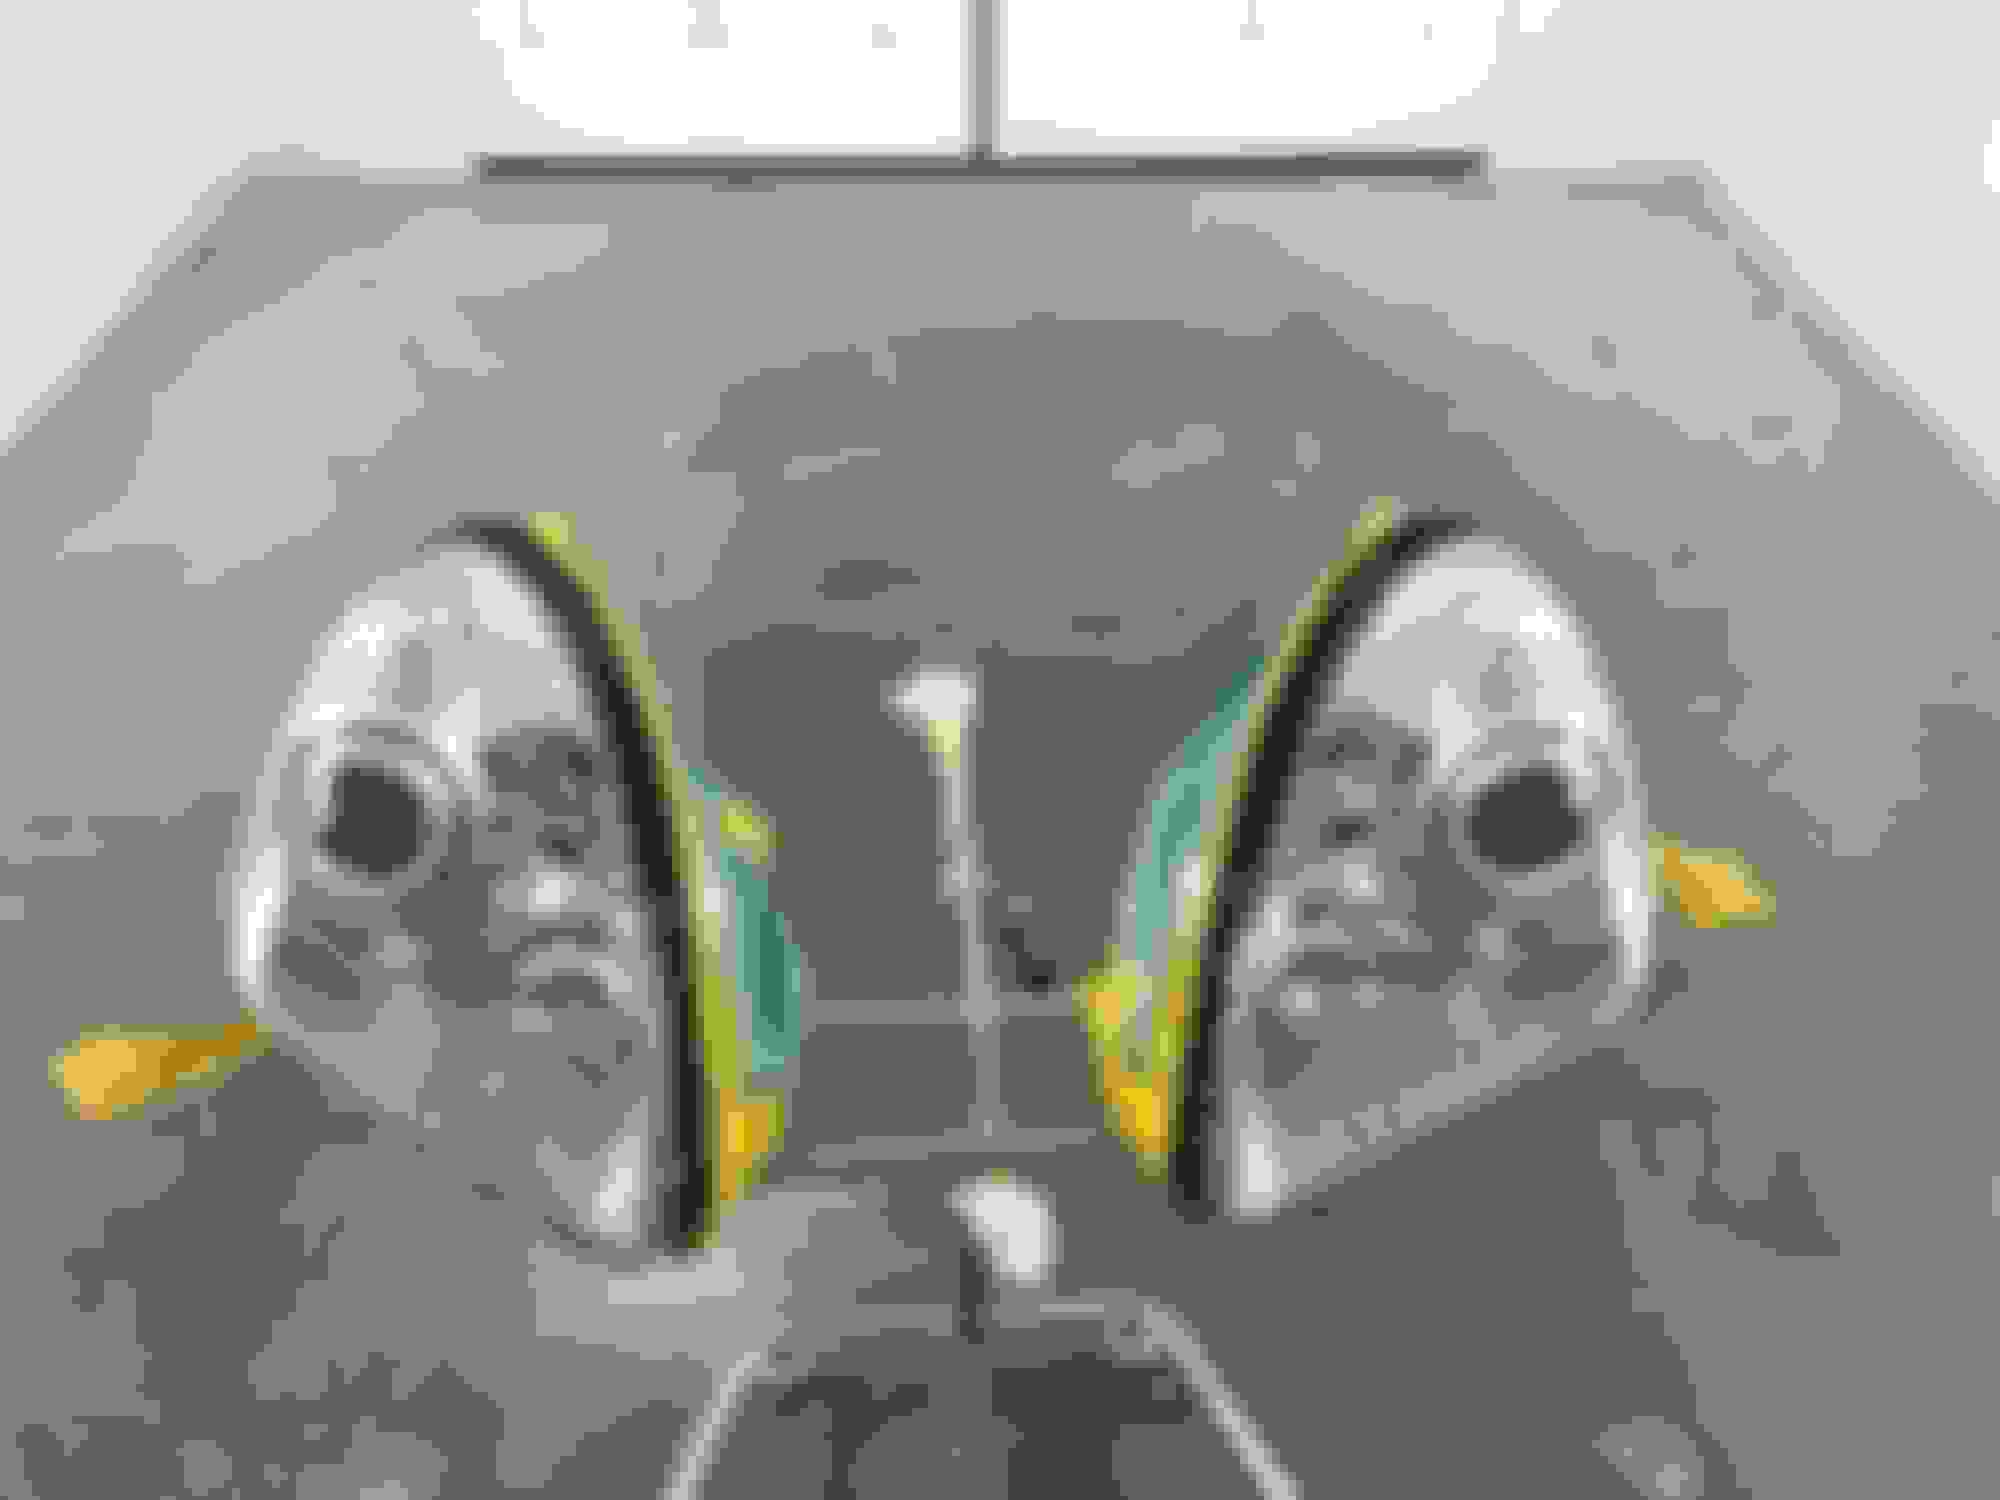
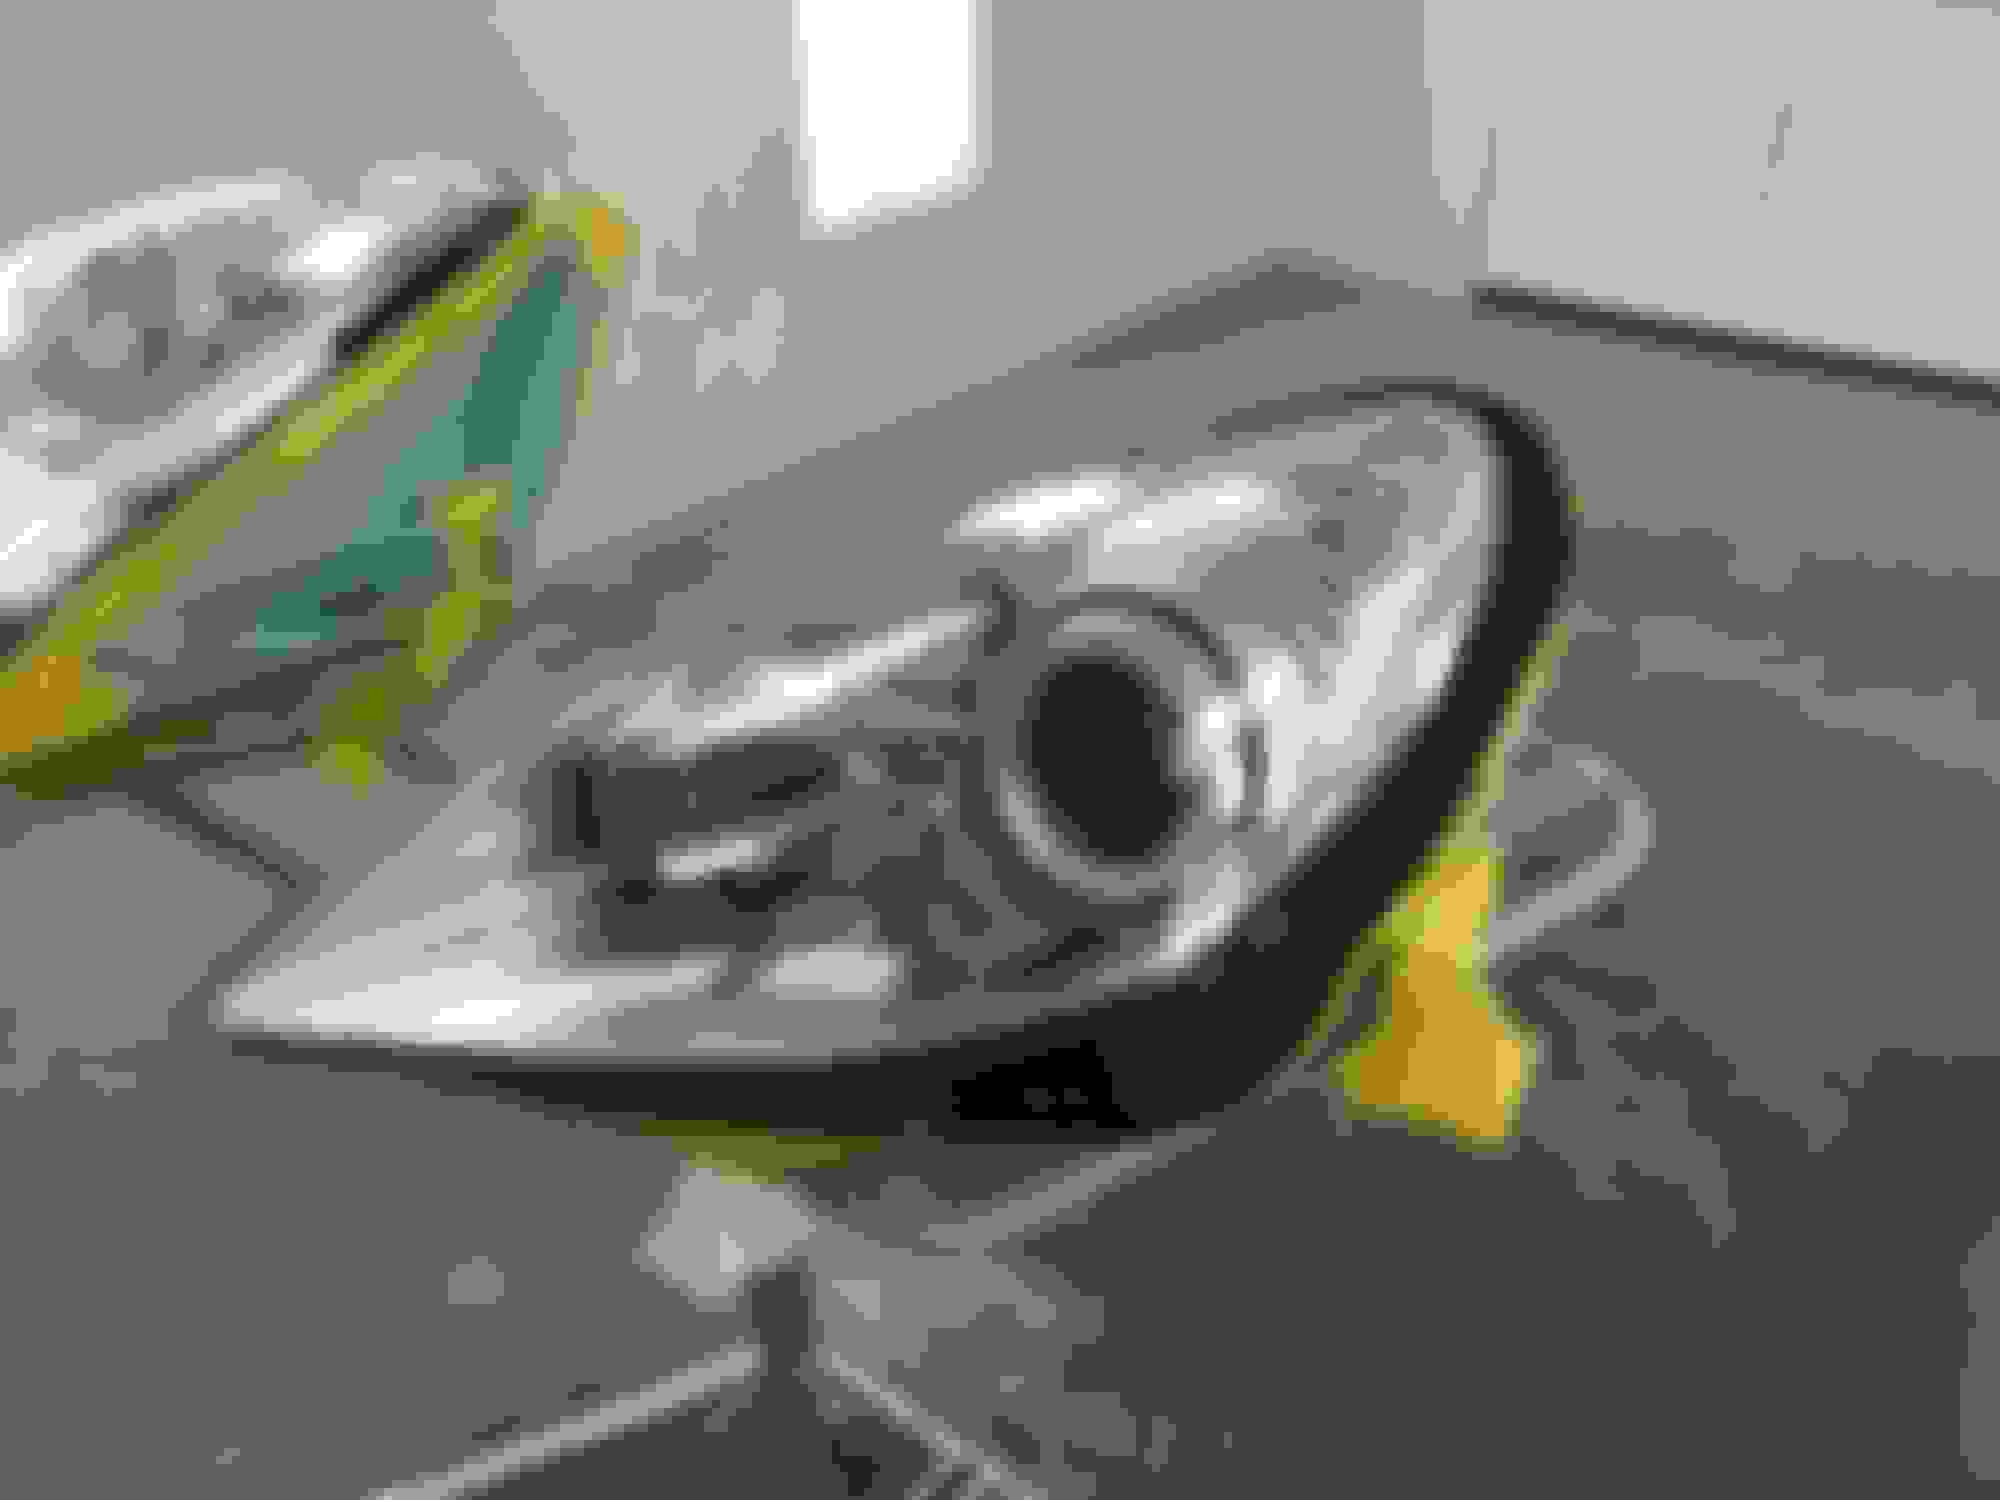
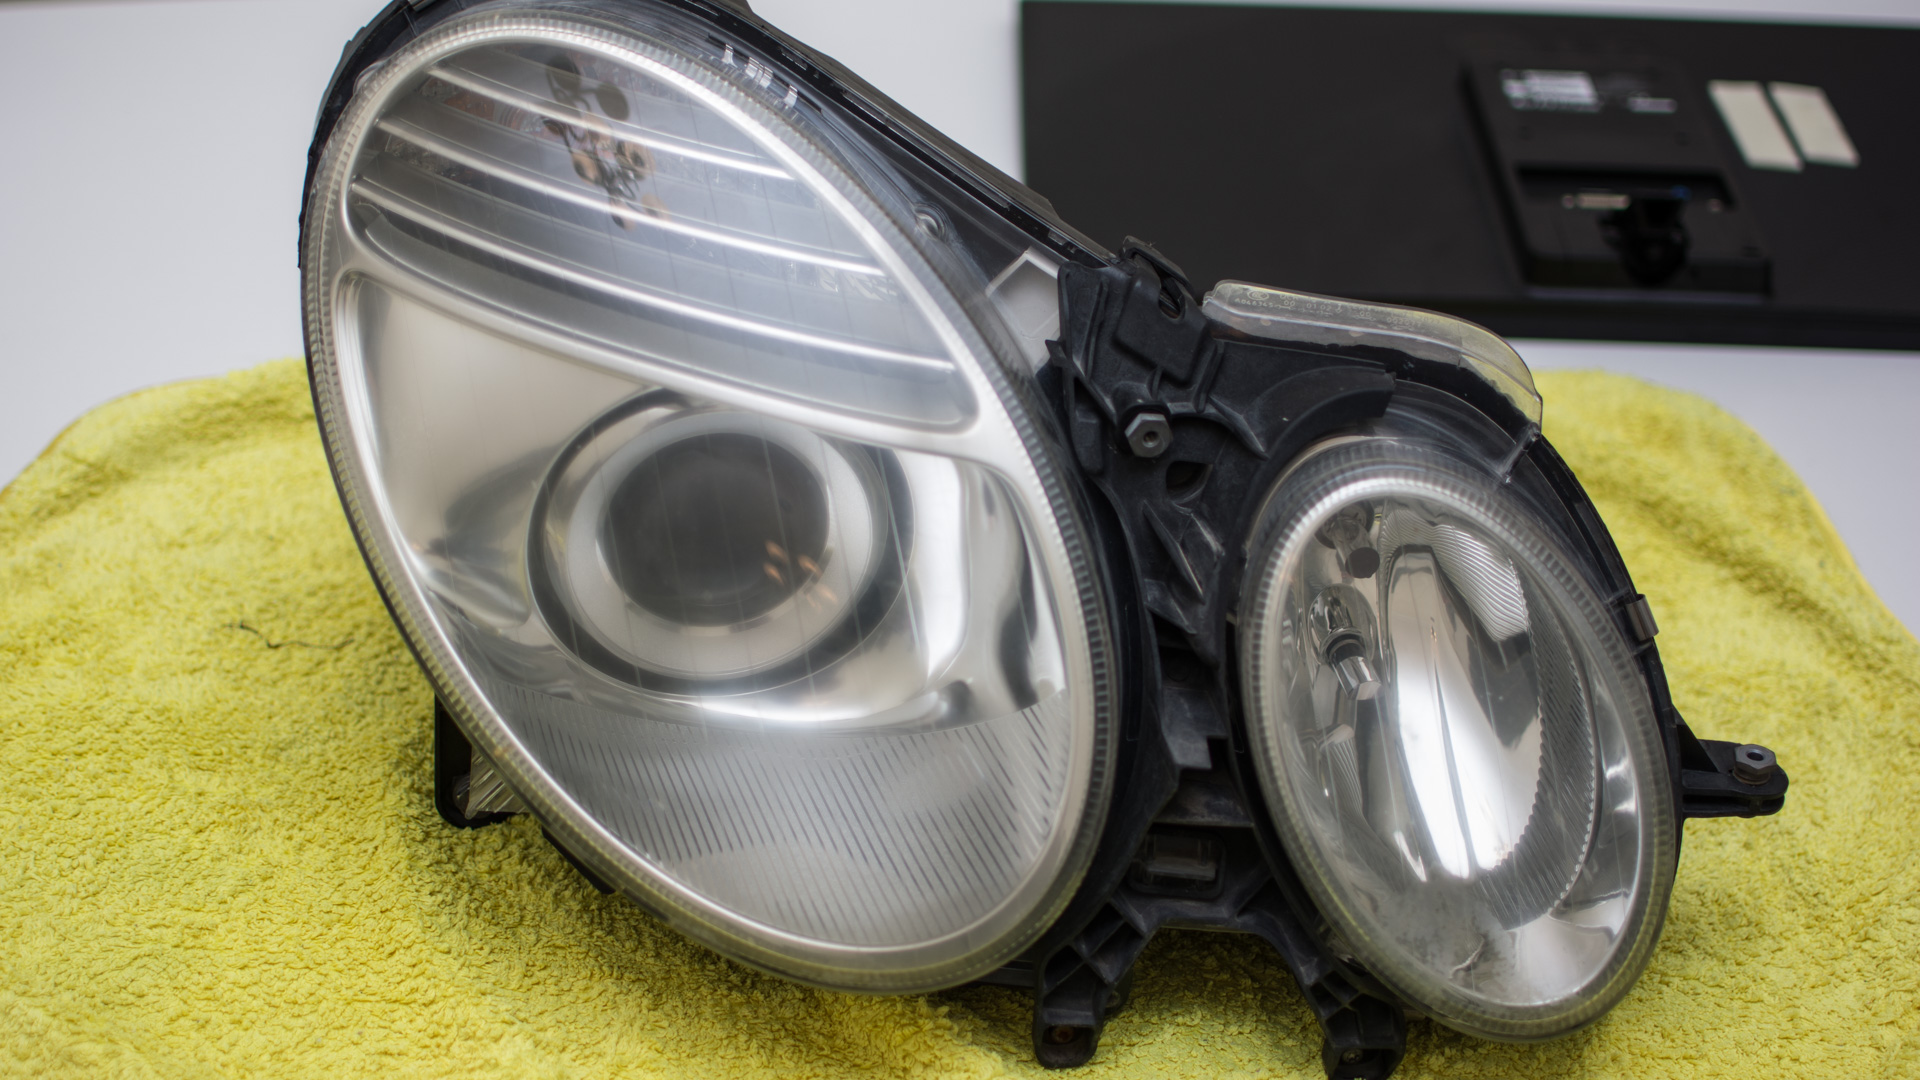
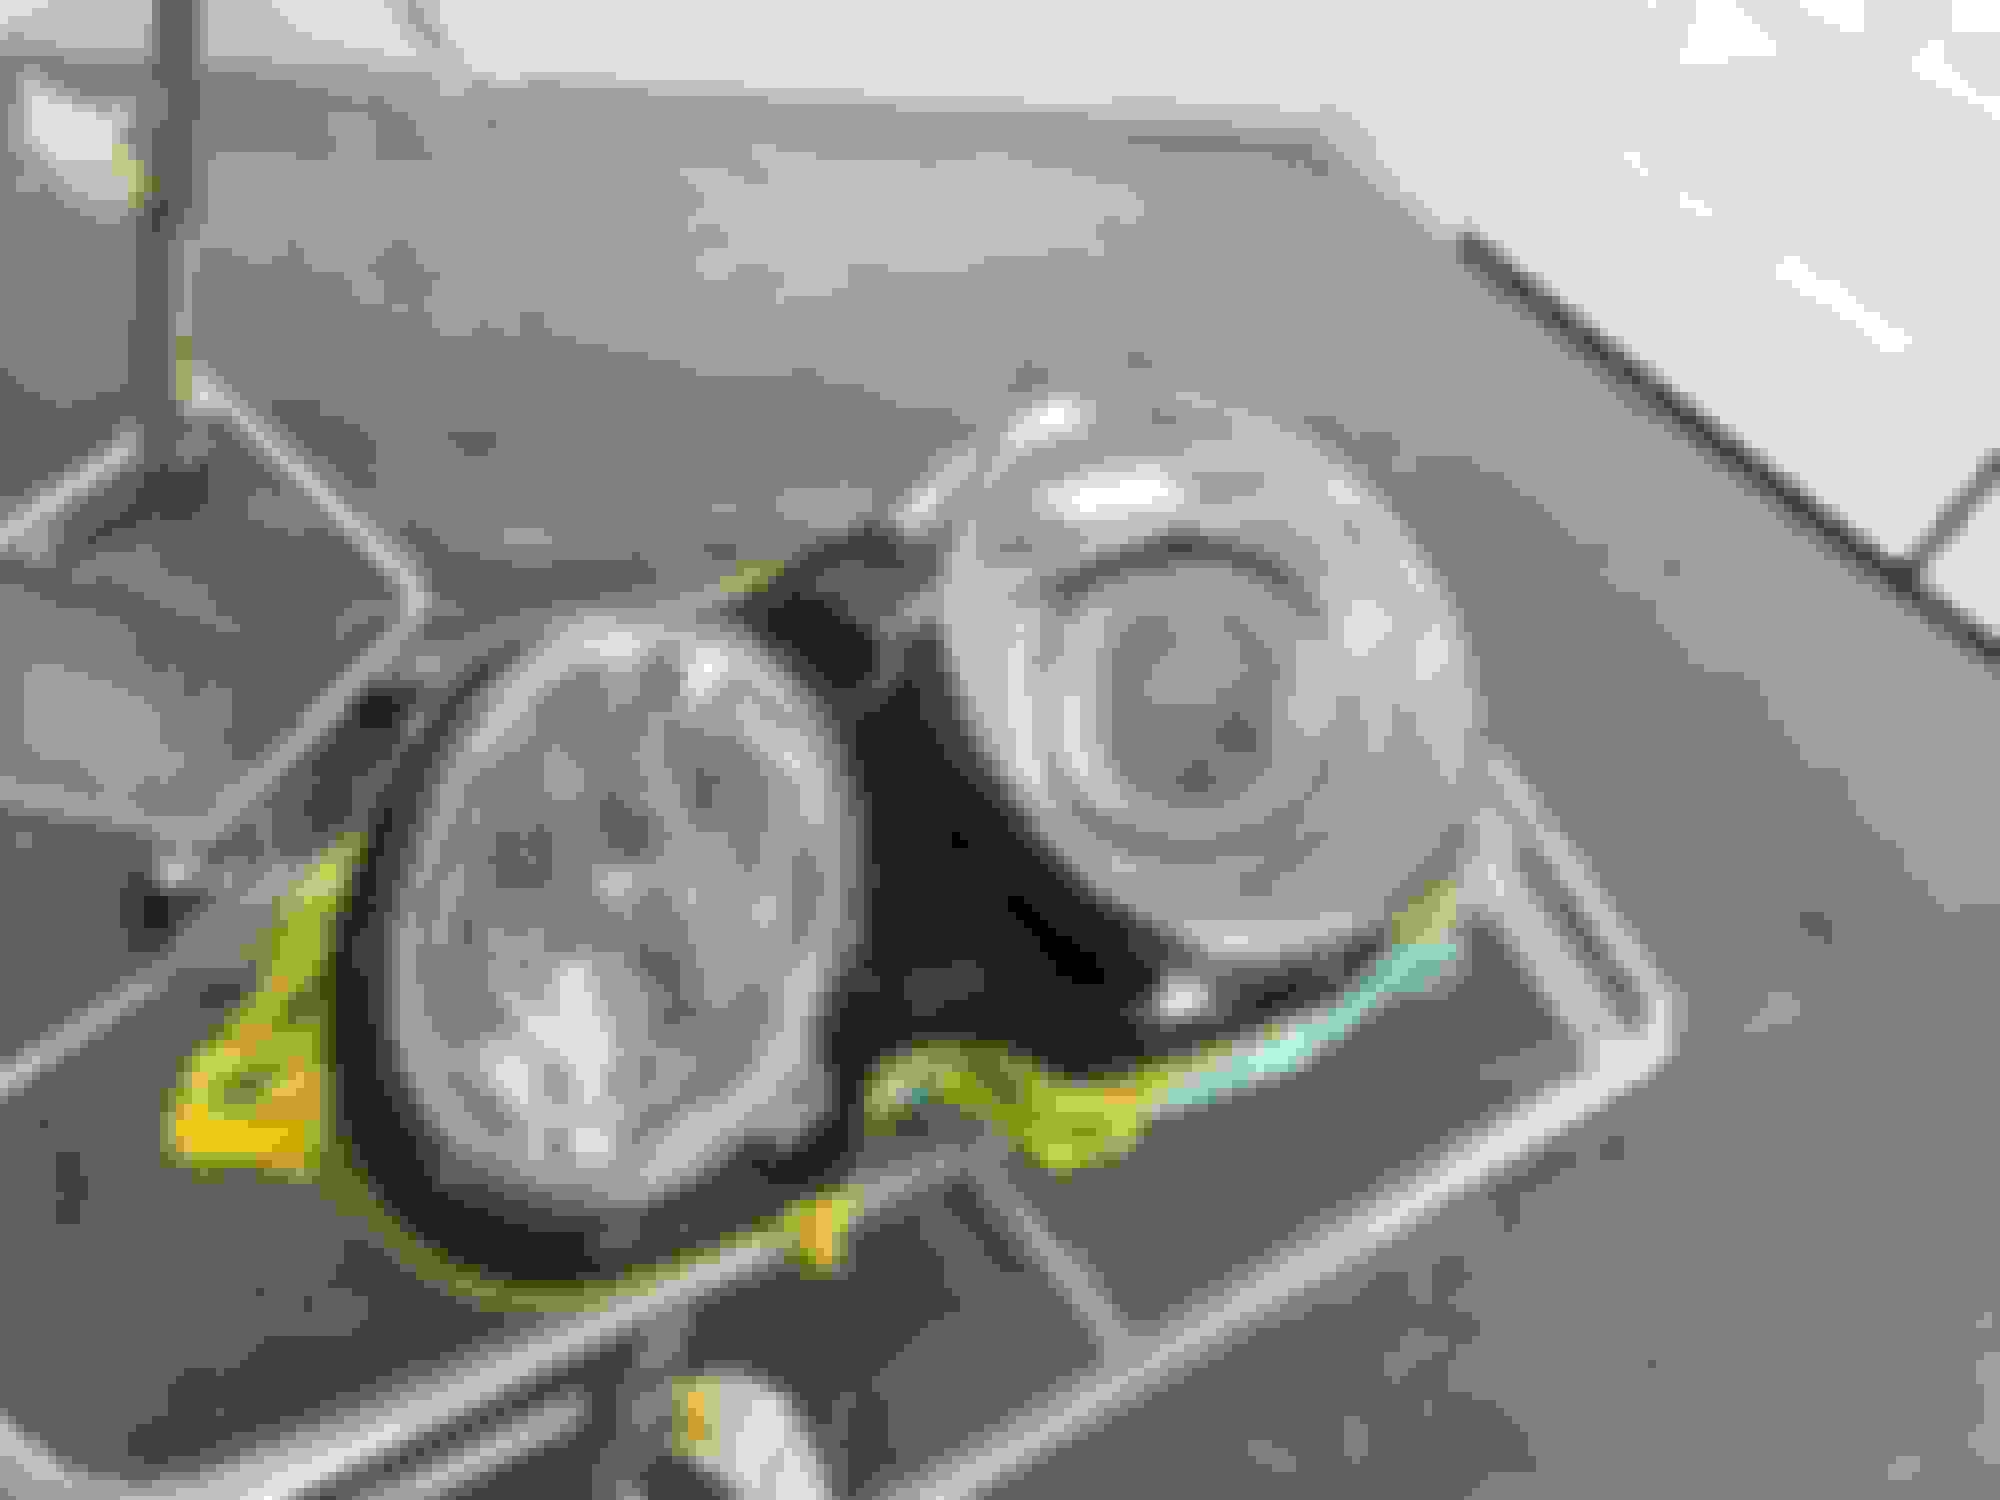
I washed the headlights with Dawn dishwashing liquid before doing any sanding then dried them. Next step was sanding them with a finishing sander with 600 grit dry.
Any 600 should work fine
The next step I sanded them with the DA and 800 grit dry.
Smoother and less dull after sanding with 800 grit.
I used a grey scotchbrite pad wet with water and lightly scuffed over the lens in a straight motion from top to bottom.
I used a red scotchbrite pad on the edges ONLY followed by the grey pad.
3M automotive great scotchbrite pad. 3M automotive red scotchbrite pad.
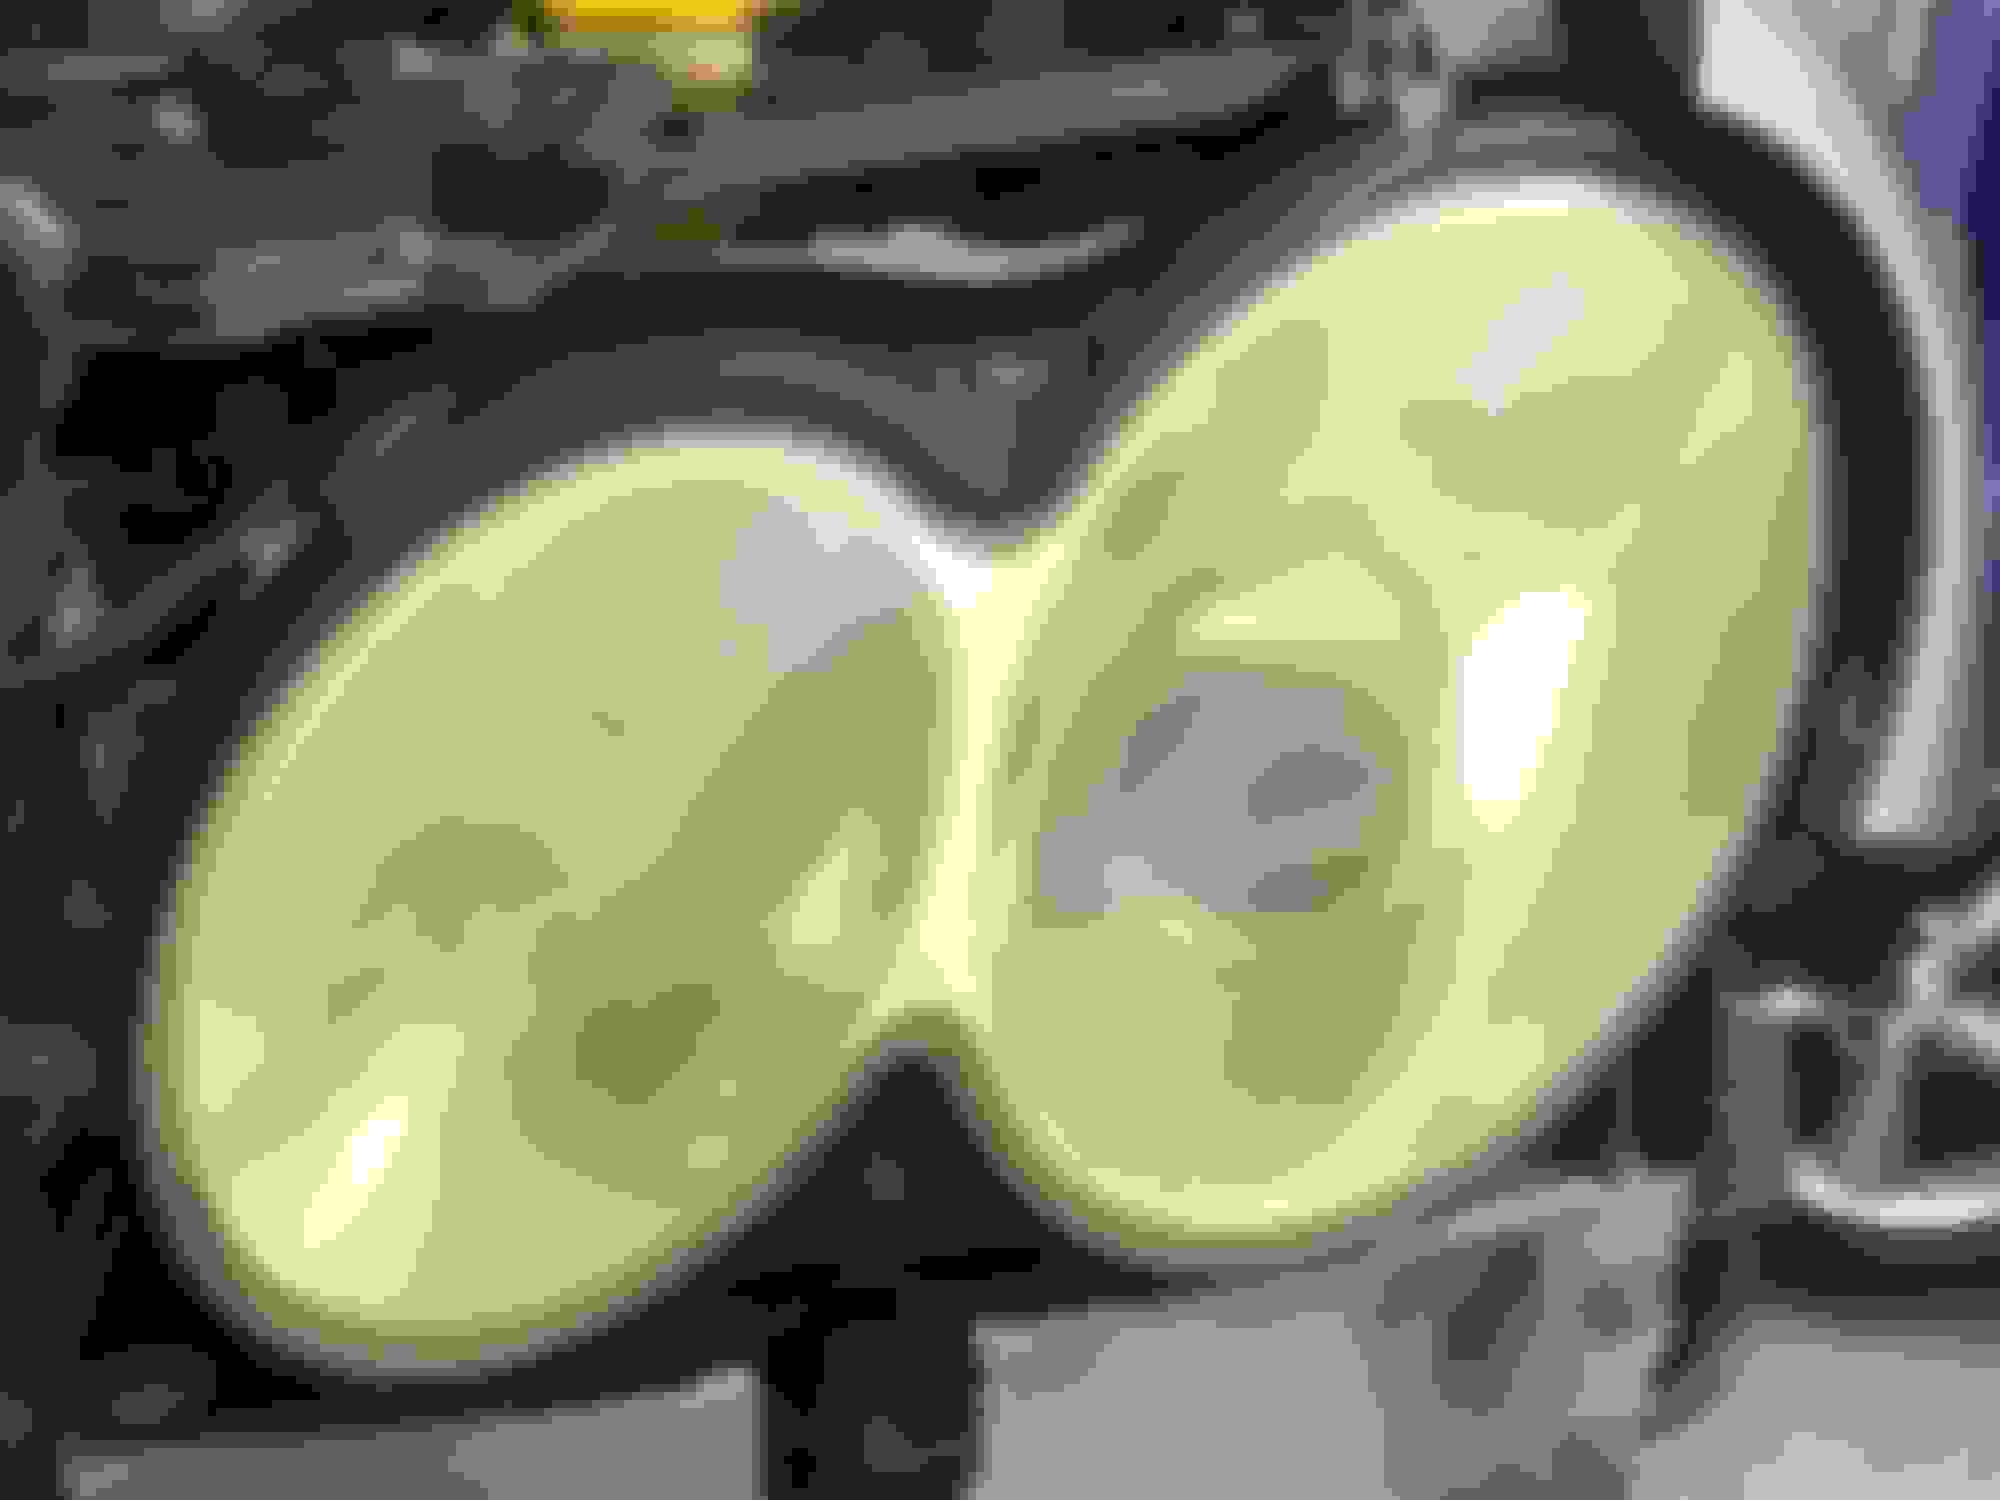
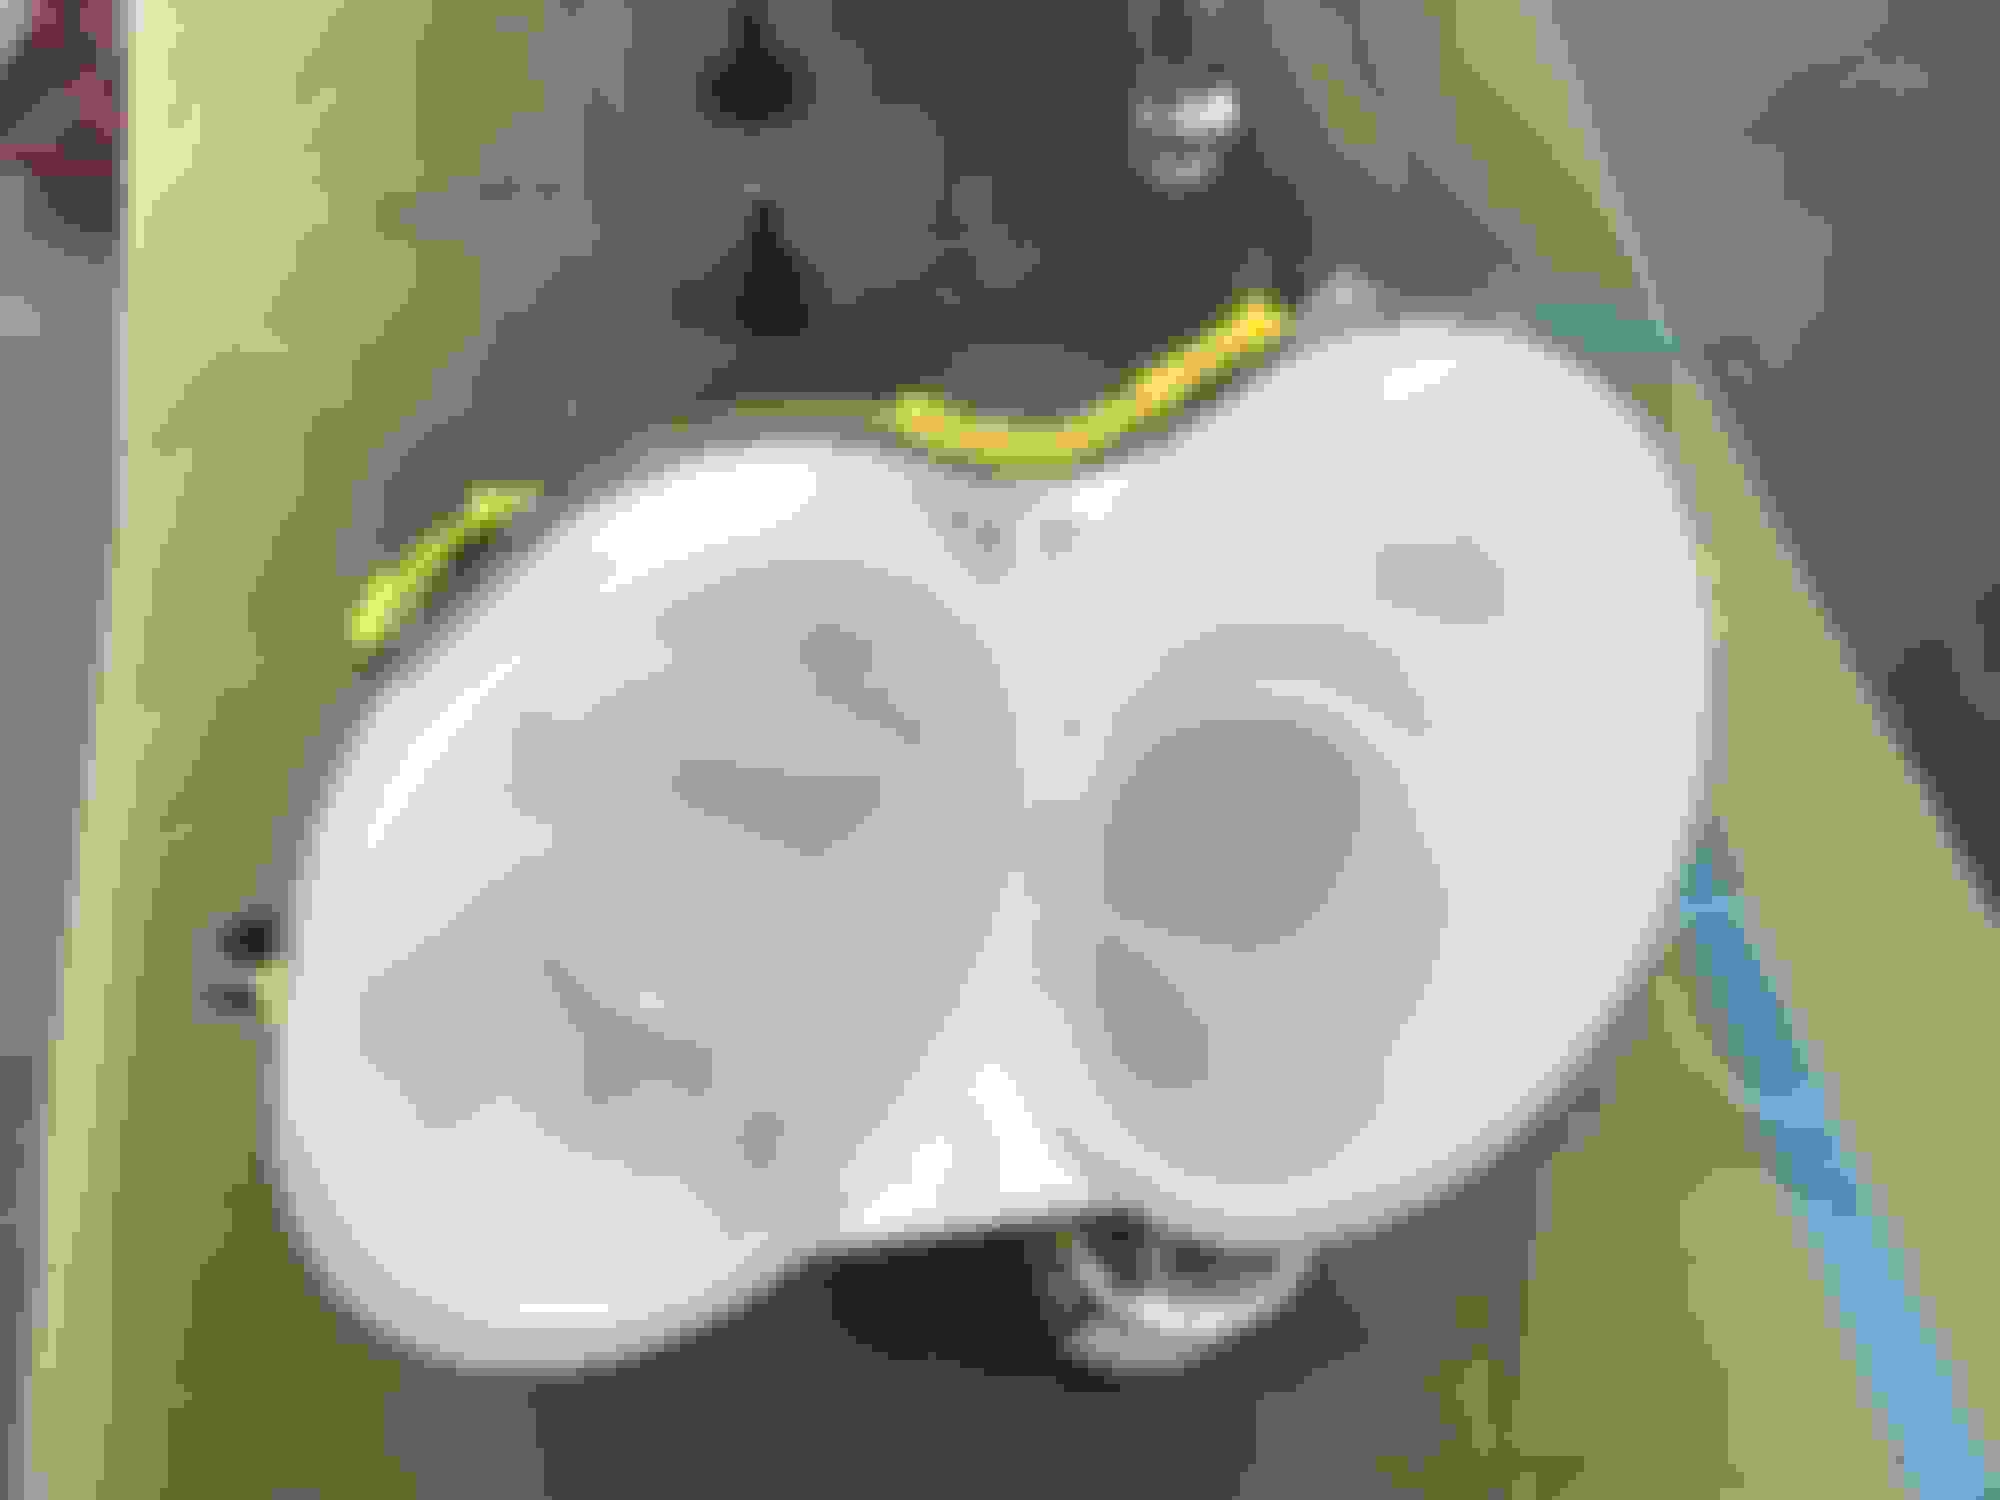
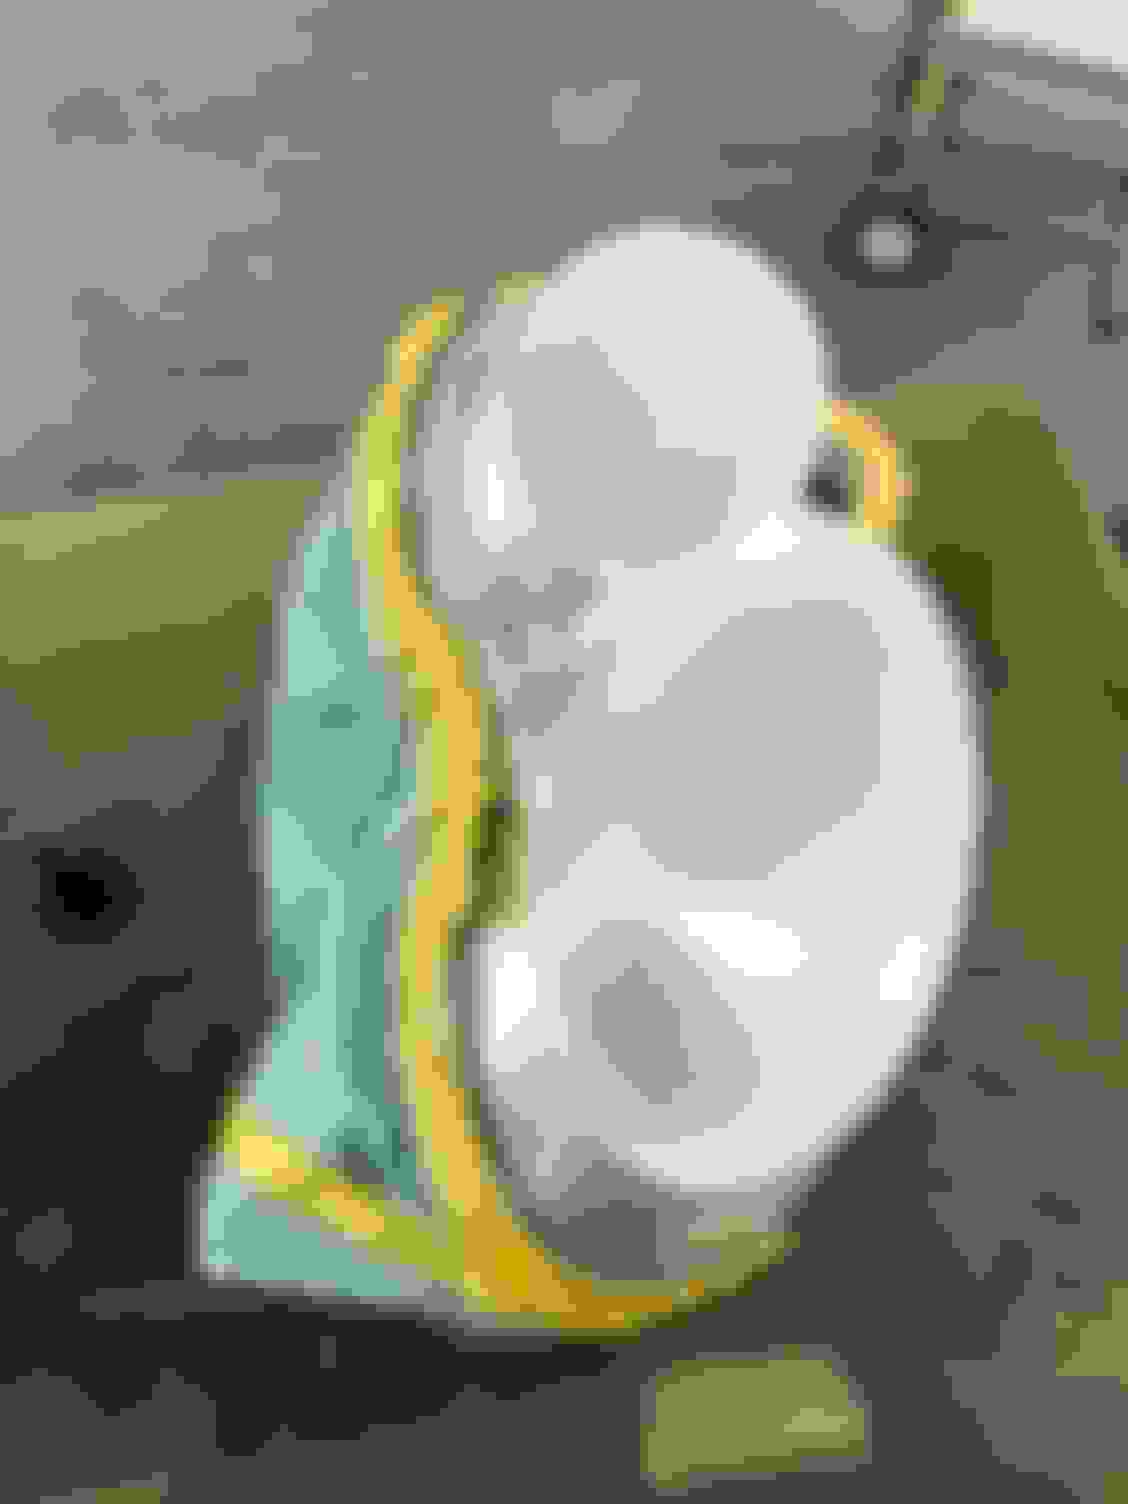
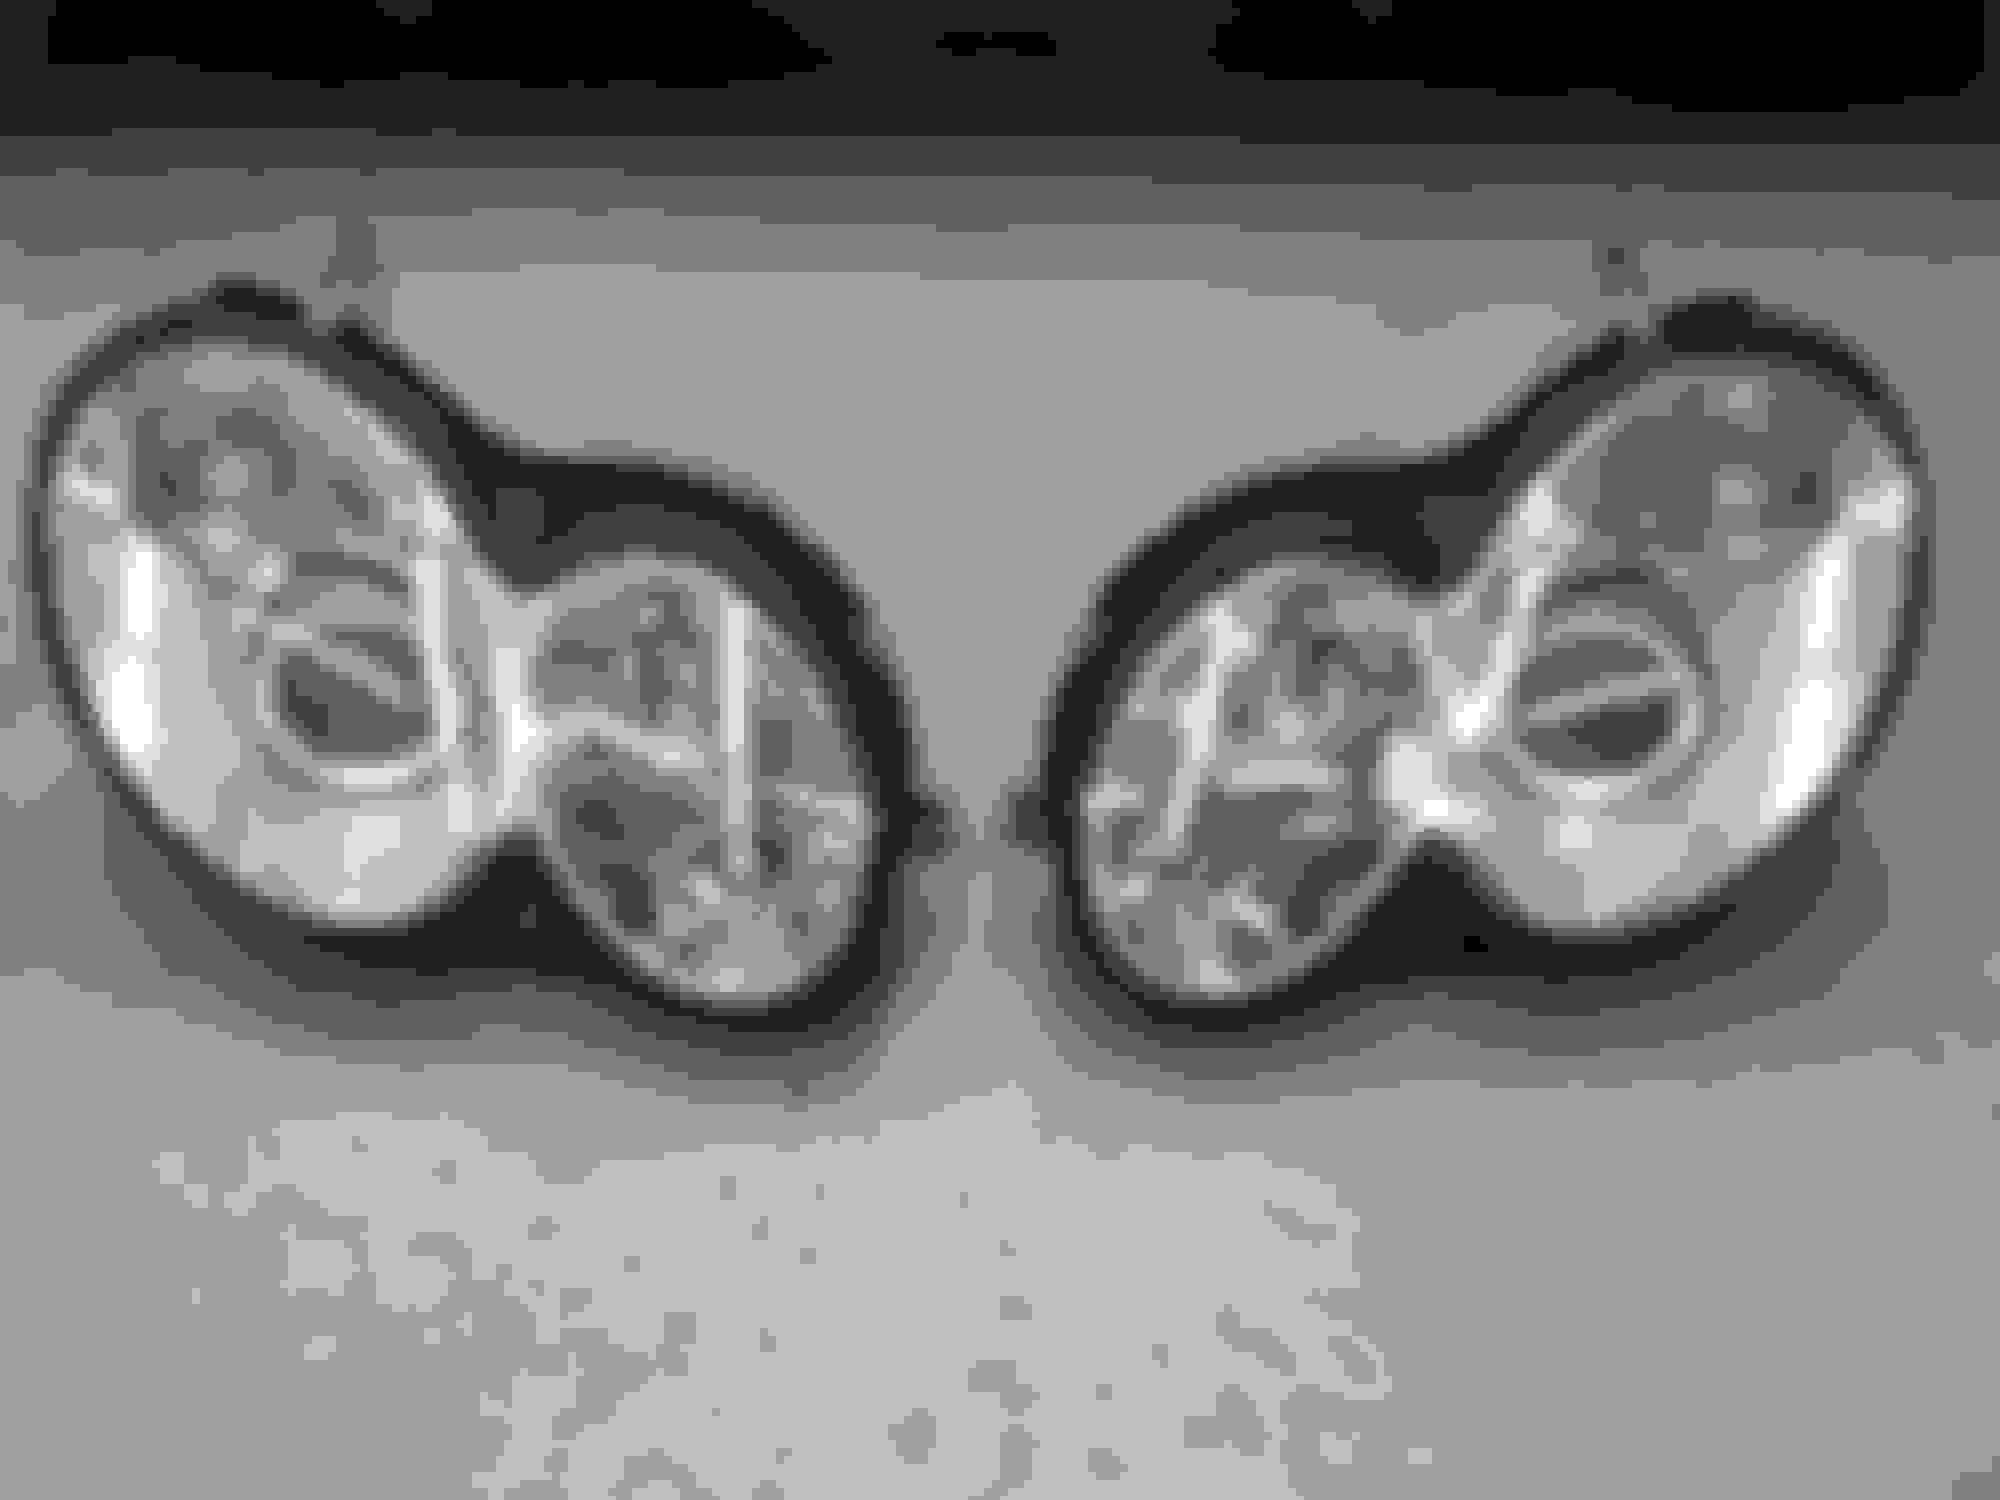
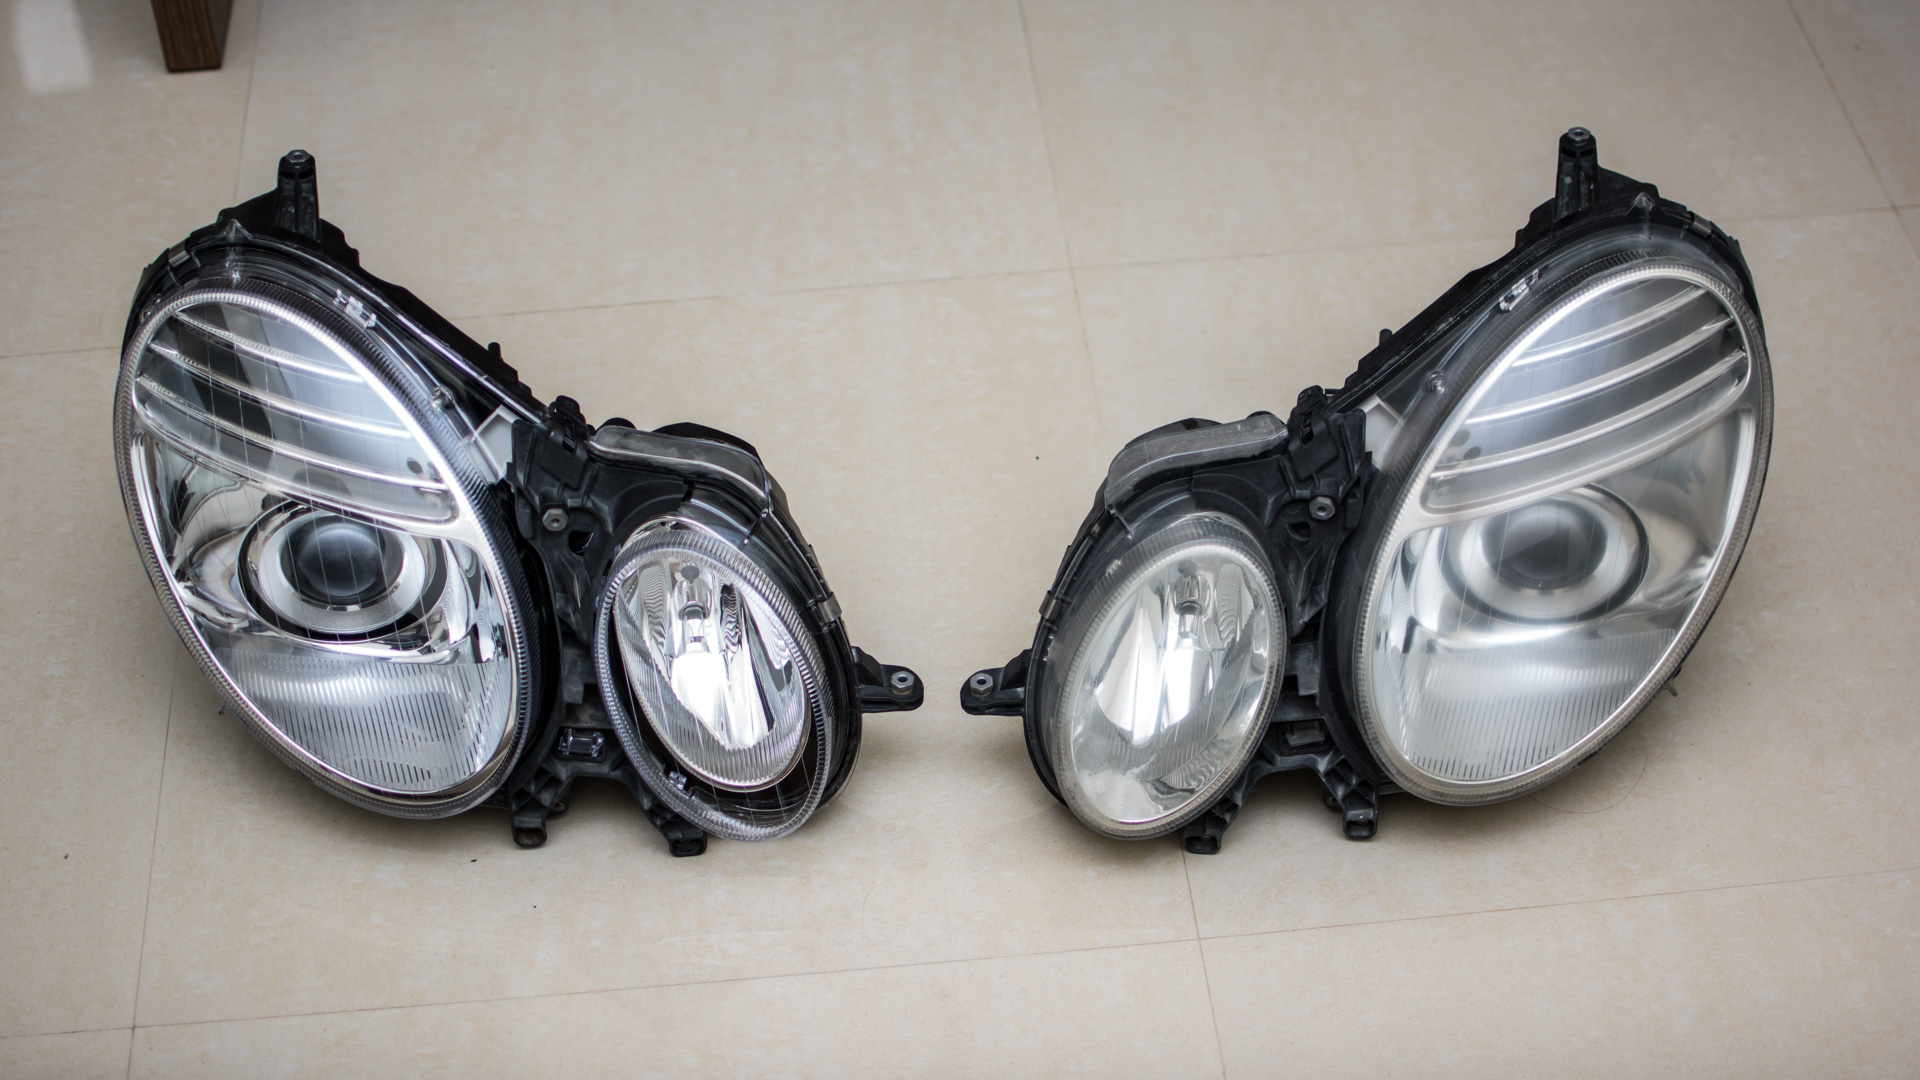
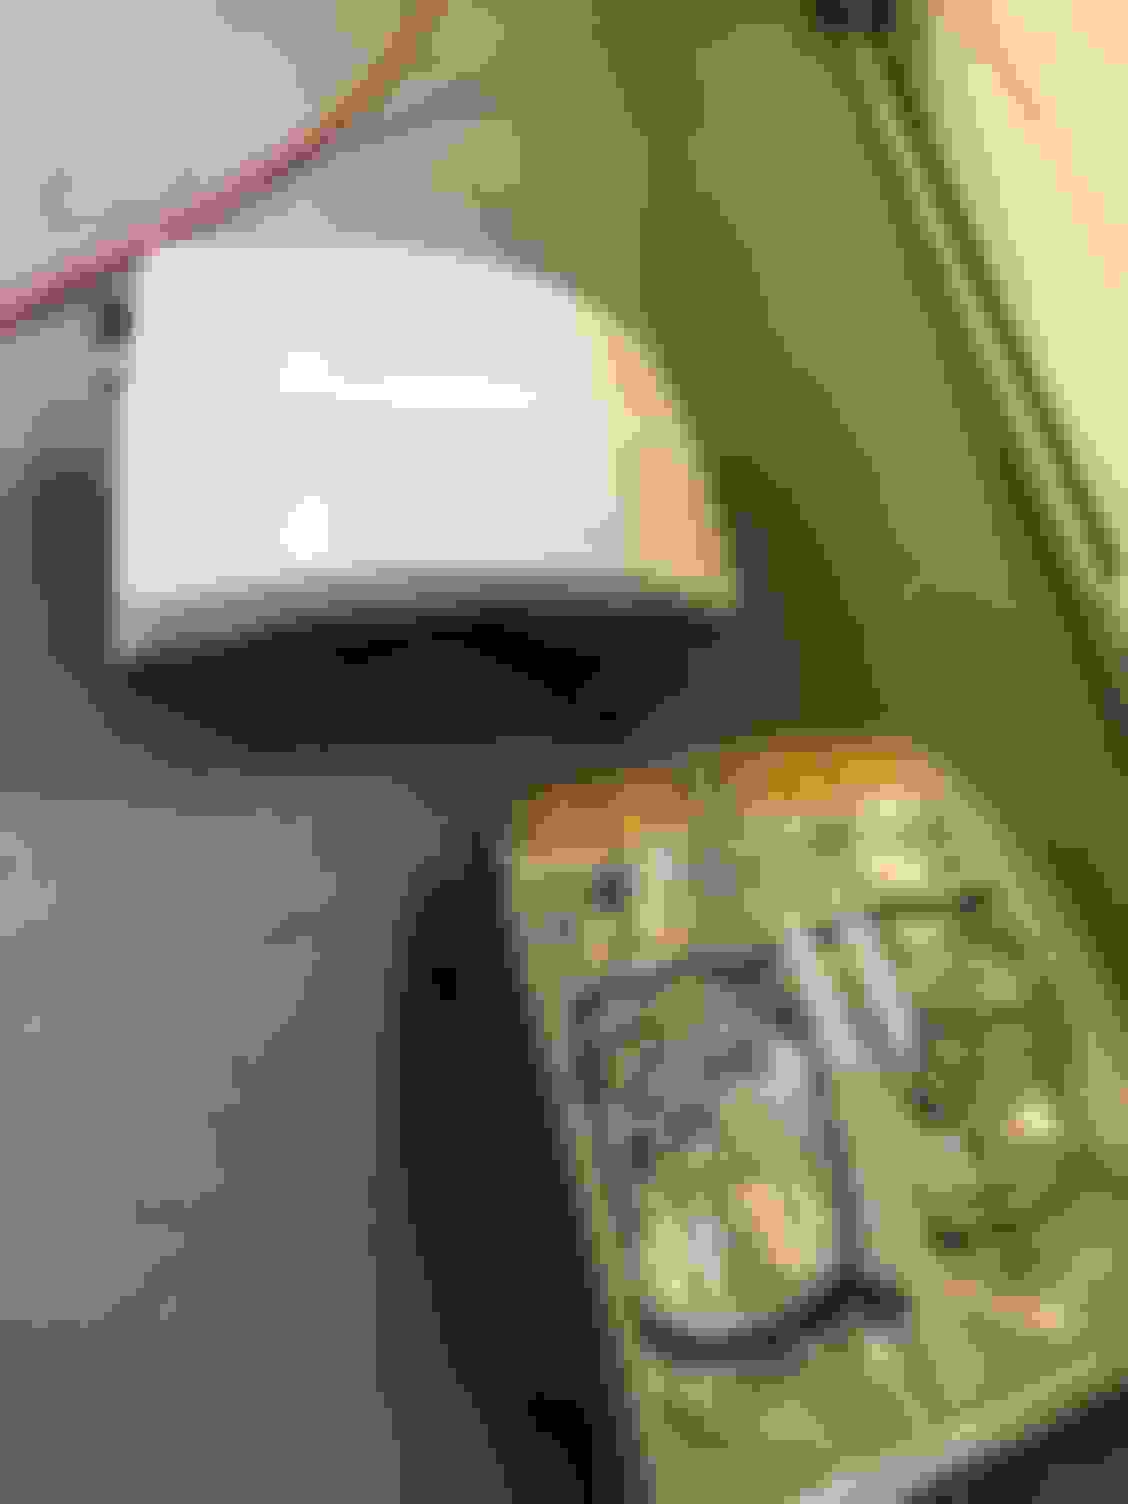
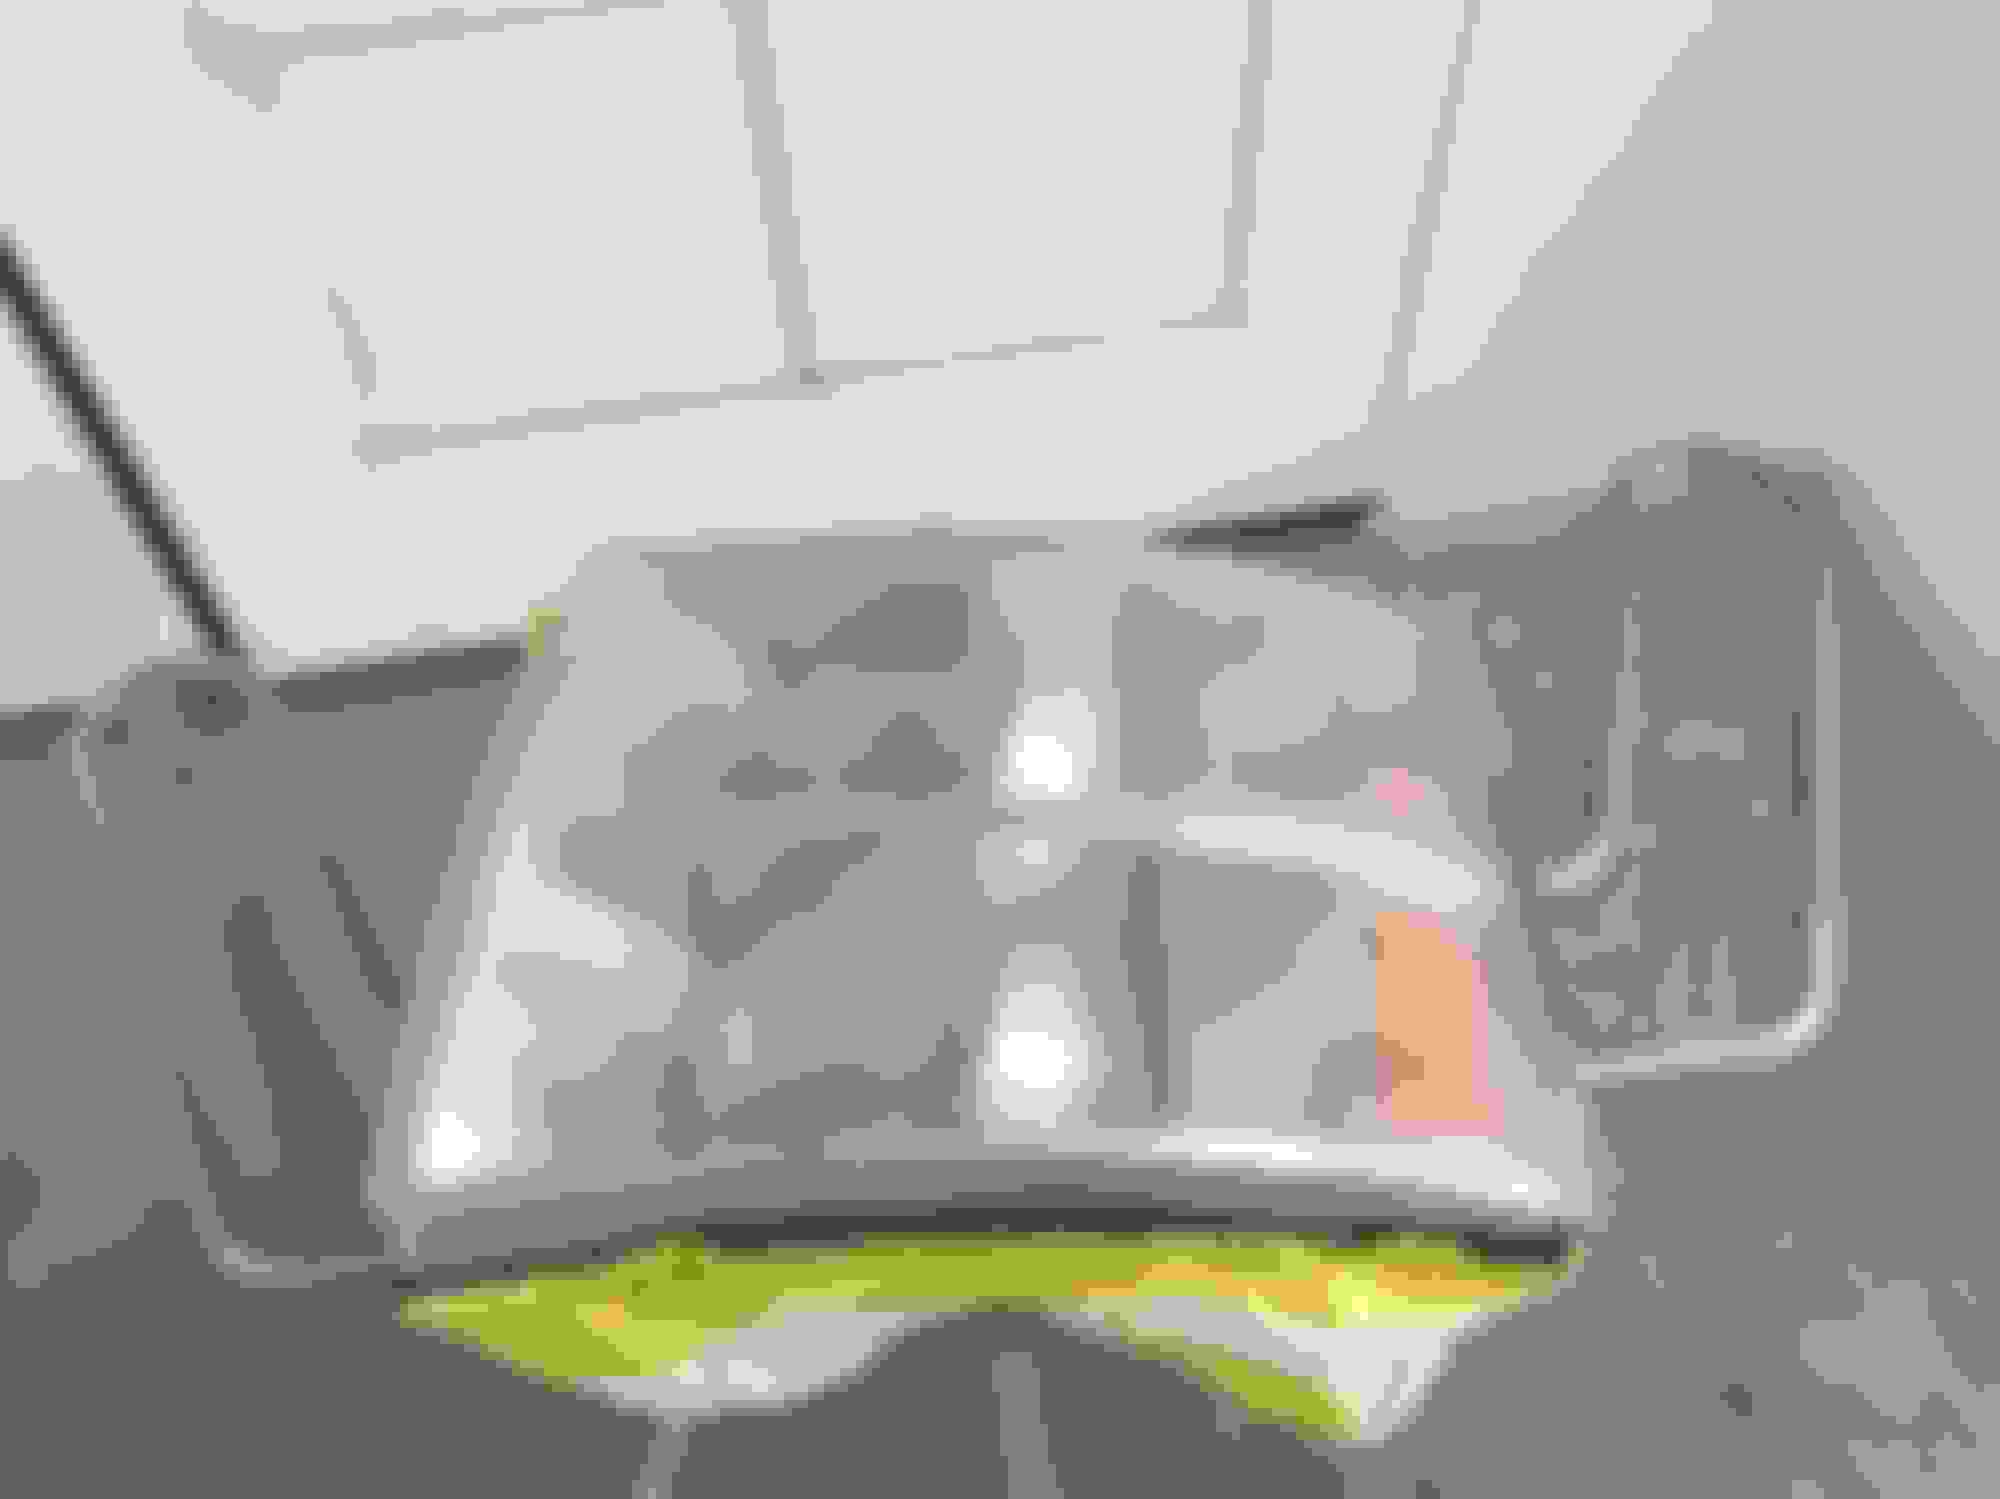
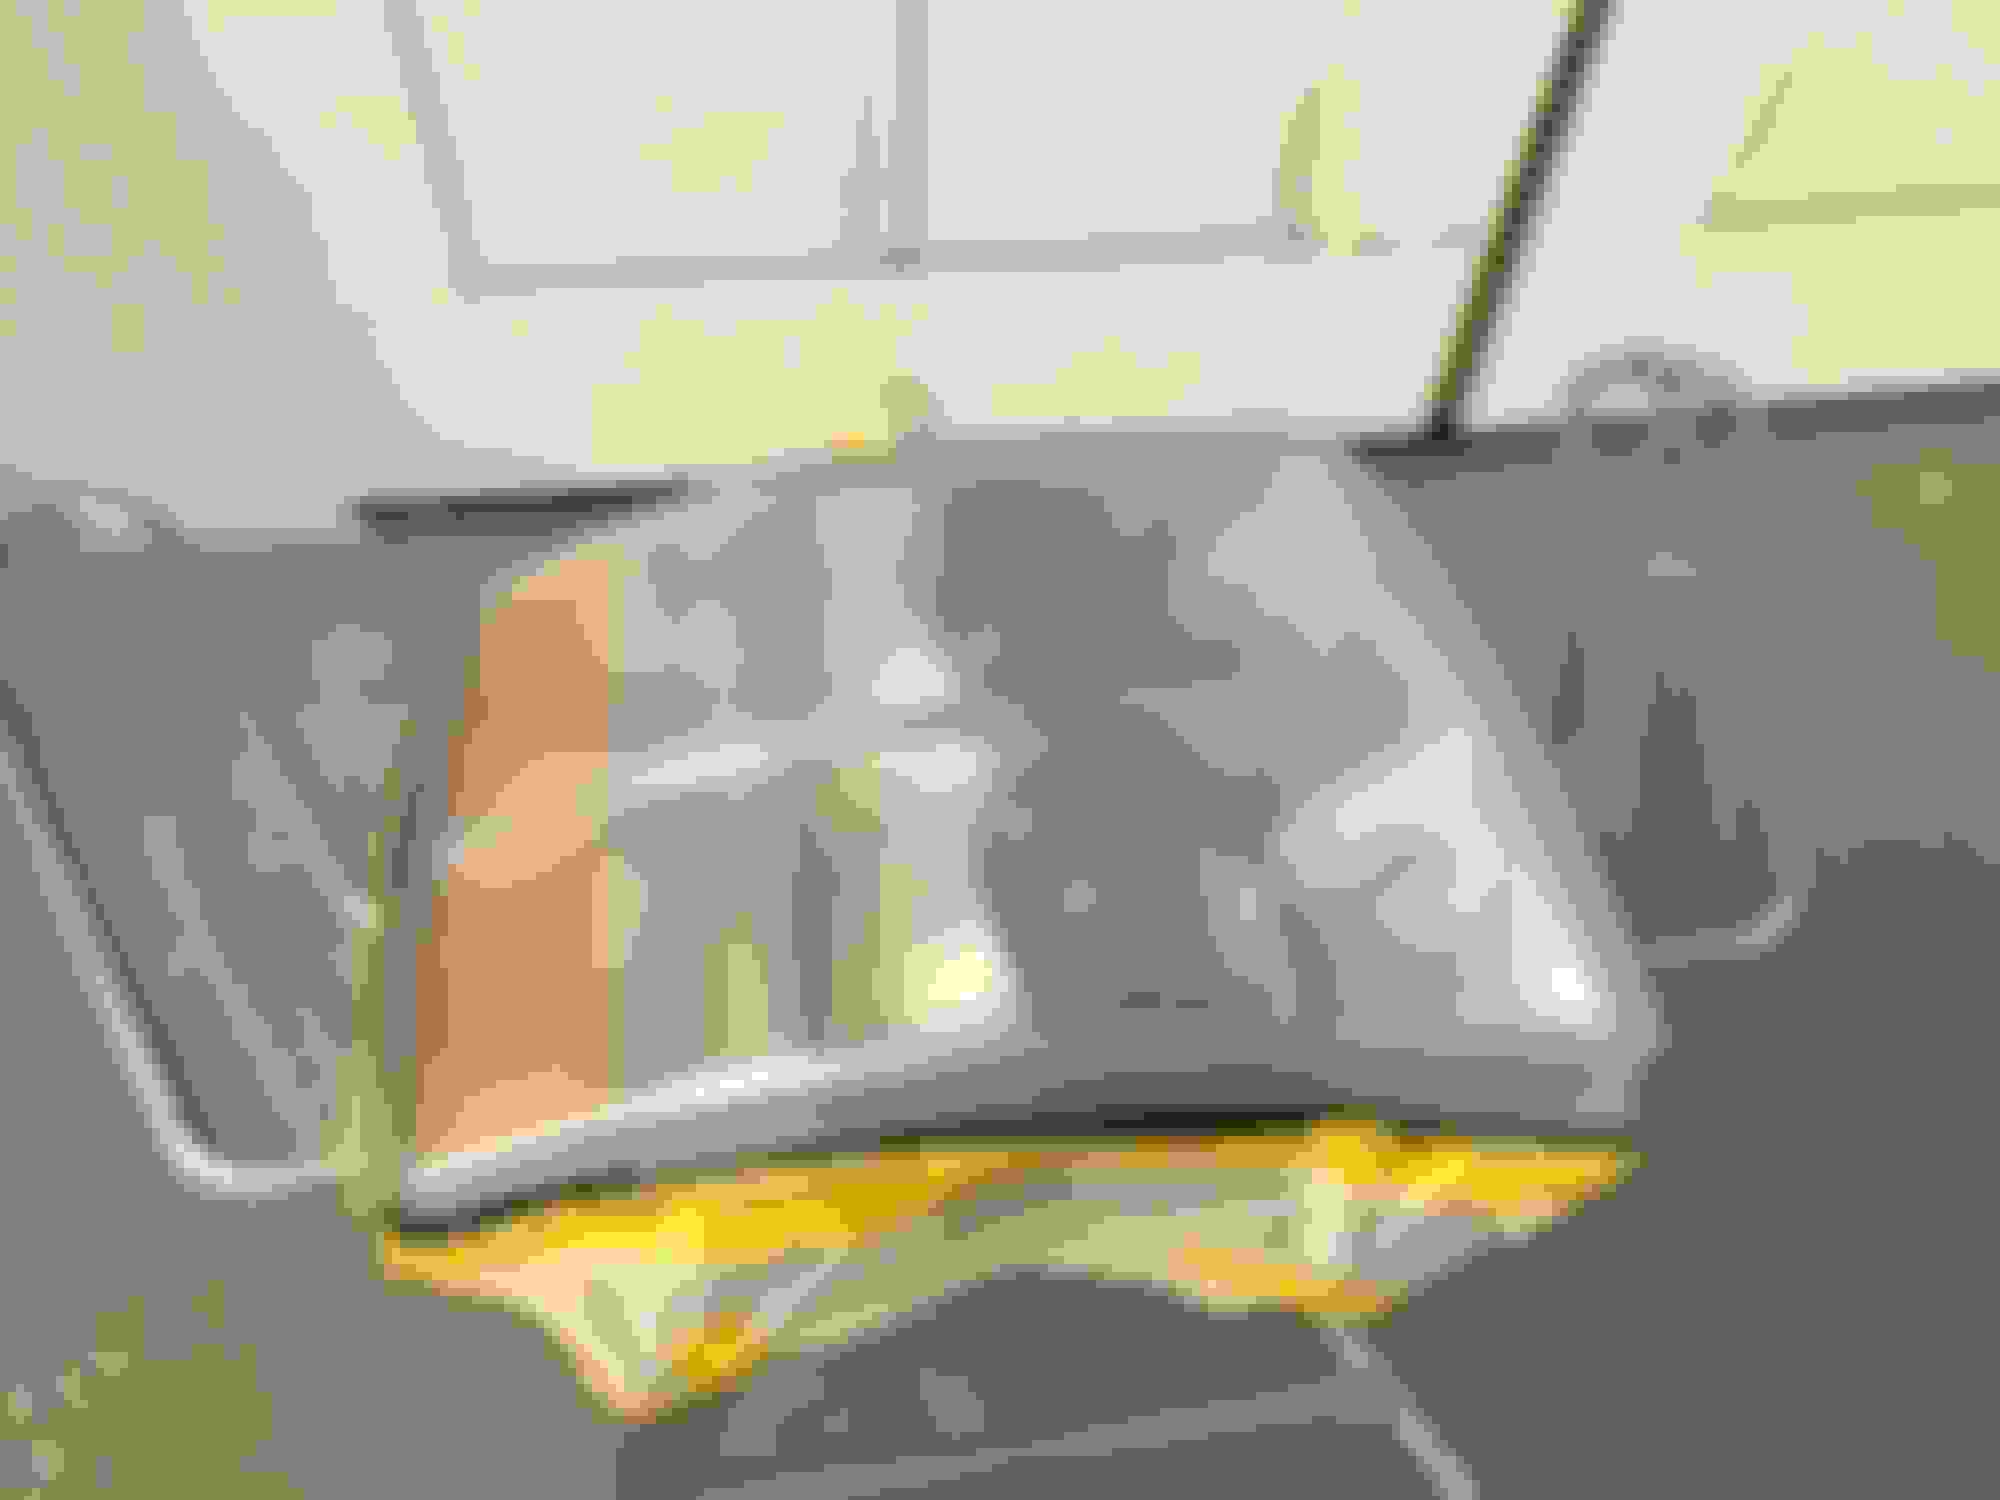
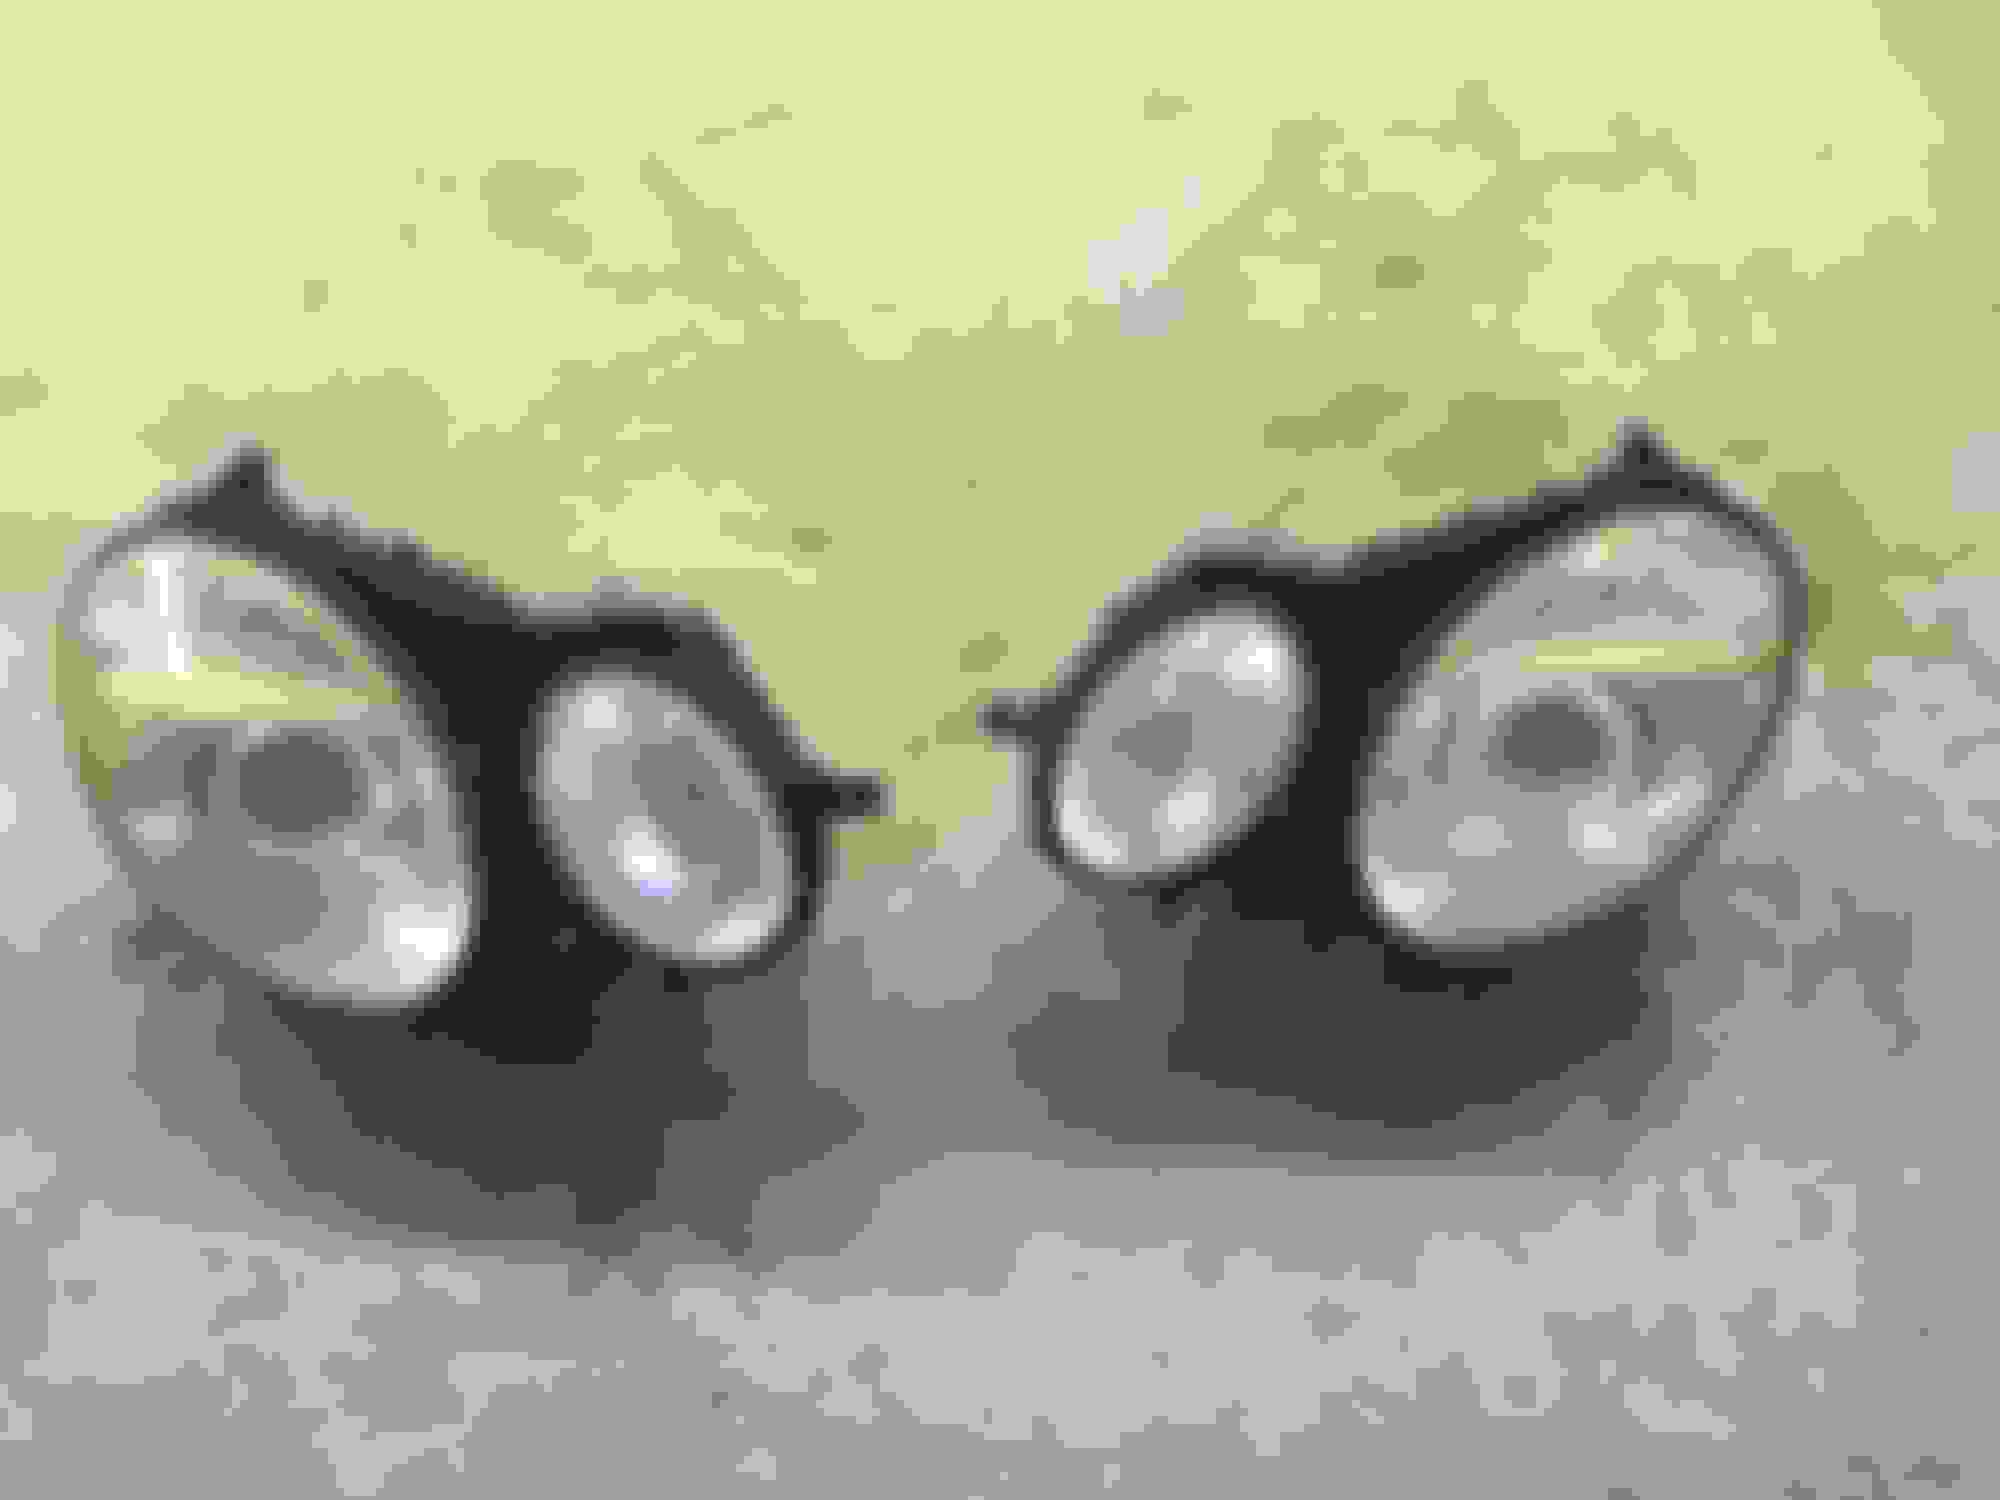
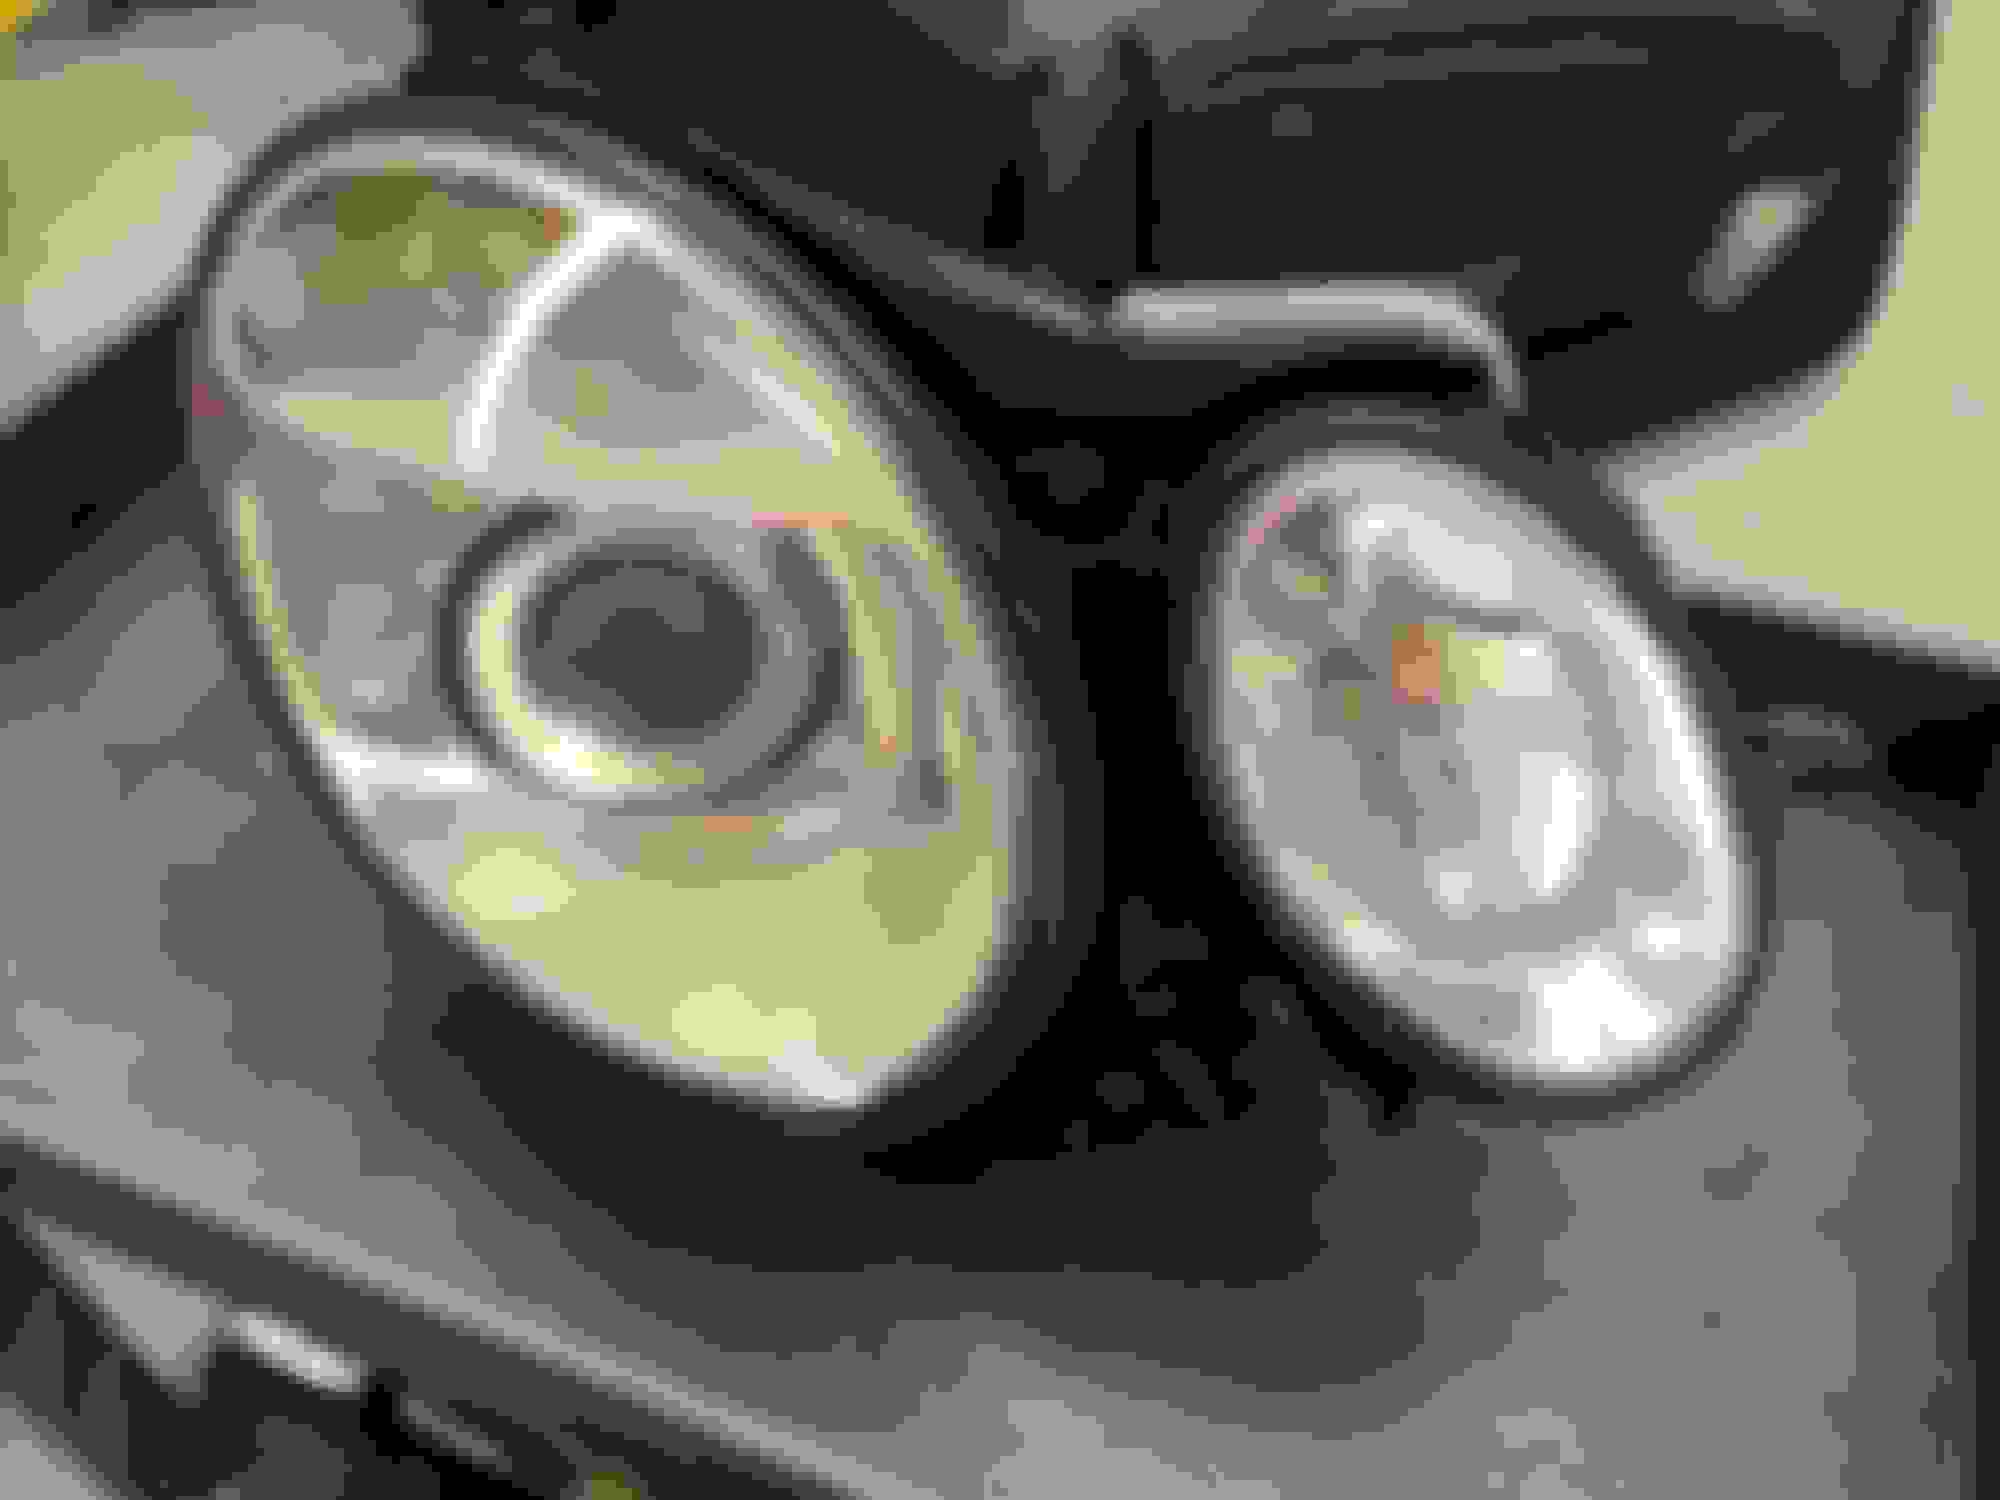
Masked them and ready for clear.
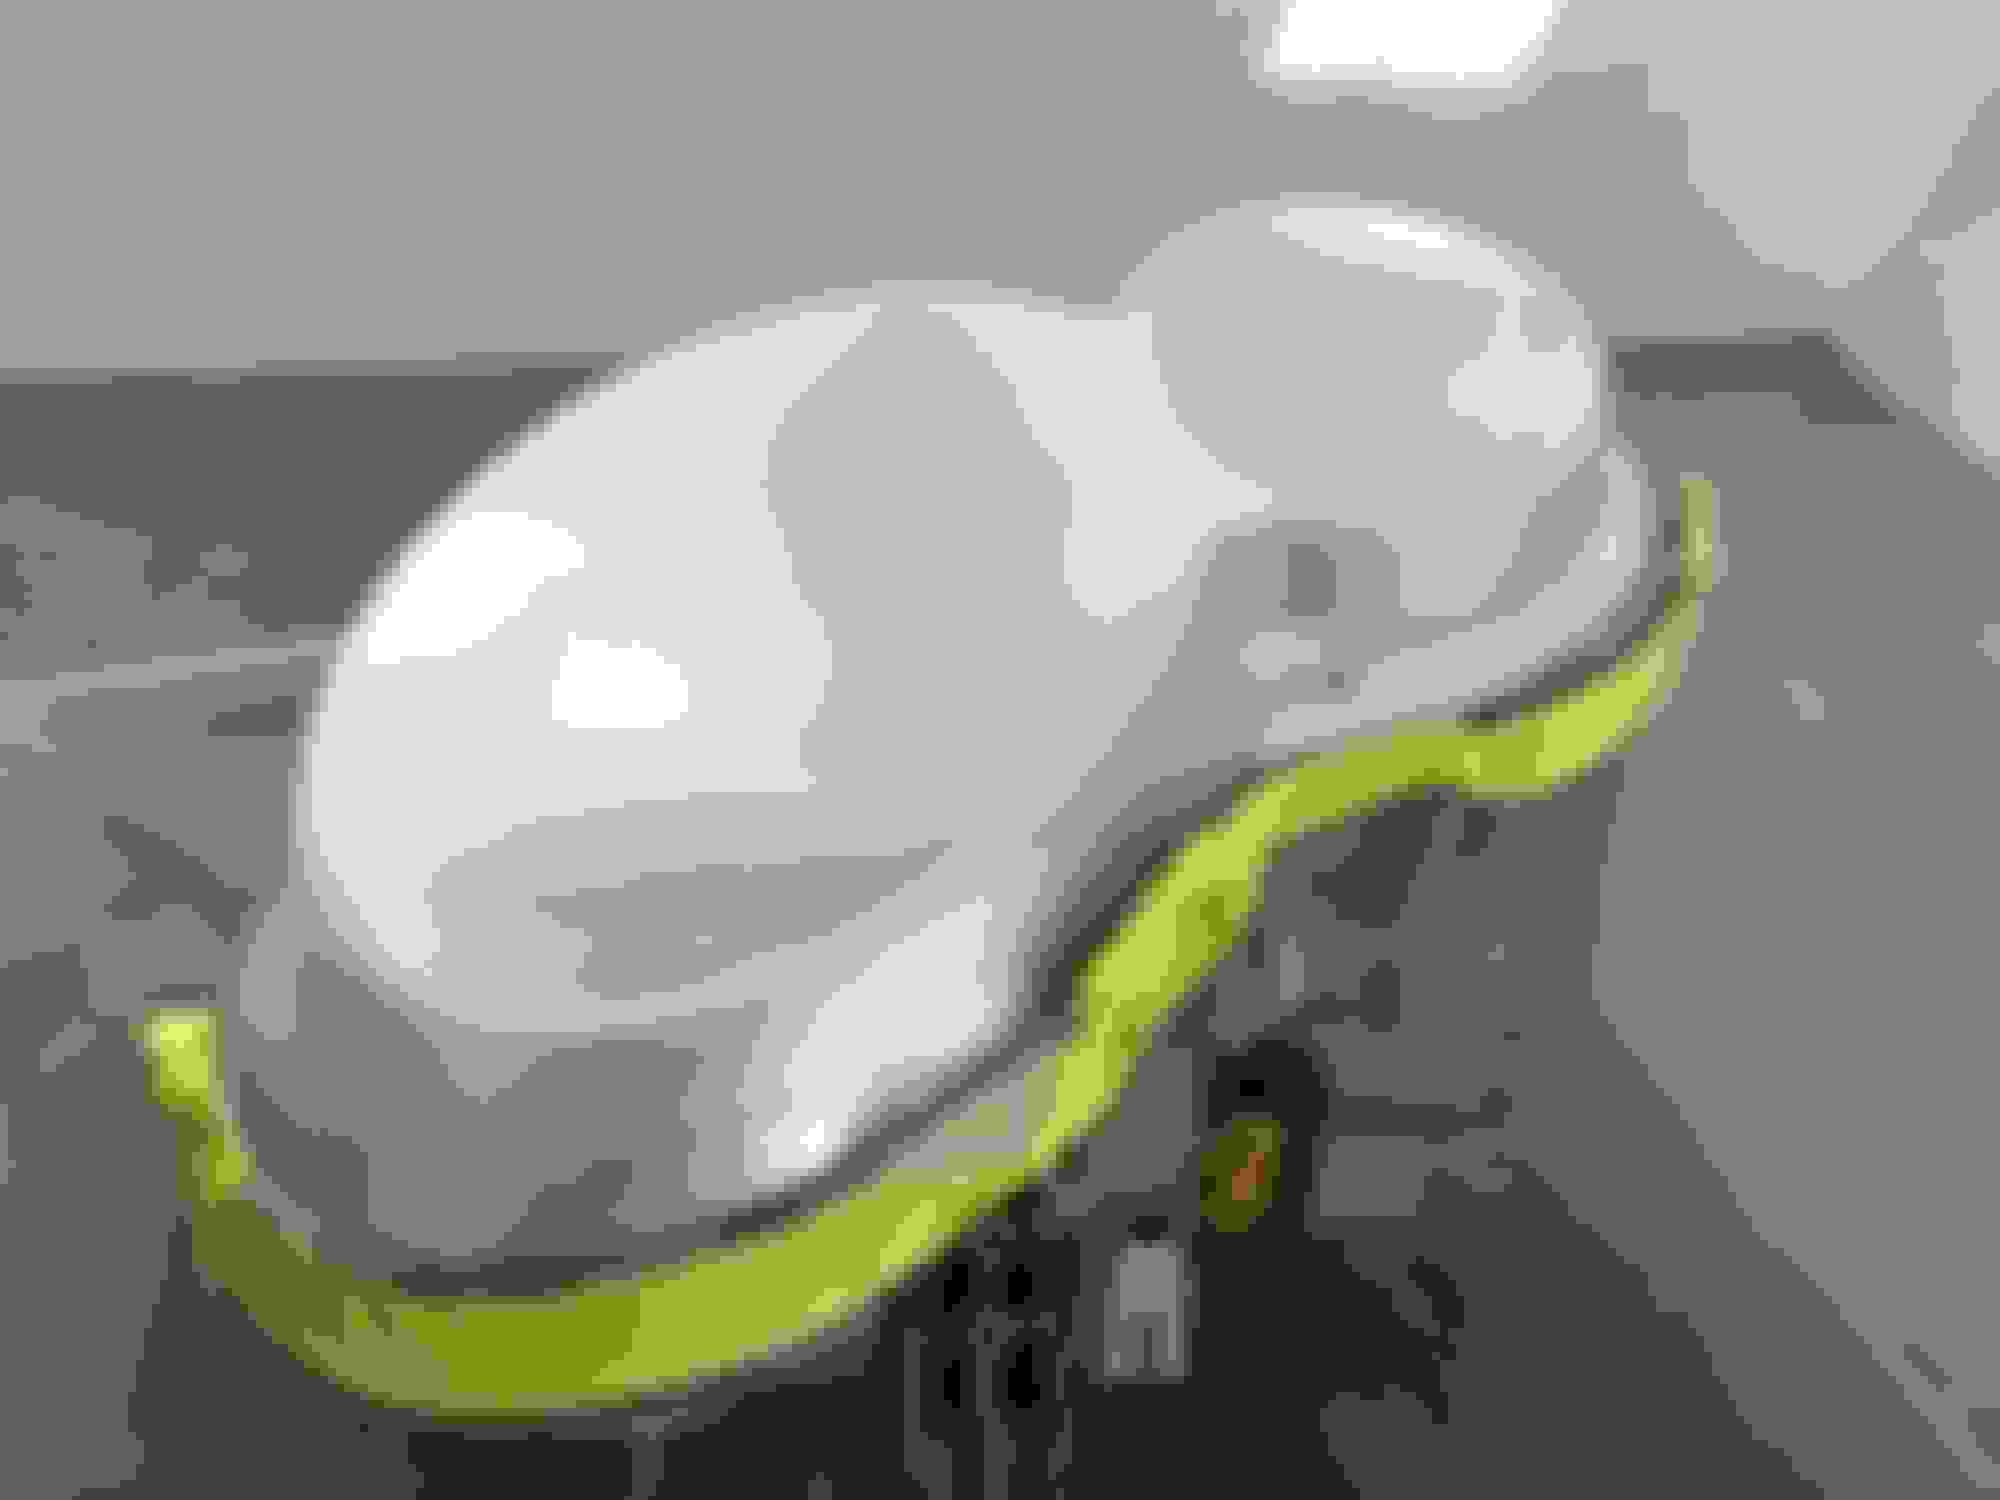
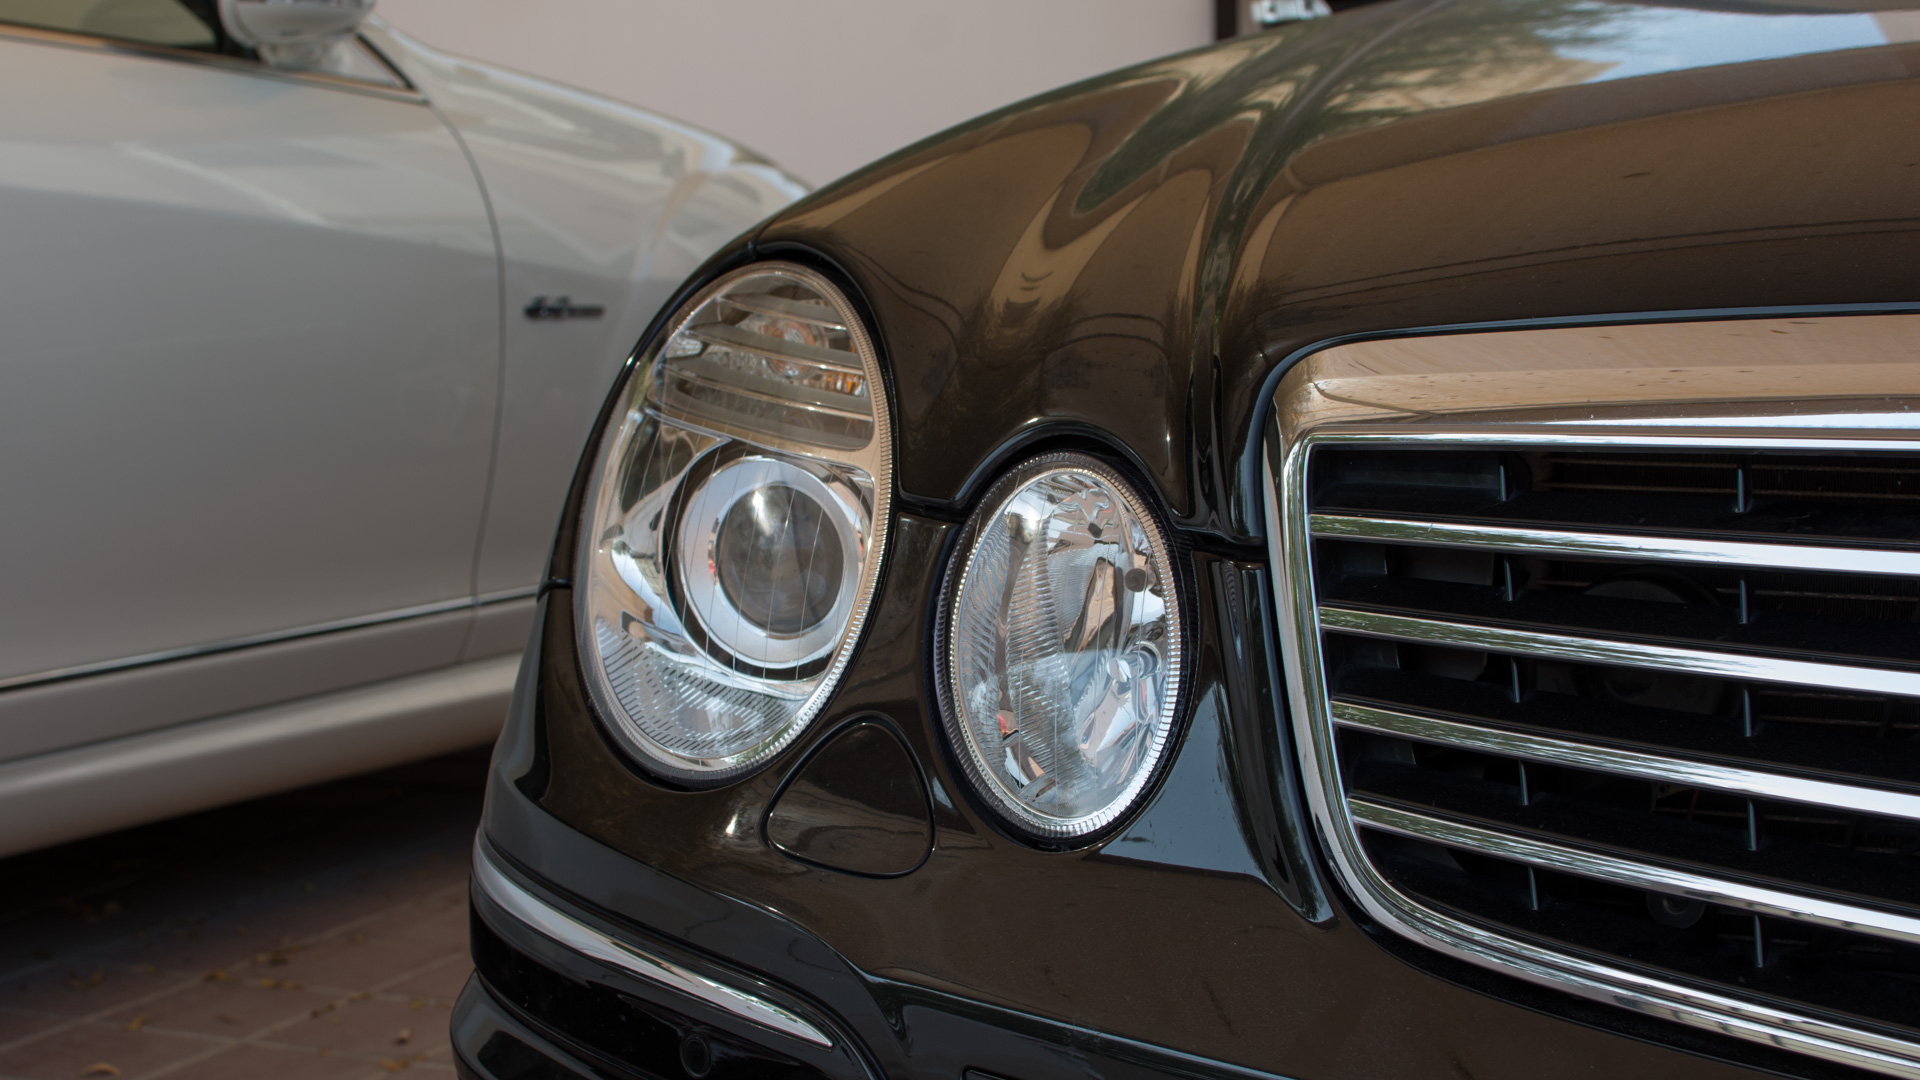
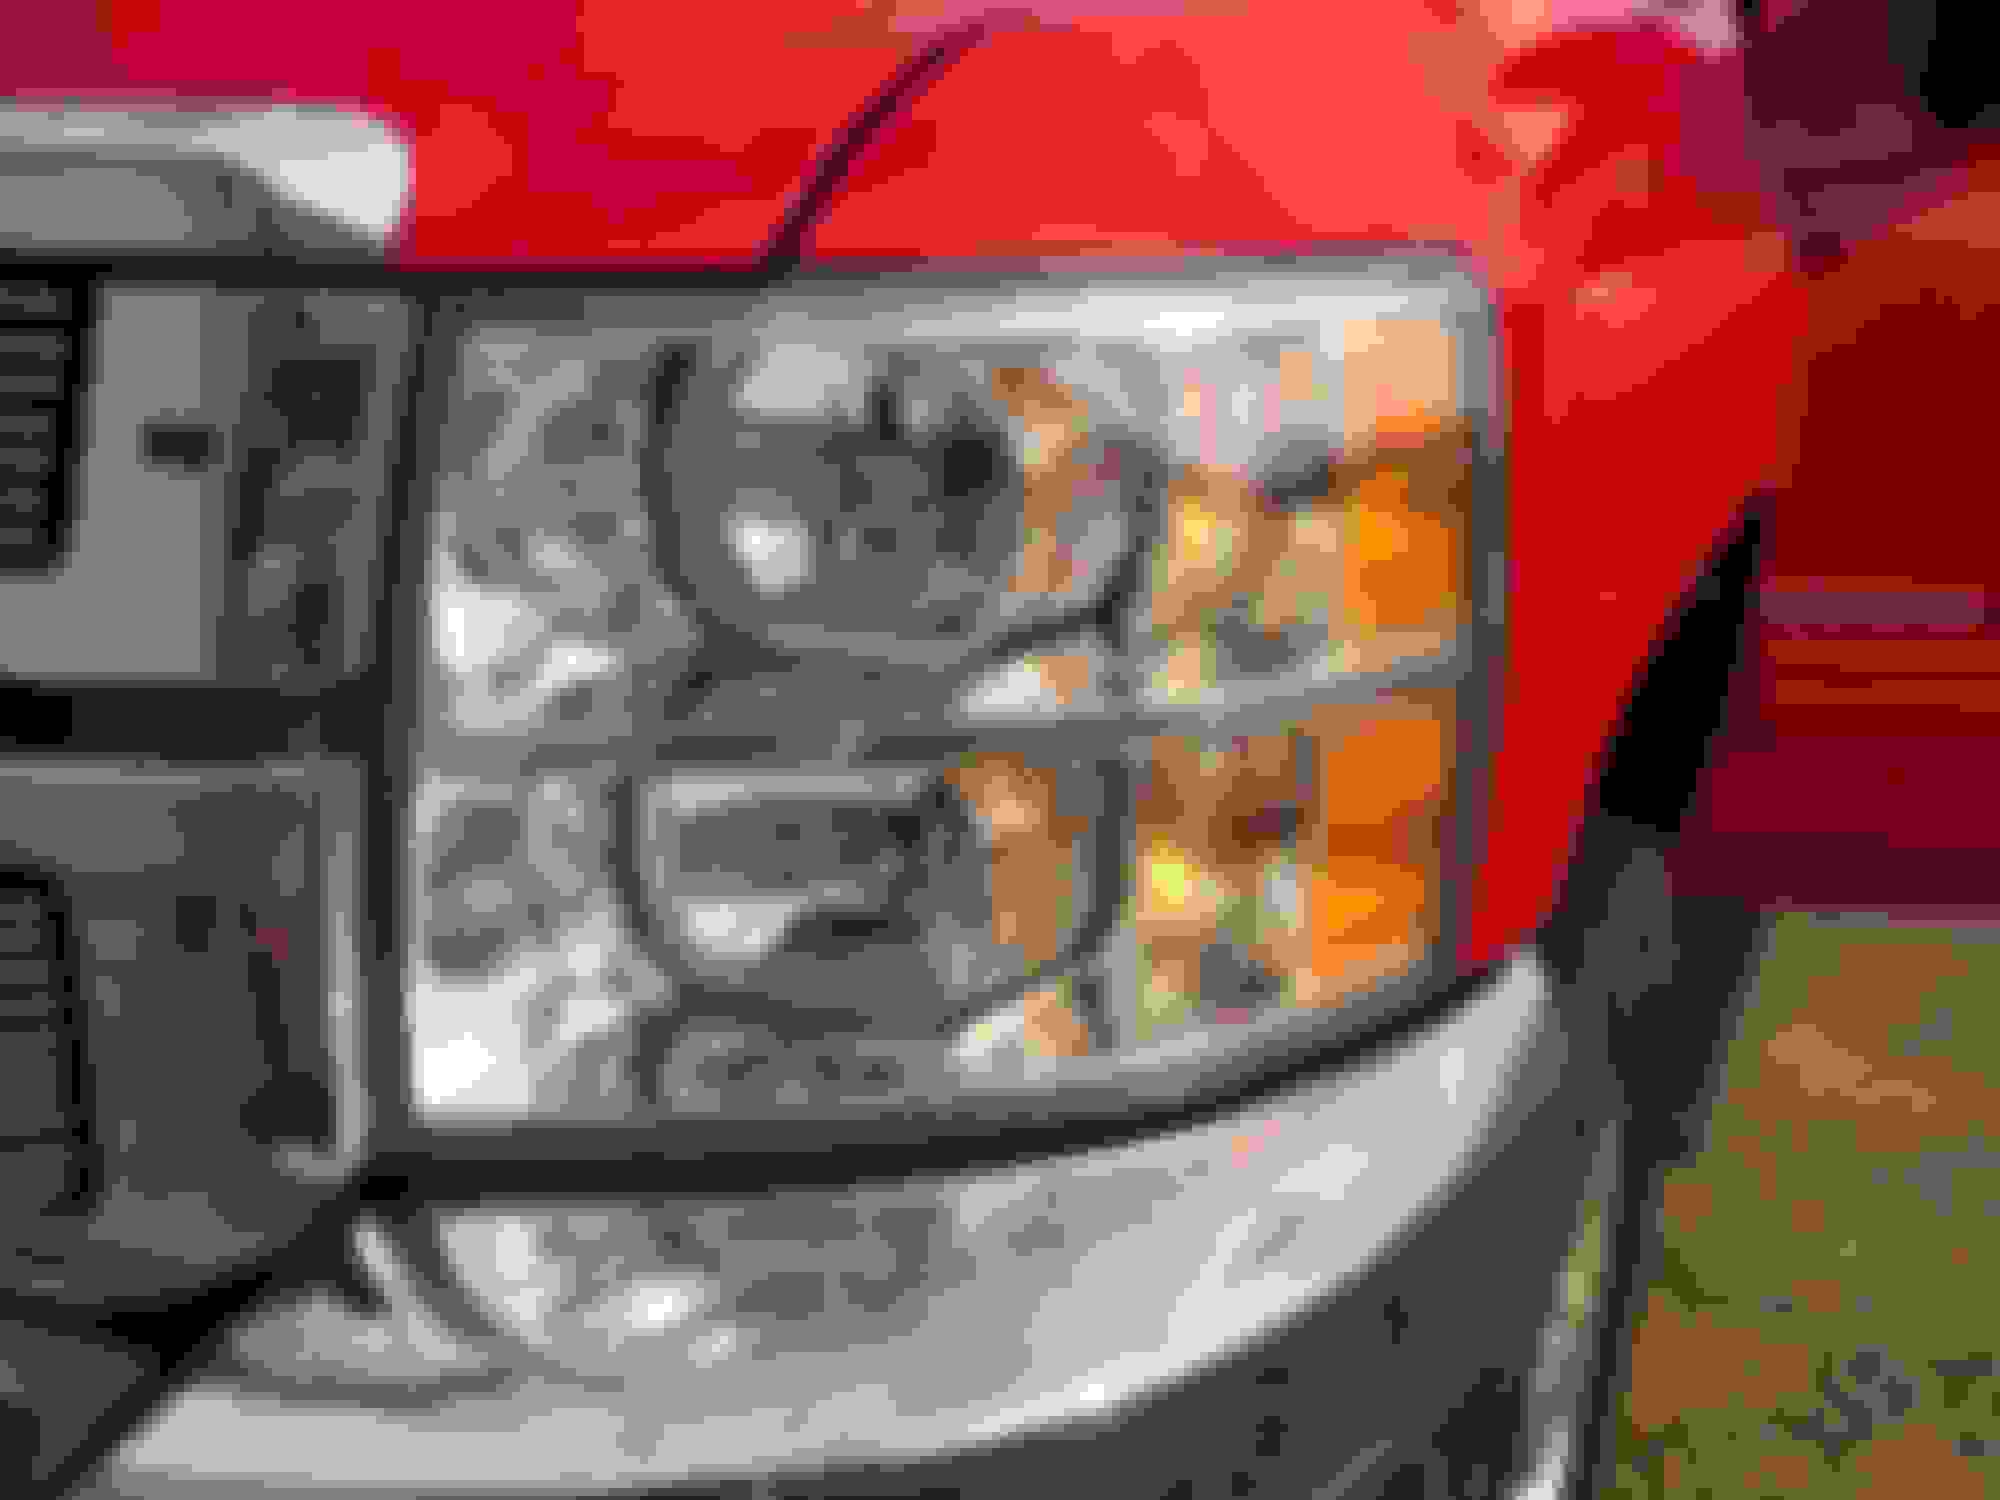
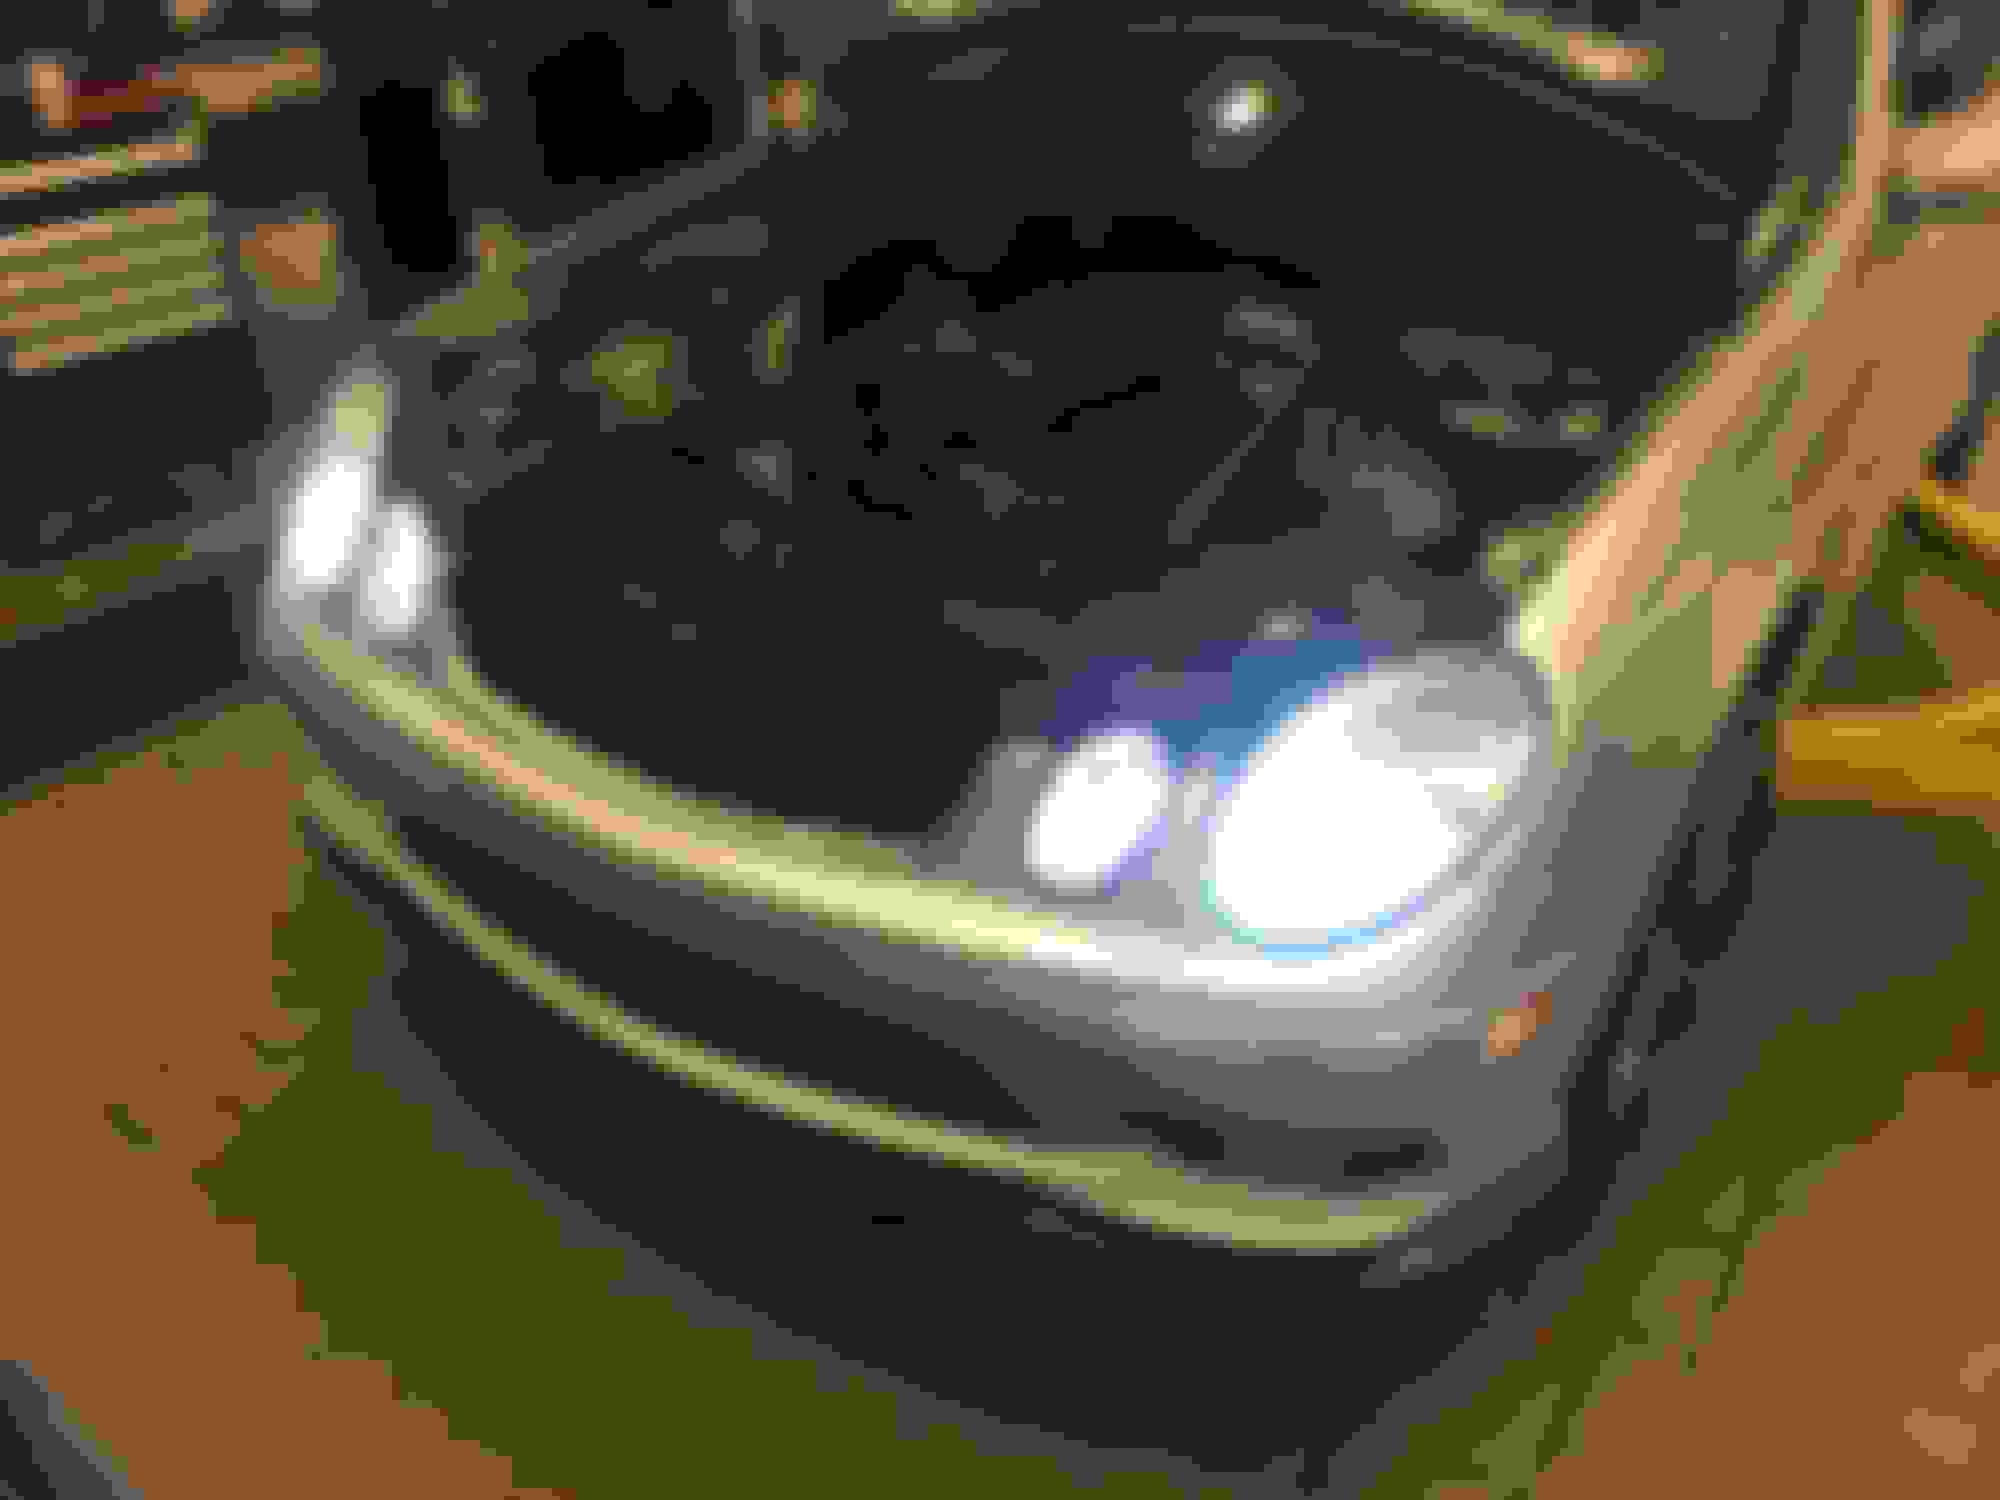
Sprayed them with 2 coats of automotive urethane clear and BAM !! Like new again!
Last edited by tlambert; Mar 23, 2020 at 08:56 PM.
I just had a detailer come and do mine, on the car and they came out pretty well.
When I paint my E63, I plan on doing all the work to remove the bumper, but planning on a new set of lenses since mine have been through the ringer already.
Great job!!! Did it take quarantine to finally make the write up a year a change later lol
Glad you got your lights cleaned up and looking good! Hopefully some of the members found it helpful and another way to get their headlights looking better for night driving!
Just sitting home bored late at night. No quarantine for me so far! I work alone so I can control being around people.....except for being with my wife, and unfortunately for this situation she works in a hospital.
Thank you! I was hoping everyone would get some useful info from this.
Yeah I think 2000 is getting too fine. I was concerned with the Grey scotchbrite marks being too aggressive and showing up after clearing it but it doesn�t show.
I did a set of SLK 55 headlights for a co-worker of my son.
These had some type of coating on them that was flaking and bubbling. They had to be stripped of that coating. I had to start with 320 grit dry and work my way back up like described above.
They turned out great!!!
Last edited by tlambert; Mar 29, 2020 at 11:53 PM.
mine were weirdly stained on the inside... so I wasted a lot of time polishing them just to figure it out...
Then I replaced the lenses... ;-) Damn the front bumper clips... Never again...
Before:
Before and after:
After and After
Next day I put PPF and installed on the car... looks good, no stain after several carwashes... good as new:
(appr $50+). Not sure how does it look from legal side in your country, since new lenses will not have the markings (no E, SAE, nothing, they just come clean), but where I live nobody checks for these during local MOT... Other than butyl rubber sealant (
) all you need is a little sunshine (heat lamp up before removing the lens) and some patience. Bumper removal is pretty straightforward and there are plenty yt howto guides. All in all one full day job...
So I�ve sanded and cleared several different types of vehicle headlights. So far all have been holding up well and no issues which is a plus. Lol. I know this may not be a forever finish but it�s fairly quick to do and I usually have the material at my shop to do them. I still need to do the lights in my wife�s 911 Porsche but that�s going to be a winter project.
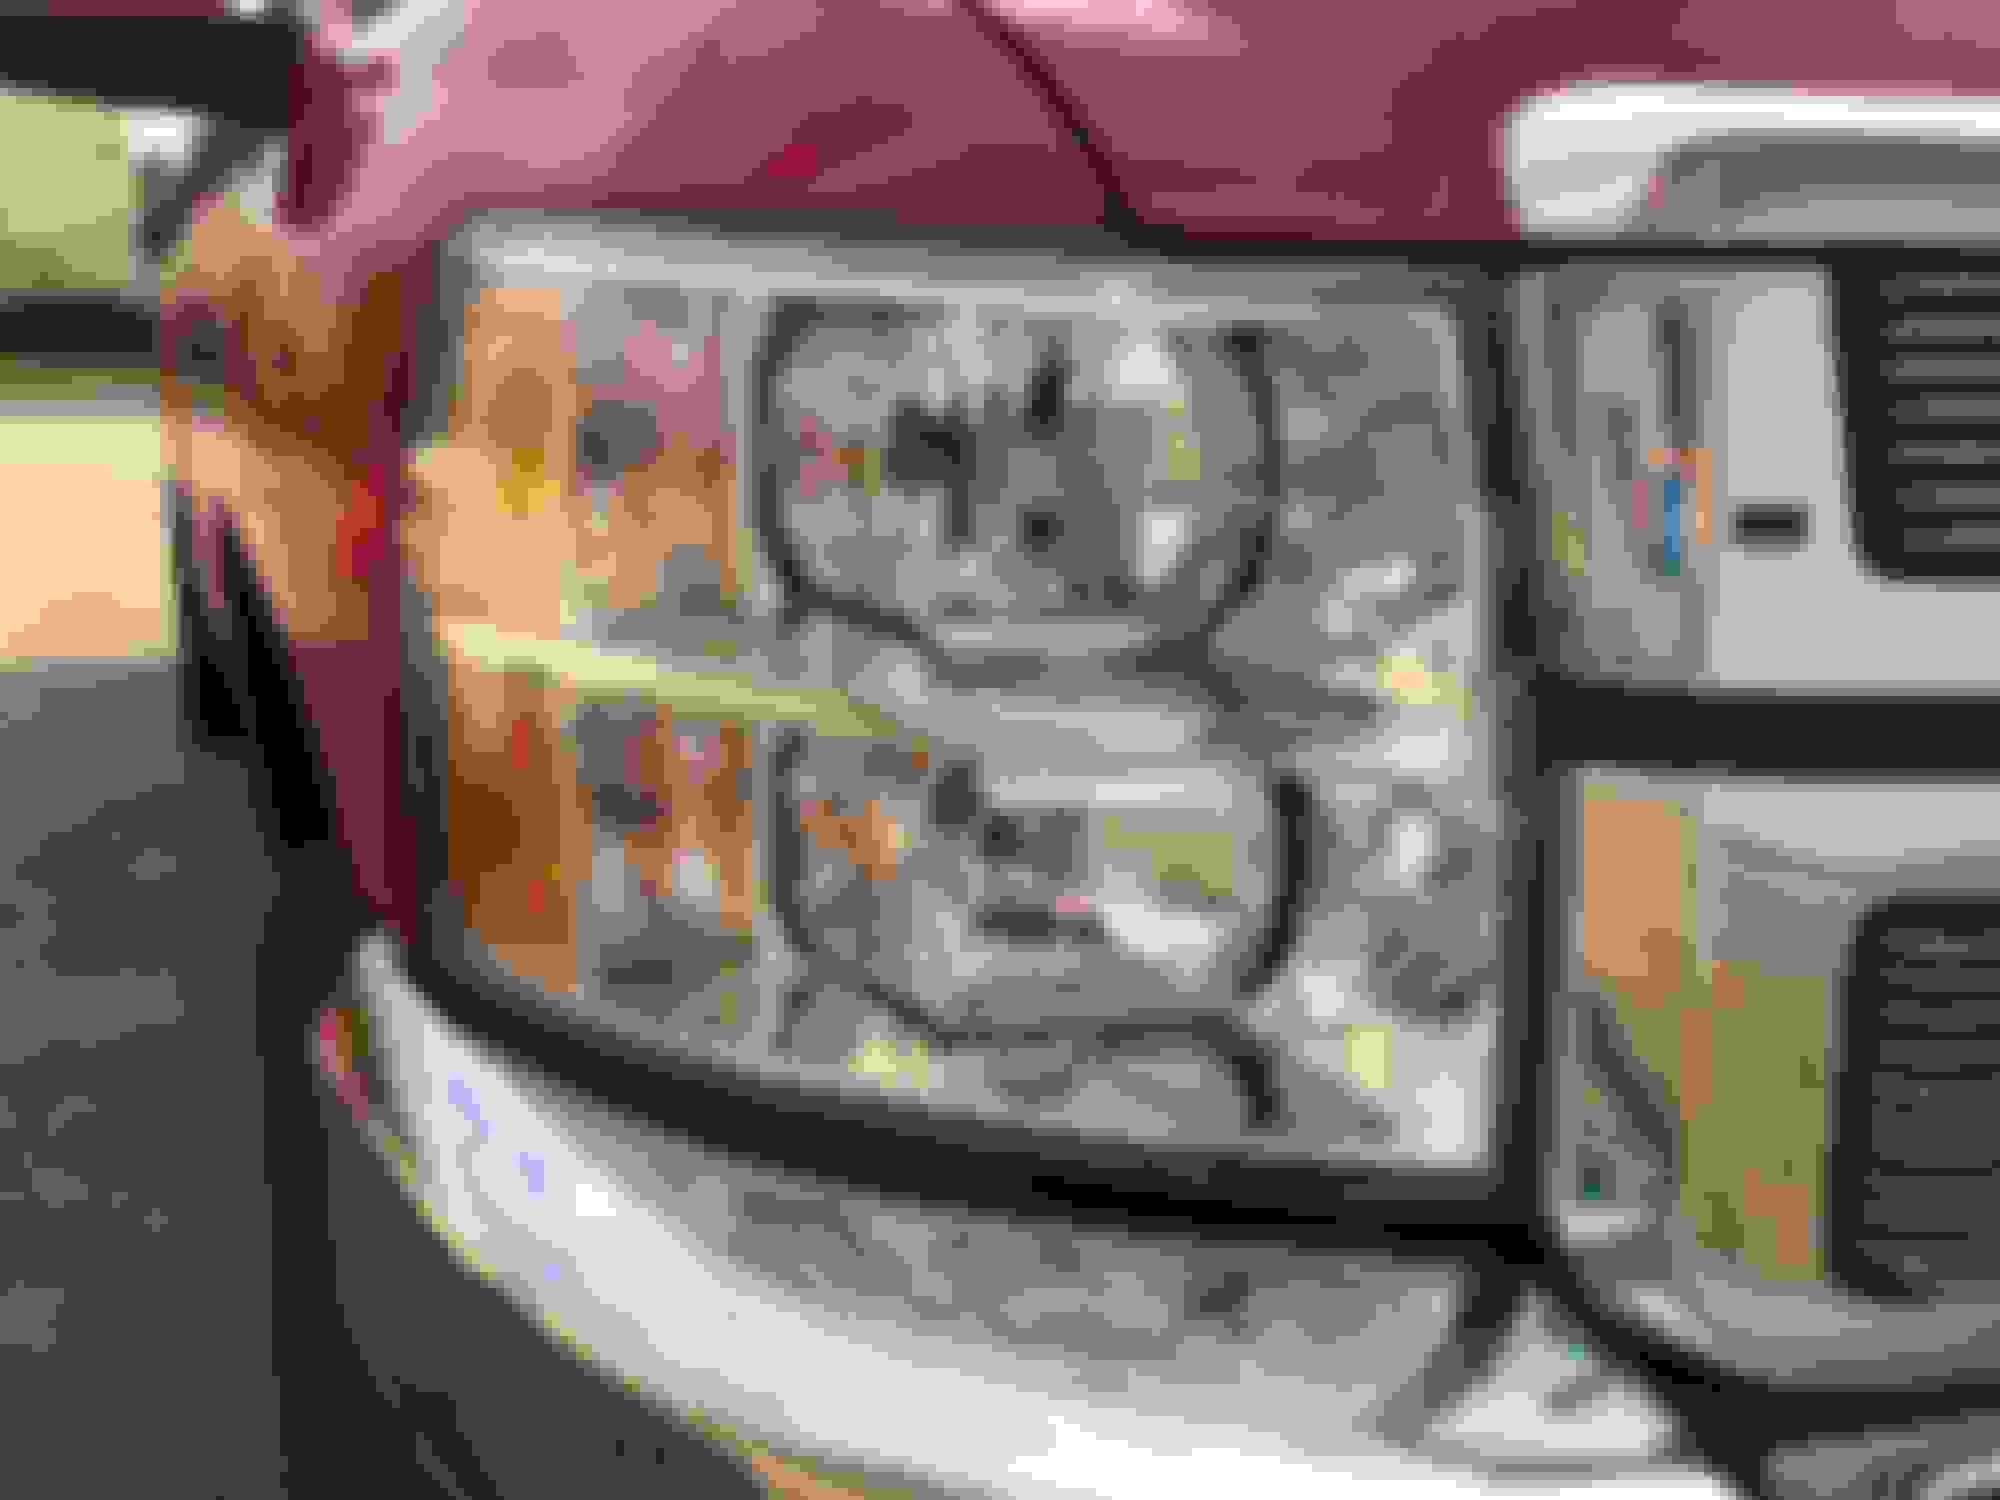
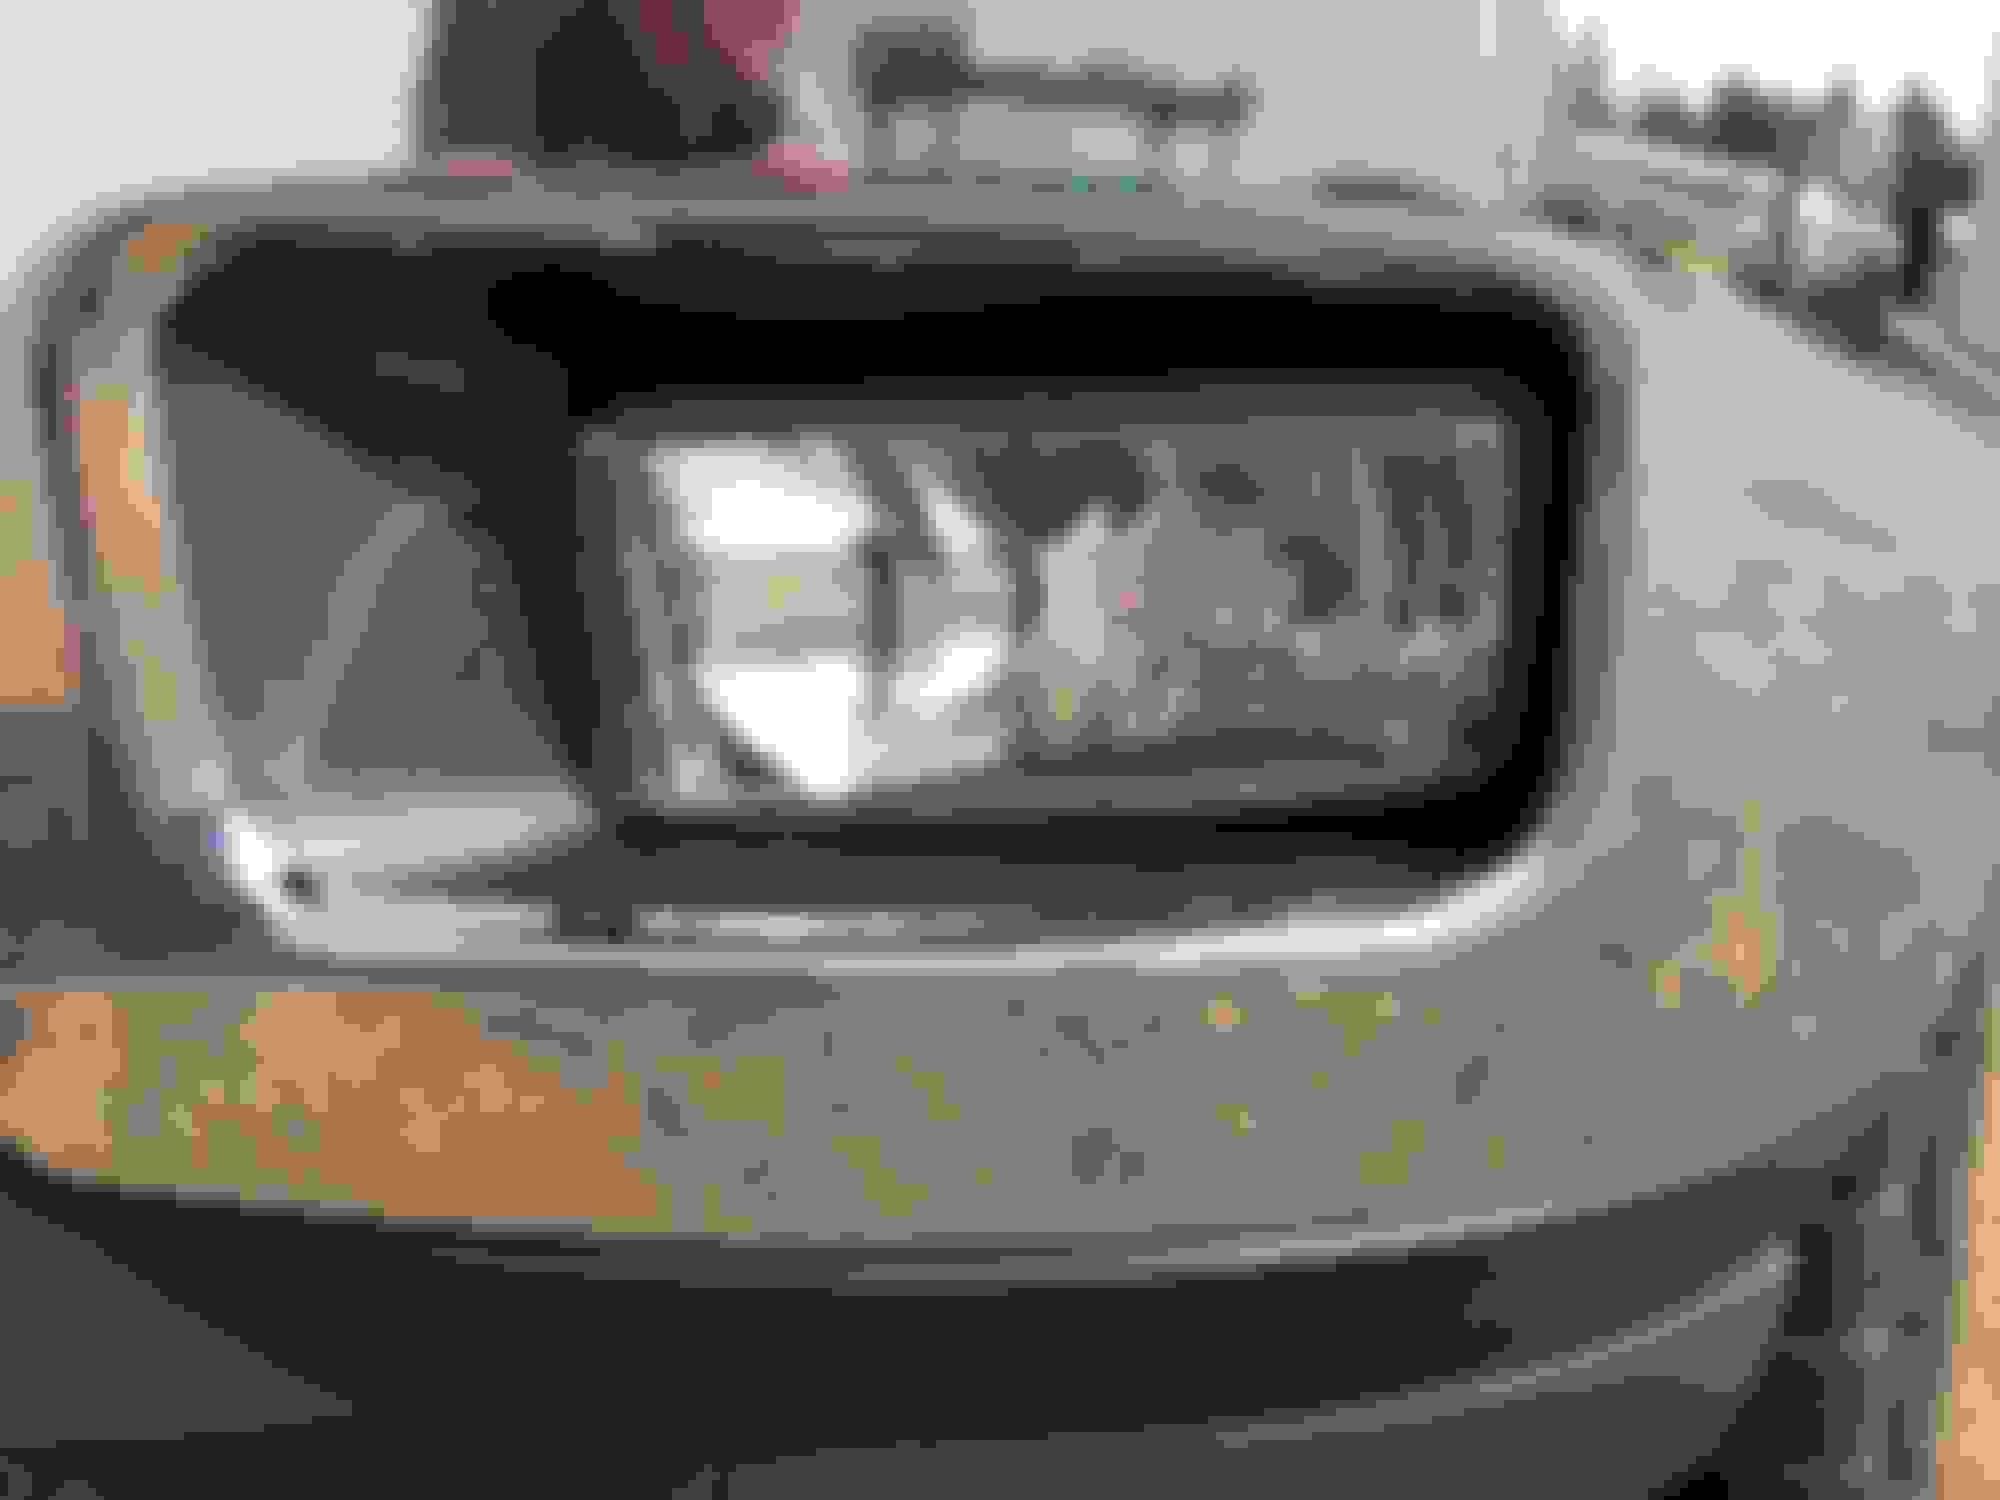
But right now I needed to do the headlights, and fog lights in my daily driver (2011 Silverado). The headlights started yellowing along the top and a couple of inches down and the fog lamps were fading overall.
I prepped them the same as listed above for the CLK.
I washed the inside of the headlights prior to clearing them and some water and condensation remained inside. It all dried up once they heated up outside in the sun prior to install.
I replaced the OE bulbs with some 6000K LED low/high beam bulbs to the headlights and to the fog lamps.
Last edited by tlambert; Jul 15, 2020 at 11:49 PM.
I use meguires headlight restore kit about every year on my car (didn't need to do it this year on wife's car) and it comes out like new. It comes with two high grit pads, sealer, buffer you attach to your drill and some lotion I suspect is just rubbing compound. Highly recommend it as one kit has gotten me through about a half dozen restores
Seems like ceramic coating would be the best thing to apply. I tried a product called Cerakote from Amazon. They claim to be a ceramic coating chemical company. It was a manual process, very elbow grease intensive. Also they have you apply the final ceramic coating wipes after the 3000 grit wet sand. You also don't buff it off like regular ceramic coating. The high beams look great but there is still some haze to the low beams. Seems like it needed a machine polishing step.
What I will say is these guys have a lifetime guarantee.
GUARANTEED TO LAST AS LONG AS YOU OWN YOUR VEHICLE! - You read it right! We're so confident in our CERAMIC coating that we'll stand behind our limited lifetime warranty that it will last as long as you own your vehicle, or we'll cover the next kit for free. Our chemists developed this kit IN HOUSE at Cerakote HQ. We aren't re-bottling another company's product. This is a CERAMIC coating that chemically bonds to your headlights and provides UV protection for as long as you'll own your vehicle.
With a machine polishing step before the final coat that might be the sweet spot. Or maybe it needs a bit of a rough surface for the ceramic to adhere....I'm not exactly a headlight polishing expert.
What kind of clear are you using? I did this and the clear ran and looked like crap
Its a PPG automotive urethane clearcoat for spraying over base color. Any good quality automotive clearcoat would work fine. Answering the second statement would be hard to say without knowing exactly every step you did, spray equipment, shop conditions, weather etc.
Originally Posted by kevm14
Seems like ceramic coating would be the best thing to apply. I tried a product called Cerakote from Amazon. They claim to be a ceramic coating chemical company. It was a manual process, very elbow grease intensive. Also they have you apply the final ceramic coating wipes after the 3000 grit wet sand. You also don't buff it off like regular ceramic coating. The high beams look great but there is still some haze to the low beams. Seems like it needed a machine polishing step.
What I will say is these guys have a lifetime guarantee.
With a machine polishing step before the final coat that might be the sweet spot. Or maybe it needs a bit of a rough surface for the ceramic to adhere....I'm not exactly a headlight polishing expert.
I checked out that product. It�s interesting for sure. I�d like to see some headlights in person that has been done with the product so I could compare to sanding and clear coating.
You wouldn�t want to Polish the lights before adding the product as you�re introducing contaminates to the surface and could cause adhesion problems of the coating.
And there needs to be some surface prep (sanding) for the topcoats to adhere to.
I polished the headlights on my sons E55 awhile ago to improve visibility. I knew it was a temporary fix until I could refinish them.
Doing the E55 headlights was the same procedures as what I did to his CLK in the first post in this thread. There were only minor differences of how the black surround mldgs came off the headlights. They turned out nice and he added new brighter white bulbs.
They looked good after the polish but still weren�t super clear looking.
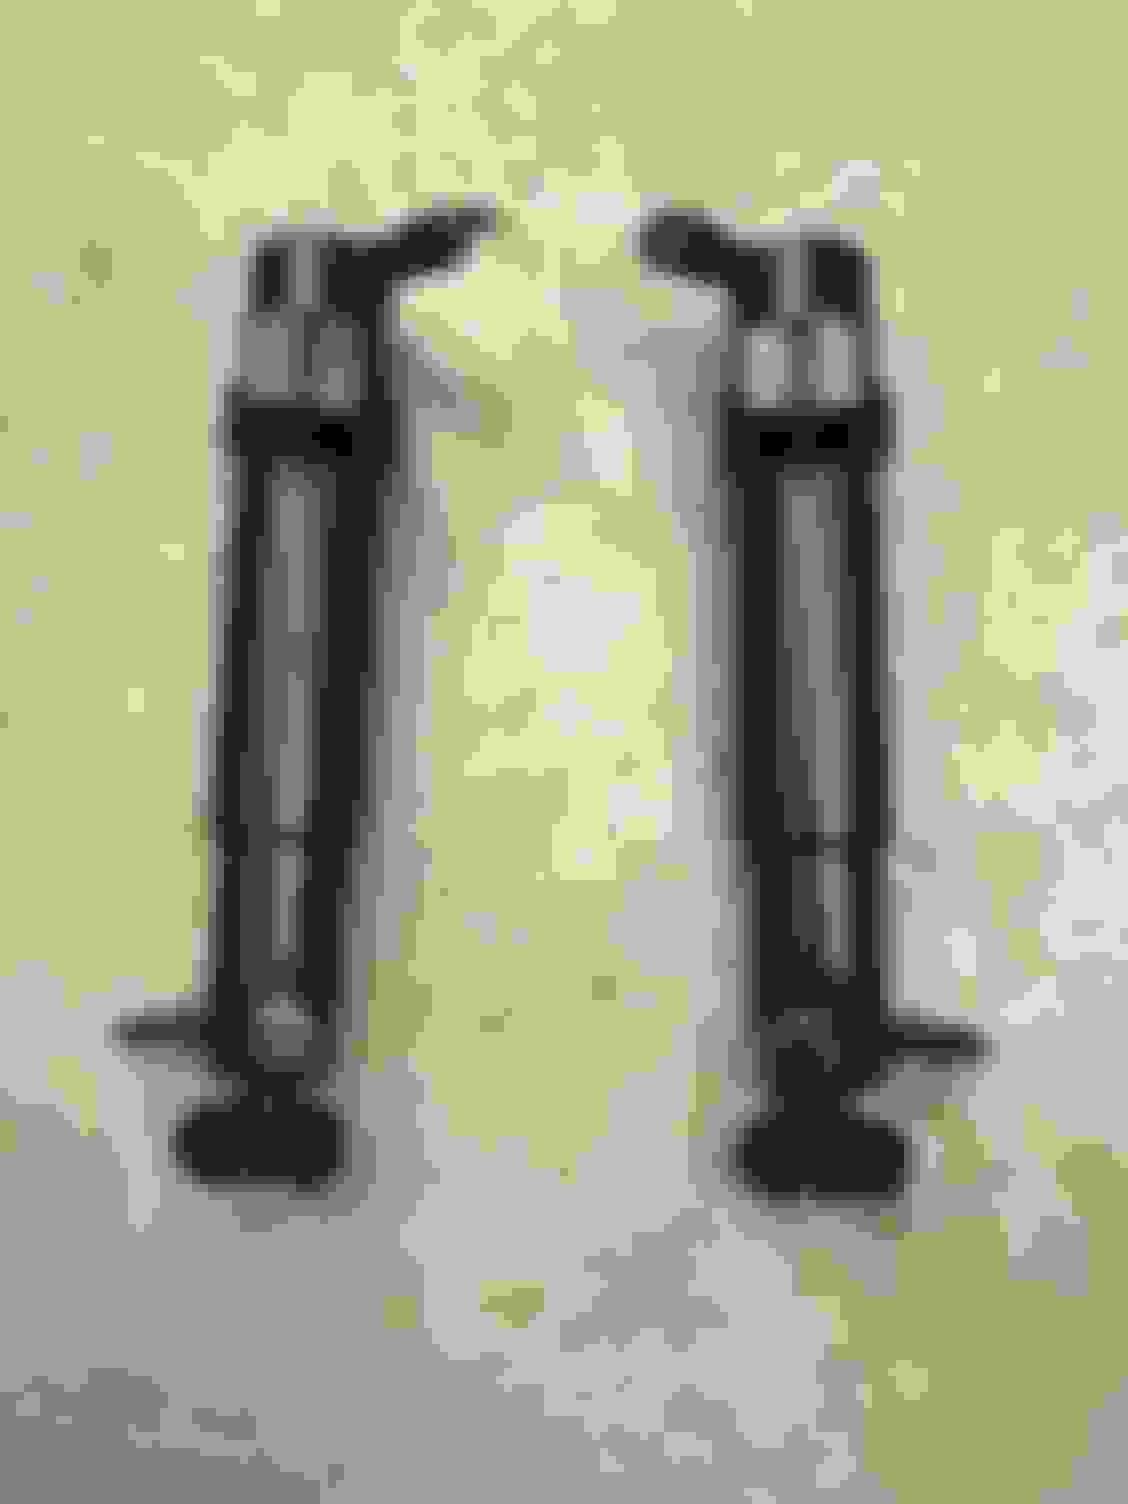
Removed the screw holding the headlight washer in.
Then the �L� hook slides out of the hole.
The black surrounds have rubber straps that attach to plastic hook.
Just pull back and release.
A couple of screws that need to be removed.
This spread type clip needs to be squeezed and pushed outward.
And they�re off!!!
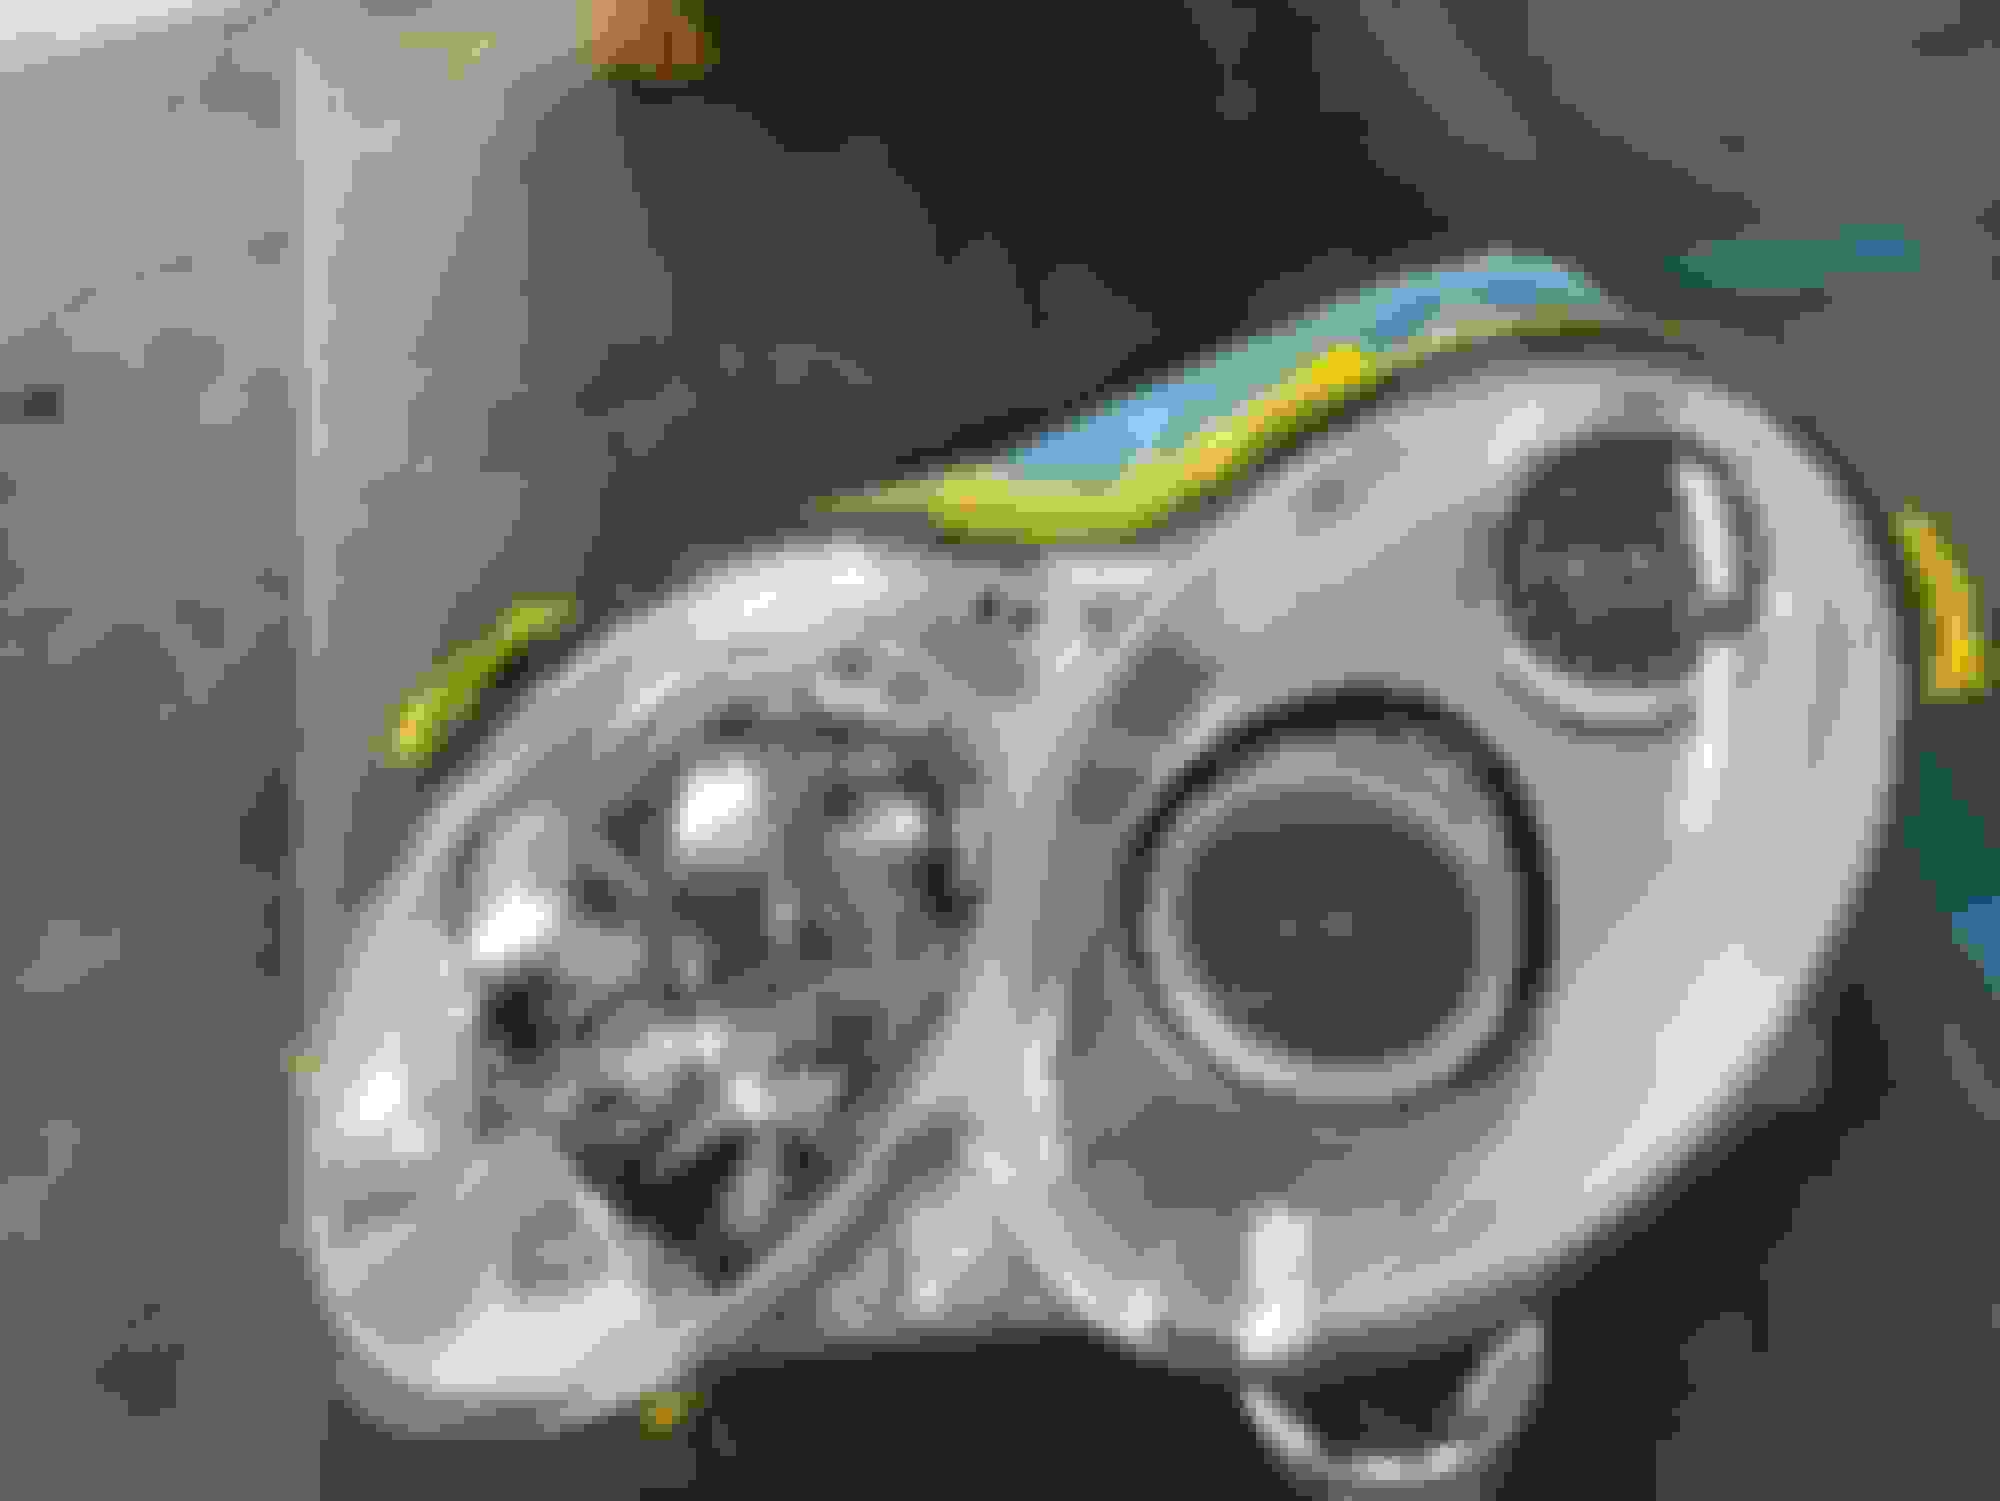
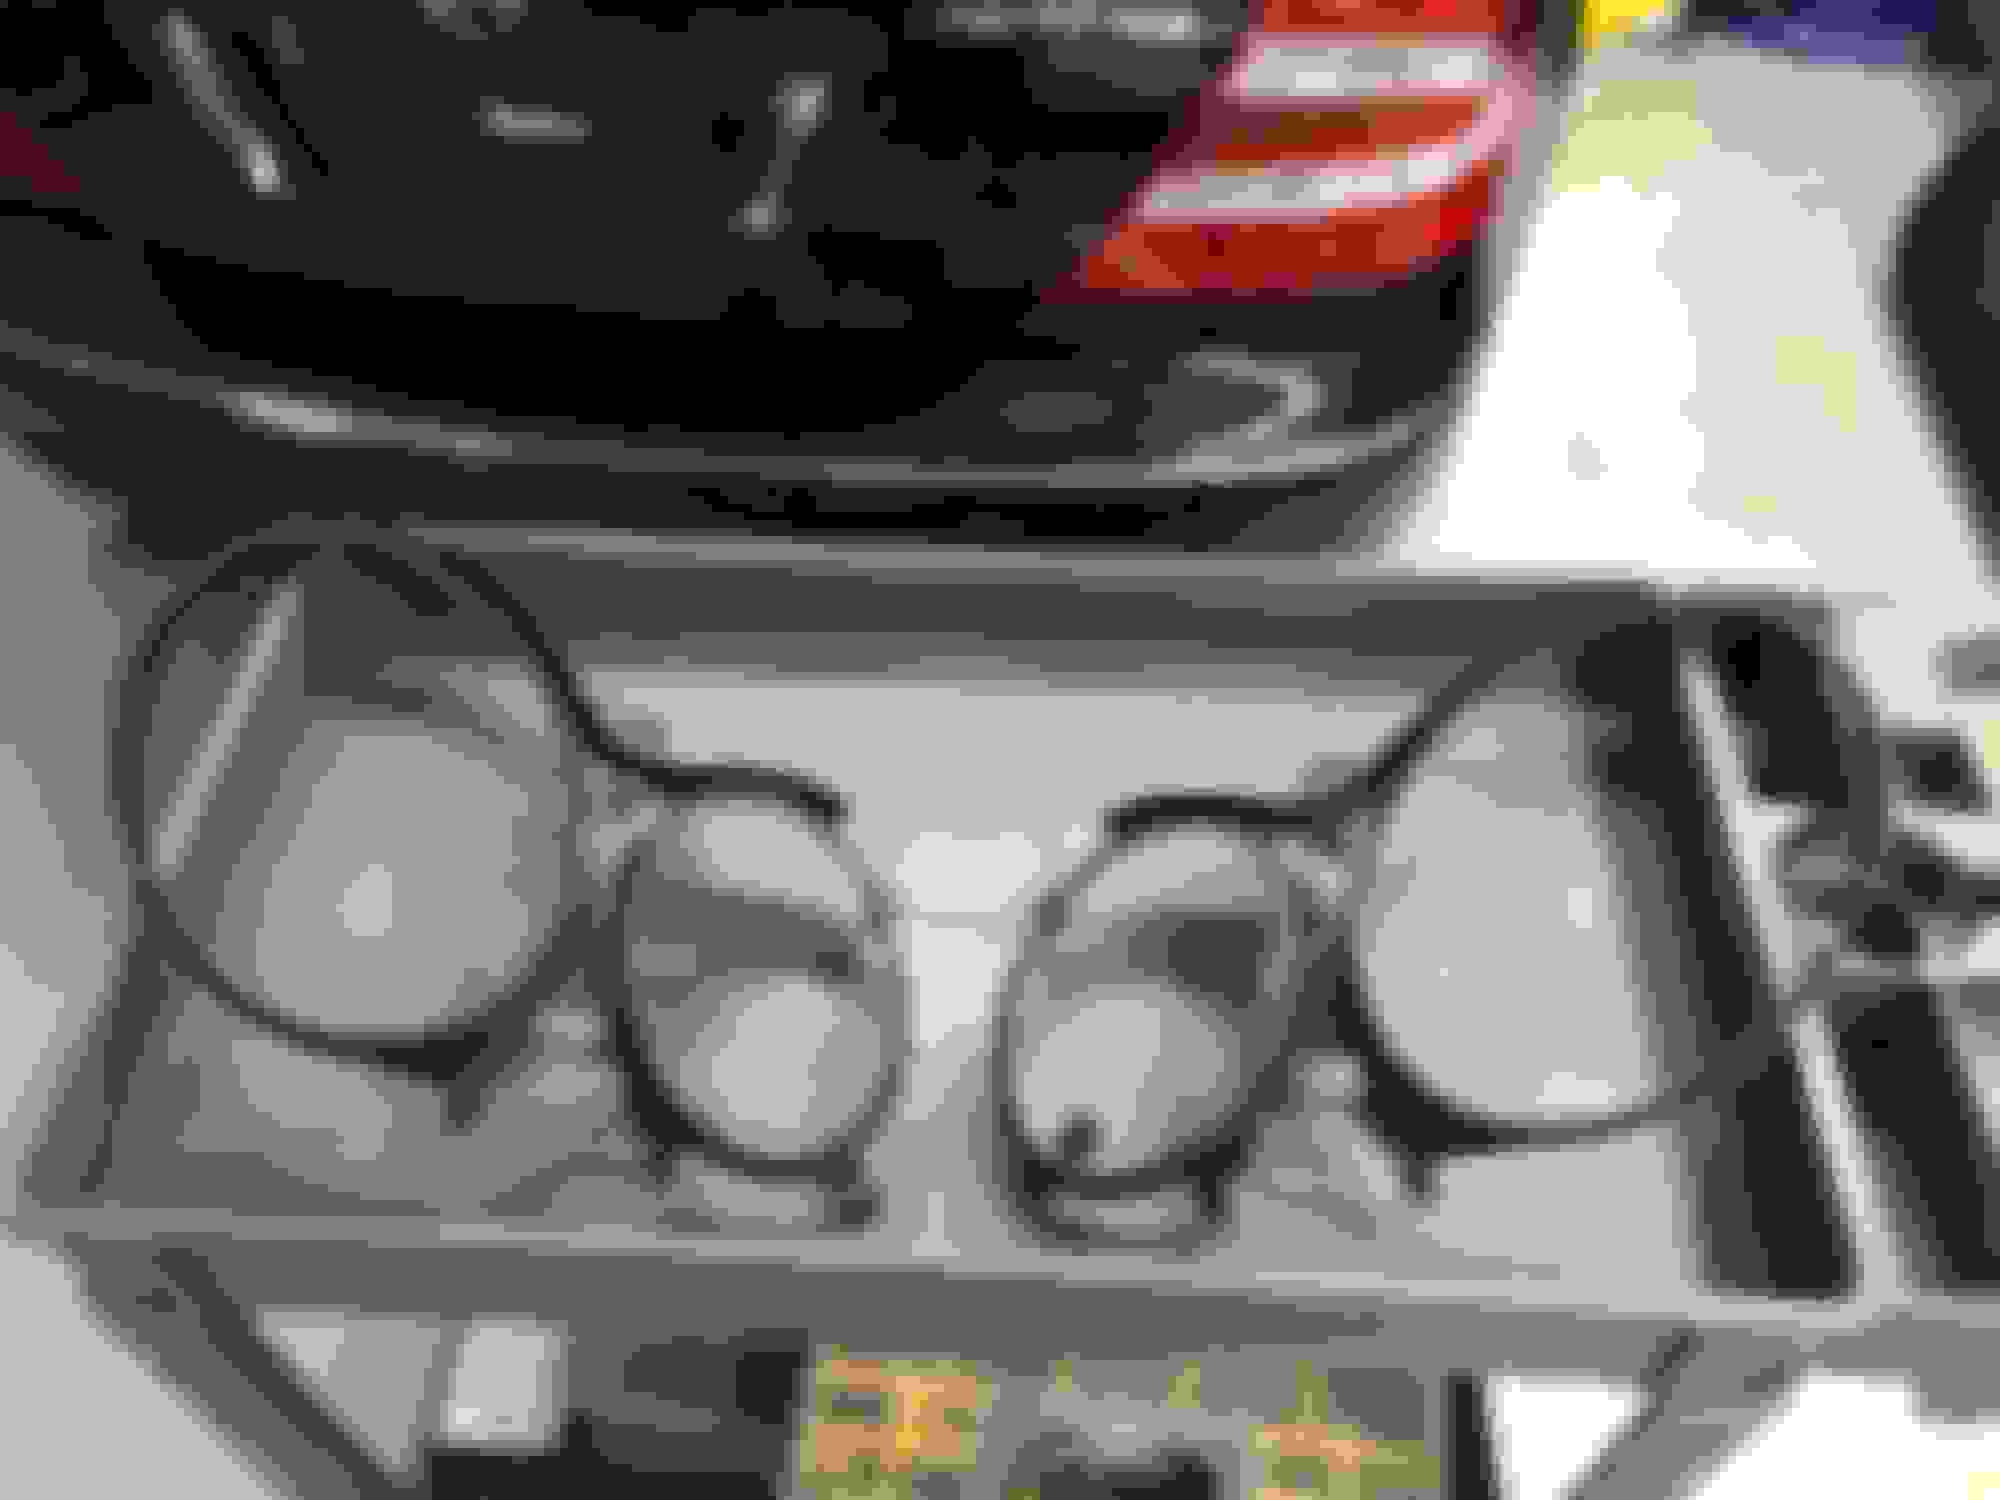
Got them all sanded and time to wash them up front and back.
Masked them up and in the booth ready for clear!
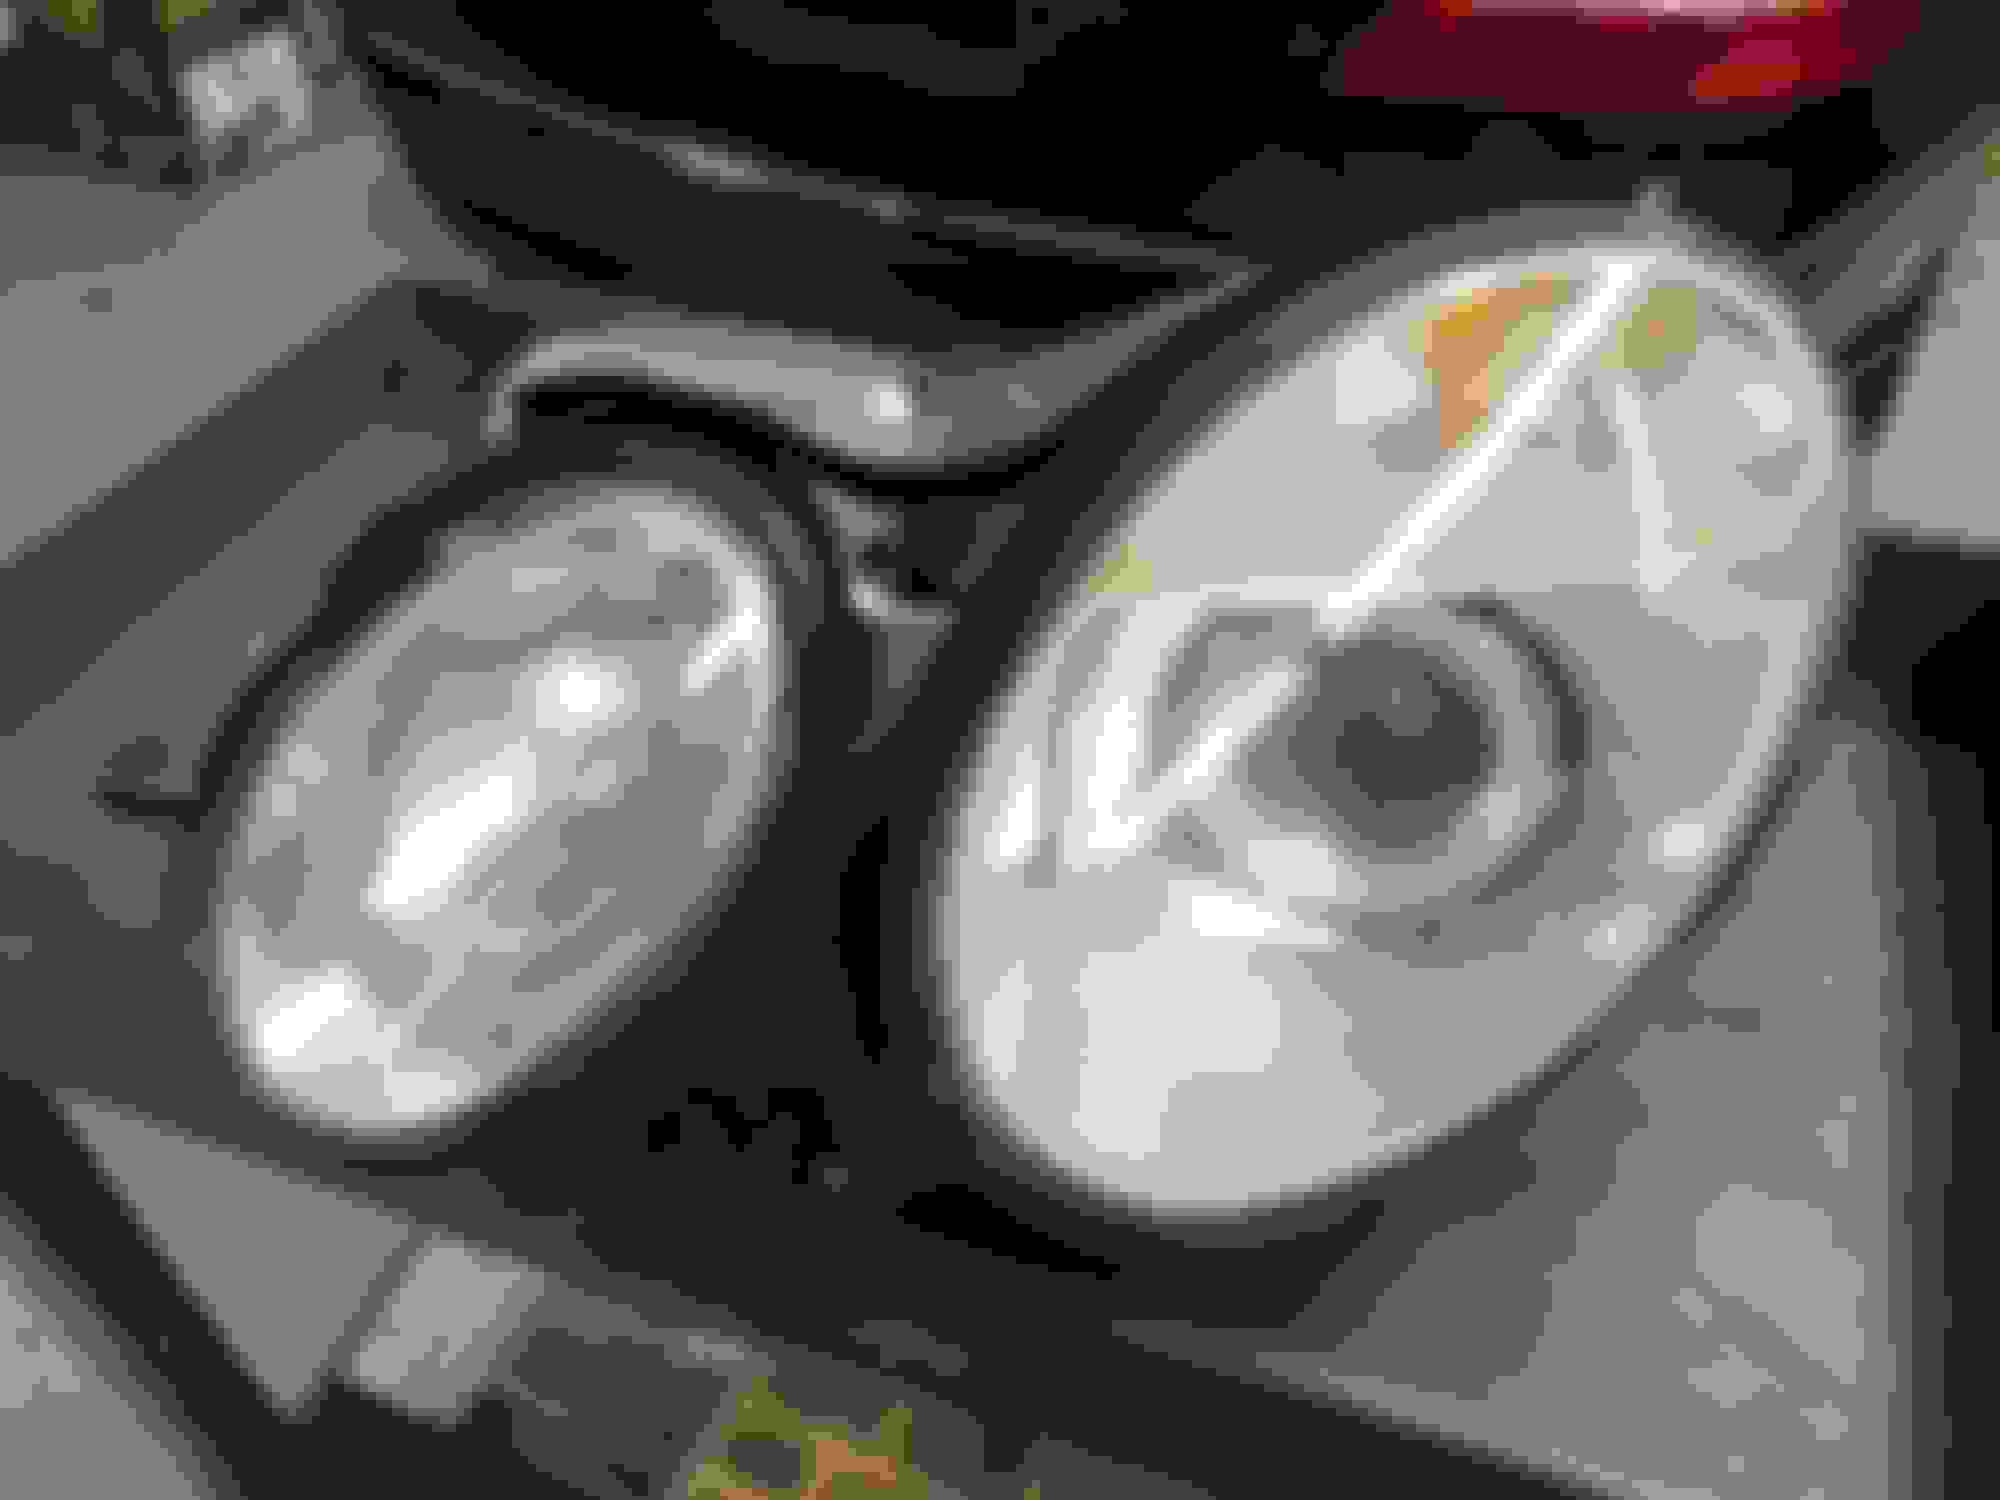
Bam!!! Just like new again!
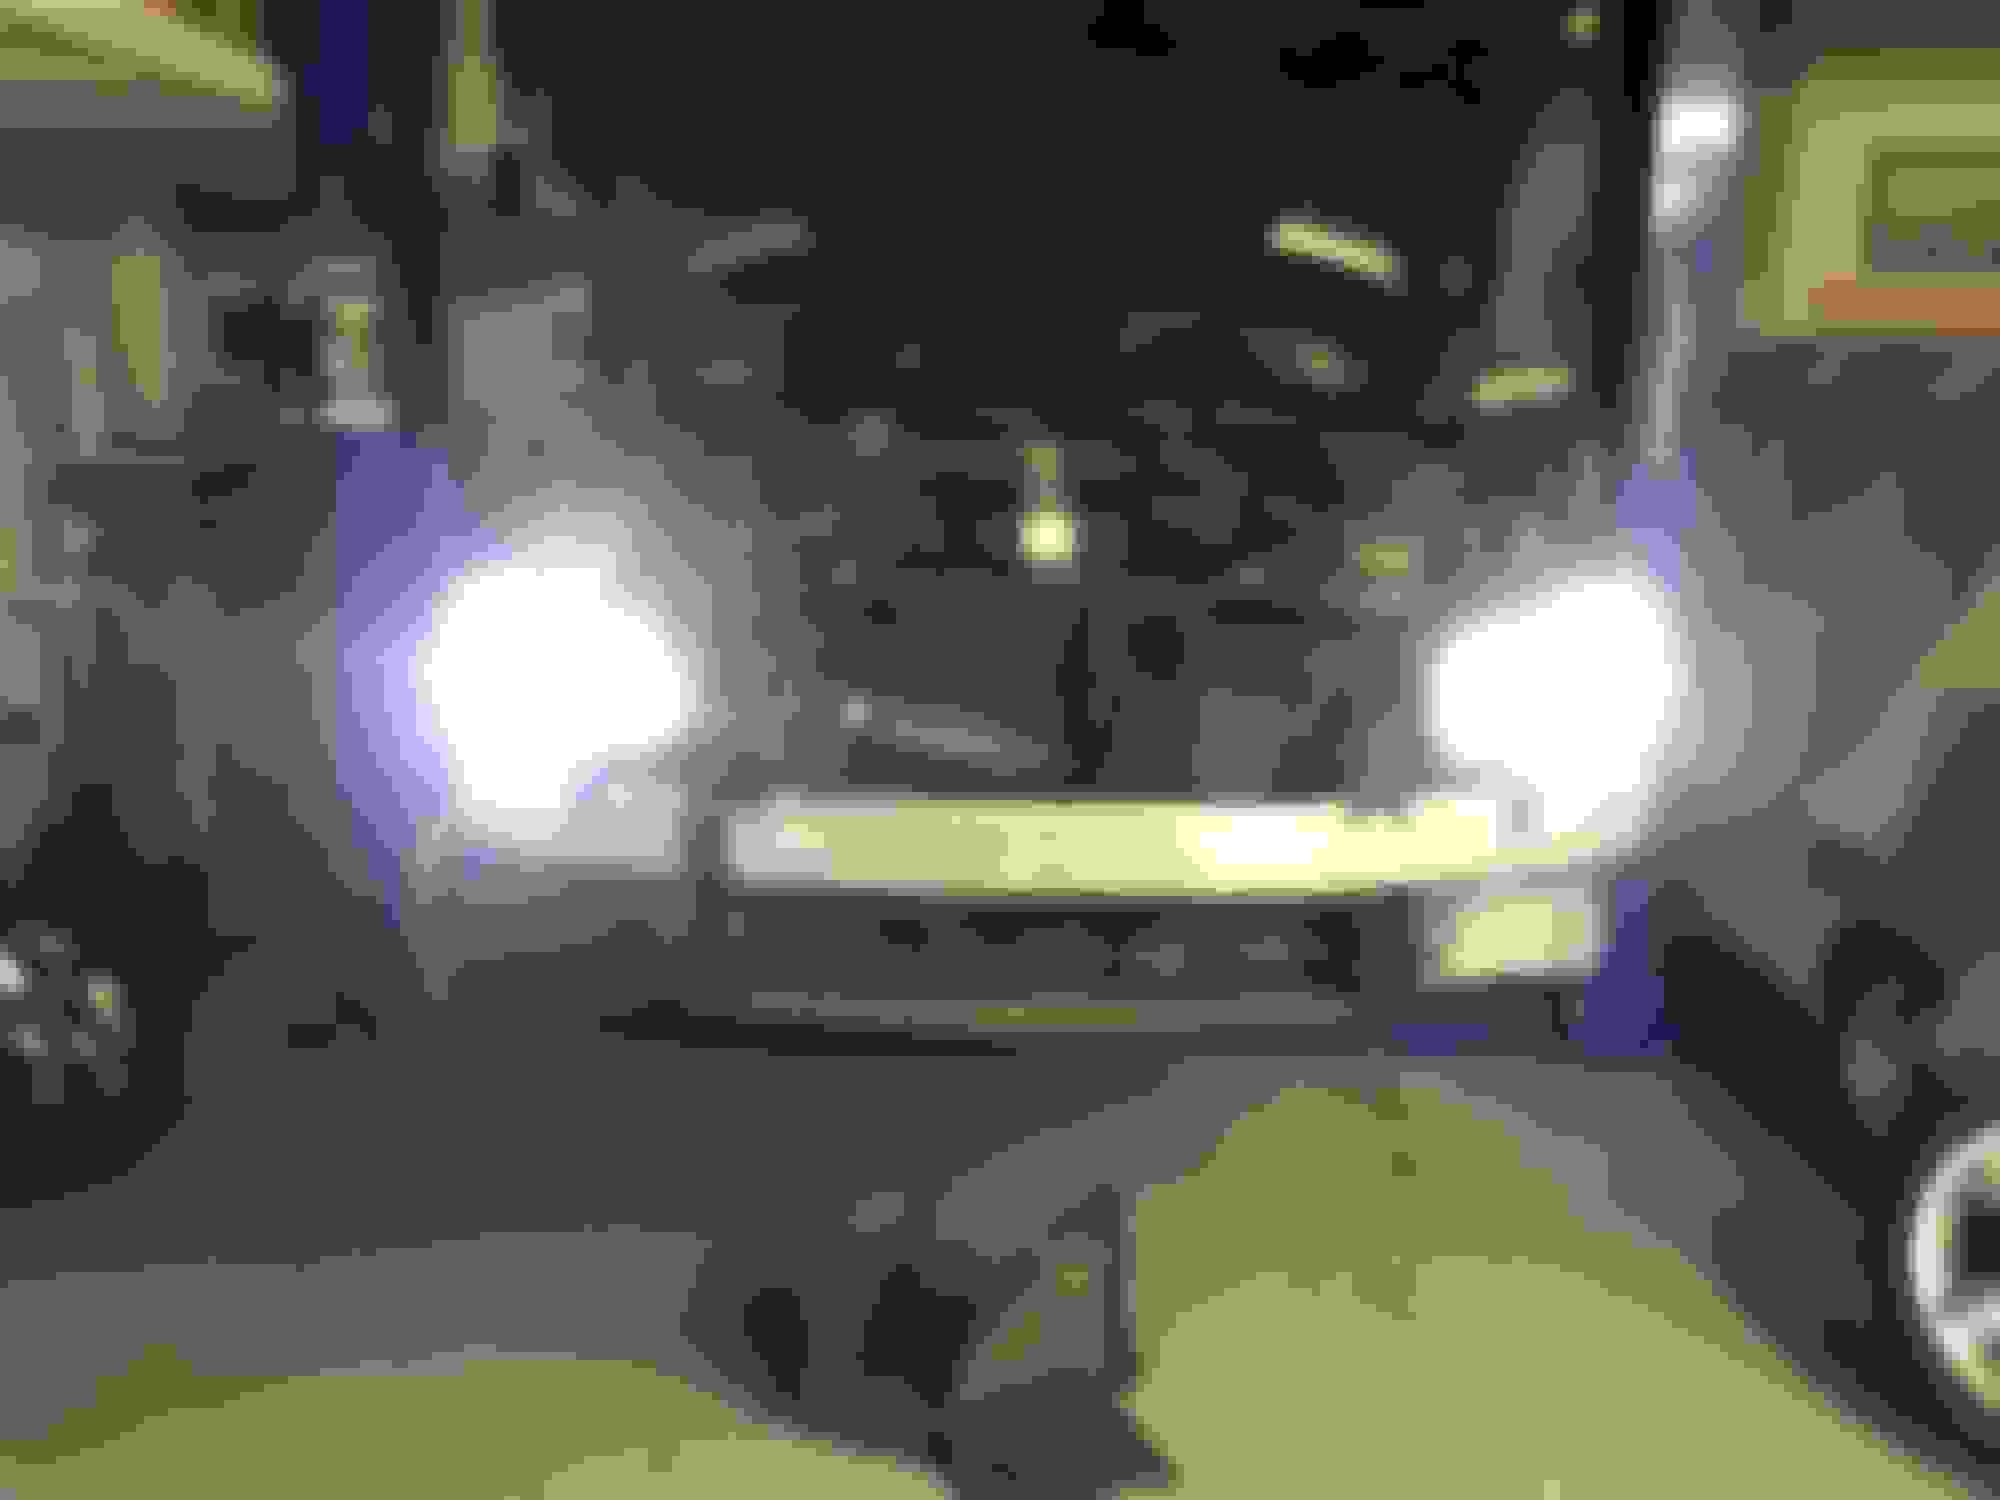
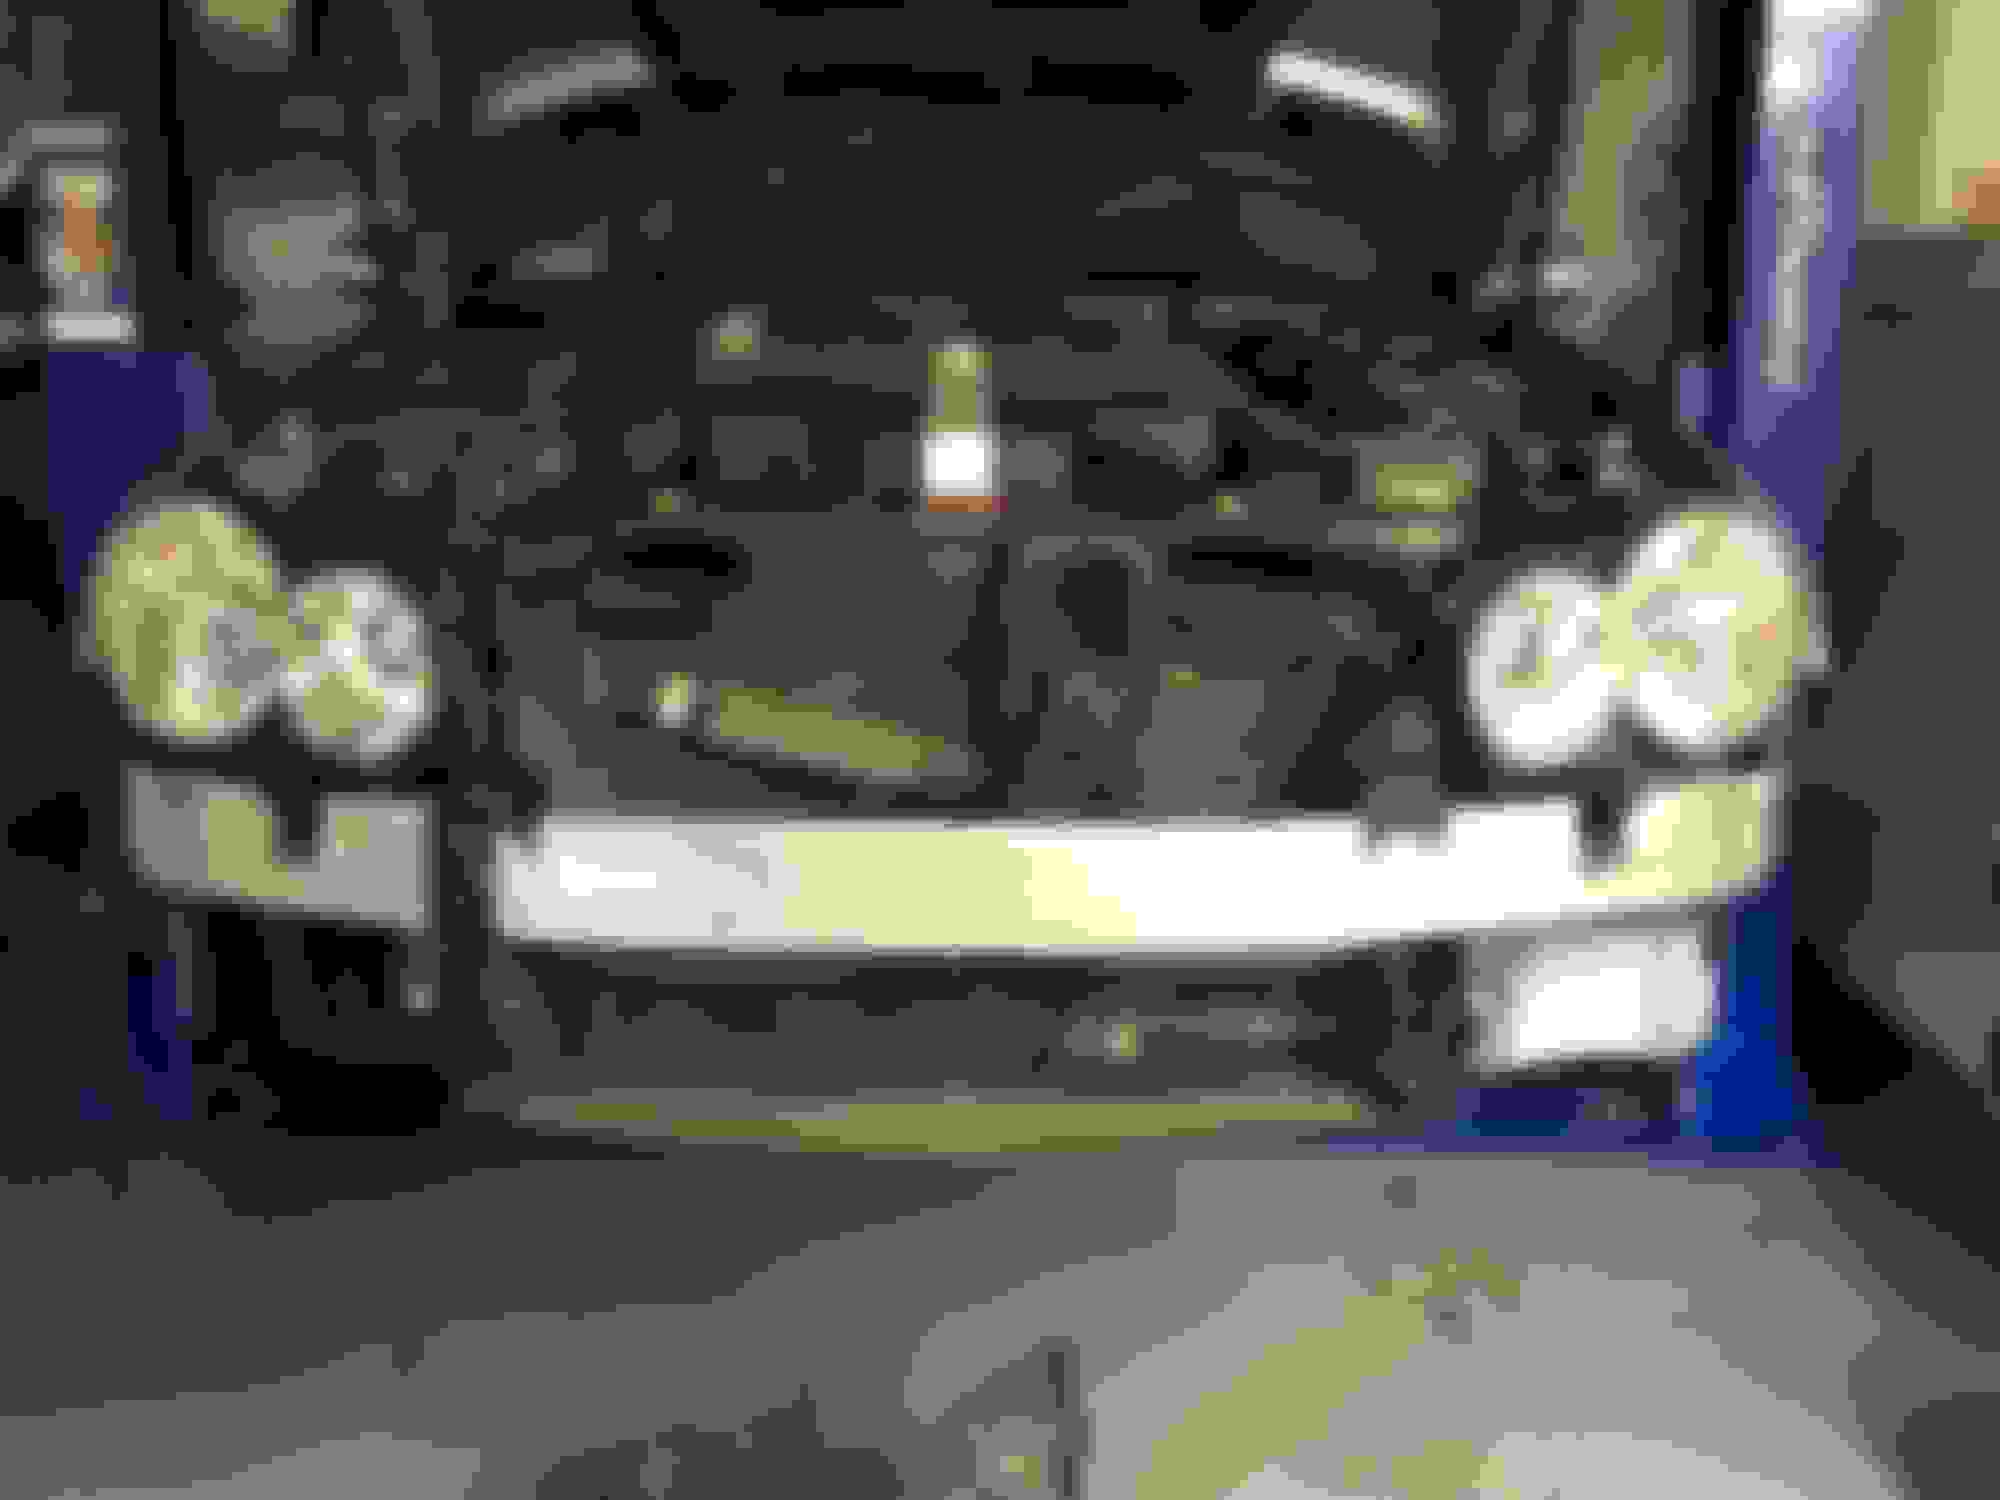
Time to reinstall the parts!
The surrounds cleaned up nice and no need for paint.
Sprayed the headlight washers with SEM Trim Black to give them a fresh look.
All cleaned up and washers installed.
All back together and looking sweet!
Replaced the factory bulbs with 6000k HIDs. The city lights were replaced with matching LEDs.
Mercedes SLR McLaren 722 S Is Extremely Rare Example Modified by McLaren
Slideshow: A one-of-one U.S.-spec Mercedes-Benz SLR McLaren Roadster became even rarer after a factory-backed transformation at McLaren's headquarters.