When you click on links to various merchants on this site and make a purchase, this can result in this site earning a commission. Affiliate programs and affiliations include, but are not limited to, the eBay Partner Network.
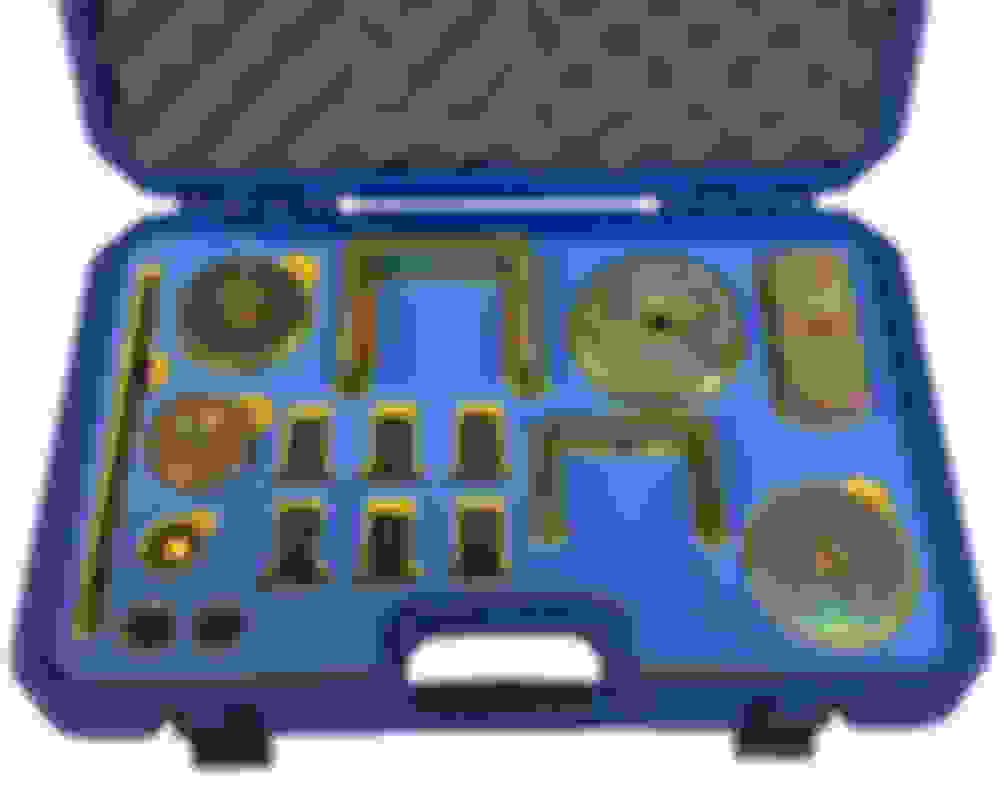
Hi all, I am looking to replace the rear subframe bushings on my S211. The correct tool is about $500, which I have no interest in paying for a one time use. It goes by a few names; HCB B1694, Baum B211-0034, MBA1694.Does anyone here have the tool that I could rent for a fee? It would be greatly appreciated. Picture of the toolkit is attached. Thanks! The magical tool
I have pleaded with them, and unfortunately they won't lend it to me without buying their bushings (I don't want poly).
Don't be afraid of the poly bushings. They are not harsh, not even a little bit. I have them and have been very happy with the results, and used the tool to great result doing the job. Just go with the daily driver option, which is what I personally have on my Wagon. I promise you won't regret it.
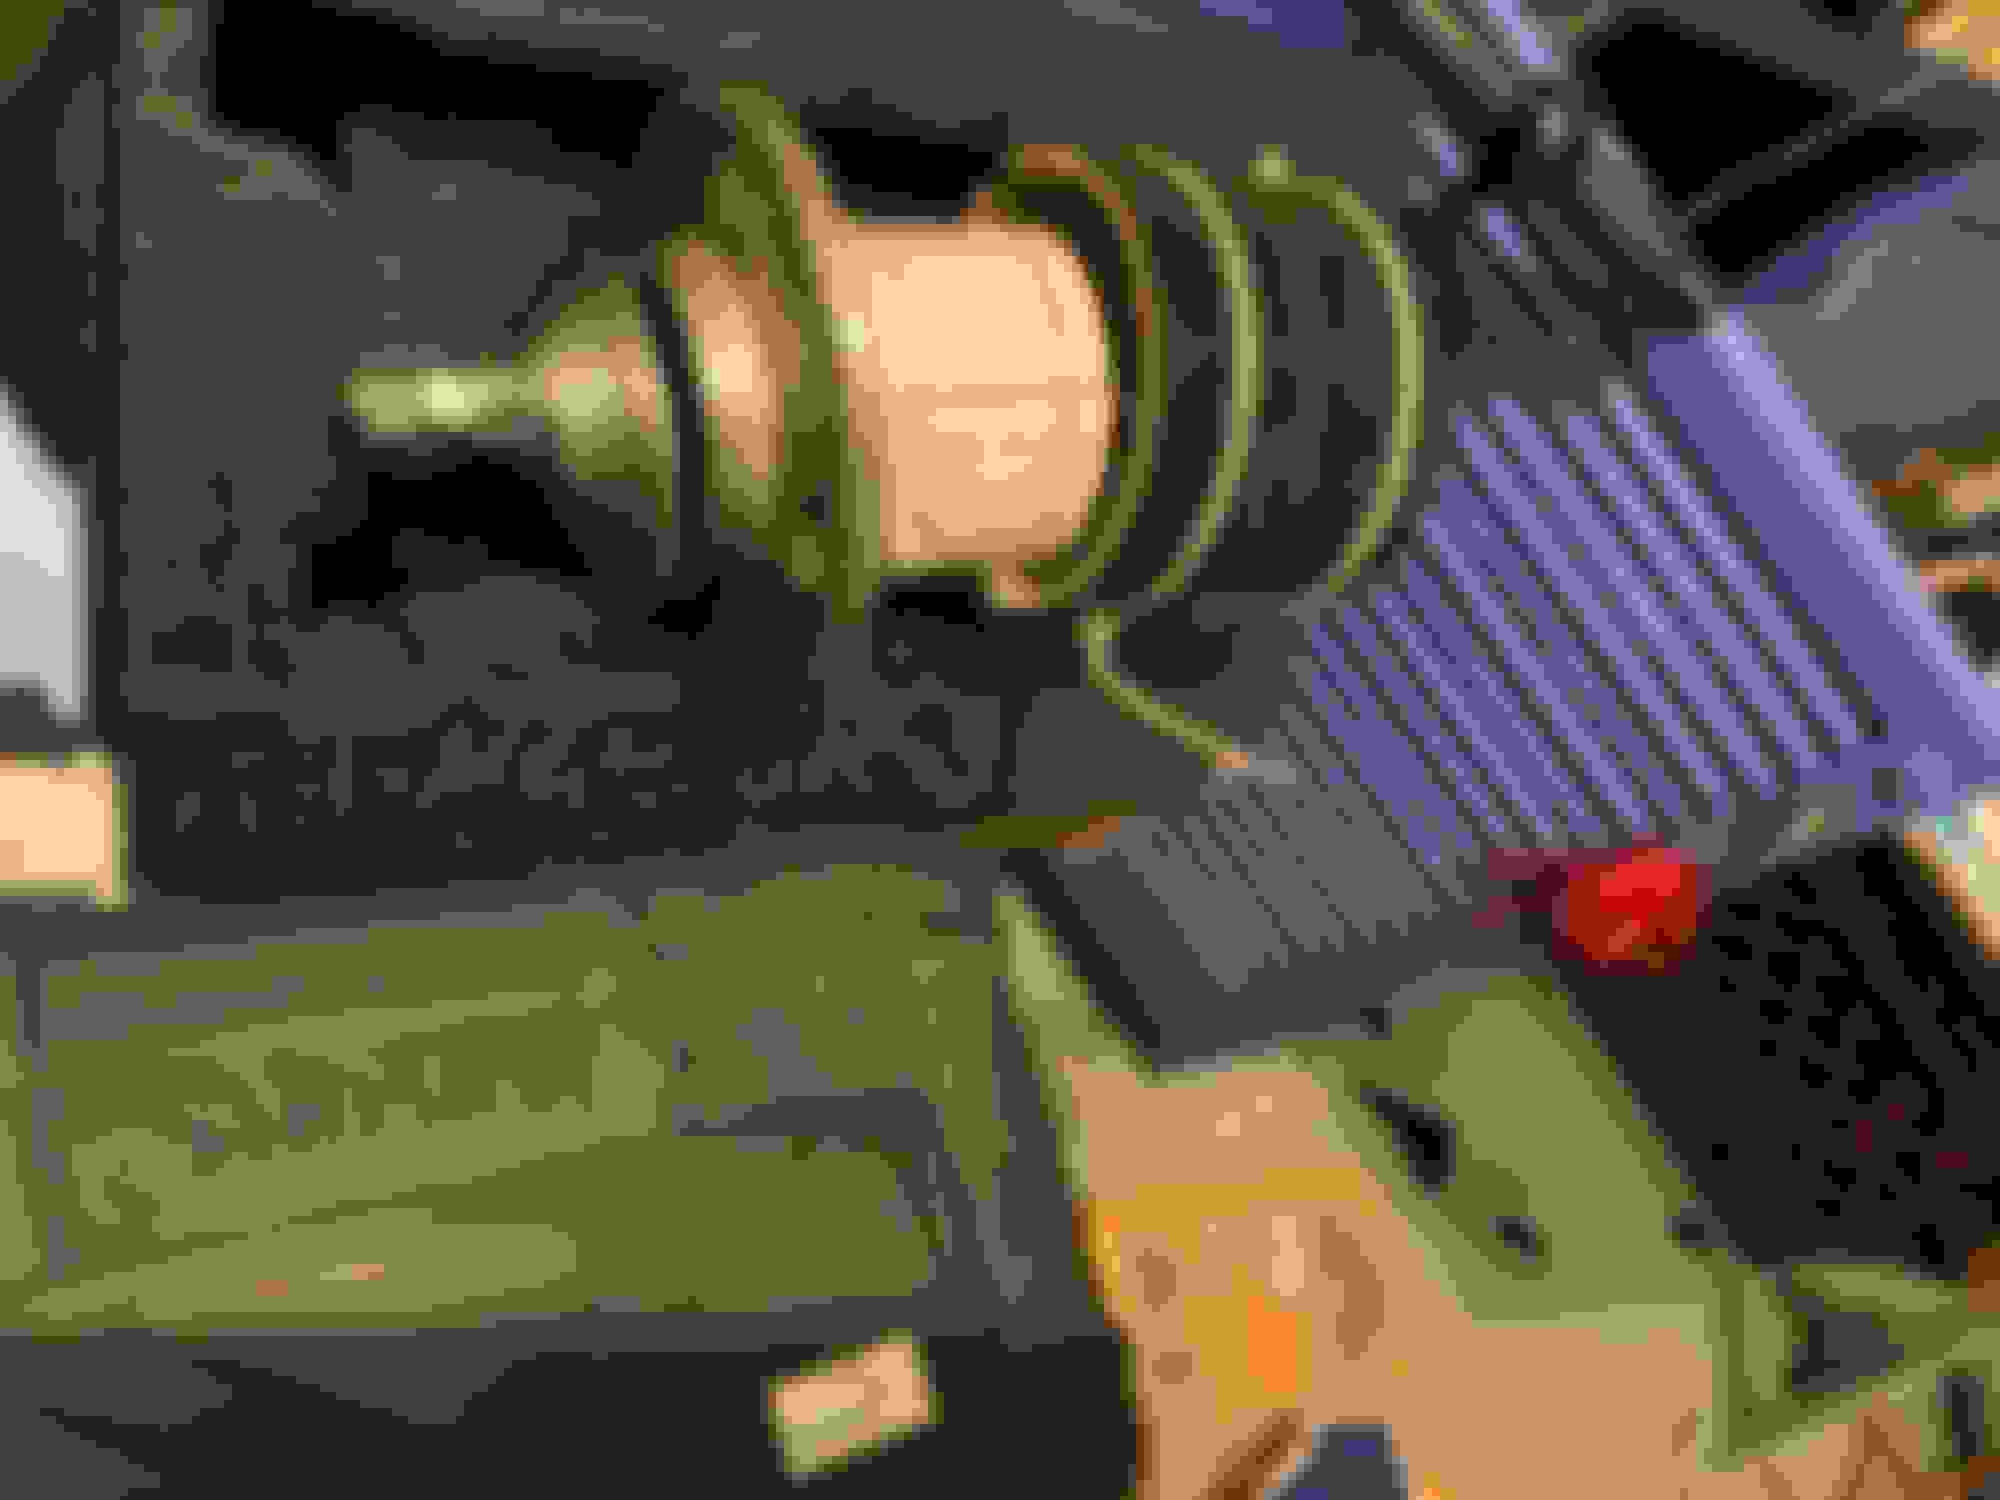
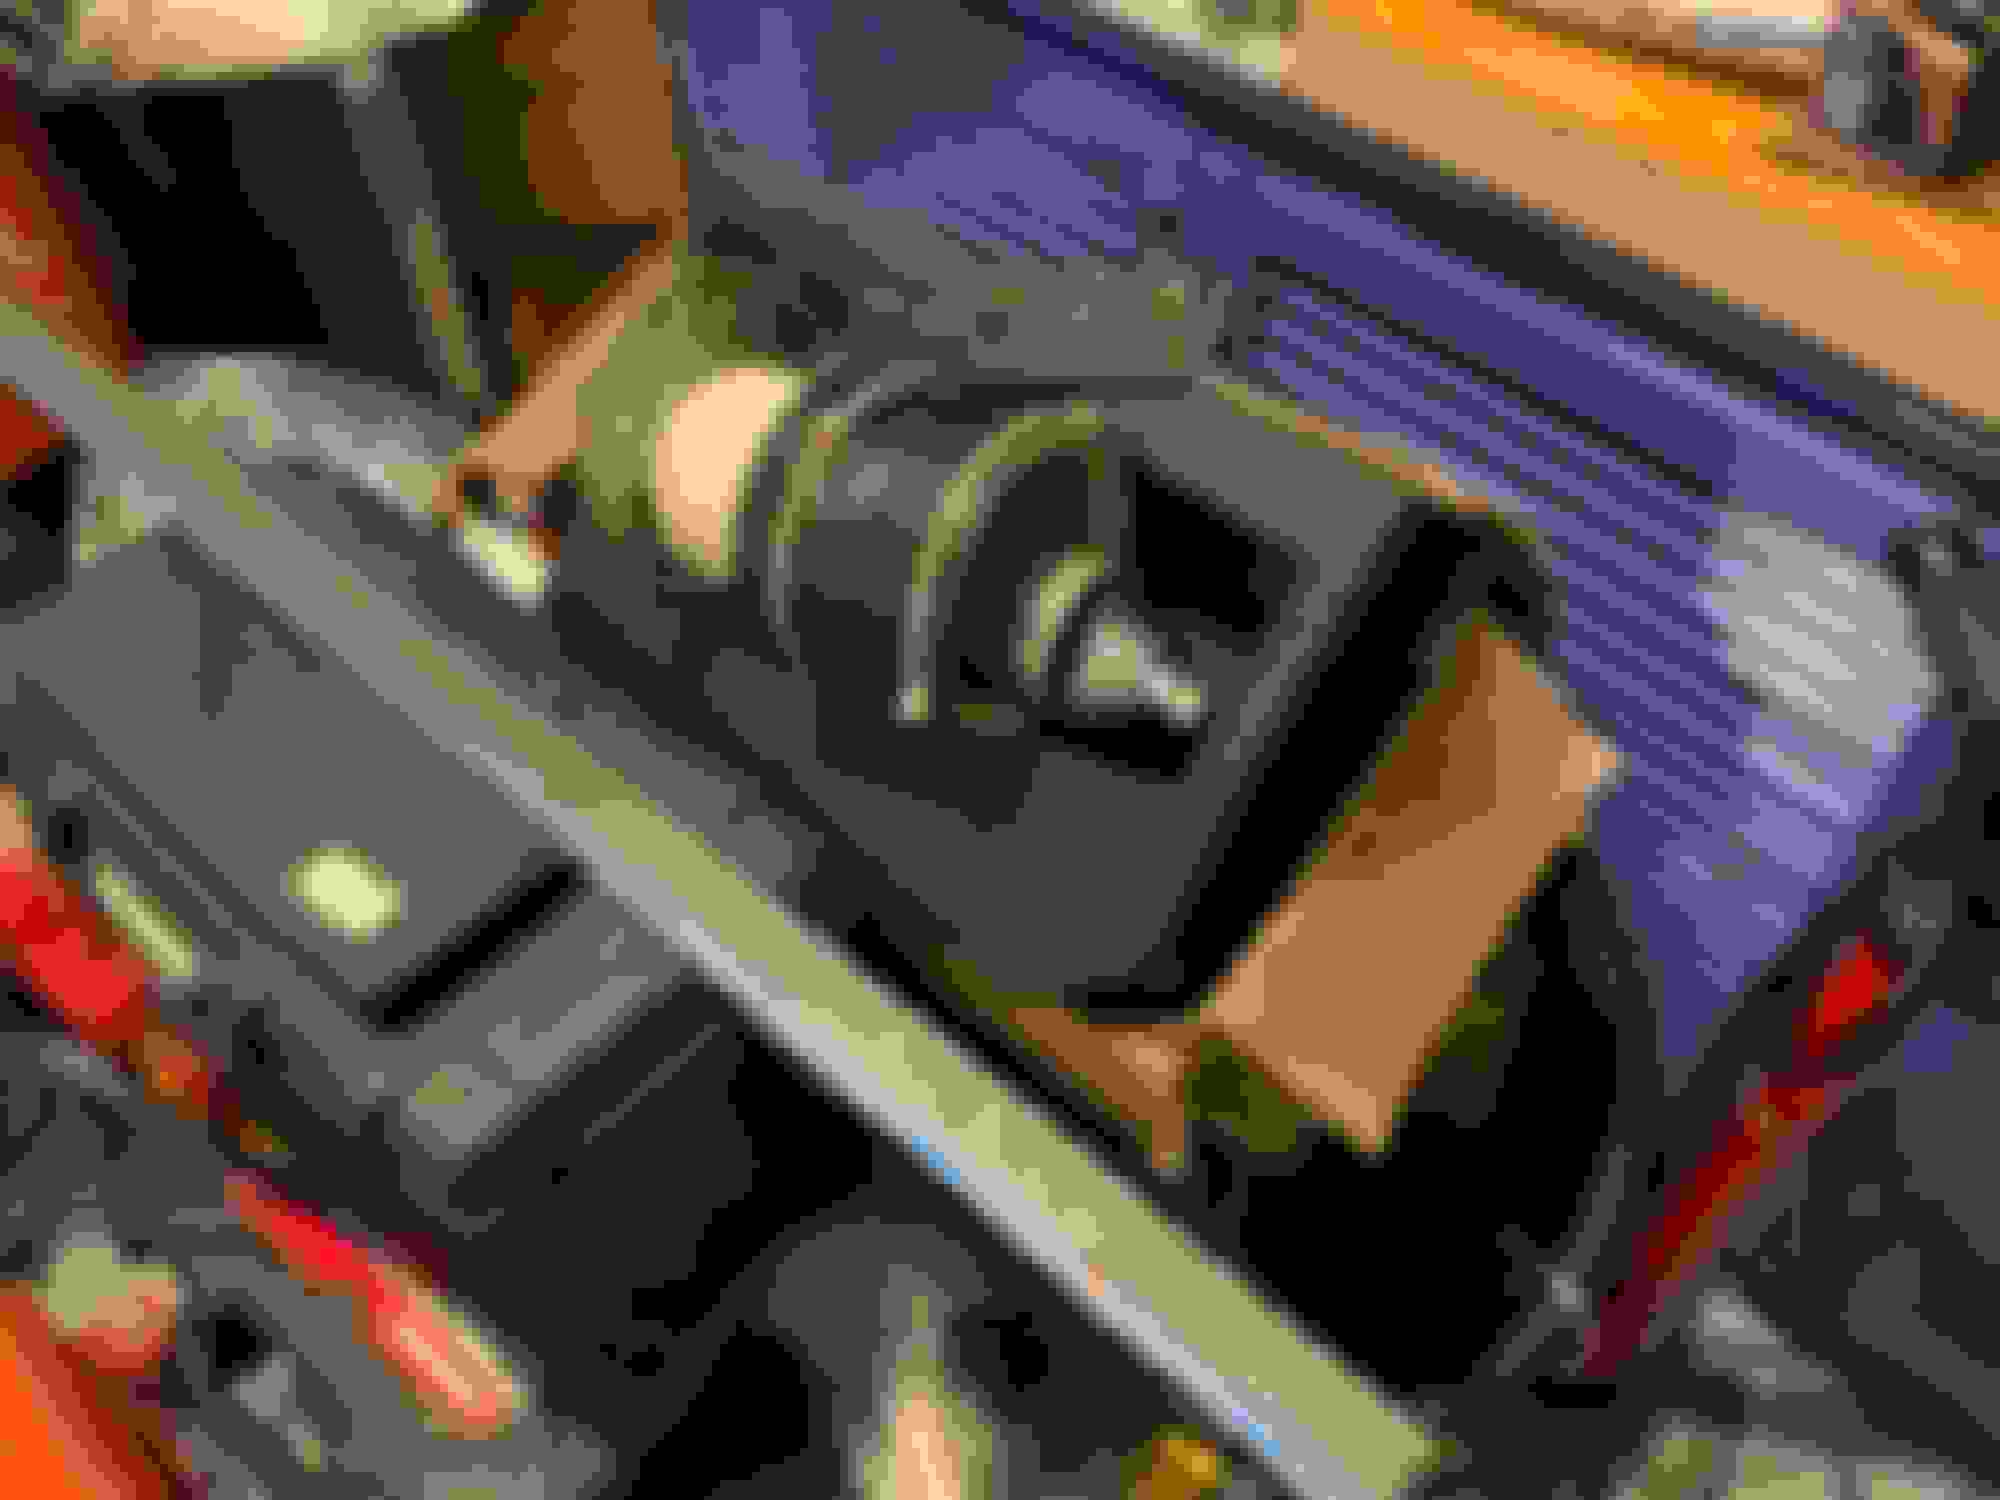
I just made my own by going to the Hardware Store, bought some Threaded Rod, Nuts, some 1/4” X 2” flat steel, an assortment of Washers, PVC Pipe, a round flat steel plumbing thing to fit over the largest PVC Pipe, smaller pieces of Steel Pipe that came with the K-Mac Bushings in the Control Arms. You can see the set-up in action right here using it to install the Rear Subframe Bushing (to be installed from the Bottom, obviously!)
The above pic is showing all new bushings installed! You can see I drew lines with Paint Marker both to mark the placement of the bushings and arms as the suspension would have been positioned at full load. It turns out it really didn’t matter though, at least not for the K-mac Bushings because of their being a hard poly that doesn’t bind at all when torqued to spec like OEM Rubber Bushings would. This is why you see in the WIS to always do final Tightening Torque on your suspension when the car is at full load (I used Ramps). The only bushing that remained OEM (Rubber) in the Rear was the New OEM lower Torque Arm on the Arm itself as well as the New OEM bushing I installed in each Carrier, so I had to wait until the car was loaded to tighten those. Also, I left the AirSpring Bushings installed as there was No play, so those too had to be tightened at full load. Thank goodness the K-Macs could be tightened while I had the Subframe supported with jacks so I could tighten them freely (ie-with leverage from standing over it!). To do same for those Control Arm bushings with the car at full load would definitely have been a B_ _ C_! if not impossible? I also used a caliper to measure the positioning of each bushing in each arm before extraction and made sure to check the free-movement of the Carrier afterwards to see if there was any binding up-or down. I did have to remove one arm to adjust the bushing position after initially installing to where I had measured, but after a couple Mm adjustment, all was well!
Here is the DIY Set-Up I used. I will say that the Front Subframe Bushings (to be installed from the top) have a Metal inner cup that is filled with oil that exploded upon removal (quite messy!) and left that inner cup inside the Subframe Recess where that bushing is positioned. I had to use my Router to grind away a slot in the cup to then be able to use a tool to lever it out!
Mercedes SLR McLaren 722 S Is Extremely Rare Example Modified by McLaren
Slideshow: A one-of-one U.S.-spec Mercedes-Benz SLR McLaren Roadster became even rarer after a factory-backed transformation at McLaren's headquarters.