When you click on links to various merchants on this site and make a purchase, this can result in this site earning a commission. Affiliate programs and affiliations include, but are not limited to, the eBay Partner Network.
So I'm positing this because I searched and searched (and searched) for months and found nothing on the subject. Wasted countless hours trying to figure out how it's done. Dealer and body shop gave me a line of crap that it's super involved. Went to dealer and they quoted me a 4.5 hour job. (Oddly this is roughly what it took me only because I didn't know what I was doing. Could probably do it again in an hour.) Bought the trim from MB Part Source (contact Mike Adams, highly recommended great discounts and customer service, 956-721-4144). Parts listed below in high gloss black. BTW I have a set of brand new chrome trim for sale if anyone needs it, say 20% off Mike's prices below plus shipping.
Hopefully, I can save others a lot of time and energy by sharing some details. I'm a total novice. If I can do it anyone can do it. Just need some patience and time. There's a total of 6 pieces per side. Several thoughts in no particular order.
-All the molding just pops off as you would suspect. The 3 pieces along the bottom of each side come with the rubber molding. It is this molding that holds these trim in place as the rubber molding slides into metal frames on the doors. Super easy. -Top driver's and passenger doors have no molding nor clips.
-Bottom and top rear pieces have clips. These clips may or may not pop off when you pull the trim. Either way you must take them off. They easily bend but don't break just be careful. Straighten them out and attach to the car. You will see where they belong. Took me forever to figure out that they slide into place. Put on about the notches about 2/3 the way then slide the rest onto the clips. Then the molding just snaps into these clips.
-The worst part of the job is the driver's door pieces, particularly the lower piece. It is possible to actually slide the piece off and slide it on but the problem is it can't be perfectly done as there's a clip at the very front of the trim that must slide over a piece of metal in the door frame. See picture below. I did it all without removing the mirrors but it was driving me crazy that they weren't sitting flush so I embarked on journey of removing door card. I tried for a long time trying to remove only speaker but couldn't get at one of the T20s. Ultimately wound up loosening door card to gain access to this one T20. Good news is you don't need to remove the entire door card, just loosen it to gain some room to access T20.
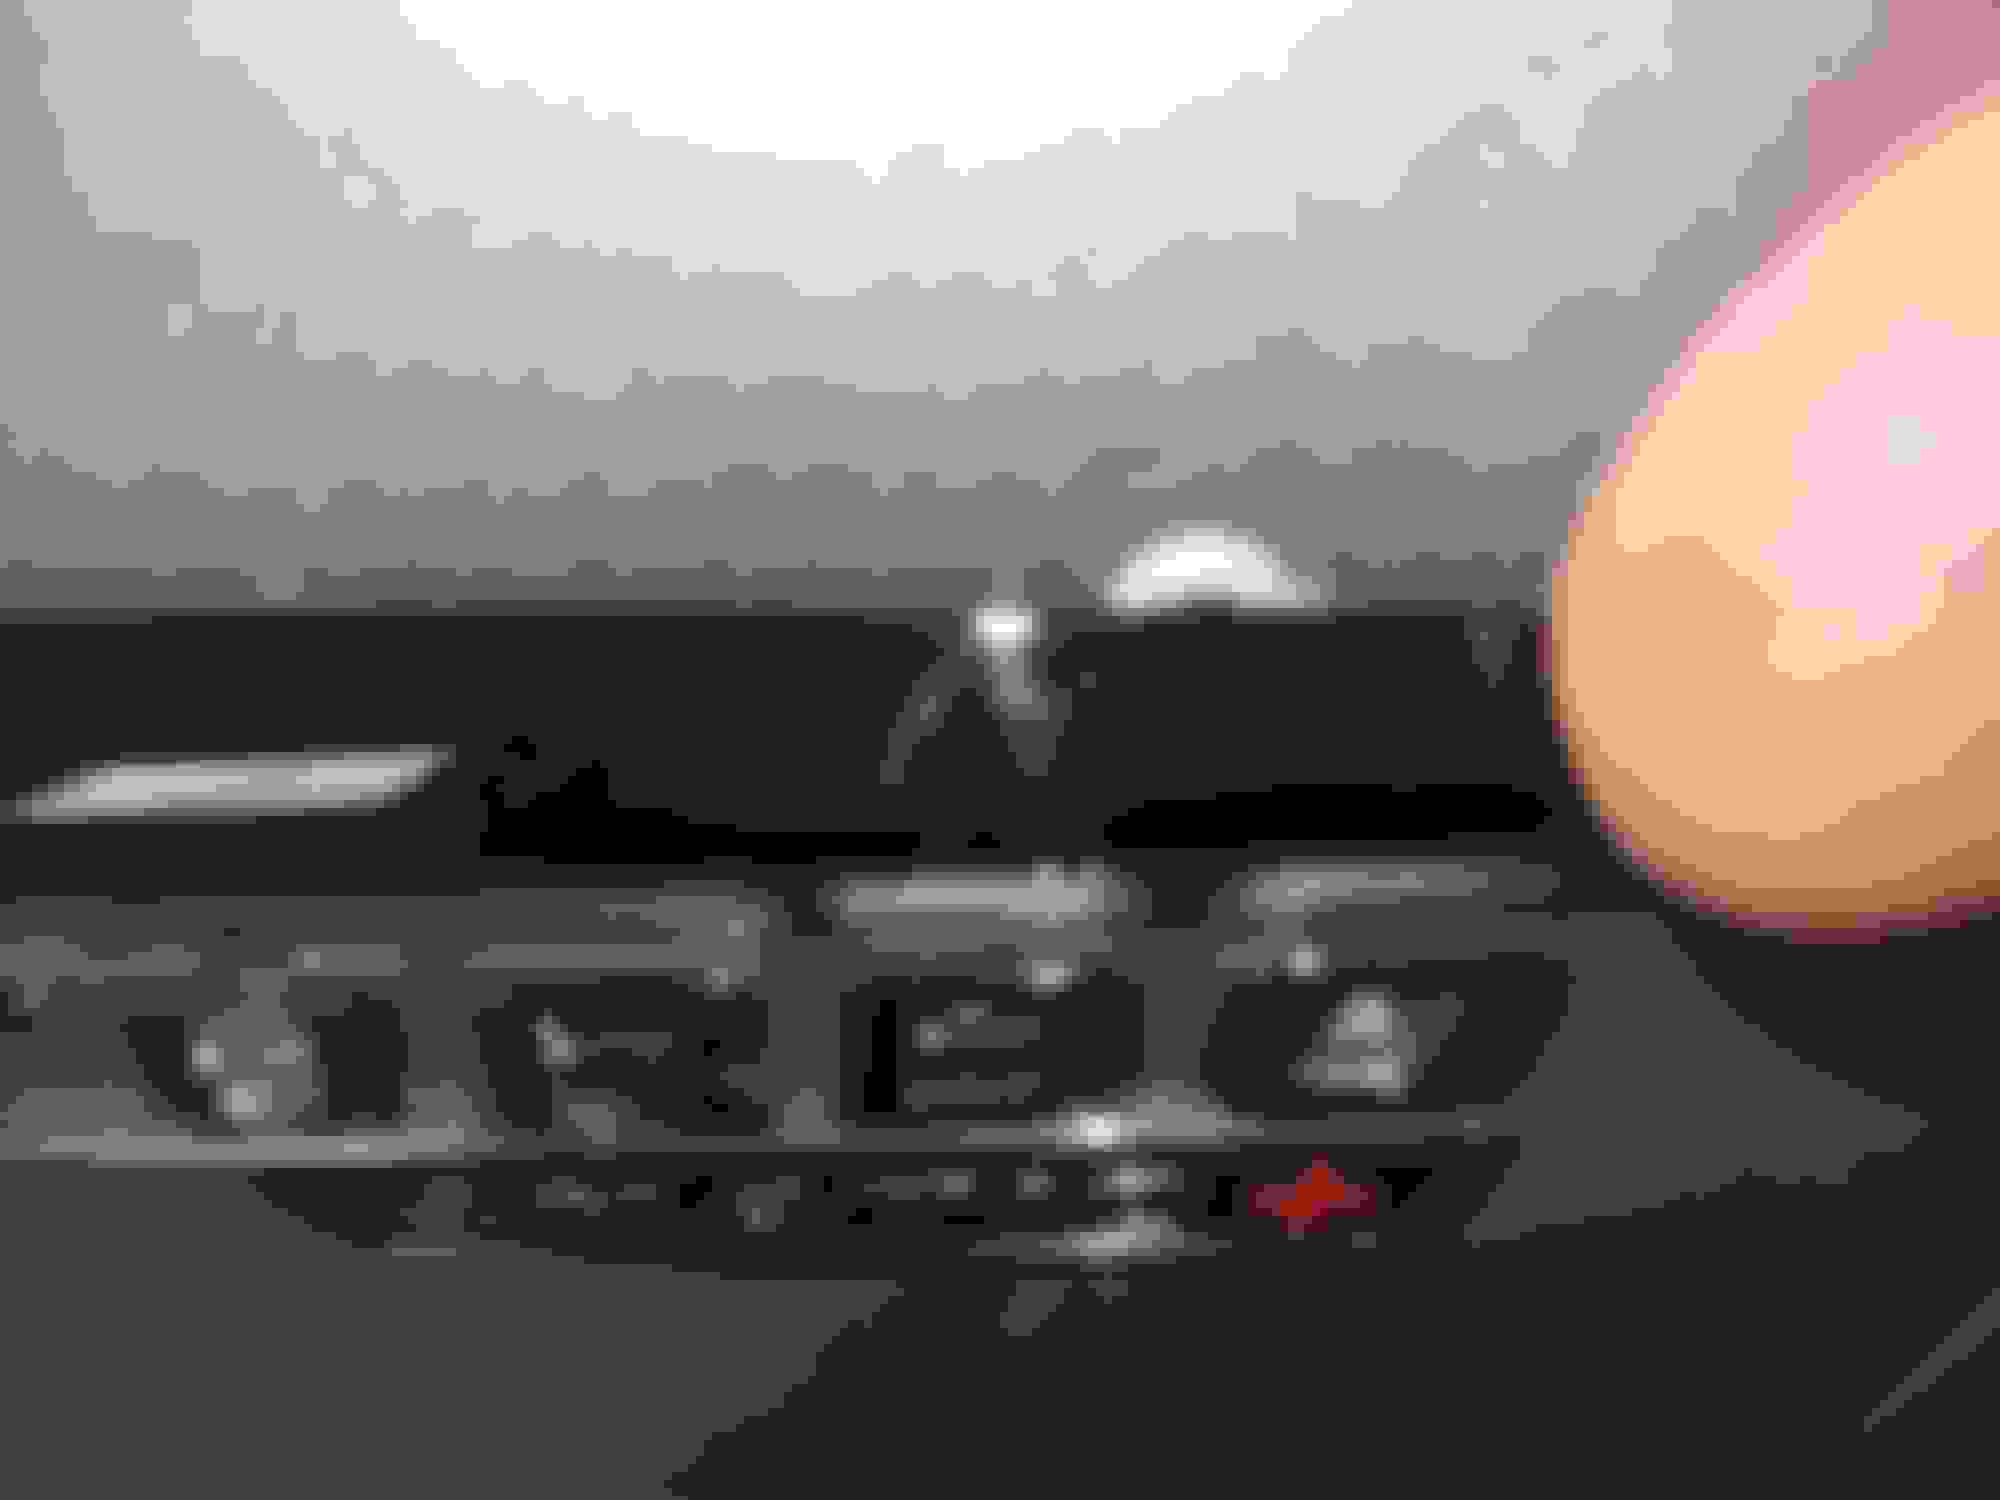
-First remove one T30 bolt under door handle as pictured below. Next pull door card away from door with a sharp tug. (Don't worry you won't break anything as it's well put together.) There are three T20s that hold the mirror in place. You'll need to remove mirror in order to install bottom driver's door trim properly. Pop tweeter so it's out of the way. Easier to pull door card away and then tweeter. You'll need to take these steps in order to access 2 of the 3 T20s. One of the T20s is simply behind some loose molding. Be careful when pulling molding as it only goes the length of the mirror housing. No reason to remove further than mirror housing and can be damaged if you try to pull it all the way off. One T20 is behind the tweeter. And one T20 is behind this rubber molding. Just pull it until T20 is revealed then stop pulling it or you'll be in a world of trouble.
-Needed to enlist the help of my daughter to hold mirror while I removed/installed bottom molding on driver's door. You don't want to remove any wires so someone will need to hold mirror while you remove/install trim. There's a clip on the very front of both driver's door pieces that must be put into place or the front driver's door molding will not sit properly. See pic below.
-Make certain the last piece of molding you install is the top driver's door per side. The front top part edge (closest to hood) must slide UNDER the bottom molding. You have to be very careful or you can easily scratch the bottom molding (ask me how I know) as the top molding has very sharp edge and will overlap bottom piece unless you tuck it under first.
Other than the driver's door this was an easy and satisfying project. Nobody could tell me how to do this so I took the leap of faith. Amazingly, I didn't destroy anything along the way and all pieces fit perfectly. If they aren't fitting perfectly you are doing something wrong. Take your time. These are high quality parts. No plastic junk and this minimizes breaks.
Now I'm left with what I think is the perfect balance. The trim around the windows was driving me nuts as it's a different finish from everything else plus I didn't like the shape of the outline against the black exterior. (This doesn't bother me on sedan only wagon.) The finish on the window trim is not nearly as nice as the Nike swoops, roof rails, and front/rear lower elements as those are all a gorgeous matte aluminum finish. The window trim is the same stuff used on all other cars and to my eyes looks a lot like plastic (but it's not, of course). Then there's a third finish--door handles and rear belt line. Wagon is filthy and only was once over past couple months but here's the before and after.
So I'm positing this because I searched and searched (and searched) for months and found nothing on the subject. Wasted countless hours trying to figure out how it's done. Dealer and body shop gave me a line of crap that it's super involved. Went to dealer and they quoted me a 4.5 hour job. (Oddly this is roughly what it took me only because I didn't know what I was doing. Could probably do it again in an hour.) Bought the trim from MB Part Source (contact Mike Adams, highly recommended great discounts and customer service, 956-721-4144). Parts listed below in high gloss black. BTW I have a set of brand new chrome trim for sale if anyone needs it, say 20% off Mike's prices below plus shipping.
Hopefully, I can save others a lot of time and energy by sharing some details. I'm a total novice. If I can do it anyone can do it. Just need some patience and time. There's a total of 6 pieces per side. Several thoughts in no particular order.
-All the molding just pops off as you would suspect. The 3 pieces along the bottom of each side come with the rubber molding. It is this molding that holds these trim in place as the rubber molding slides into metal frames on the doors. Super easy. -Top driver's and passenger doors have no molding nor clips.
-Bottom and top rear pieces have clips. These clips may or may not pop off when you pull the trim. Either way you must take them off. They easily bend but don't break just be careful. Straighten them out and attach to the car. You will see where they belong. Took me forever to figure out that they slide into place. Put on about the notches about 2/3 the way then slide the rest onto the clips. Then the molding just snaps into these clips.
-The worst part of the job is the driver's door pieces, particularly the lower piece. It is possible to actually slide the piece off and slide it on but the problem is it can't be perfectly done as there's a clip at the very front of the trim that must slide over a piece of metal in the door frame. See picture below. I did it all without removing the mirrors but it was driving me crazy that they weren't sitting flush so I embarked on journey of removing door card. I tried for a long time trying to remove only speaker but couldn't get at one of the T20s. Ultimately wound up loosening door card to gain access to this one T20. Good news is you don't need to remove the entire door card, just loosen it to gain some room to access T20.
-First remove one T30 bolt under door handle as pictured below. Next pull door card away from door with a sharp tug. (Don't worry you won't break anything as it's well put together.) There are three T20s that hold the mirror in place. You'll need to remove mirror in order to install bottom driver's door trim properly. Pop tweeter so it's out of the way. Easier to pull door card away and then tweeter. You'll need to take these steps in order to access 2 of the 3 T20s. One of the T20s is simply behind some loose molding. Be careful when pulling molding as it only goes the length of the mirror housing. No reason to remove further than mirror housing and can be damaged if you try to pull it all the way off. One T20 is behind the tweeter. And one T20 is behind this rubber molding. Just pull it until T20 is revealed then stop pulling it or you'll be in a world of trouble.
-Needed to enlist the help of my daughter to hold mirror while I removed/installed bottom molding on driver's door. You don't want to remove any wires so someone will need to hold mirror while you remove/install trim. There's a clip on the very front of both driver's door pieces that must be put into place or the front driver's door molding will not sit properly. See pic below.
-Make certain the last piece of molding you install is the top driver's door per side. The front top part edge (closest to hood) must slide UNDER the bottom molding. You have to be very careful or you can easily scratch the bottom molding (ask me how I know) as the top molding has very sharp edge and will overlap bottom piece unless you tuck it under first.
Other than the driver's door this was an easy and satisfying project. Nobody could tell me how to do this so I took the leap of faith. Amazingly, I didn't destroy anything along the way and all pieces fit perfectly. If they aren't fitting perfectly you are doing something wrong. Take your time. These are high quality parts. No plastic junk and this minimizes breaks.
Now I'm left with what I think is the perfect balance. The trim around the windows was driving me nuts as it's a different finish from everything else plus I didn't like the shape of the outline against the black exterior. (This doesn't bother me on sedan only wagon.) The finish on the window trim is not nearly as nice as the Nike swoops, roof rails, and front/rear lower elements as those are all a gorgeous matte aluminum finish. The window trim is the same stuff used on all other cars and to my eyes looks a lot like plastic (but it's not, of course). Then there's a third finish--door handles and rear belt line. Wagon is filthy and only was once over past couple months but here's the before and after.
Yes, they're included but night package is only a factory option. When you order parts the pieces all come separately. I only wanted to change window trim.
2024 AMG EQE SUV , 2021 E63S Wagon - gone, 2018 E63S Sedan - gone
Originally Posted by ocdbroker
Strikes a nice balance. Save all blacked out look for my Porsches. Wanted a more elegant wagon but the silver window trim only lasted about a month.
I'm glad you finally washed the wagon! I like the two-tone look with the windows surrounded in black. I cannot say, though, that I am fan of the standard 2020 wheels. The Cross-Spoke forged wheels in the silver finish are far more elegant for this car. The brake calipers are just too prominent with the standard wheels IMO. BTW, how do the winter tires ride?
Still haven't washed wagon, Harris. It is very dirty and pictures can be deceiving. Love the Alpins thus far but have only driven a little with them. Smooth and the turn in is sharper than one would expect from snow tires. Sticky.
Loving the 2020 wheels. Feel like they make the whole car. They scream AMG. Classic design and understated. Love seeing the calipers a little more too. If we all had the same taste the world would be a really dull place. Don't mind if my car is dirty but get uneasy about dirty wheels. Really missing the ceramics.
2024 AMG EQE SUV , 2021 E63S Wagon - gone, 2018 E63S Sedan - gone
Originally Posted by ocdbroker
Still haven't washed wagon, Harris. It is very dirty and pictures can be deceiving. Love the Alpins thus far but have only driven a little with them. Smooth and the turn in is sharper than one would expect from snow tires. Sticky.
Loving the 2020 wheels. Feel like they make the whole car. They scream AMG. Classic design and understated. Love seeing the calipers a little more too. If we all had the same taste the world would be a really dull place. Don't mind if my car is dirty but get uneasy about dirty wheels. Really missing the ceramics.
Well, looks can be deceiving I suppose. I understand about the wheel design being so open, but it reminds me of an old-time wooden wagon wheel. They certainly don't scream AMG to me since that design has been used multiple times on lower-level E and C class vehicles for years (complete with AMG embossing on the rims). The unique AMG wheels have always been the cross-spoke forged units (silver or black) which are only orderable with the high-end AMG vehicles. Also, since I always have wheel locks installed they are properly hidden behind the center wheel hub assembly. The cast wheels do not stand up very well to roads in the Northeast US (I had them on my previous E500, E550, and E300 cars) and they are soft when it comes to potholes, just look at some of the other recent posts. Thanks for the feedback on the PA4's.
So I'm positing this because I searched and searched (and searched) for months and found nothing on the subject. Wasted countless hours trying to figure out how it's done. Dealer and body shop gave me a line of crap that it's super involved. Went to dealer and they quoted me a 4.5 hour job. (Oddly this is roughly what it took me only because I didn't know what I was doing. Could probably do it again in an hour.) Bought the trim from MB Part Source (contact Mike Adams, highly recommended great discounts and customer service, 956-721-4144). Parts listed below in high gloss black. BTW I have a set of brand new chrome trim for sale if anyone needs it, say 20% off Mike's prices below plus shipping.
Hopefully, I can save others a lot of time and energy by sharing some details. I'm a total novice. If I can do it anyone can do it. Just need some patience and time. There's a total of 6 pieces per side. Several thoughts in no particular order.
-All the molding just pops off as you would suspect. The 3 pieces along the bottom of each side come with the rubber molding. It is this molding that holds these trim in place as the rubber molding slides into metal frames on the doors. Super easy. -Top driver's and passenger doors have no molding nor clips.
-Bottom and top rear pieces have clips. These clips may or may not pop off when you pull the trim. Either way you must take them off. They easily bend but don't break just be careful. Straighten them out and attach to the car. You will see where they belong. Took me forever to figure out that they slide into place. Put on about the notches about 2/3 the way then slide the rest onto the clips. Then the molding just snaps into these clips.
-The worst part of the job is the driver's door pieces, particularly the lower piece. It is possible to actually slide the piece off and slide it on but the problem is it can't be perfectly done as there's a clip at the very front of the trim that must slide over a piece of metal in the door frame. See picture below. I did it all without removing the mirrors but it was driving me crazy that they weren't sitting flush so I embarked on journey of removing door card. I tried for a long time trying to remove only speaker but couldn't get at one of the T20s. Ultimately wound up loosening door card to gain access to this one T20. Good news is you don't need to remove the entire door card, just loosen it to gain some room to access T20.
-First remove one T30 bolt under door handle as pictured below. Next pull door card away from door with a sharp tug. (Don't worry you won't break anything as it's well put together.) There are three T20s that hold the mirror in place. You'll need to remove mirror in order to install bottom driver's door trim properly. Pop tweeter so it's out of the way. Easier to pull door card away and then tweeter. You'll need to take these steps in order to access 2 of the 3 T20s. One of the T20s is simply behind some loose molding. Be careful when pulling molding as it only goes the length of the mirror housing. No reason to remove further than mirror housing and can be damaged if you try to pull it all the way off. One T20 is behind the tweeter. And one T20 is behind this rubber molding. Just pull it until T20 is revealed then stop pulling it or you'll be in a world of trouble.
-Needed to enlist the help of my daughter to hold mirror while I removed/installed bottom molding on driver's door. You don't want to remove any wires so someone will need to hold mirror while you remove/install trim. There's a clip on the very front of both driver's door pieces that must be put into place or the front driver's door molding will not sit properly. See pic below.
-Make certain the last piece of molding you install is the top driver's door per side. The front top part edge (closest to hood) must slide UNDER the bottom molding. You have to be very careful or you can easily scratch the bottom molding (ask me how I know) as the top molding has very sharp edge and will overlap bottom piece unless you tuck it under first.
Other than the driver's door this was an easy and satisfying project. Nobody could tell me how to do this so I took the leap of faith. Amazingly, I didn't destroy anything along the way and all pieces fit perfectly. If they aren't fitting perfectly you are doing something wrong. Take your time. These are high quality parts. No plastic junk and this minimizes breaks.
Now I'm left with what I think is the perfect balance. The trim around the windows was driving me nuts as it's a different finish from everything else plus I didn't like the shape of the outline against the black exterior. (This doesn't bother me on sedan only wagon.) The finish on the window trim is not nearly as nice as the Nike swoops, roof rails, and front/rear lower elements as those are all a gorgeous matte aluminum finish. The window trim is the same stuff used on all other cars and to my eyes looks a lot like plastic (but it's not, of course). Then there's a third finish--door handles and rear belt line. Wagon is filthy and only was once over past couple months but here's the before and after.
This was a great job. I really appreciate you putting all of this together. For someone who wanted the Night package but couldn’t get it because the sales agent unfortunately didn’t click all the boxes that he was asked to click, it’s great to hear that this can be done after the fact. Personally, I hate chrome pretty much anywhere on a car, but I especially despise it around the windows. Thanks again for your valuable contribution here.
Thanks for posting this, my car also needs to loose the aluminum but my dealer said it couldn't be done and I couldn't find anyone who had done it to know if the trim came off easily without damage. I will definitely be doing this now!
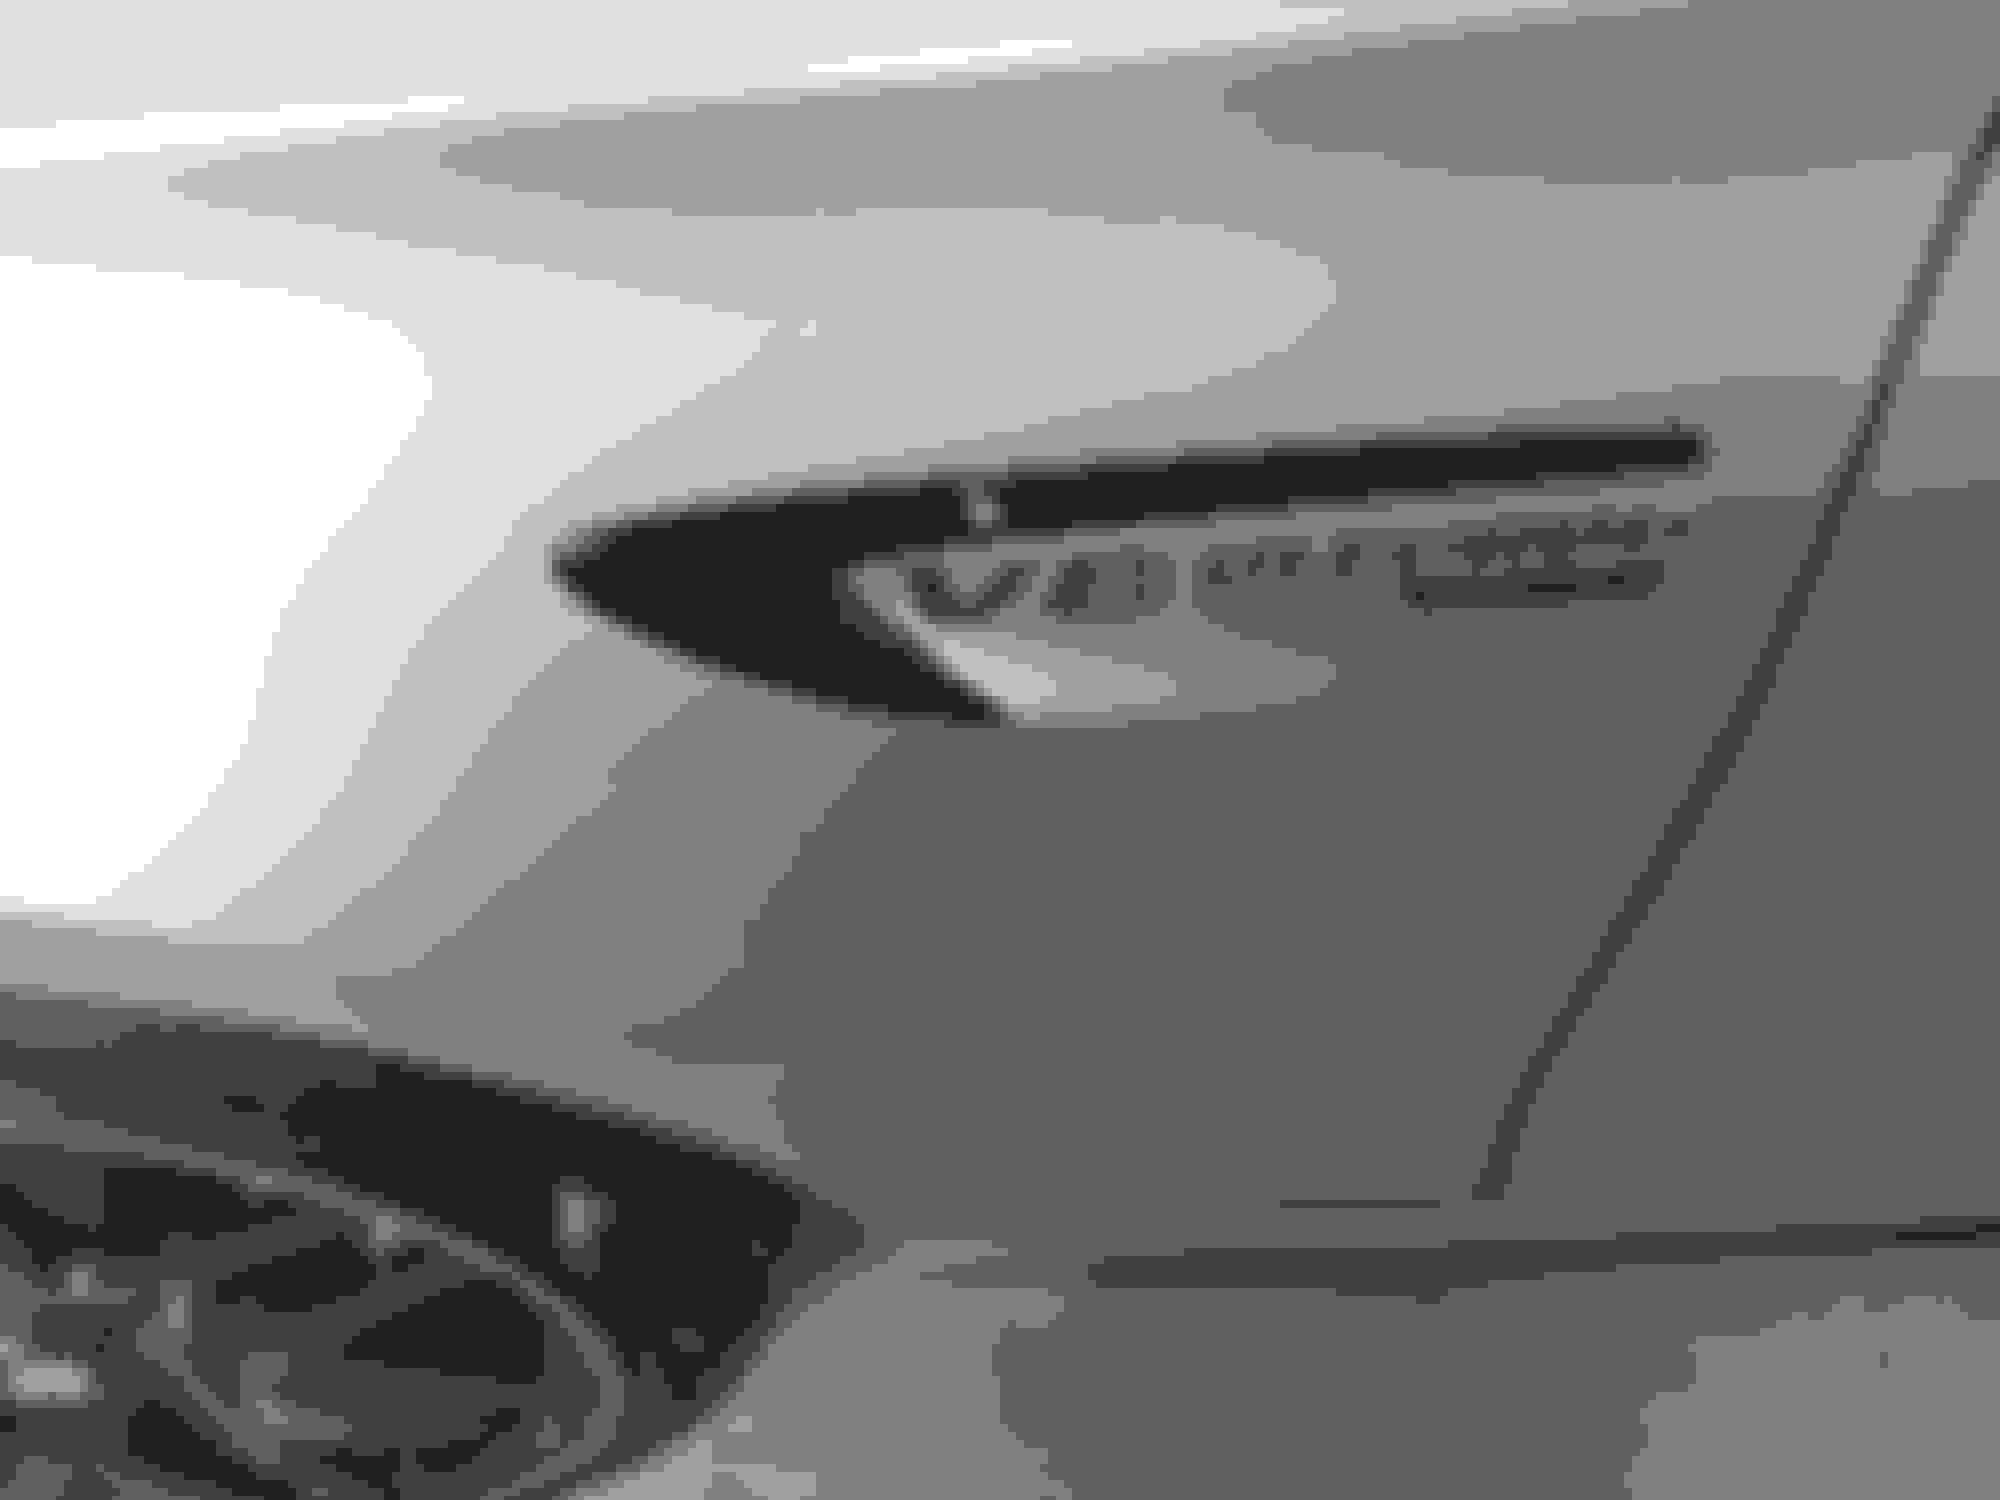
Anybody ever replace the Nike swoop? I just notice my brand new car has a tab broke on the drivers side. Dealer has ordered a replacement but I will need to put it on. Is there plugs that need to be ordered also?
Anybody ever replace the Nike swoop? I just notice my brand new car has a tab broke on the drivers side. Dealer has ordered a replacement but I will need to put it on. Is there plugs that need to be ordered also?
I�ve ordered the swoosh in black to match the black trim. It�s actually really hard to get. Apparently it�s back ordered. Once I get it and replace, I can post pictures.
Anybody ever replace the Nike swoop? I just notice my brand new car has a tab broke on the drivers side. Dealer has ordered a replacement but I will need to put it on. Is there plugs that need to be ordered also?
I just did this but unfortunately didn't take photos. My car was delivered with broken black swoops when it should have been delivered with the carbon swoops as part of the carbon package, odd. Anyway, dealer got them ordered and shipped them to me. The swoop has several nubs on the back that pop into those whiteish grommets pictured above in the fender. Simply (but carefully/gently) pry around the perimeter of the swoop and it will pop off. Use a plastic body tool if you have one or similar. The new ones just pop right back in. Took about 3mins.
Mercedes SLR McLaren 722 S Is Extremely Rare Example Modified by McLaren
Slideshow: A one-of-one U.S.-spec Mercedes-Benz SLR McLaren Roadster became even rarer after a factory-backed transformation at McLaren's headquarters.