W211 (2008 E350) H&R Sport Spring Install Updated ***
#1
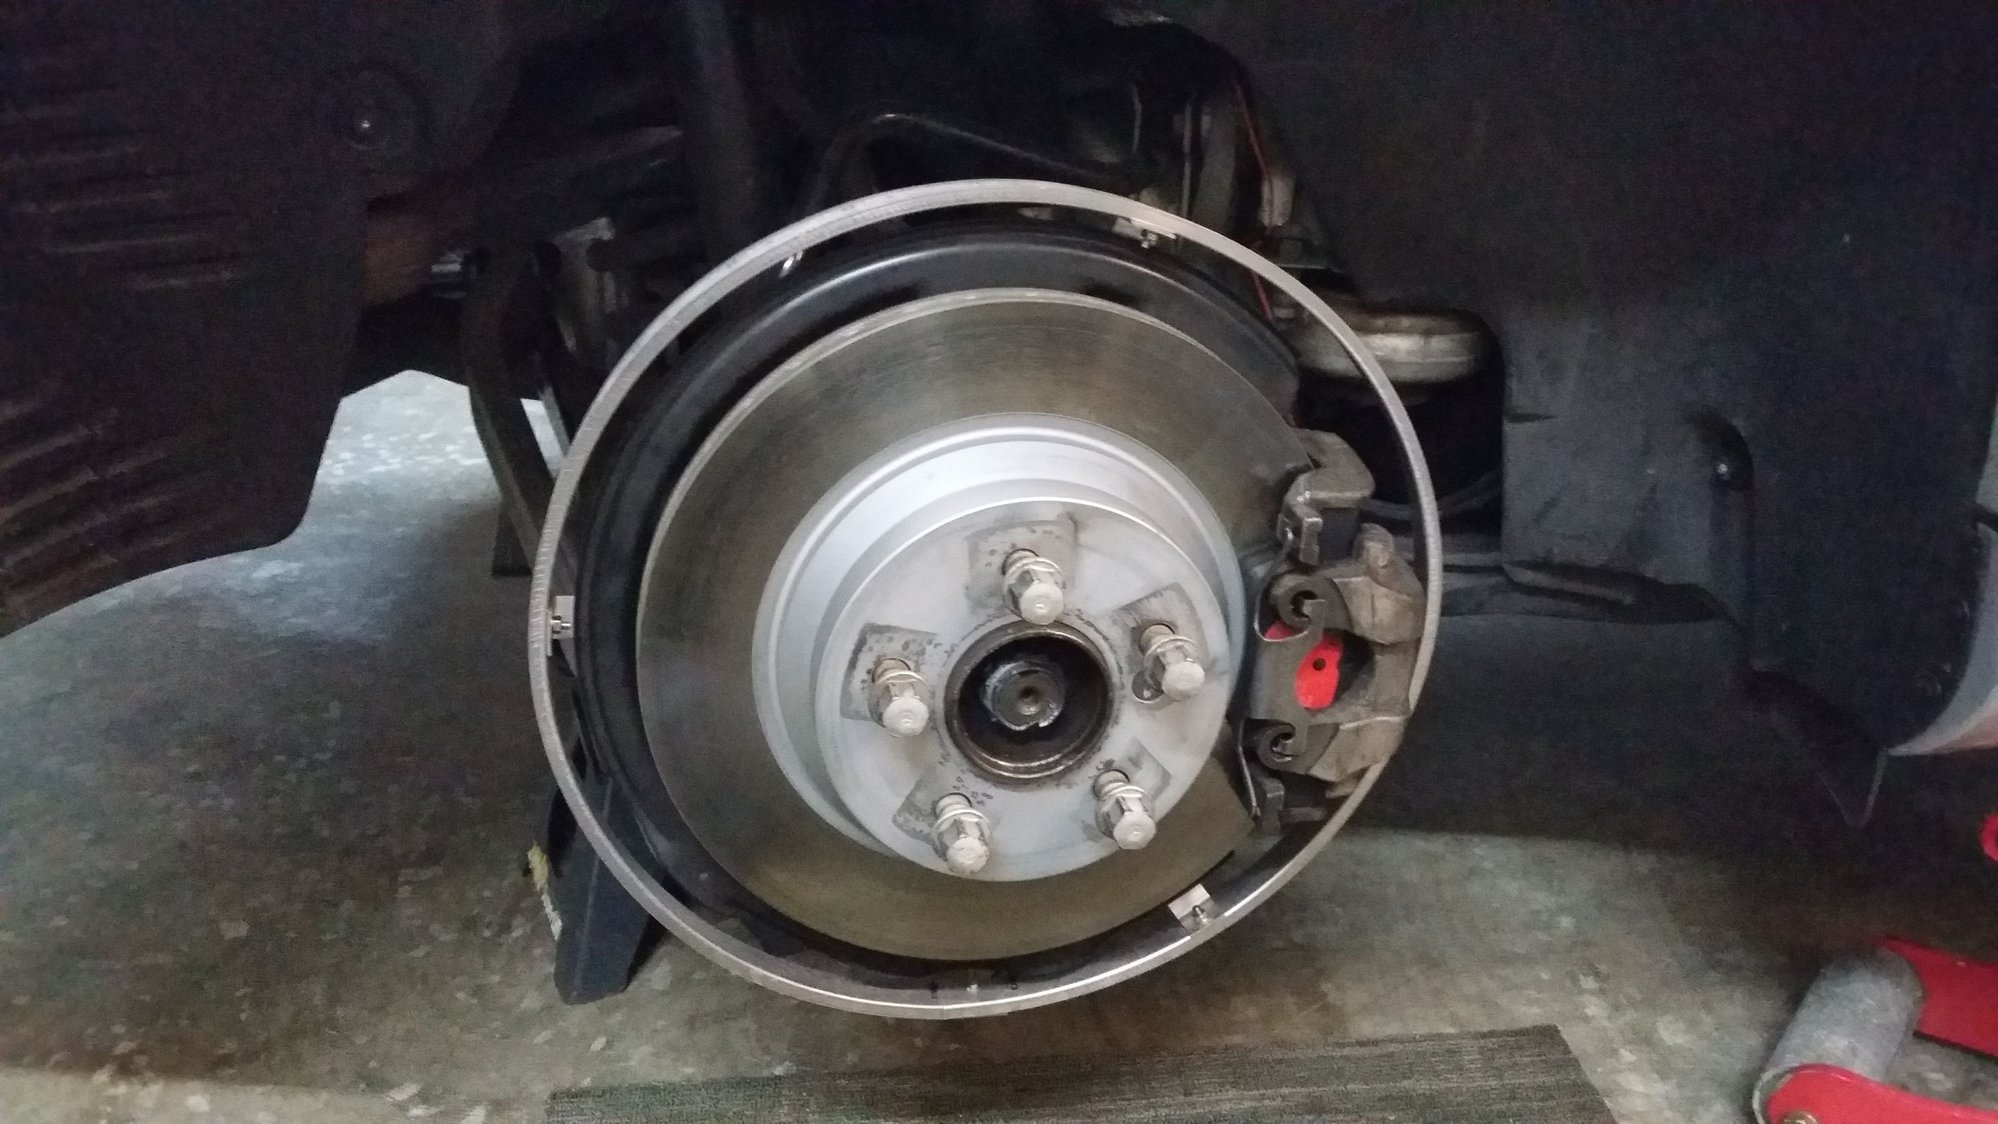
First and foremost......I chose to do this install myself and save the 300+ dollars when it only took me a total of 3 hours to do this myself with an air impact drill. It DOES require some decent mechanical skills. I hope this post helps someone out......I haven't been able to find too many posts besides 1 or 2 online....and I feel they left out a few details I had to find out myself. I am also posting this a week and a half after I did the install.....with NO issues whatsoever and still LOVING the ride and handling of the springs. The ride is definitely a bit rougher but not too bad. It looks great with the springs and definitely turns heads and gets attention with the LED wheel lighting on we sell and install. Anyway, if you have questions feel free to ask and I will try and help where I can. Thanks!!!!

^^^
Jack vehicle up and remove rear wheels. I like to tackle the hardest area first......the fronts are quite a bit easier. You WILL need a spring compressor for the FRONTS.
^^^

Here is the view behind the rotor of what you will have to work on.^^
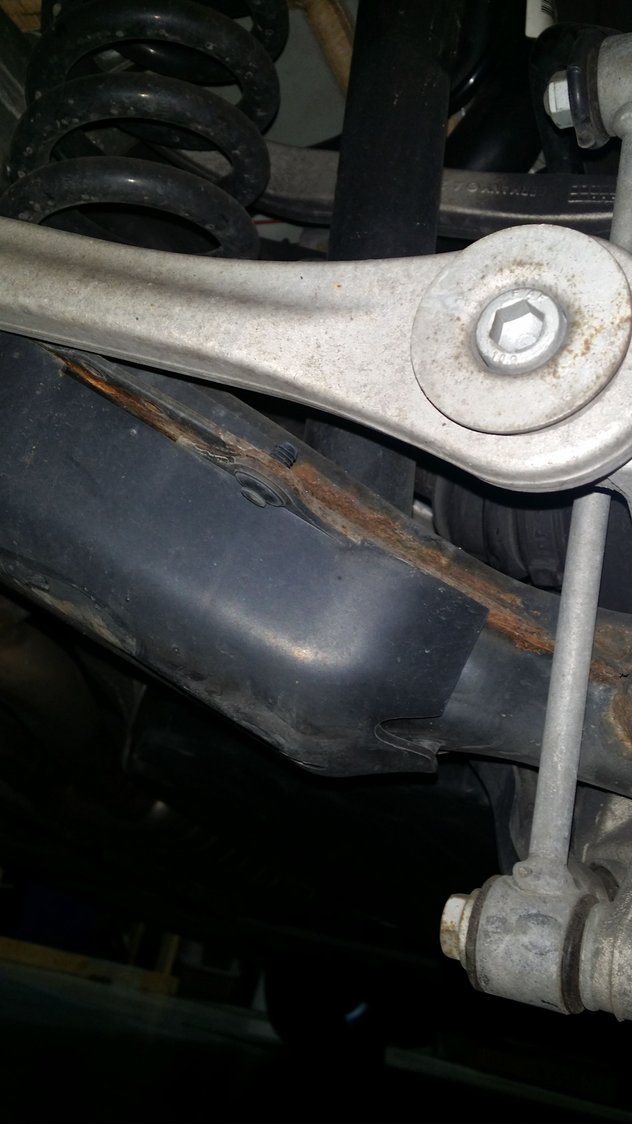
This is a picture of the plastic guard under the control arm.....you will have to remove this with a screwdriver or a clip-tool. There are 2 plastic clips holding it on. ^^
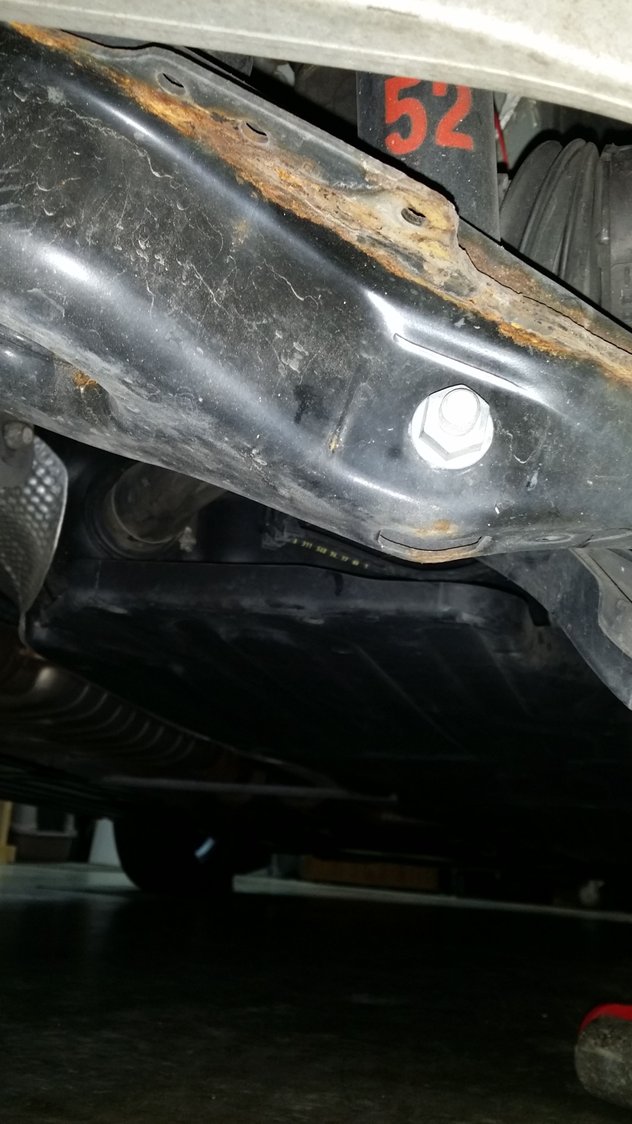
Once removed, it will look like this. Here is the bolt you will have to remove to get the spring out. This bolt releases the bottom end of the shock absorber.....thus allowing the control arm to drop. I chose to remove this first to get it out of the way.^^

Next, remove the sway-link bolt in this picture and try and push it out of the way a little. ^^

Here is a picture of the bolt removed and pushed out of the way. Leave it like this. ^^
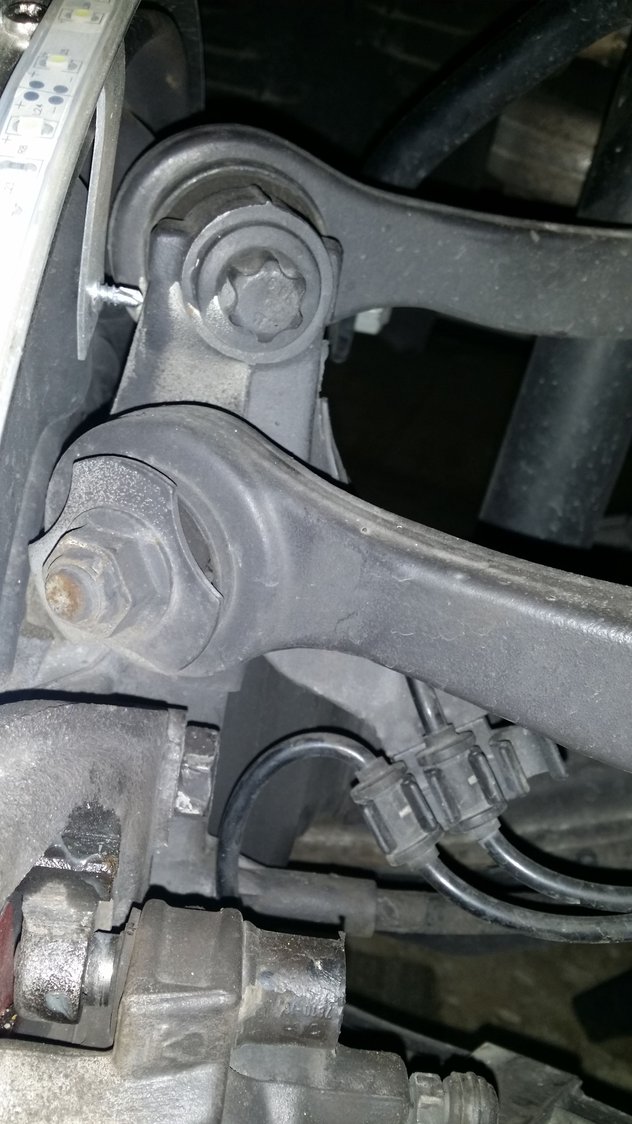
Next, you will have to remove both these bolts as well. The only bolts that you do not remove are the main control arms.....you can tell them apart from the torx-looking special Mercedes tool that is required to remove them. ^^
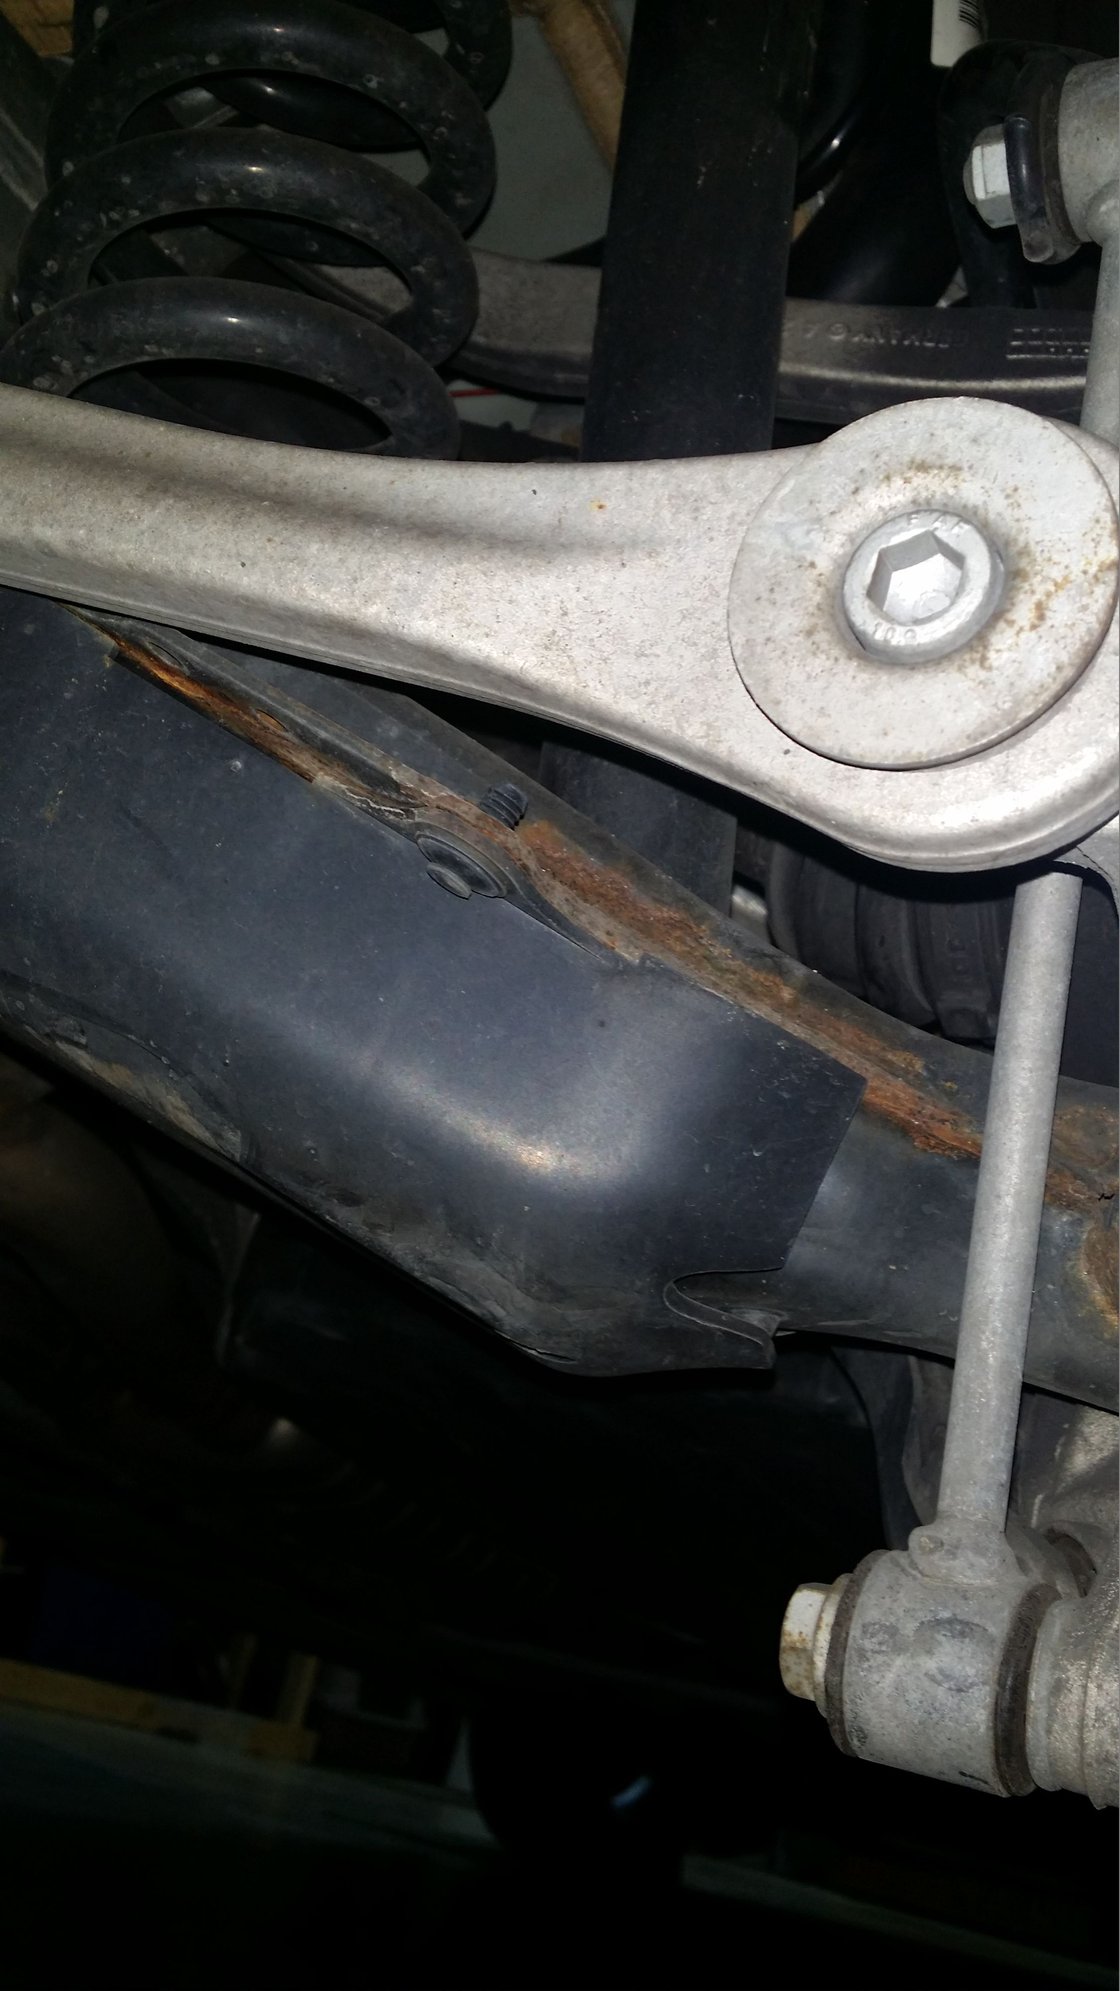
Once the two previous bolts are removed, you will have to remove this bolt with an 8mm alan bit and the nut on the reverse side. ^^

By now, it should be looking like this in the wheel-well. All that is needed now is some sheer muscle. You will need another person to push down on the wheel while you pull the spring out. Its a tight squeeze....but I found to have your friend sort-of bounce the weight down on the lugs that should still be in to help push down. Remove the spring from the BOTTOM and don't try going up with it.....its WAYYY harder to go that route. ^^
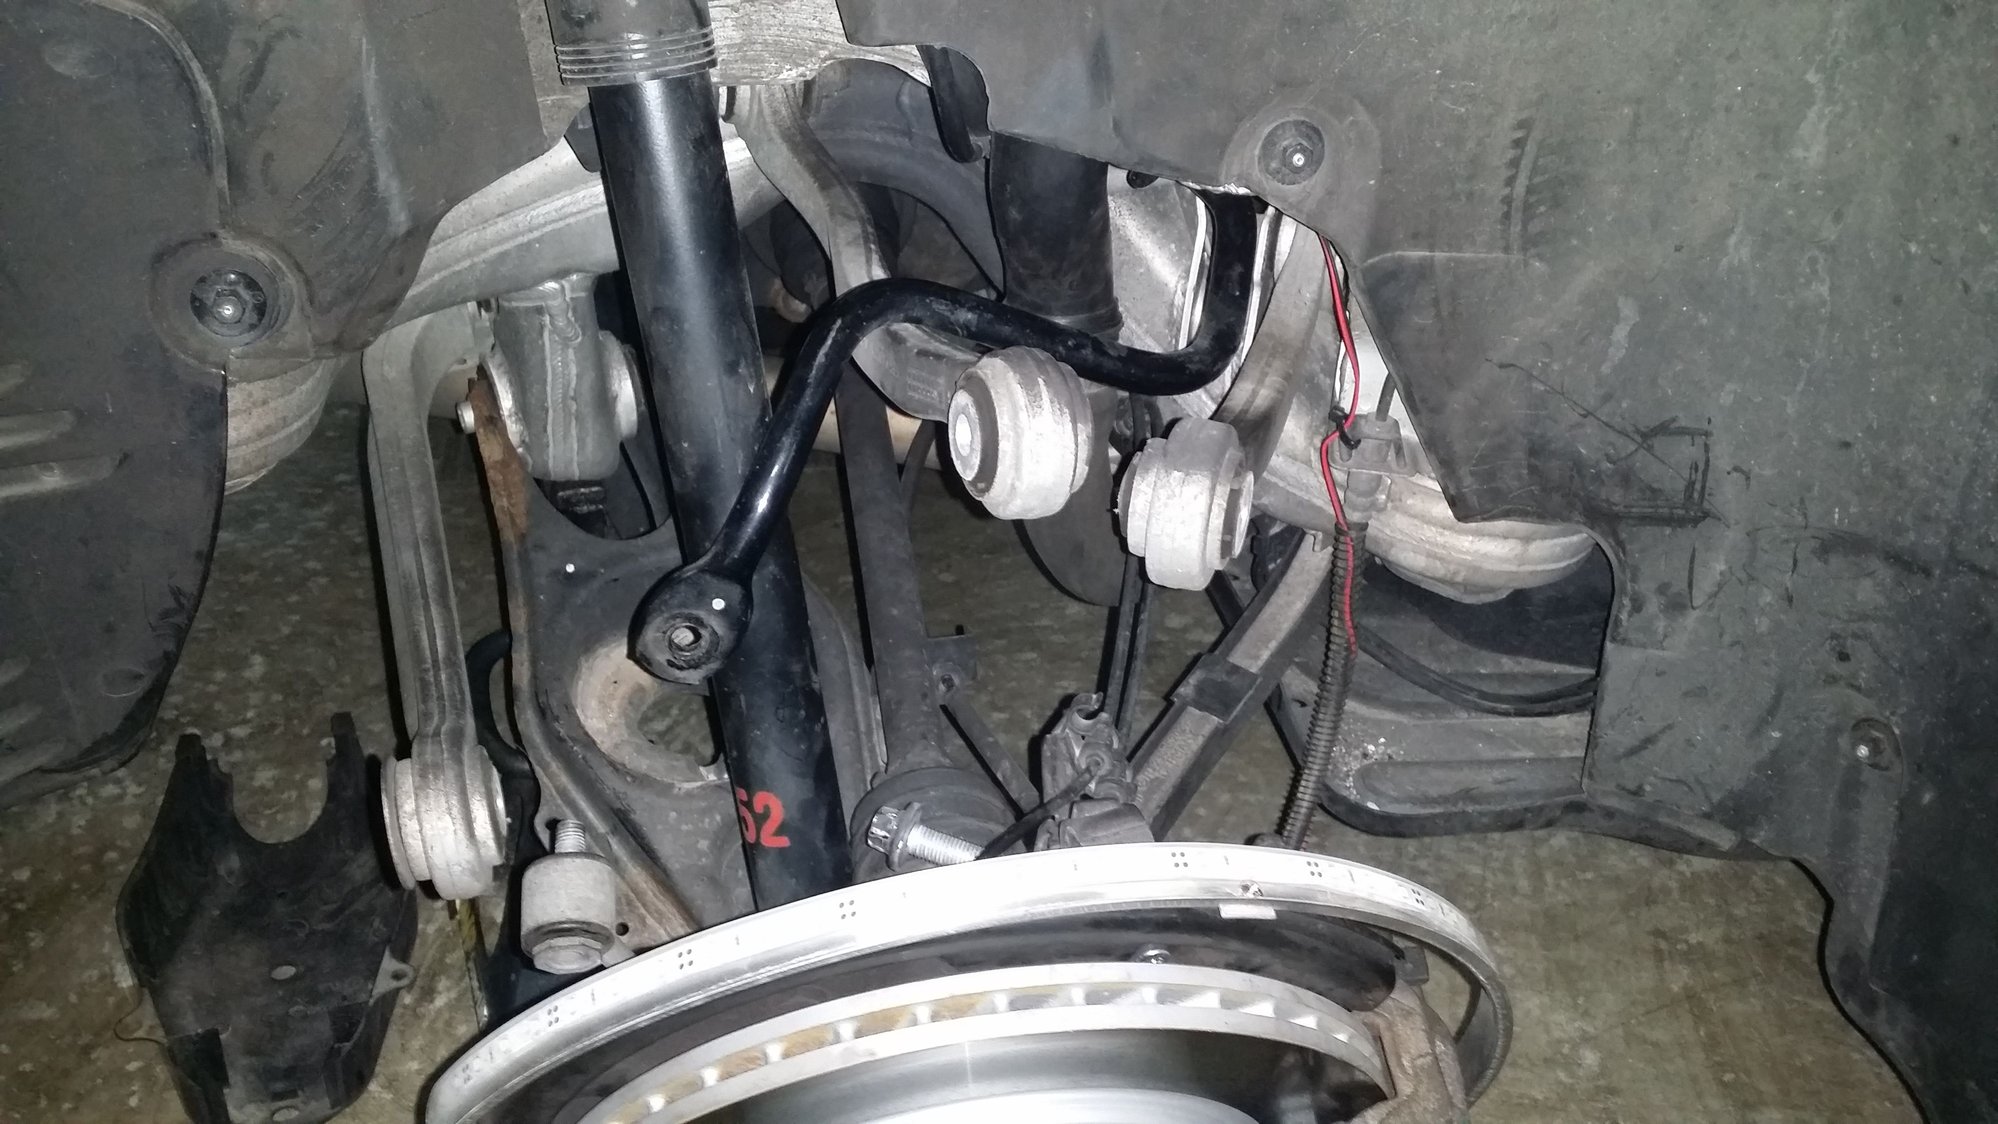
Here is a picture with the spring removed. Now, you need to insert the new spring and reverse the steps putting the linkages back together with the removed bolts. The ONLY thing I did different was put the shock absorber bolt back in first and the plastic guard back on. This holds the control-arm back in a decent position to replace the bolts and tidy-up. ^^
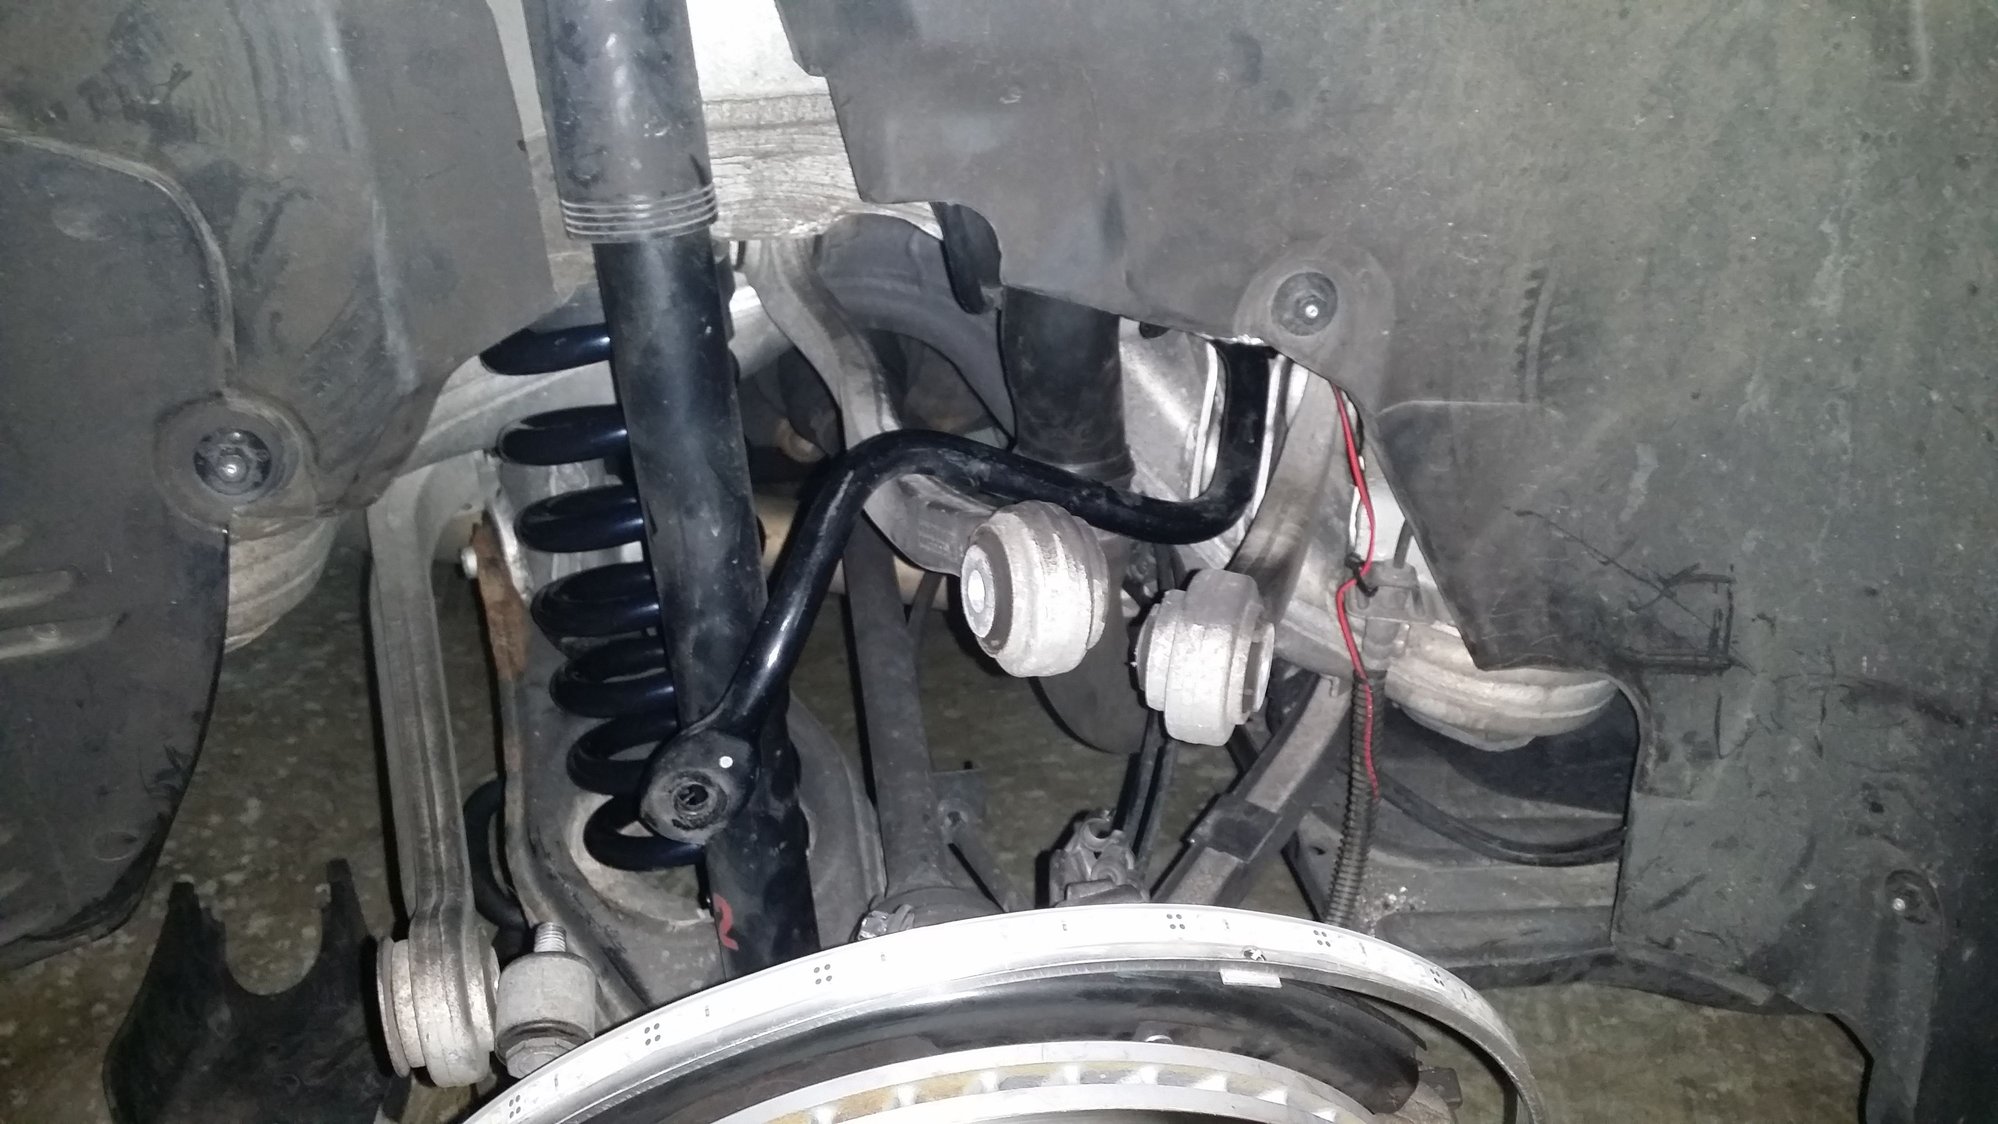
Here is a pic of the new spring in and shock-absorber bolt back in and tightened. ^^

Then with all the bolts back in and tightened......wheel on and jack removed...... Looks nice!

 ^^
^^^^^^^^^^^^^^^^^^^^^^^^^^^^^^^^^^^^^^^^^^^^^^^^
FRONT-------

Jack up the front now and remove the front wheels. You will need your spring compressor (rent them for FREE at autozone or other auto parts store) to remove the coil springs in the front when you get the stock coil assembly out. Look behind the rotor and find the nut and bolt in the picture below....... (I wasn't able to document the fronts as well as the rears due to phone battery......)

FRONT***
Remove the bolt holding the bottom of the stock coil onto the control arm. I chose NOT to remove the top linkagefriend...once again providing some leverage....you can man-handle the coil out ng this bolt and the top 3 nuts under the hood. You have to get the bottom of the shock (in picture) off the control arm (as you can see) after you remove the bolts in next picture
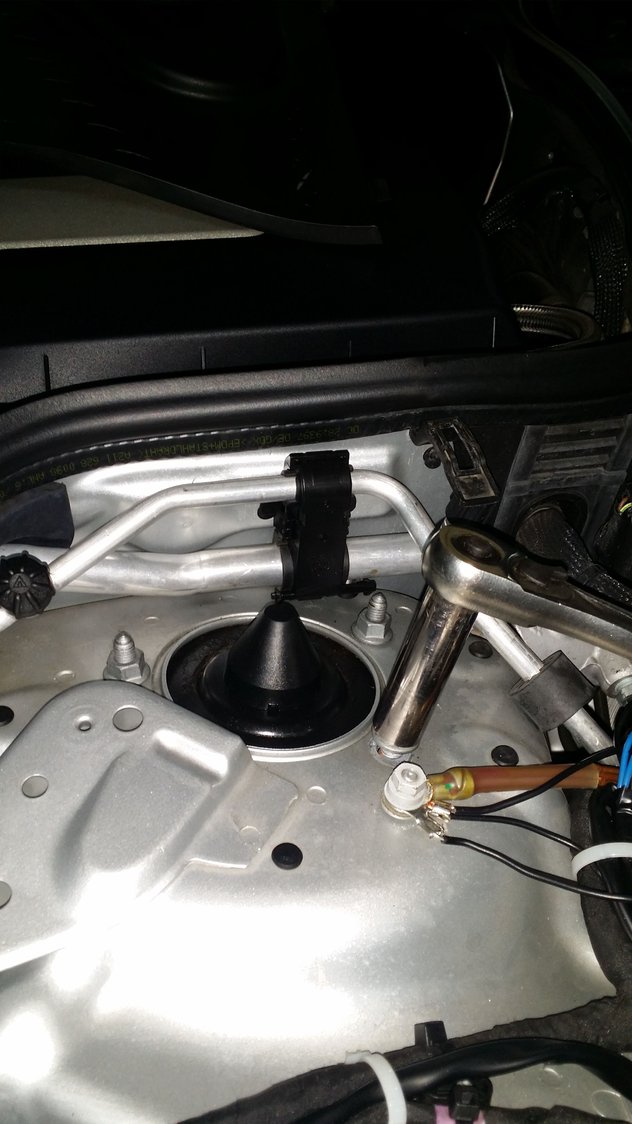
Here is the top 3 nuts under the hood that hold in the stock coil spring assembly. Remove all 3 after you remove previous. The shock will drop down a-little and you can man-handle it out with a friend and pry-bar.
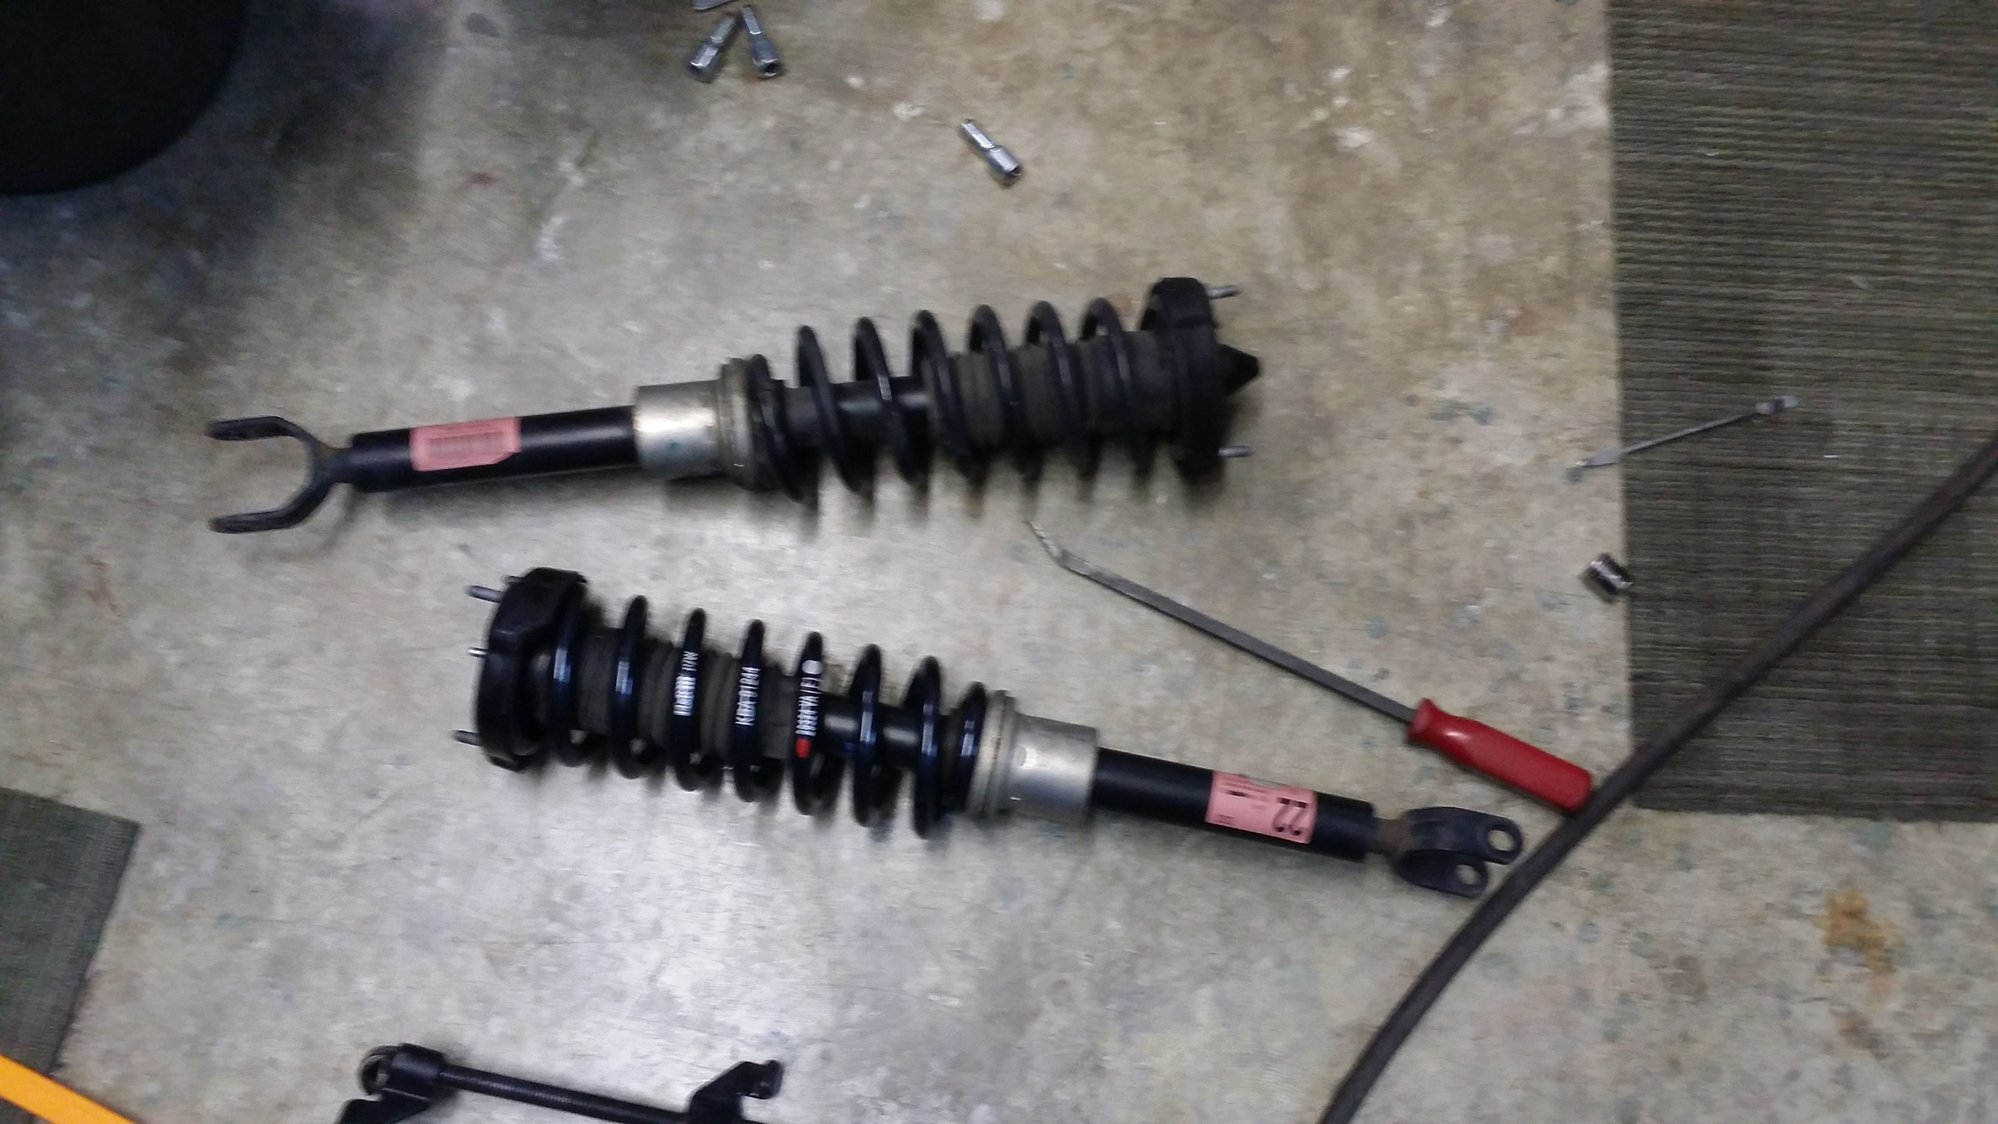
Take your coil-spring compressor and compress the spring itself a-little and remove the bolt on top of the spring (had the cone looking plastic piece over it) I took vice-grips and attached them to the inside of the shock-absorber itself (inside the rubber flex running through the spring) to keep it from spinning when removing the nut. Be careful not to gouge the steel shaft by using a cloth when you do it. Replace the new spring and repeat previous steps to put bolt and nuts back on.
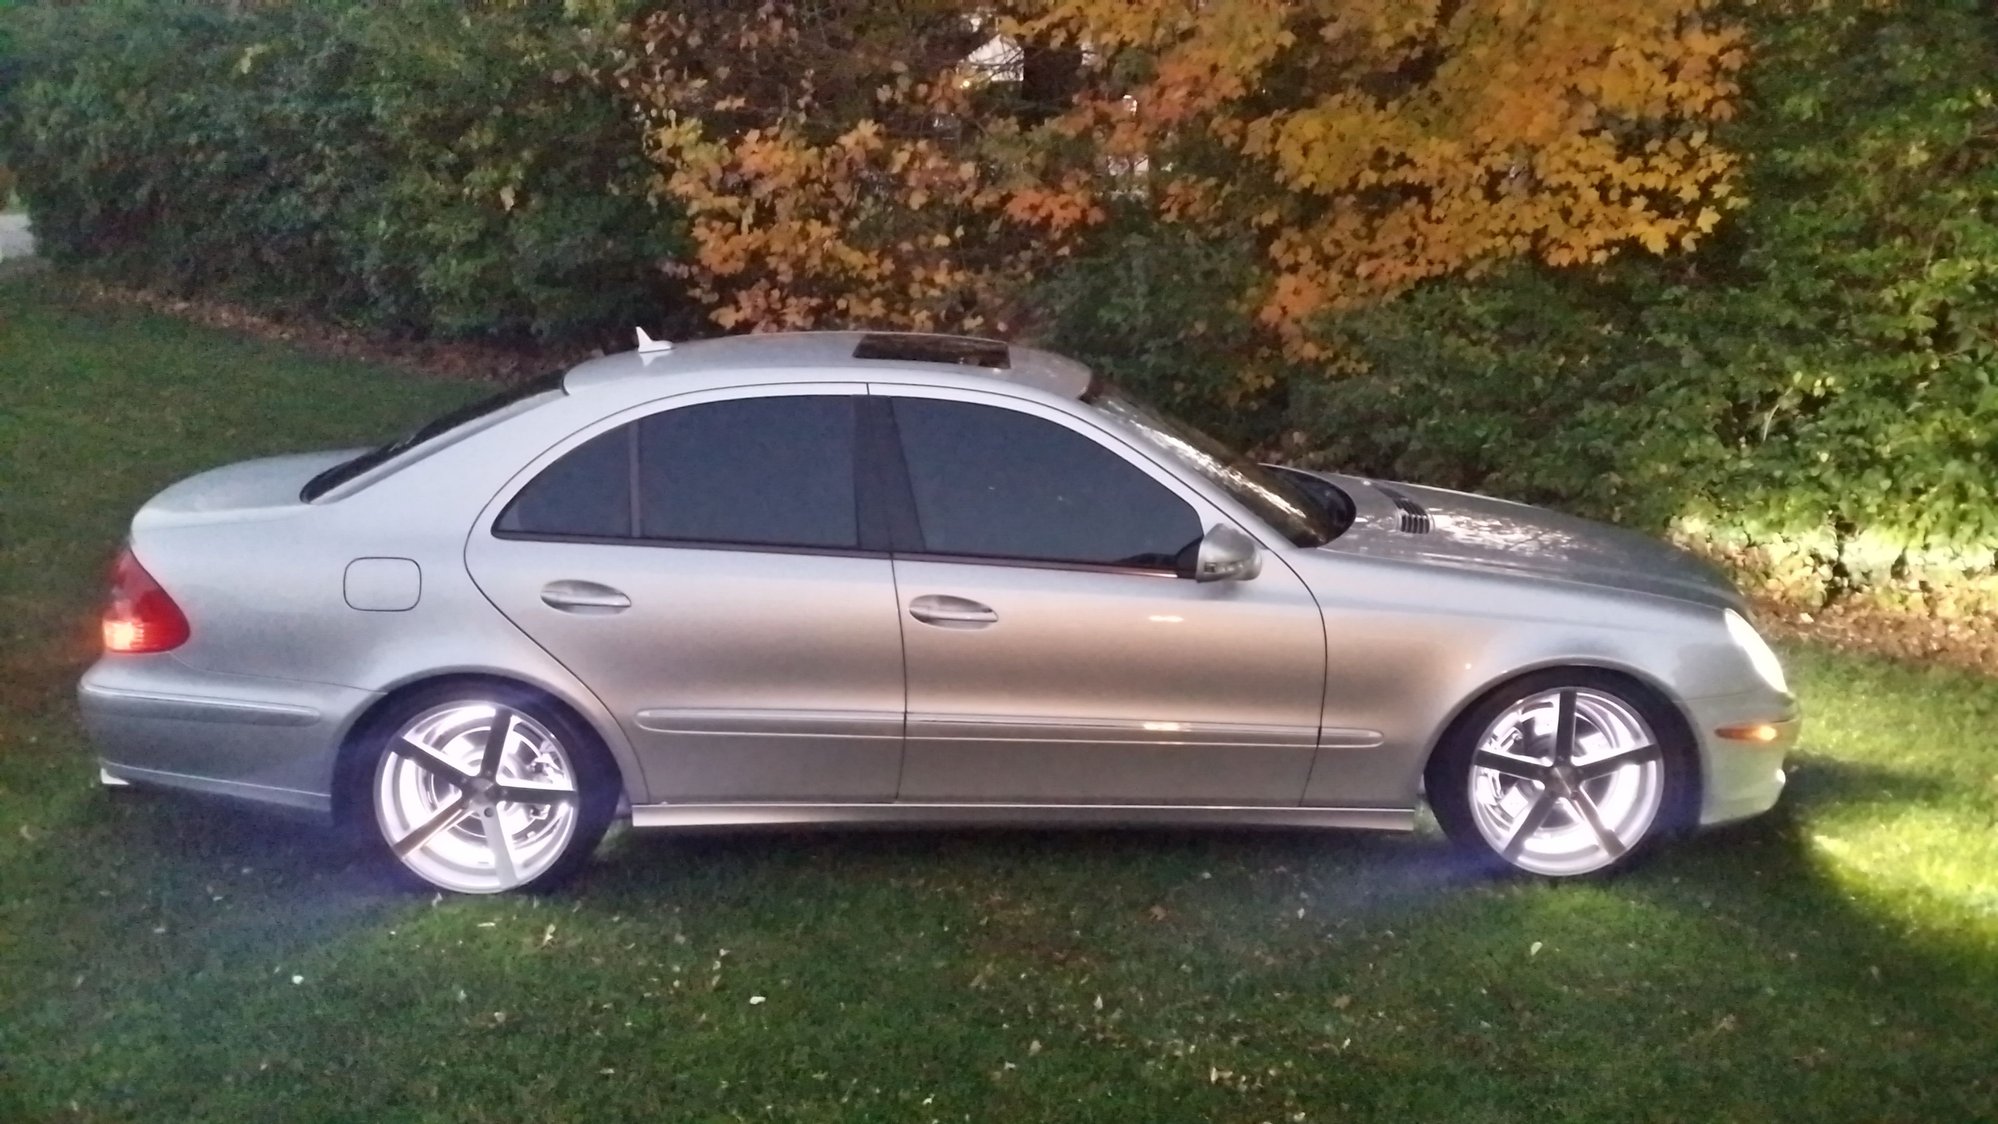
All done and with my LED wheel lights on.......check us out on Facebook for lighting questions and if your interested in LED for your ride! www.facebook.com/electronikadvice
Last edited by EALLC13; 10-28-2014 at 11:52 PM. Reason: spelling


