Mercedes-Benz C-Class and AMG: How to Replace Tail Lights
If one of the tail lights on your Mercedes Benz C-Class w204 is not working, you could either be pulled over and handed a ticket, or put yourself and other drivers at risk of getting into an accident. Read on to learn how to remove and replace the broken tail lights of your car.
This articles applies to the Mercedes-Benz C-Class and AMG w204 (2007-2014).
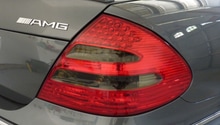
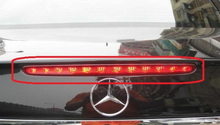
Tail lights are responsible for telling other drivers when you’re braking, which either means you are coming to a stop or just slowing down the speed. Unfortunately, they do wear out over time. They’re also fairly exposed to outside conditions, which makes them susceptible to damage. If you have a broken tail light or one that no longer works, read on to learn how to replace it.

Materials Needed
- Tail light ($250+)
- Round, plastic tie downs ($4 each)
- Screwdriver
- Socket wrench set
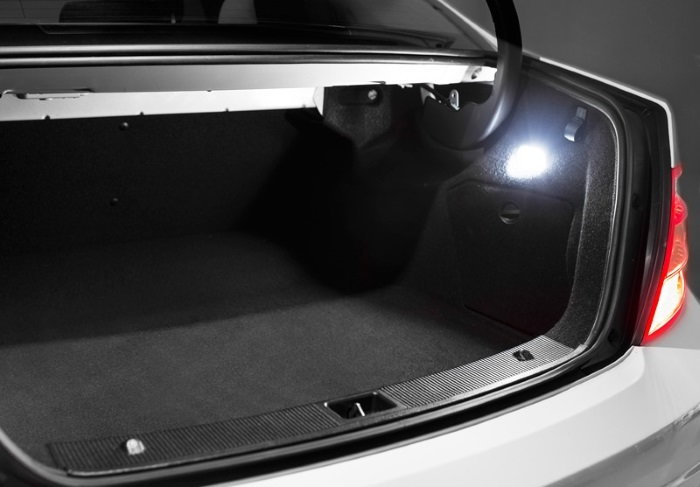
Step 1 – Remove plastic trunk base plate and cargo net holder
Remove the two screws on the floor. Pull up to disengage the plastic retainers (part of the base). Next, remove the cargo net holder (as necessary) by working out the back first, and pulling up on the metal rod to disengage two retainers. Remove the cargo tie downs using a Torx socket.
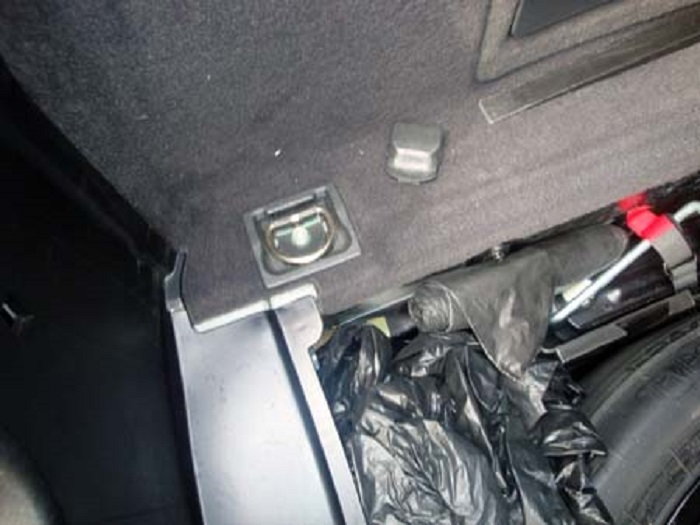
Step 2 – Remove tie downs
There are two on each side. They are located on the back of trunk near the tail light, and up toward the front of the trunk on the floor. They are difficult to remove without either breaking them or severely damaging them, so plan on getting four new ones from the dealer. They are about $4 each.
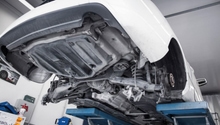
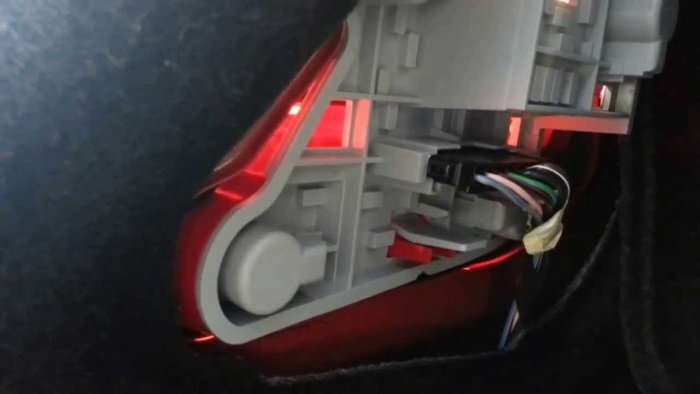
Step 3 – Accessing the tail lights
Gently start pulling out the liner off the back of the trunk. It’s easier to do if you bend the trunk liner just before the hinge. Then, fold the liner inward and prop it up using a piece of wood to hold back the liner. Now that you have clear access, you can remove the nuts holding the tail lights in. Once that’s done, unplug the light and it will pop out. Make sure to not drop the nuts.
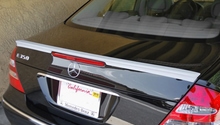
Step 4 – Replace tail light and re-install
When installing the new tail light, first very lightly snug down the three nuts surrounding the light before snugging the nut on the outside toward the side panel. This is because the side panel nut is slotted to ensure a tight seal. Do not over-tighten the nuts in order to avoid cracking the new light housing. Test the new lights to make sure they work, and then tighten the nuts. Remove the wood, and place the liner back. Replace the plastic tie downs, and then replace the cargo tie downs. Replace the cargo net holder (as necessary), and ensure the two retainers have a good grip on the net itself. Replace the trunk base plate, and then re-install the two screws.
Related Discussions
- Tail Light Removal DIY - MBWorld.org
- DIY Facelift Tail Lights - MBWorld.org
- W204 LED Taillights - MBWorld.org
- W204 LED Taillight Retrofit: DIY - MBWorld.org