Mercedes-Benz C-Class: How to Install LED Headlights
The Mercedes-Benz C-Class comes with a couple of different options for headlights. Unfortunately for those who want LED headlights, they did not come standard. Here's how you can upgrade those dull headlights yourself.
This article applies to the Mercedes-Benz C-Class (2014-Present).
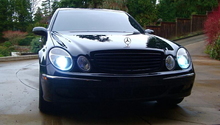
Unless you opted for the LED lighting package in your new Mercedes-Benz C-Class, you're likely to be stuck with standard halogen lights. While these are perfectly capable of lighting the road at night, they do not offer the long life and energy efficiency of LED headlights. Unfortunately, replacing halogen lights with LEDs can be costly and a difficult DIY project. But it's not so bad if you're willing to put in a little time and effort. Follow the steps below to install LED headlights in your Mercedes-Benz C-Class.

Materials Needed
- OEM C-Class w205 LED headlight assemblies
- Panel clip removal tool
- Flat head screwdriver
- Philips screwdriver
- Ratchet with socket set and extension
It is highly recommended installing OEM LED headlight assemblies because the headlights make use of the existing control unit. Without the proper connections, the headlights will not be able to communicate with the computer in your Mercedes-Benz C-Class.
Step 1 – Unbolt the wheel well and front bumper
Before you begin, turn the wheels inward on the side you will be working on.
- With a panel clip removal tool, snap off the inner wheel well retainer clips.
- Carefully pull back on the front fender panel.
- Use a ratchet and socket to remove the bolts.
- Open the hood, and remove the plastic panel connected to the bumper. There is a knob you can twist and remove.
- Use your ratchet and socket to remove the bolts connected to the front bumper. The front bumper should then come loose.
It is not necessary to remove the wheel well panel or the front bumper, but you must loosen them to remove the headlight assembly.

Pro Tip
Be very careful when handling small screws and bolts because if you drop them into the engine compartment, it will be difficult to retrieve them.
Step 2 – Remove the headlight assembly
- Connected to the headlight assembly is a large electrical harness. Simply pull on the tab to release it.
- Use your ratchet and socket to remove the bolts holding the assembly in place.
- Very gently, slip the assembly out from the front end.
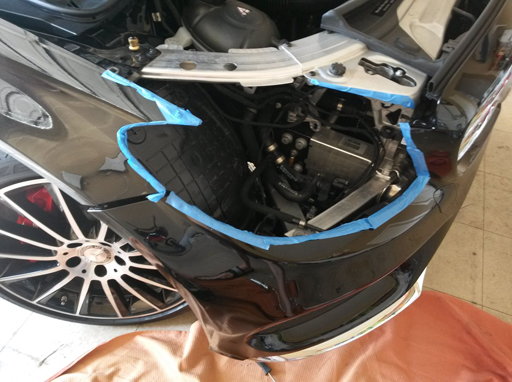
Figure 2. Carefully slide out the headlight assembly. 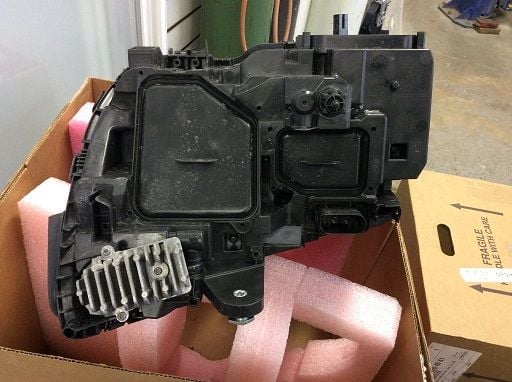
Figure 3. Headlight assembly removed.
Step 3 – Install the LED headlight assembly
Install the new LED in reverse order to the steps above.
- Carefully place the new LED headlight assembly in place of the old one.
- Bolt it to the frame, and connect the electrical harness. Make sure it is securely plugged in.
- Test the headlights before reassembling the bumper and fender.
- Twist the knob back into place, and bolt the front bumper from under the hood.
- Reconnect the front plastic panel cover over the front bumper.
- Bolt down the bumper from the inner wheel well.
- Lastly, snap on the wheel well retainer clips.

Related Discussions
- C300 Eye Surgery and Transplant - MBWorld.org
- How to Remove Plugs from the Front Wheel Wells - MBWorld.org
- C-Class W205 LED Headlights - MBWorld.org