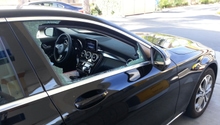
Mercedes-Benz C-Class: How to Remove Door Trim Panel
Need to replace a door speaker or window switch? Removing the interior door panel gives you the access you need to get the job done. So continue reading to find out what it takes to remove the door trim panel of your Mercedes-Benz C-Class w204.
This article applies to the Mercedes-Benz C-Class w204 (2007-2014).
Door panels on all vehicles usually house things like the door speakers, seat controls, puddle lights, power window switches, and power mirror tilt control. If any of these components need servicing or replacement, the door panel almost always needs to come off completely for proper access to electrical connectors as well as wiring. Over time, the material on the panels can crack and become less appealing. Often, replacements can be found, and you'll need to know how to remove the existing one before swapping in the new one. There are also aftermarket "trims" available that enthusiasts will often want to replace their entire interior trim with. Some trims are simply pieces of plastic that follow the contour of different parts of the dash, door or shifter trim, while others house electrical components. For whatever reason you need to remove the door trim panel, this article will guide you through the process.

Materials Needed
- Non-marring pry tools
- Assorted flat tip screwdrivers
- Torx driver
Step 1 – Remove front door cards
The door trim will need to be removed to replace faulty components, or if you are upgrading the trim.
- Using a non-marrying pry tool, separate the thin trim by the lock post.
- Use the tool again to pry the bottom edge of the trim.
- Pry the inner rivet using the flat tip screwdriver.
- Remove two T30 Torx screws using Torx driver.
- Remove and disconnect door tweeter as well as plastic foam.
- Pry the door card up and out.
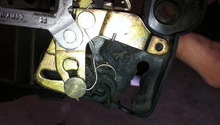
- Un-clip the purple and blue harnesses.
- Unhook the anchor for the lock mechanism.

Figure 1. Separate rubber seal from plastic door card. 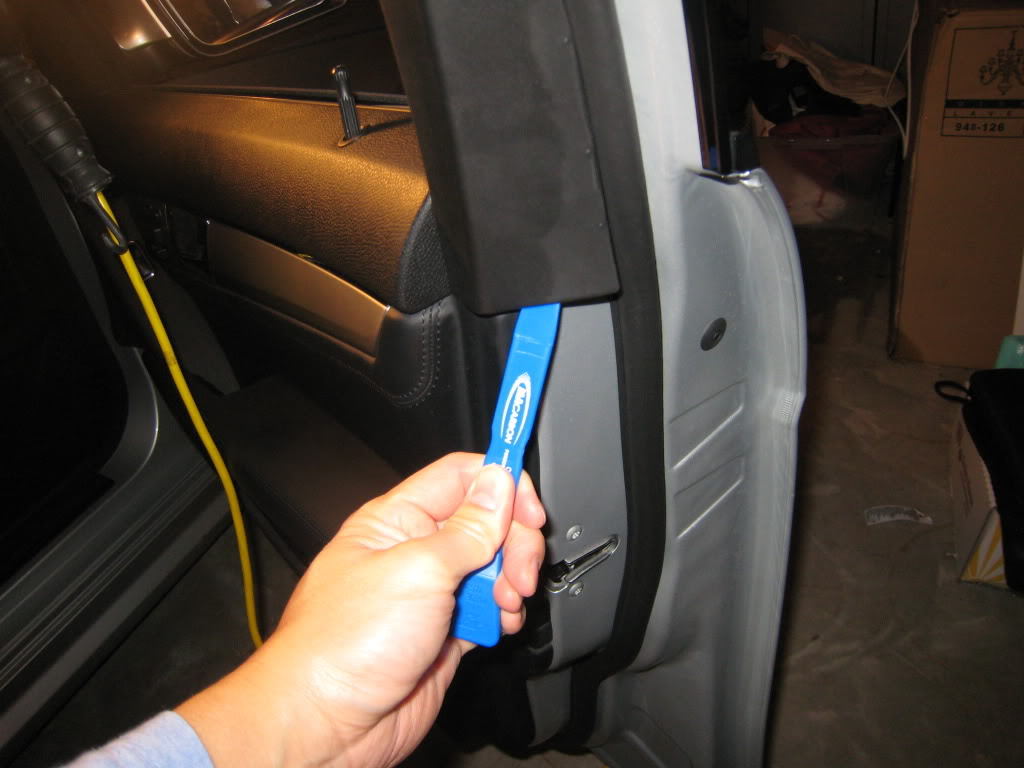
Figure 2. Remove upper door trim. 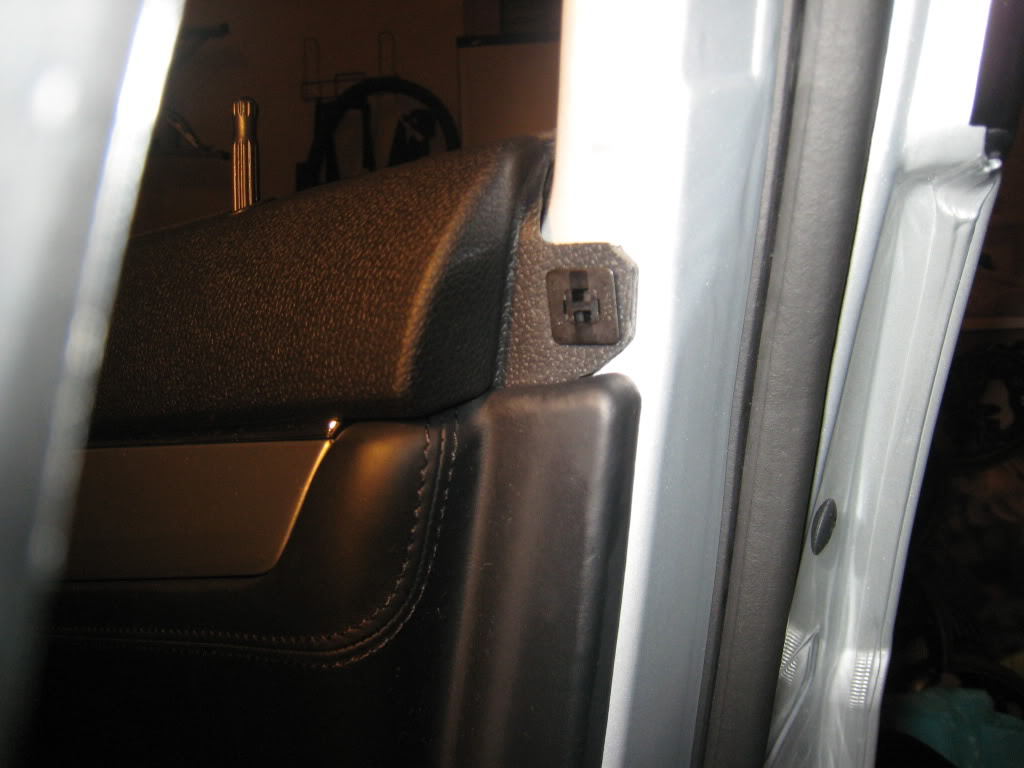
Figure 3. Remove the clips. 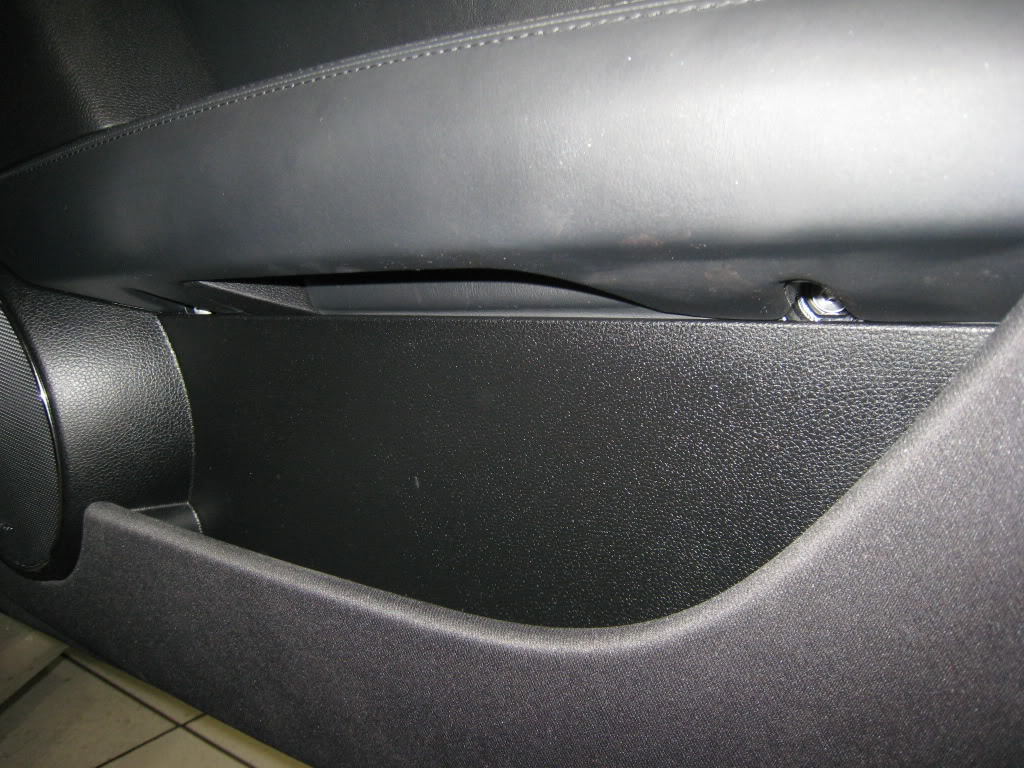
Figure 4. Remove the screws.
Pro Tip
Be careful not to damage the rivet, or it will need to be replaced. When removing the door cards, there are orange clips that can break easily if removed with too much force.
Step 2 – Separate trim and seat control cover from door card(s)
Once the door card is free from the door, it can be laid on its surface to allow you to remove the trim and seat control cover.
- Remove the 10mm Hex bolts.
- Separate the plastic overlay.
- Disconnect the white and blue harnesses.
- The seat control cover can be pried with a thin flat tip screwdriver.
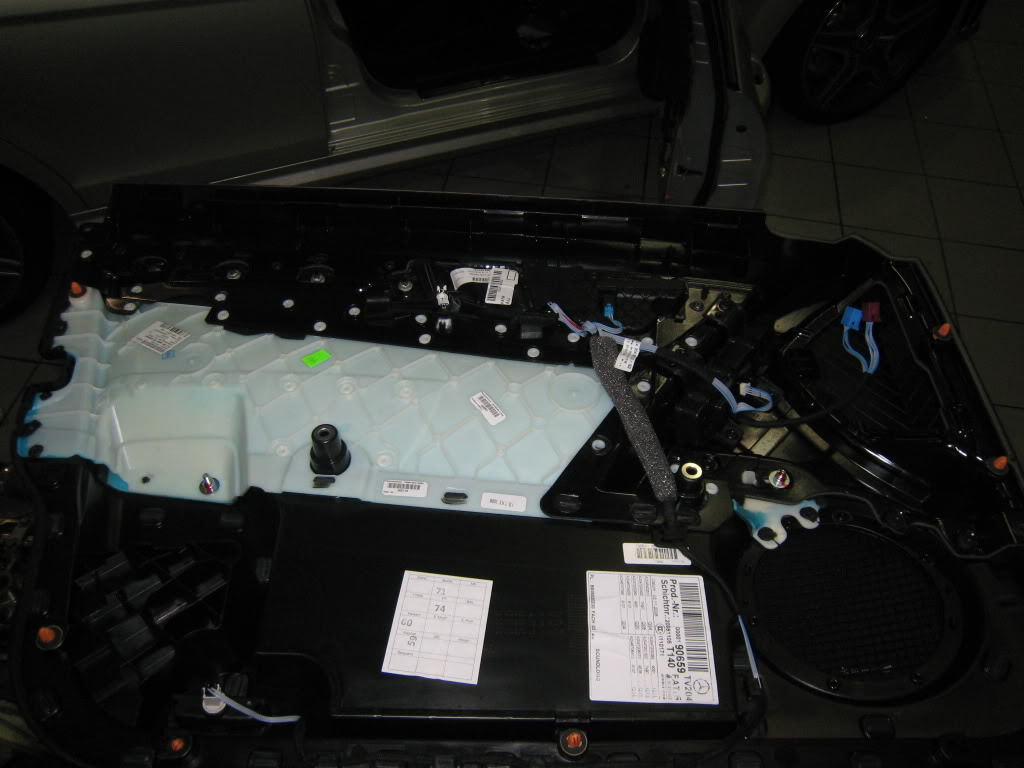
Figure 5. Separating door trim panel components. 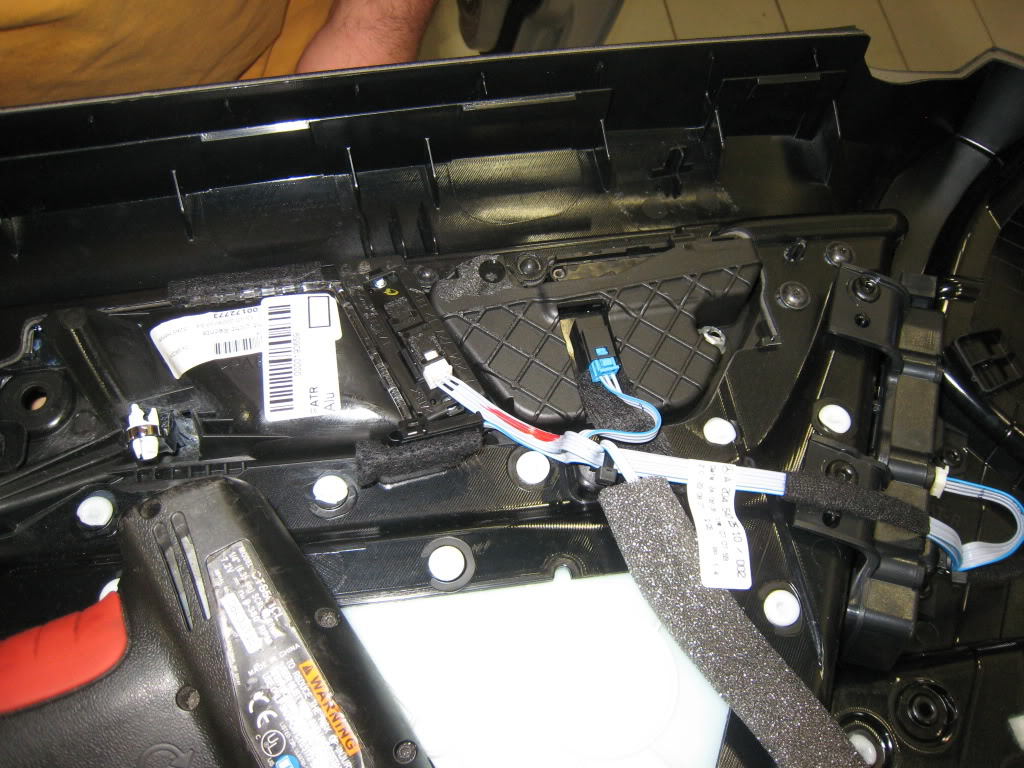
Figure 6. Remove any specific connectors that need to be replaced. 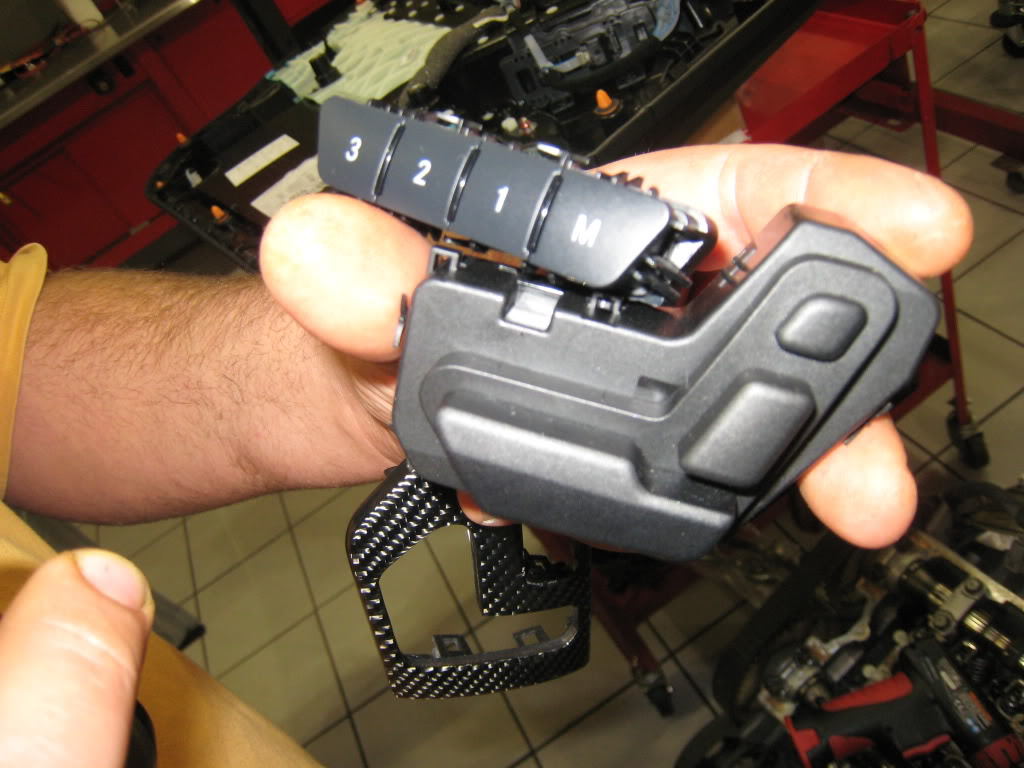
Figure 7. For example, seat controls.
Step 3 – Installation is reverse of removal
Now that all the parts are out and separated, the new trim can be snapped back in place and faulty components can be replaced as well as plugged back into their harnesses.
- Snap the new trim for the seat control into place, and reattach to door card.
- Snap the new trim for the door card into place, and reattach to door card.
- Relatch the hook for the lock assembly.
- Reconnect the related harnesses.
- Affix door card to lock hinge, and snap into place.
- Secure the Torx screws.
- Re-install the previously removed square rivet.

Related Discussions
- DIY: Interior Trim Replacement - MBWorld.org
- Door Panels Removed - MBWorld.org
- Removing Door Panel Trim - MBWorld.org
- Front Door Panel Removed - MBWorld.org