Mercedes-Benz C-Class: How to Replace Your Side Windows
In the off chance that someone has shattered the side windows of your Mercedes-Benz C-Class, you can always replace it yourself. So continue reading to find out how to do just that on your C-Class w205.
This article applies to the Mercedes Benz C-Class w205 (2014-Present).
Accidents happen, and (unfortunately) so do attempted thefts. If on the way to your Mercedes-Benz C-Class you see that a side window is shattered, then don't worry. There are a few DIY guides out there for the w205. But as far as replacing the side window glass in your vehicle, this article provides the most in-depth and proper steps to replace the side window glass. Continue reading below for the detailed instructions.
Materials Needed
Seat and steering wheel covers (optional)
Phillips screwdriver
Plastic trim removal tool and pick
T30 Torx screwdriver
Step 1 – Prep the work area
Disconnect the negative (black) terminal of the battery.
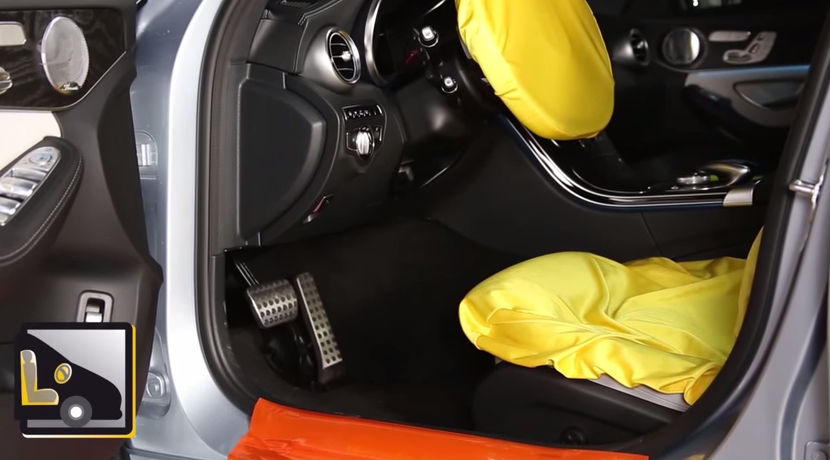
Cover the steering wheel and seat with a cloth to ensure no damage is done to these interior components. This is optional.
Figure 1. Protecting the interior components is optional.
Step 2 – Free the door panel
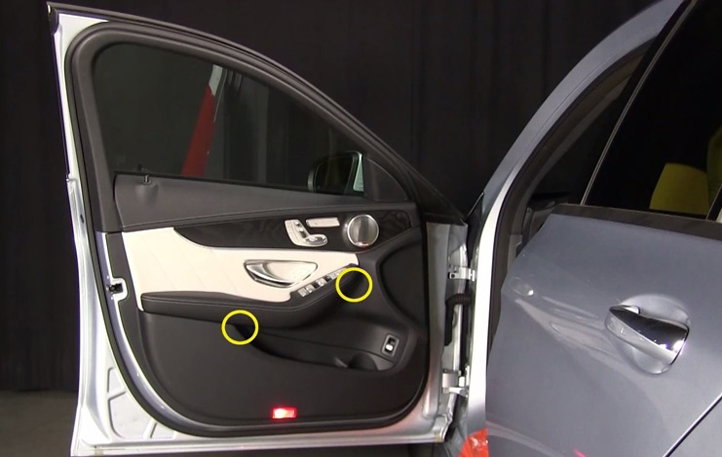
With a Phillips screwdriver, remove two screws located underneath the door armrest.
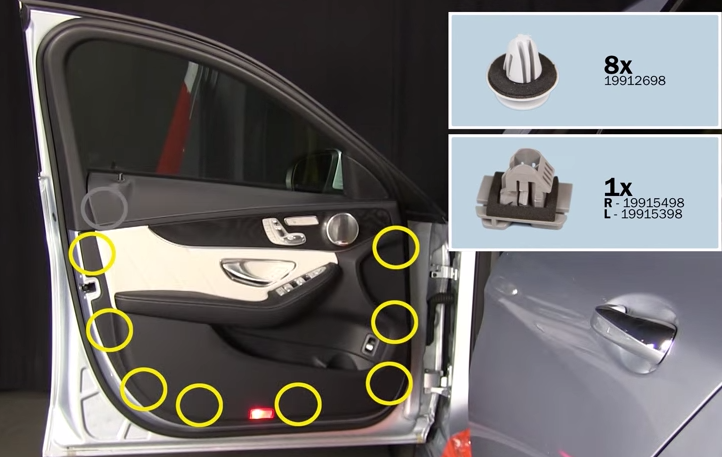
Behind the edges of the door panel are nine plastic clips. One clip (located near the door lock pin) is a different type of clip from the other eight.
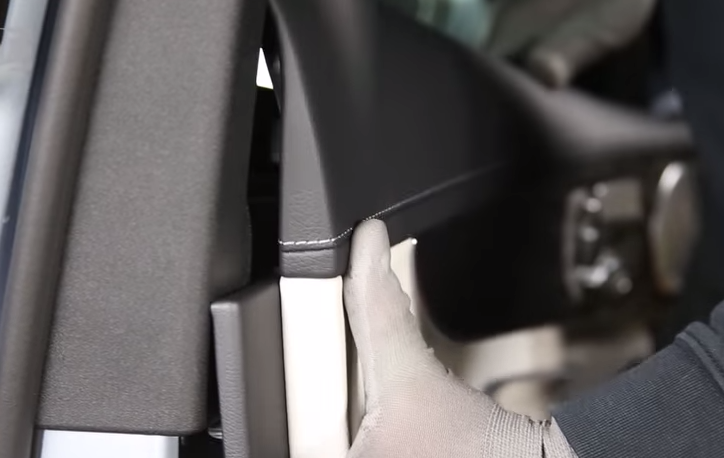
Beginning with the side closest to the door hinges, pry out the door panel with a trim removal tool. You should hear each clip pop out.
When removing the clips, work your way from the bottom door panel to the end of the door.
Once the clips are freed, firmly hold the door panel from two opposing ends.
Lift the door panel up, and gently pull it outward. Do not yank the panel off as there are connectors attached to it.
Figure 2. Remove two Phillips screws underneath the armrest.
Figure 3. Nine clips are attached to the door panel.
Figure 4. Lift the door panel up and pull it outward.
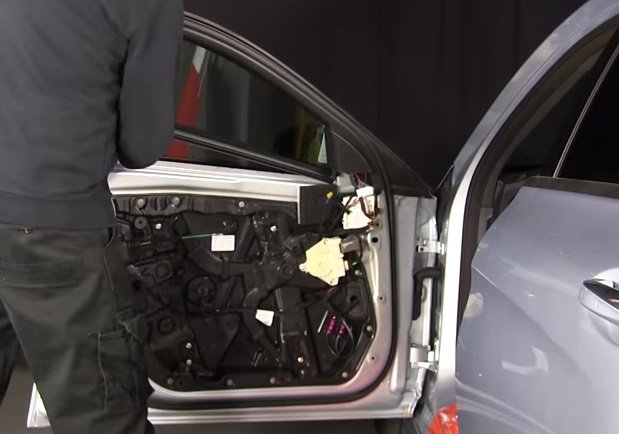
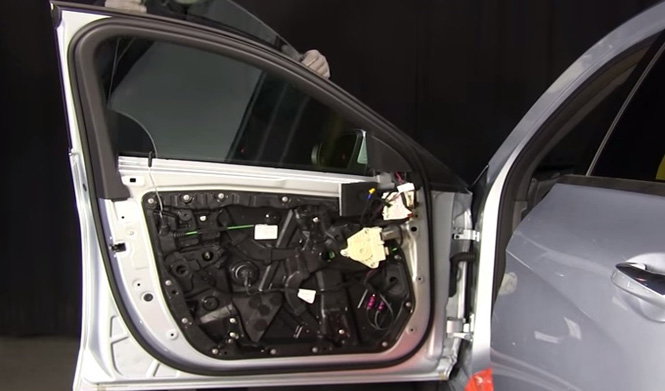
Step 3 – Remove the door panel
Near the center of the inside door panel is the door lock cable. Pull it up from the actuator latch to free it from the door panel.
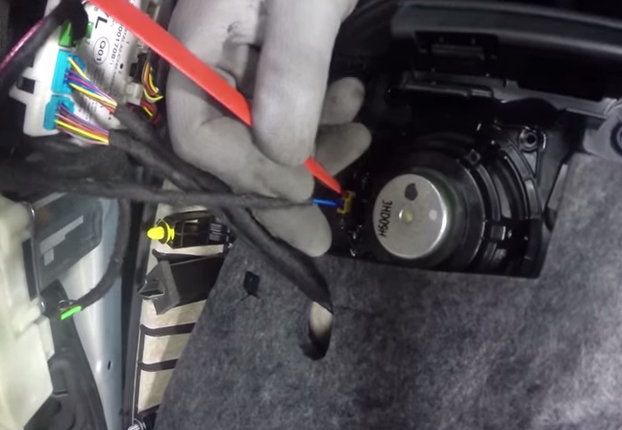
There is a small connector behind the door panel speaker. Insert a plastic pick into the empty slot of the connector to un-clip the latch.
Then, gently pull the connector out.
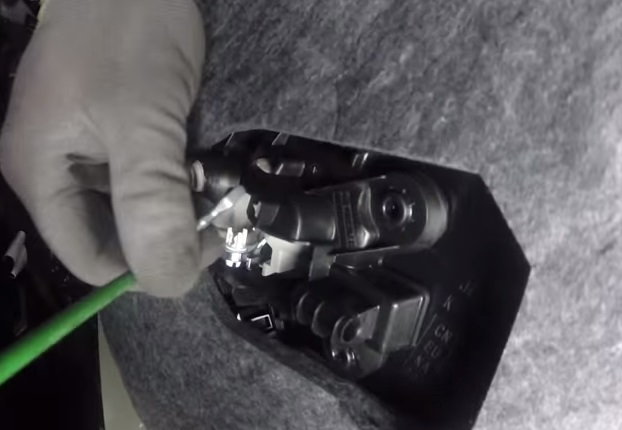
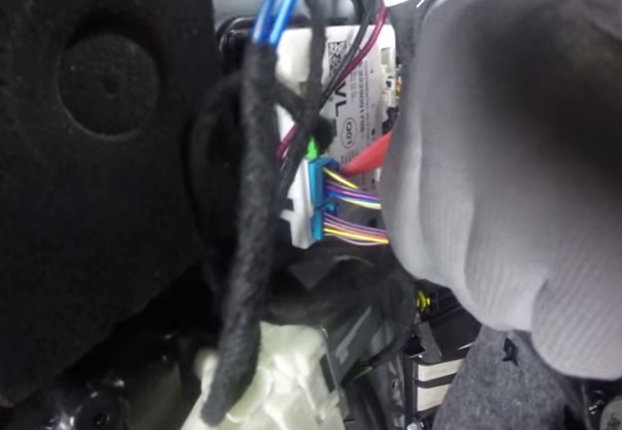
Lastly, there are two light blue connectors plugged into the module of the door frame. Use the plastic pick to un-clip each connector, and gently pull them out.
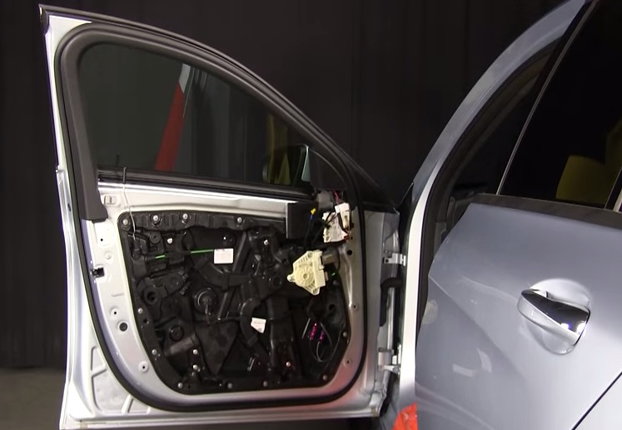
Once all connections have been detached, safely remove the door panel and set it aside.
Figure 5. Unlatch the door lock cable.
Figure 6. Unplug speaker wire harness connector.
Figure 7. Un-clip two connectors from the door module.
Figure 8. The front door panel removed.
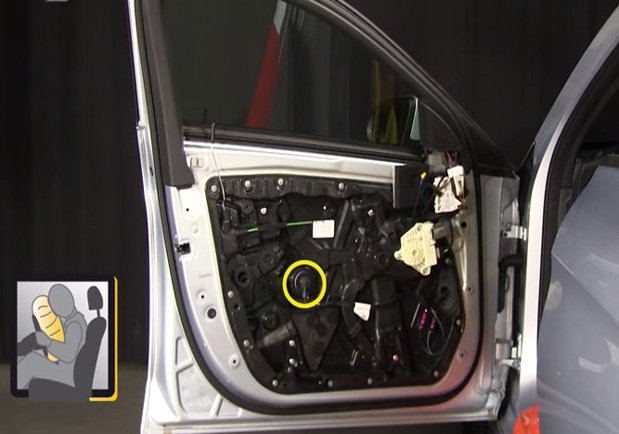
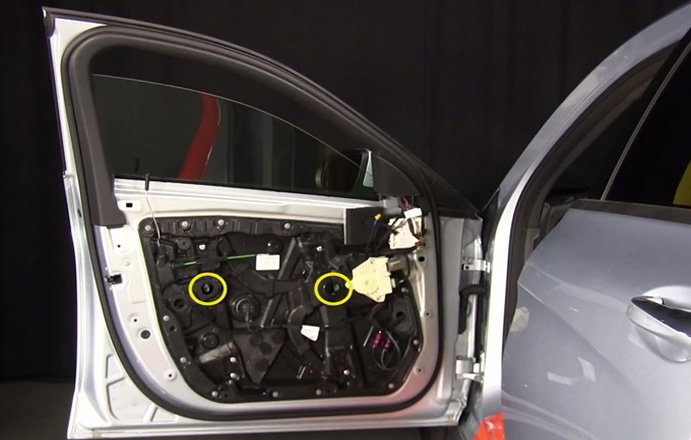
Step 4 – Remove the window molding and access port plugs
Pry out the window molding with your trim removal tool. Start with the side closer to the end of the door.
With the trim removal tool, remove two access port plugs located in the middle of the door.
When removing or installing door components, make sure not to touch or remove the side door airbag.
Figure 9. Remove the window molding.
Figure 10. Remove the access port plugs.
Figure 11. Be careful of side door airbag.
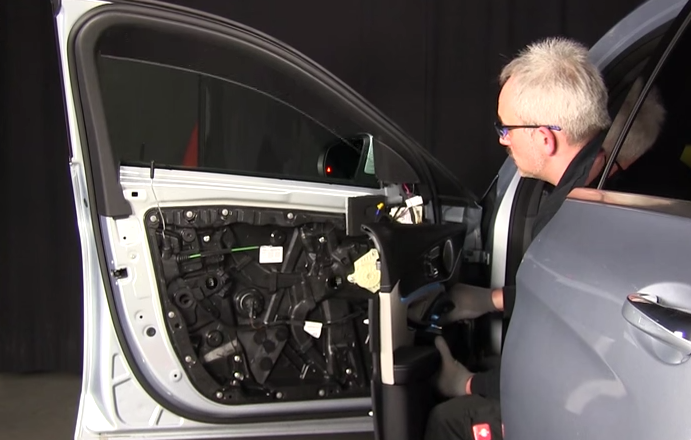
Step 5 – Roll down the window
Reconnect the battery.
Push the START/STOP button, but do not start the car.
Grab the door panel, and plug in the two light blue connectors into the door module.
Roll down the window until the two T30 Torx screws are visible in the access ports.
Then, unplug the door module connectors and disconnect the battery.
Figure 12. Reattach the door panel connectors.
Figure 13. Line up the Torx screws to the access ports.
Figure 14. Disconnect door panel once Torx screws are visible.
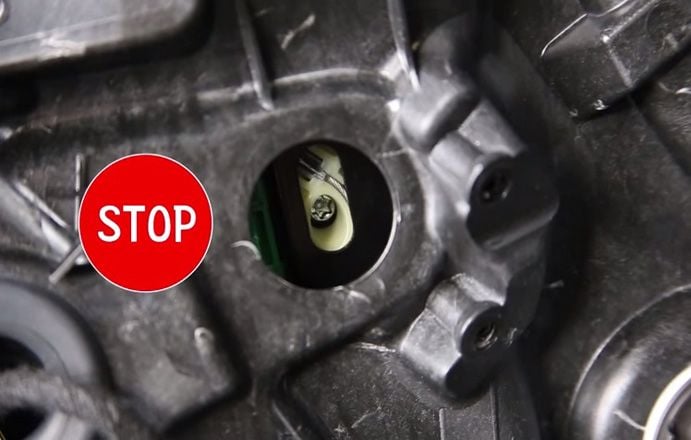
Step 6 – Remove and replace the window
With a T30 Torx screwdriver, loosen the two Torx screws in the access ports. Do not remove them.
Carefully pull back on the window glass from outside the vehicle.
Tightly hold on to the window glass from the side and top edges.
Pull up to remove the window glass, and carefully set it aside.
Install the replacement window in reverse order to the steps above:
Re-fasten the T30 Torx screws.
Re-install the window molding.
Re-attach the door panel connectors.
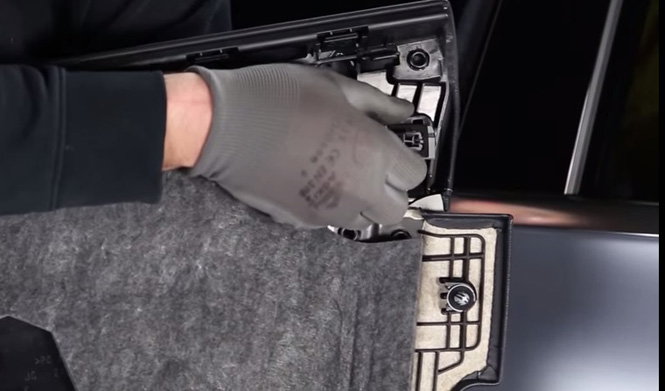
Pull up on the single dark gray clip of the door panel to reset its position.
Snap the door panel back onto the door frame.
Figure 15. Loosen the two T30 Torx screws.
Figure 16. Remove the side window glass.
Figure 17. Re-position door panel clip before installing.
Featured Video: Removing Side Door Panels and Windows in Mercedes-Benz C-Class W205
How to Remove Door Trim Panel
Is the door panel trim cracked, or do you need to replace a component within it? Find out how to remove the door trim panel with this helpful article.
This article applies to the ...
How to Remove Door Panels
Find out what it takes to remove the door panels of your Mercedes-Benz C-Class w205.
This article applies to the Mercedes Benz C-Class w205 (2014-Present).
In past Mercedes-Benz C-Class ...
How to Replace Power Window Regulator
Did car gremlins make a victim out of your power windows? There's no need to fret, they're easier to fix than you might think.
This article applies to Mercedes-Benz E-Class ...
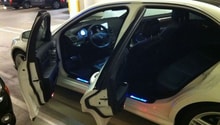
How to Install Illuminated Door Sills
Read on to learn how to add this great component yourself.
This article applies to the Mercedes-Benz C-Class (2007-2014).
While the design of the Mercedes-Benz C-Class ...
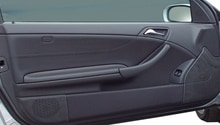
How to Install Door Speakers
Akadan, vic viper, ICON 1
Get better sound in your car by installing new door speakers.
This article applies to the Mercedes-Benz C-Class w204 (2007-2014).
So you got a used C-Class and ...
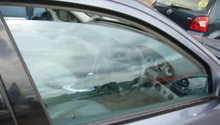
Why Won't My Power Window Go Up?
Huntnphool
These tips will help fix those uncooperative windows that won't go up or down.
This article applies to the Mercedes-Benz E-Class and E-Class AMG (2002-2009).
When a power ...