Mercedes-Benz E-Class AMG: How to Replace Spark Plug Wires
Although Mercedes-Benz vehicles have no set maintenance interval for spark plug wire replacement, it's often a good idea to swap them out when replacing the spark plugs or coils. For your E55 AMG, be absolutely certain that all of the spark energy coming from the ignition coils are reaching the spark plugs.
This article applies to the Mercedes-Benz E-Class E55 AMG w211 (2002-2009).
With today's high performance engines, the demands of spark plug wires are higher than ever. Spark plug wires transfer the electrical charge from the ignition coils to the spark plugs in order to ignite the air-fuel mixture in the cylinders. Over time, the continuous high voltage power traveling through the wires, combined with high engine bay temperatures, can cause the wires to breakdown, and thus reducing their effectiveness. The resistance in the plug wires can become excessive, and not allowing full spark energy to reach the spark plugs. Similarly, the plug wires can crack and allow voltage to arc between spark plugs, causing misfires. Optimize the performance of your E-Class E55 AMG engine by ensuring your spark plug wires are in good condition.

Materials Needed
- Ratchet and 17mm deep well socket
- Torx screwdriver
- Worm gear hose clamps
- Dielectric grease
- Flat head screwdriver
This article applies only to the w211 E55 AMG E-Class with dual spark plug wires per cylinder. This article is not applicable to the E63 AMG because this model utilizes a coil-on-plug design without the use of spark plug wires.
Step 1 – Remove the intake components
To gain access to the spark plug wires, several components on top of the engine must first be removed.
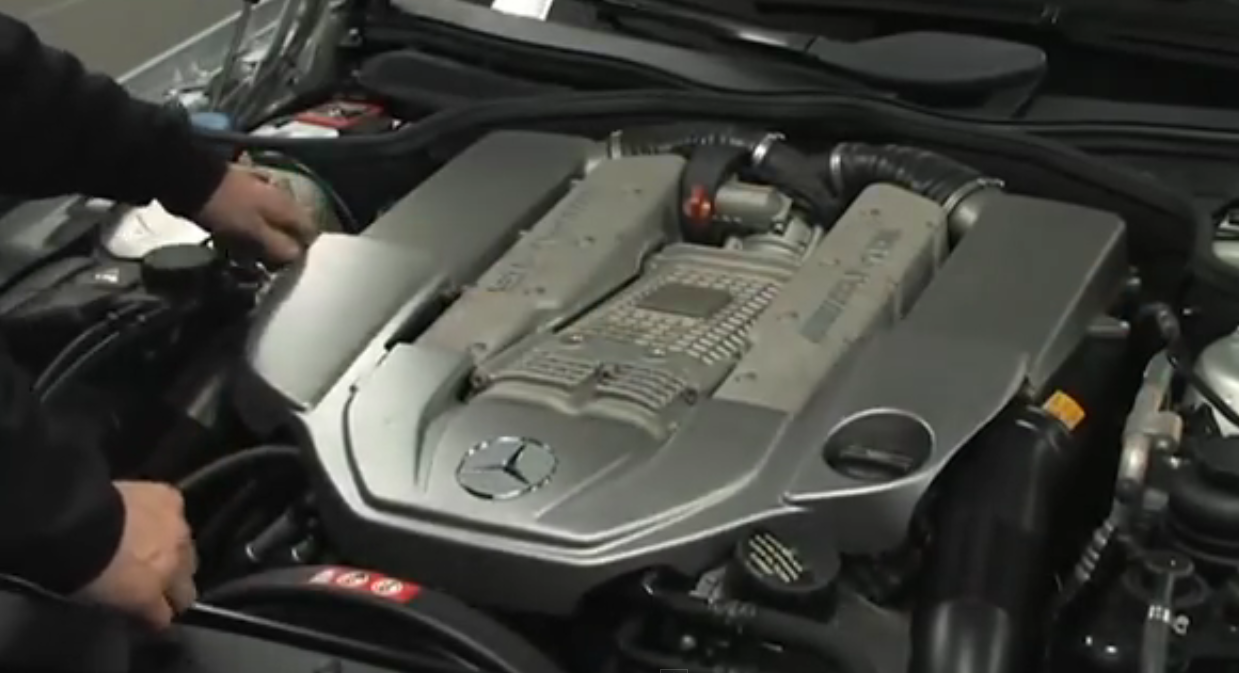
- Pull back on the clips located on each side of the engine cover.
-
Lift the cover right out, and set it aside.
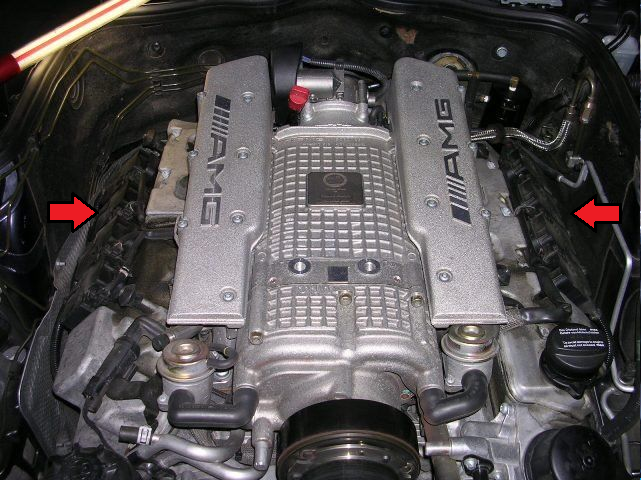
- Disconnect the plastic air intake tubes (red arrows in Figure 2) from each airbox.
- Use a flat head screwdriver to remove the Y-pipe hose clamps (yellow arrows in Figure 2) at the rear of the engine. These clamps are crimped on at the factory, and must be replaced with worm gear hose clamps.
-
Lift and remove the airbox assemblies from the engine bay.
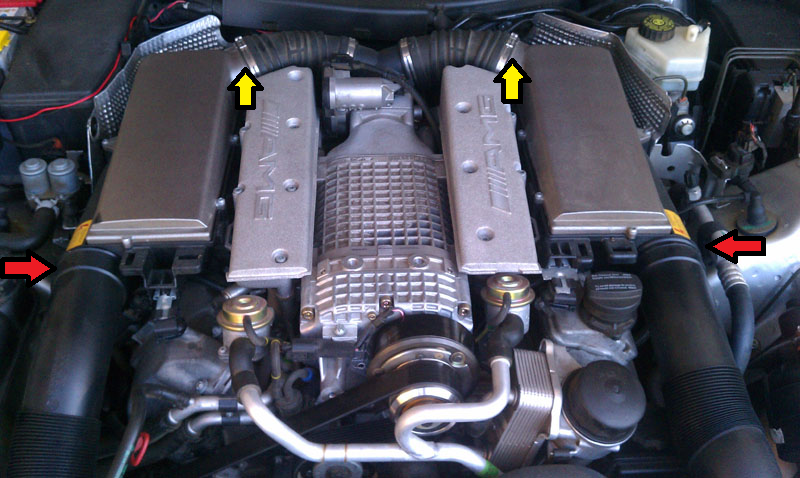
Figure 2. Airbox removal points. 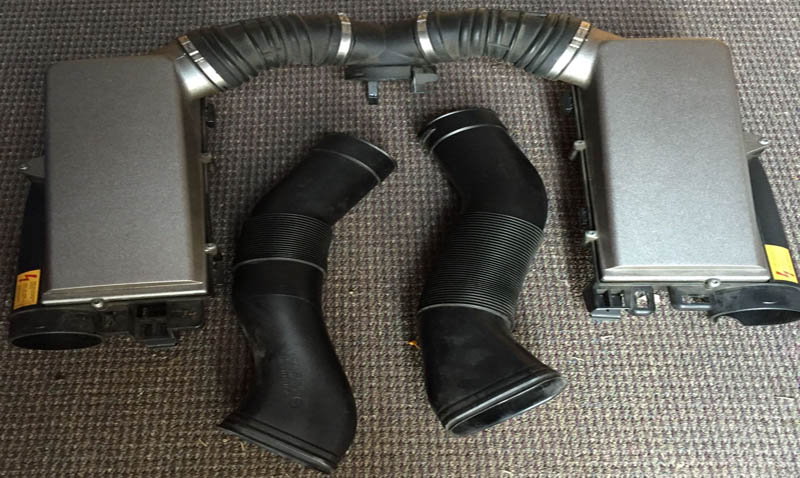
Figure 3. Airboxes and hoses removed.
Step 2 – Remove the coils
- With the airboxes removed, the ignition coils are now accessible (red arrows in Figure 3).
- Remove each spark plug wire from its companion spark plug. Be sure to remember where each spark plug wire is connected.
- Remove the spark plugs with a ratchet and 17mm deep well socket.
- With a small flat head screwdriver, apply leverage to remove the spark plug wire boot. The spark plug wire boot is notoriously difficult to remove as they can freeze in place over time.
- Remove the Torx fasteners that secure the coil packs to the valve covers.
- Remove both spark plug wires from each coil.
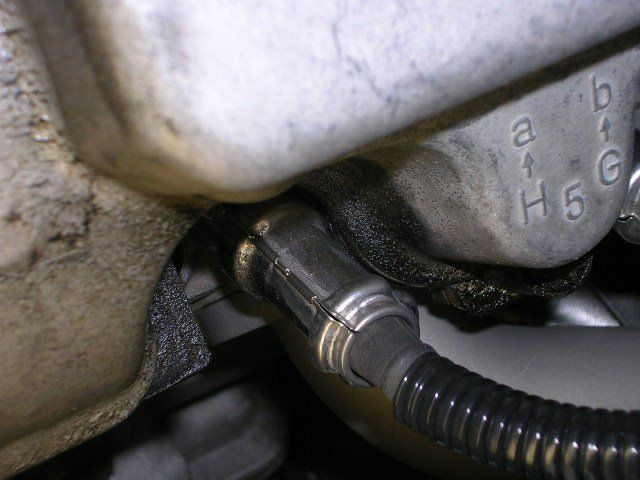
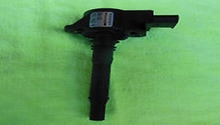
Figure 5. Remove the spark plug wire boot. 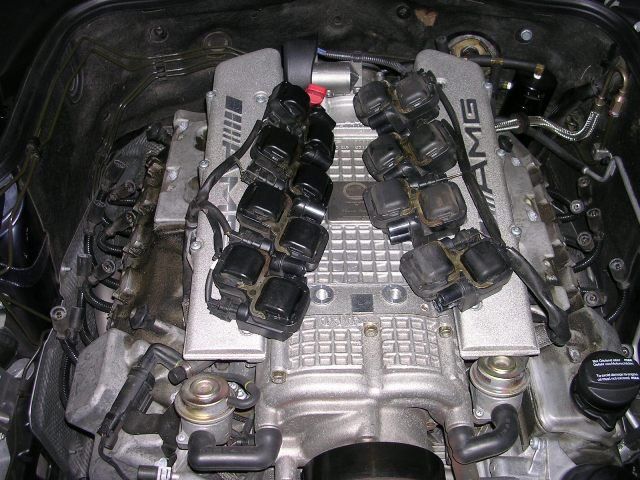
Figure 6. Coils and spark plug wires removed.
Pro Tip
Swing the coil packs and spark plug wires upward onto the engine for easier access.
Step 3 – Install the new spark plug wires
- Install the new spark plugs.
- Attach the new spark plug wires to each coil.
- Install coils onto valve cover, and tighten the Torx fasteners.
- Coat the new spark plug wire boots with a thin film of dielectric grease.
- Attach the boots to the spark plugs. Make sure each wire is correctly attached to its corresponding plug.
- Re-install the airboxes using new worm gear hose clamps for the Y-pipe connections.
- Reconnect the air intake tubes to the airboxes.
- Re-install front engine cover.
- Start the car to ensure the engine runs smoothly, and there are no check engine lights.
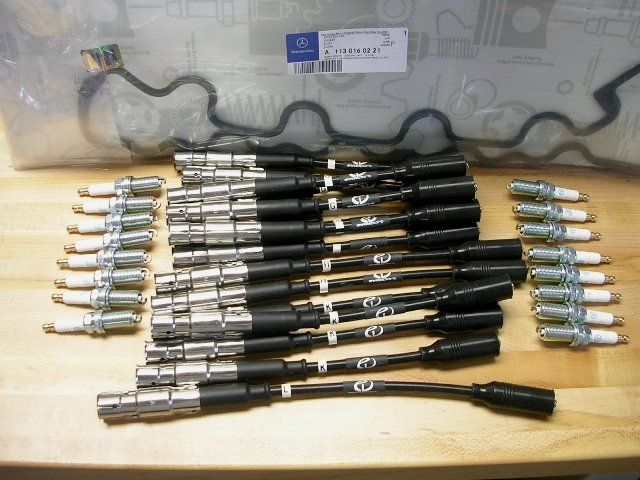
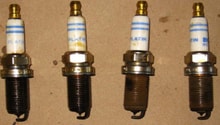
Figure 7. New set of spark plug wires. 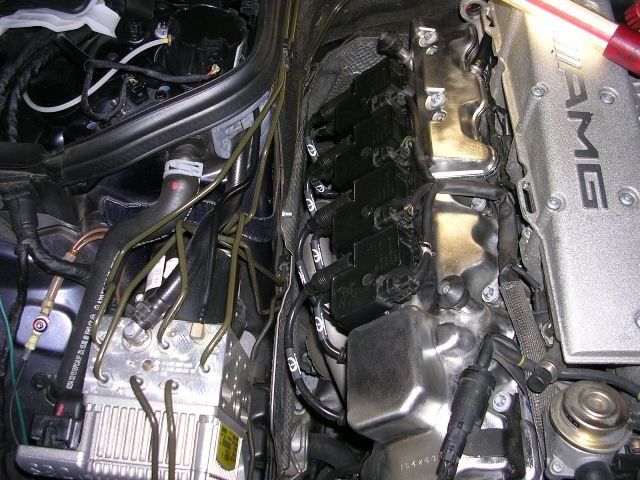
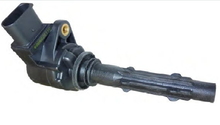
Figure 8. Coils mounted and spark plug wires attached.
Related Discussions
- Changing Spark Plug Wires- MBWorld.org
- DIY Valve Cover Gaskets, Plug Wires - MBWorld.org
- How I Did Spark Plugs, Leads, and Intake - MBWorld.org
- New Plugs at 65k -MBWorld.org