Mercedes-Benz E-Class and E-Class AMG: How to Replace Fog Lights
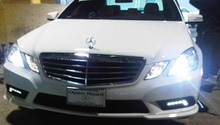
Make sure the fog lights in your Mercedes-Benz E-Class are working, especially for when you need them.
This article applies to the Mercedes-Benz E-Class and E-Class AMG (2002-2009).
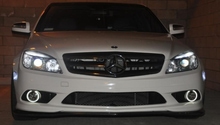
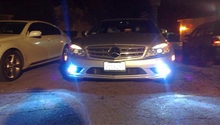
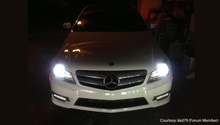
Fog lights help you see when driving in bad weather like heavy rain, sleet, snow and, of course, fog. They may not be necessary for driving under normal conditions, but if the time comes when you need to replace one or both lights, it's an easy enough project even the most novice of car owners can perform. Learn how to replace the fog lights in a Mercedes-Benz E-Class here.

Materials Needed
- Torx screwdriver
- Replacement bulb(s)
- Wrench
Step 1 – Prepare to replace fog light bulb
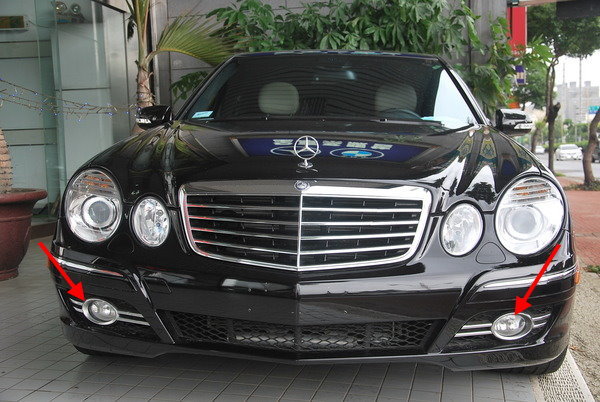
Open the hood. Locate the fog light, which is right underneath the headlight.
Step 2 – Remove trim around light
Use Torx screwdriver to remove the three screws holding the plastic trim in place around the fog light. To access these screws, you'll need to be on your back and slightly under your car. Be careful not to drop them as you remove them because you'll re-install them once you've replaced your fog light.
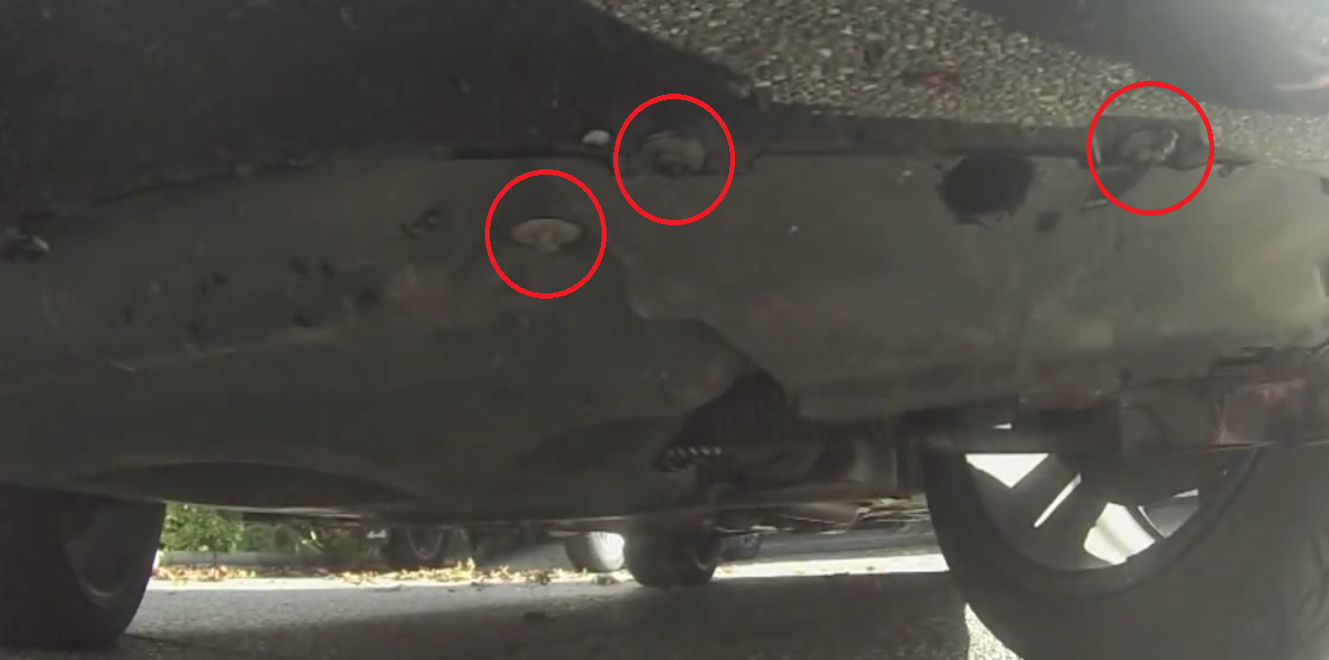
Figure 2. Use Torx screwdriver to remove screws holding plastic trim in place around fog light. 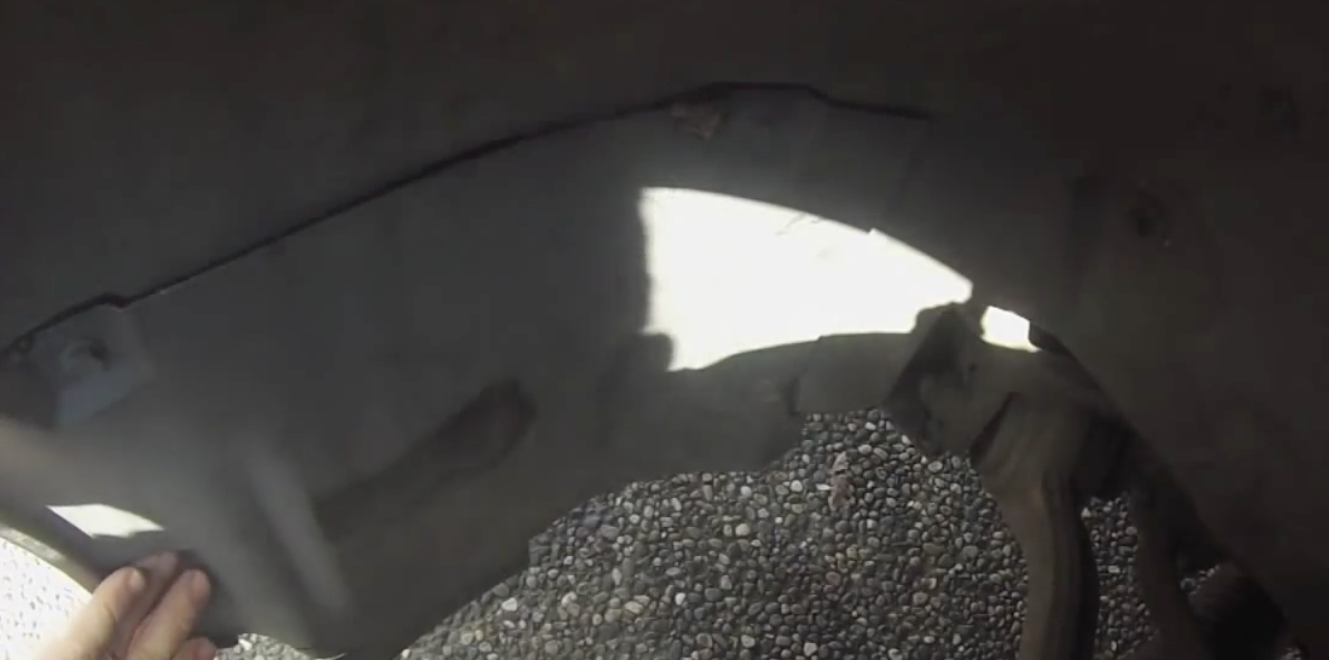
Figure 3. There will be three or four screws to remove.
Step 3 – Access light bulb
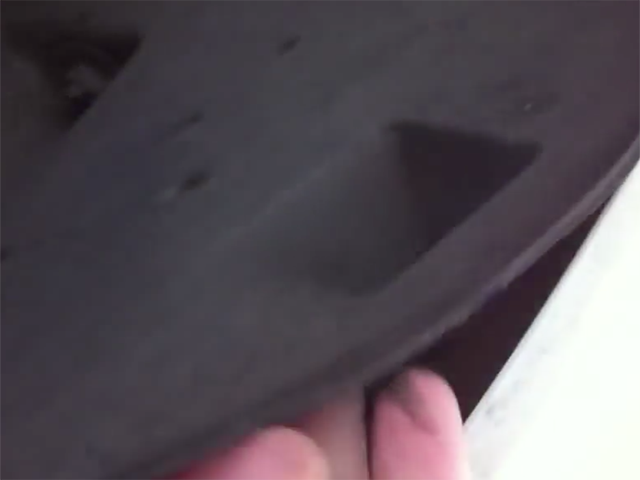
Turn the wheel so you can access the wheel well on the side where you are changing the fog light. Remove the wheel well cover, which you do by unclipping the fastener holding it in place and then pulling on the cover. Instead of a fastener, you may find three bolts holding the wheel well cover in place. If so, you can use a wrench to loosen and remove them. It should easily pull away from the wheel well. Be careful not to accidentally tear it or rip it away from the wheel well. You only need enough clearance to access the fog light. Once you can see the bulb assembly, then you can let the wheel well cover hang.
Step 4 – Replace light bulb
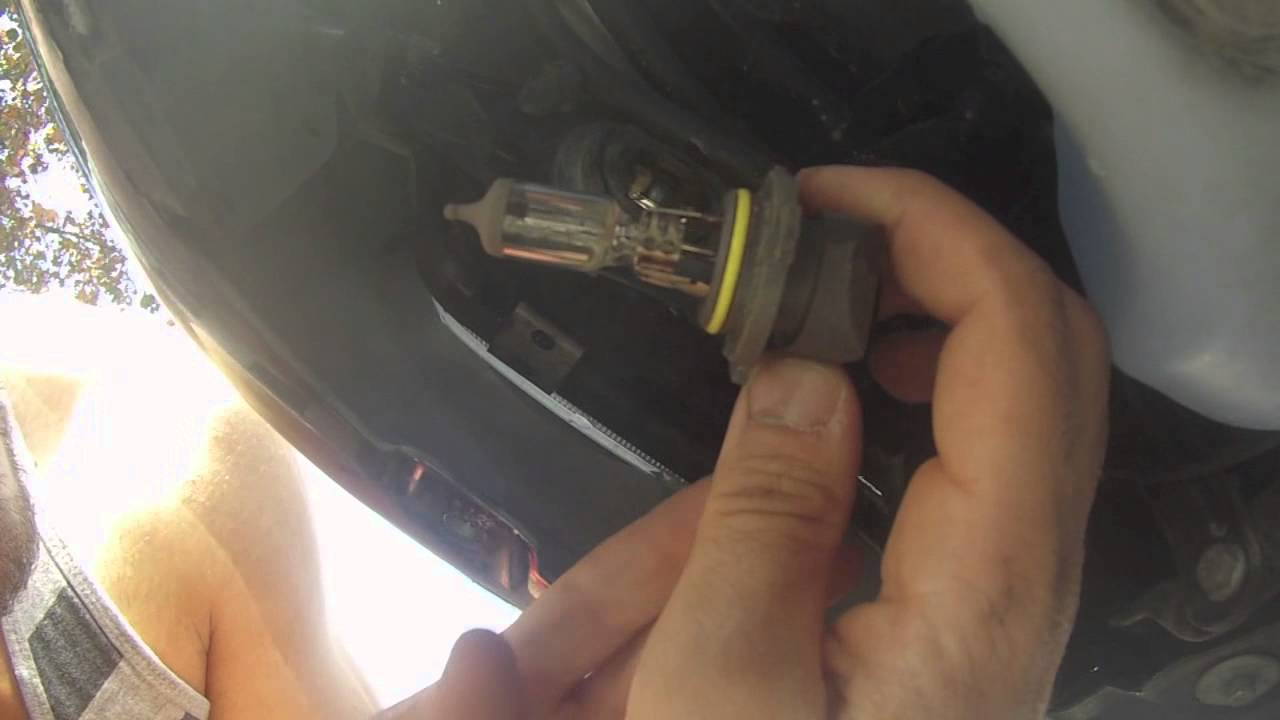
Pull out fog light assembly by turning it to the left until you hear a click. Once you do, you can simply pull the light out. Once you've pulled it out, remove the bulb by squeezing the clips on either side of the socket and pull out the bulb. Replace bulb and then lock it into place.
Step 5 – Re-install by reversing these directions
- Replace wheel well cover by reattaching fasteners.
- Re-install plastic trim around light.
Step 6 – Replace other light if necessary
Repeat Steps 2-5 to replace other fog light if necessary.
Step 7 – Test light(s)
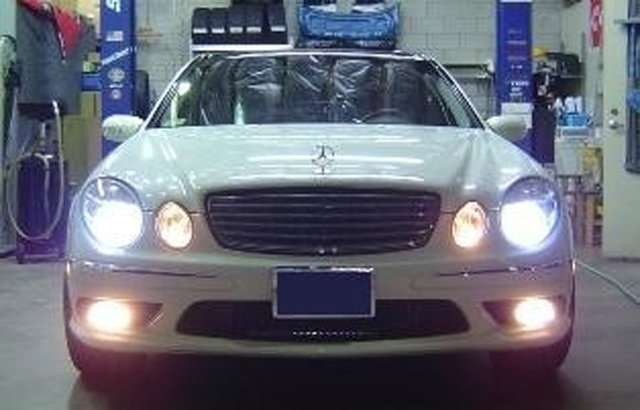
Close the hood and turn on the fog lights to make sure they work.
Related Discussions, Site and Video
- Broken Fog Light Replacement - MBWorld.org
- Mercedes-Benz Fog Light Bulb Replacement - Carcarekiosk.com
- Replace Fog Lights - BenzWorld.org
- How to Change the Fog Light Bulb in W211 - MBWorld.org
- Replacing Fog Light Bulbs - MBWorld.org
- How to Change Fog Light Bulb - MBWorld.org