How-To Tuesday: M112/M113 Crankshaft Position Sensor Replacement
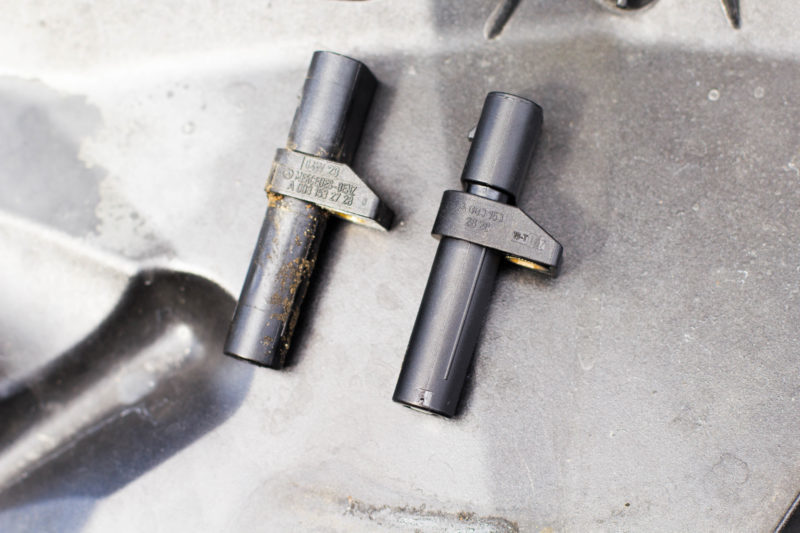
A common replacement on the M112 and M113 V6 and V8 engines is the crankshaft position sensor. As the name indicates, it tells the ECU where the crankshaft is at, and coordinates things like ignition timing, along with other parameters. These don’t have a set life expectancy, but I just replaced this one in a 2005 C320 with about 73,000 miles on it. Luckily, in this instance the car sputtered to life and was able to drive to me for service, but in some instances, you may lose spark altogether. This will set off code P0335, if you have a quick scan tool.
The replacement procedure, however is very easy. But one thing is critical here: you must let your engine cool down. During the replacement, your hand will be pressed firmly up against the block/cylinder head. I don’t want you getting burns. If you can, let it sit as long as possible. I allowed a two hour cool-down period, which got uncomfortable at times, but I suffered no ill effects.
Tools you will need:
1/4 and 3/8ths inch ratchets, with extensions
T8 and T10 external torx sockets
2 thin black zip ties
Snippers
To start, remove the air filter box. That’s a fairly simple and basic procedure, so I won’t cover it here. Next, you’ll be working mainly from the driver’s side of the car.
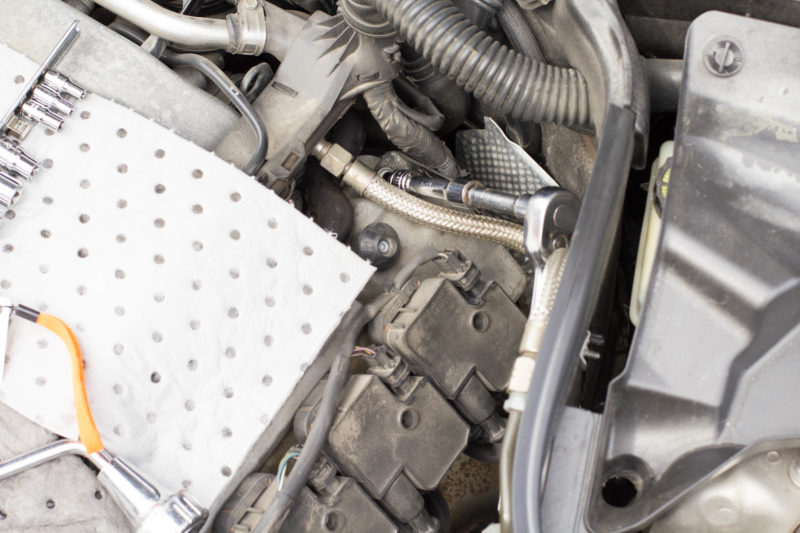
Using the T10 torx socket, remove this bracket that’s at the upper portion of the valve cover.
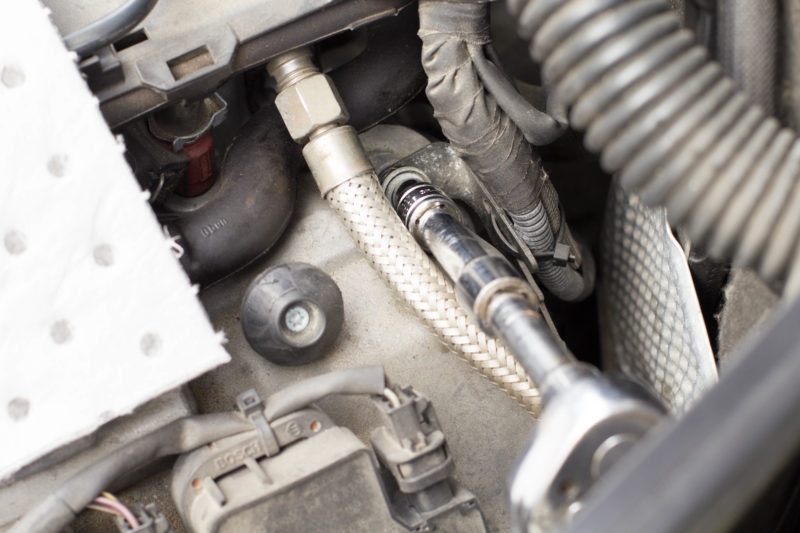
A closer view.
Attached to that bracket are some bundled wires. You can cut this zip-tie, as well as the one just above it. Moving that bundle of wires towards the passenger side will give you the room you need to reach the crankshaft position sensor.

It’s tight back behind there, but this braided wire is connected to the crankshaft position sensor. It’s fairly easy to unplug. If you’re using your right hand to unplug it, the main part of the clip that you want to squeeze will be right by your thumb.

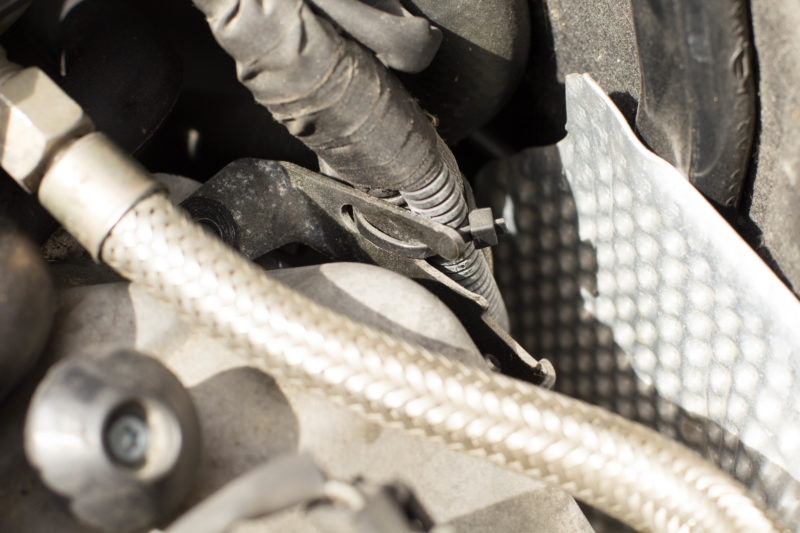
Once un-clipped, removal is as simple as using a T8 Torx to undo one bolt, and the sensor should pull out fairly easily. To install the new sensor, just reverse these steps, making sure to zip-tie the wires back to their appropriate bracket.
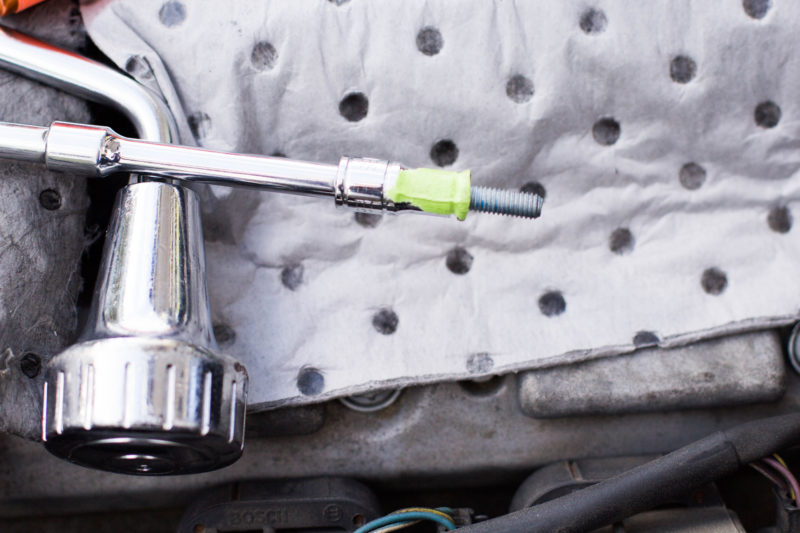
One extra tip: to keep from having my neighbors learn new forms of mechanic terminology, I put a small bit of tape on the end of the Torx socket that holds the screw in place as I weasel the extension into position. This screw already had a dab of thread lock on the other side, not shown in this picture.