When you click on links to various merchants on this site and make a purchase, this can result in this site earning a commission. Affiliate programs and affiliations include, but are not limited to, the eBay Partner Network.
Here the story : bought my car from the auction, run and start fine when I try to move it out of the parking so the tow truck can tow it to my shop.
No damaged to front end or steering wheel when at the site. After the tow truck tow it to my shop with the dolly, only tow rear wheel but not locking the steering wheel with seatbelt. The car will not start, no crank I can turn the car to all the way but no thing happen !
Jump start but still cant start ! Check the battery, still have good voltage
Steering wheel just locked, cant move ?! Lock like something prevent the steering wheel so the key not working
I try to find the steering lock but cant see it because it was hide deep the back of the steering column.
As I know there no diy or instruction for the steering lock remove for now so I will take the picture and help people like me wont have to pay thousand $$$! In repair bill at the dealer.
The ESL ( electronic steering lock ) cost $500 , you will need the key $300 to sync,program new ESL to make it working with the key, EIS ( electronic ignition switch ) plus labor for remove,install and program for MB dealer !
my cost only $60 to shipped the whole steering column with ESL EIS and key, $500 to repair with 1 year warranty to ESL
take me 15 minutes to remove and 25 minutes to put everything back.
You need 3 things :
ESL EIS and car key to rebuit,repair it DIY
The tools :
Torx 25 27
hex socket 10 mm
U joint 3/8 with socket extension
1) disconnect the car battery
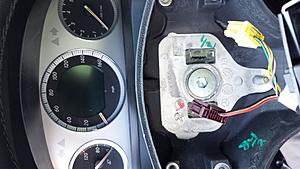
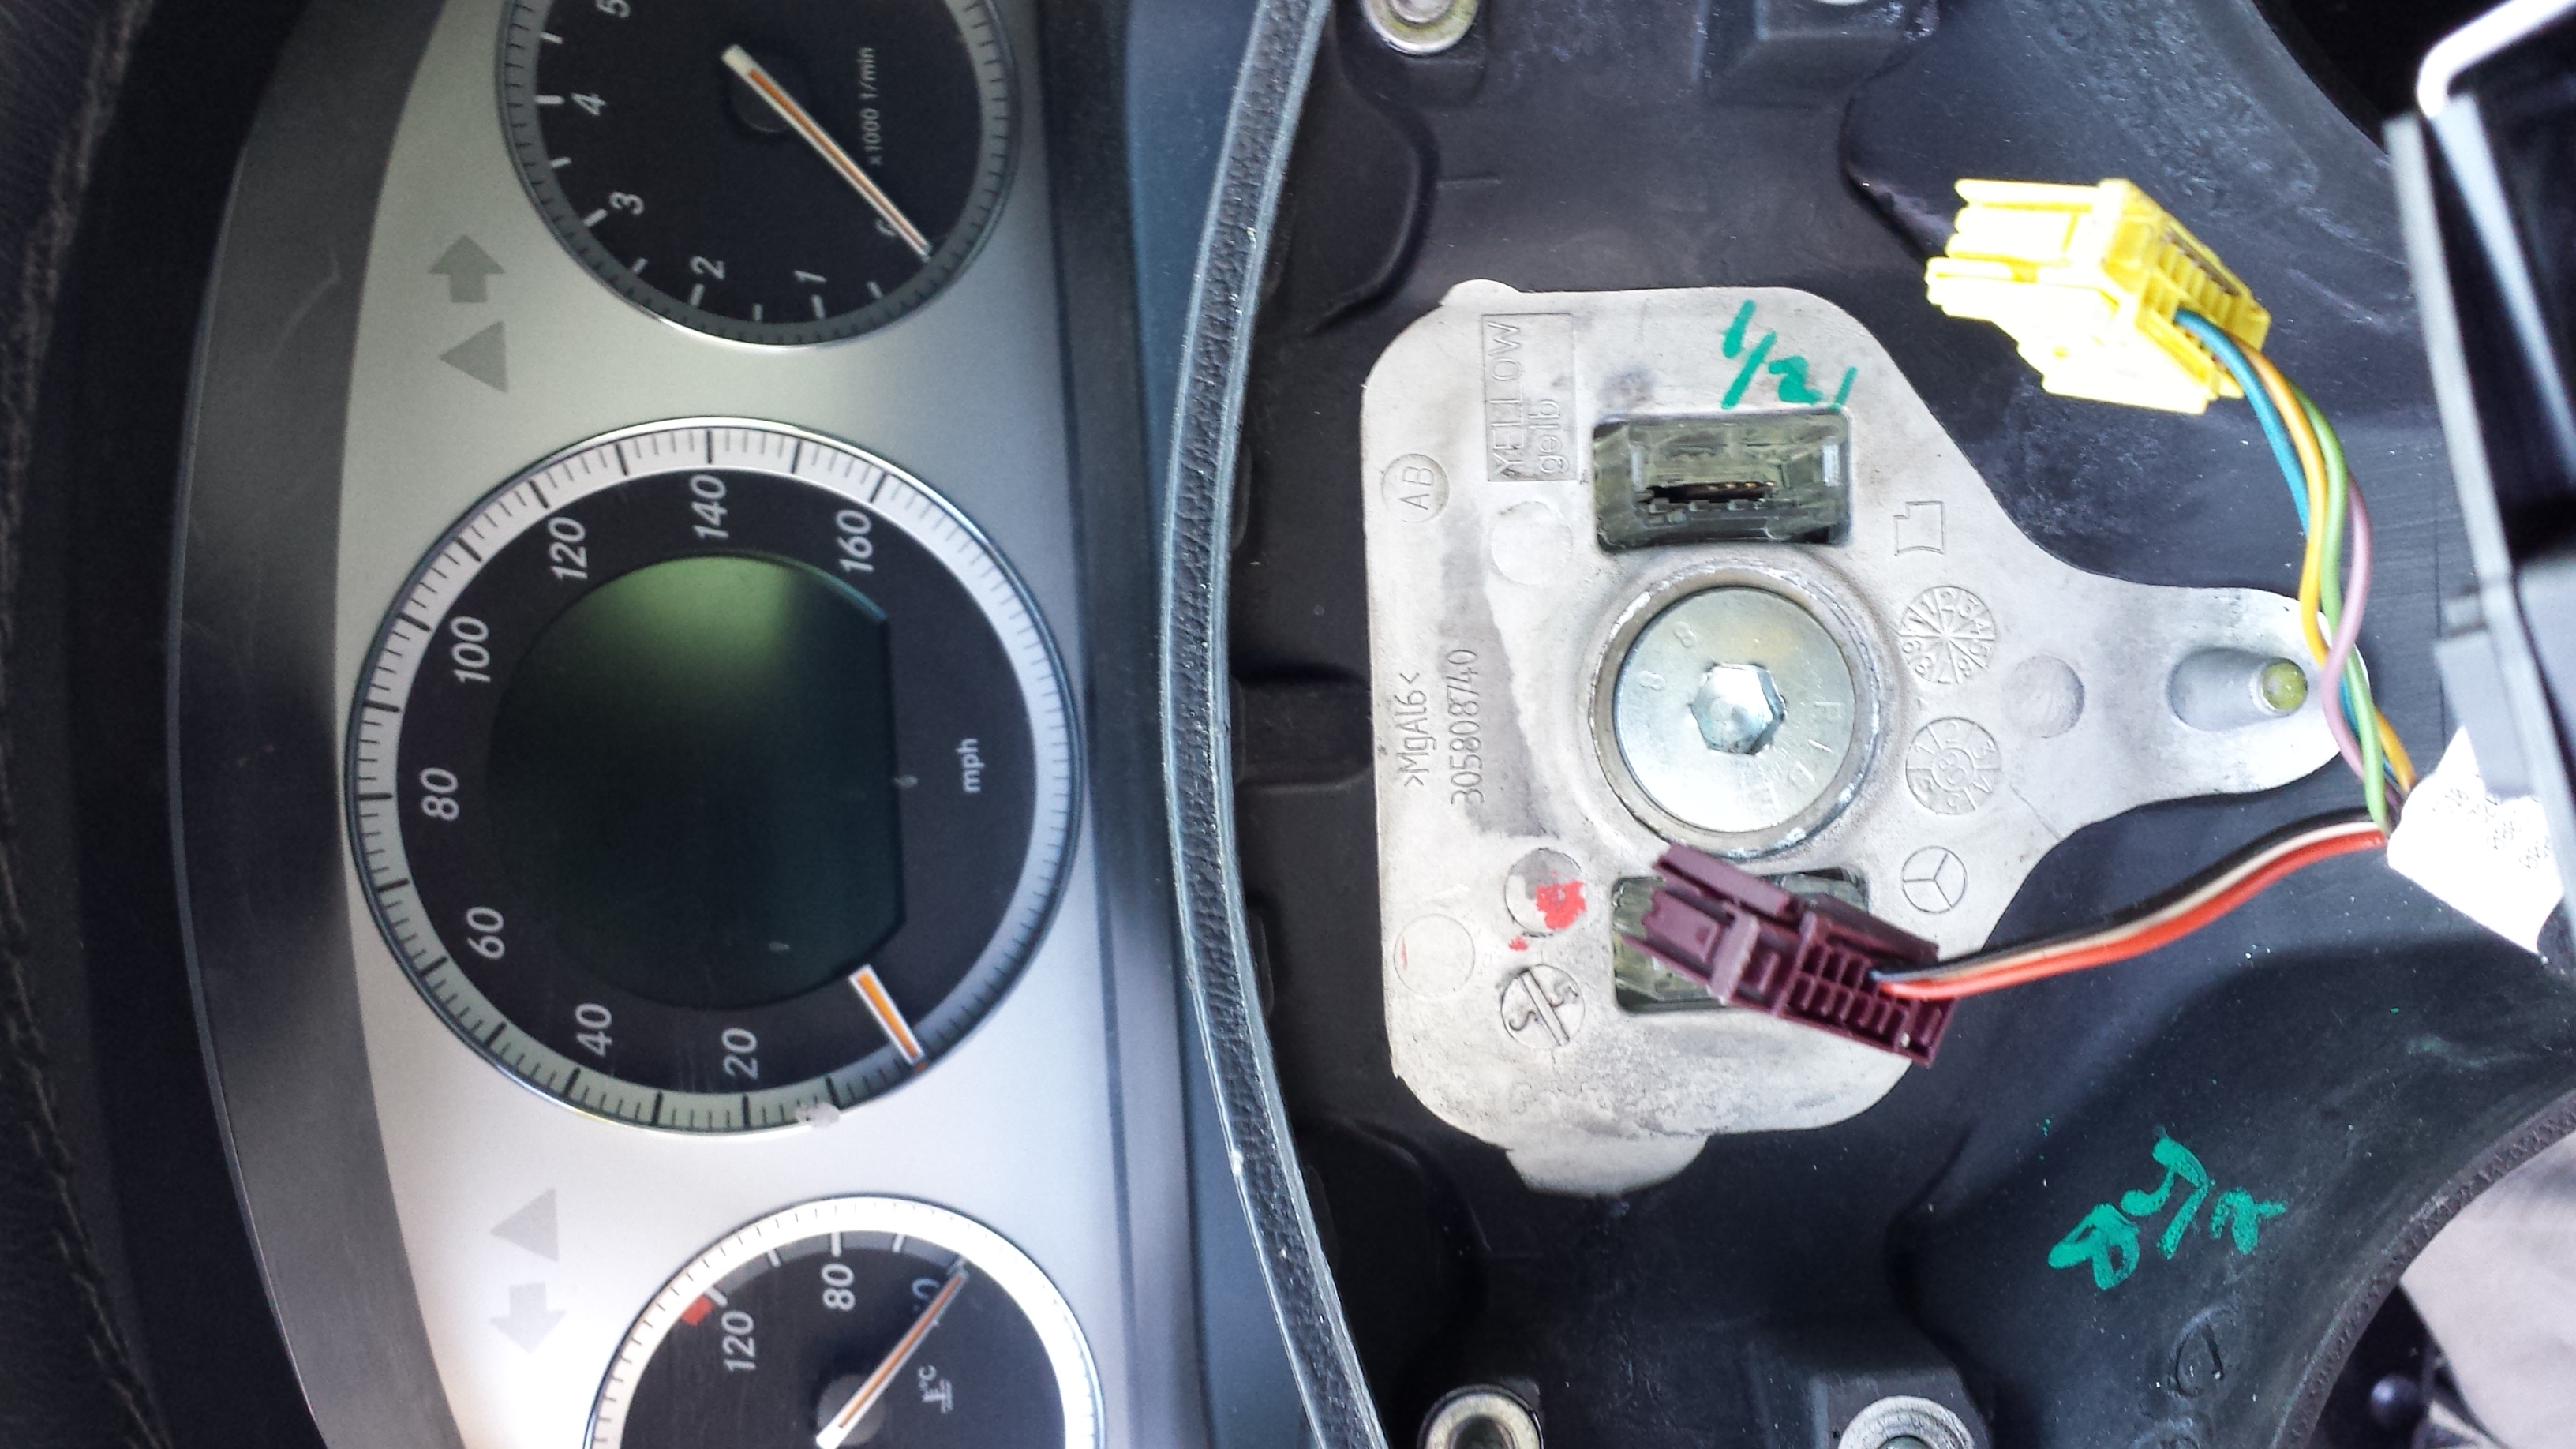
2) using torx 27 to remove 2 bolts behind the steering wheel
3) using 10 mm hex socket to remove the bolt in the center of the wheel
remove the to plug of the airbag
3) using 10 mm hex socket to remove the bolt in the center of the wheel
remove the 2 plug of the airbag
pull its out
4) Using the E 28 external torx remove the 4 bolt on 4 side of the steering column
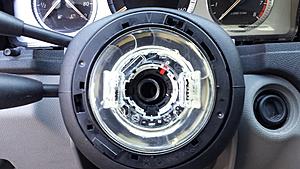
5) you have to remove the cable and pull it out
6) you can see the ESL in the back of steering column with the blue plug
≈
Last edited by Dannyhoang9; 06-09-2015 at 12:44 AM.
Okay so I was able to fix the steering lock situation. Now I�m putting everything back together and I�m unable to stick the steering lock assembly back into the upper intermediate ujoint shaft. Can someone help?
Originally Posted by Dannyhoang9
On left top of the EIS, using the flat head to pry the black plastic retain that lock the EIS to the dashboard and pull it out from the back
remove the bolt that connect the sterring column to the sterring shaft
Okay so I was able to fix the steering lock situation. Now I�m putting everything back together and I�m unable to stick the steering lock assembly back into the upper intermediate ujoint shaft. Can someone help?
Well, for one, your images aren't very clear, and your description is very brief...
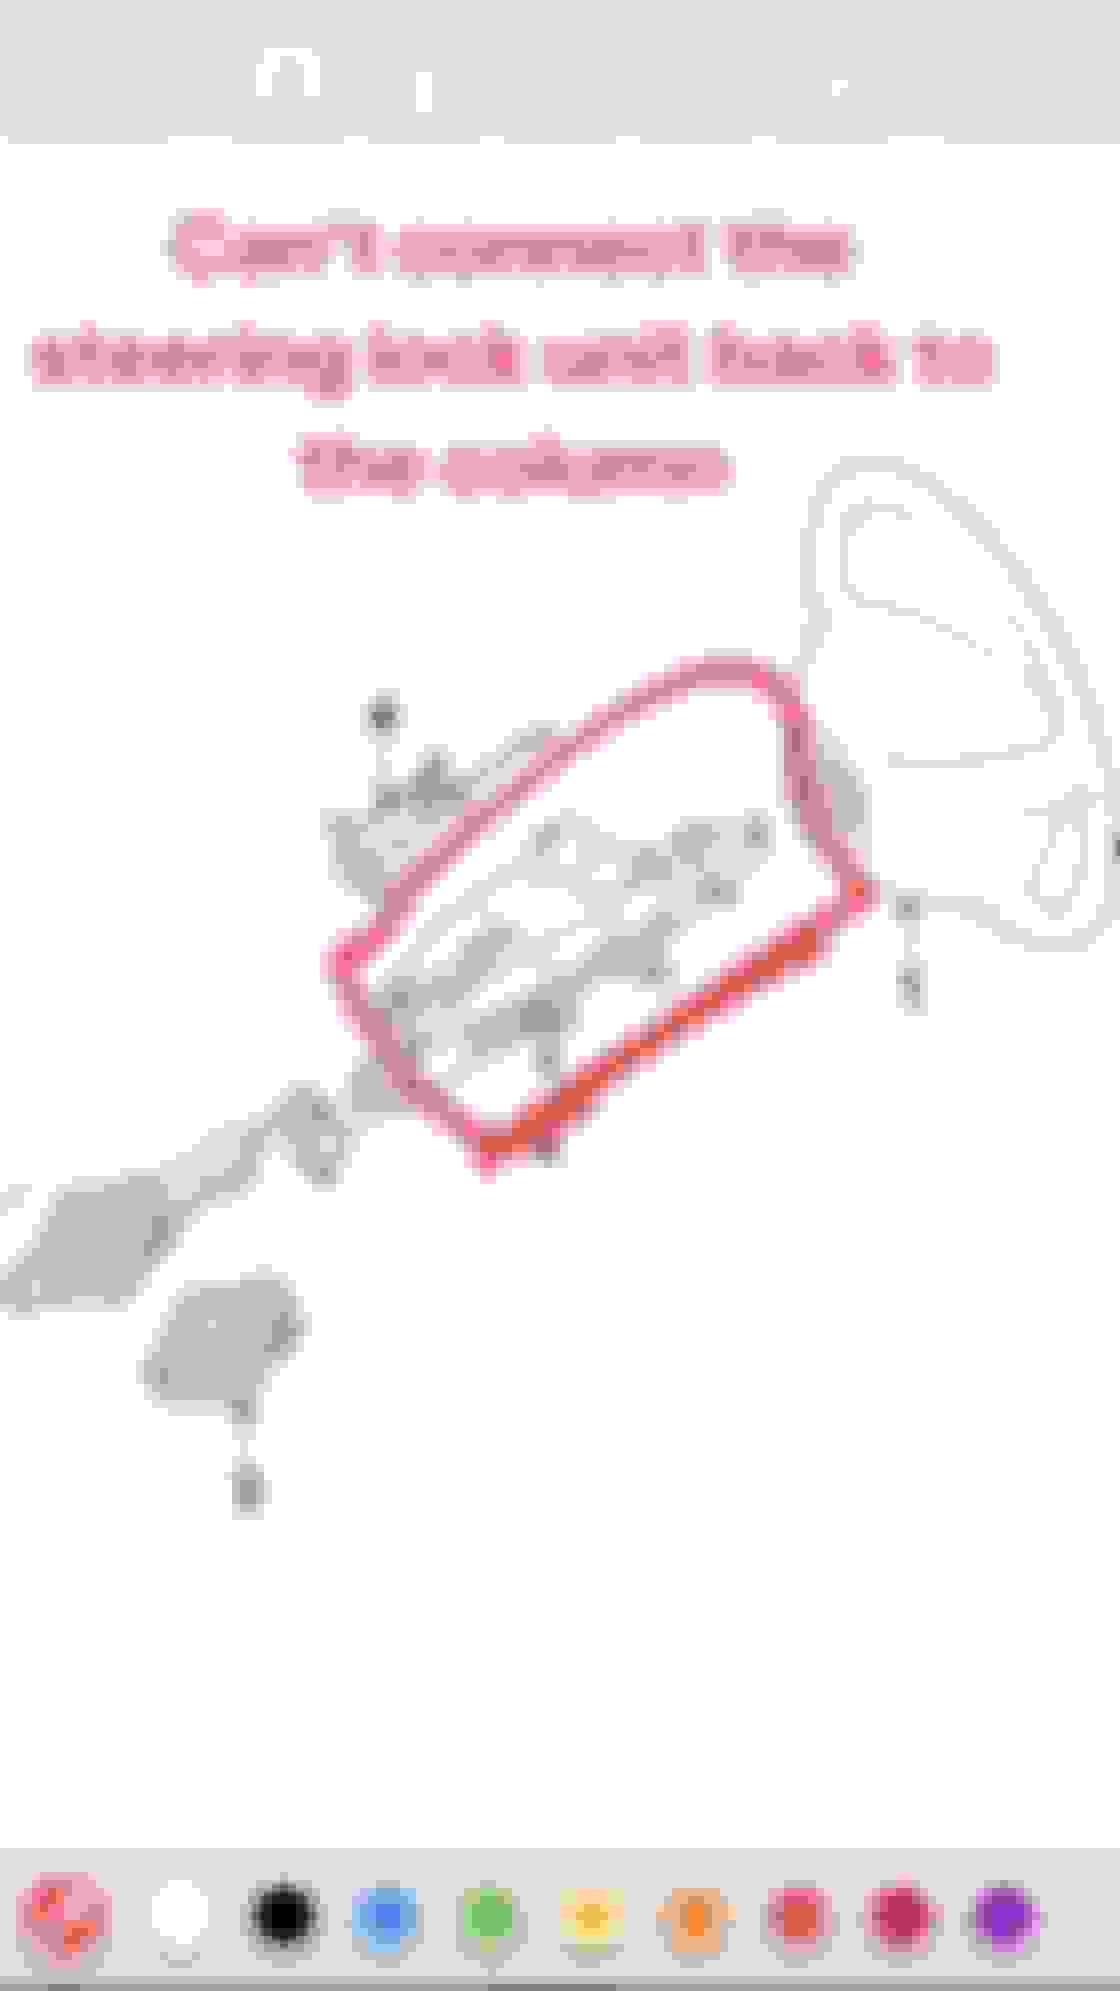
Example, this image, its hard to figure out where is up and where is down. plus it is zoomed in to close to even begin to establish which segment it is showing.
Originally Posted by Erik Gonzalez
As for the blow-up chart, if you're trying to reinstall the steering lock module in the area where the blue circle is, that might be your problem.
ESL is supposed to go where the red arrow is pointing:
This should provide a better view...
Steering lock is labeed as "N26/5"...
And 13s is the "Grub Screw" or better, the pin that pops out to lock the steering column.
I have repaired the steering lock unit and it�s all good to go. I�m placing the steering lock unit column back to the upper steering shaft. In other words I�m putting everything back together. I am unable to place the steering unit back into the upper steering ujoint shaft.
Originally Posted by IGB
Well, for one, your images aren't very clear, and your description is very brief...
Example, this image, its hard to figure out where is up and where is down. plus it is zoomed in to close to even begin to establish which segment it is showing.
As for the blow-up chart, if you're trying to reinstall the steering lock module in the area where the blue circle is, that might be your problem.
ESL is supposed to go where the red arrow is pointing:
This should provide a better view...
Steering lock is labeed as "N26/5"...
And 13s is the "Grub Screw" or better, the pin that pops out to lock the steering column.
Well if the ESL fails in the lock position, you need to drop the steering column to grind of the bolt, the best way it to get it unlock one last time or do it as soon as it start acting up, doing this job will save you a lot of trouble and headaches because when the wheel is unlocked, you simply just take the ESL module out without removing anything else. Once you have it out, there are plenty of people that can program you a new ESL, without towing the car to them, all you need to bring is your ignition module, key and ESL module. The ESL is coded like a key, they need to get the password out of your existing key and match it to the new ESL using your ignition module and key. Now, if you are going threw all this, I would highly recommend getting an emulator instead of a more expensive ESL that can potentially fail again and leave you stranded.
^ This is just an example, you can find people that do it for cheaper, the emulator itself is only around 50$, the programming part is the expensive part, still cheaper then any dealership.
Last edited by W204Motorsports; 02-21-2018 at 12:50 PM.
Thanks for your efforts. I don�t think anyone is understanding me. I already fixed the lock situation. It was a motor within the steering lock that went out. I already replaced it and car turns on and runs fine now. I�m having issues putting the column back on the upper steering shaft.
Originally Posted by ltwargssf
Well if the ESL fails in the lock position, you need to drop the steering column to grind of the bolt, the best way it to get it unlock one last time or do it as soon as it start acting up, doing this job will save you a lot of trouble and headaches because when the wheel is unlocked, you simply just take the ESL module out without removing anything else. Once you have it out, there are plenty of people that can program you a new ESL, without towing the car to them, all you need to bring is your ignition module, key and ESL module. The ESL is coded like a key, they need to get the password out of your existing key and match it to the new ESL using your ignition module and key. Now, if you are going threw all this, I would highly recommend getting an emulator instead of a more expensive ESL that can potentially fail again and leave you stranded.
^ This is just an example, you can find people that do it for cheaper, the emulator itself is only around 50$, the programming part is the expensive part, still cheaper then any dealership.
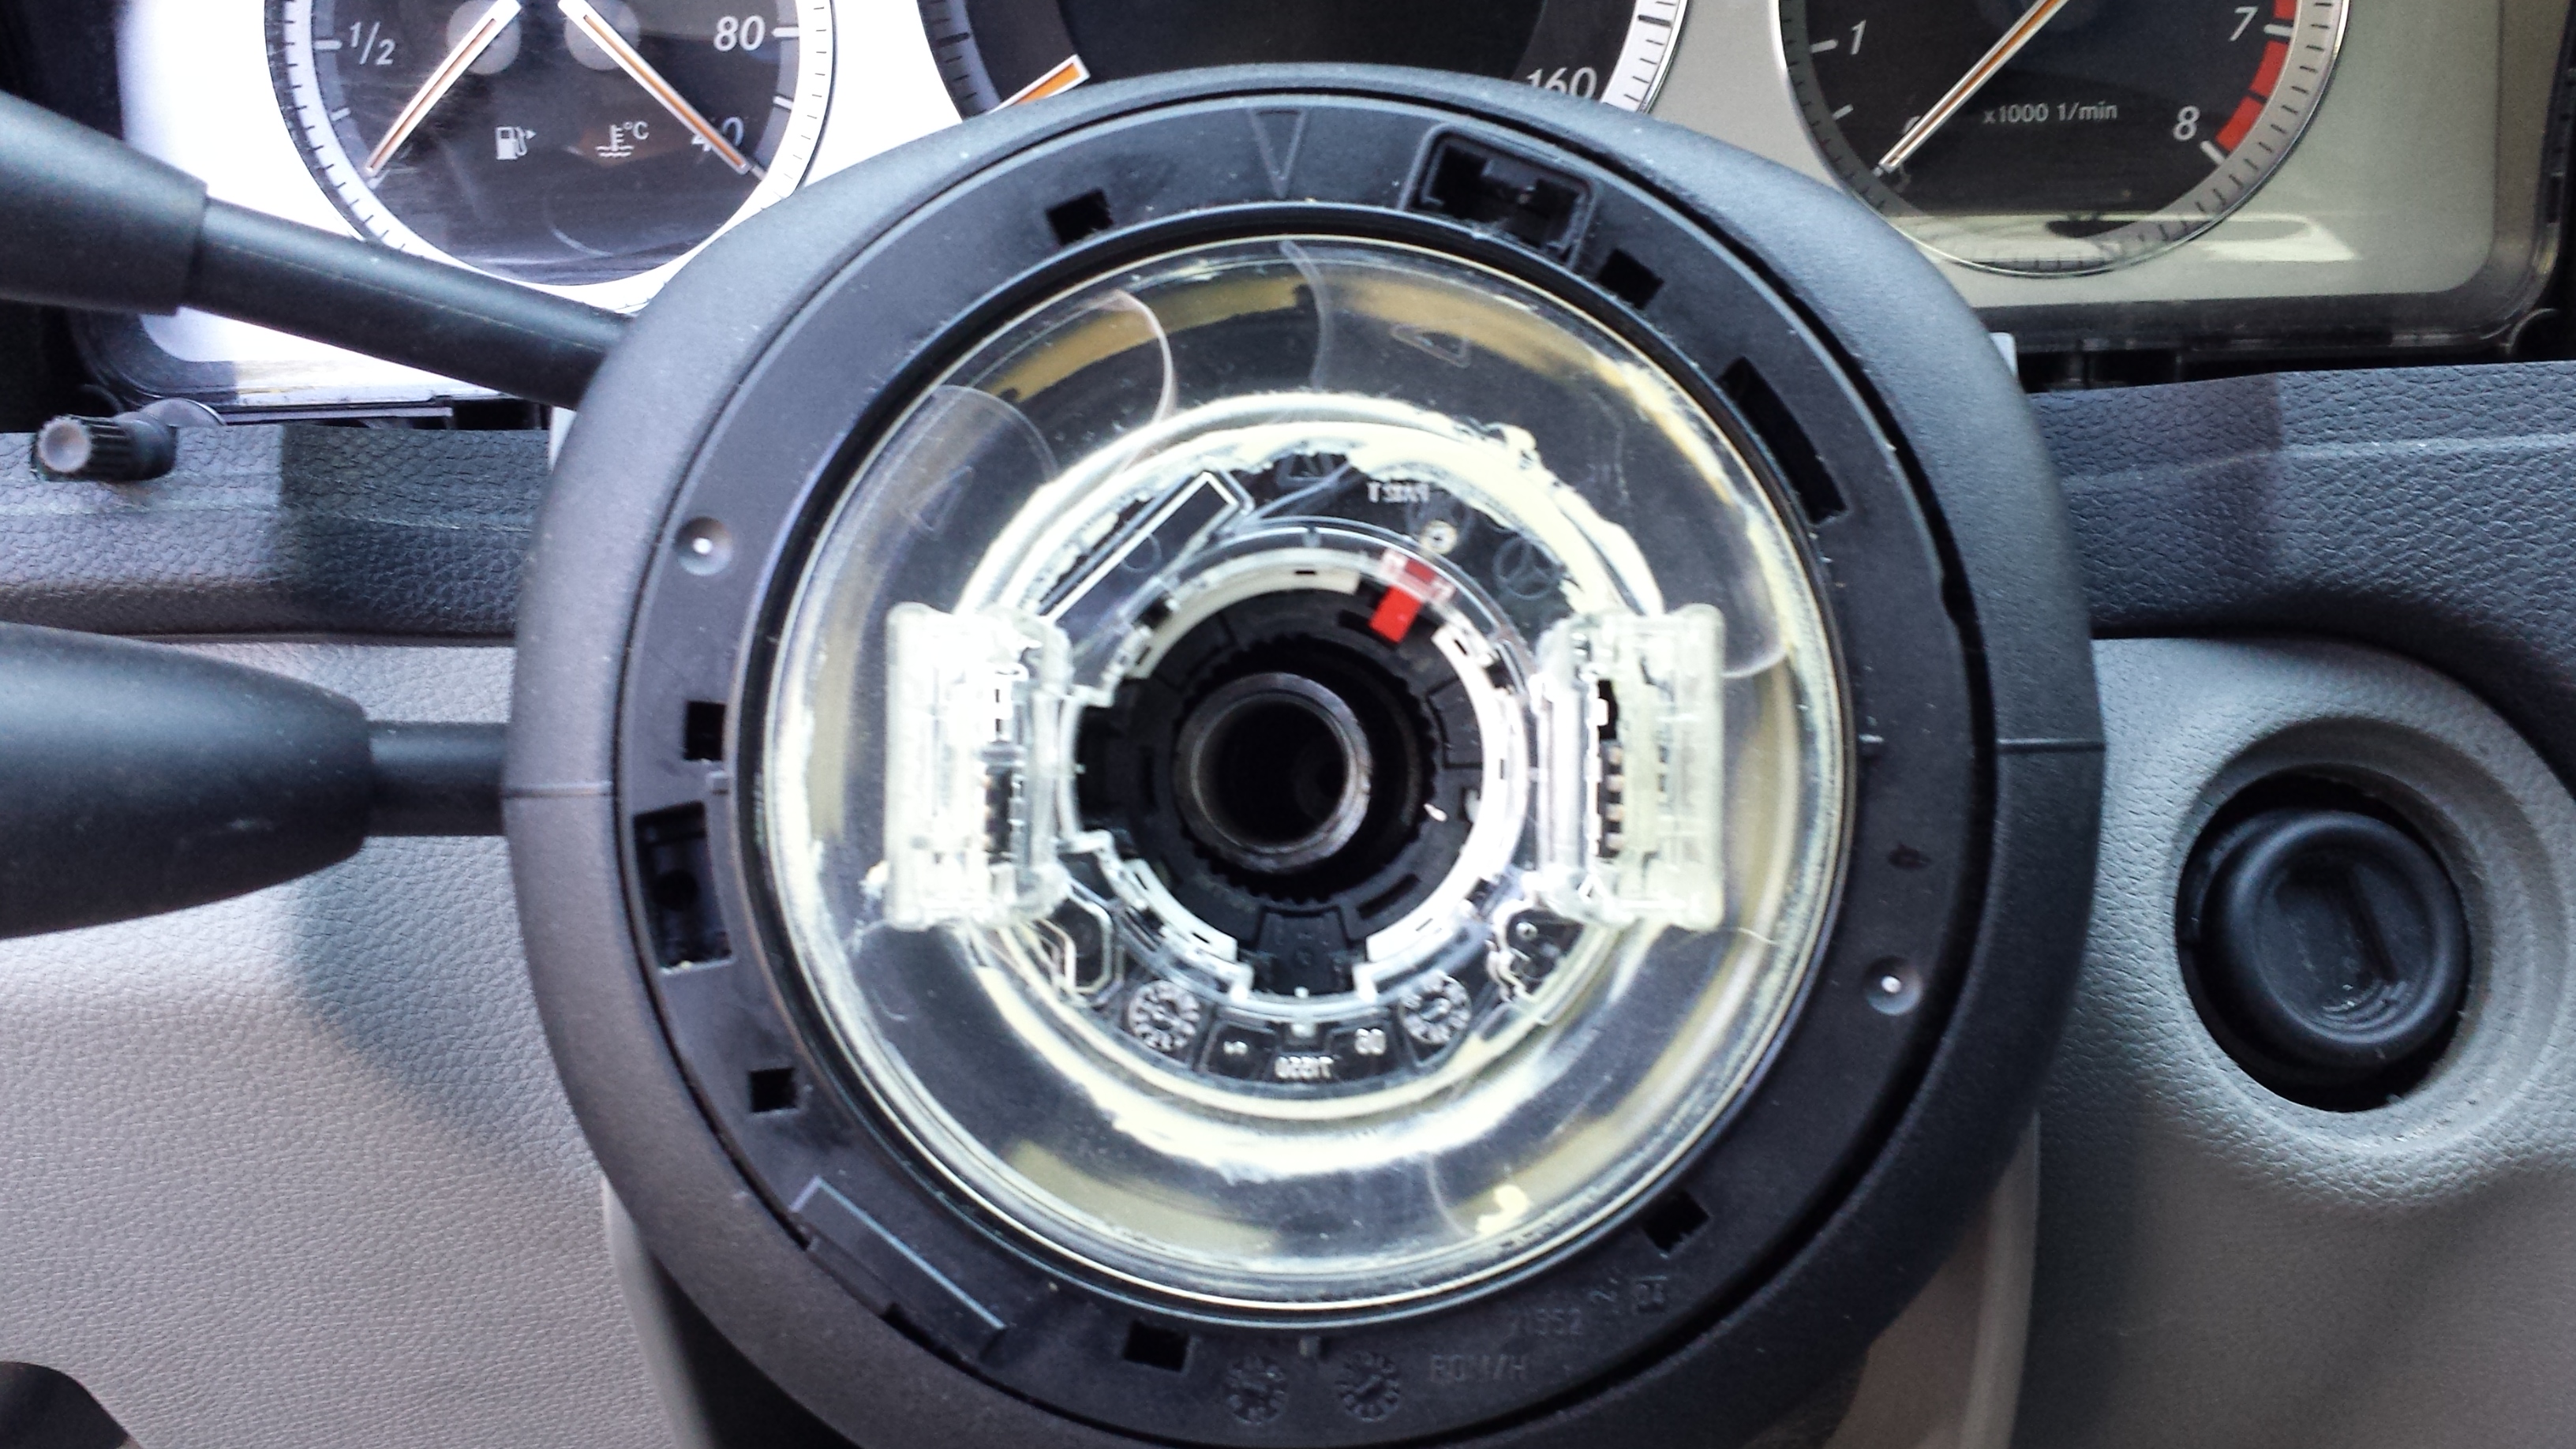
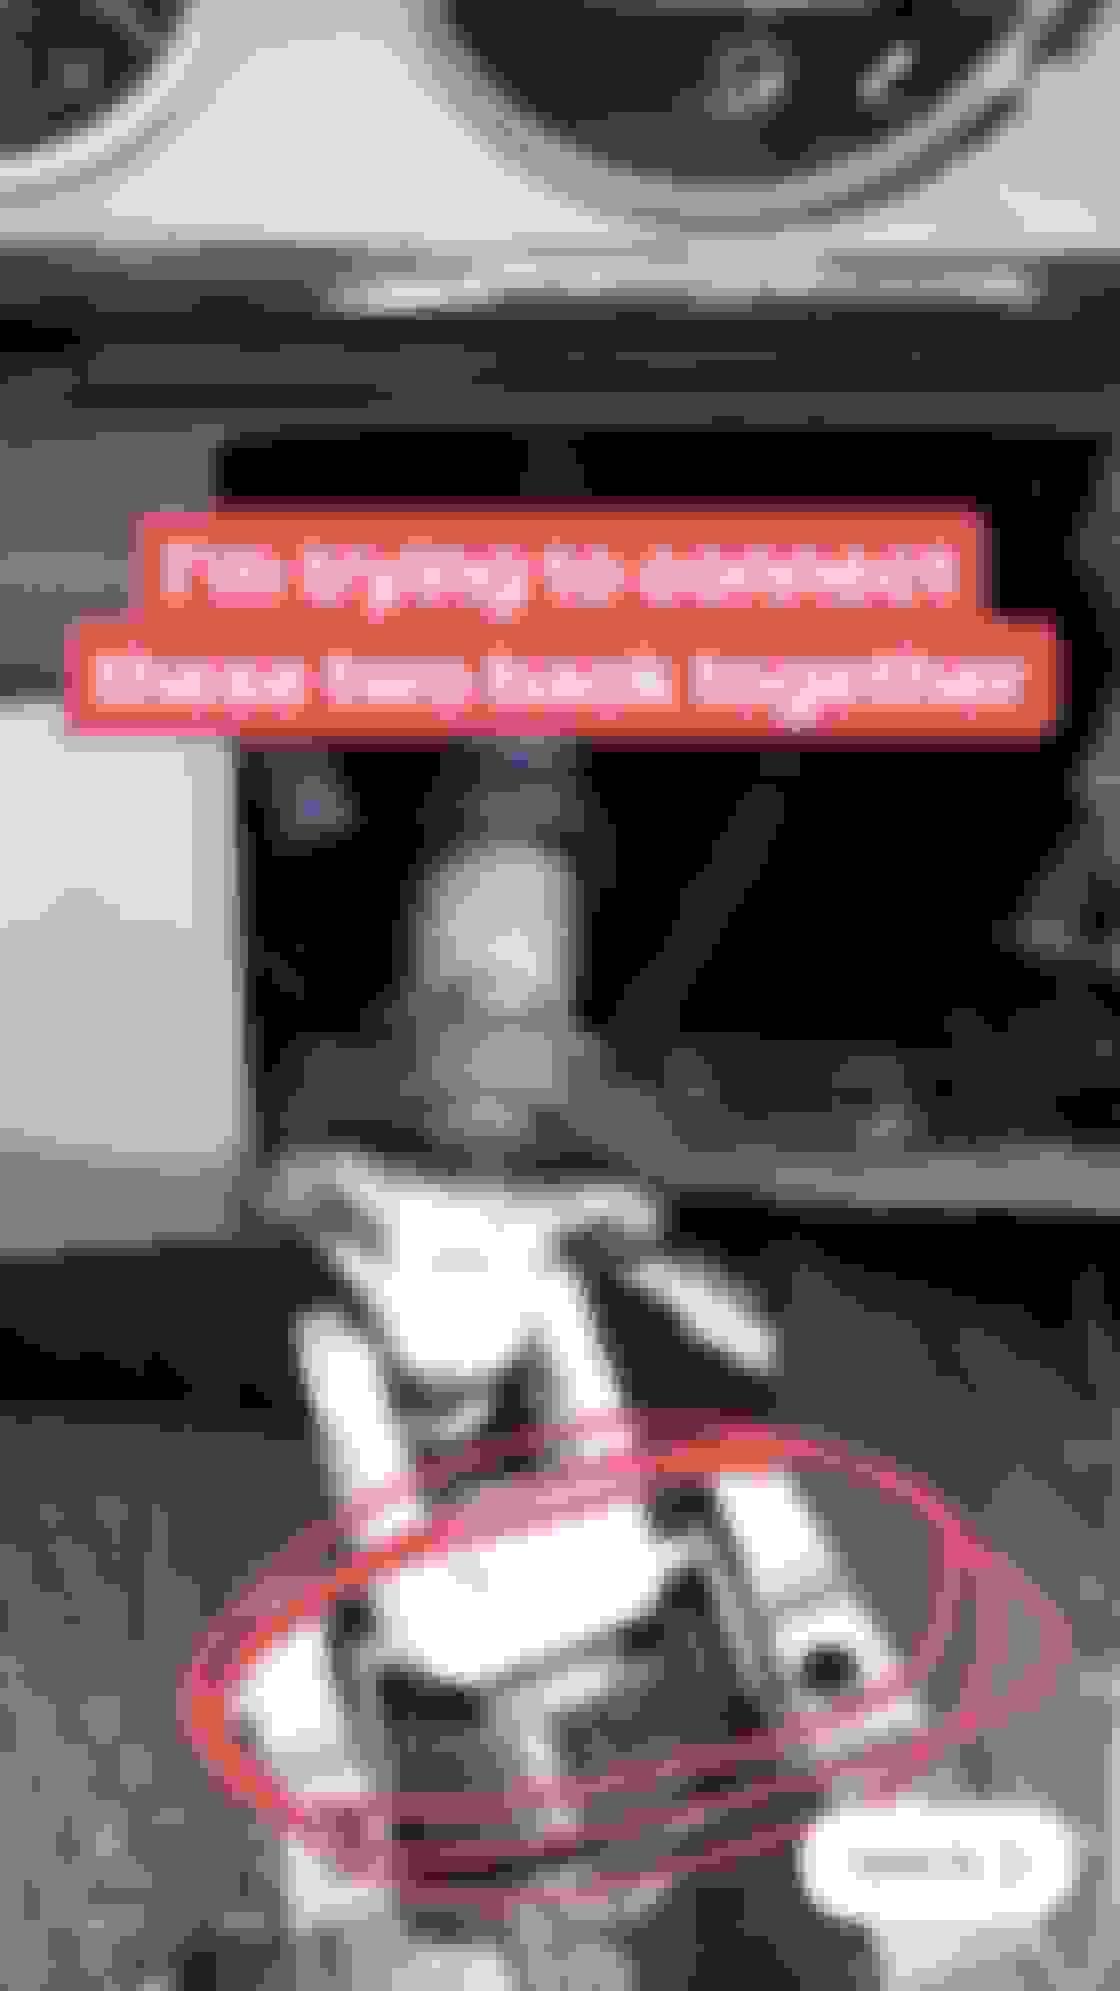
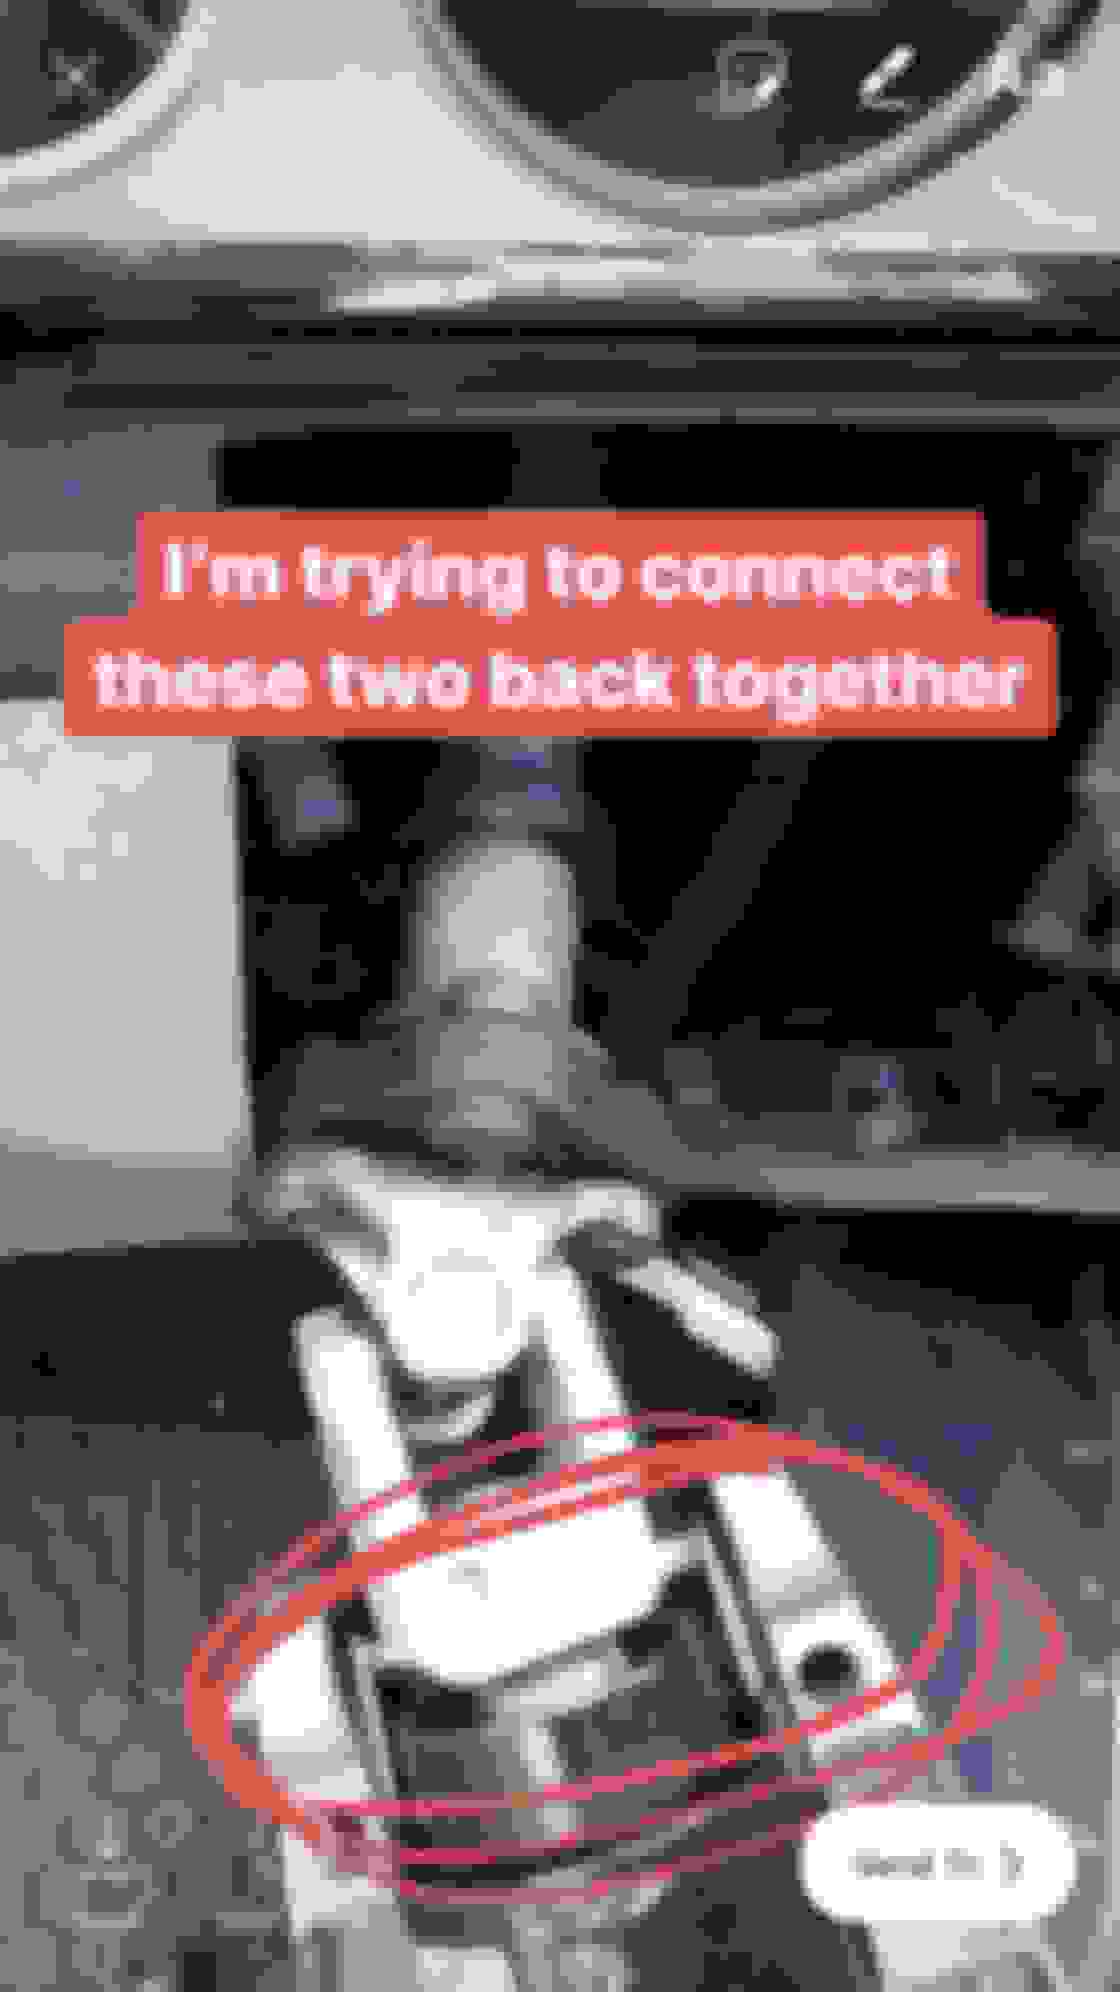
Heres a better picture of what I mean when I say I�m trying to connect everything back in place. When I repaired the steering lock I had to pull the whole module out and now I�m done and putting everything back
Originally Posted by ltwargssf
Well if the ESL fails in the lock position, you need to drop the steering column to grind of the bolt, the best way it to get it unlock one last time or do it as soon as it start acting up, doing this job will save you a lot of trouble and headaches because when the wheel is unlocked, you simply just take the ESL module out without removing anything else. Once you have it out, there are plenty of people that can program you a new ESL, without towing the car to them, all you need to bring is your ignition module, key and ESL module. The ESL is coded like a key, they need to get the password out of your existing key and match it to the new ESL using your ignition module and key. Now, if you are going threw all this, I would highly recommend getting an emulator instead of a more expensive ESL that can potentially fail again and leave you stranded.
^ This is just an example, you can find people that do it for cheaper, the emulator itself is only around 50$, the programming part is the expensive part, still cheaper then any dealership.
W204 C200, BMW E30 M3, 1980Gt Mini, Toyota Corona, KTM 200 EXC.
Hi
If you find the splines wont go together.
1- losen or remove the pinch bolt.
2- Make sure that if it has a master spline you are aligning them up correctly.
3- Check for spline damage of the mating parts fix with needle file.
4- Insert a screwdriver blade and hammer it in to the area the pinch bolt works across to slightly expand the spine coupling so the steering shaft goes in.
5- If that does not work find a qualified engineer to do it.
Thank you NZ-Merc for your recommendation. Pinch Bolt is out, and have tried to align master spine in several ways. I know only 1 ways is correct, which one it is? I have some images if you would like to see and make recommendations.
The universal Joint on the lower Steering Column Intermediate Shaft (204 462 0278) is Aluminum or some soft alloy. The splines on Universal joint are grinding and wearing down 1mm. I have filed them and tried again, with master Spline on bottom (6 O clock) and right (3 O Clock) position (these are relative). Tires are pointing straight. Car has not moved. The weight of the steering column shaft prevents easy insertion (hence kept top two bolts loosely attached), plus I have to pull on the universal joint up to come out and connect. Physically exhausting effort plus not an easy place to work in.
On the steering column there appears 3 distant different patterns (master Spline thickness) which one goes where, I have tried all three rotating the steering shaft. Not sure if I need additional upward force or perfect alignment.
Wish I could remove both pieces and do this outside the car.
Any other suggestions, or tools Mercedes Benz would use to accomplish this task?
Hi, I was thinking maybe the hole with the splines are shrinked-fit, meaning you have to pry it open to go over the splined shaft for safety, so theres no play at all before you clamp it down. Measure the outside of the splined shaft and compare that with the opposed inside diameter, if the inside diameter is smaller, it would not slide over automatically and you may damage the splines in the effort to do so.
Hi, I was thinking maybe the hole with the splines are shrinked-fit, meaning you have to pry it open to go over the splined shaft for safety, so theres no play at all before you clamp it down. Measure the outside of the splined shaft and compare that with the opposed inside diameter, if the inside diameter is smaller, it would not slide over automatically and you may damage the splines in the effort to do so.
You are correct. Thanks for the reply. I have learned that prying open and also possibly filing down to clean any damage might help the process
I found out you can further separate the linkage where the rubber is by the gas pedal. I pulled up and out on the link where you would insert the column and ended up with the piece you see in the photo. I then cleaned and filed the spline areas, Aligned the splines and lightly hammered the column into place. Once I connected the (photo) and column back together , i reinstalled that way. Be careful not to hammer too hard or damage the splines or you will have trouble fitting things into place. I damaged the linkage my first try but was able to purchase a used one on eBay for about $30. Good luck!
I am having the same problem with getting the steering shaft back into the U-Joint. How did you do it? Does it only go in 1 way?
Yes it goes in one way ! Look at the splines, there are 3 or 4 groves that are different than all the other splines on the you joint AND the steering column. One of them is noticeably bigger than the other ones. Used that one odd spline for your alignment. MORE THAN LIKELY you will have to hammer it back into place ! Try removing the u joint completely like the picture shows as it will be much easier to align and hammer. Aligning the piece shown in picture is 10000000x easier than align steering column while it is all attached. Side note : when hammering use something like a flat board to prevent damaging any other parts.
I am having the same problem. By finding a side on the universal with a 2mm or so flat area and a mating side with a 2mm or so flat area I am managing to push it in by hand for 10mm to a radial flat area, but no further. Now I am worried and do not wish to hammer alu into steel, but will try NZ-Merc's advice, thanks.
Had to take entire column out including the lowest bit, which enters near the brake pedal as I could not get the spline into the universal as there is only one position for mating. Made the mistake of not taking the bolt out of the universal.
Have to do the entire job again as the following happened to this genius:
1 Pushing the entire column into the hidden rubber female end near the brake pedal and not having marked both parts before pull-out meant my steering wheel is now 180 degrees off!. After mating the spline in the one and only way and pushing it in for four (4) mm, it would not go any further and had to be hammered in gently, which is something that cannot be done without taking the entire column out.
2 Not getting the "clock spring" in correctly, which is the part with the indicators, I broke one of the "springs" meaning I do not get automatic return of the left-turn indicator, so it would keep on clicking!
3 Although I disconnected the battery before doing anything, now I get the yellow triangle (engine problem) on the screen plus constant "RH driver airbag stuffed, ESP stuffed, run-flat indicator stuffed" messages while driving - great! Plus I no longer have a horn - great, so watch finger!
Despite the Wuhan virus I managed to get that US$4 ESL motor from China after many delays, installed it and it did not work. Had to send the ESL, key plus igintion lock to an Aussie locksmith at a cost of $500. My belief in German quality has been shattered as that ESL motor only lasted 13 years or 130,000km and how long is that Chinese US$4 motor going to last? But I did not reconnect the motor to the column, I taped it to it, so it should be easy to replace, but I may go for an emulator next if that Merc lasts that long. The next major repair will mean I will sell that crap. Dealers who change the motor or the entire ESL will charge AUS$2,000 or US$1700 and only give you one year warranty, but emulators are claiming a life-time warranty?
4 This means once I get the 180 degree mistake fixed, I will have to go to Mercedes to get rid of those messages through their Sun diagnostic?

 06-10-2015, 12:07 PM