How-To Tuesday: M112 and M113 Upper Pulley and Serpentine Belt Replacement
The C209 and A209 with the M112 and M113 engines have an upper pulley that usually starts to show wear around the 100,000 mile mark, give or take. In this how-to, I’ll show you how to replace it, and save yourself a trip to the dealer’s service drive.
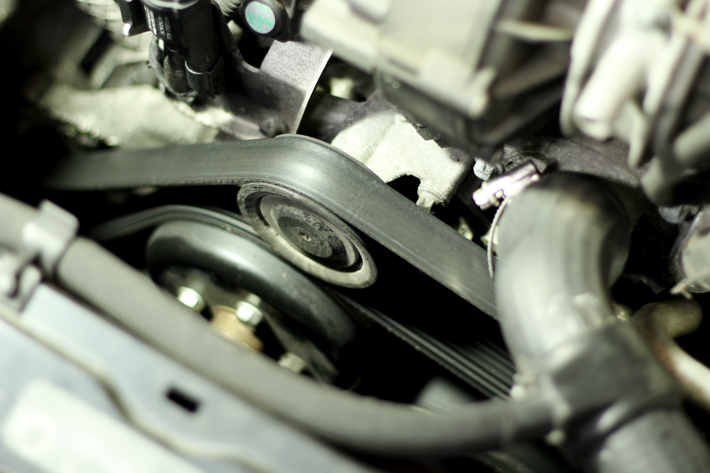
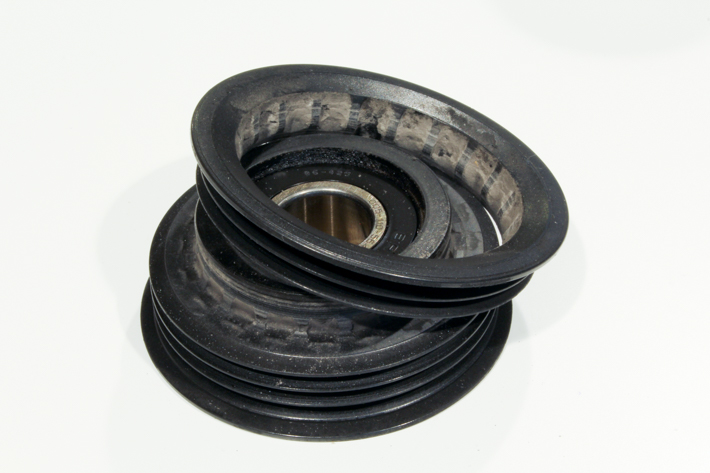
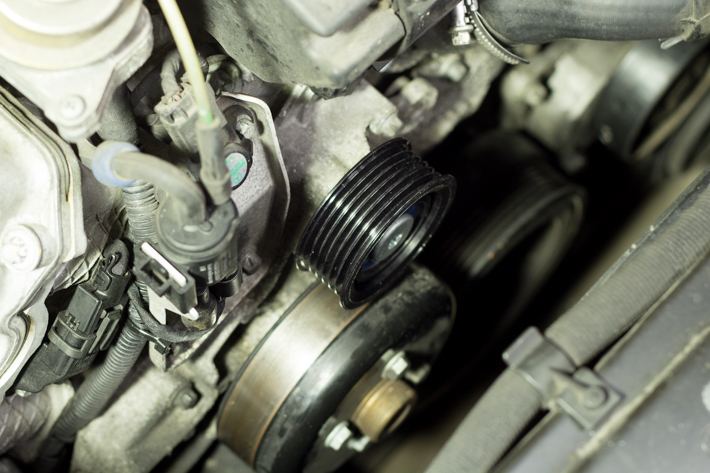
In my instance, my pulley had a complete failure, fracturing in one of the grooves. The car kept running however, because tension was holding it together. Even if you’re not replacing this part, it is important to check the upper pulley if your engine is creeping up in mileage. If this thing breaks, it’ll leave you stranded! Note how it looks fine in the picture above, then compare to the photo below. After 142,000 miles, it gave up.
To start, you’ll need only a few simple tools. For this repair on my M113 engine, I used a flat-head screw driver, a 3/8th drive ratchet with a T45 Torx security driver bit, and a 17mm socket on a 1/2in drive breaker bar. Parts numbers for this specific application are 000-202-09-19 for the pulley and 014-997-71-92, but it is always best to verify the part numbers match your engine.
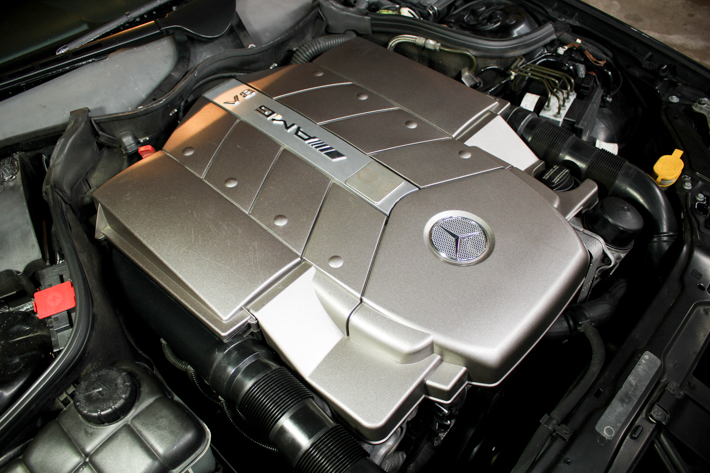
To start, remove the front engine cover. This simply lifts up, and then forward.
Note which route the belt takes. If the diagram of the serpentine belt is not on a sticker under the hood, make a simple sketch.
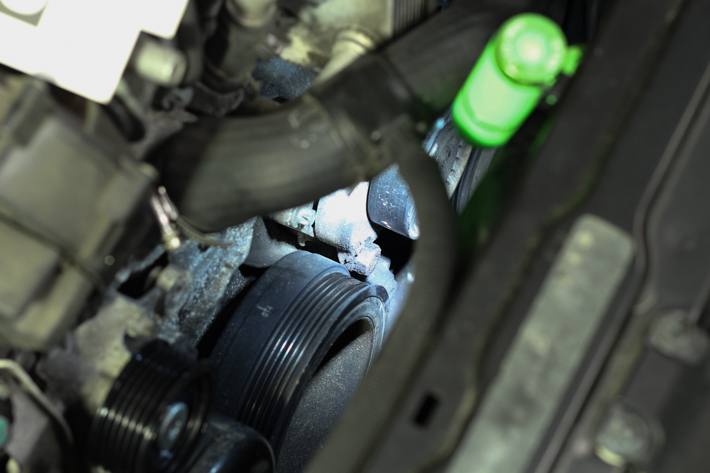
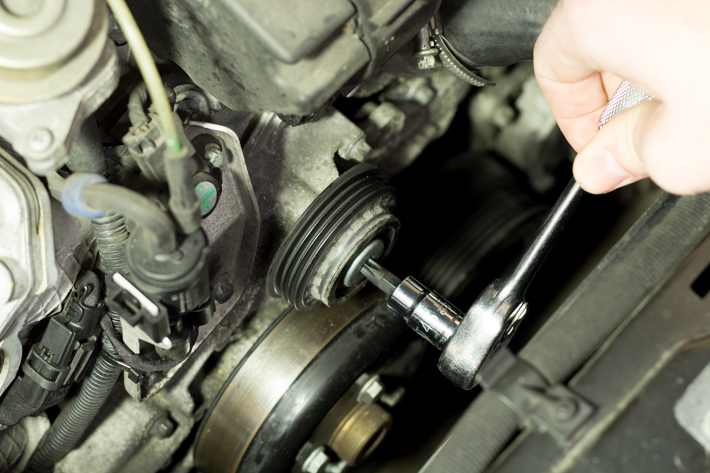
Then take your 17mm socket and attach it to a hex bolt that’s located on the tensioner pulley. This is difficult to see as the serpentine belt mostly obscures your view, so it’s easier to put the socket on this bolt, and then attach the breaker bar. This picture above shows the location of the bolt after the serpentine belt has been removed.
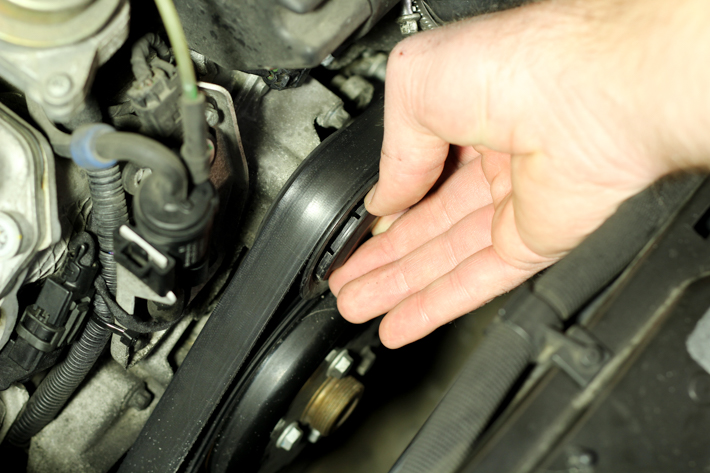
Once you have the breaker bar attached, rotate counter clockwise to remove tension, removing the belt from the upper-most pulley first.

Note: if your breaker bar is 24 inches or longer such as the one I used, you may need to remove one of the intake tubes. Those simply pull off with a small tug.
Gently release the tensioner.
To remove the pulley is very simple. Pry off the dust cover either by hand or with a flat head screw driver.
Loosen the bolt with the T45 Torx socket.
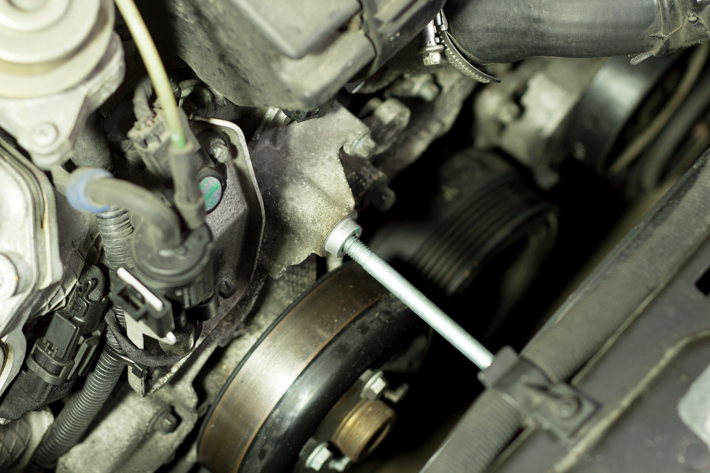
This bolt pictured above is quite long, but can be removed fully if you move the radiator fan blades for clearance.
Re-installation is reverse of removal.
You must be logged in to post a comment.