When you click on links to various merchants on this site and make a purchase, this can result in this site earning a commission. Affiliate programs and affiliations include, but are not limited to, the eBay Partner Network.
Great thread, big thanks but I've done this once already and after re-assembly the adjustment seemed a bit slow and strained. Sure enough only a few months later it has gone and snapped again. Is there something I may have overtightened or missed that would cause this problem? Any help massively appreciated...
I'm picking up 2 of the dog bones this morning from my local MB dealers - just in case
I have problem with my w140 s500 steering wheel does not move inside, I moved it max out and that's all it won't move in. I would like to know of is is related to bone dog or there should be other problem?
Thanks in advance
I have problem with my w140 s500 steering wheel does not move inside, I moved it max out and that's all it won't move in. I would like to know of is is related to bone dog or there should be other problem?
Thanks in advance
The dog bone part is only for the height adjustment. Though, you need to disassemble just as much to access the telescoping feature.
Did this a couple weeks ago and it IS a major PITA...no such thing as the 5 minute fix as some have said. Good write up, no way I would have been able to locate the part w/o this.
NEVER BUY AUL CONTRACTS!!! Thanks for the great thread & pics on the tilt coupler. My 3rd party auto warrantee company AUL refuses to cover this issue (Steering wheel stuck in up position) as it is not a "covered part" What a bunch of BS.... they have refused most of the issues I have had with my 2005 CLK 500... All for a $11 part, this is really a saftey issue as the steering wheel (while it telescopes in & out) does not go down now. There's no way I'd attempt this myself.......ARRRGGGGGGG!!!!!
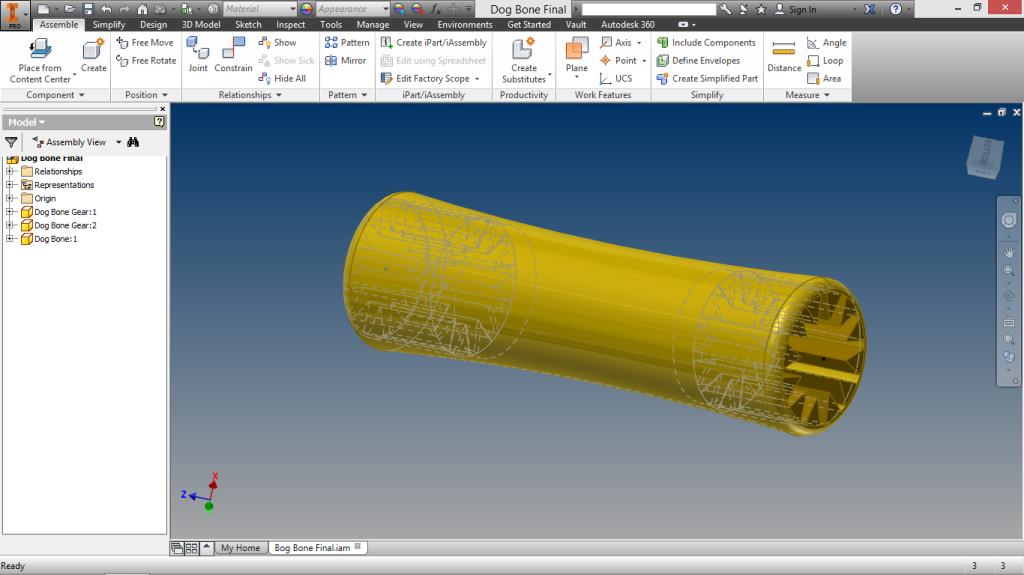
I'm going to bring this thread back to life because I will be doing my own repair of that crappy plastic dog bone. I just ordered a replacement piece and I will be replicating it into my CAD and making one out of aluminum.
That sounds like a great idea. I just replaced mine but since it's such a common problem I'd be interested in buying one should you decide to sell these.
That sounds like a great idea. I just replaced mine but since it's such a common problem I'd be interested in buying one should you decide to sell these.
I will definitely keep you updated or this thread. Mine broke when I tried to pull myself up to adjust my beeeehind and then "pop".
I'm going to bring this thread back to life because I will be doing my own repair of that crappy plastic dog bone. I just ordered a replacement piece and I will be replicating it into my CAD and making one out of aluminum.
As far as I know this is made out of rubber as it needs to flex? I might be wrong but if I'm not do you have flexible aluminium?
As far as I know this is made out of rubber as it needs to flex? I might be wrong but if I'm not do you have flexible aluminium?
I have to see it first before I make my decision. My question to you is how did that dog bone snap in half if it was made out of flexible material. Anyways, I have to see it first.
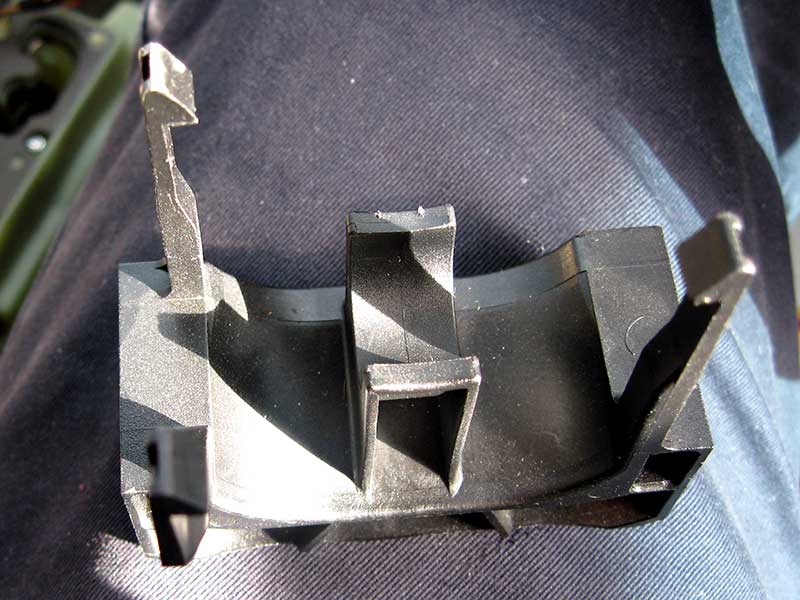
The piece looks more lik,e nylon than rubber. It is definitely somewhat brittle. I saw my old one when it was removed and while I couldn't be sure the part didn't look very flexible to me. The re and re is a dirty job so any improvement to the dog bone would be a definite improvement. frankly I keep waiting for mine to break again. Just nerves!
Update regarding replacing the dog bone. Overall the job was pretty simple and it took less than an hour from start to finish. I am thinking of other ways to reengineer the rubbery part. It's flexible in design because of how the other mechanical pieces are assembled into place. Without flex one can not install without fully dismantling the column. Anyways, it was a fun adventure.
Hi all, my steering wheel tilt wasn't working for some time just like for many other owners. The dealer's charge to replace the dogbone is outrages so I spend some time wondering if there would be a way to fix it without disassembling the center console and all that.
I was able to repair it from under dash after removing just the panel to gain access. It's not the same as replacing it with a new piece but the tilting works now.
If anyone interested I can post the directions, it's not a quick job btw but you are not messing with the electronics, etc.
Anybody knows what the problem is ?? tilt up and down work, telscopic not working ,it sit in all way in pos.
I found some great tips on this forum in the past so in return I am sharing what I did to fix the broken dogbone, if even one person finds my solution useful than that’s great.
The way I did it is not the same as replacing it with a new piece, it's not pretty but works The coupling can come apart in the future (presumably the new one could as well) but there’s no tearing apart the center console and dashboard and risking any accidental damage. My hat’s off to those who have chosen to take that route though.
The coupling can’t be glued together because there’s no glue that would give enough strength to resist the twisting force from the motor. I have tried a few different types of glue, no luck. Here’s what finely worked quite well for me:
Materials and tools needed:
Stiff wire or nails
Loctite epoxy for plastic
Plastic Weld Long screwdrivers and pliers
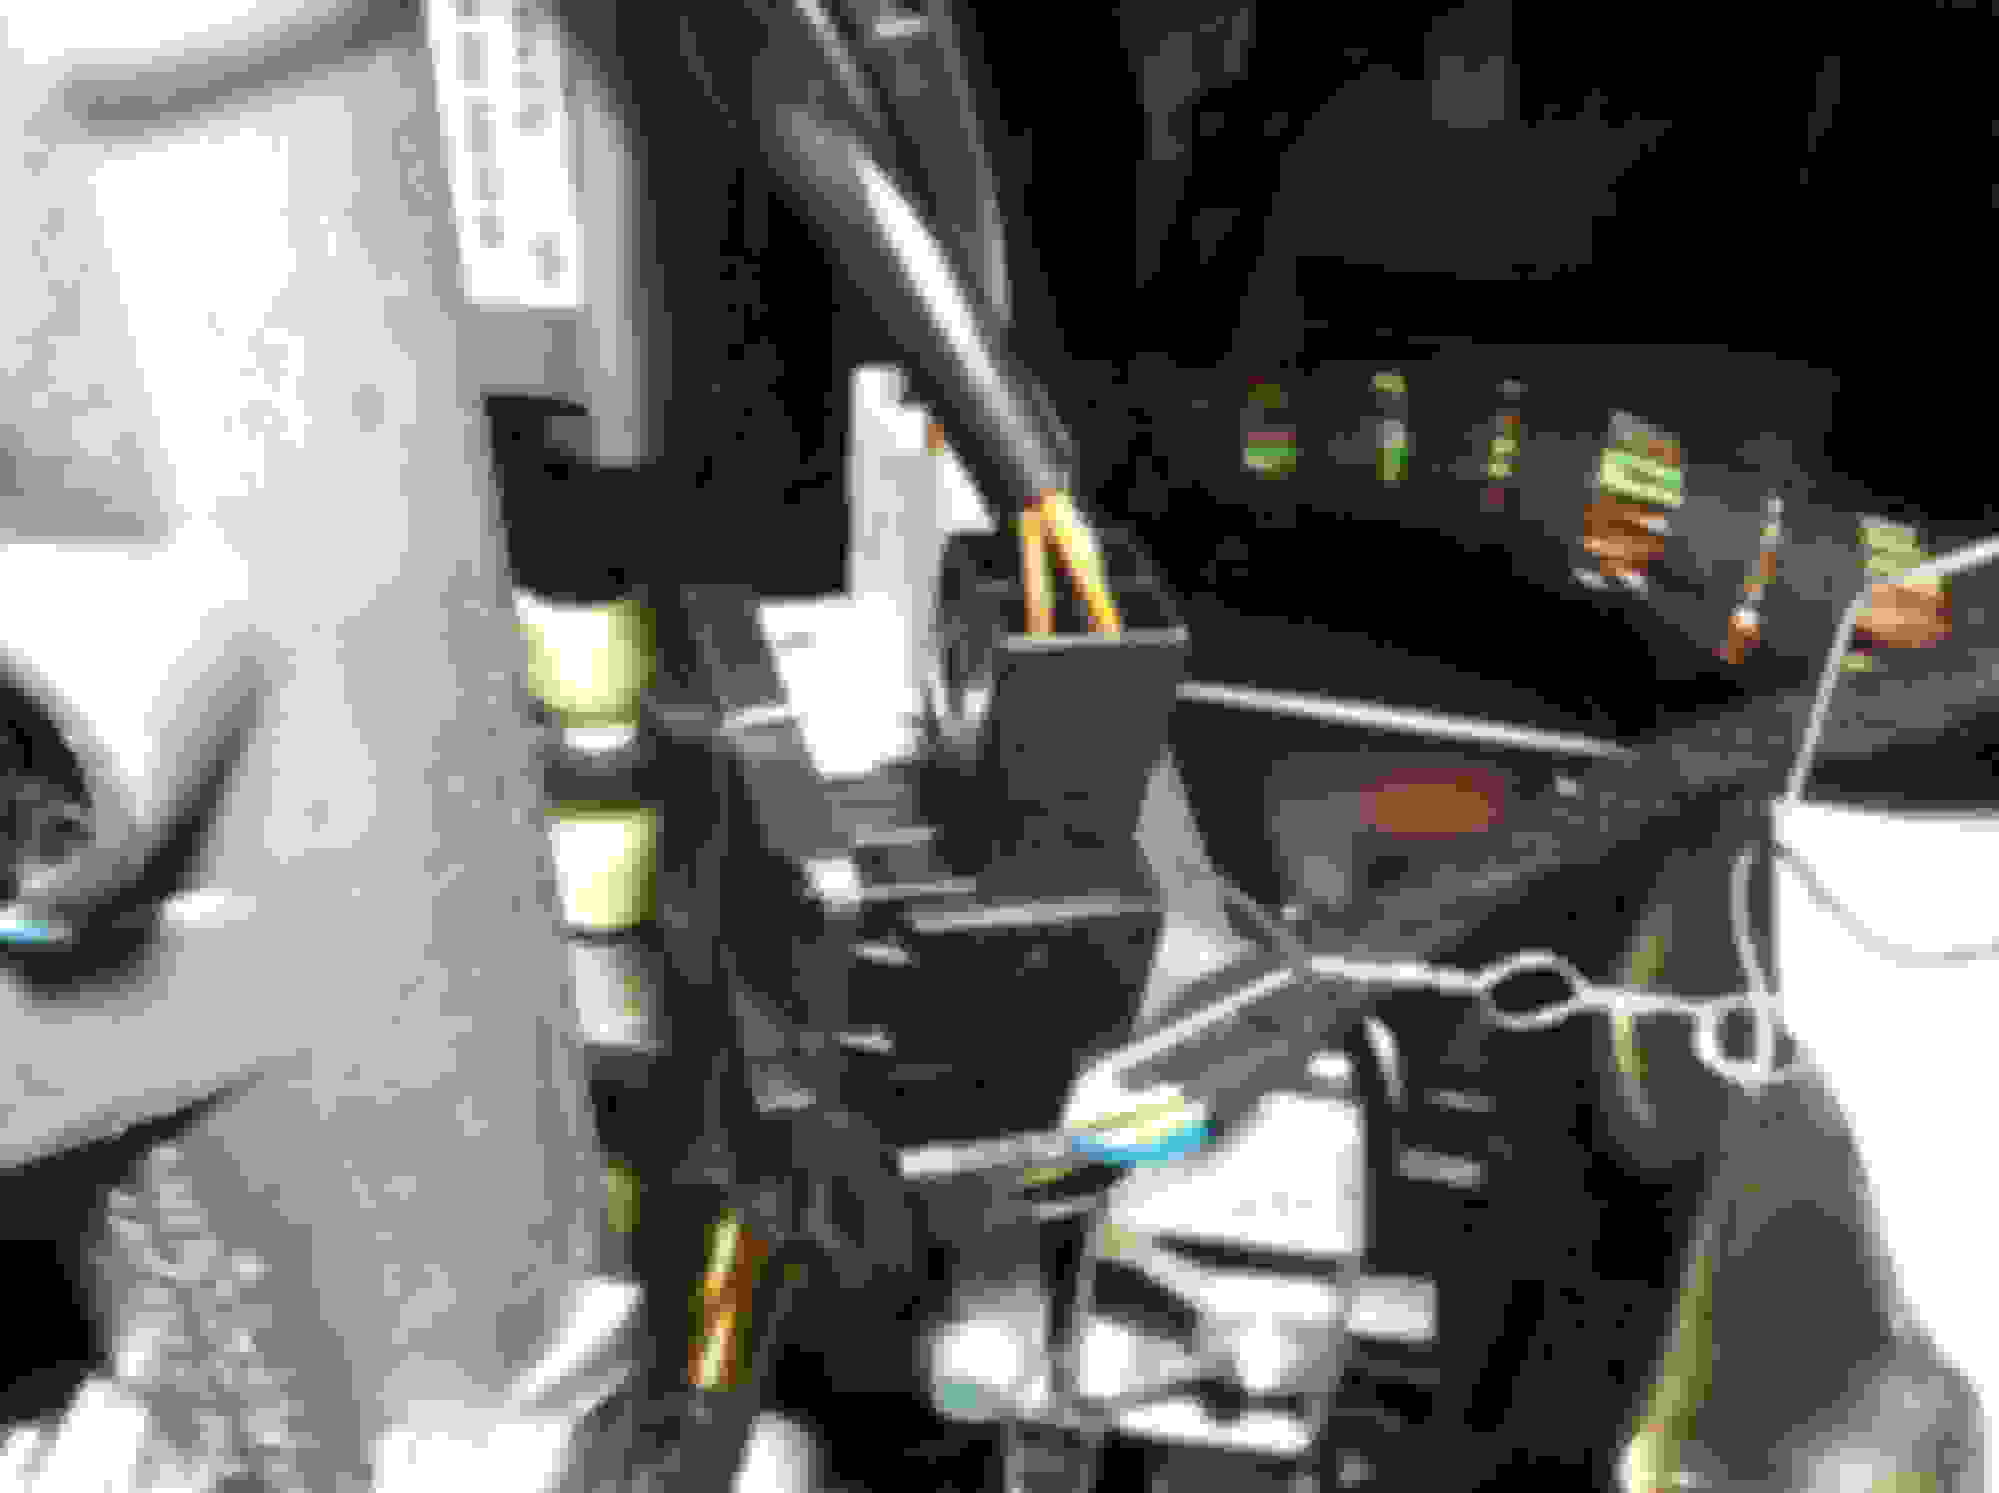
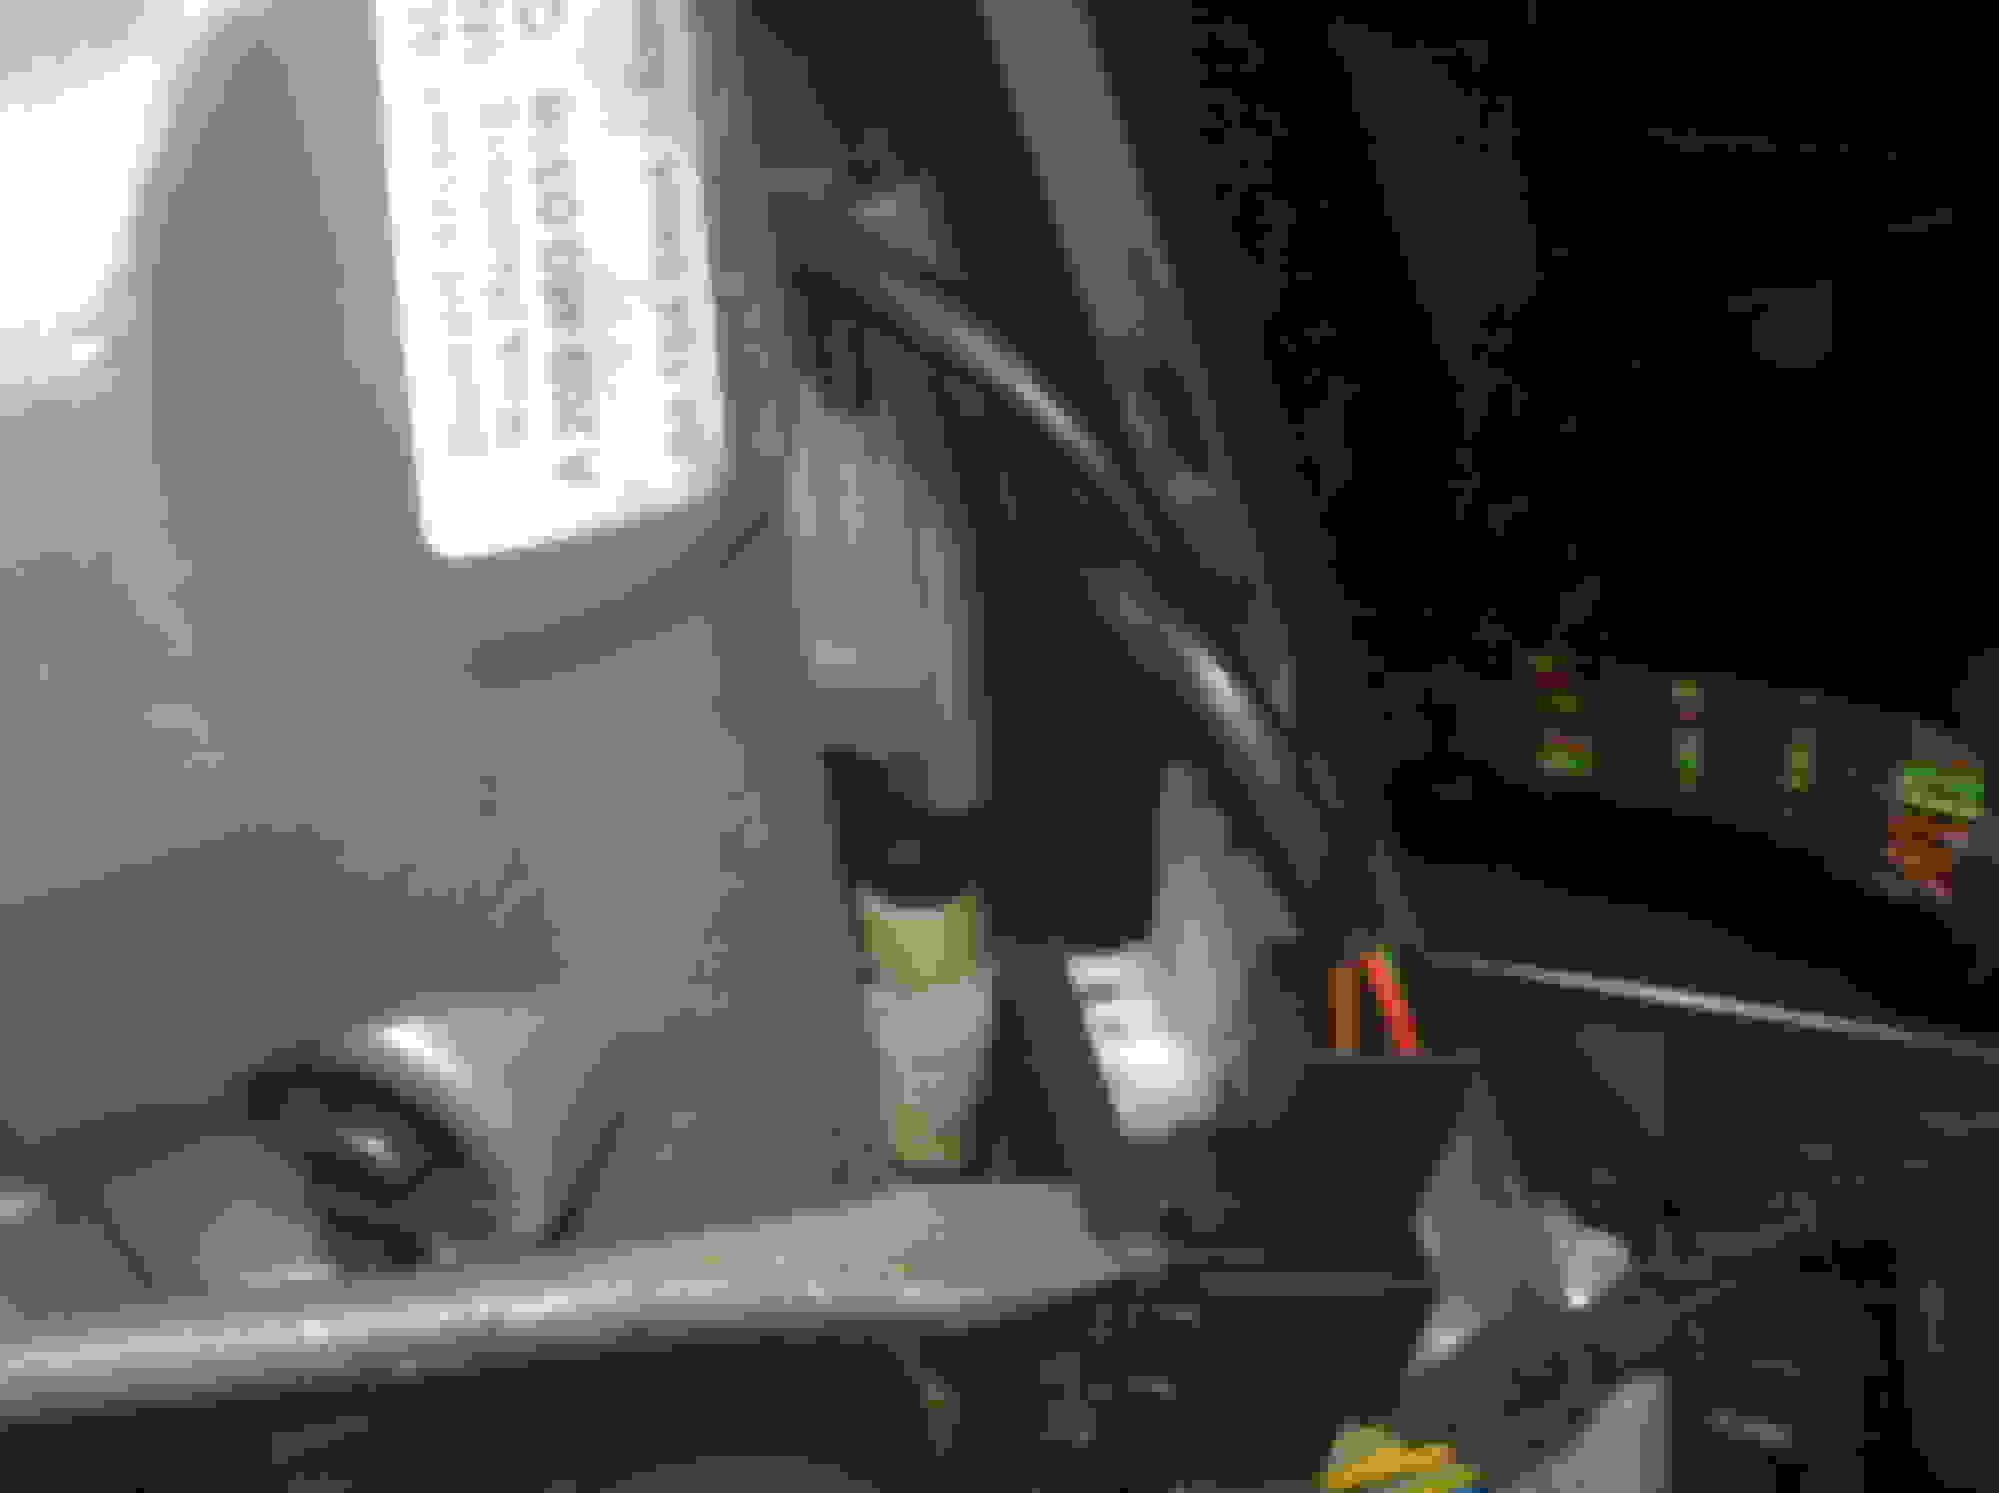
Remove the under dash panel, push aside the wiring connectors and secure it with a wire. The pic is showing my attempt to glue the dogbone together, it came apart later though.
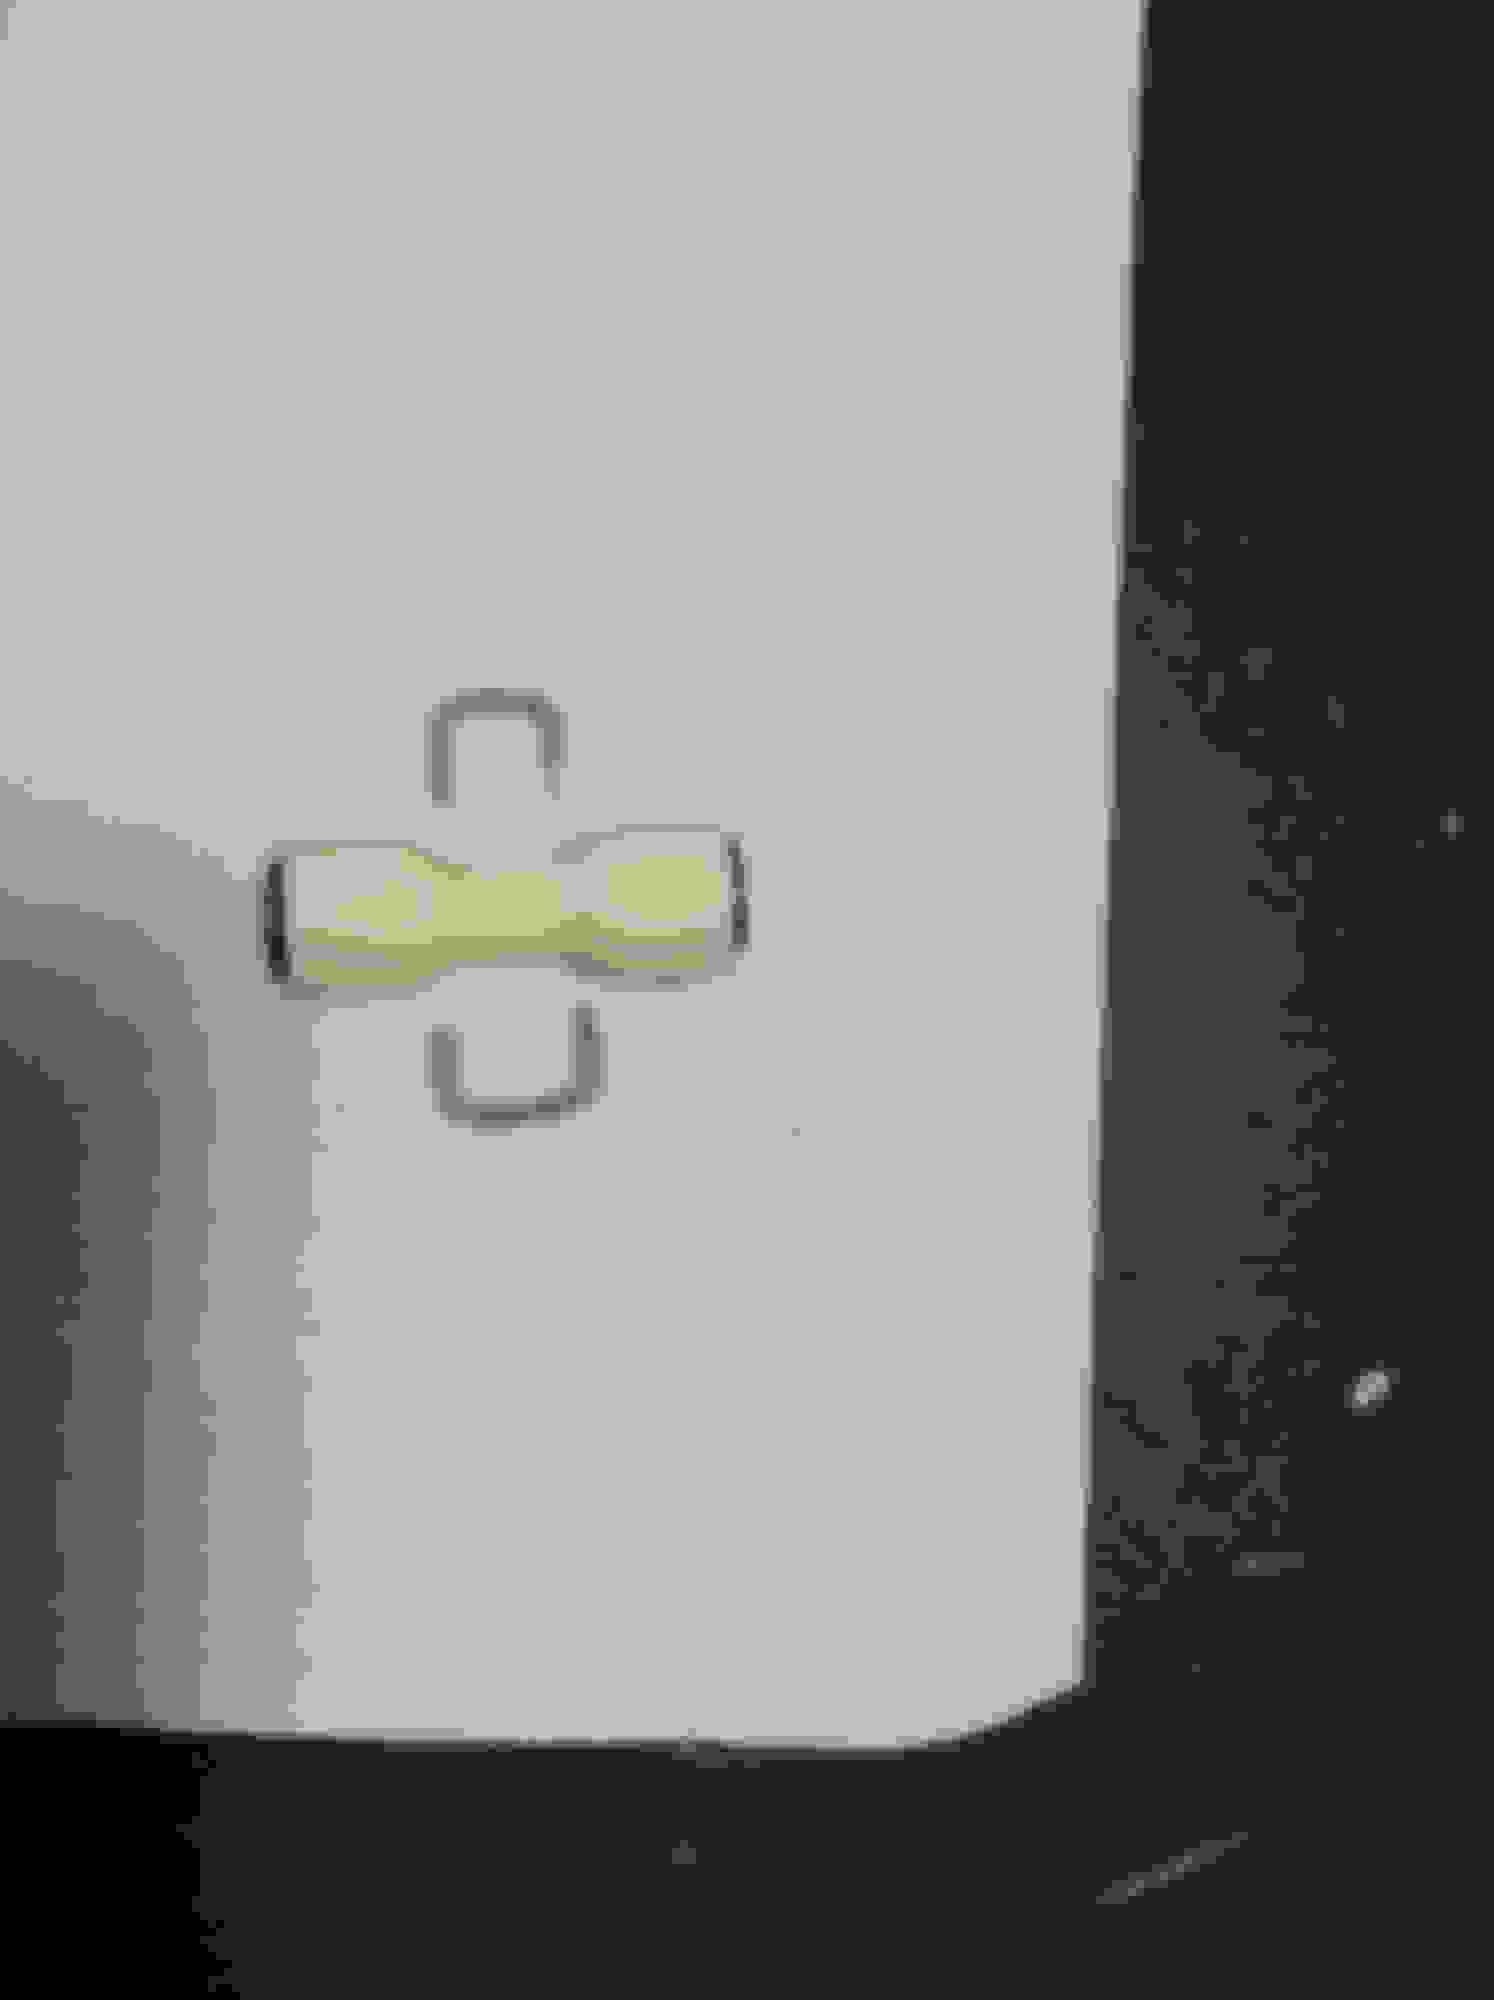
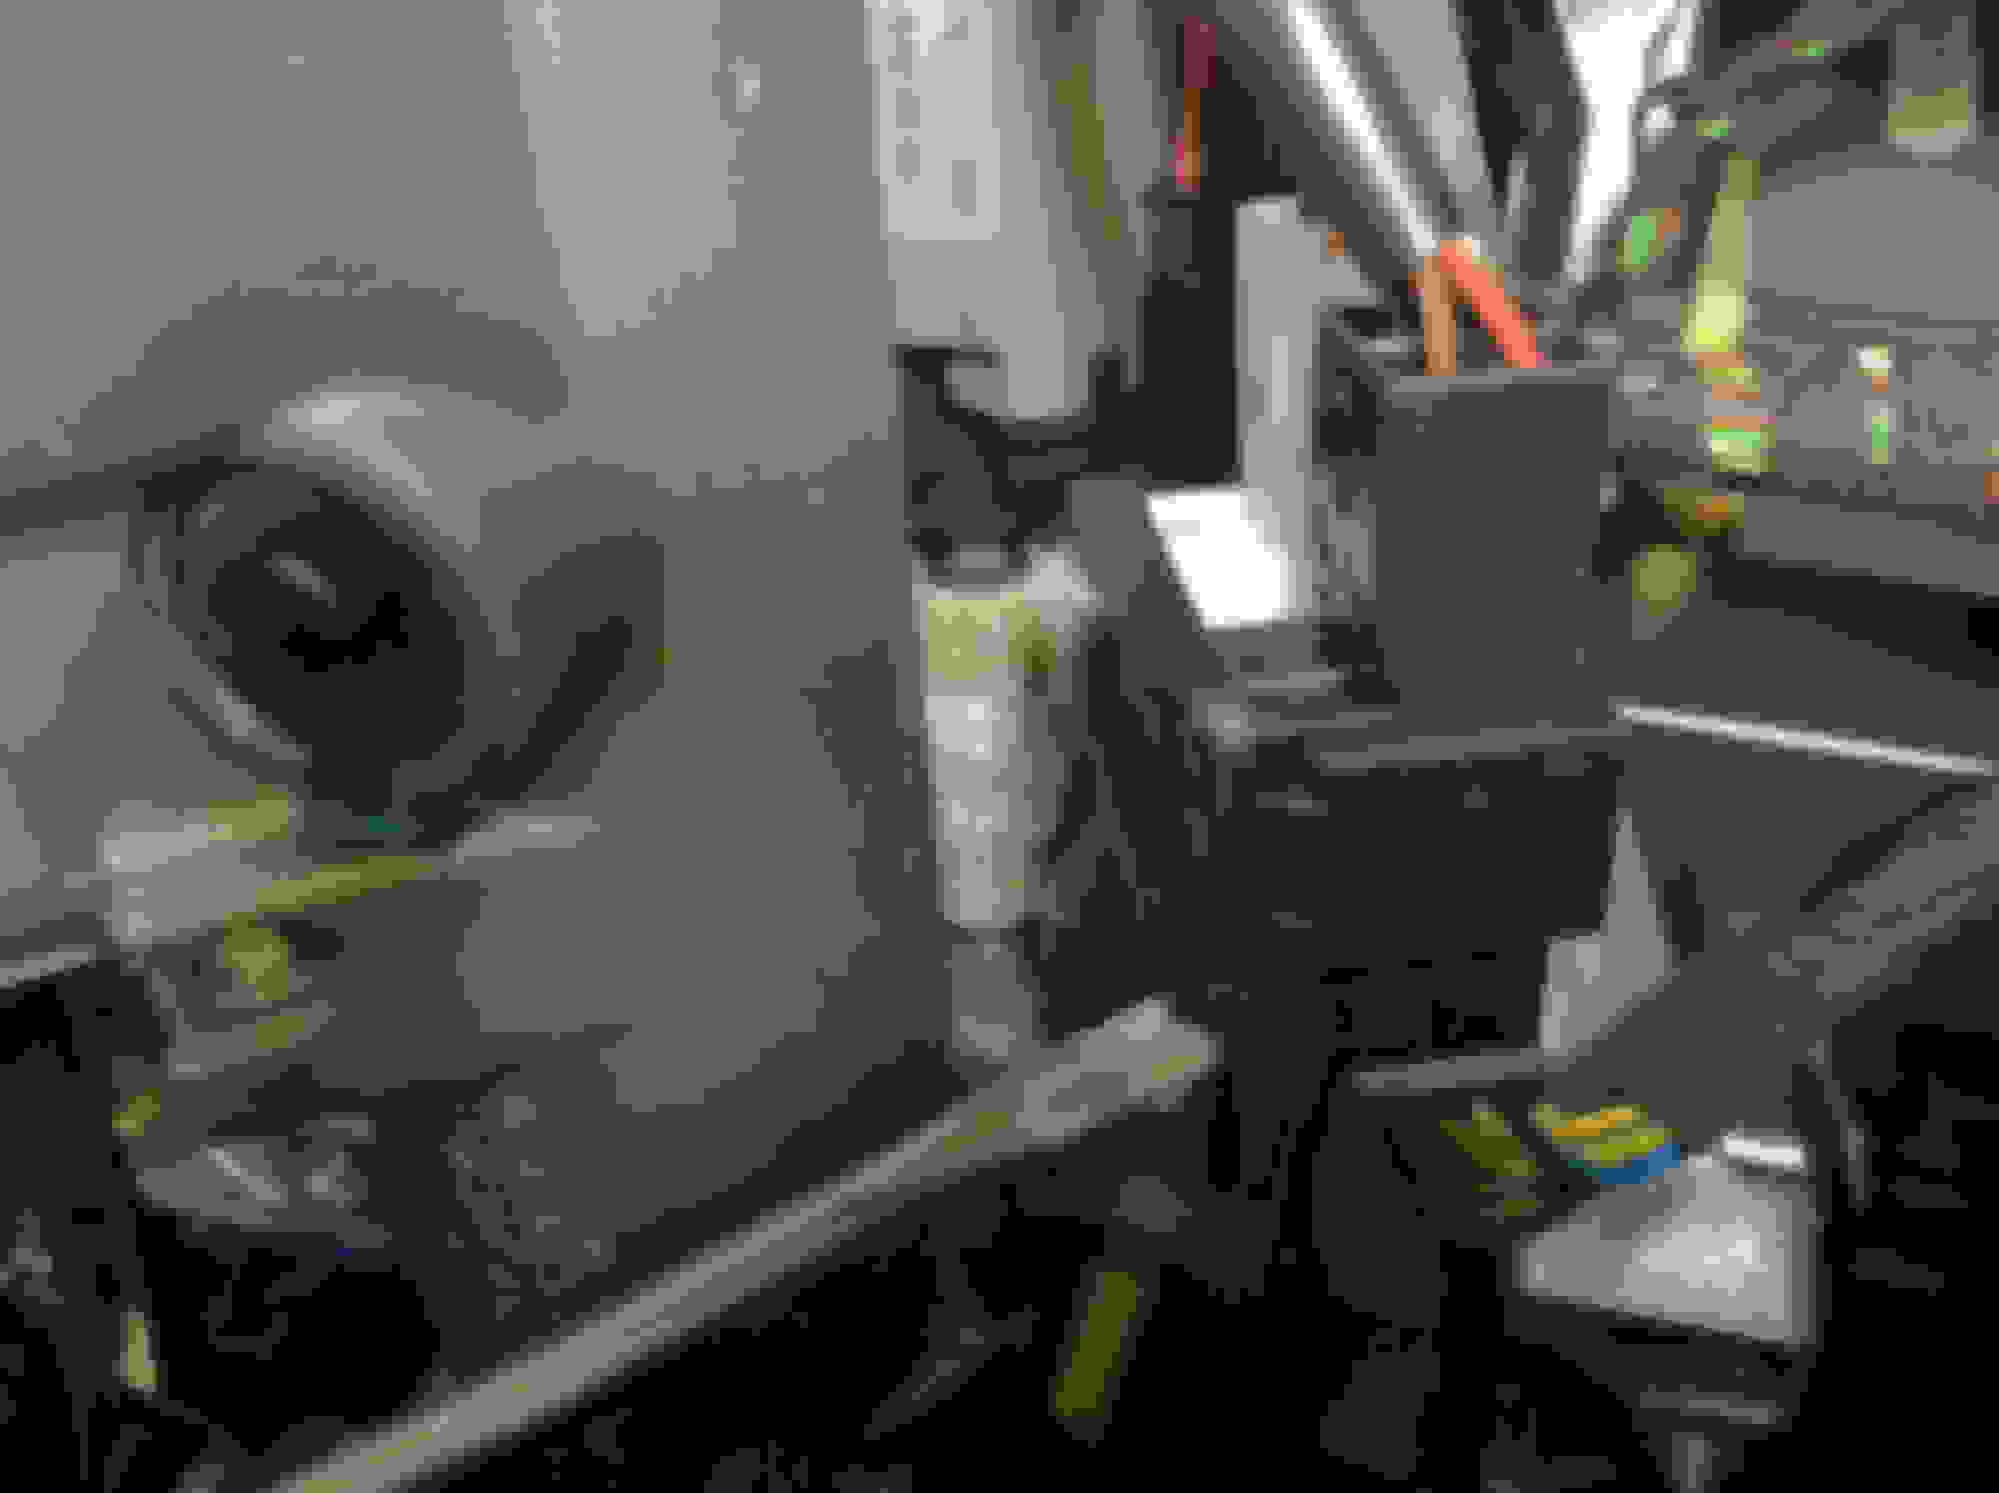
Prepare two c-clamps made out of wire or nails and sharpen the both ends. The pic is showing a new coupling for reference only. Using the pliers carefully push the c-clamp into the soft part of the coupling. Now, with a long screwdriver rotate the coupling pushing on both ends, a millimeter at the time and don’t use motor. After rotating it about 160 degrees push in the second c-clamp.
Use a screwdriver to rotate the coupling and wrap it with the Plastic Weld all around it, just enough to cover the c-clamps. The purpose of it is to keep the clamps in place. If you apply to much the coupling will get stuck after it dries as there’s not much space and it would have to be scraped off, very frustrating part of the procedure and I know this from my experience. Once the c-clamps are covered and surfaces smoothed leave it for overnight to dry.
Next day using the motor test the dogbone to see if it turns freely, scrape off any bumps if needed. I applied also a thin layer of epoxy for additional strength, it bonds well with a Plastic Weld. A Q-tip attached to a screwdriver works fine. Epoxy sets fast so be quick.
After a few hours get underneath and inspect everything, test for a proper operation and you are mostly done. Reinstall the panel.
My steering wheel tilt works fine now, I am not planning on unnecessarily plying with it and I’ll not use the Easy Exit feature at all, not that I think it’s that useful anyway.
Total cost is about $10-$15 and a few sore spots on the upper back, .
Cheers.
Last edited by syrena105; May 16, 2015 at 01:43 PM.
Just fixed mine and it took about 30 min because it was my forst time. Could do it again in about 15.
Slide seat all the way back. Start by dropping drivers panel above your legs by removing 3 torx from panel and two from OBDII. Disconnect light from panel and obdII harness by sliding connector back. Look up at steering column, link will be barely visible on fender side of column. There is an electrical plug holder with several plugs holding it to column. Just go ahead and bend/break this toward fender, just do it, will save you a lot of heartache and will not hurt anything. Now the link will be clearly visible and unobstructed. Using a very long set of needle nose pliers, (I used Irwin set from Lowes ($15), Harbor Freight may be cheaper), Pull off the two broken halves. Put new link on end of pliers and work onto one side as far down shaft as it will go. Now bend the heck out of link in order to get it started onto other end. Once started I cycled the up/down switch several time and it spun on. I then centered link and tested. I actually bought 5 links because they were less than $2 each and shipping was like $8 for 1 or 100. Glad I did because I dropped the first one under dash and could not find it.
congratulations, better to have a new installed than repaired one. I'll refer to your method in case my repair doesn't hold (it does for now btw) any longer.
2004 clk500, w209, same issue. I need to replace the coupler.
I was running out of daylight so I just wanted to verify it was a broken dog bone that was my issue. I followed the "5 minute man's" directions, dropping the driver's side underside panel... I was literally lying upside down with my feet in the air...I was able to see the broken dog bone. Sooo theoretically, if you can see it you can fix it.. but not possible for me.. I can't reach it.
I'll be attempting the long version of taking apart the dash, etc. To get to the part when I have more daylight!
Anyone have WIS or DIY for a clk500 taking apart the dash, console, etc.???
Thanks for the post. I fixed this today on my 2011 C300 4matic Sport.
It took about an hour, and the hardest part for me was getting the lower panel out from driver's side (newbie to DIY, just got tired of spending money at the Stealership and wanted to try fixing stuff on my own).
There is no dogbone device in the 2011. It looks like it has been replaced with a steel cable. Looks like the nut that holds the steel cable overtightened over time and got stuck. I loosened it with a #13 spanner and voila, tilt works!! I have pics and some video if anyone is interested.
Dark Ops, I too have a 2011 C300 Luxury 4Matic. The tilt feature stopped working, and I purchased a new dog bone only to discover that it has been "upgraded" to the steel flexible "speedometer cable " type. I tried loosening the only 13mm nut, as you suggested, with no success. Seems they're improvement still has the same problem.
The servo motor tries to spin the cable, but just torques the cable a little, and the wheel is still frozen in the up position. In / out still works fine.
Can anyone give me some advice on how to rectify my bus driver steering position.


 .
.