When you click on links to various merchants on this site and make a purchase, this can result in this site earning a commission. Affiliate programs and affiliations include, but are not limited to, the eBay Partner Network.
I think the fresh air option was removed in 05 when they did the facelift - but I believe it could be installed as the duct work is still in place just blocked off.
I can't get the side vents out for the life of me. I see that there are 2 clips on the top inside each vent, but it appears that something on the bottom is still holding them in place.
Anyone have a diagram or any idea? I've tried just about everything short of breaking the vent housing... Thanks.
Is there a screw holding the vent in like the center vents...where you have to push the 2 tabs out and raise the vent to access the screw?
Not sure..just brainstorming.
That was my original assumption, but the side vents only move down to give access to the top where there are 2 similar tabs. There is no access to the bottom, and from what I can see there's nothing down there. But something is holding it at the bottom.
I've probably spent a total of 40 minutes messing around with this vent... I'm waiting for one of you to show me how stupid I am and how I'm missing something obvious!
So apparently there is a screw hidden somewhere on the bottom:
It looks like the glove box has to come out to get to the screw holding the vent!?
Edit: anyone interested in doing this, DONT. Looks like the lower area of the instrument panel on the drivers side has to come out, as well as the glove box, in order to get to the screws holding the bottom of the side vents. Unbelievably bad design when they could have made the screws accessible from inside the vent (the way the center vent is designed).
Wow intense! Looks like they went all out to make sure no one can get the side vents off
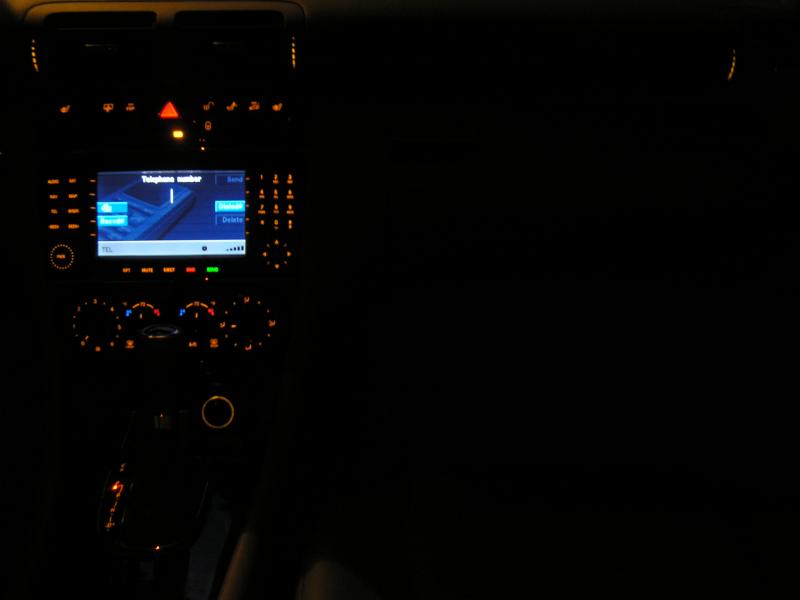
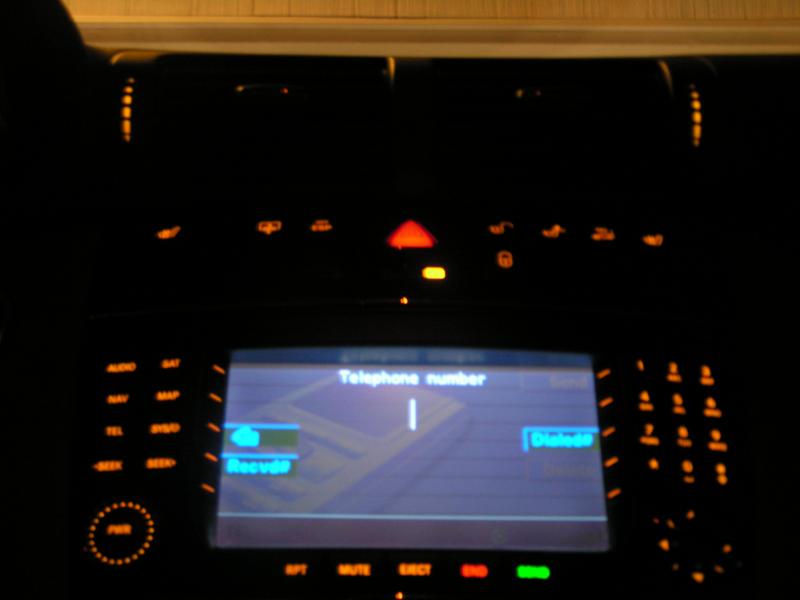
Im starting to really like this mod (thanks acr2001)..love how the interior looks at night in one of the pictures posted above with the vent knob lights on. I was planning on taking the panel covers off soon to make my AVIC microphone wire and the GPS wire more concealed..might just add these LED's on then.
As usual Glyn, that helps me out better than WIS - thanks!
Originally Posted by jcnash
Wow intense! Looks like they went all out to make sure no one can get the side vents off
Im starting to really like this mod (thanks acr2001)..love how the interior looks at night in one of the pictures posted above with the vent knob lights on. I was planning on taking the panel covers off soon to make my AVIC microphone wire and the GPS wire more concealed..might just add these LED's on then.
As long as you're taking things apart I say go for it. I took the center stack apart and removed my comand unit already to run the power wire from the cigarette lighter bulb (used wire taps so it can always be reversed) - I wouldn't have put it all back together if I knew the side vents would require so much disassembly. I'm going to try getting the vents out by removing enough screws to loosen the lower dash / glove box without actually taking apart the center stack. If that doesn't work out I might just scrub this idea.
late 2009 CLK 350 Coupe Elegance, '65 Jaguar S Type wires
Yeah - Those 2 damn screws per side. Glove box side is a lot easier because you don't have the ignition switch, parking brake lever & lighting switch to contend with. It's not that difficult - Just tedious & time consuming. Did it on a friends C270 diesel a while back. Broken stepper arms Grr!!!!
Last edited by Glyn M Ruck; Nov 26, 2009 at 02:23 PM.
There is a very old step by step thread somewhere. Will try & find it. I pdf'ed it but the pics did not capyure & were lost to the forum at one time. I seem to remember that Saprissa restored them all at one time.
Last edited by Glyn M Ruck; Nov 26, 2009 at 02:26 PM.
I'm going to post a DIY when this is done if anyone is interested.
I'm adding LEDs to the vent knobs (the airflow knobs on each vent to turn them on and off). They come stock on the C320. Other vehicles are missing the LEDs and the wiring.
My question: Does anyone know where I can tap a power source near the dash that only turns on when the lights are on? It's not a lot of amperage just 4 LEDs with resistors. Is there a power source where the vents would plug in if i had that option?
Thanks
Is this what you try to do?
I have them installed on my coupe long time ago. It looks good when dark. I used 2 amber LED to match the oem color and 1 mini light bulb ( like one used for ashtry light) to light up the center vent dial.Because it was hard to find a blue color and bright LED back at the time. i only did 3 air vent which above the center consol.Too lazy to do the driver / passenger vent.
Finally finished this mod which took FAR more work than I had realized.
Best part? As soon as I was done the light bulb in the cigarette lighter burnt out! So I wired the lighter ring and ash tray with LEDs too. Can't really see the ash-tray lighting in the pics, but you can see the ring. Looks better than it did with the stock bulb.
Here's a mediocre write up for anyone who wants to try this:
I was able to get the side vents out without removing any of the dash panels as MB recommends:
On the driver side you have to remove the headlight switch - to do so you remove a screw which is hidden behind the parking brake release (pull the release out and look up at the area behind it to see the screw). With that screw removed, open the fuse box panel against the door and then press the metal clip in and push the headlight switch assembly out of the dash. After that you have access to the two vent screws. Remove them and then gently pull the corner of the dash so that you can work the vent free (after popping out the clips on the top inside of the vent). You'll probably find that the clip under the instrument cluster pops out - take your time popping it back in as it's a pain and you'll damage it with too much force.
On the passenger side you have to take 1 screw out on the right side of the glove box behind the panel facing the passenger side door. Then you have to remove 2 screws that are inside the glove box on the 'ceiling'. The center screw is for the glove box latch and doesn't have to come out. After that just pull the edge of the glove box liner to reveal the vent screws.
Center vent removal is easier - 2 clips on the top inside the vent and 2 screws on the bottom inside the vent - DIY is kicking around here somewhere.
To route the wires from the cig. lighter up to the top of the dash I had to remove the comand, climate control, and button panel on the top. To run the wire for the passenger side vent the panel under the dash on the passenger side has to be removed (2 screws under there). To wire the drivers side some very gentle snaking behind the instrument cluster with a coat hanger worked well (you could just pop the instrument cluster out instead). You could snake the passenger side in a similar manner, but you risk damaging the airbag as well as running the wire in front of the airbag - bad idea.
COVID-19 quarantine has me looking for winter projects...projects...etc.
I�m thinking light pipes at carpet to console, and maybe under aluminum door trim...
Which led me to remembering the vent lights...and then I found this thread! Thanks...the side vents always turned me off - but - your write up makes it look more tolerable...Thanks!
Thank you, to a fellow forum member that sent me OEM illuminated vents!!! This is awesome! It will certainly help me (and simplify the teaching process to my daughters) on this project.
Passenger side:
There is an additional T20 screw at the bottom of the dash, close to the under panel, remove that and the top felt moves easier to get the screws out for the vent. They are not trapped, should be designed like the middle, but, they�re not.
Driver side:
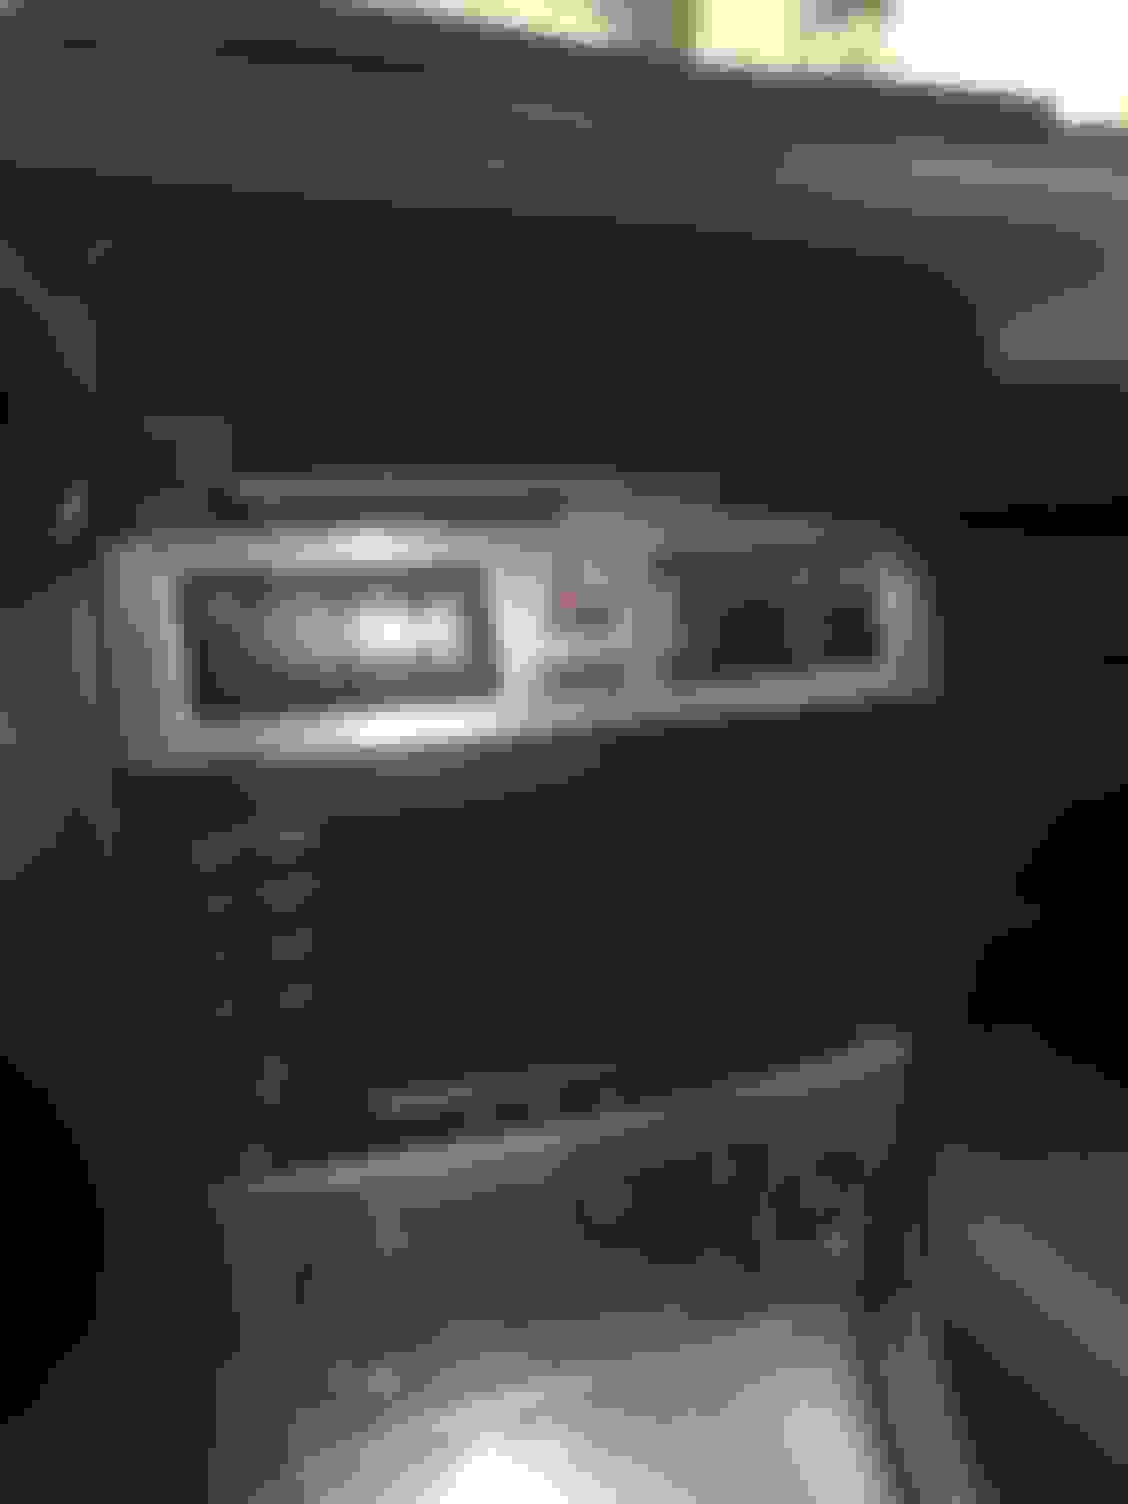
The clip holding the panel up which is located here just left of the steering column wants to come straight down, then toward the cabin. Agree with using caution! It�s a vertical bulbous snap clip. I tried to highlight it in the pictures below with a spot light...Again, remove any retaining T20 screws near the door opening for ease...
If using OEM LEDs and the white reflectors, keep the wire looming on the opposite side of the vent door control rod...
Project is taking on a life of it�s own... These will be on a separate circuit and dimmable independently...they are not as bright as they appear here...
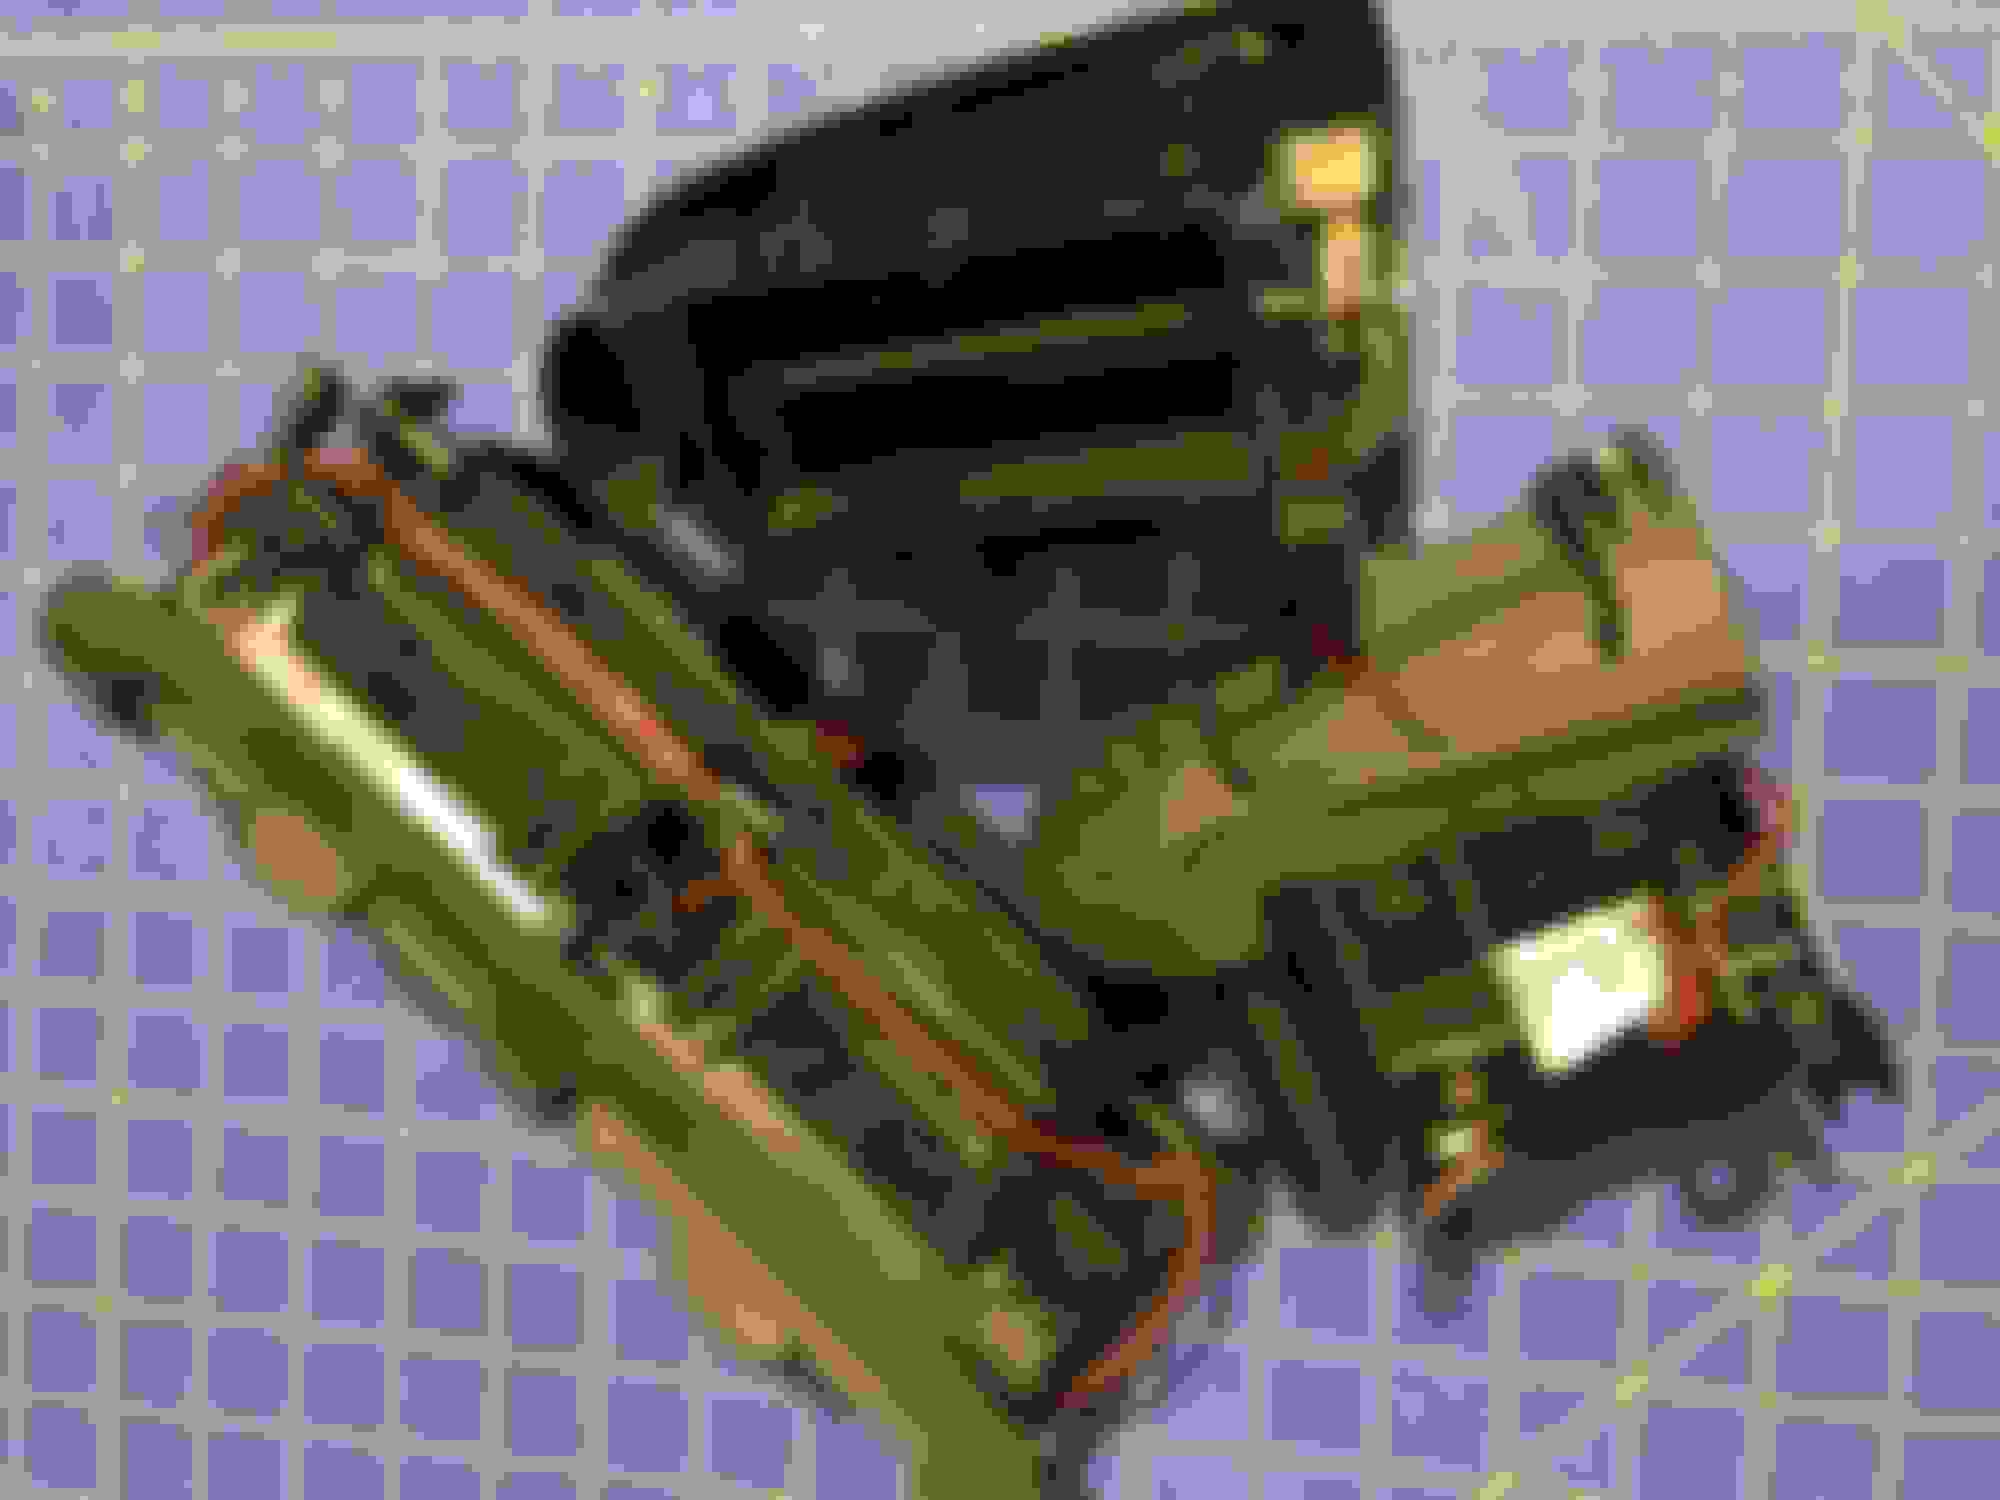
Taking apart the rear vent was the most �challenging� aspect thus far, but, a few non marring tools, rounded small screwdriver paddles and unclipping the bits will get you there! (I cut the 12v outlet from the harness, as the OEM connector required removing the entire console...)
The actual lights IN the vents will be powered when I can take the PWM signal from the blower and convert it (R/C Filter) to a stable DC signal to latch a relay to send 12v to the LED module I have�
Vent volume control lighting, per very OEM looks very similar to ACR�s set up.
Shifter is a tad bright - not as much as appearing in this picture�
Mercedes SLR McLaren 722 S Is Extremely Rare Example Modified by McLaren
Slideshow: A one-of-one U.S.-spec Mercedes-Benz SLR McLaren Roadster became even rarer after a factory-backed transformation at McLaren's headquarters.


 that helps me out better than WIS - thanks!