When you click on links to various merchants on this site and make a purchase, this can result in this site earning a commission. Affiliate programs and affiliations include, but are not limited to, the eBay Partner Network.
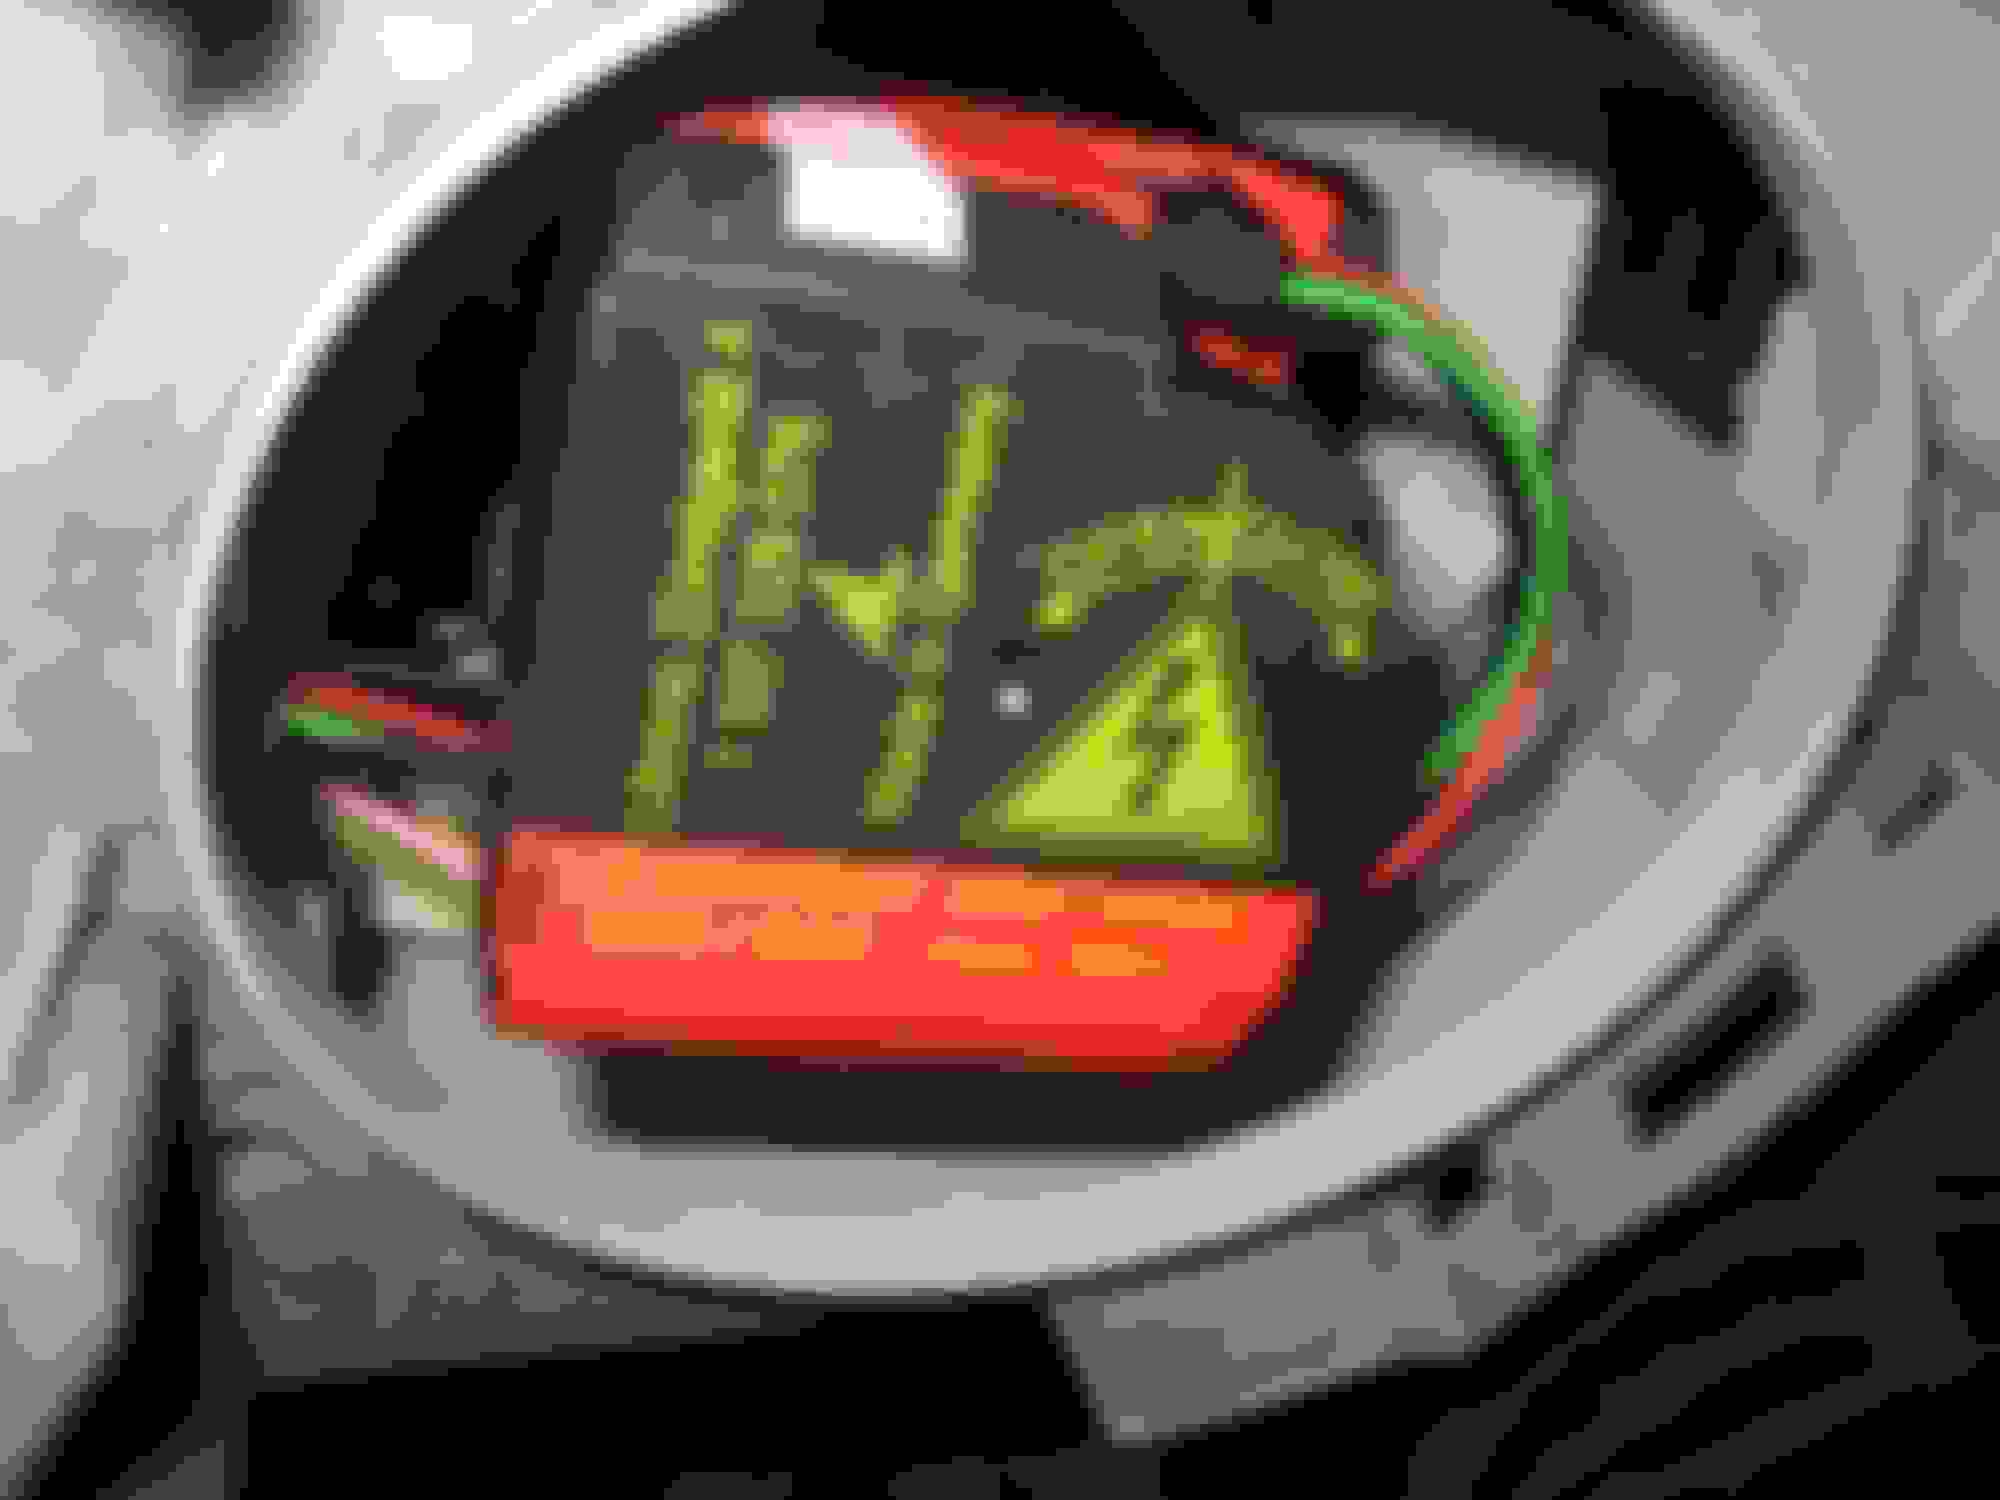
I wanted to re-visit some of the xenon headlight ignitor replacement issues from the past. After searching, it seems like it was discussed years ago, primarily for ~2003/4 cars, and then not discussed much since then. I have factory bi-xenon headlights on my 2005 with the clear lenses. I've got a flicker in the right headlight that was severe enough to blow a bulb recently. It still flickers after replacing the bulb. I've swapped in a spare ballast underneath the headlight housing and that hasn't changed the flicker, so I assume I have an ignitor problem. My car has the newer style grey square(ish) ignitors on the back of the bulb as in the following picture.
There was a pdf file about replacing the ignitor with a non-stock part that would allow it to be replaced without opening up the complete headlight housing. Does anyone know if this is still the best approach to dealing with this, and if so, is there a good supplier for this part? The different years seem to have different part numbers so I'm a little confused on what I need. I've also seen a few of the square-style ignitors on ebay (such as part # 1-307-329-076), but I'm not sure whether that is an actual match for my car, nor so I see how I'll hook them up as they never show any external wire leads coming off of those for sale.
Does anyone the easy and cost effective way of solving this? Thanks!
I have this exerpt filed in my archive, hope this helps
Guys, there IS an OE solution that WORKS. Forget these retrofit kits.
I already wrote about this in another BIX thread. Search "2003 C230 factory HID, need ballast", thread started by Taiwanese. I wrote more details there, and posted pics there too.
Order part AL 1-307-329-076. I don't know the MB part number, but VW, Ford, and Volvo use these units too. Get a used one from eBay or wherever, and be sure the seller includes some 20cm of cabling from the harness. Just cut the old wires and splice the new wires in. You also need to chop off the old igniter connector (2 rubbery cables joined to the red bulb base).
Not only do these work flawlessly (strike voltage is 30kV compared to 25kV for the stock units), but they also fit perfectly into the OE (coupe at least) headlight assembly. You just have to clip off 1 tab on the igniter puck.
All this can be done by reaching through the cover. No need to remove or open the headlights!
After going though 3 igniters (the box with 2 cables thing), MBenzNL sent me one of these and it worked. I use these on both sides now. 0 problems after installation, and one side is coming up to 10 years.
You can probably also google for some sentences from the above to find the original thread.
Just buy the part off ebay. That same part is used for other makes as well. Get the 1-307-329-076 and the connector with some cabling and you're good to go.
Thanks guys! I will do that. So, within the housing, there are the 3 wires that are just visible in the picture (brown, pink, green), and then there are the two thicker wires that go to into the ignitor (both grey). Will I be connecting the new unit from ebay to the two thick black wires? Or the 3 smaller multicolored wires?
In the original configuration, the 3 multicolour wires go into the igniter electronics module (black box that's tucked way up inside the headlight), which are connected to the 2 rubbery wires attached to the red bulb socket.
What you want to do is bypass that entire assembly. You do this by cutting the 3 multicolour wires and splicing those into the new AL unit. Hopefully you also got a short piece of 3 multicolour wire with your unit. Match the colours and solder or crimp each line.
The new AL unit contains both the igniter electronics module and bulb socket, in a tiny square package. Because of this, you no longer need the 2 rubbery wires or existing circular red socket. Not to mention there's no longer any power going to the old unit anyways. Cut the rubbery wires as far inside the light as possible.
Last edited by slammer111; Jan 19, 2015 at 05:03 AM.
Great, thanks. That makes perfect sense and is just what I wanted to hear (ie bypassing the inaccessible module). I'll order one of those and see how it goes!
I just wanted to stop back in and give an update on where my headlight project stands. I ordered the ignitor that we discusses from Factory Xenon, and specified to include the plug with a few inches of wire lead.
The wire lead had a green, black, and red wire which were exact matches to the colors of the wires going into the stock ignitor module within the headlight. I cut them as close as possible to the ignitor module, but there wasn't enough spare length to get a wire stripper or crimper on them. In order to get enough slack, I opened up the "city light" compartment on the smaller side of the headlight and extracted the wires from there. I cut one zip tie bundle and pulled the 3 wires I needed through and out of that compartment. With that slack, I could strip and crimp the wires to the new connector plug.
Then, I fed them back through to the main headlight side and zip tied them in place similar to how they had been. The new ignitor was easy to install. It clicks onto the bulb and then the plug gets plugged in on top. As was mentioned in an earlier post, there's a tab that prevents the plug from going into the ignitor until the ignitor is locked onto a bulb. I assume this is to prevent energizing the 30,000 volt tabs without a bulb present to prevent potentially lethal shocks.
When I turned the headlight back on, it lit up beautifully-temporarily. After a minute or so, though, the flicker came back. The bulb seems to flicker for a few seconds, then turn off completely, and then turn back on after 1-5 seconds. The problem is with my right side headlight.
At this point I next verified that the new (possibly used) ballast I'd ordered wasn't causing the same flicker as my previous ballast, so I swapped it with the ballast on the left (functioning) side. In order to access the left side ballast, I removed the bumper and pulled out the whole headlight unit. I swapped the ballasts and the problem stayed with the right side headlight. I then swapped the headlight assemblies around and plugged the left headlight into the plugs on the right and the right headlight into the plugs on the left. Again, the problem stayed with the original right headlight assembly.
So, the problem lies within my headlight assembly. The bulb, ballast, and ignitor have all been replaced. I've reached in and wiggled the wires on the inside of the two main wire connections, and this had no effect on the flicker. I've inspected all of the wires inside that I can see, and nothing looks damaged. The last unknown would be the inside of the plug that goes into the ballast at the bottom of the unit. I can't really access that plug to tamper with it or check it, though.
Does anyone have any ideas on how to proceed? I see the OEM headlight units online for ~$900 but I'm not quite ready for that step! Here's what I'm looking at now...it's not pretty!
I had the same issue but for me I went through 3 or 4 sets of bulbs before i replaced the ignitor and all was fixed. As you have already done that i have a few other ideas.
How long did you let the replacement bulb flicker in the bad light? Reason i ask is that after a few months my car would kill the bulb so it would flicker no matter which side i put it on as the arc gap had been increased. Also what bulb did you replace it with? If it was not a genuine Philips 85122 or comparable Osram then get a replacement set most places have fake Philips i got my last set from amazon (not a reseller on amazon) for a very good price and they are genuine.
Well, today was a big day in wrapping up this repair. I continued investigating and realized that the insulation on the power wires within the headlight assembly had become very brittle. The yellow and brown wires carry power and ground from the main plug to the ballast, and the insulation had become brittle and broken off these wires over time. This was probably causing a short between the two wires. I pulled out all of the plugs from behind and replaced the brittle wires with new marine grade wire. (note in the picture I show the original yellow and brown wires below the assembly after I removed them- you can see how much insulation had flaked off during this process)
After reinstalling the assembly with the new red and black power wires, the flicker problem remained. I was about to cry and give up, but I still had one spare bulb left from a pair that I had ordered, so I switched it in and all became well and the flicker went away. I'm thinking that the old ignitor had damaged the new bulb that I had ordered. All the rewiring may have been unnecessary if I had just installed the working bulb with the new ignitor.
So, in the future if you replace an ignitor, make sure you try a new bulb as well if a problem persists. Also, note that the wiring insulation can become brittle and it's not impossible to crimp and wire in some new power wires to solve this.
Thanks to those who responded on here- extremely helpful. Trey-My replacement bulbs were genuine Phillips but the old ignitor had damaged the new bulb in a way that closely resembled the original problem, and this damage occured in less than a month. Also, the car is on real jackstands in the picture and the scissor jack is just there for an added bit of redundancy!
Im going through a similar issue right now. Seeing that you've resolved the issue and provided pictures really gives me hope of repairing my busted bix headlamp also.
I just wanted to stop back in and give an update on where my headlight project stands. I ordered the ignitor that we discusses from Factory Xenon, and specified to include the plug with a few inches of wire lead.
The wire lead had a green, black, and red wire which were exact matches to the colors of the wires going into the stock ignitor module within the headlight. I cut them as close as possible to the ignitor module, but there wasn't enough spare length to get a wire stripper or crimper on them. In order to get enough slack, I opened up the "city light" compartment on the smaller side of the headlight and extracted the wires from there. I cut one zip tie bundle and pulled the 3 wires I needed through and out of that compartment. With that slack, I could strip and crimp the wires to the new connector plug.
Then, I fed them back through to the main headlight side and zip tied them in place similar to how they had been. The new ignitor was easy to install. It clicks onto the bulb and then the plug gets plugged in on top. As was mentioned in an earlier post, there's a tab that prevents the plug from going into the ignitor until the ignitor is locked onto a bulb. I assume this is to prevent energizing the 30,000 volt tabs without a bulb present to prevent potentially lethal shocks.
When I turned the headlight back on, it lit up beautifully-temporarily. After a minute or so, though, the flicker came back. The bulb seems to flicker for a few seconds, then turn off completely, and then turn back on after 1-5 seconds. The problem is with my right side headlight.
At this point I next verified that the new (possibly used) ballast I'd ordered wasn't causing the same flicker as my previous ballast, so I swapped it with the ballast on the left (functioning) side. In order to access the left side ballast, I removed the bumper and pulled out the whole headlight unit. I swapped the ballasts and the problem stayed with the right side headlight. I then swapped the headlight assemblies around and plugged the left headlight into the plugs on the right and the right headlight into the plugs on the left. Again, the problem stayed with the original right headlight assembly.
So, the problem lies within my headlight assembly. The bulb, ballast, and ignitor have all been replaced. I've reached in and wiggled the wires on the inside of the two main wire connections, and this had no effect on the flicker. I've inspected all of the wires inside that I can see, and nothing looks damaged. The last unknown would be the inside of the plug that goes into the ballast at the bottom of the unit. I can't really access that plug to tamper with it or check it, though.
Does anyone have any ideas on how to proceed? I see the OEM headlight units online for ~$900 but I'm not quite ready for that step! Here's what I'm looking at now...it's not pretty!
hello there sorry to resurrect such an old thread. Can someone please help me understand where to find this �new� style igniter WITH a plug and associated collar?
I understand the new collar might need to be bought separately, but I�ve not been able to find a single listing for this igniter with the plug and leading wires. They are all shown with the pins exposed. All the retailers I�ve seen online show the igniter without a plug.
Is the plug another separate part? Alternatively if there�s a listing/retailer that sells it with a plug and or has decent customer service that will accomodate a request to include wiring with the igniter
My worry is if I order one without the plug, I won�t know which wires from the original ballast connect where
Can someone please help me understand where to find this �new� style igniter WITH a plug and associated collar?
I bought mine from factoryxenon.com. The part # is as shown on the part in the picture - 1-307-329-076. That part is listed for many vehicles including Audi, VW, and BMW. You are correct that listings of it typically have a picture without the wires- when I bought it, I specified "with pig tails" (either during the order or by email?) and that is how I received it. If in doubt, I'd just email them and say that is what you want.
Just an update- the headlights have been working fine ever since this 2015 post- no problems since!
Mercedes SLR McLaren 722 S Is Extremely Rare Example Modified by McLaren
Slideshow: A one-of-one U.S.-spec Mercedes-Benz SLR McLaren Roadster became even rarer after a factory-backed transformation at McLaren's headquarters.