When you click on links to various merchants on this site and make a purchase, this can result in this site earning a commission. Affiliate programs and affiliations include, but are not limited to, the eBay Partner Network.
Hey everyone! Quick question, I want to buy another vehicle a 2002 C240 it’s identical to mine for parts. But before I do I want to know if it’s as simple as removing the doors and putting the replacement car ones on there or what’s involved with that?
If it's the same year and colour, there's no reason why you can't do a direct swap.
The only thing that may go sideways is the electronics modules (for example, only 1 car has the memory package). But you can simply just move the modules over.
One other thing I remember reading somewhere on here. Check and understand how the doors are attached to the body. There may be some kind of backing plate behind the sheet metal that may fall loose.
Last edited by slammer111; Apr 16, 2021 at 01:32 AM.
I’m in the beginning stages...
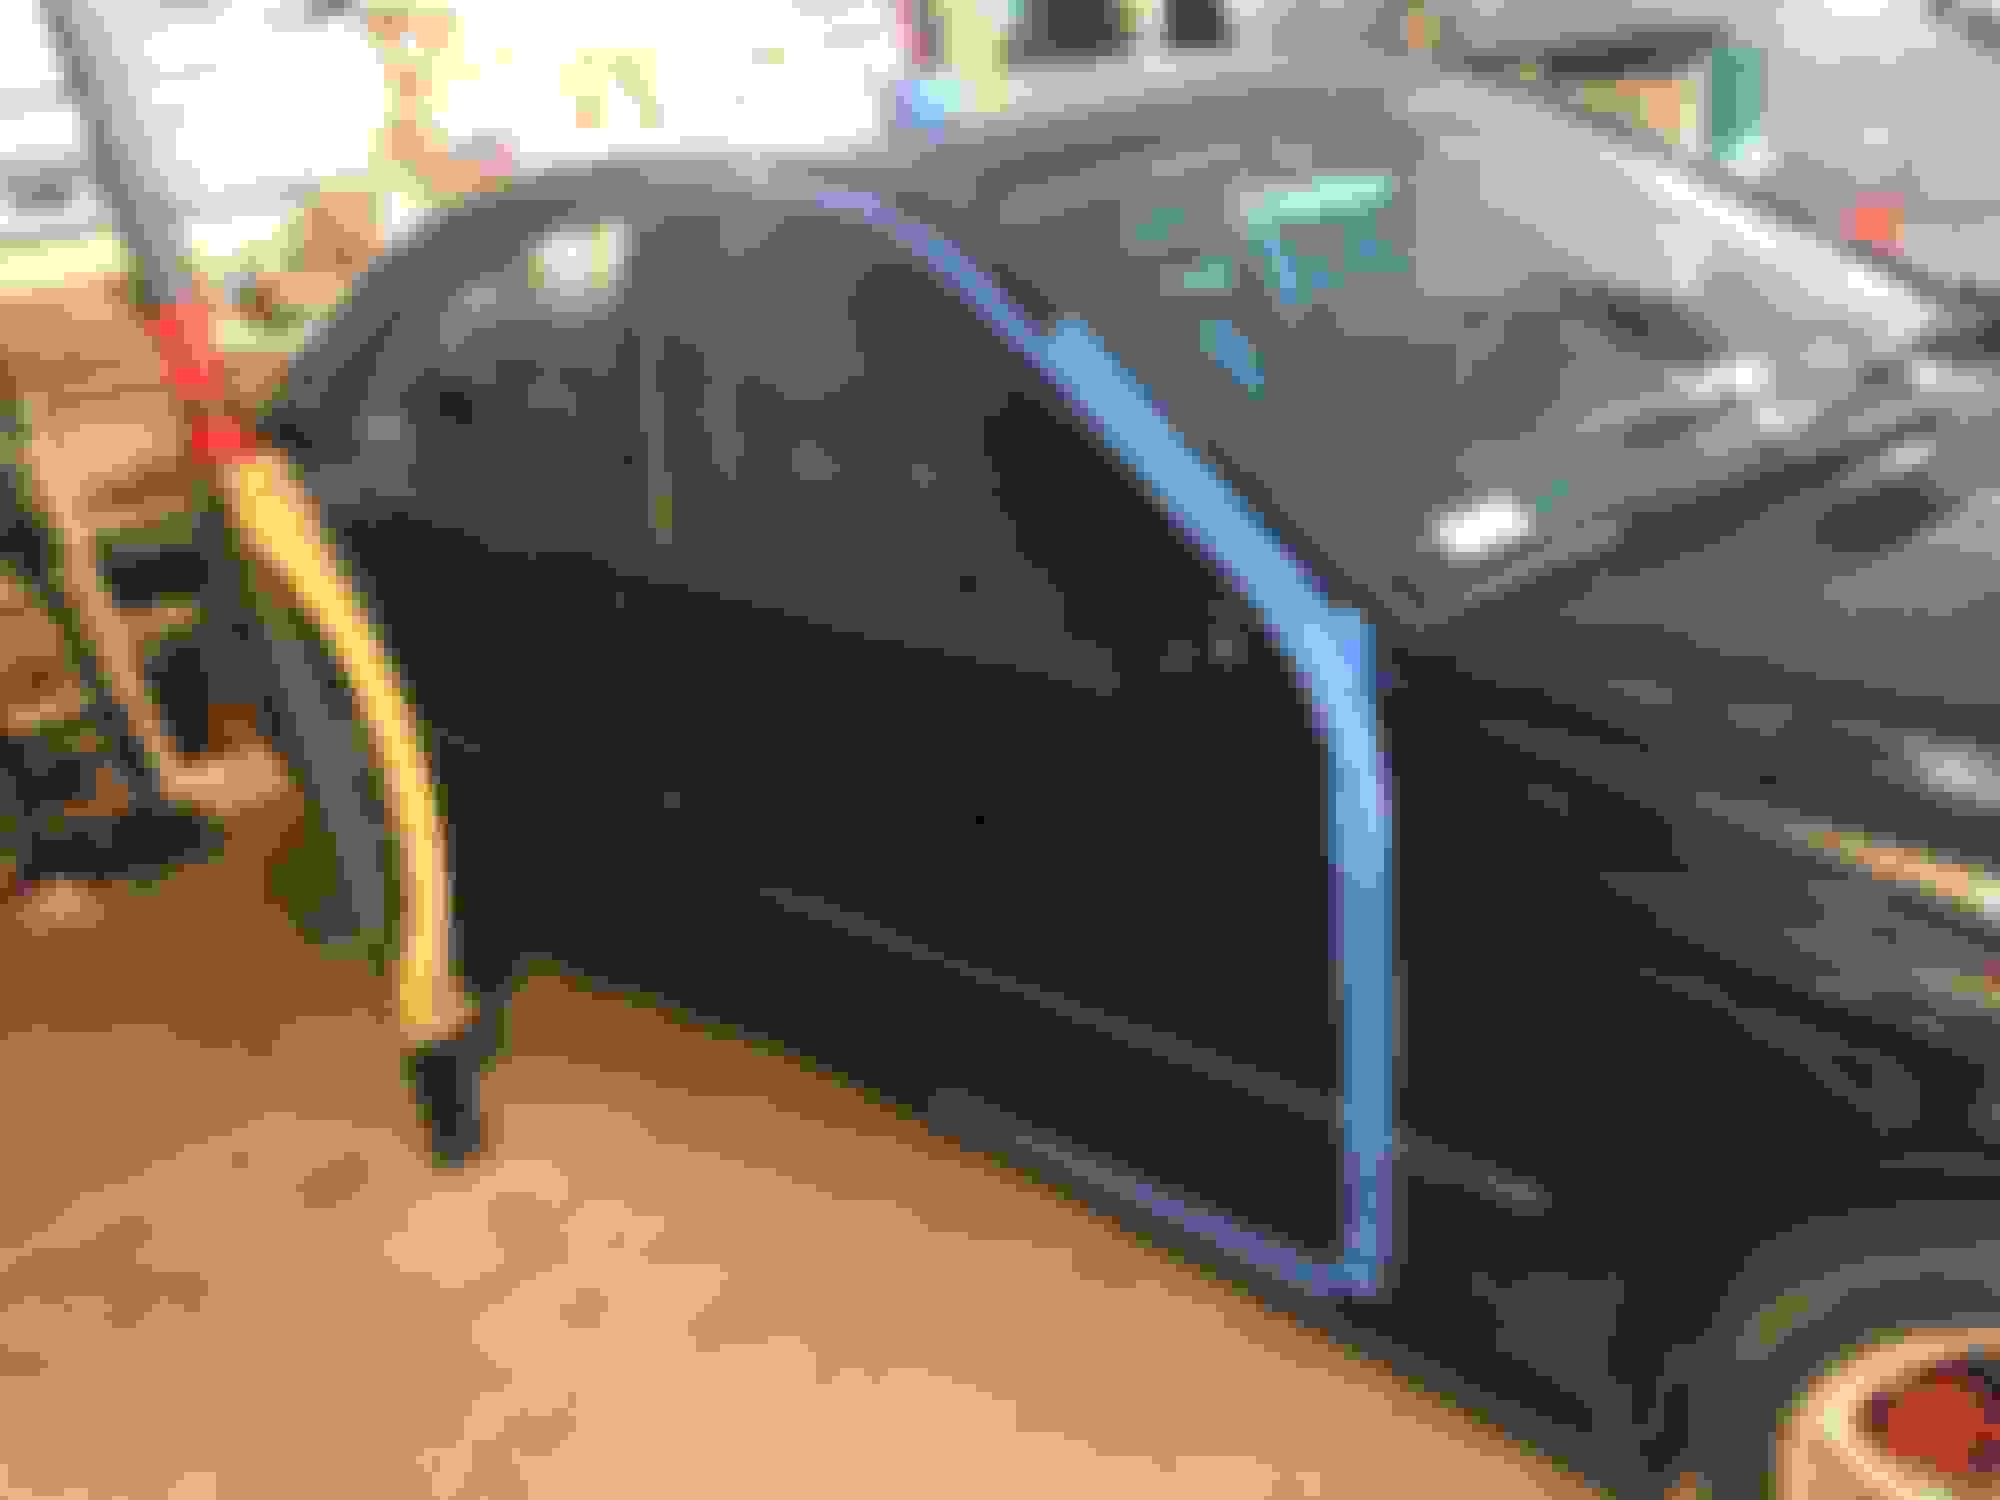
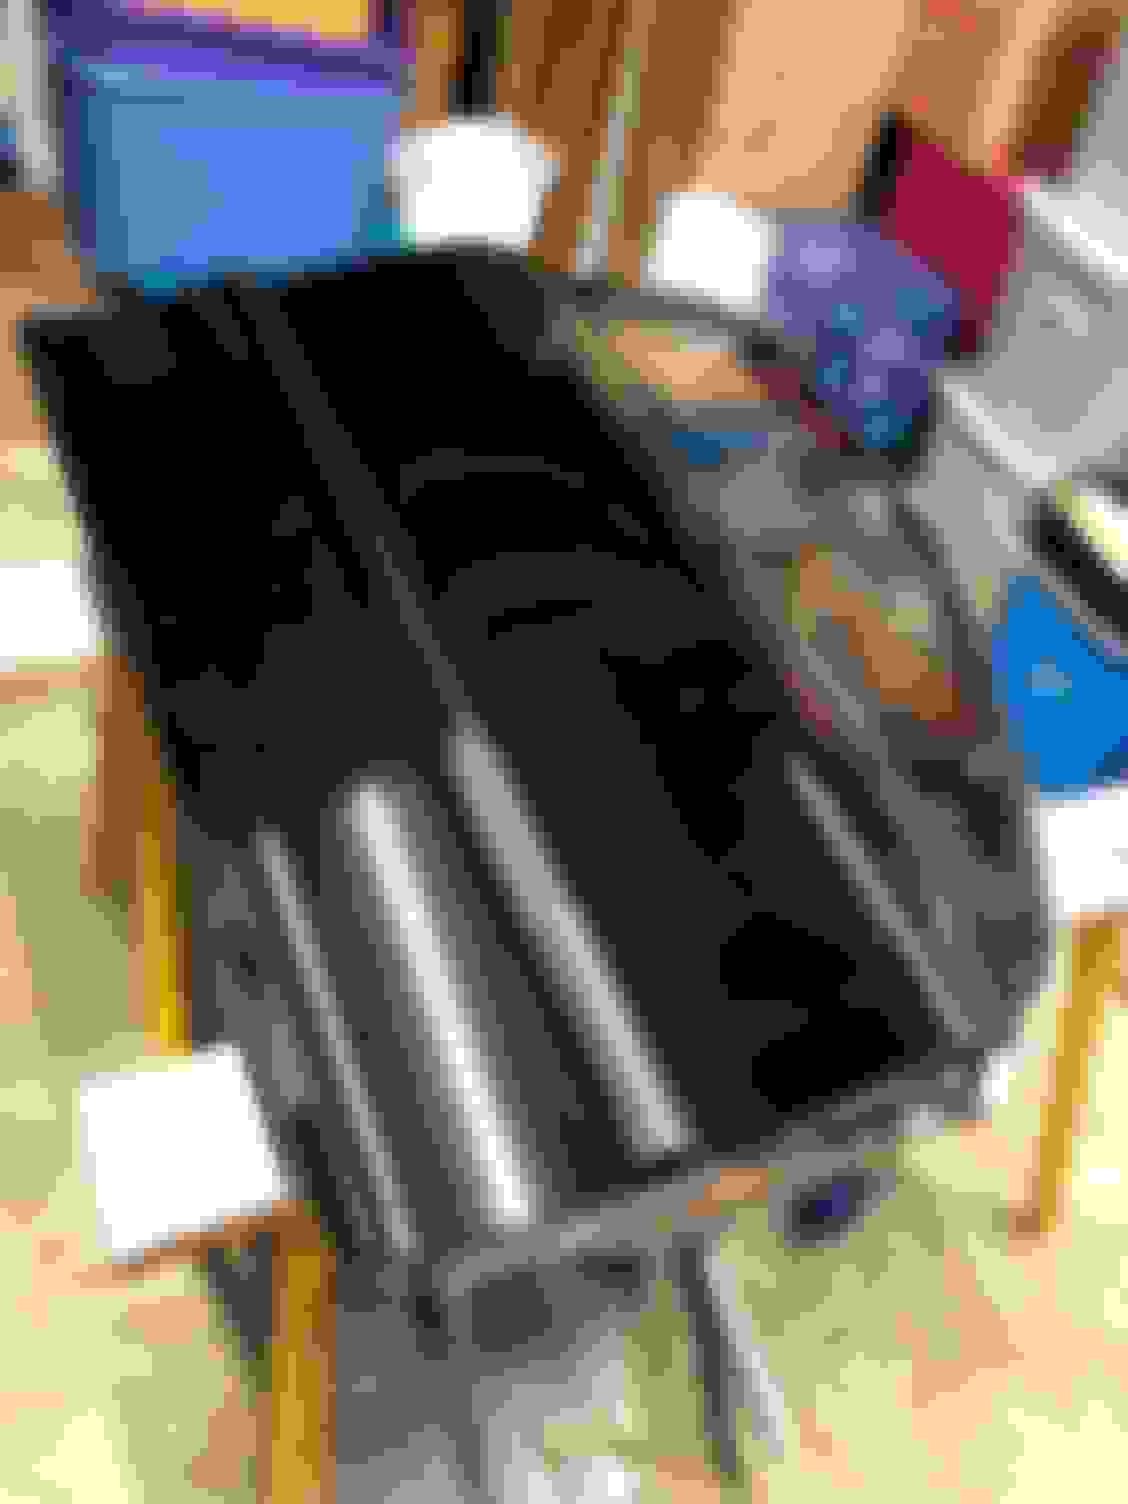
Tweeter plug or small speaker in triangle housing at A pillar just walk it out from the sides, I couldn’t unclip what seemed to be the snap on top - also, with the window down, use a good larger trim tool to pop the inner door skin up and off... What I believe to be a prefacelift door from the factory with the inferior galvanizing and rust prevention...it’s the only rust on the car... Easy and straightforward panel removal. Junkyard door being touched up. From a few hours east with now similar mileage...hope the sun fade,etc. isn’t noticeably too different! Hope to block sand the touch up paint globs soon...
Doesn’t take too long.
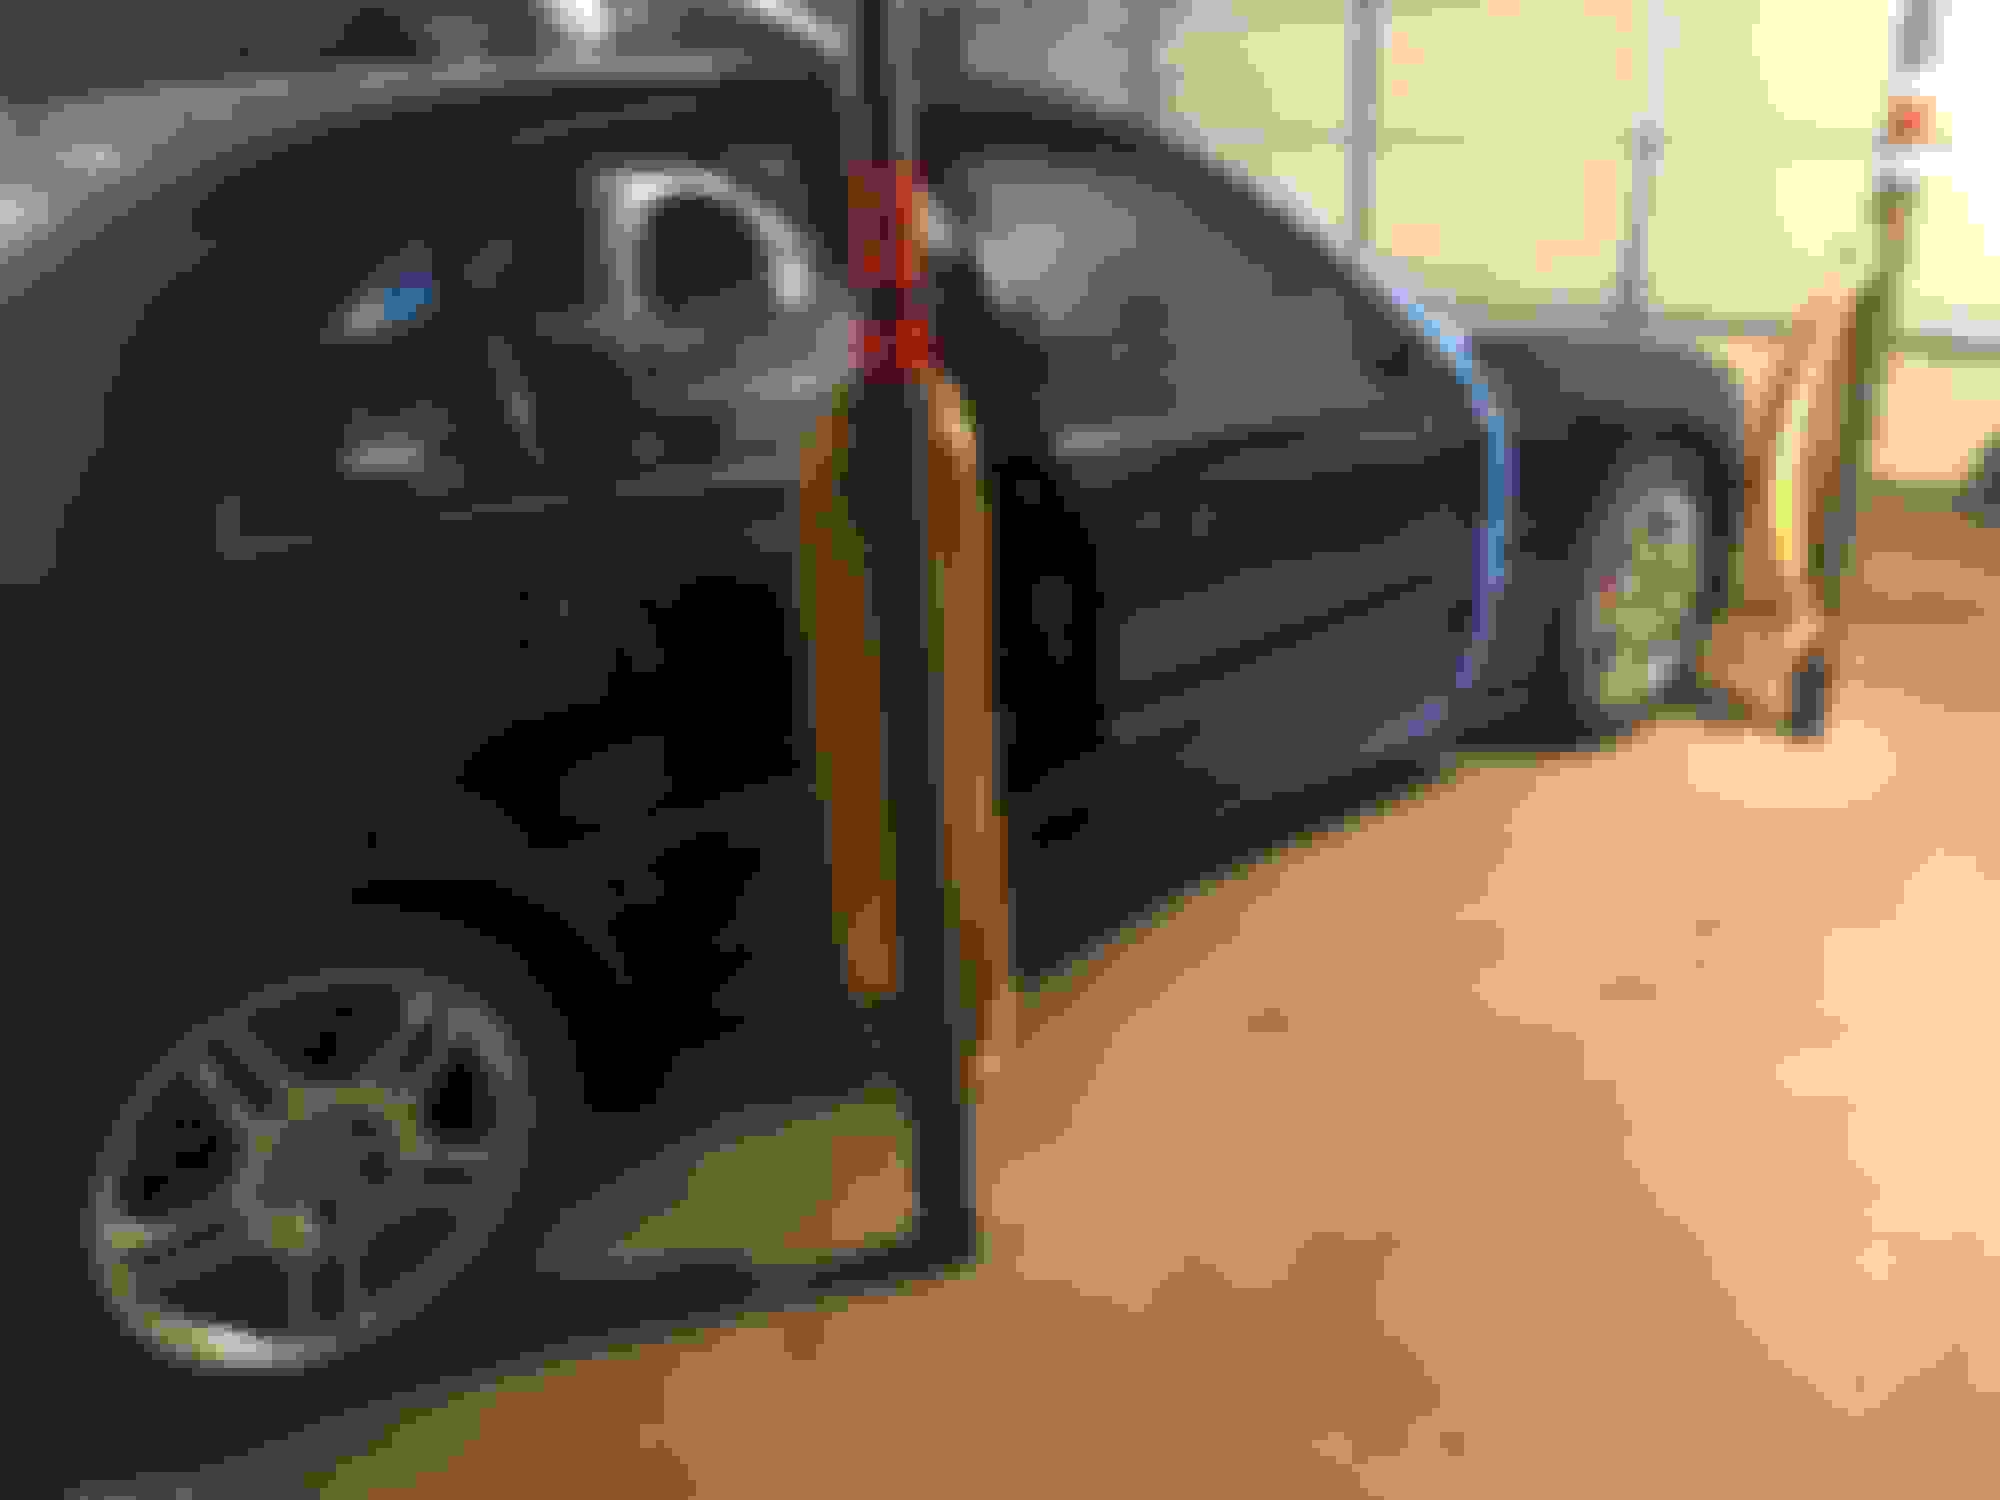
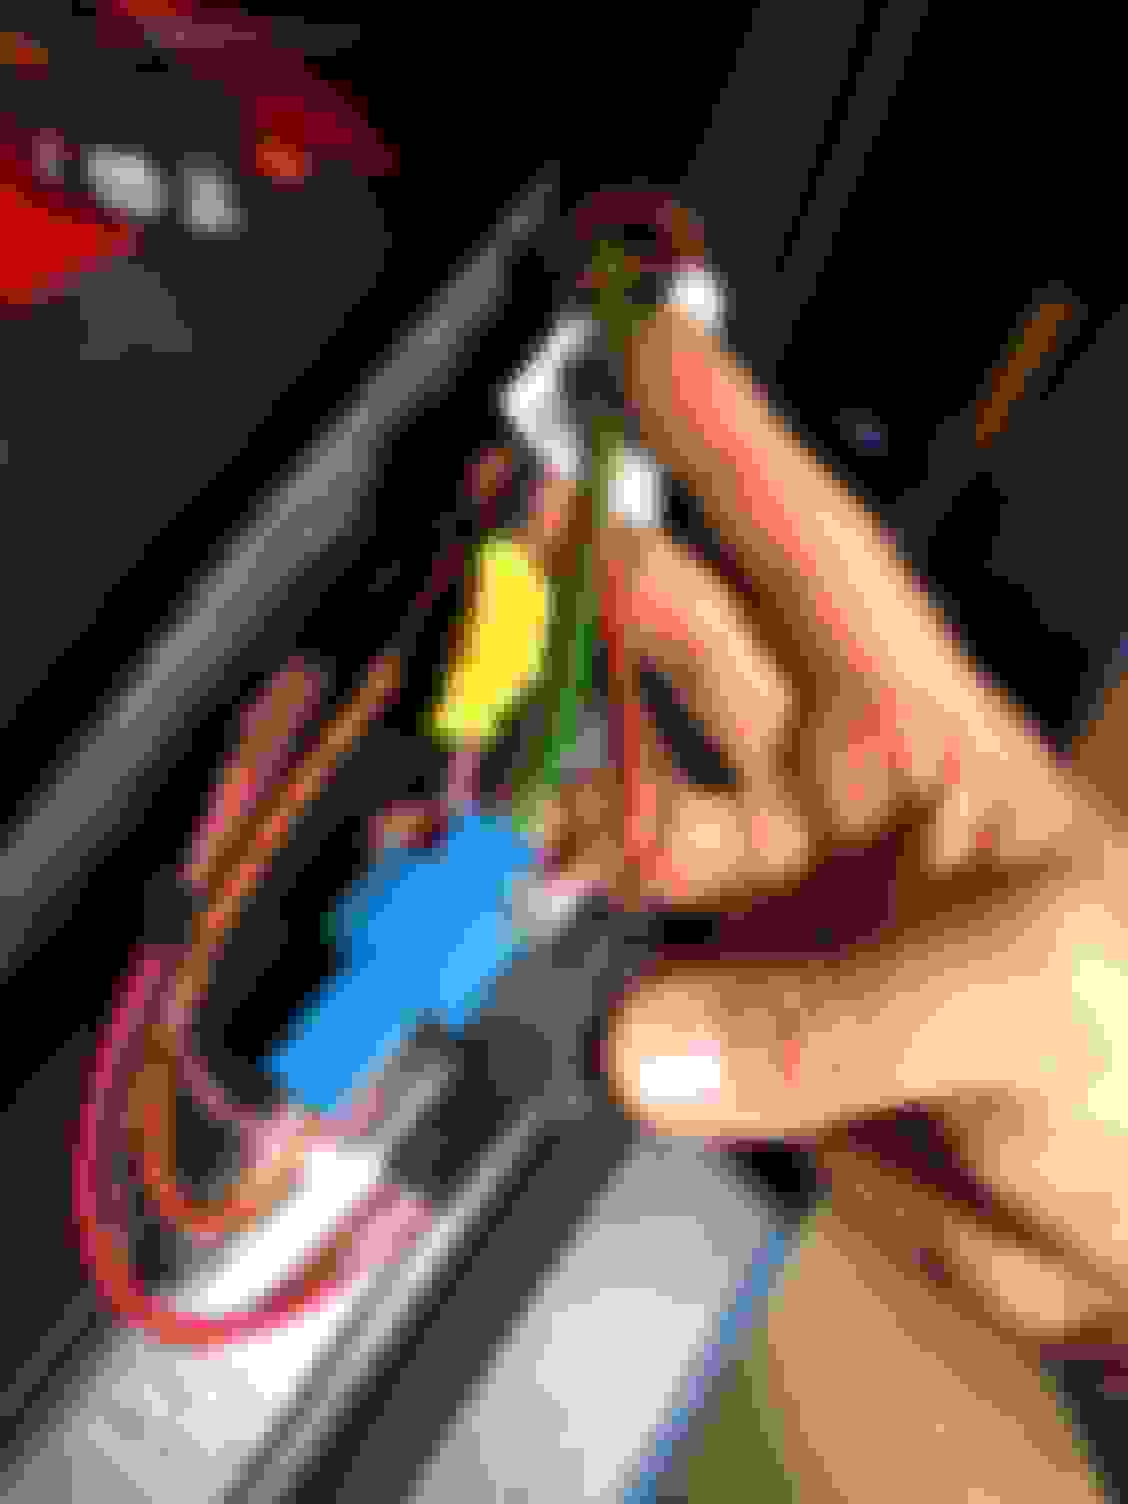
Unplug connectors in threshold tunnel.
The clip holding the ground wires broke, and the rubber seal thing tore in a few spots before I could pull the wires through...
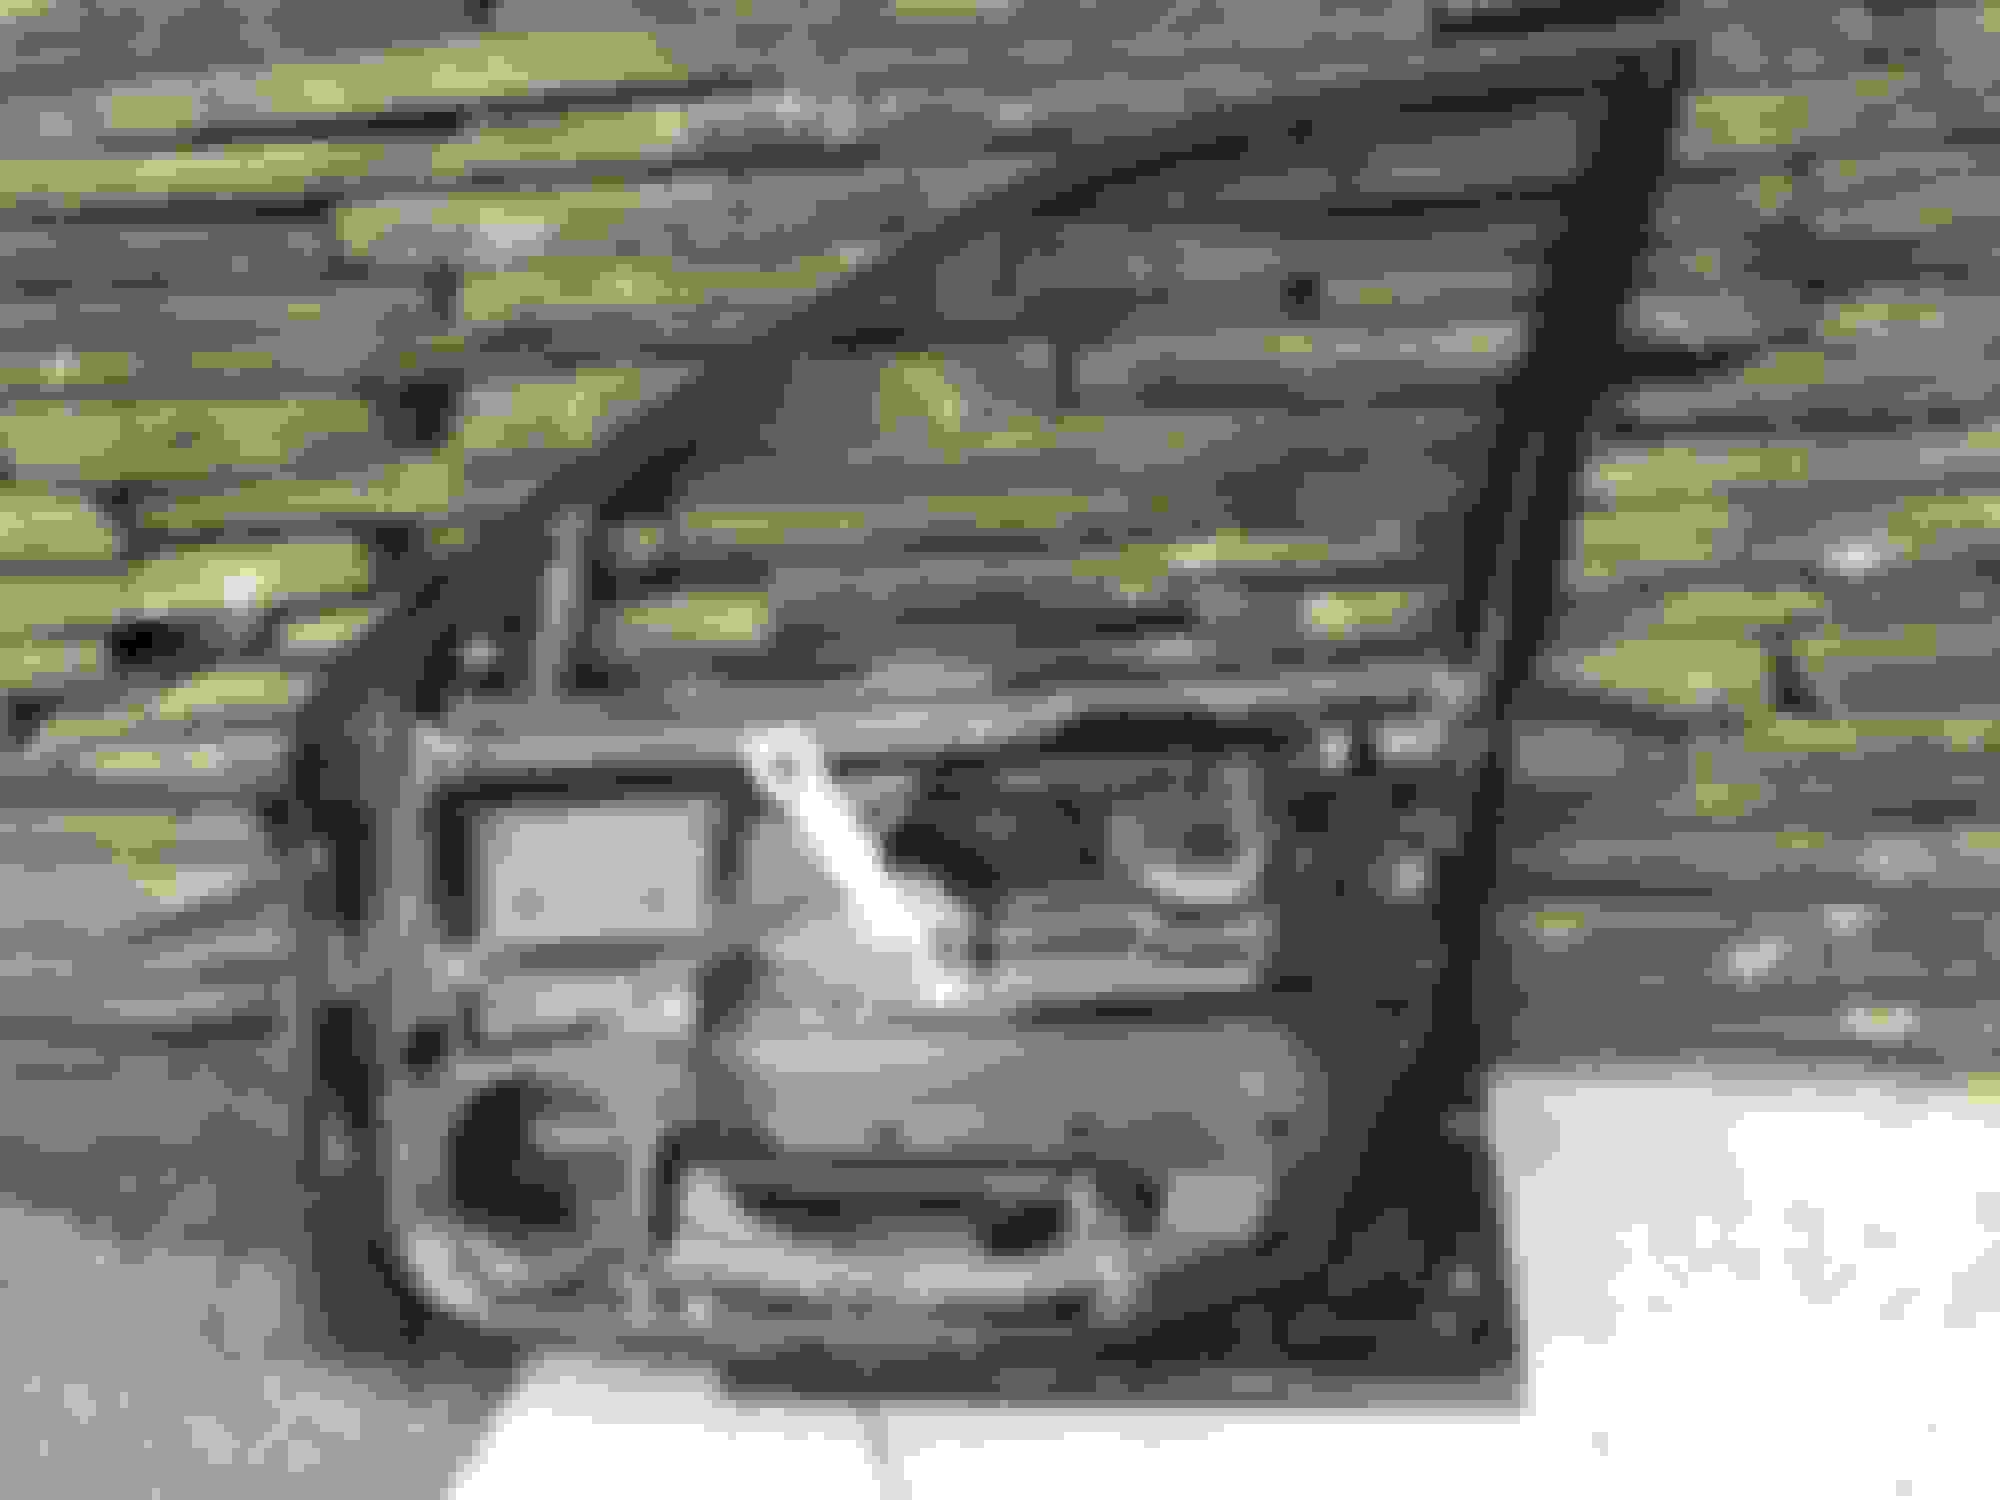
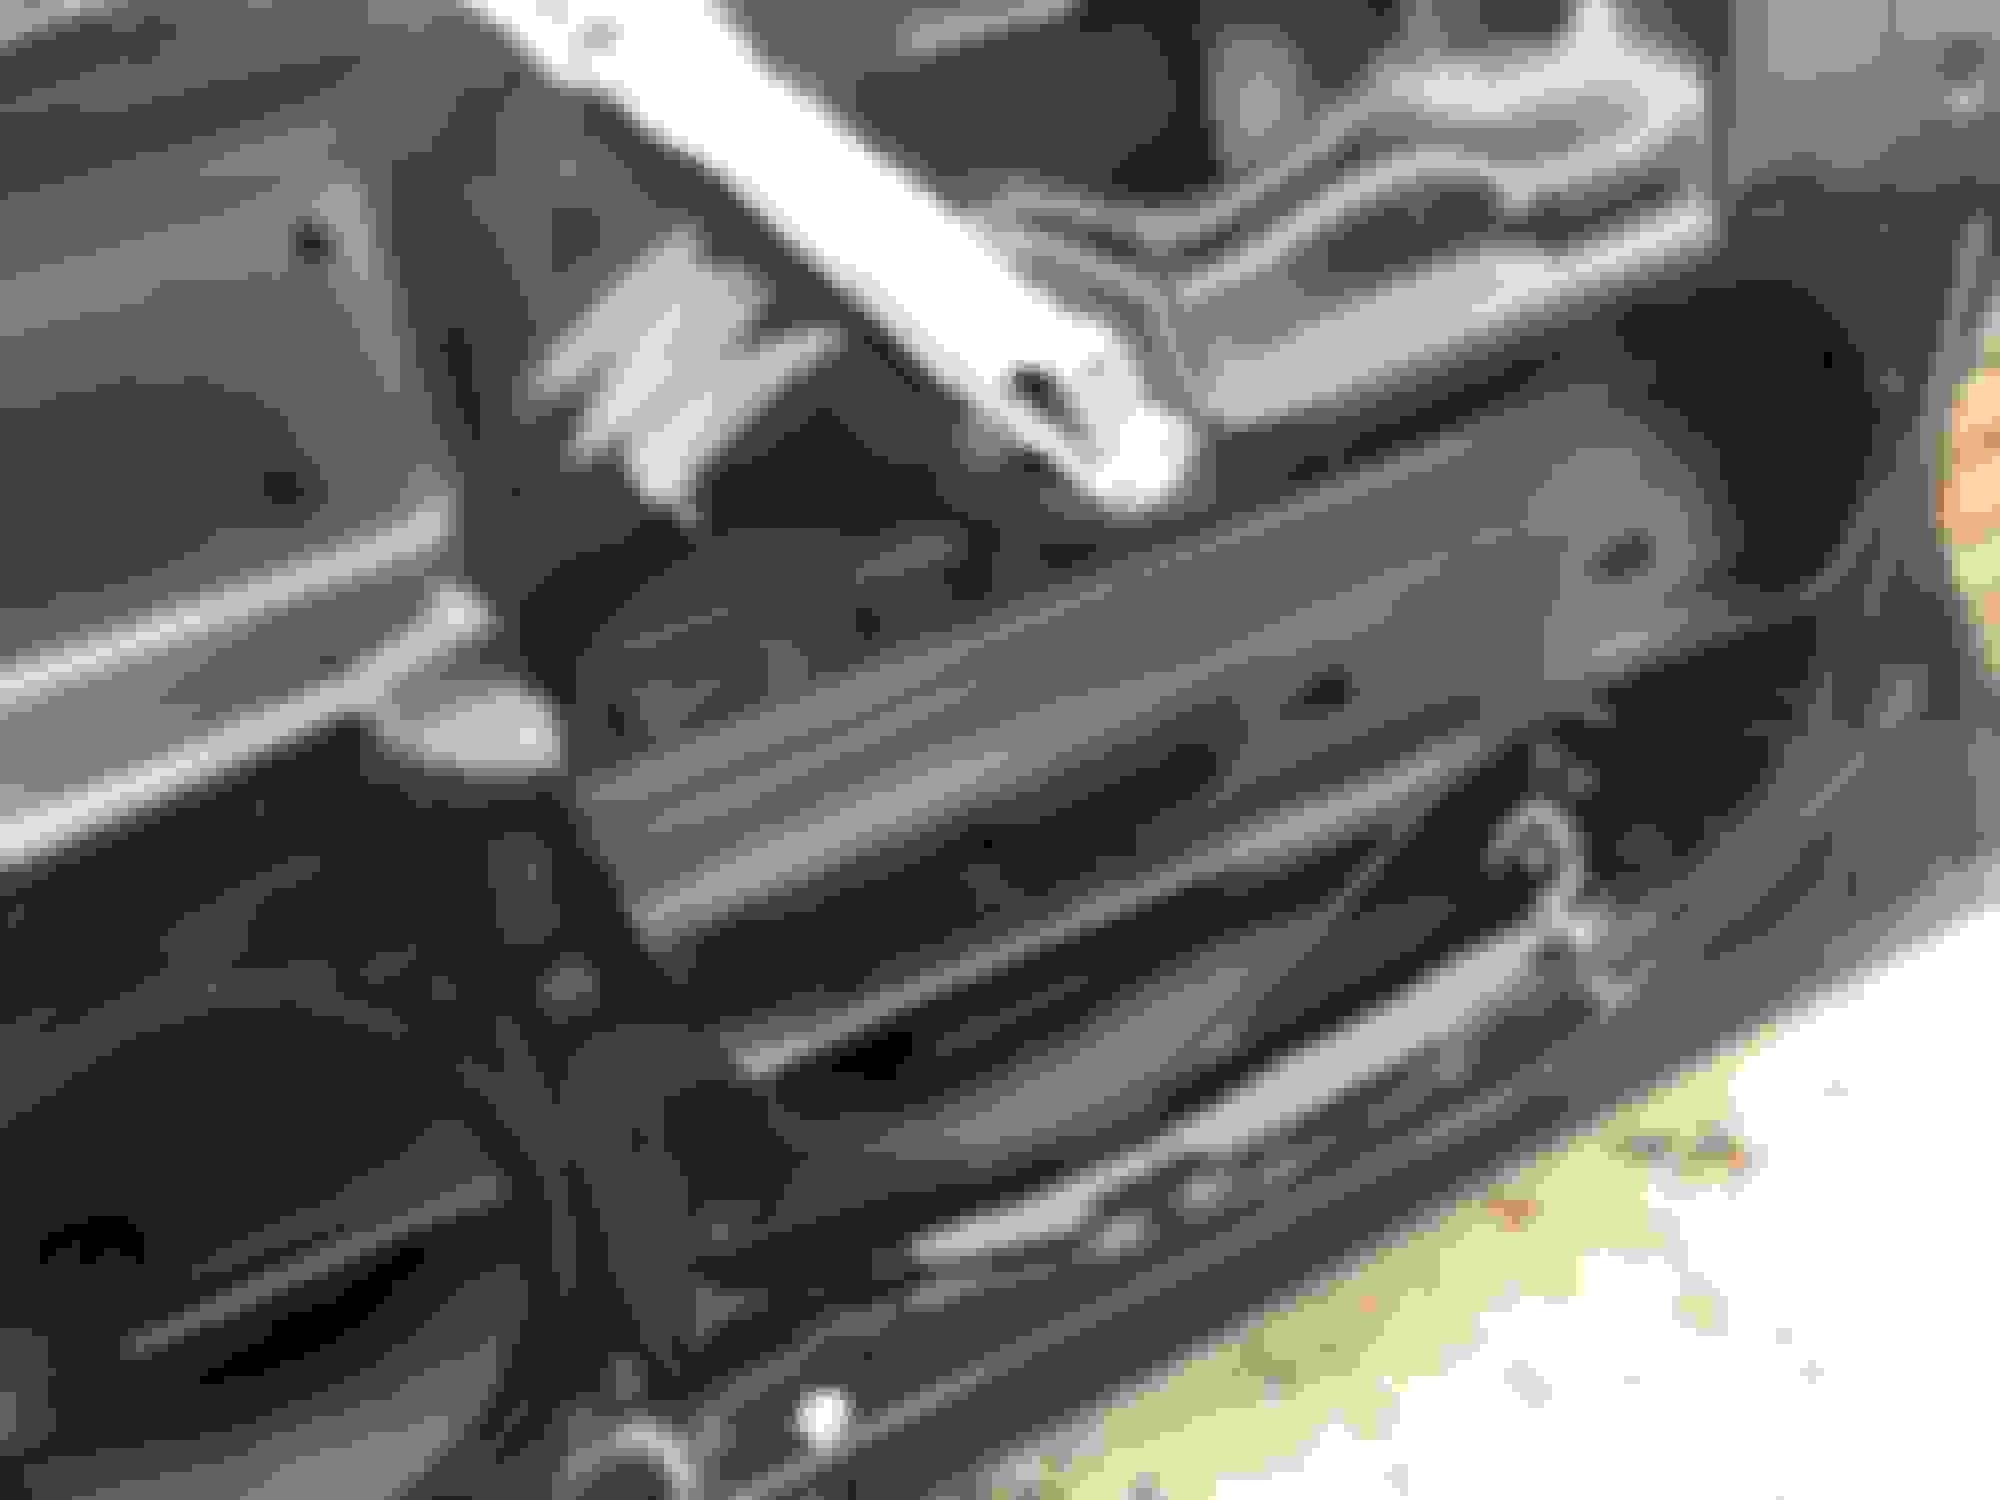
Admittedly the weatherproof jacket sleeve in the door jam was a bit tough to unclip. So here’s a picture of that too. Door clips to undo in floor threshold with power mirrors, heated mirrors, airbag, floor lighting, window, etc. I don’t have memory seats on passenger side and I don’t have folding mirrors. Note pin removed from top hinge and remaining in lower hinge... Original door kept the pin in the top hinge, the lower is a pass through hole. The donor door (horizontal for paint repair) also had the upper pin stay and the lower pin came out with hinge, leaving a pass through hole in door. Here are the top clips of the wire loom weather proof tunnel in the door jam.
Both the OEM door and the donor door had the top pin remain, and the pin remained in the lower hinge, thus allowed for a very easy removal of the door - just pull up.
that shows how Porsche does it. Basically, the assembly is dipped in a positively charged bath of the desired coating and the part has a negative charge. The positively charged coating particles are attracted to the negatively charged part. I wonder whether something went wrong with the process for your door. For example, did the technicians fail to maintain the proper concentration of zinc, did the part lose its charge, or did someone brush against the panel and damage the coating?
Glad that you are able to replace the door and keep the car on the road. I hope you have a good match with the color.
Wow. Didn't know rust was a problem on 2004+ cars.
The only rust I've found on my car anywhere (as of 2 years ago) were at the seams at the very bottom of the car, running the length of the body just behind the jack pads. Makes sense that most rust starts here, as it's hard to make any coating to stick to the cut edges of sheet metal.
Photo below shows my ghetto repair. Wire wheel off the old cracked sealant and rust, primer, add new polyurethane sealant.
Underbody rust repair
Most cars start rusting at the bottoms of the doors since that's where water tends to pool.
MB does indeed dip their entire cars in a few baths. Not sure about the latest platforms, but for the W203, the first one is some degreaser, then the next is some primer. I forget if it was the W203 where I saw this, but during the baths they actually flip the bodies upside down (like a forward somersault) as the body enters the pool of liquid. There are also some jets to keep the liquid mixed, and to make sure there aren't any air bubbles.
Nobody touches the car between the parts coming together (body, trunk, doors) and the end of the painting process when the first team installs the wiring harnesses. In fact the only people in those areas are a few guys monitoring the paint computers. The carts are moved to some storage area (sorted by colour I imagine) before being moved to the assembly line.
Getting a bit OCD here, but I've always wondered how they coat the part of the car that is resting on the cart. I imagine every car will have a bare spot on each corner. If they did anything to address this issue, I didn't see it during the factory tour.
Lastly, I do remember taking a look at a piece of scrap unpainted sheet metal. There was some thin dull grey coating on both sides that didn't scratch off with a fingernail. I have no idea what that coating was, or if it got washed off during one of the baths.
If any of you guys ever get a chance to visit a factory (MB or any other make), I do highly recommend it.
Last edited by slammer111; Apr 26, 2021 at 11:31 PM.
I have been fortunate to visit both Porsche and Mercedes-Benz in Stuttgart. It was an absolutely amazing and informative experience!
This is one of my favorite development videos, it’s a three parter. Enjoy!
This is certainly deflating, and I wish I tended to it earlier. I had scraped and painted it, but, clearly the wound was too deep. It just sorta popped apart this spring. It certainly seems to have originated inside the seam, perhaps not enough sealant/wax coating/preservative, but, I’ll never know...
What I learned in stripping the door.
When drilling out the rivet heads, you only want to take the head of these off, and not create a larger bore hole in the door. I still backed it up every time inside with a chunk of plastic...other than that, it’s pretty straight forward. Releasing the glass from the wedged clamp will take a good amount of upward force/pull.
Door stripped. I thought about blowing holes in the bottom to access the two window screws...ended up plugging it all back in and raising the window up 1/2 way. Door inside. Rust developed almost directly below the mirror. This is the bottom inner seam, rotted out.
I called a local detail and body shop if they could buff out this door when I bolt it on...when they learned my wife and I have been unemployed almost a year because of Covid, they said to bring it to the shop. As long as I keep them anonymous, they’ll “take care of it”...as that’s “what we’re supposed to do”...not sure what that means...but I’ll keep you posted and I know where I’ll send a person for work! There are good people in this world!!!
I have been fortunate to visit both Porsche and Mercedes-Benz in Stuttgart. It was an absolutely amazing and informative experience!
This is one of my favorite development videos, it’s a three parter. Enjoy!
This is certainly deflating, and I wish I tended to it earlier. I had scraped and painted it, but, clearly the wound was too deep. It just sorta popped apart this spring. It certainly seems to have originated inside the seam, perhaps not enough sealant/wax coating/preservative, but, I’ll never know...
What I learned in stripping the door.
When drilling out the rivet heads, you only want to take the head of these off, and not create a larger bore hole in the door. I still backed it up every time inside with a chunk of plastic...other than that, it’s pretty straight forward. Releasing the glass from the wedged clamp will take a good amount of upward force/pull.
How did you get into the Porsche tour? When I tried, they only gave tours to people who were taking delivery of new cars. I also got to see the BMW 3er plant in Munich. Had a tour of the Audi A4 factory in Ingolstadt booked as well but had to cancel due to time constraints.
Since we're on this topic, here's an angry sounding German video on W203 development, complete with great 70s music.
For drilling out rivets, you are correct. Widening the original hole is a common rookie mistake.
I had a body shop buddy help me remove the window rail (pogo door lock fix) and he used a thin flathead screwdriver to "jam" the rivet so it wouldn't spin as he drilled it. He drilled away most of the head with a bit matching the pin of the rivet (we used new rivets as a reference for correct diameter), then popped out the pin section in a solid chunk with a punch and hammer. The other big trick was to not drill or punch so hard that the tool goes through the hole and impacts the exterior skin of the door.
Be sure to touch up any chipped paint around the hole before installing the new rivets. Really dumb way to create a new corrosion hot spot if one isn't careful. Also be sure to vacuum out the rivet bits out of the inside of the door. Wouldn't want to deal with any rattling noises afterwards.
Oh yeah, be sure to reinstall the foam vapour barrier sheet BEFORE reinstalling and riveting in the airbag. Guess who had to do the rivet job twice.
Lastly, did you pick out any of the rust or paint from the old door like a scab? I must say it looks oddly satisfying.
Last edited by slammer111; Apr 29, 2021 at 06:59 AM.
To the original poster...
My 7 year old helped me get the door off...and in an abundance of caution, my wife helped hold while I taught and helped teach my 10 year old how to put the door on.
It’s a 98% fit. I’d say it should roll up and into the roof toward the windshield a mm or so...not sure I want to move it. The only spot I feel it and slightly see it is where the mirror will go anyway...
That’s it.
Maybe a few dents to remove when you’re eyeing the belt line - one I don’t like near the fender...
Just need to strip the window tint...
As far as the visits, I can’t speak to how they were arranged, I was visiting friends and they took me.
Last edited by BF_JC230; Apr 30, 2021 at 11:35 PM.
Thanks! It’s coming along - should be good soon...working on a backup cam (as you know) with another forum member - then I can button up the interior.
For now I’ll see if I can get the ambient lighting to work okay on this donor door interior panel before attempting on my parts.
The wheels are ///AMG, 17”, non staggered. Winter wheels, the reputable website I bought them from was unaware of the brake upgrade/change for 2005 and “gave me these” for the same price as the cheap winter wheels I was trying to buy after a few failed attempts to clear the caliper.
Was not happy with window from
donor door - had issues from tint and somehow a “junkyard part number” was etched into the glass. Changing the window is a 5 minute job if you have the inner door skin off.
Door looks pretty good...when all said and done...I’ll take it for some paint-less dent removal soon.
Bought some wax sealant preserve - not dealing with this again. Sprayed rear dog legs, trunk, quarter panel inners and this door...I’ll open the other three and spray them too...
About two weeks after the last post here about the wax, I slowed for a pedestrian j running across the road in a rain fall. SUV behind me went around me left, work van behind them went around me right, in parallel parking lane, ran out of room because of parked car and woman - hit me.
That said: the fender and inner structure by this rotted door looks, to me, phenomenal. Inner fender structure area Top rail of inner fender Bottom section of inner fender structure-bottom holes are where stand off mounting studs retain and adjust fender Looking upside down, bottom of right fender, 17 years old, Buffalo, NY. Mild/very limited snow use since 2011… A wider look at fender - other than studs/washers- no rust Left side is fender to bumper - no rust behind headlight
Considering where you live and the potential for driving on salted roads for a significant portion of the year that looks very good. It is puzzling that your door rusted. Maybe some corrosive material worked its way into a crevice and seeped on to that part of the door for an extended period.
My Texas environment, pre-facelift (2001), single owner family, C320 has not a hint of rust anywhere. It was garaged for 18 of its 20 years. So that, along with the semi-arid climate has helped.
Mercedes SLR McLaren 722 S Is Extremely Rare Example Modified by McLaren
Slideshow: A one-of-one U.S.-spec Mercedes-Benz SLR McLaren Roadster became even rarer after a factory-backed transformation at McLaren's headquarters.


 I also got to see the BMW 3er plant in Munich. Had a tour of the Audi A4 factory in Ingolstadt booked as well but had to cancel due to time constraints.