When you click on links to various merchants on this site and make a purchase, this can result in this site earning a commission. Affiliate programs and affiliations include, but are not limited to, the eBay Partner Network.
I’ve got a 2010 W204 ‘Avant-garde’ model with the 3 spoke wheel and paddles. I’ve just scored a facelift steering wheel (flat bottom with paddles) and ‘clock spring’ out of a 2012. When I look it to the indi shop to have it fitted, the tech advised that the wheel was not compatible nor was the ‘clock spring’ and that when test fitting there were error messages appearing, hence to say that the wheel was not installed.
Can someone please confirm that the wheel is compatible and that you don’t have to replace the ‘clock spring’ and that the only issue will be that the buttons will not illuminate.
Thanks
W205 collumn module did not work at all. For the first generaton FL Wheel that you are talking about my W166 collumn module I bought made it ALL work with no mods or error messages. It also works for the W205 Wheel if I change the buttons to the W218 buttons with the Arrows on them. The steering Wheel module inside the W218 Wheel is sold out right now with no date and I cant wait to do this so I will transfer the circutboard from the first generation FL Wheel to the W205 Wheel for now.
W205 collumn module did not work at all. For the first generaton FL Wheel that you are talking about my W166 collumn module I bought made it ALL work with no mods or error messages. It also works for the W205 Wheel if I change the buttons to the W218 buttons with the Arrows on them. The steering Wheel module inside the W218 Wheel is sold out right now with no date and I cant wait to do this so I will transfer the circutboard from the first generation FL Wheel to the W205 Wheel for now.
WHOO HOO! Just finished my FL Steering Wheel swap. Thank you to everybody who contributed to this thread. I'll post up my process so that it'll help someone else as well.
So background info: I have a 2009 Mercedes C300 Sport. I bought a red stitching steering wheel off ebay for $220 shipped. I got the air bag for it as well off ebay for $250 shipped. Total cost, $470.
Make sure you get the right air bag, it's very easy to get the wrong airbag, so refer to the very first post.
Here's my original steering wheel:
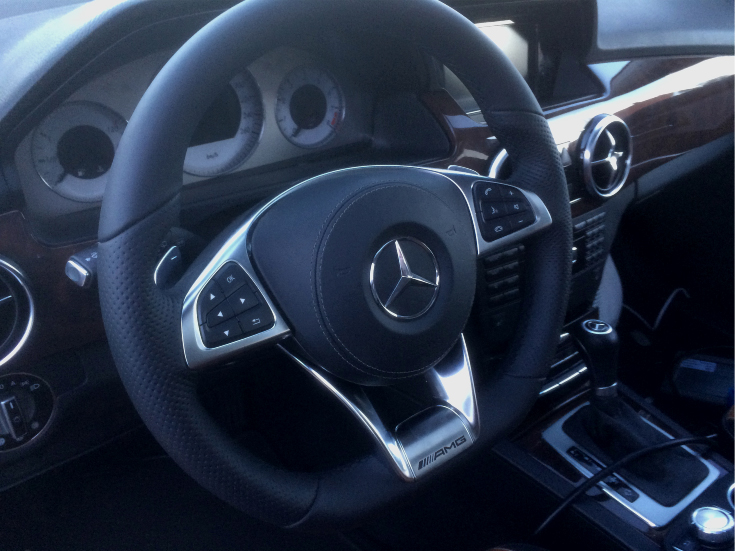
Here's the new steering wheel I got:
To remove the old steering wheel, you can follow the original DIY instructions. But here's what I did:
1) Disconnect your battery (negative side and make sure it sets aside and can't make contact)
2) Loosen up the two torx screw in the back of the old steering wheel with a T30 torx bit
3) Remove the airbag, it should just pop off after you remove the screws.
4) Then, using a big ratchet or torque wrench, remove the center bolt (I used a 10mm Hex bit that attaches to my ratchet). You definitely need a lot of leverage, so make sure you have something strong and make sure to not strip that center screw.
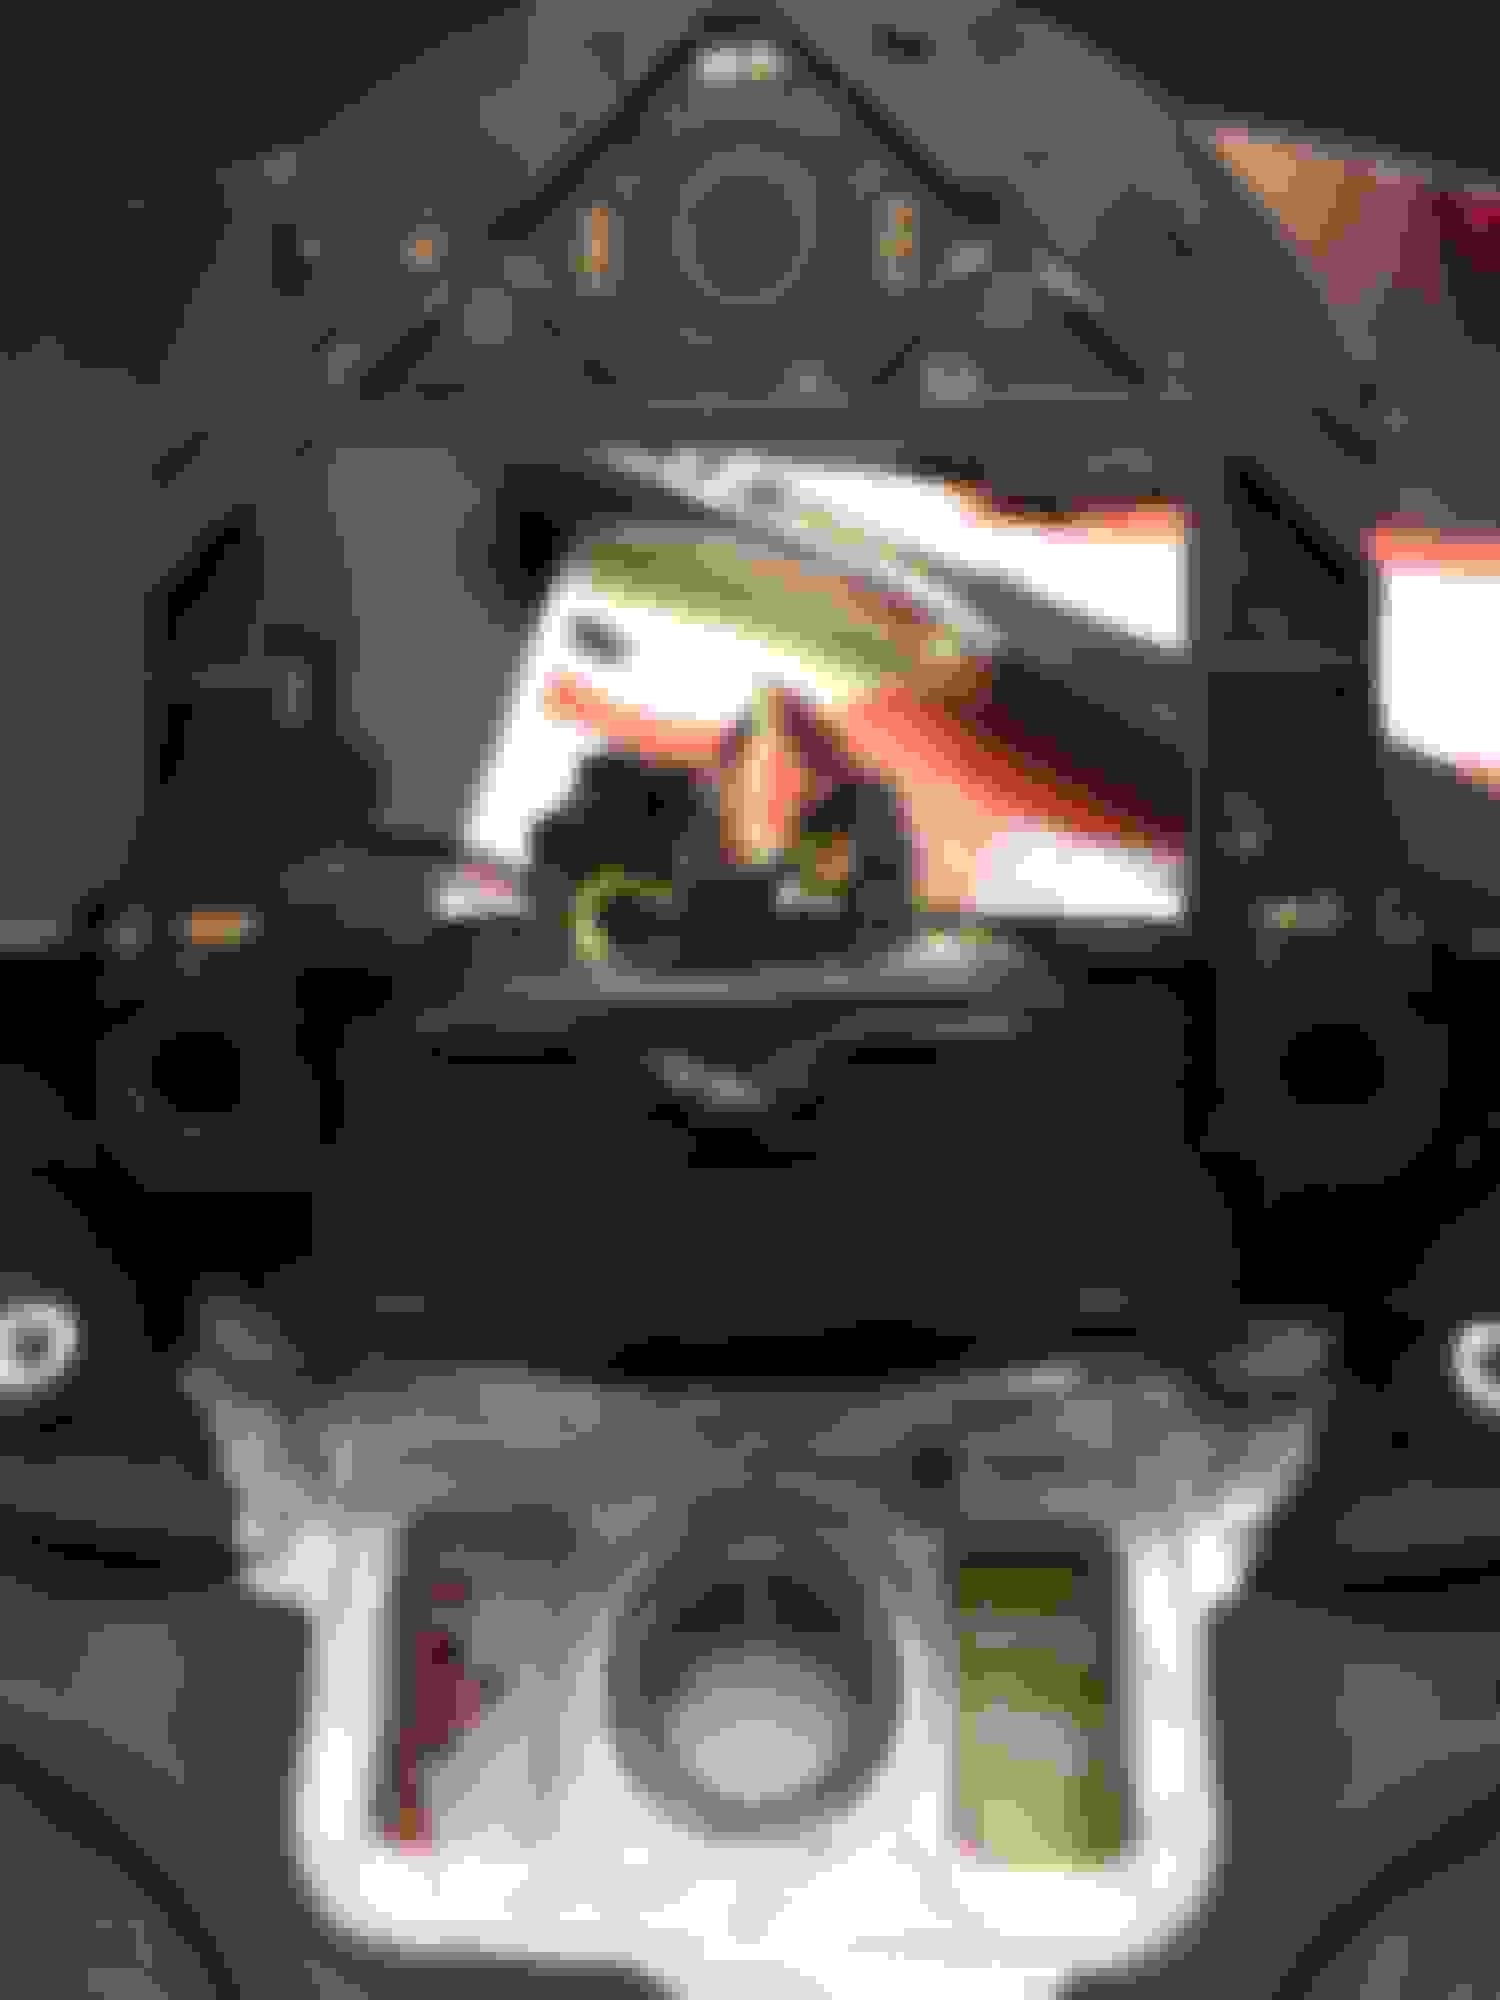
5) Take note of where your wheel aligns, make sure to take a picture of it. Mine doesn't line up perfectly and there's a reason for that. I messed up the first time around trying to line everything up perfectly, turns out, there was a reason for the offset because my steering wheel was crooked. I had to pop it off and match it to what the alignment was with the old steering wheel.
Notice how the tick marks don't line up perfectly, it's like that for a reason.
6) I tried installing the new steering wheel and airbag on hoping that everything will just work. Needless to say, it didn't work at all, nothing worked. Buttons, horn, paddle shifter, nothing worked. So I then realized I have to do a chip swap. So on with the fun!
7) The chip swap wasn't too bad, there's just not a lot of information on how to exactly do it, so I am here to help. The first thing you need to do is take your old air bag, flip it over and remove the 4 screws with a T30 torx bit.
Only remove the four big screws, you don't have to remove the little ones.
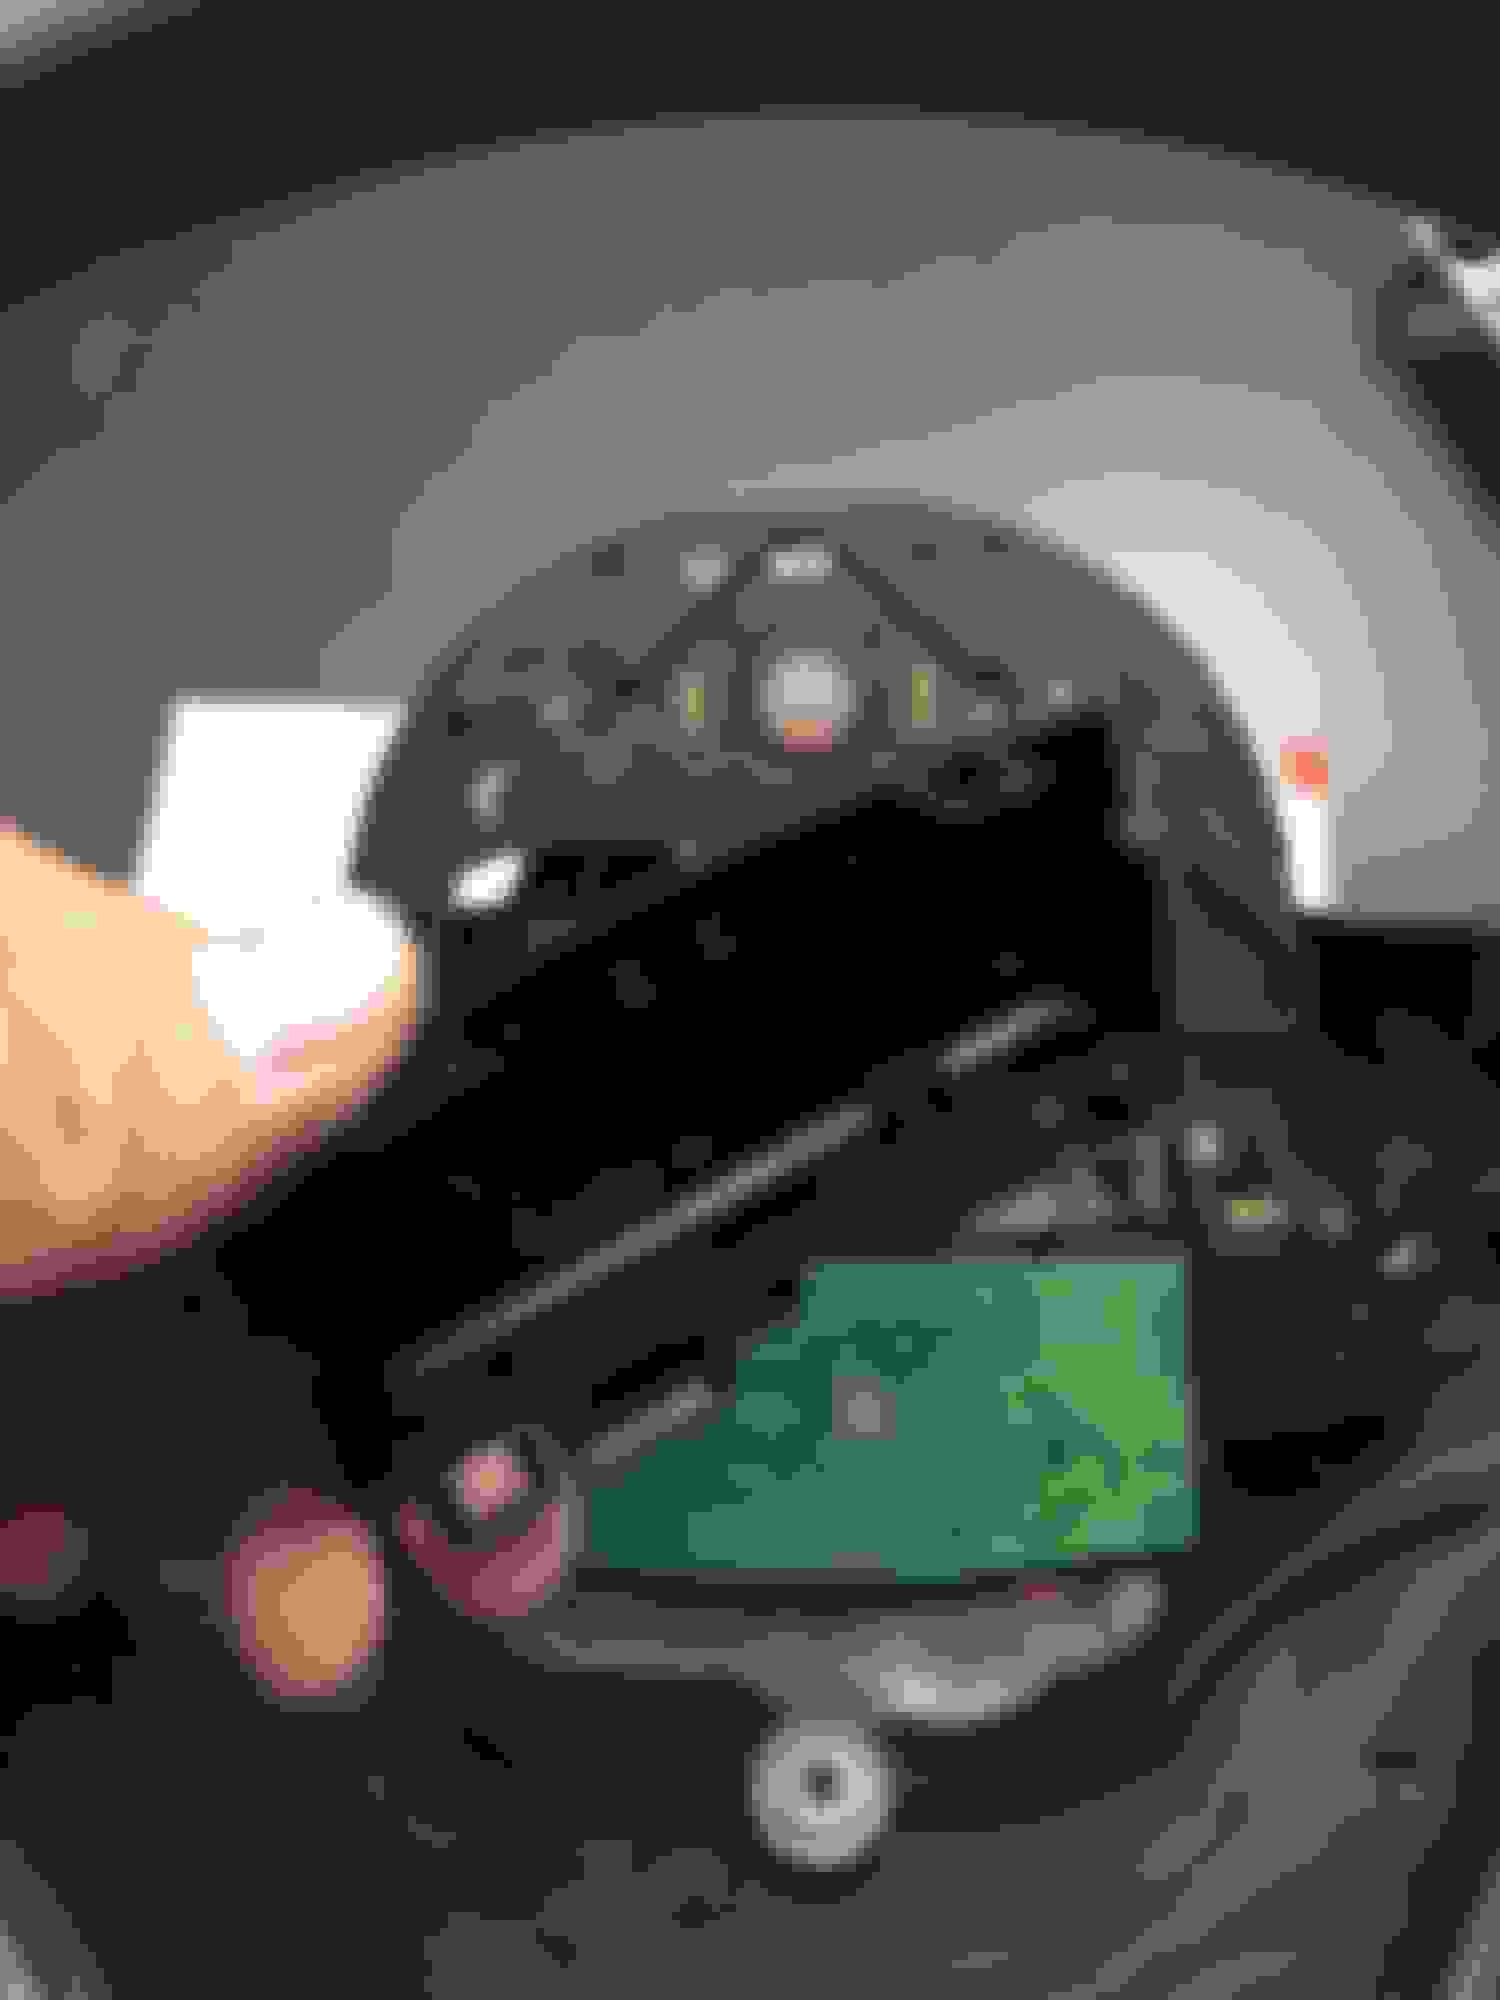
8) After you remove the 4 screws, the pressure plate will come off. Flip it over and you'll see the box that houses the control chip.
There's a bunch of clips that holds the cap on, so you kinda have to pop it off one by one until the cap comes off.
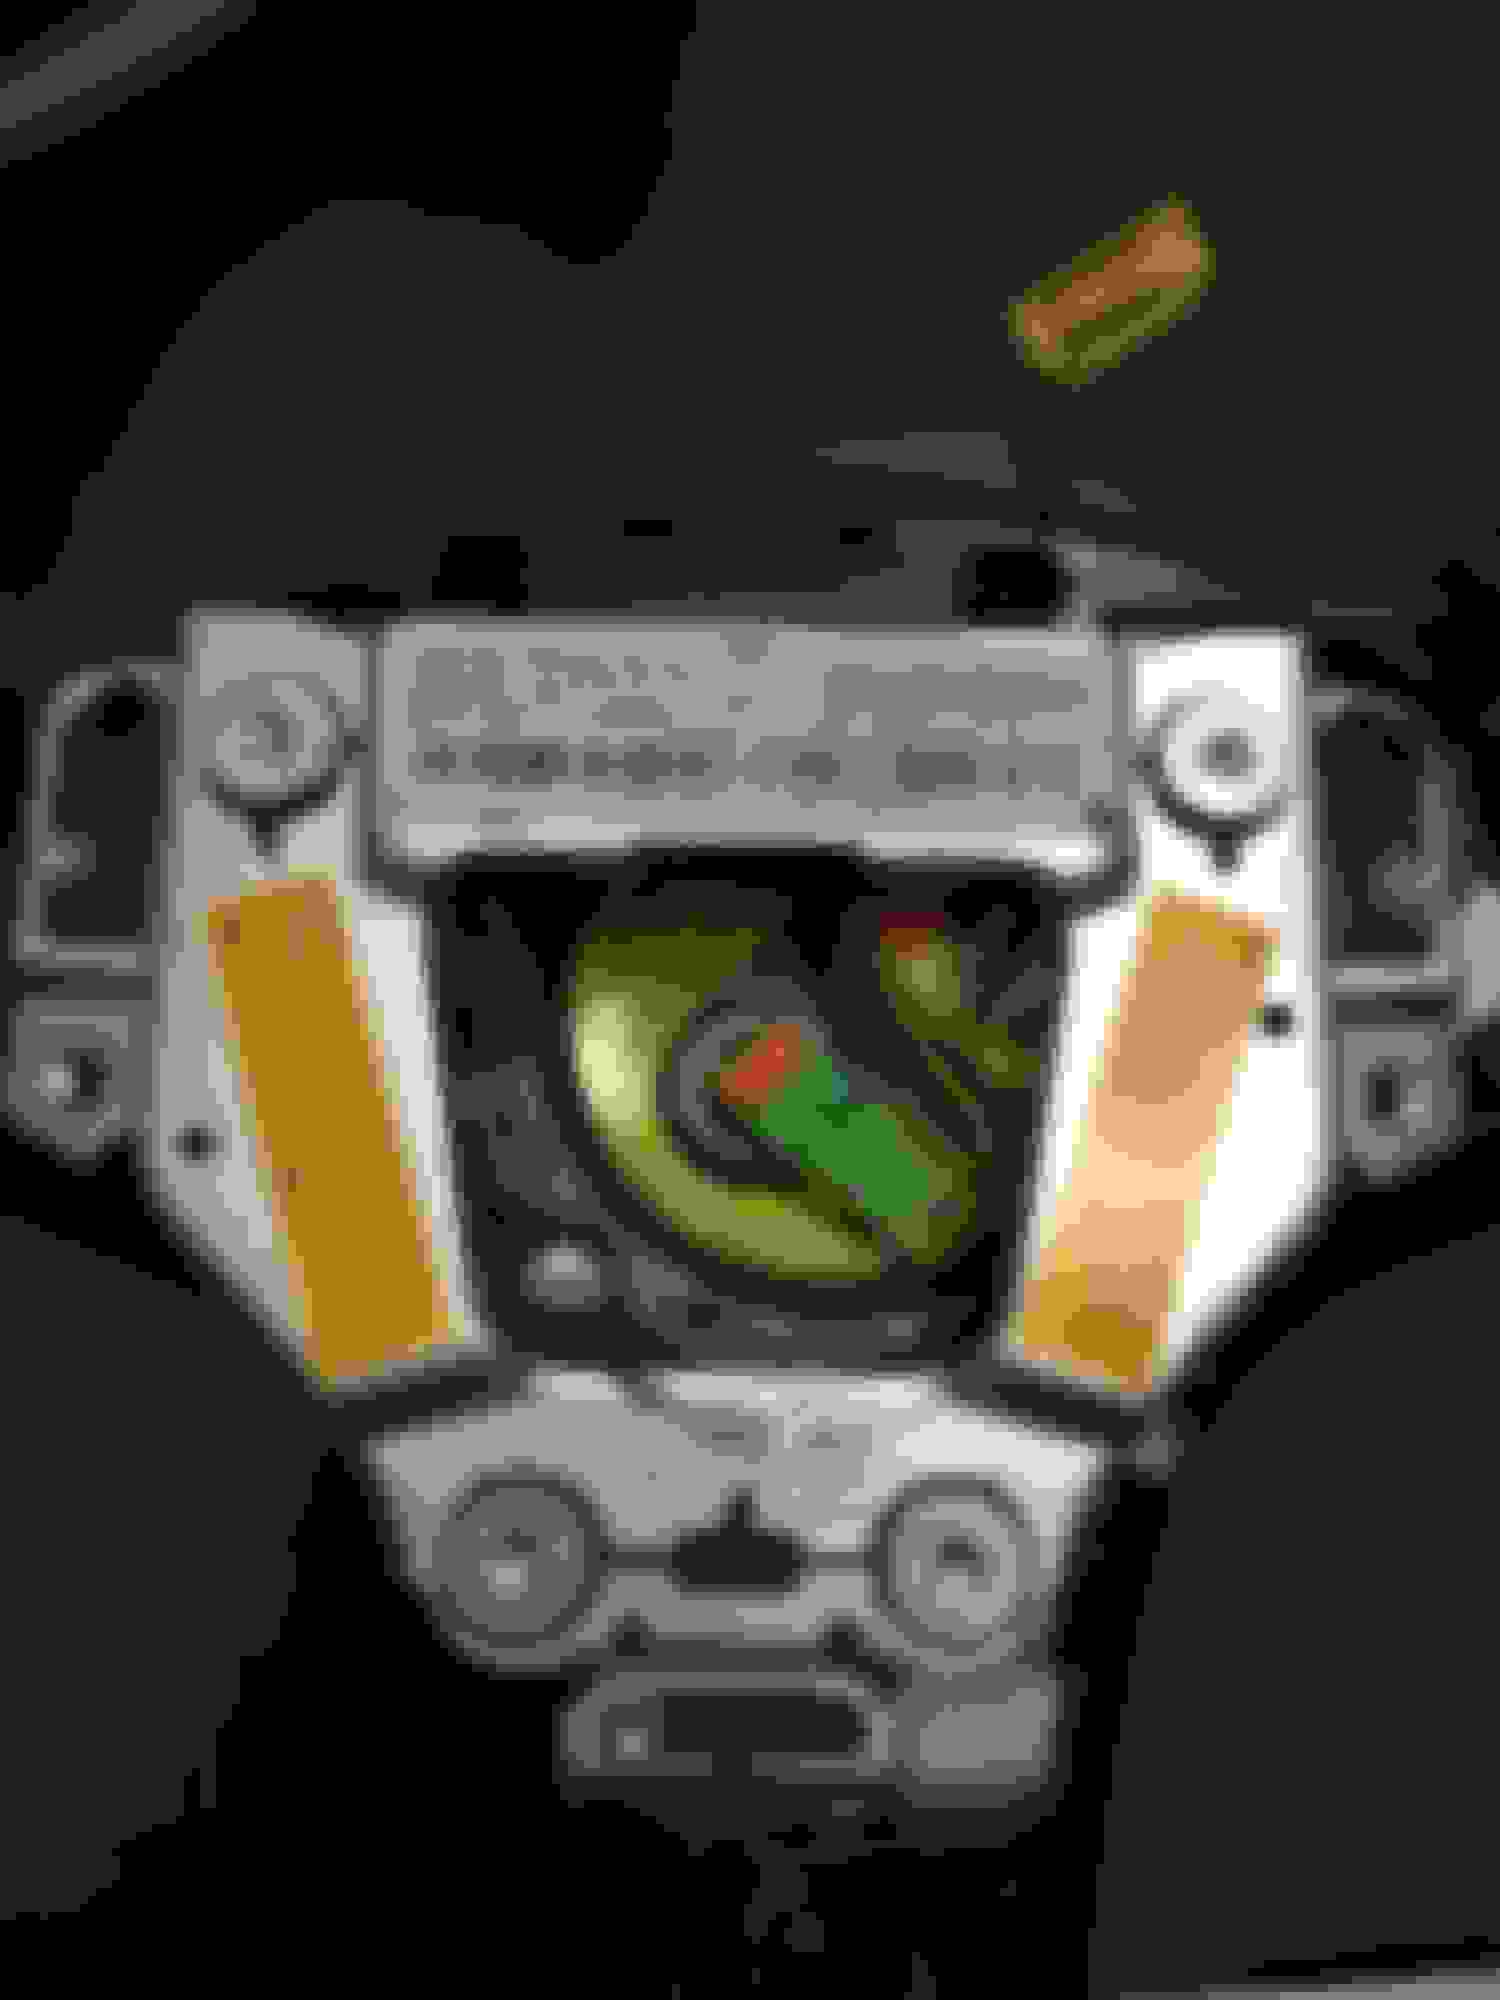
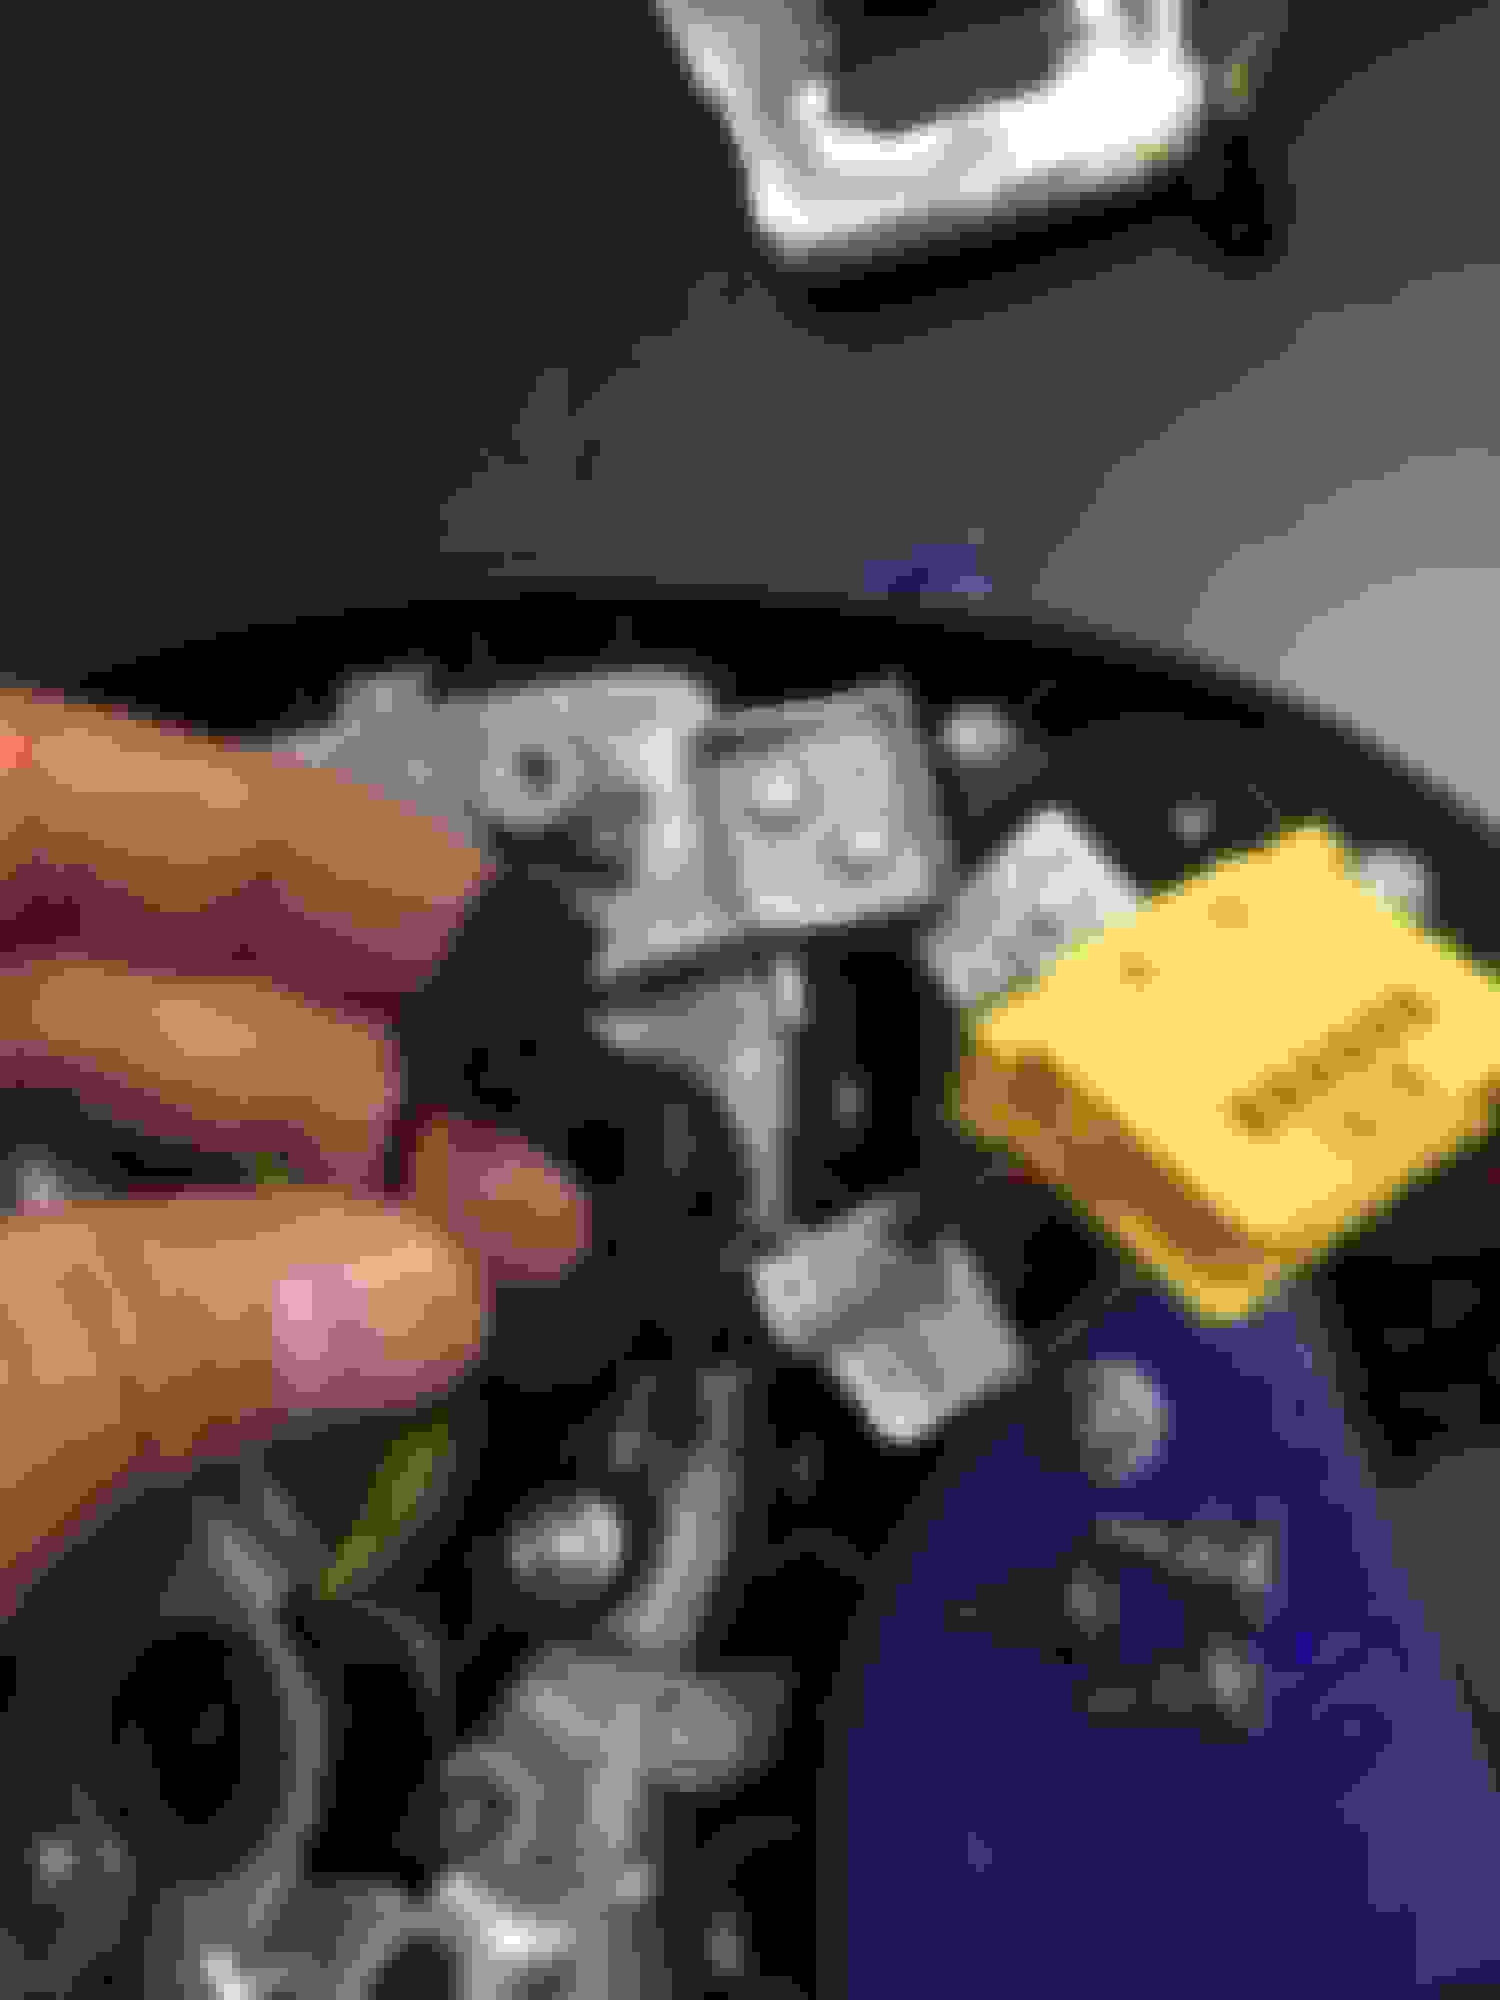
9) Once you get the cap off, you can now see your control chip. Unhook any plug and you'll end up with this:
10) Now you're ready to take the control chip off the new steering wheel. The control chip on the new steering wheel is on the steering wheel part and NOT the air bag.
So on the new steering wheel, you'll see a few screws all around it. First you have to remove the two black screws holding down the chrome bezel with a T20 torx bit.
11) Then flip the steering wheel over, there's an additional 2 screws on the back. You can use the T20 torx bit for removing those screws and every other screws from here on out.
12) Once you remove all 4 screws holding down the chrome bezel, you should be able to just pop it off and unhook the two control plugs from it. There should be a green plug on one side and a black plug on the other.
13) After removing the chrome bezel completely, now you can remove the pressure plate. There's three screws you'll need to remove and a black screw holding down the brown ground wire.
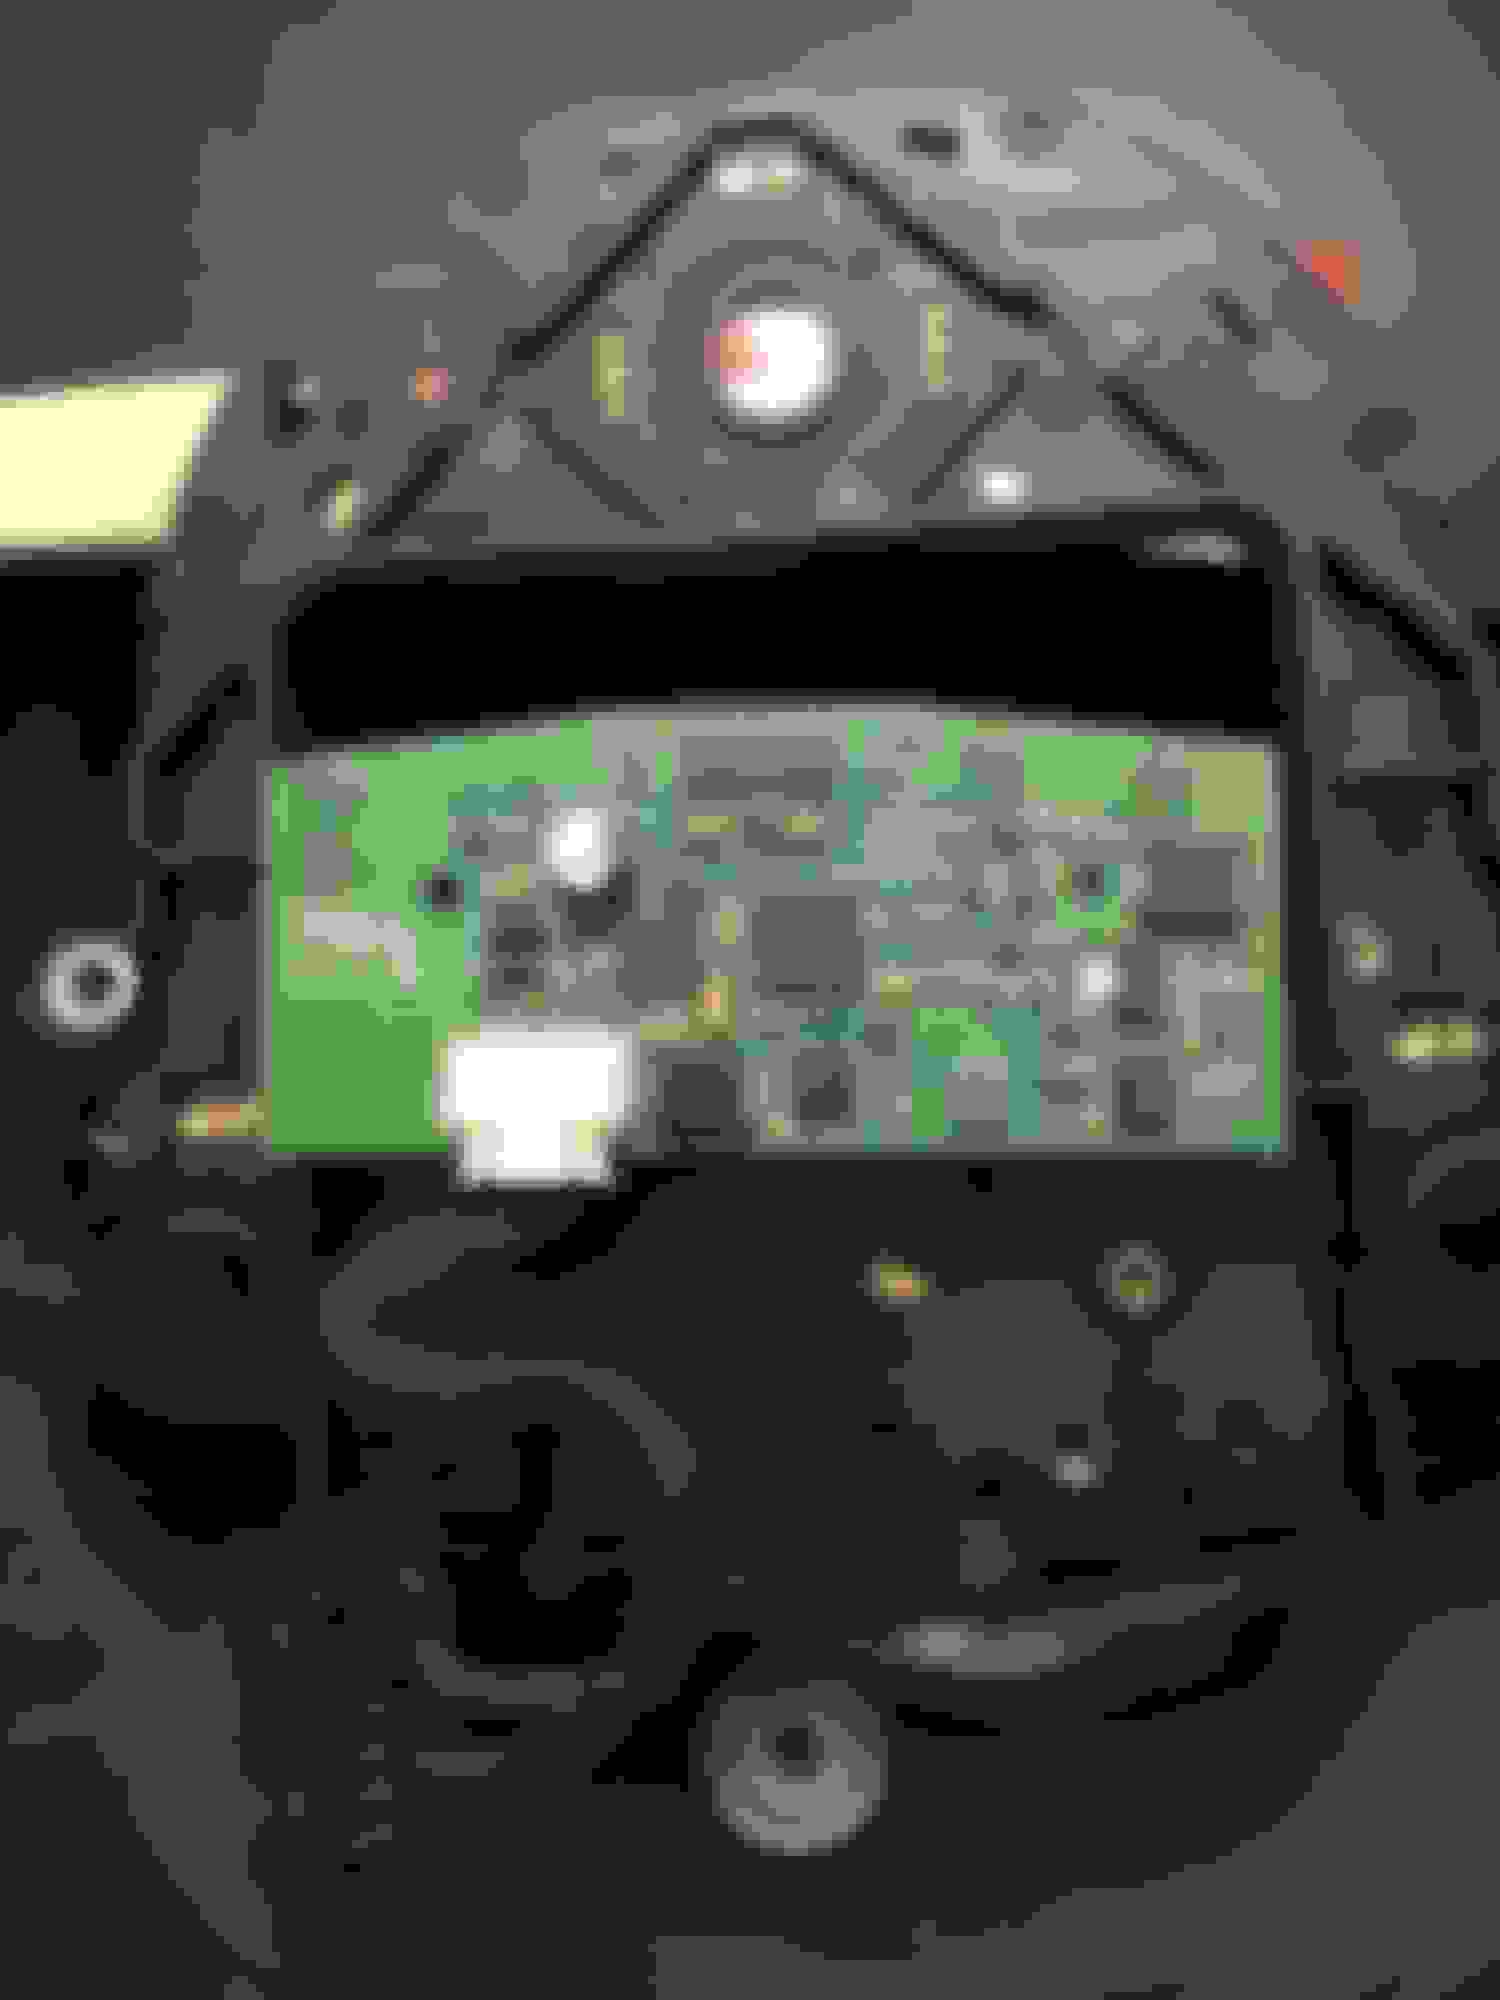
14) After you removed the pressure plate, you'll see a black plastic piece. Pop this off, behind it is the new control chip.
15) Remove the cap and you'll see the new control chip:
remove this chip:
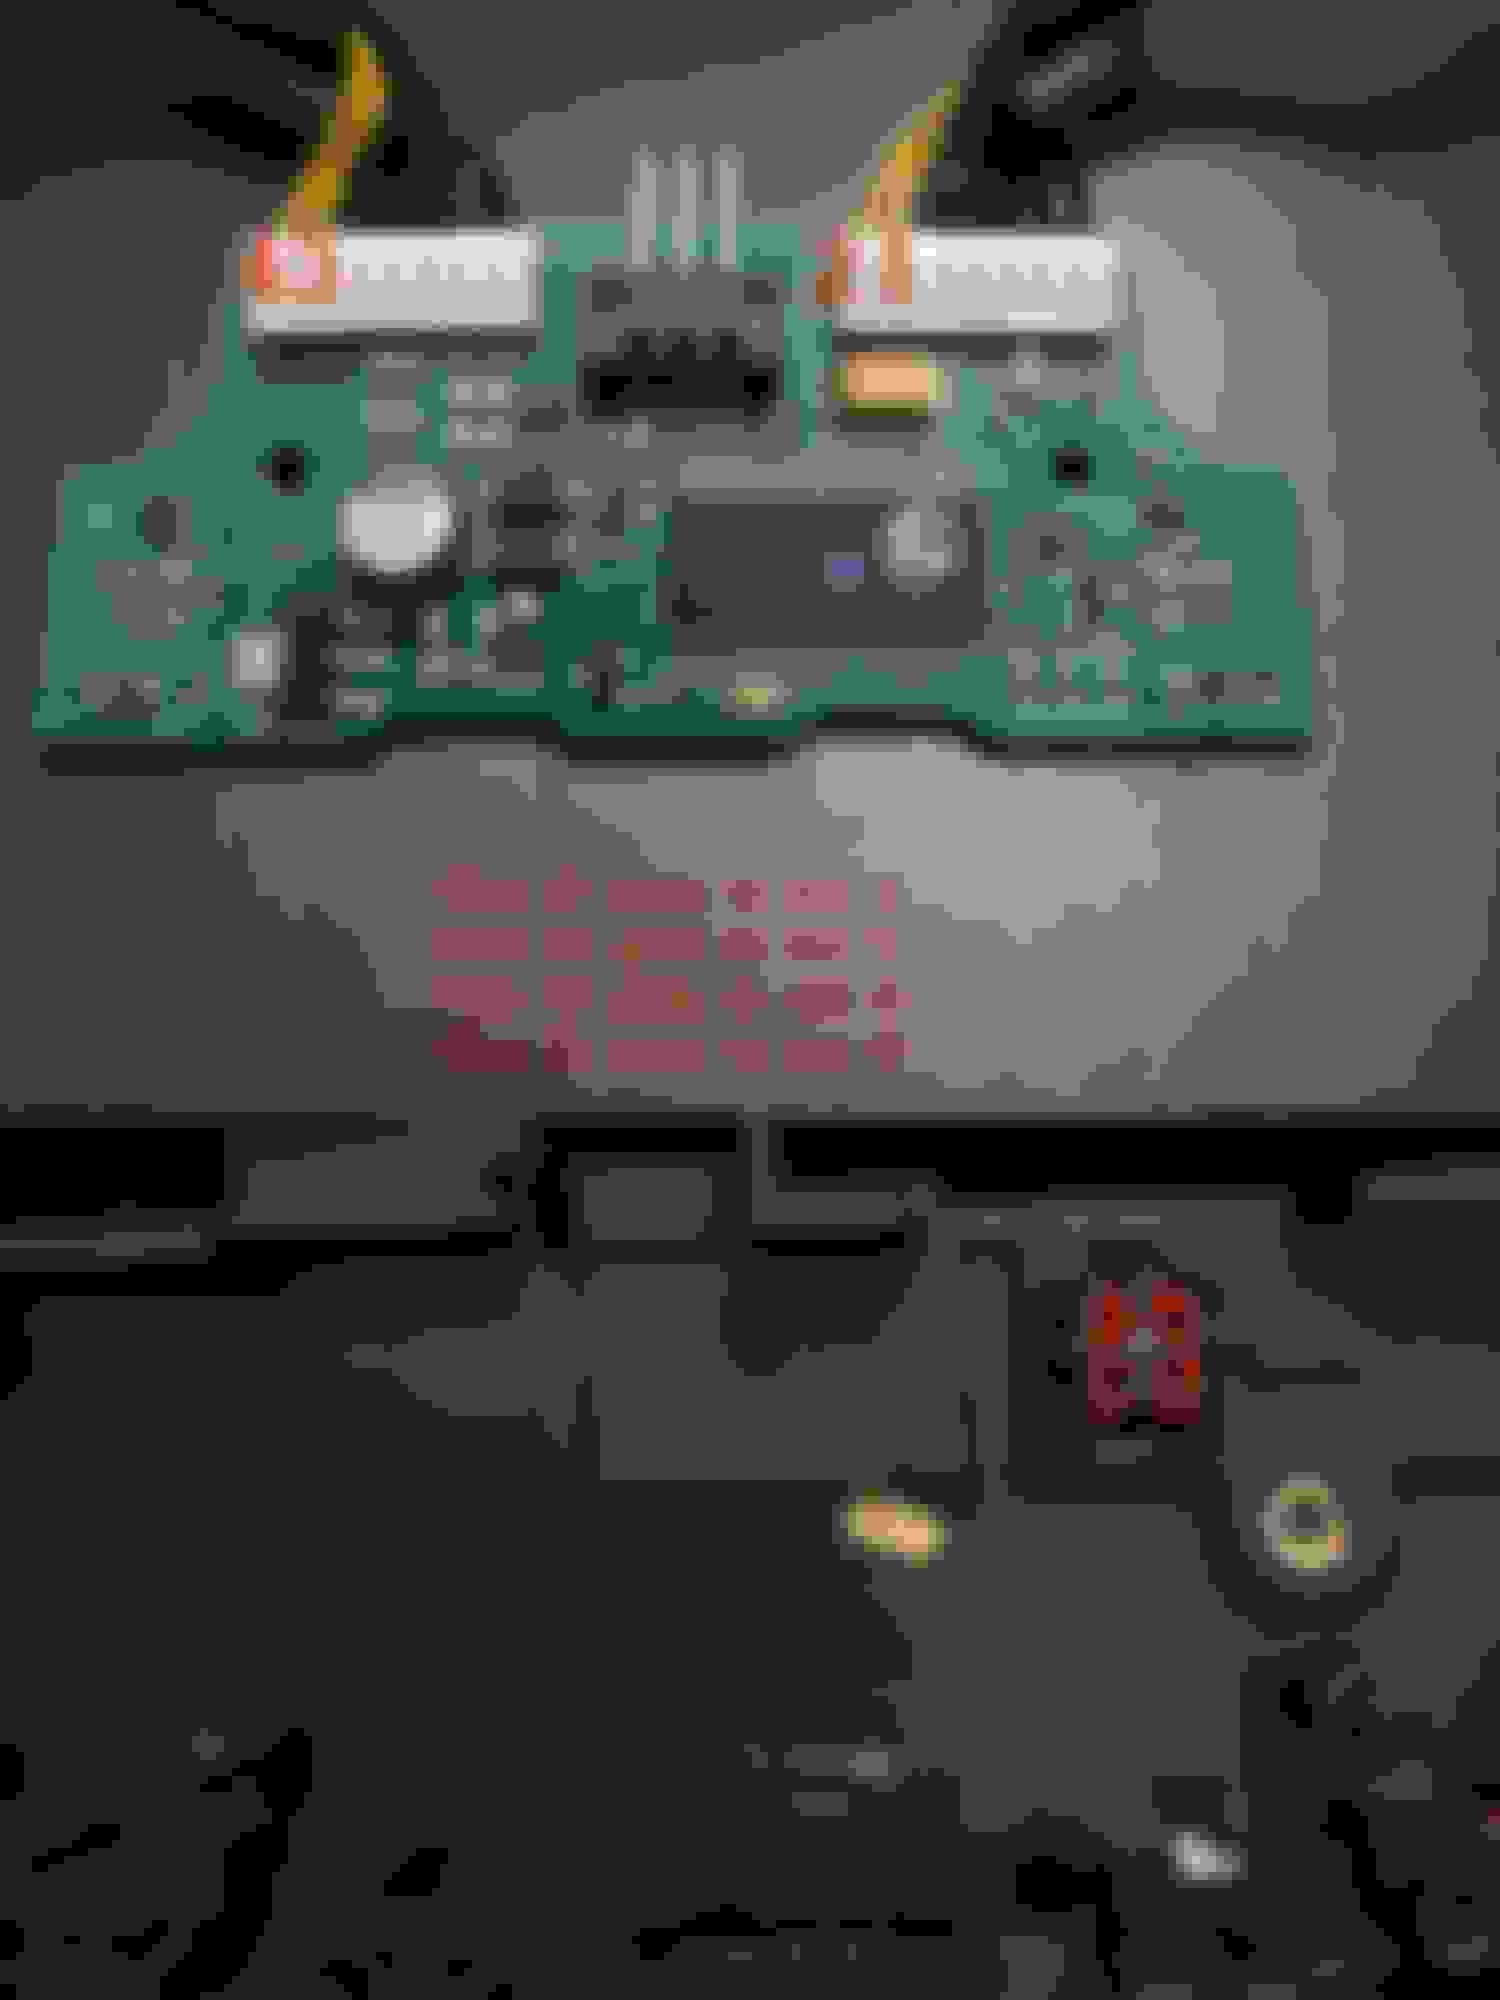
16) Now, you can see the difference between the new chip and old chip.
Make note of how the big brown plug is connected to the new chip, but there's no brown plug on the old chip.
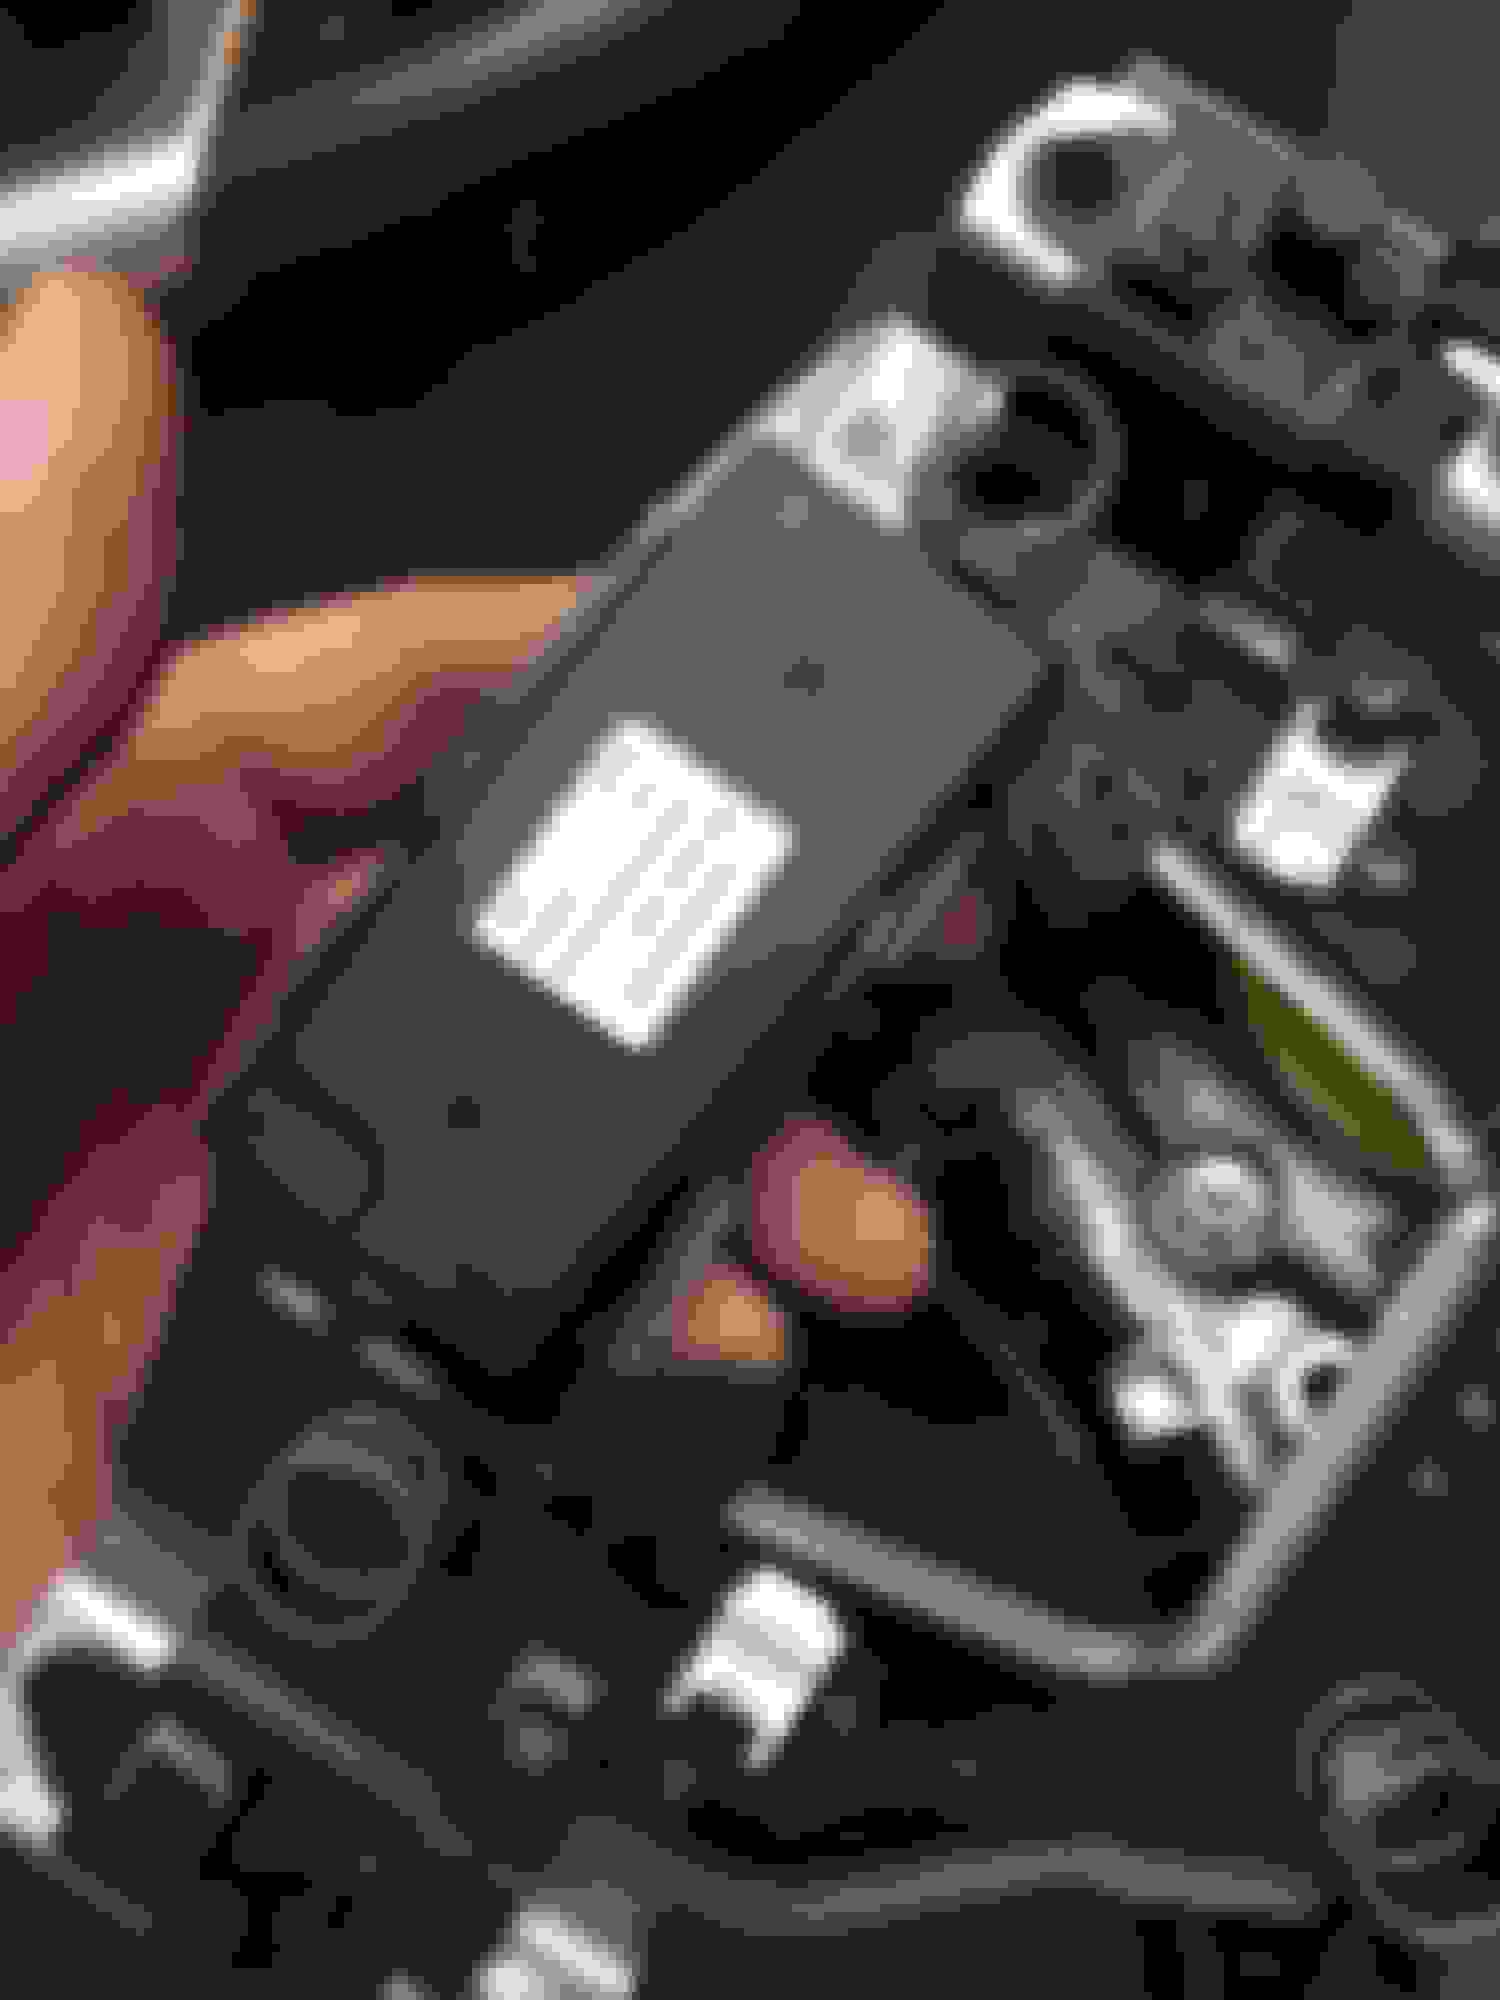
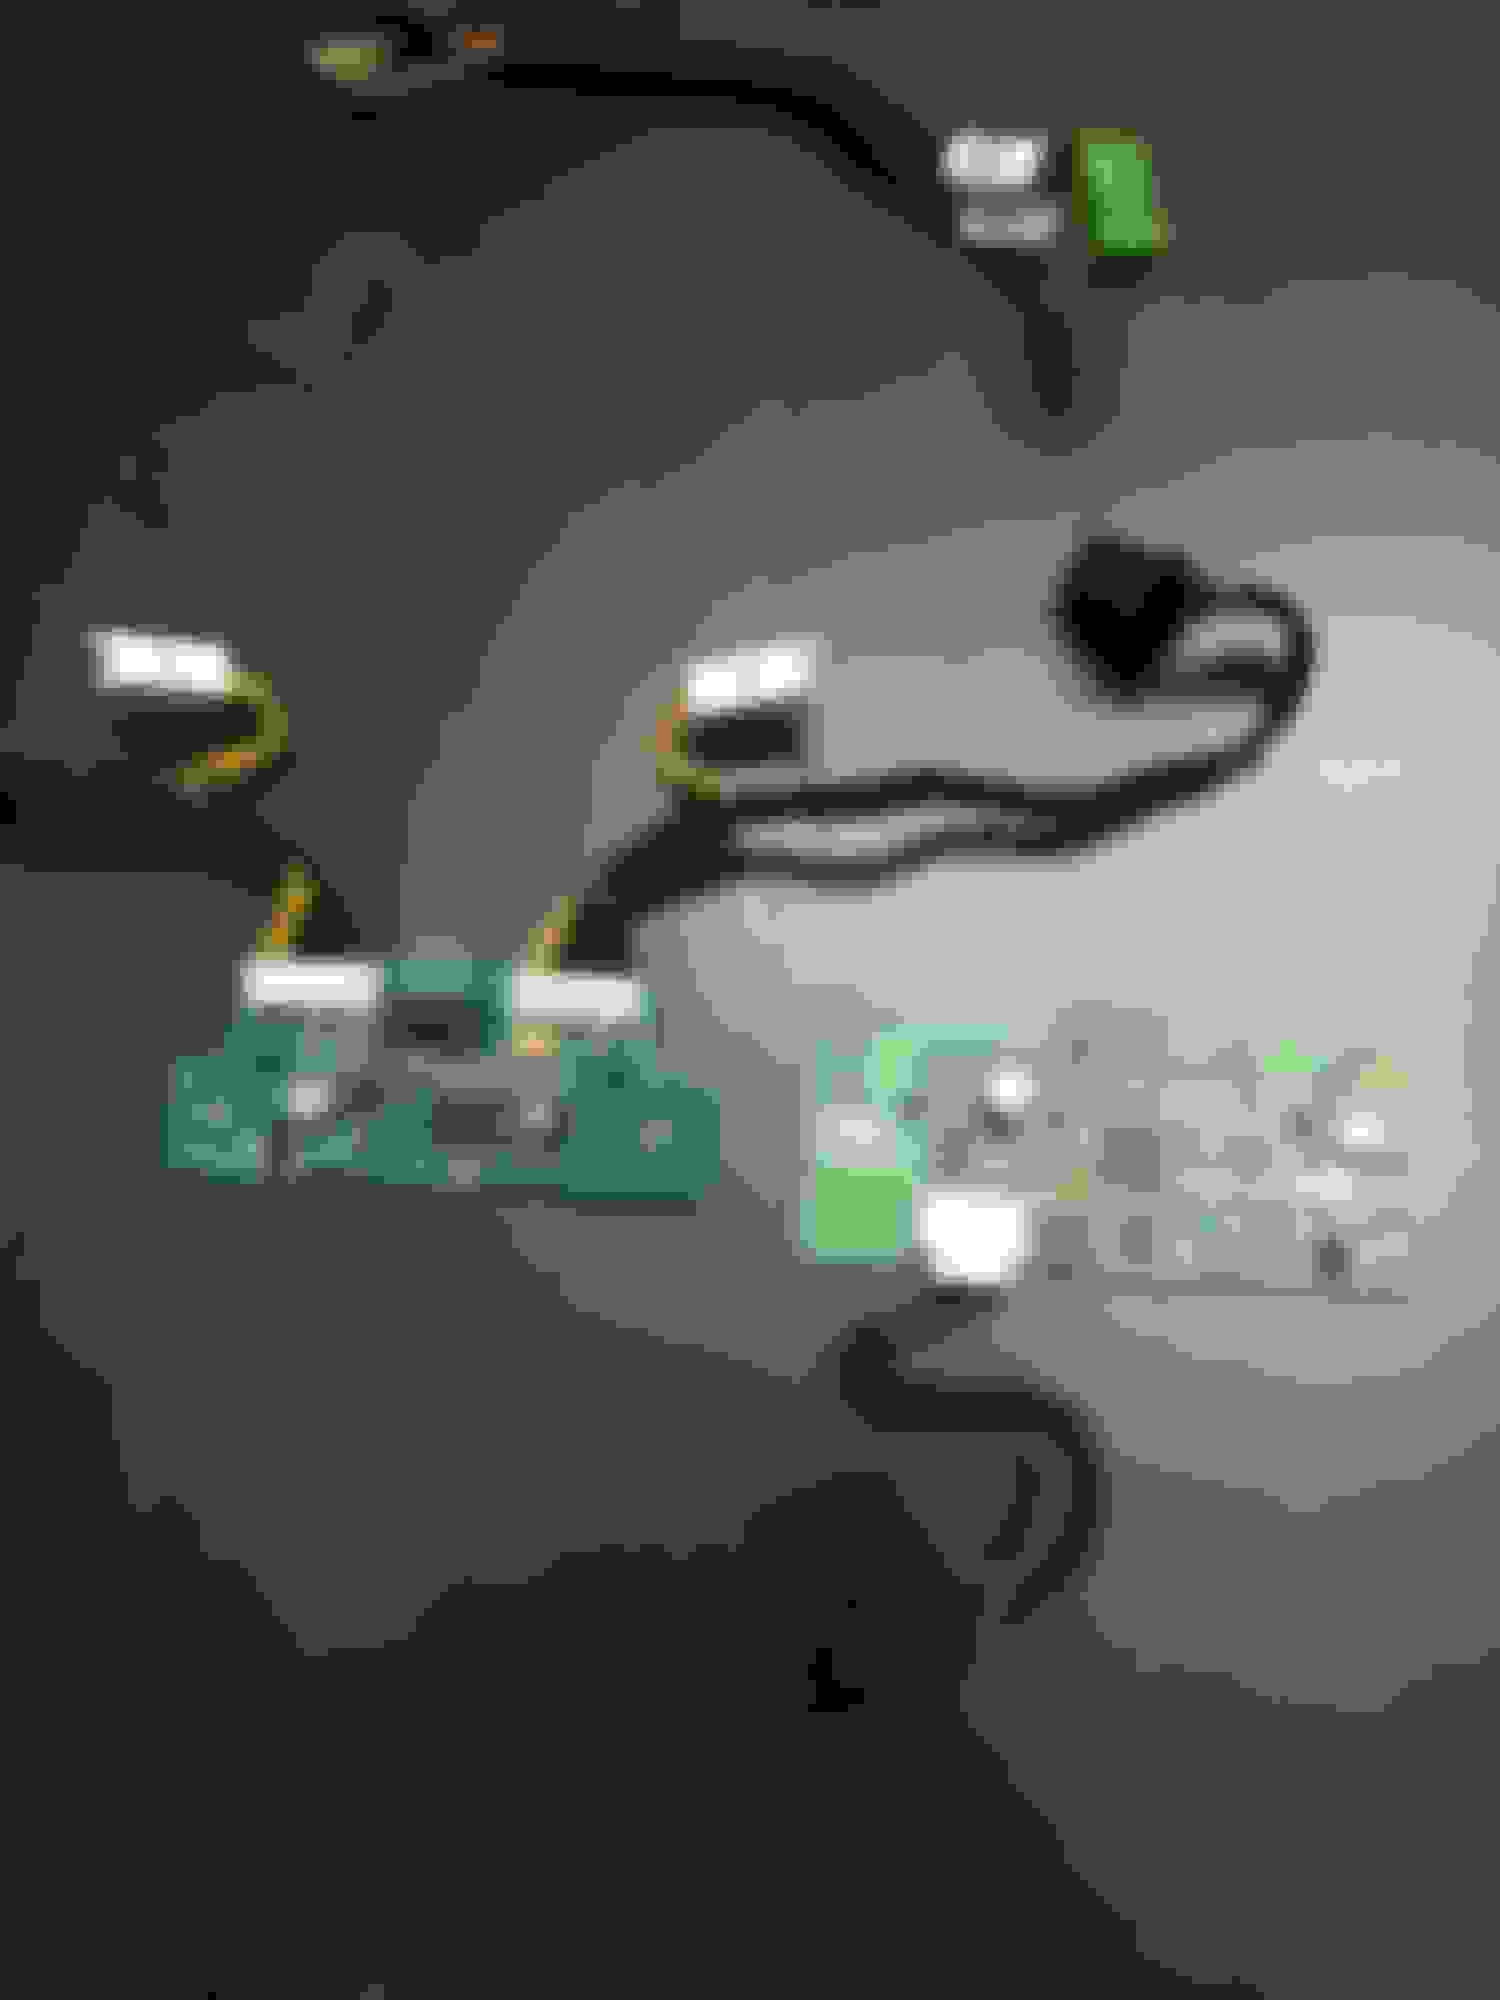
17) You need to go back to the old air bag and remove the brown plug from it:
18) Connect the black plug on the other end of the big brown plug to your old control chip:
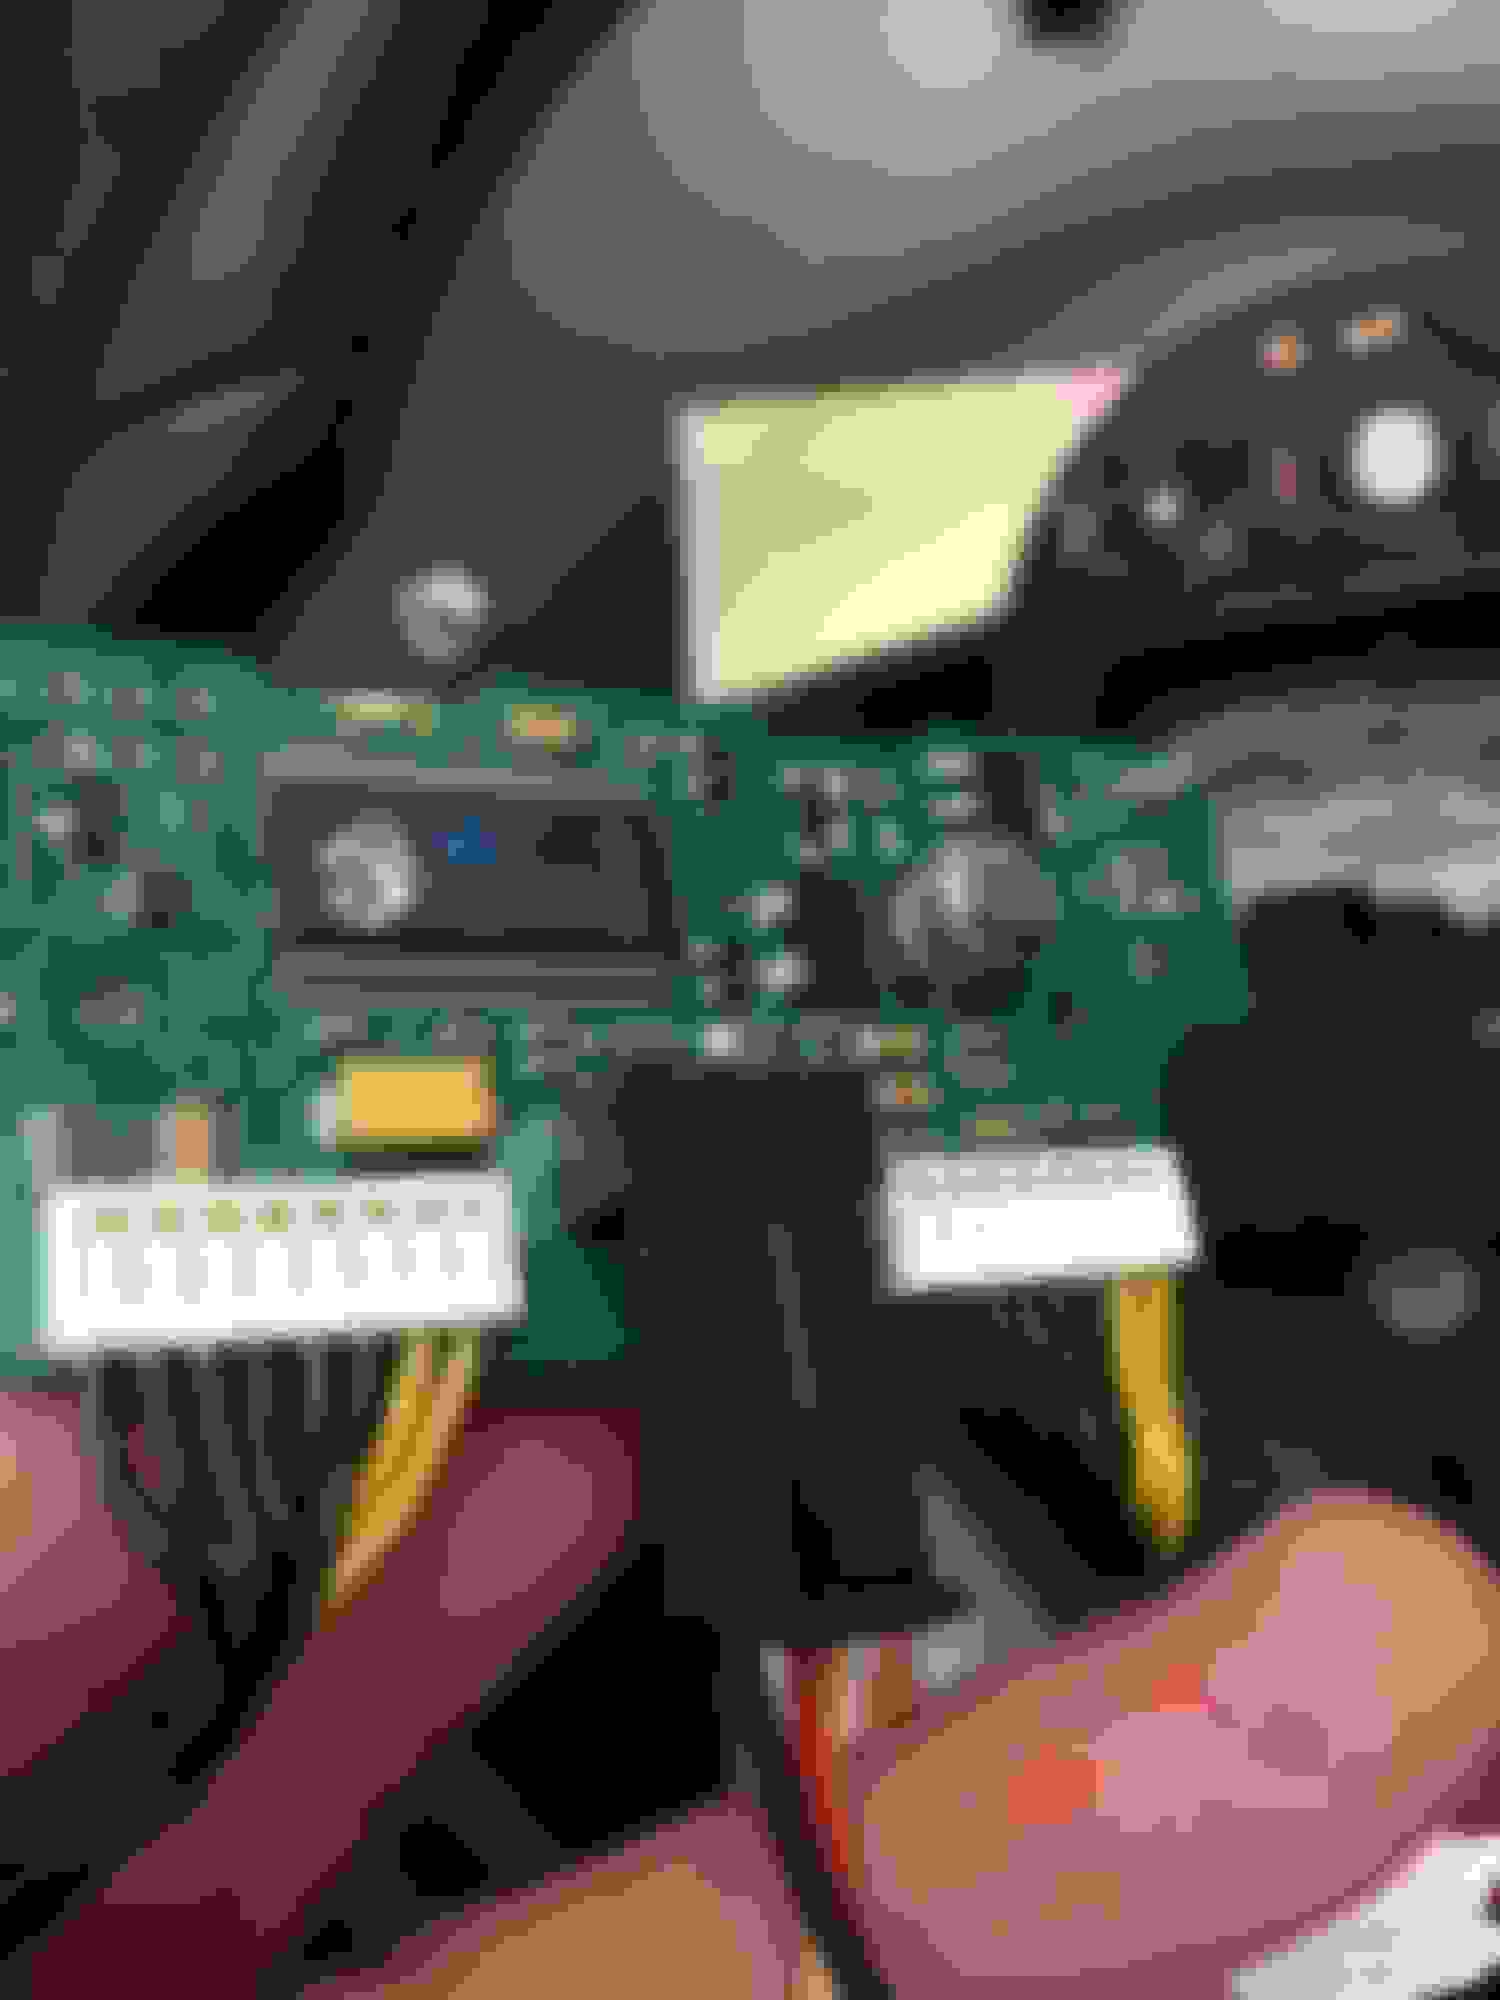
Make note of how it should connect back. There's numbering on there. This picture shows you how to hook it up:
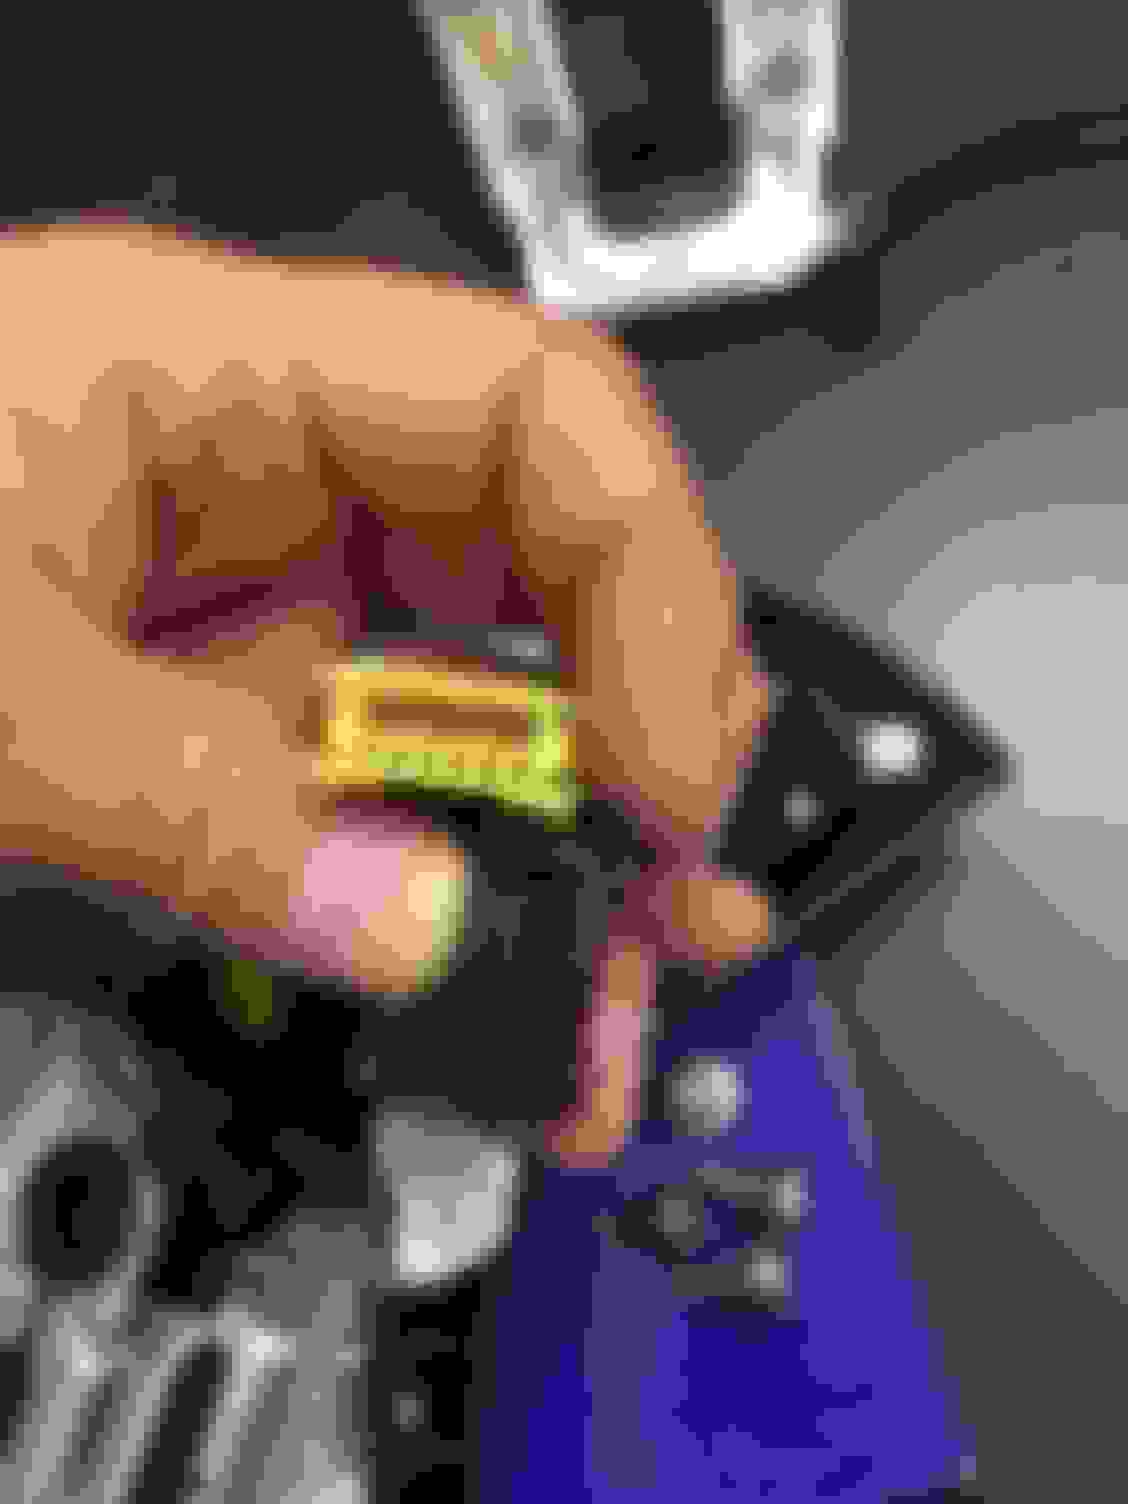
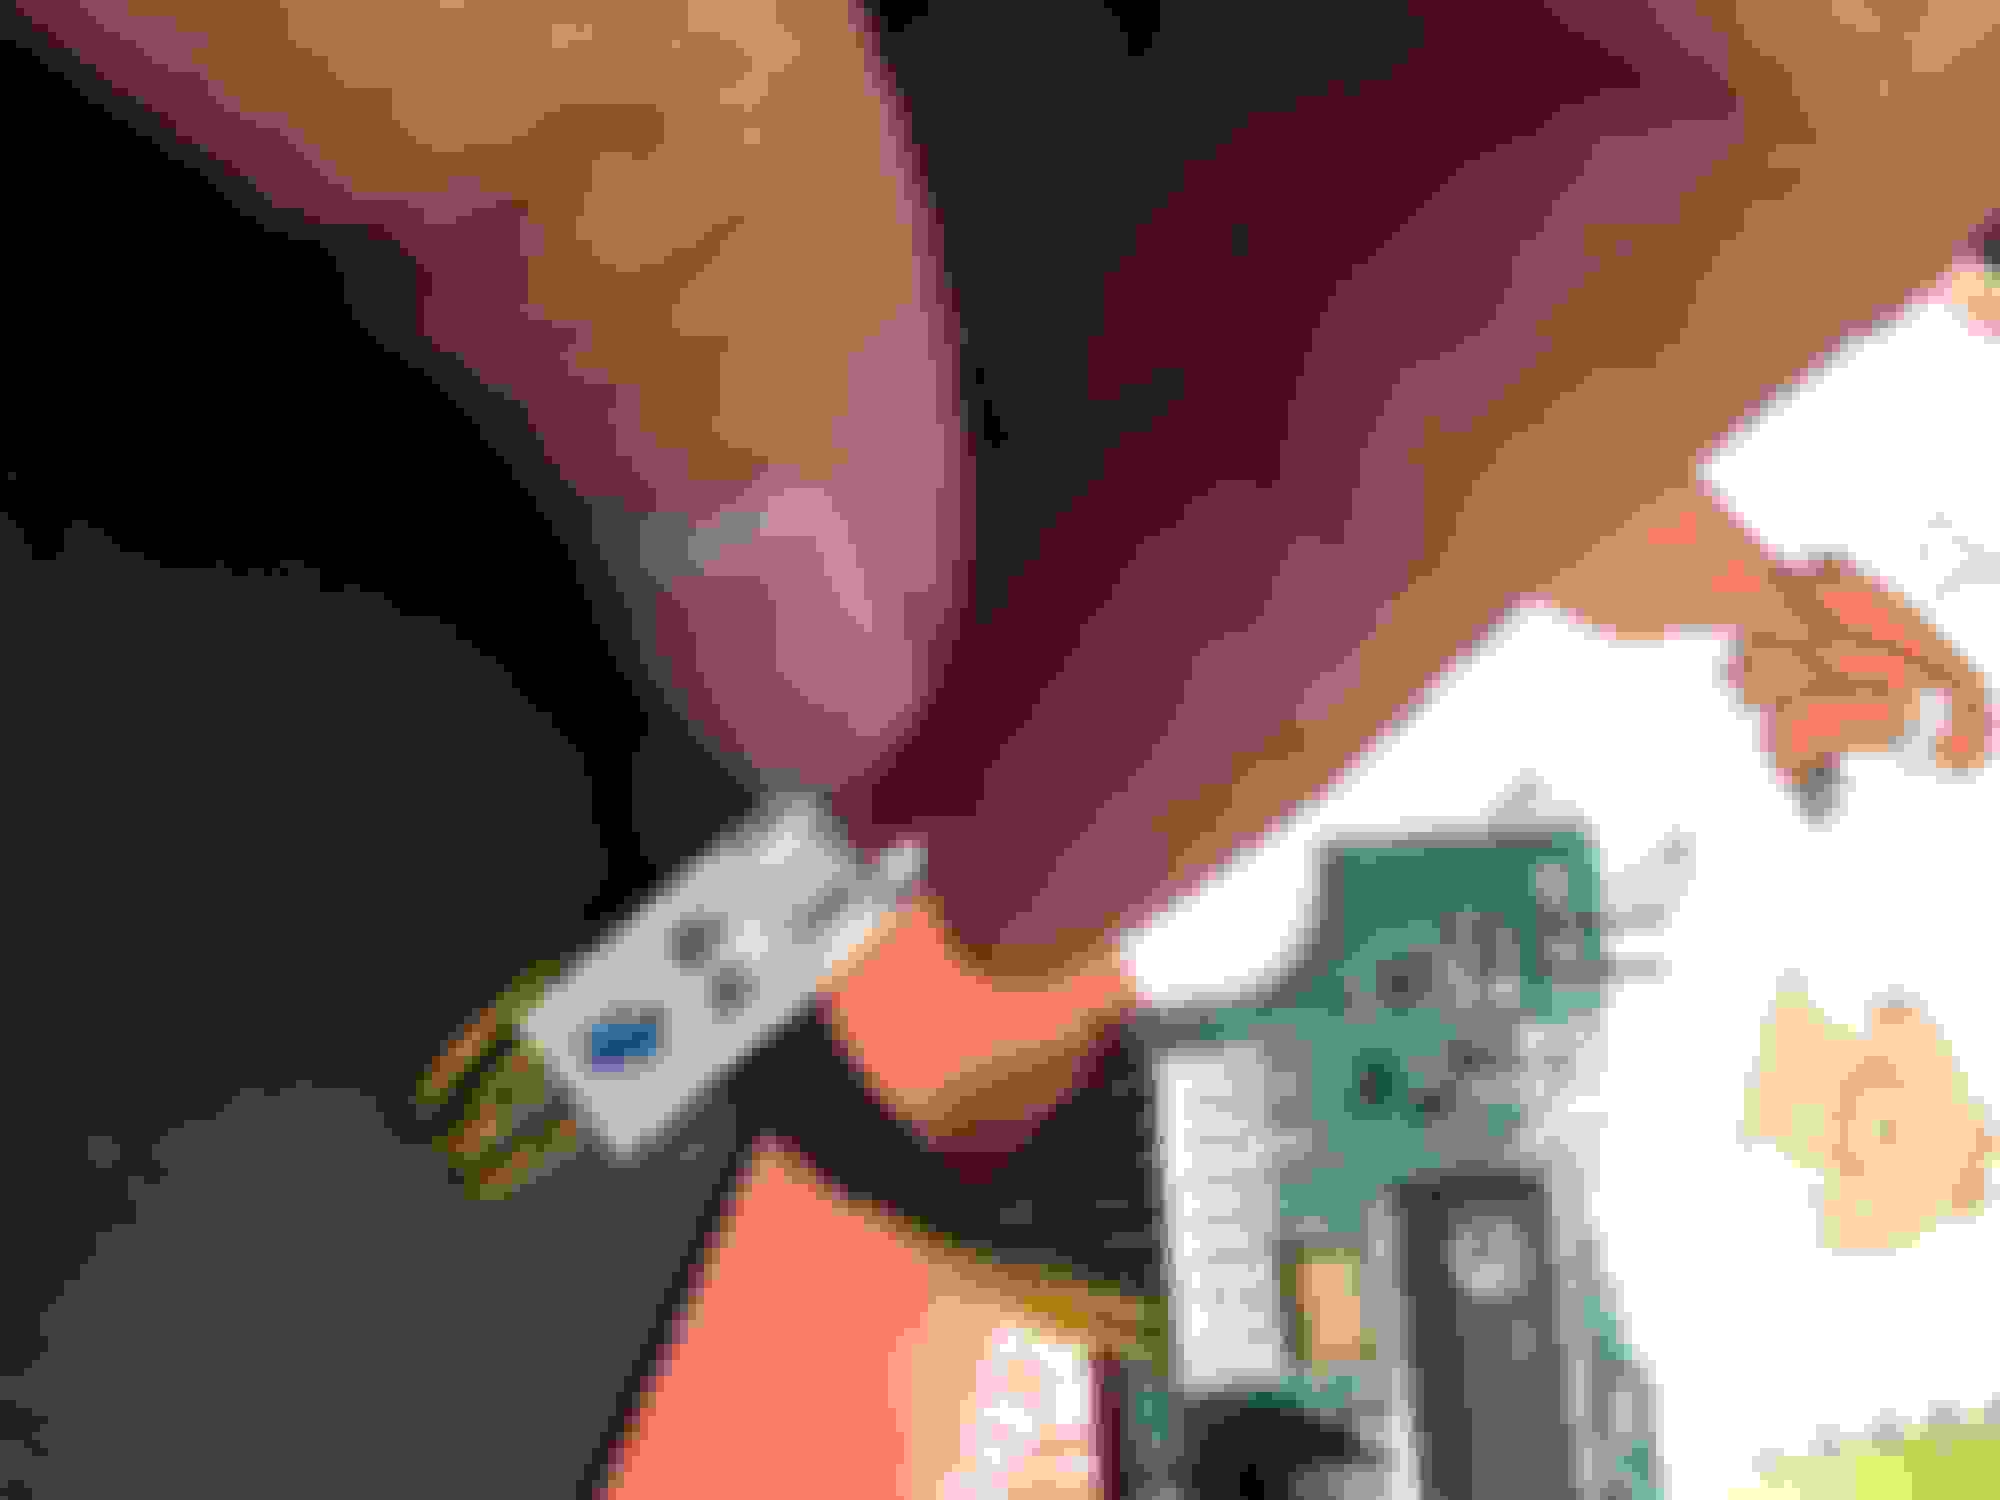
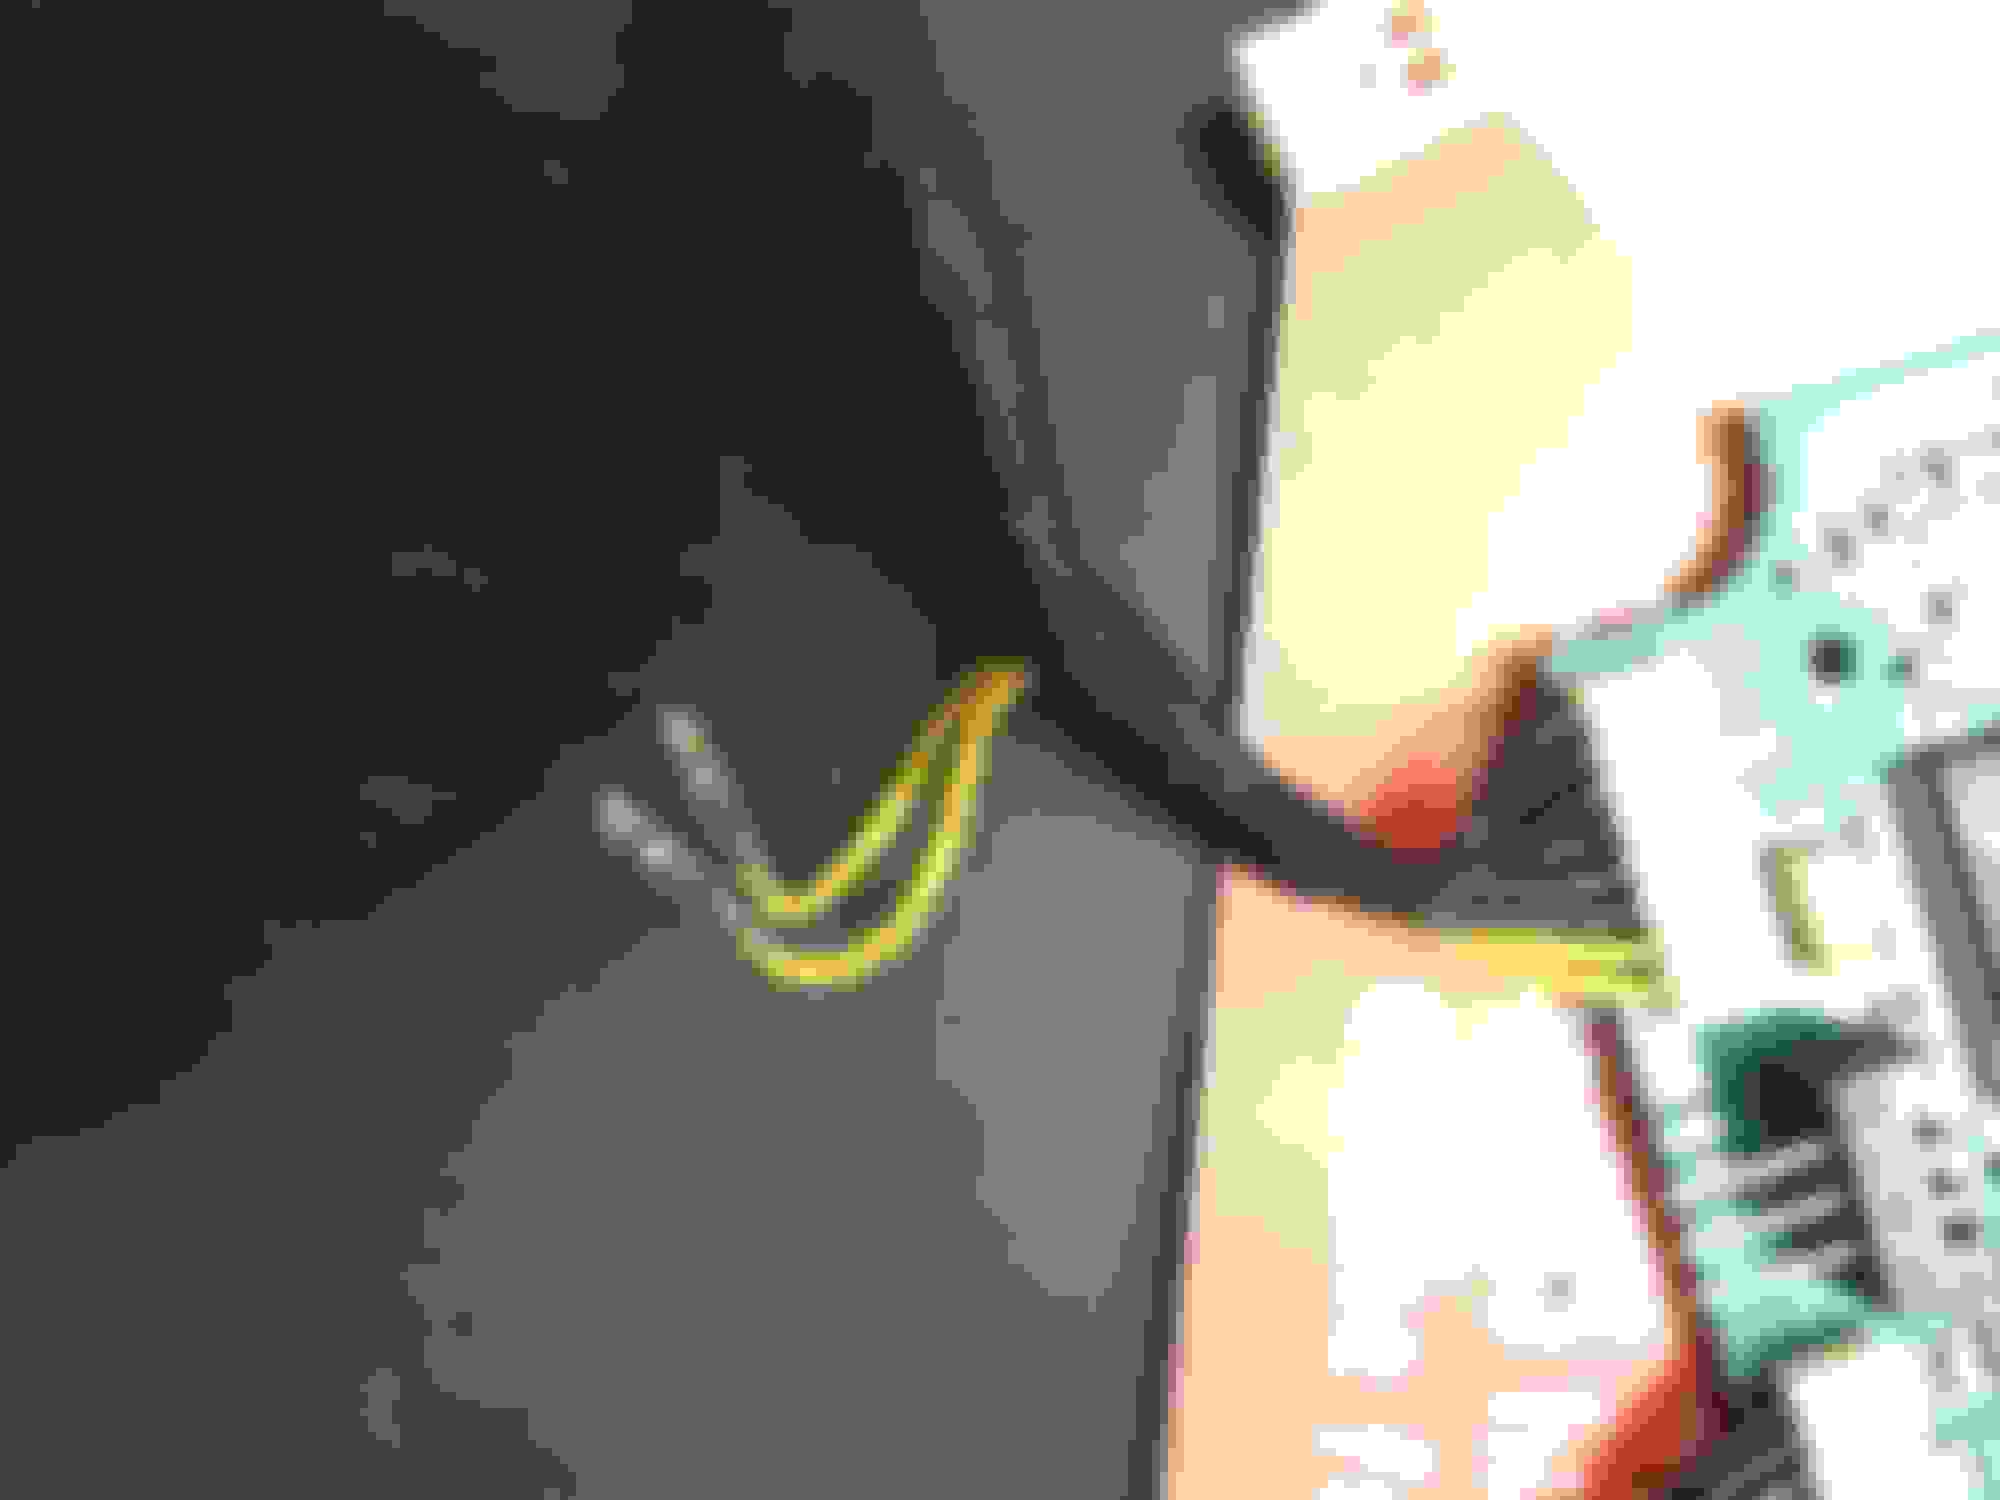
19) Now there's two plugs on the old chip with yellow wires. You'll need to hack these plugs up a little bit in order to get your horn to work. The first thing you need to do is get a little super thin flat head screwdriver and push down on the metal pieces on the opening of the plug:
After you push it down on one side, flip the plug over and push down on the metal on the center opening on the other side as well.
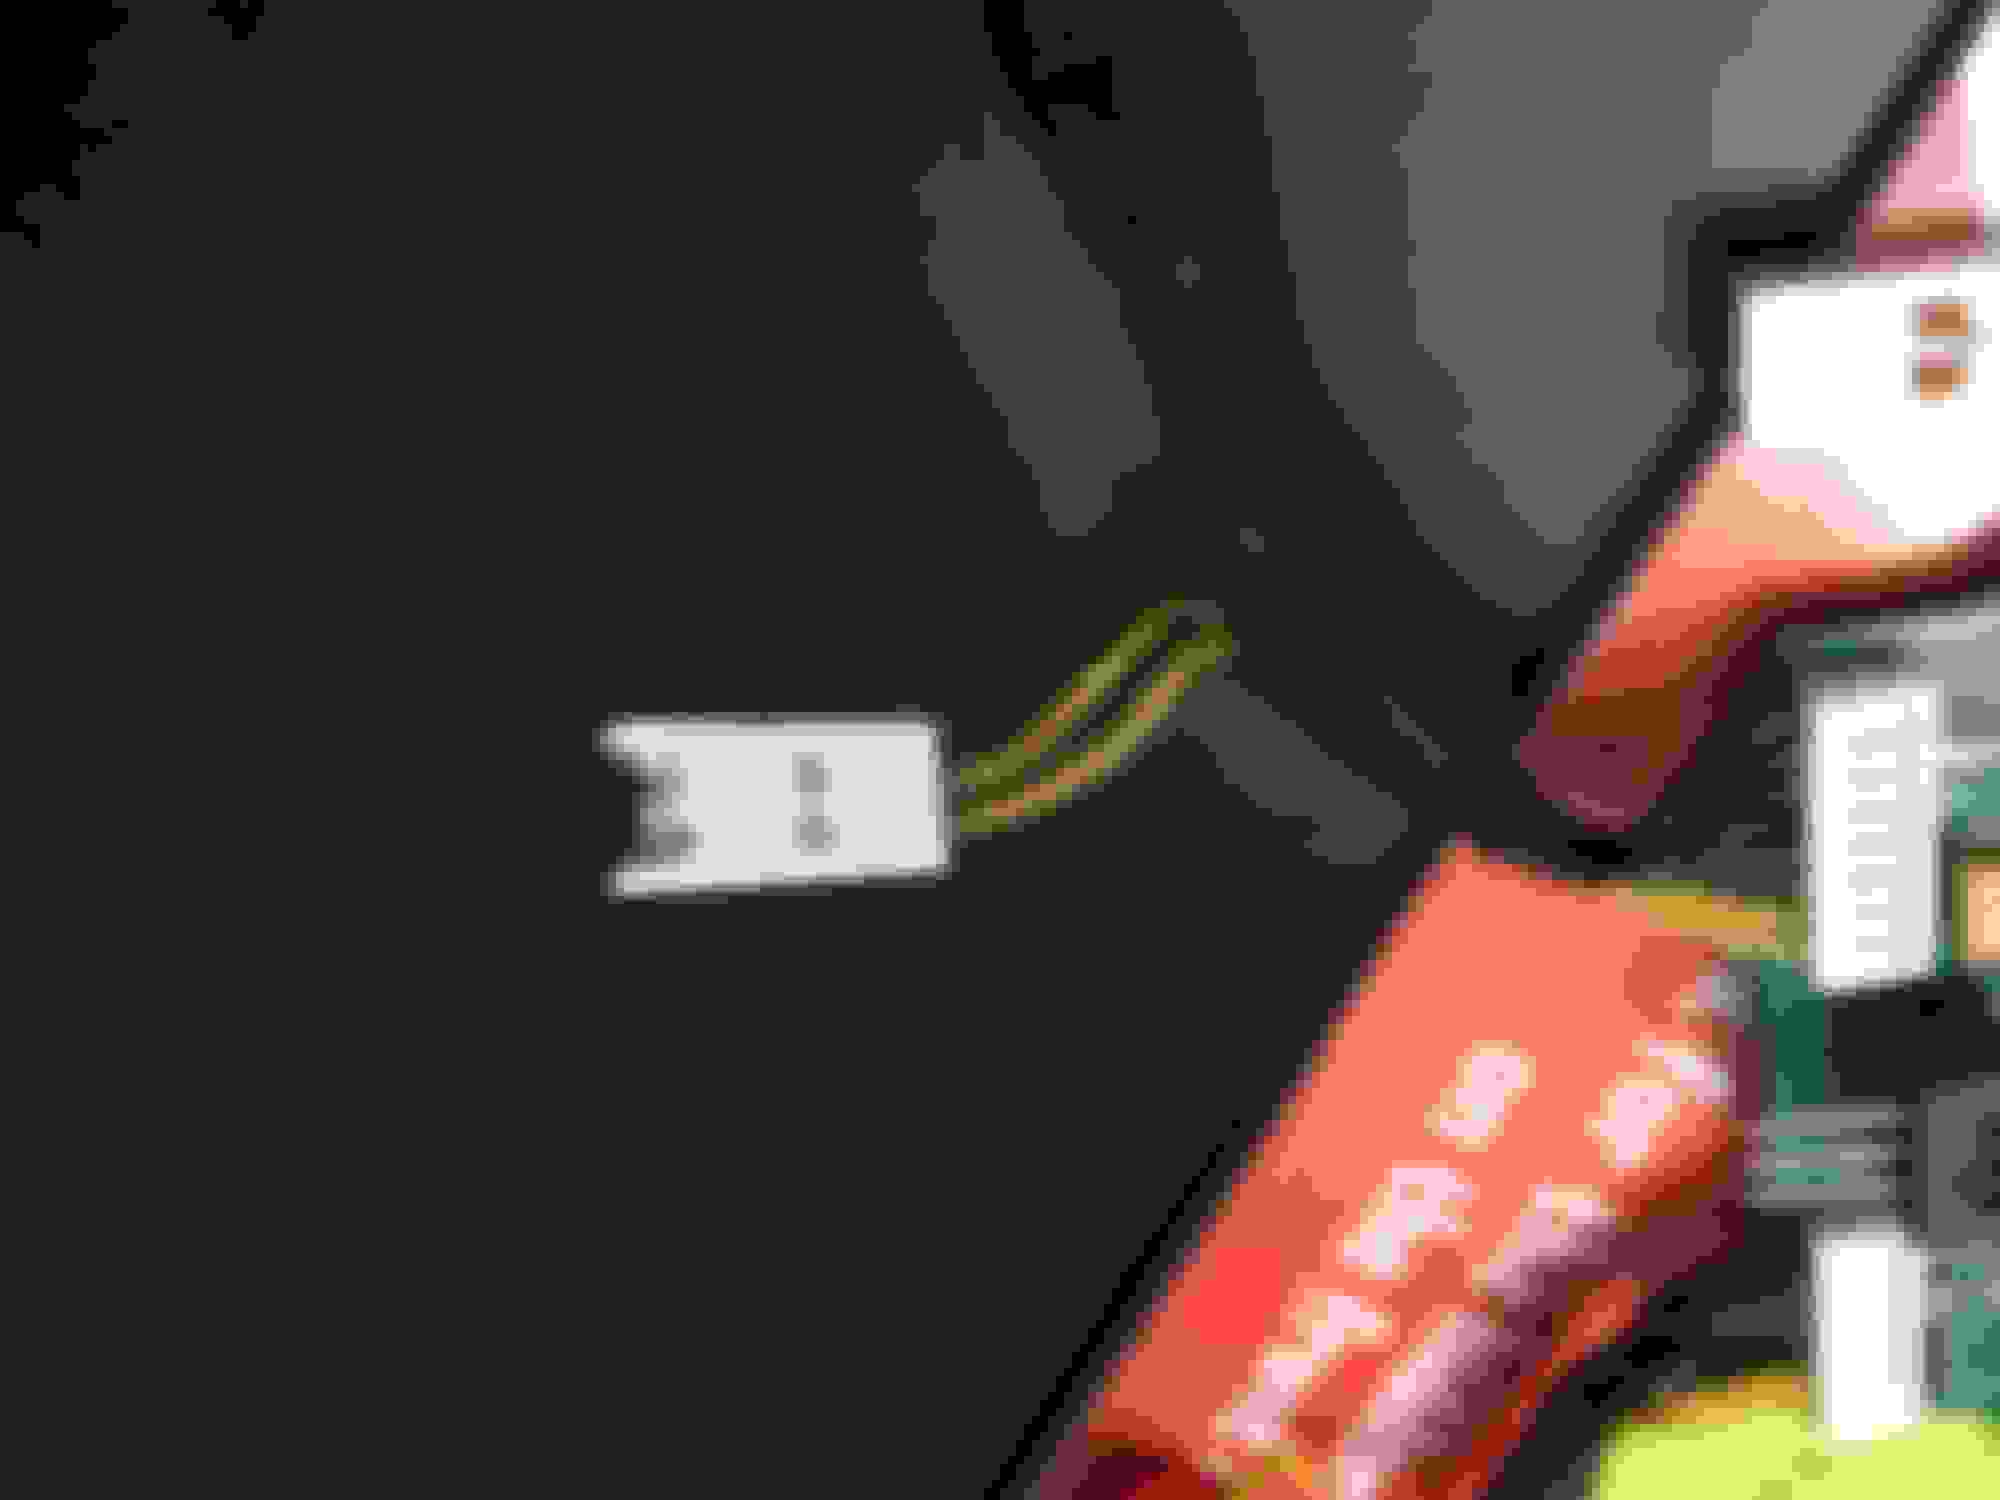
If done correctly, the plug will just slide off and look like this:
20) After you remove the yellow wires from the plug, here's what you can do to avoid having to do any soldering. Take a needle nose plier and flatten the metal ends like this:
You should end up with these flaps. Just cut the flaps off with some wire cutters.
21) Once you cut off the flaps, you can take the needle nose plier and crimp the metal ends in half to make it look like this:
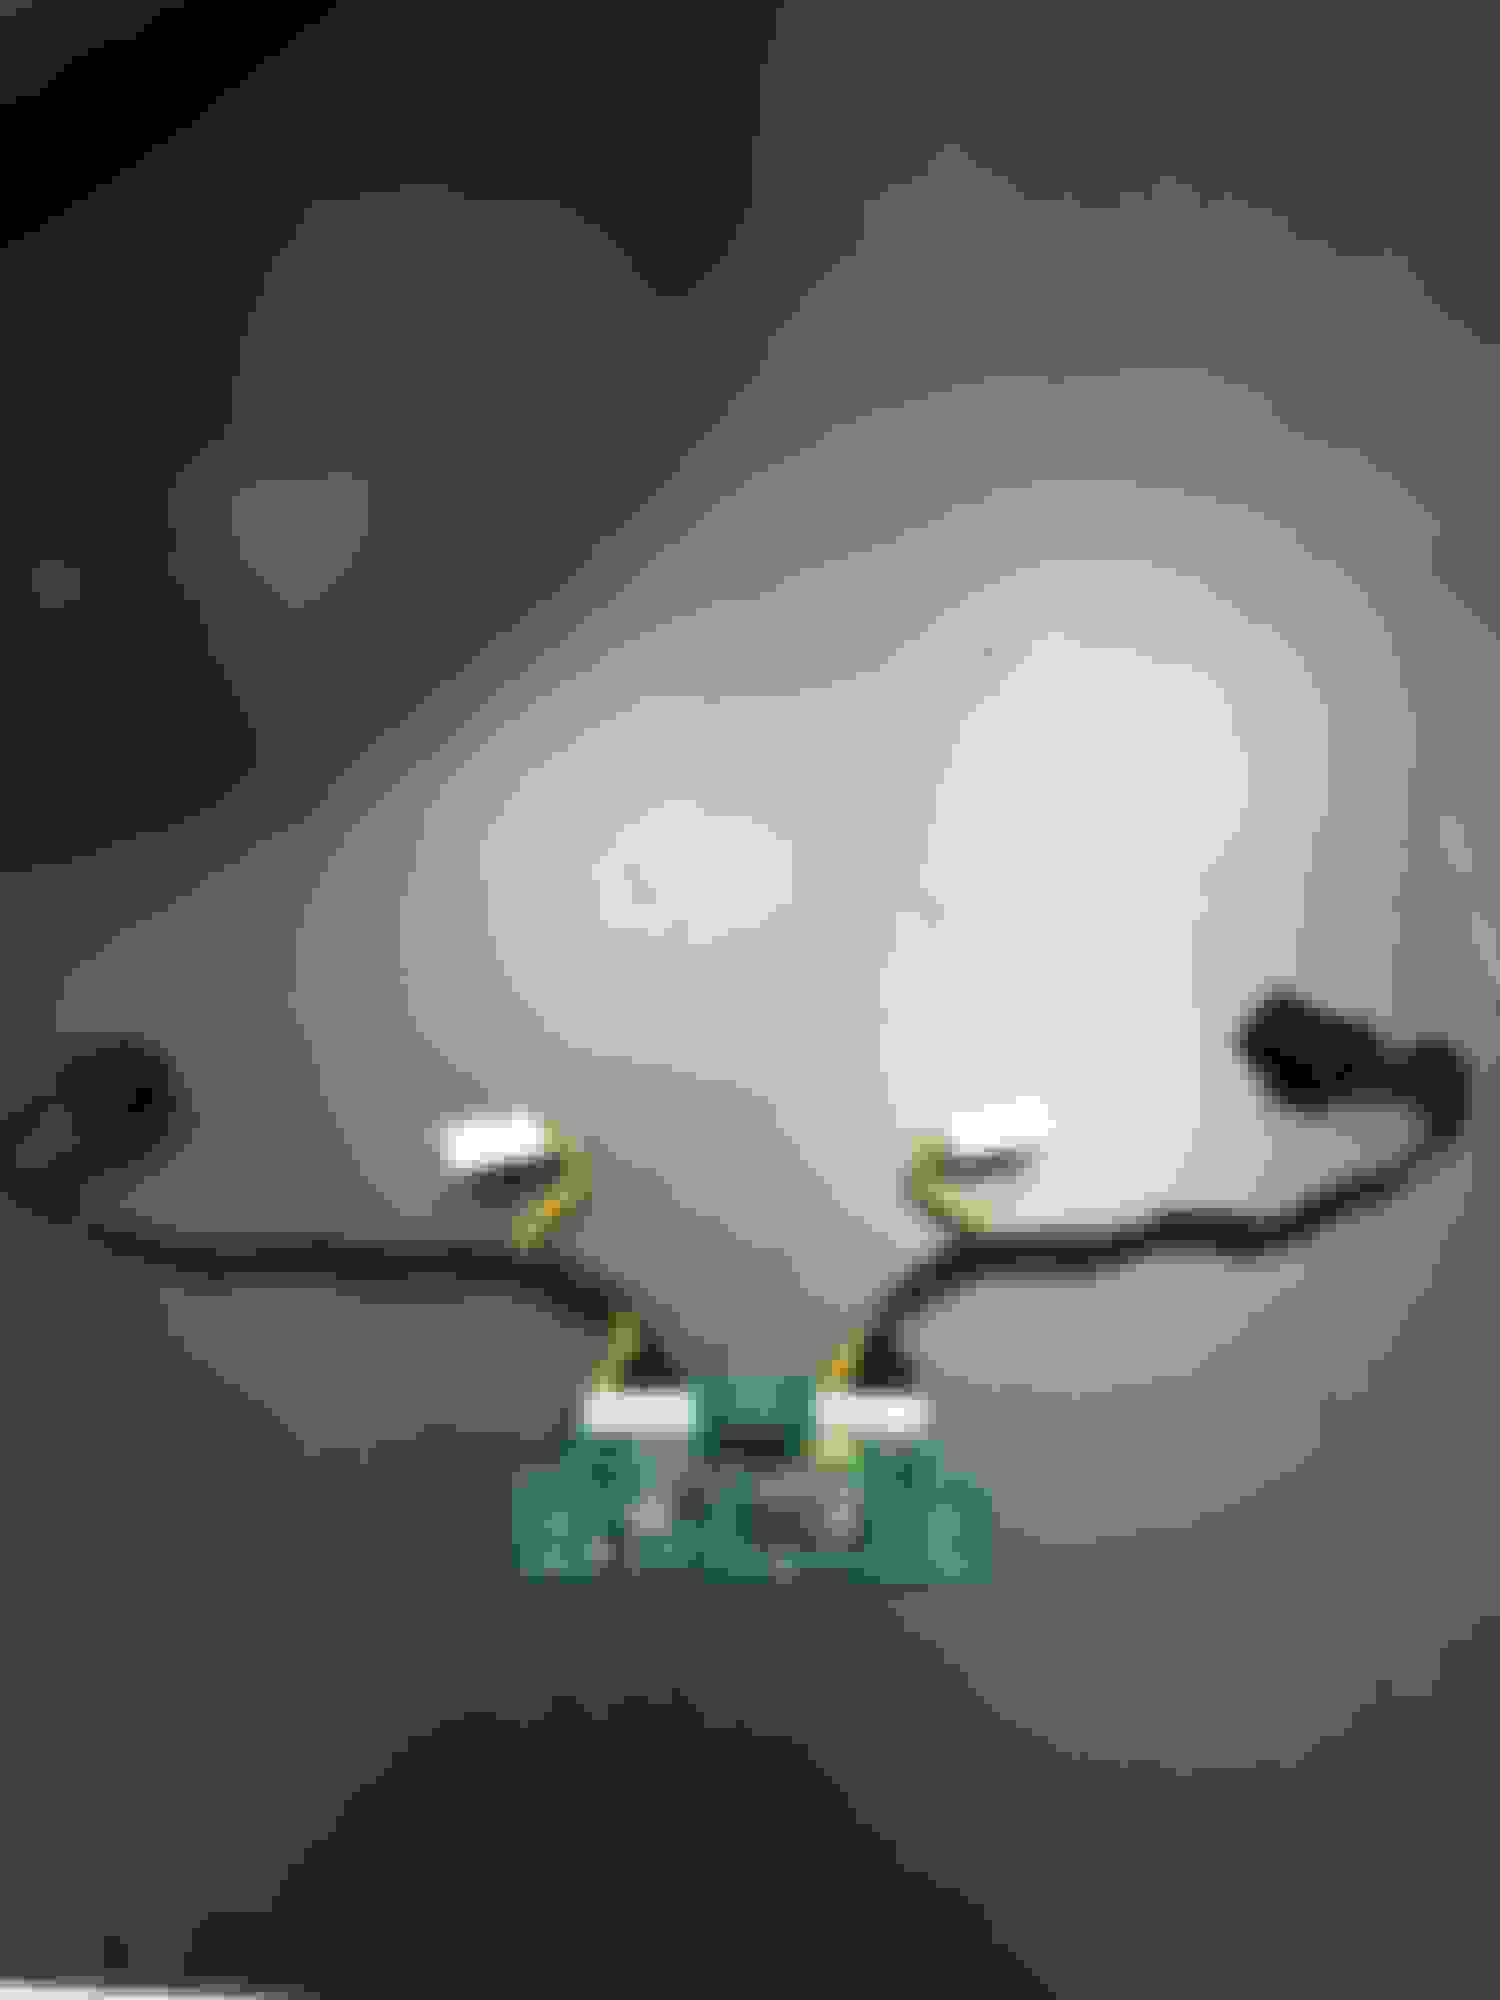
22) Make sure each of your yellow wires with the modified ends can plug into this slot here:
23) Now you wire up the yellow wires like so:
24) After you hook up the yellow wires, fold them over 90 degrees and make sure they don't touch each other. I put electrical tape over them to make sure they stayed in place.
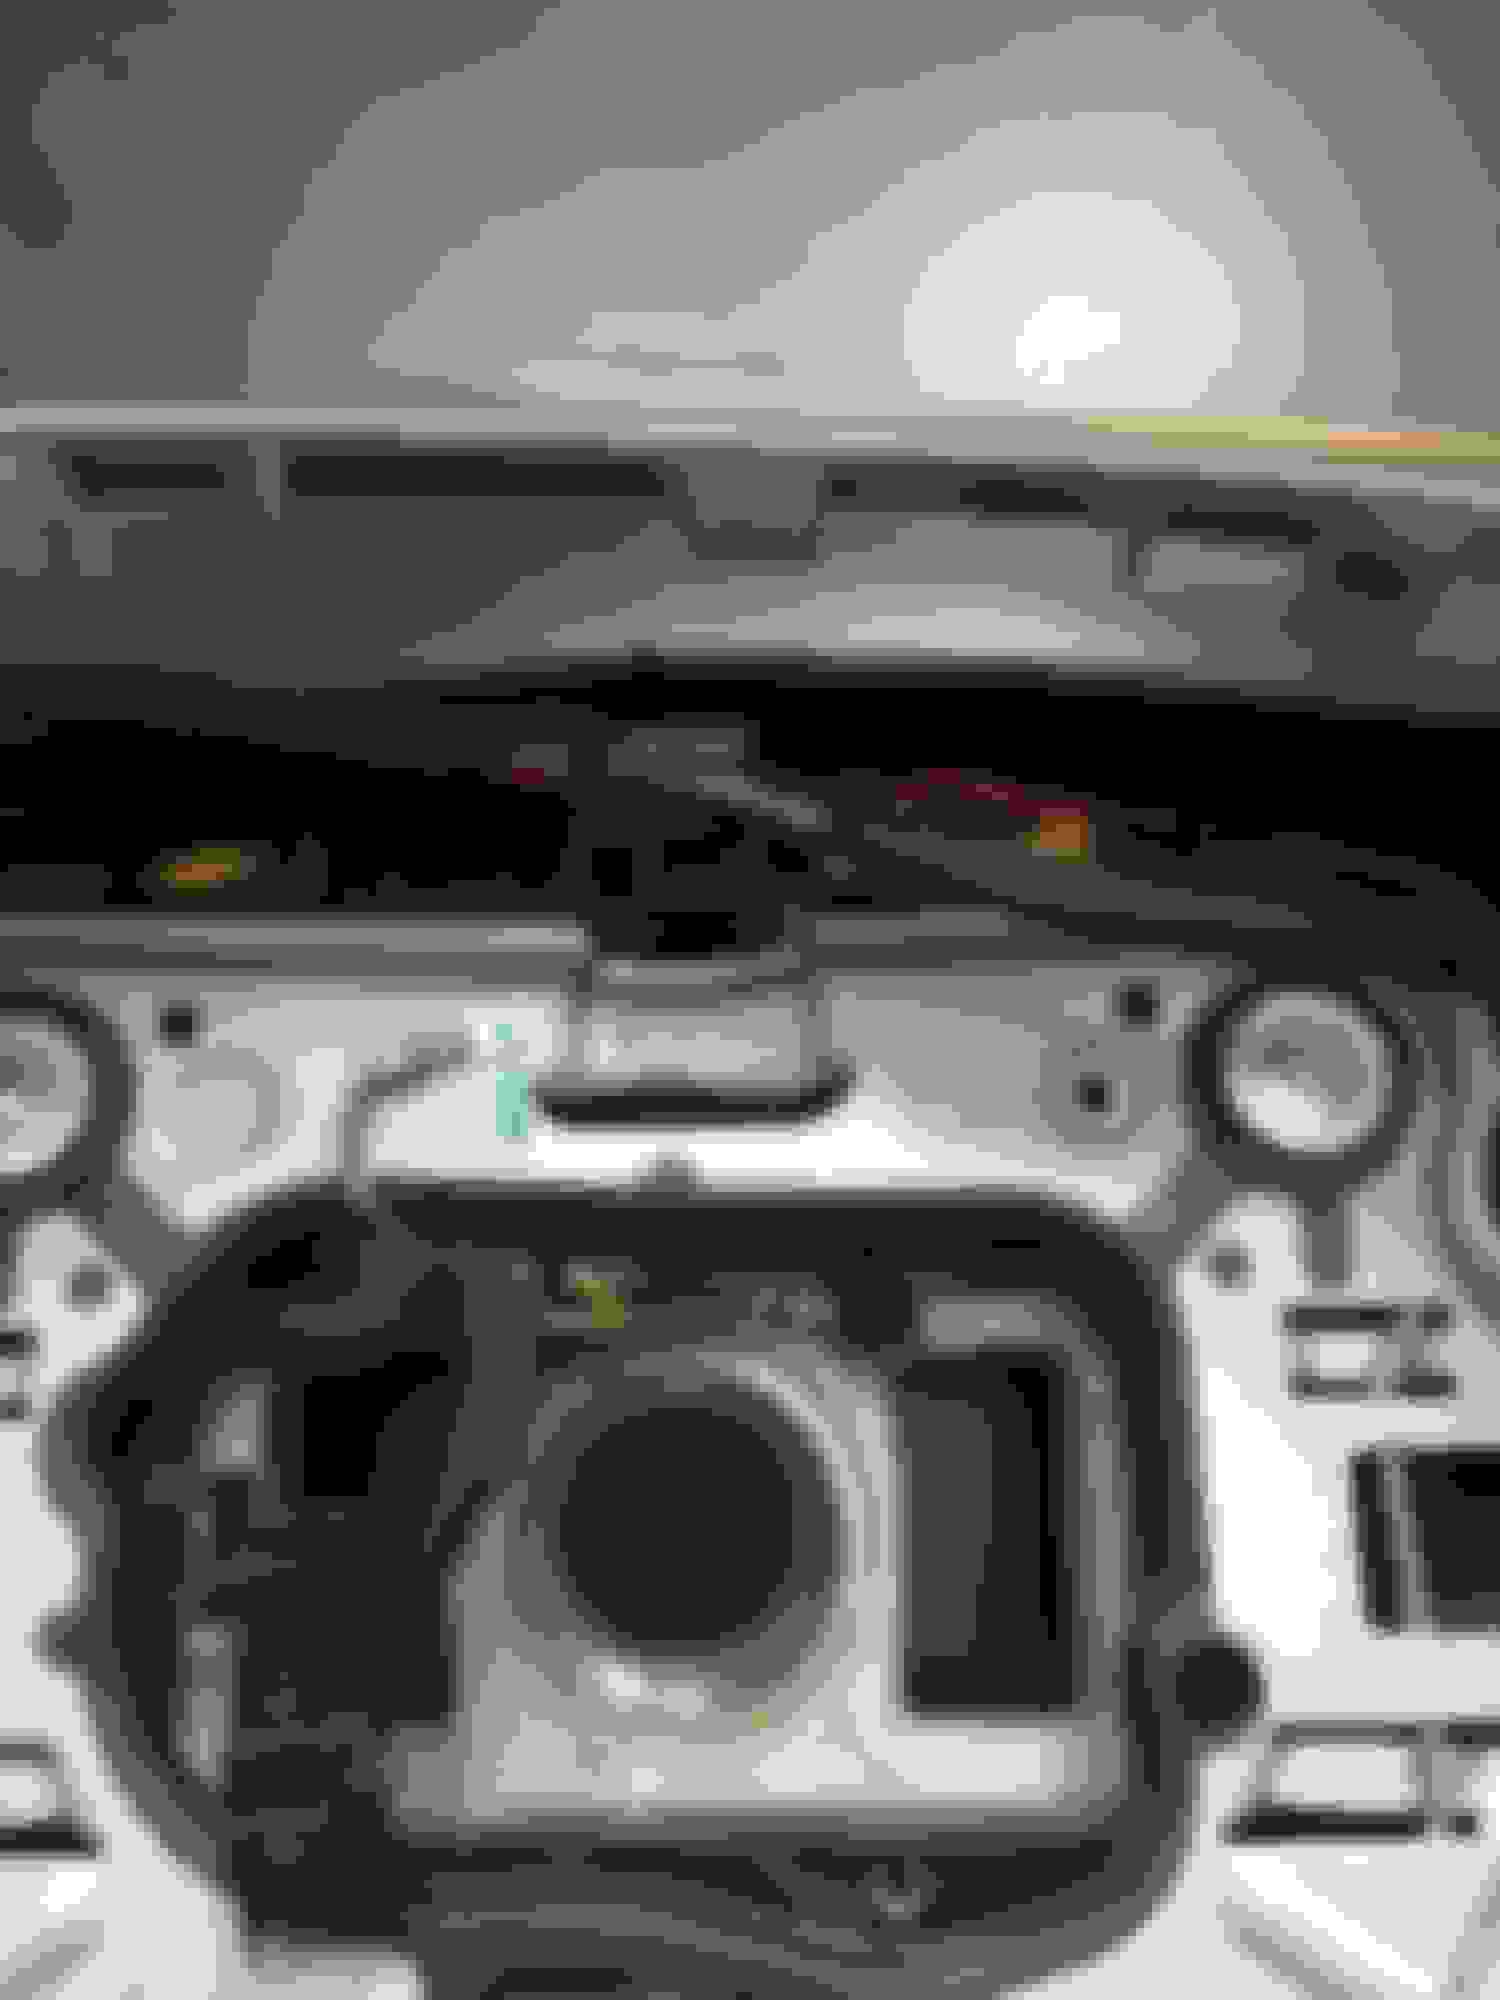
25) Now, plug the control chip into the black plastic backing piece. I popped off some of the paddle shifter wiring to make sure it connects to my control chip, but I douldn't figure out how to get the paddle shifters working, so I gave up. Maybe someone can figure this out later.
I ended up using more electrical tape to cover the control chip because the cap won't fit back on. It's not a big deal since you'll pin it between the steering wheel once you screw it down anyways:
26) After that, you can re-assemble everything back. Put the black plastic piece back on the steering wheel and assemble it with the pressure plate. Make sure you run all the plugs and wires through the middle. You don't want any wires between the pressure plate because you need it to spring up and down for the horn to work. And don't forget to screw the brown ground wire back on as well.
27) Now you're ready to put the chrome bezel back. The two black plugs will need to be plugged back. Please make sure that you plug the black plugs back into the right spot. These plugs have to criss cross each other when you connect them. I made the mistake of not doing this, and none of the controls worked.
Also note that one side will plug right in, while the other side, you'll have to cut off the bump on it to make it plug in.
28) Lastly, put everything back and test out to see if everything works. Make sure you disconnect the battery each time before you remove the air bag. Also, don't tighten everything down until you make sure that your wiring works.
29) Pro-tip, make sure you tighten the negative on your car battery very well before turning on your car to test the steering wheel. I made the mistake of not tightening it well and thought my battery died lol. Just kidding, this is not a pro-tip, I was just not thinking straight.
19) Now there's two plugs on the old chip with yellow wires. You'll need to hack these plugs up a little bit in order to get your horn to work. The first thing you need to do is get a little super thin flat head screwdriver and push down on the metal pieces on the opening of the plug:
After you push it down on one side, flip the plug over and push down on the metal on the center opening on the other side as well.
If done correctly, the plug will just slide off and look like this:
20) After you remove the yellow wires from the plug, here's what you can do to avoid having to do any soldering. Take a needle nose plier and flatten the metal ends like this:
You should end up with these flaps. Just cut the flaps off with some wire cutters.
21) Once you cut off the flaps, you can take the needle nose plier and crimp the metal ends in half to make it look like this:
22) Make sure each of your yellow wires with the modified ends can plug into this slot here:
23) Now you wire up the yellow wires like so:
24) After you hook up the yellow wires, fold them over 90 degrees and make sure they don't touch each other. I put electrical tape over them to make sure they stayed in place.
25) Now, plug the control chip into the black plastic backing piece. I popped off some of the paddle shifter wiring to make sure it connects to my control chip, but I douldn't figure out how to get the paddle shifters working, so I gave up. Maybe someone can figure this out later.
I ended up using more electrical tape to cover the control chip because the cap won't fit back on. It's not a big deal since you'll pin it between the steering wheel once you screw it down anyways:
26) After that, you can re-assemble everything back. Put the black plastic piece back on the steering wheel and assemble it with the pressure plate. Make sure you run all the plugs and wires through the middle. You don't want any wires between the pressure plate because you need it to spring up and down for the horn to work. And don't forget to screw the brown ground wire back on as well.
27) Now you're ready to put the chrome bezel back. The two black plugs will need to be plugged back. Please make sure that you plug the black plugs back into the right spot. These plugs have to criss cross each other when you connect them. I made the mistake of not doing this, and none of the controls worked.
Also note that one side will plug right in, while the other side, you'll have to cut off the bump on it to make it plug in.
28) Lastly, put everything back and test out to see if everything works. Make sure you disconnect the battery each time before you remove the air bag. Also, don't tighten everything down until you make sure that your wiring works.
29) Pro-tip, make sure you tighten the negative on your car battery very well before turning on your car to test the steering wheel. I made the mistake of not tightening it well and thought my battery died lol. Just kidding, this is not a pro-tip, I was just not thinking straight.
The End:
Nice write up, and that gives us the complete wheel swap info I believe.
Combined with all the other info from us who took the leap before, anyone should be able to perform this.
Just be aware to anyone considering this, there is no going back, you end up hacking / modifying too much of the old steering wheel bits to revert.
I went for 2012 C300 to 2012 C63 and it wasn't as involved as this write up. I'm sure more people will try this, the paddles make it so worth it!
Yeah my understanding is 2012+ a lot of it is plug and play... anything 2011 and under will need to do the chip swap and hack up their plastic hardware
Brave 2008-2011 people it seems like a lot more work and complicated, i probably wouldn't of tried it hahaha. it does change the look of the car though and makes you feel way more accomplished.
if anyone else wants to upgrade and doesn't care about paddles.
I have my 2012 C300 steering wheel for sale theres an ad up in the Canada regional forums.
its not in the best of shape but i'm open to trades and it comes with an air bag.
to bad the previous owner of the car had a scratching and sweaty hands issue hahaha.
Thank you guys, I am glad I was able to contribute. I think I see the plug that you need to hook up in order to get the illumination to work. I just need to test it and figure out how to run a 12V line from something to power it on. So, I think I'll be taking the steering wheel off again sometime soon to figure out the paddle shifters and illumination.
Brave 2008-2011 people it seems like a lot more work and complicated, i probably wouldn't of tried it hahaha. it does change the look of the car though and makes you feel way more accomplished.
if anyone else wants to upgrade and doesn't care about paddles.
I have my 2012 C300 steering wheel for sale theres an ad up in the Canada regional forums.
its not in the best of shape but i'm open to trades and it comes with an air bag.
to bad the previous owner of the car had a scratching and sweaty hands issue hahaha.
more details in the ad, theres also pictures.
Two things to the OP:
1. You wont be able to get your paddles to work if it is not coded in into the car as I had the same problem.
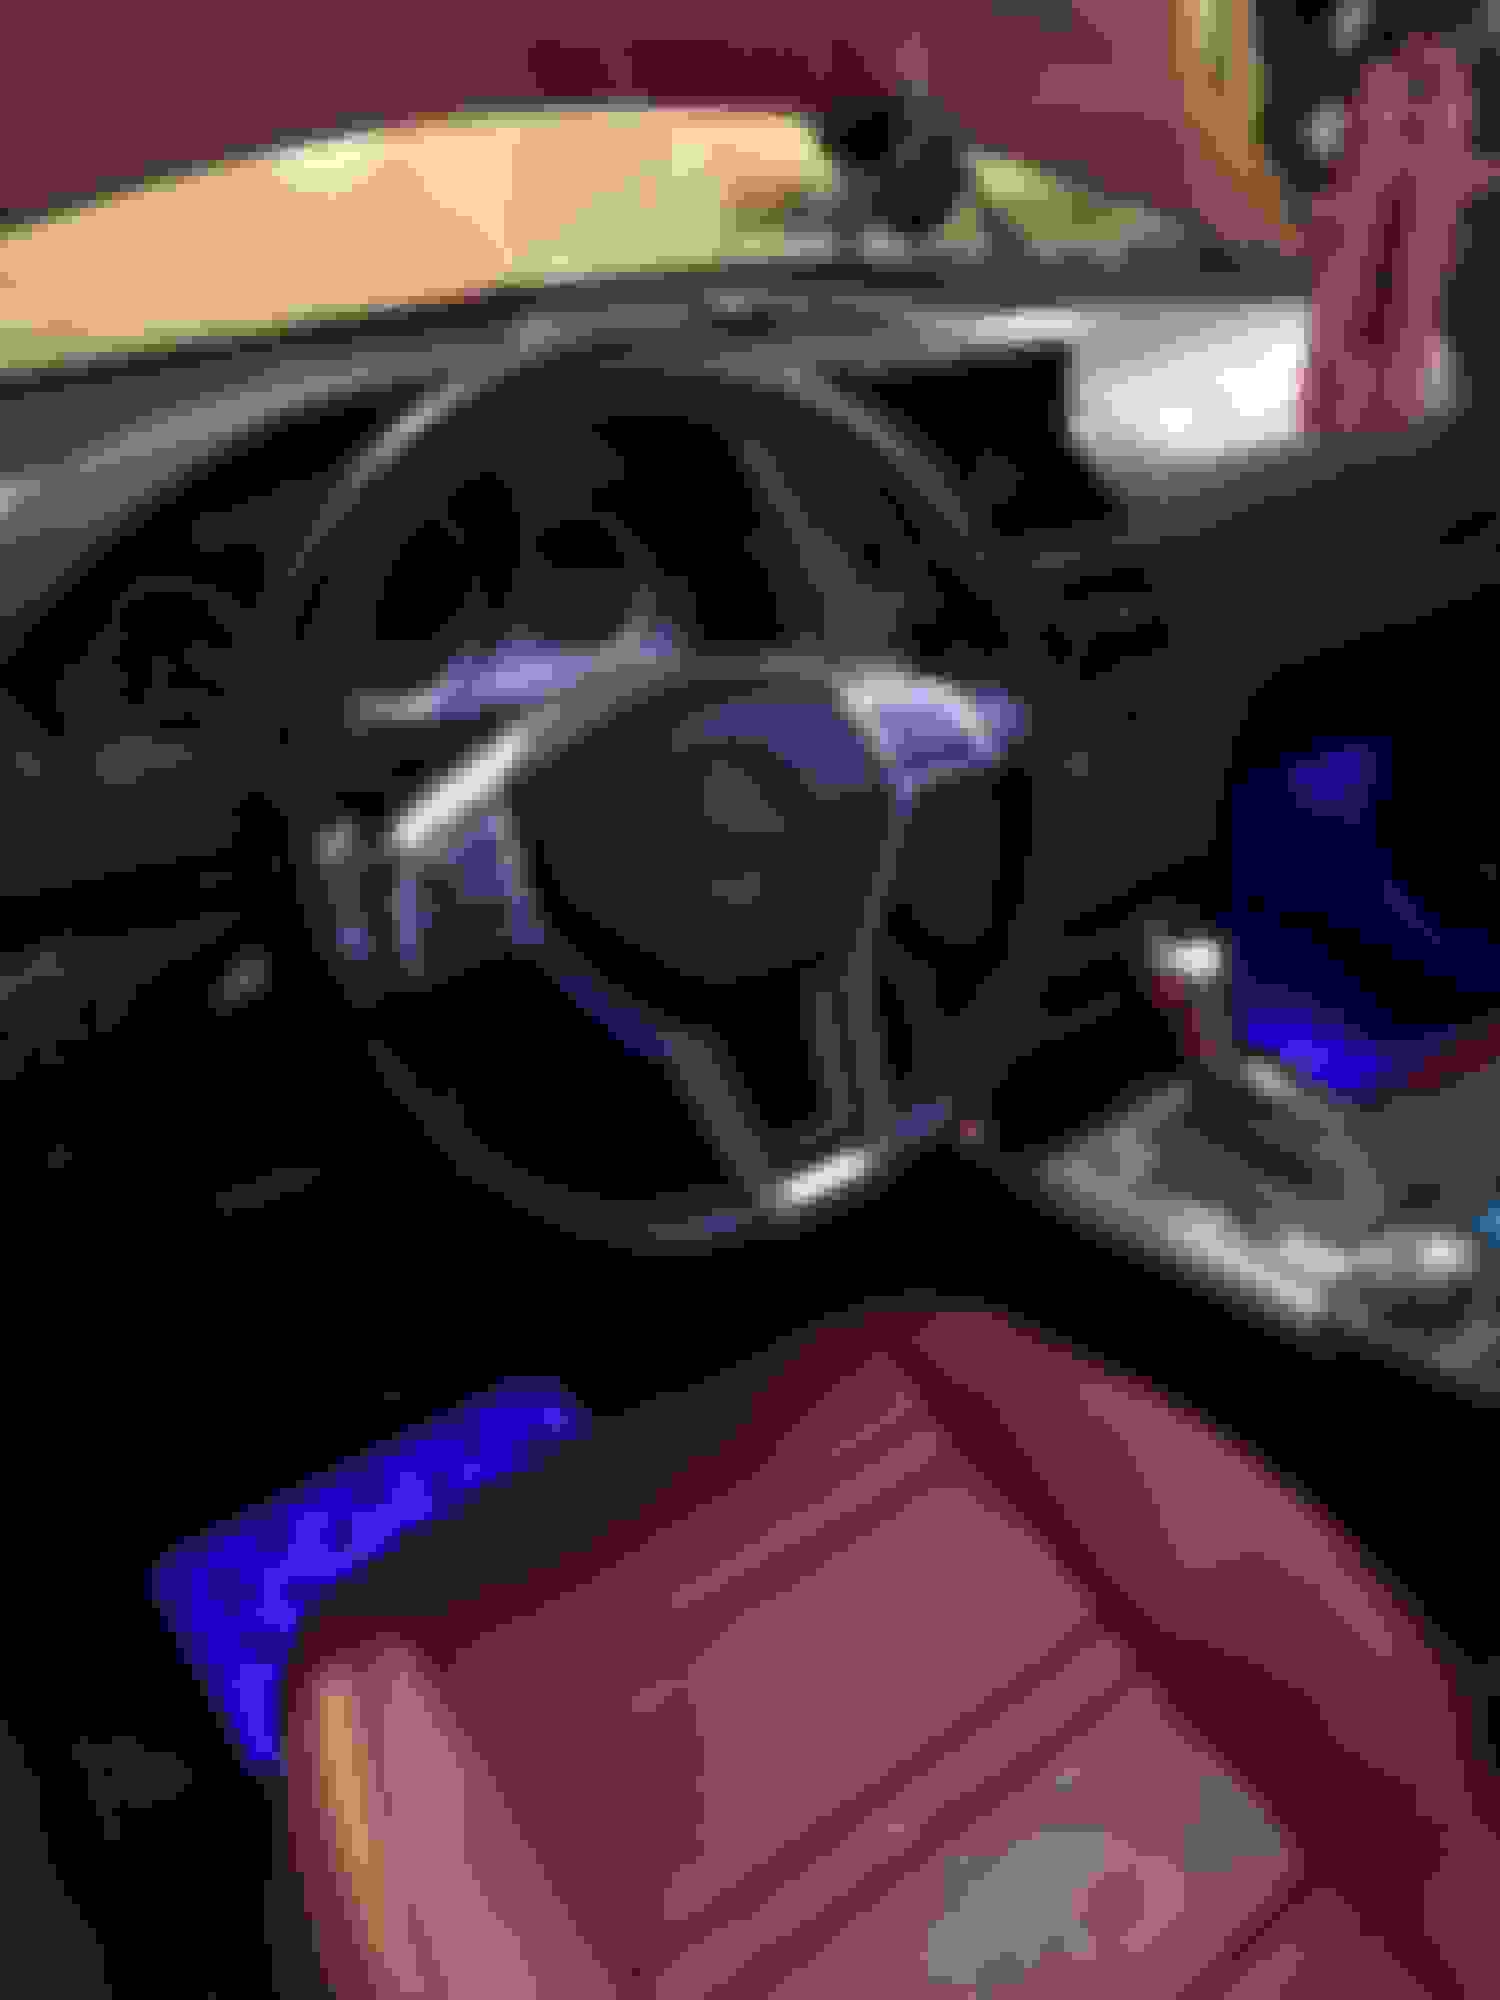
2. I like the custom interior. Where did you get it done and how much? What did you do with the headrest and front seat back cover?
ahh romeo your a life saver, been tryng to sort out this last problem of the paddles, got everything else working apart from the paddles but with your write up i can get it sorted now, star man
ahh romeo your a life saver, been tryng to sort out this last problem of the paddles, got everything else working apart from the paddles but with your write up i can get it sorted now, star man
So, for the paddles, I think you need to criss-cross the plugs as well. I didn't do that and mines didn't work, but I talked to another guy that got it working and he said he had to criss-cross the plugs just like how you had to do the controls plug. So try that and lemme know if it works lol.
So, for the paddles, I think you need to criss-cross the plugs as well. I didn't do that and mines didn't work, but I talked to another guy that got it working and he said he had to criss-cross the plugs just like how you had to do the controls plug. So try that and lemme know if it works lol.
wont be touching it until weekend after next but will reply on here when its been tried
Last edited by npat4; 05-24-2016 at 10:13 AM.
Reason: to add on
did get them working without coding but wrong way round so should be a case of swapping them round with the grounds correctly connected
Explain..pleeeeeeeease!
I don't need to swap anything as everything on the Steering Wheel is working due to the updated steering column module, but I would do anything to get the paddles to work.
Explain..pleeeeeeeease!
I don't need to swap anything as everything on the Steering Wheel is working due to the updated steering column module, but I would do anything to get the paddles to work.
When you say that you updated the steering column module are you referring to the combination switch that incorporates the indicator stalk / cruise control and the steering angle sensor / clock spring.
I'm have been holding off doing this mod because I'm not too clear on what has to be changed or not. Additionally I'm now even more reluctant to proceed as my car has now developed an electrical issue where the Command system turns on / off all by itself as I drive. It's driving me nuts. I took it to an independent who suggested I take it to MB, thinking that it's a SAM issue. I hope not given that a new one as quoted to me by MB is $2035 + tax
FYI guys, I didn't change my steering column and my illumination works. I don't know why it works, it just did. I didn't have to do anything special. So, I am not sure why ppl have this issue. Now, I need to find some time to take it apart again so I can criss-cross the wires for the paddle shifters. I'll post more pictures if I can get the paddle shifters working as I suspect that it will since user "npat4" said that it worked for him after I made the suggestion.

 06-10-2015, 12:06 PM