When you click on links to various merchants on this site and make a purchase, this can result in this site earning a commission. Affiliate programs and affiliations include, but are not limited to, the eBay Partner Network.
How To Install Factory Looking Ambient Lighting for $35
Hi all, as I've had plenty of interest among friends as to how I did my ambient lighting, I felt I should probably do a write up. Sorry in advance as I took most of my pictures after the install, so I will be using diagrams and other photos to help illustrate the install. Note: this is at your own risk, and it's probably wise to disconnect the battery before diving in. I would imagine it should be pretty similar on all newer model Mercedes Benz but this in particular is on a 2015 C300 4Matic with almost all of the options aside from ambient lighting.
The Goal: Come as close to stock Mercedes Benz ambient light package around the center console as possible, without paying a ton of money.
The Options: GZCARPHONE makes an excellent looking kit, although it appears more complicated and is about $1,000 more; EL Wire -it's cheap, one color, and won't last as long;
- which I used. Only $35 on Amazon, uses fiber optic lines to transmit multicolored LED light, controlled by remote, with plenty of neat features.
What You'll Need: A small phillips head screwdriver to adjust the LED attachments to the fiber optics in the kit, A small Torx head screw driver to remove dash (look on other forums for size, detailed instructions on how to do this step), a small socket wrench to remove a ground bolt (I believe 11mm but could be wrong), some trim removal tools/plastic spudgers to tuck the fiber optics and remove dash, solder and heat sink or crimps with electrical tape, a foot or so of spare wire.
Estimated D.I.Y. Time: About 2 hours doing this the first time
Difficulty: Easy to Medium
The Process:
-Begin by opening your kit from Amazon. There should be enough fiber optic wire to make 3 equal length LED tubes using the fiber optic line with some extra. Fish the thin fiber optic through the protective thicker line measured out to the approximate perimeter of the center console. Do this three times giving yourself about 6-8 inches extra on each end. You should have enough wire and protective line for 3 complete passes of the center console.
-Next begin to remove the center console. There are already guides on how to do this, so I'll be brief. Push the metal coated button that releases your armrest whilst pulling firmly on the silver piece. It should snap out to reveal two torx bolts. You can remove those 2 bolts. The rest of the (likely) wooden console is held in place by two clips. A firm pull from the edge of the wood by the media wheel should release them.
-Your dash should now be loose, place it to the side. I left everything plugged in and placed the entire piece on the passenger's seat.
-Next up, two torx bolts under the steering wheel. Remove these.
Finally, remove the fuse panel. This is made easier with a plastic spudger or trim removal tool.
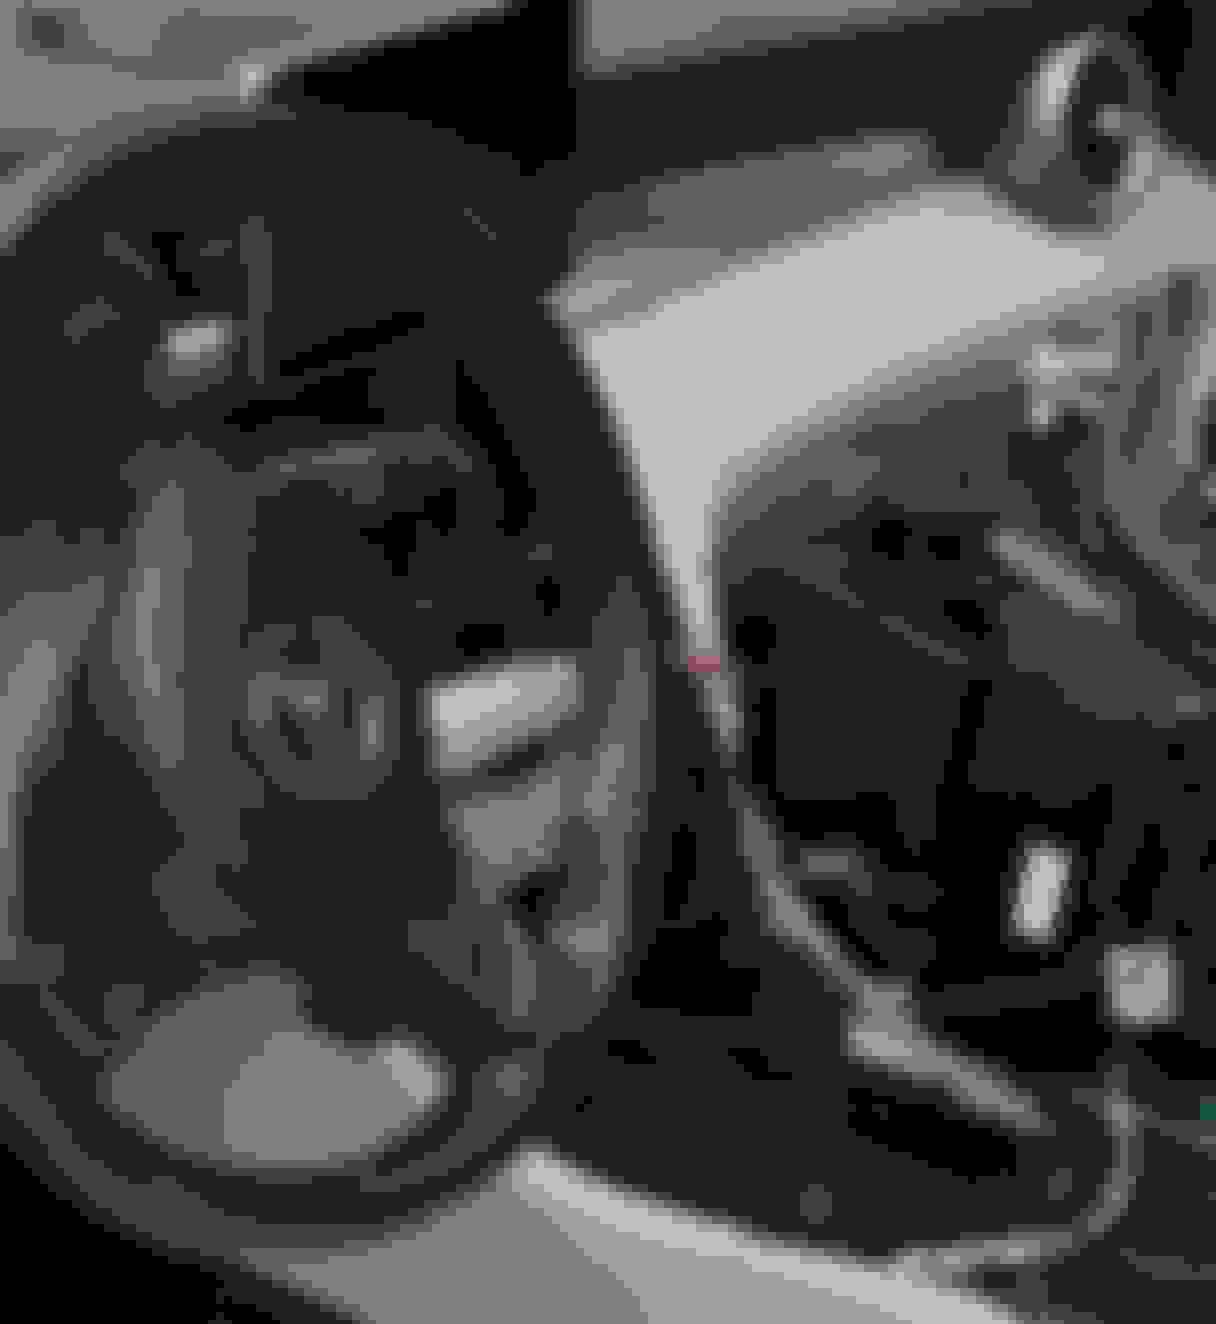
Next step. Take your wired ends to the kit on Amazon that project light. They'll attach to your 3 equal fiber optic lines surrounded by the protective tubing. Fish these through one hole off the side of the center console between the carpeting. It's right above my finger in the below picture.
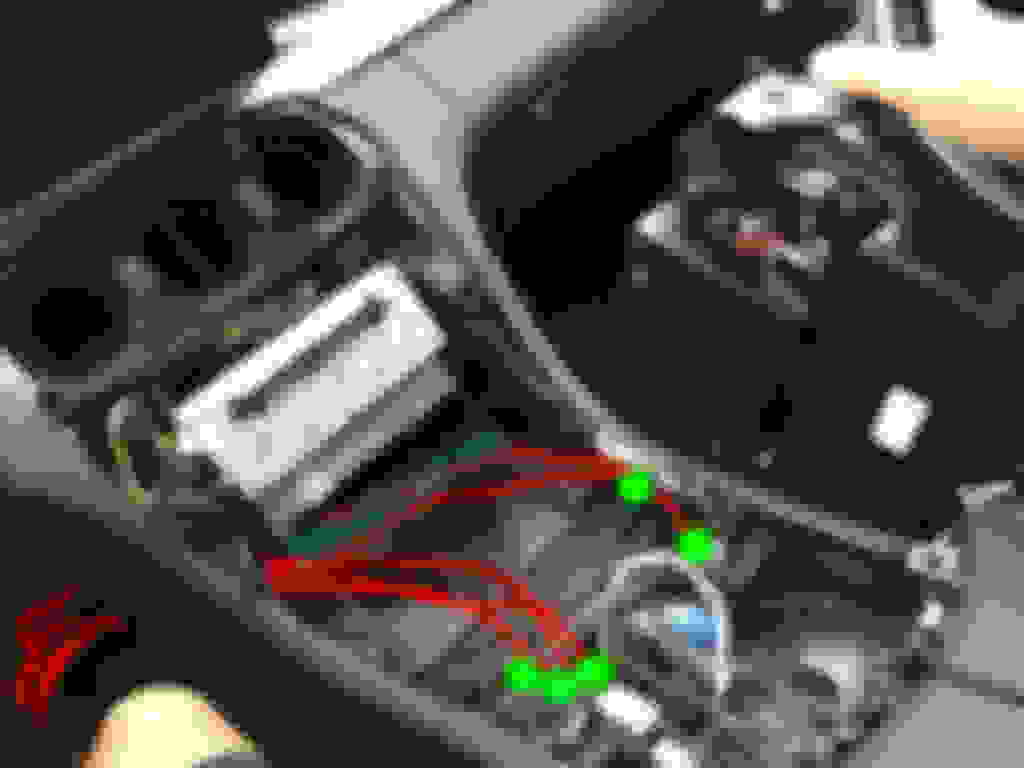
-Continue fishing those wires behind the trim below the steering wheel that we remove a few steps ago, making sure you have enough wire remaining to attach to the small box that supplies power to the lights next to the vehicle's fuse box. The 5 wires to each individual light should run roughly as shown below:
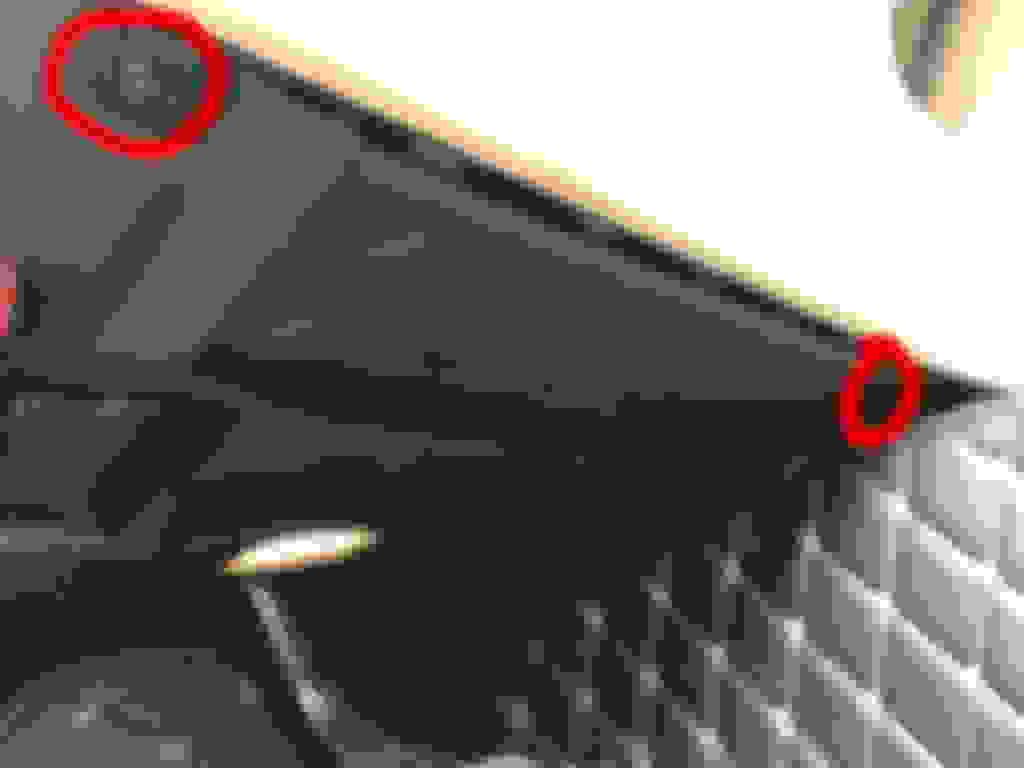
-Now you'll attach the power box in a secure location. Keep in mind it must be able to receive the IR signal from the remote. It does a surprisingly good job receiving the signal even when the remote is pointed away. I've mounted mine here, to the left of the hood release. You can just see the edge of the box circled below, and it still picks up remote signals no matter where I aim the remote in the cabin.
-You'll then use that phillips screwdriver to disassemble the cigarette lighter adapter that'll attach to the main power of the vehicle. You should be able to take it apart before the circuit board and push button to only have a black and red wire coming out of the end that plug into the box. I've attached a longer ground wire to it as it's only about a foot long.
Now that you have red and black wire. Take the red and tap into this fuse. I suppose a fuse-tap would be best, but I had no issue with getting the loose wire to stay wedged in. This will switch your ambient lights on with accessory power. (Second red wire connects to my radar detector and isn't relevant here)
-Take the black wire and attach it to ground.I tapped in behind this bolt in the door jam.
-You can now tuck any excess wiring behind the fuse box and close this panel. You should have power to your lights if you did everything correctly. Give them a try and make sure everything is to your liking. I'd now screw back together the two bolts under the steering wheel which you tucked this wiring into. It should now look something like this with your 5 LED light leads coming off the power supply and under where your center console would sit. Tuck the extra wire in the empty space behind the dash.
-You want 3 LED leads to one side and 2 to the other (the kit only comes with 5)
-Begin to connect your fiber optic leads into the tubing. It should roughly loop around your dash here. Each tube should connect on both sides with the exception of one of them. You can now reassemble your dash by pushing in the two clips, and being sure that your fiber optic line/wiring isn't blocking them. Run them around and tuck them in with a plastic spudger or trim removal tool. I'd wait to fully screw everything back into place until you like how your's looks. Try your best to have even lighting with the 3 strands, and that no sections are poking out. The end result should look something like this.
-Screw everything back together and try out your remote to make sure everything works. Here is what my final result looked like:
(Note: light appears more even in person than on camera.)
The lights do have a nice fade function, and will go to music but can be a bit distracting when driving so I recommend a solid color, or slow fade.
If anybody has any questions, or suggestions, I'd love to hear them. That's all for now, but I'm looking at wiring a set to each door panel to complete the look.
Last edited by Sage Wysocki; 06-05-2019 at 12:28 AM.
Thanks for the guide! Will these turn off after the car is shut off, to prevent battery depletion? Or do you have to remember to turn it off manually. Also will it turn back on automatically with the car, and is it linked to turn on when the headlights are on at night. I�m also guessing you can�t get the lights in the doors due to not really being able to tuck it under the trim.
I might think about doing this in the near future!
When you make such changes? doesn't it void the warranty?
From what Mercedes has told me, the warranty is only voided if the wiring is spliced in with existing wiring, and i�m also assuming if it�s an OEM-like installation like Carphones where everything is the same as stock ambient lighting, and you use the OBD to unlock the setting in Command.
Lighting kits like this where where they are basically just plugged into a power supply won�t void out any warranties.
Thanks for the guide! Will these turn off after the car is shut off, to prevent battery depletion? Or do you have to remember to turn it off manually. Also will it turn back on automatically with the car, and is it linked to turn on when the headlights are on at night. I�m also guessing you can�t get the lights in the doors due to not really being able to tuck it under the trim.
I might think about doing this in the near future!
Hi all, apologies for the late replies. Yes they do turn off when the key is in the final position as you are leaving the vehicle, or when the vehicle power button is pressed and the door is opened. They are essentially set them up once, and forget about them - which was an essential feature that I felt necessary. With that said, they engage automatically when the power button is pressed or the key is moved to first position to the right and over. I have them always on when the car is on as I don�t worry about their lifespan. You can�t really see them during the day but from sunset to sunrise they look great months later. I still haven�t jumped into the door trim but I do believe it would be more challenging. Gzcarphone also makes a nice clear bottom piece of silver trim that clips into the door that you can place LEDs behind, and they have a full kit but it�s quite expensive. I may try to get those clear pieces alone or tuck a small amount of unshielded fiber optic line in the crease and see how that does in the future.
As for other questions, I haven�t had any issues with my warranty as I�m essentially just running a power and ground line to the car and not completely tapping into the electrics of the vehicle. Mercedes-Benz of Denver actually liked it and apologized for not fitting and tucking the fiber optics as well as I had when I went in for a warranty repair on the air vent for clicking. Your experience may vary though, I have nothing but good things to say about my dealer.
I remember I got the fuse information when I was looking to tap in my radar detector and the forums recommended that particular one was the best for switching on and off with ignition.
If anyone has other questions, I�ll try to respond in a more timely manner!

 06-05-2019, 12:22 AM