When you click on links to various merchants on this site and make a purchase, this can result in this site earning a commission. Affiliate programs and affiliations include, but are not limited to, the eBay Partner Network.
hey man that spring compressor you ordered is
awesome! Actually used it yesterday to help my buddy install h and r springs for his 190e W201! Its a life saver and makes suspension work not as scary or stressful !
Cool. Tool arrived yesterday, now time to pick a few days in a row I can have the car up in the air. If im taking the wheels off and removing the springs, im taking the time to clean up everything else while im there.
Been taking care of easy misc things the last few days as parts show up. Still trying to wrap up more work on my other project before I put the C36 up in the air for the suspension.
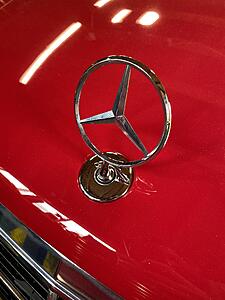
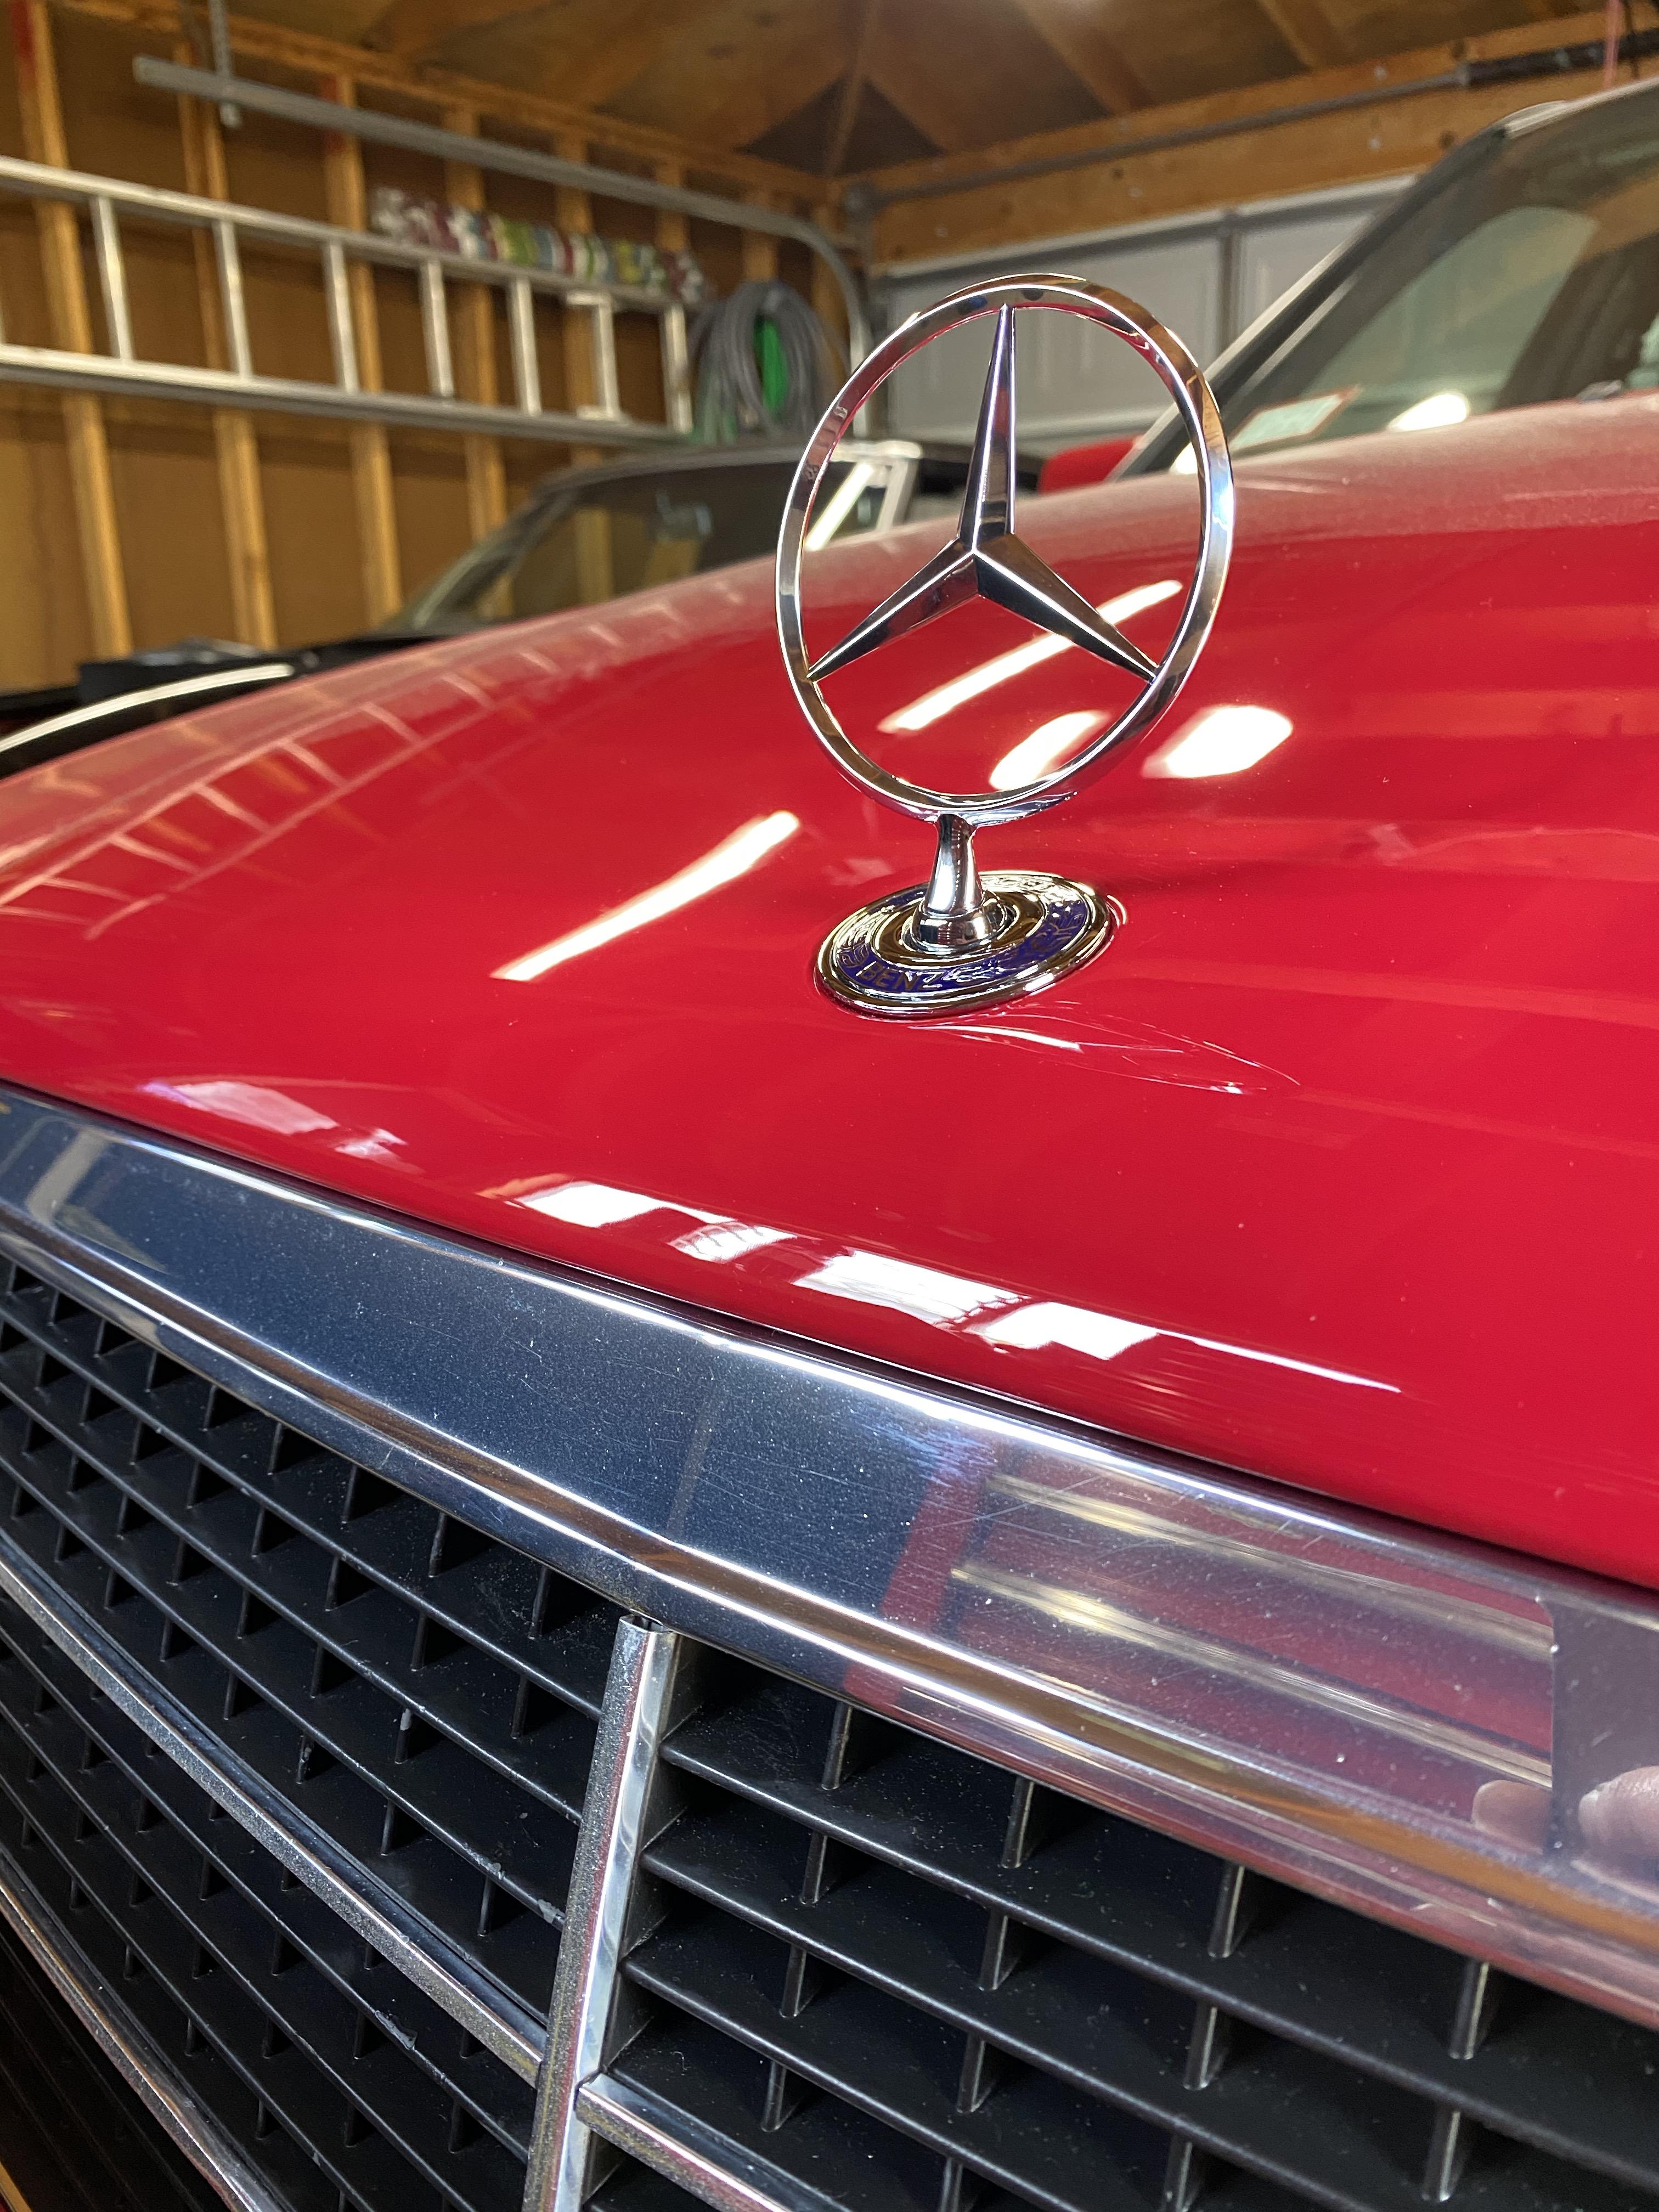
First up was a new star emblem. The car came with a blank one which i presume is incorrect aftermarket, if someone can prove me wrong, i still have it.
Metal polish is magic. A little elbow grease and any oxidation is gone in minutes!
Before:
After
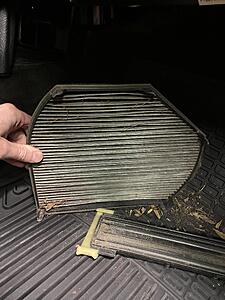
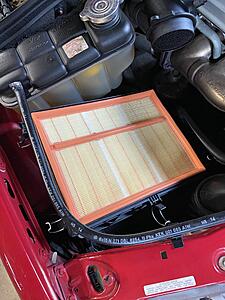
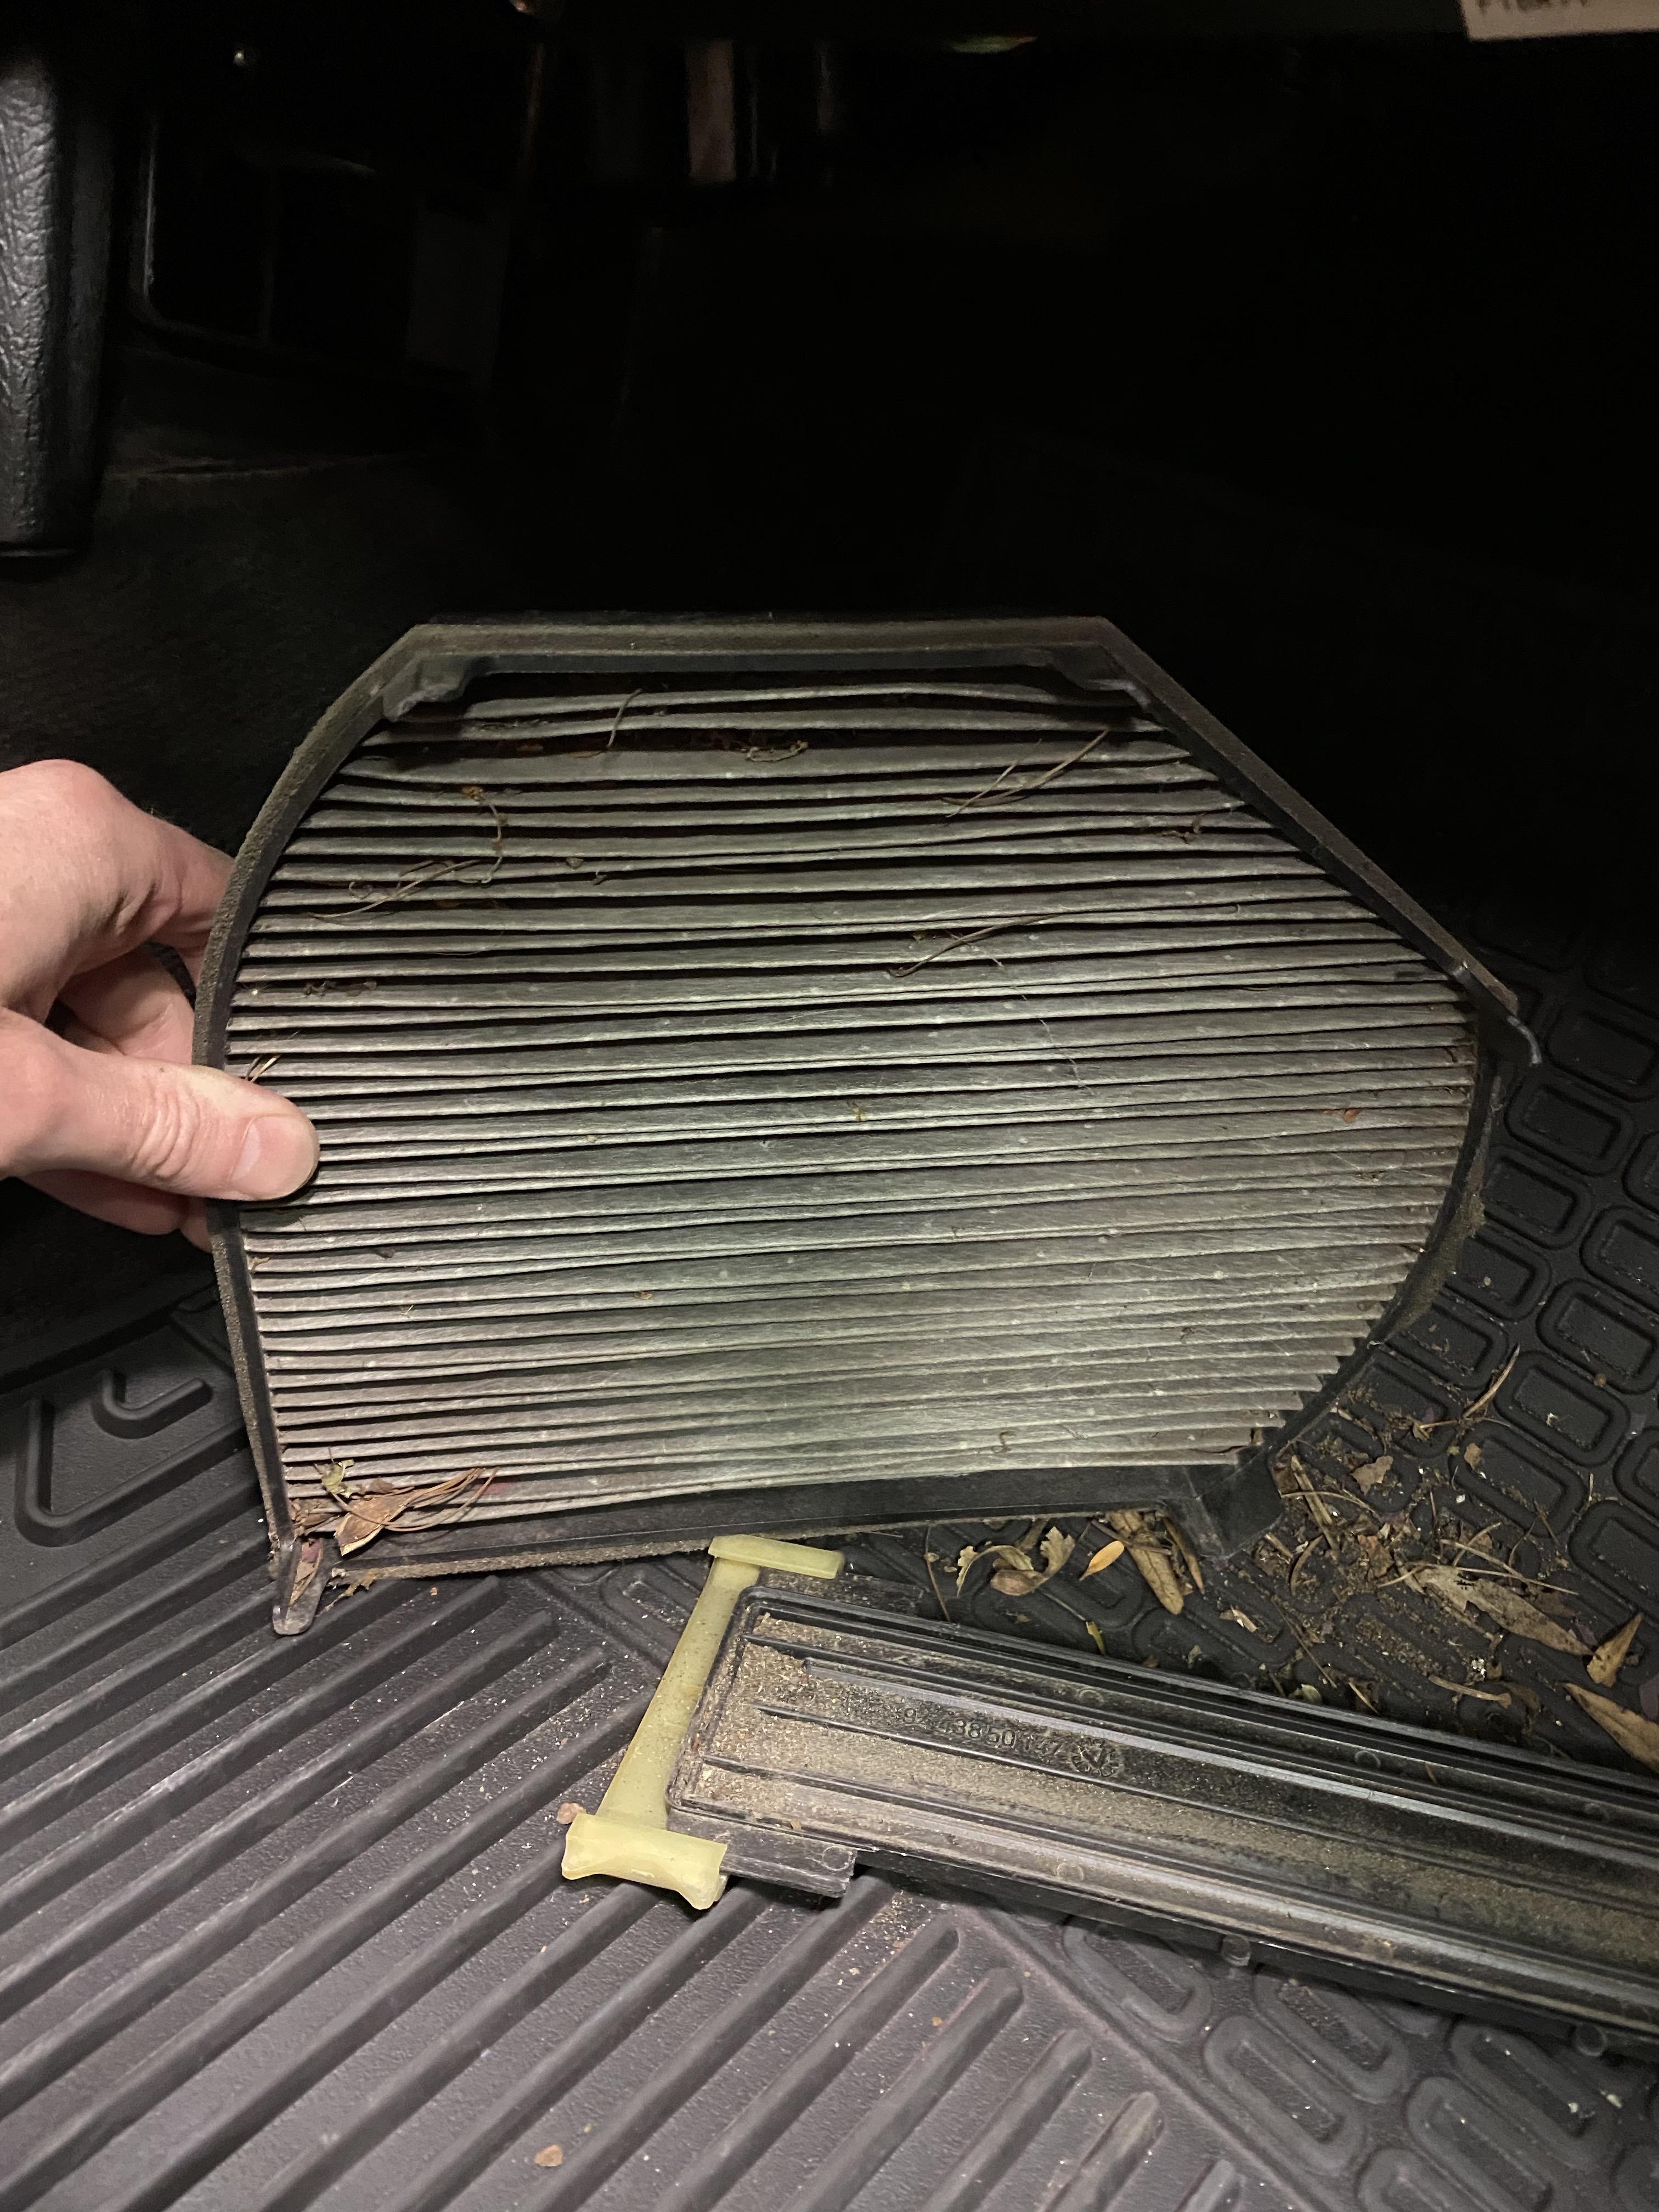
Cant forget about the air and cabin filters! Easy to replace and always an improvement.
Old cabin filter was disgusting and required some vacuuming to clean up all the crap:
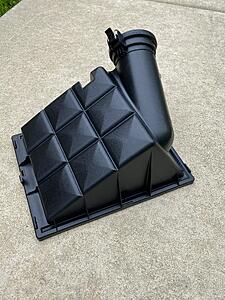
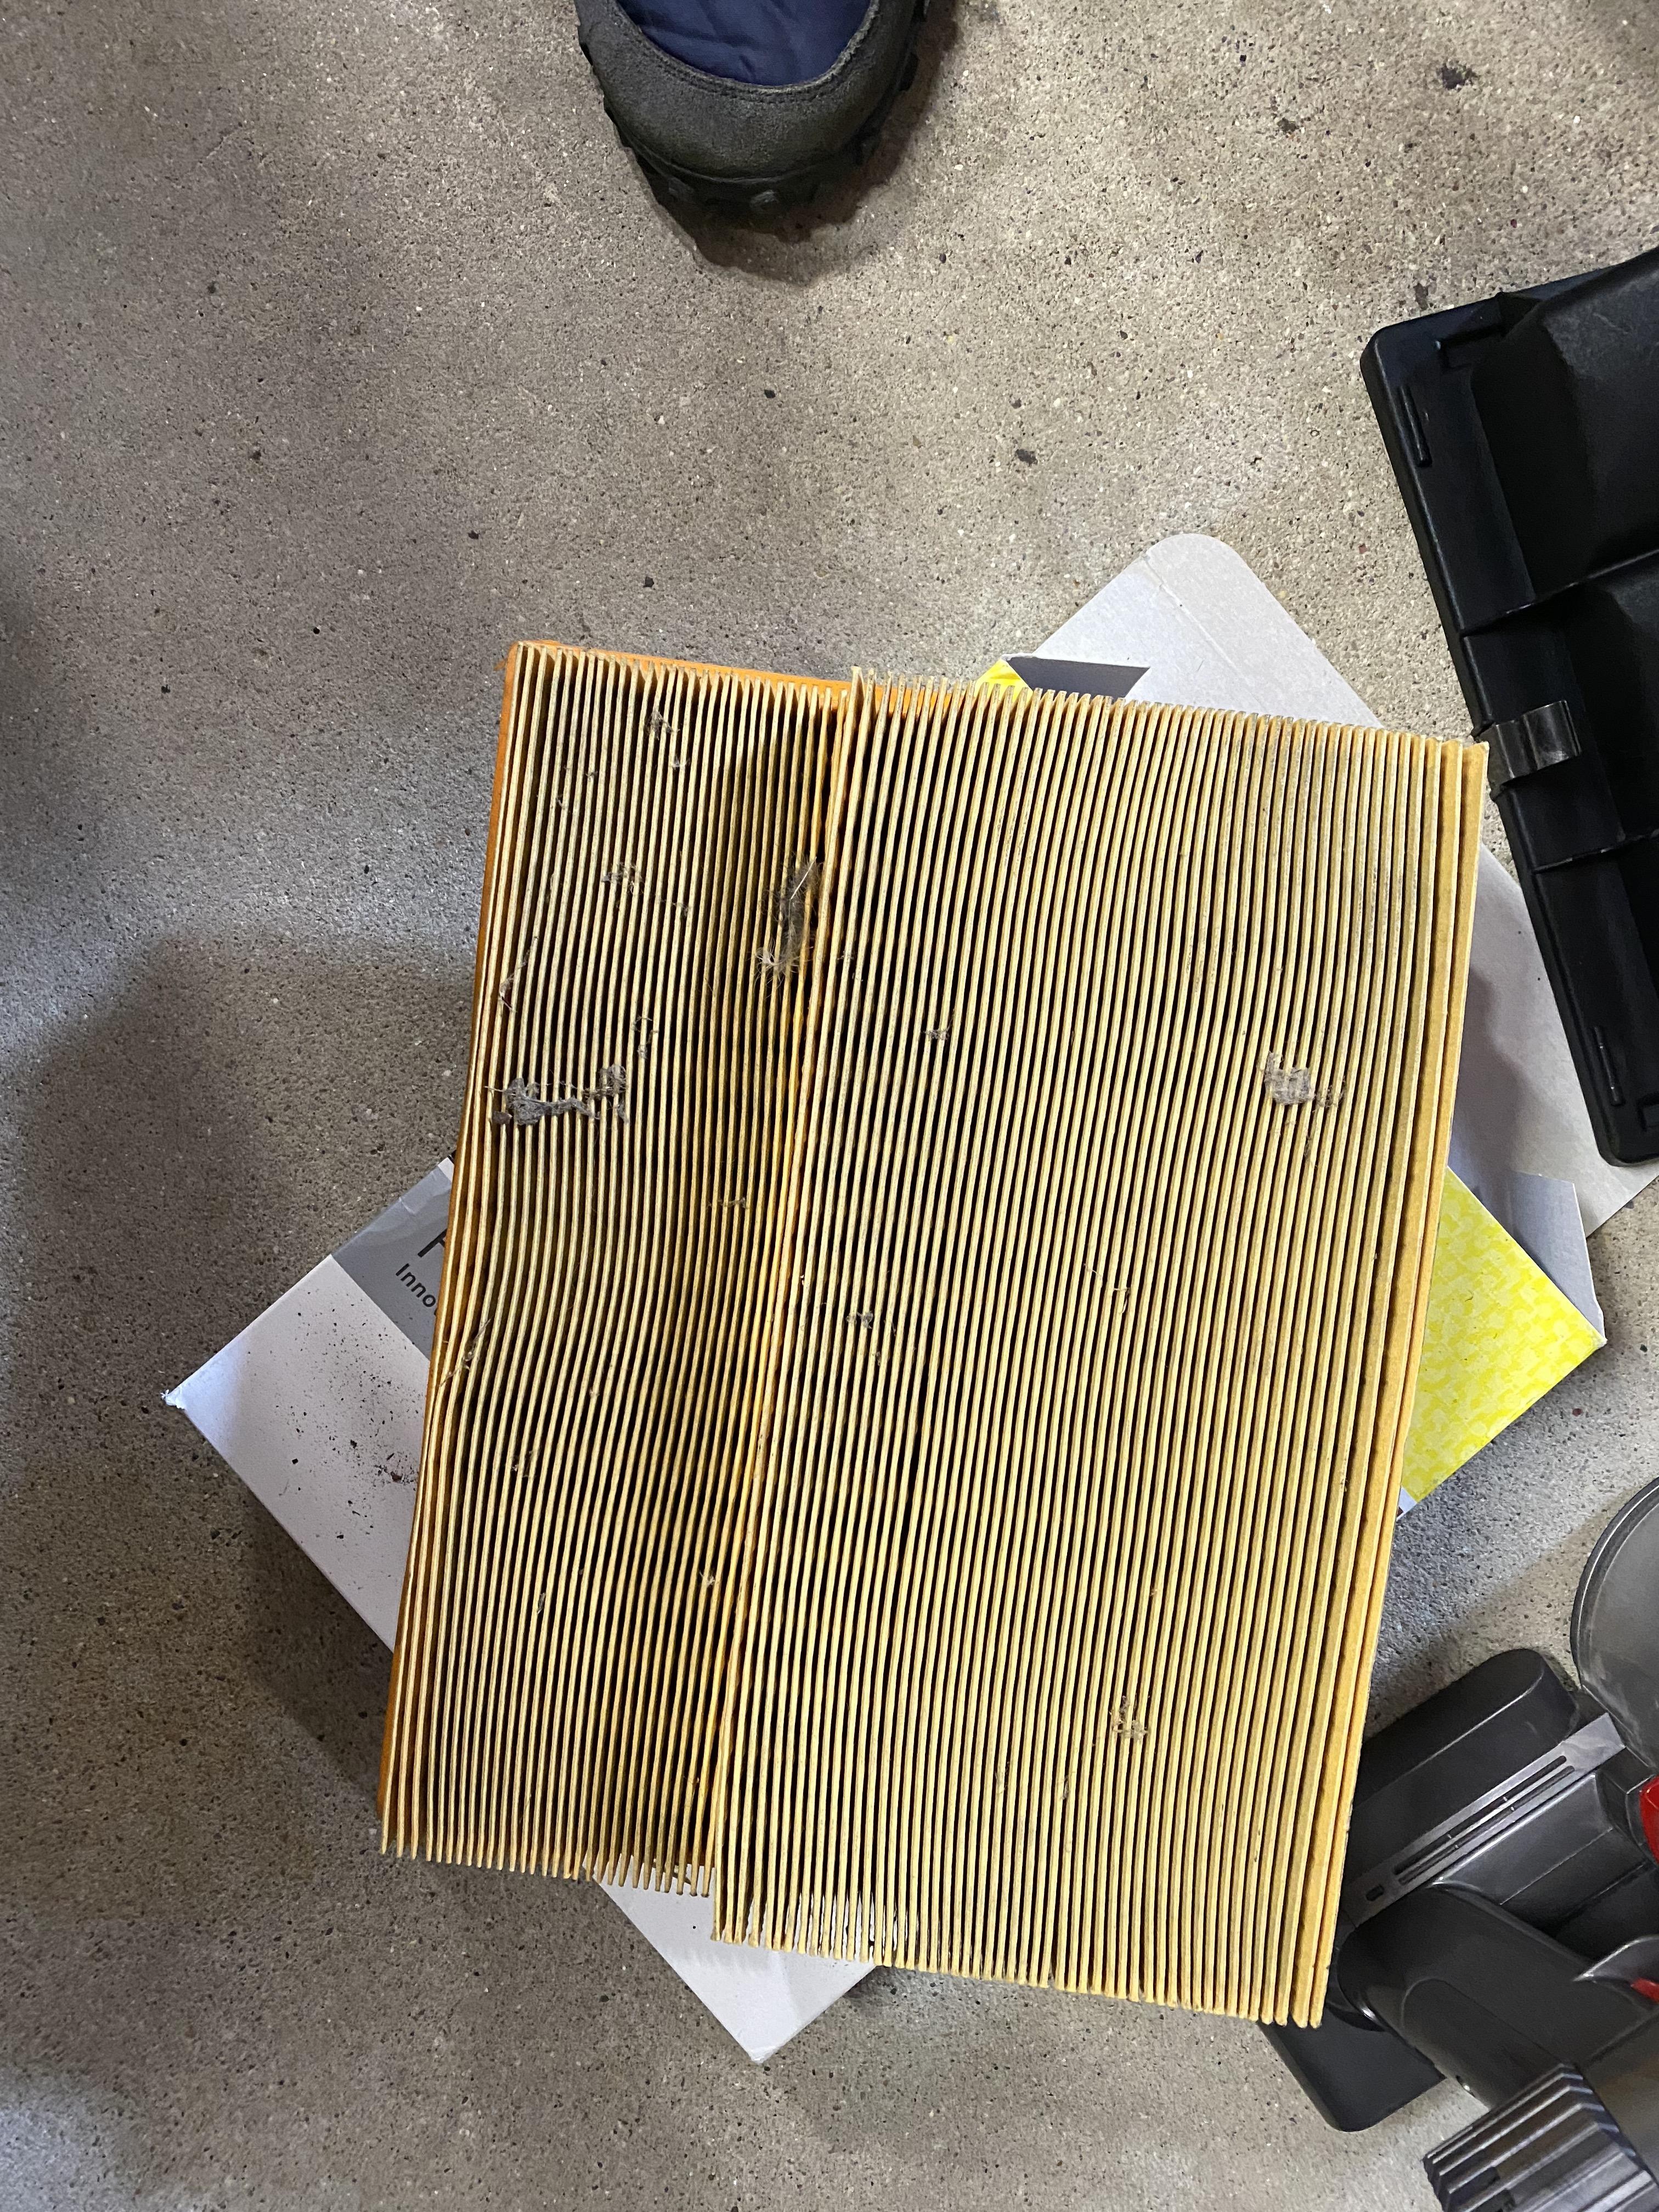
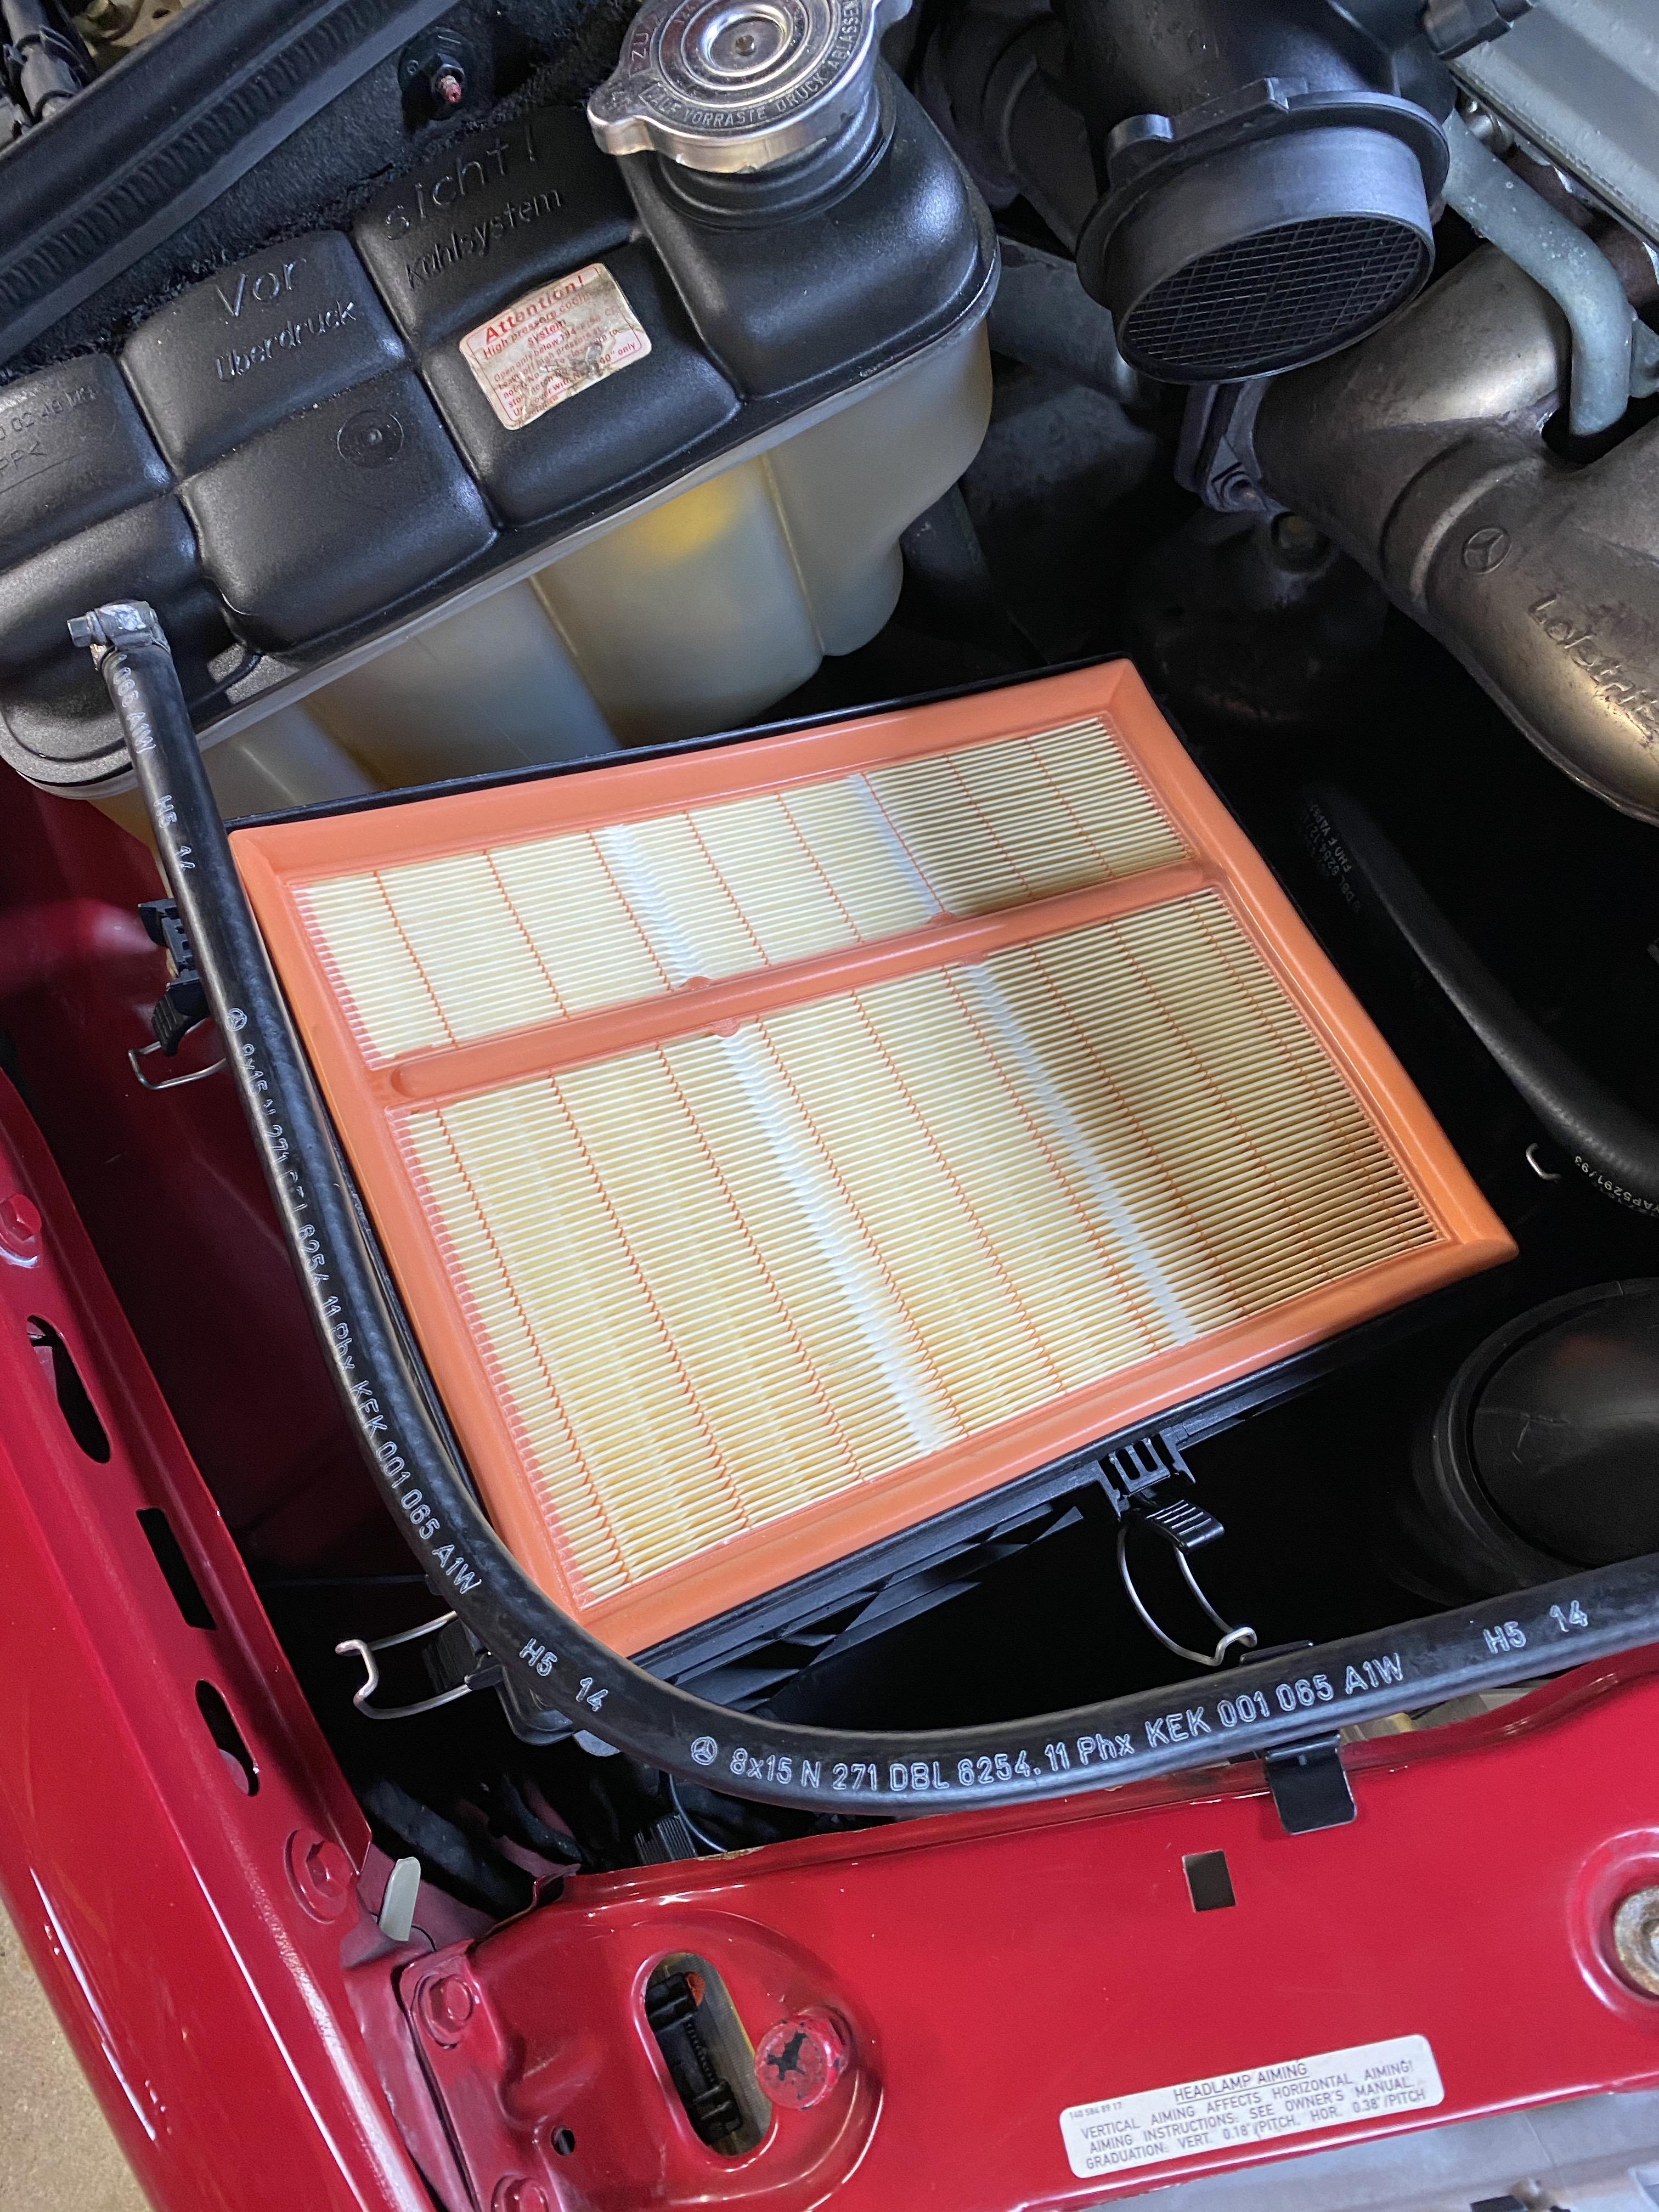
Of course because the air filter lid came off, I had to give it a full cleaning:
Clean fresh Mann OEM filters only
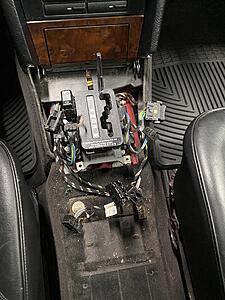
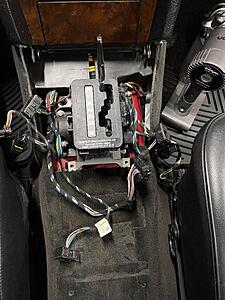
Finally, I opened up the center consul to clean everything up and had hoped to access the transmission bushing from the top. However our cars have something attached to the passenger side of the shifter assembly making this impossible. Ill have to take care of it from the bottom soon. Looks much better though and Im seventy one cents richer!
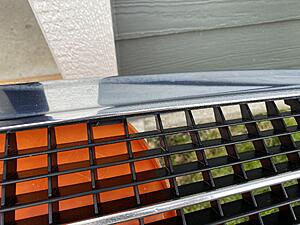
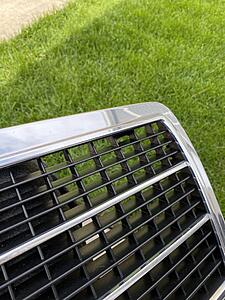
The plastic grill insert - that got painted black at some point?
I want to clean up my under console area like you did. However when I try to lift up the wood trim around the shifter (after removing the plastic ring) , the front half seems to pop up ok but the back seems stuuck on something and I don't want to break anything by pulling harder. Do I somehow have to unclip the electronic plugs first? I don't know how I get to those pugs though without lifting up that trim panel? Mine is a 1996 C36.
The black grill is a C36 thing, to the best of my knowledge. The C280 is grey.
The wood piece is a nerve racking thing to remove the first time. Technically the rear should come out first, but i dont think it would catch on something if you did it the other way around. Half open the cup holder so you can fit your fingers under the back of the wood piece. Then pull up hard enough youre sure its going to break, before it does it will pop off.
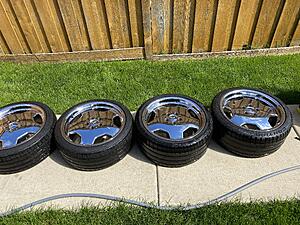
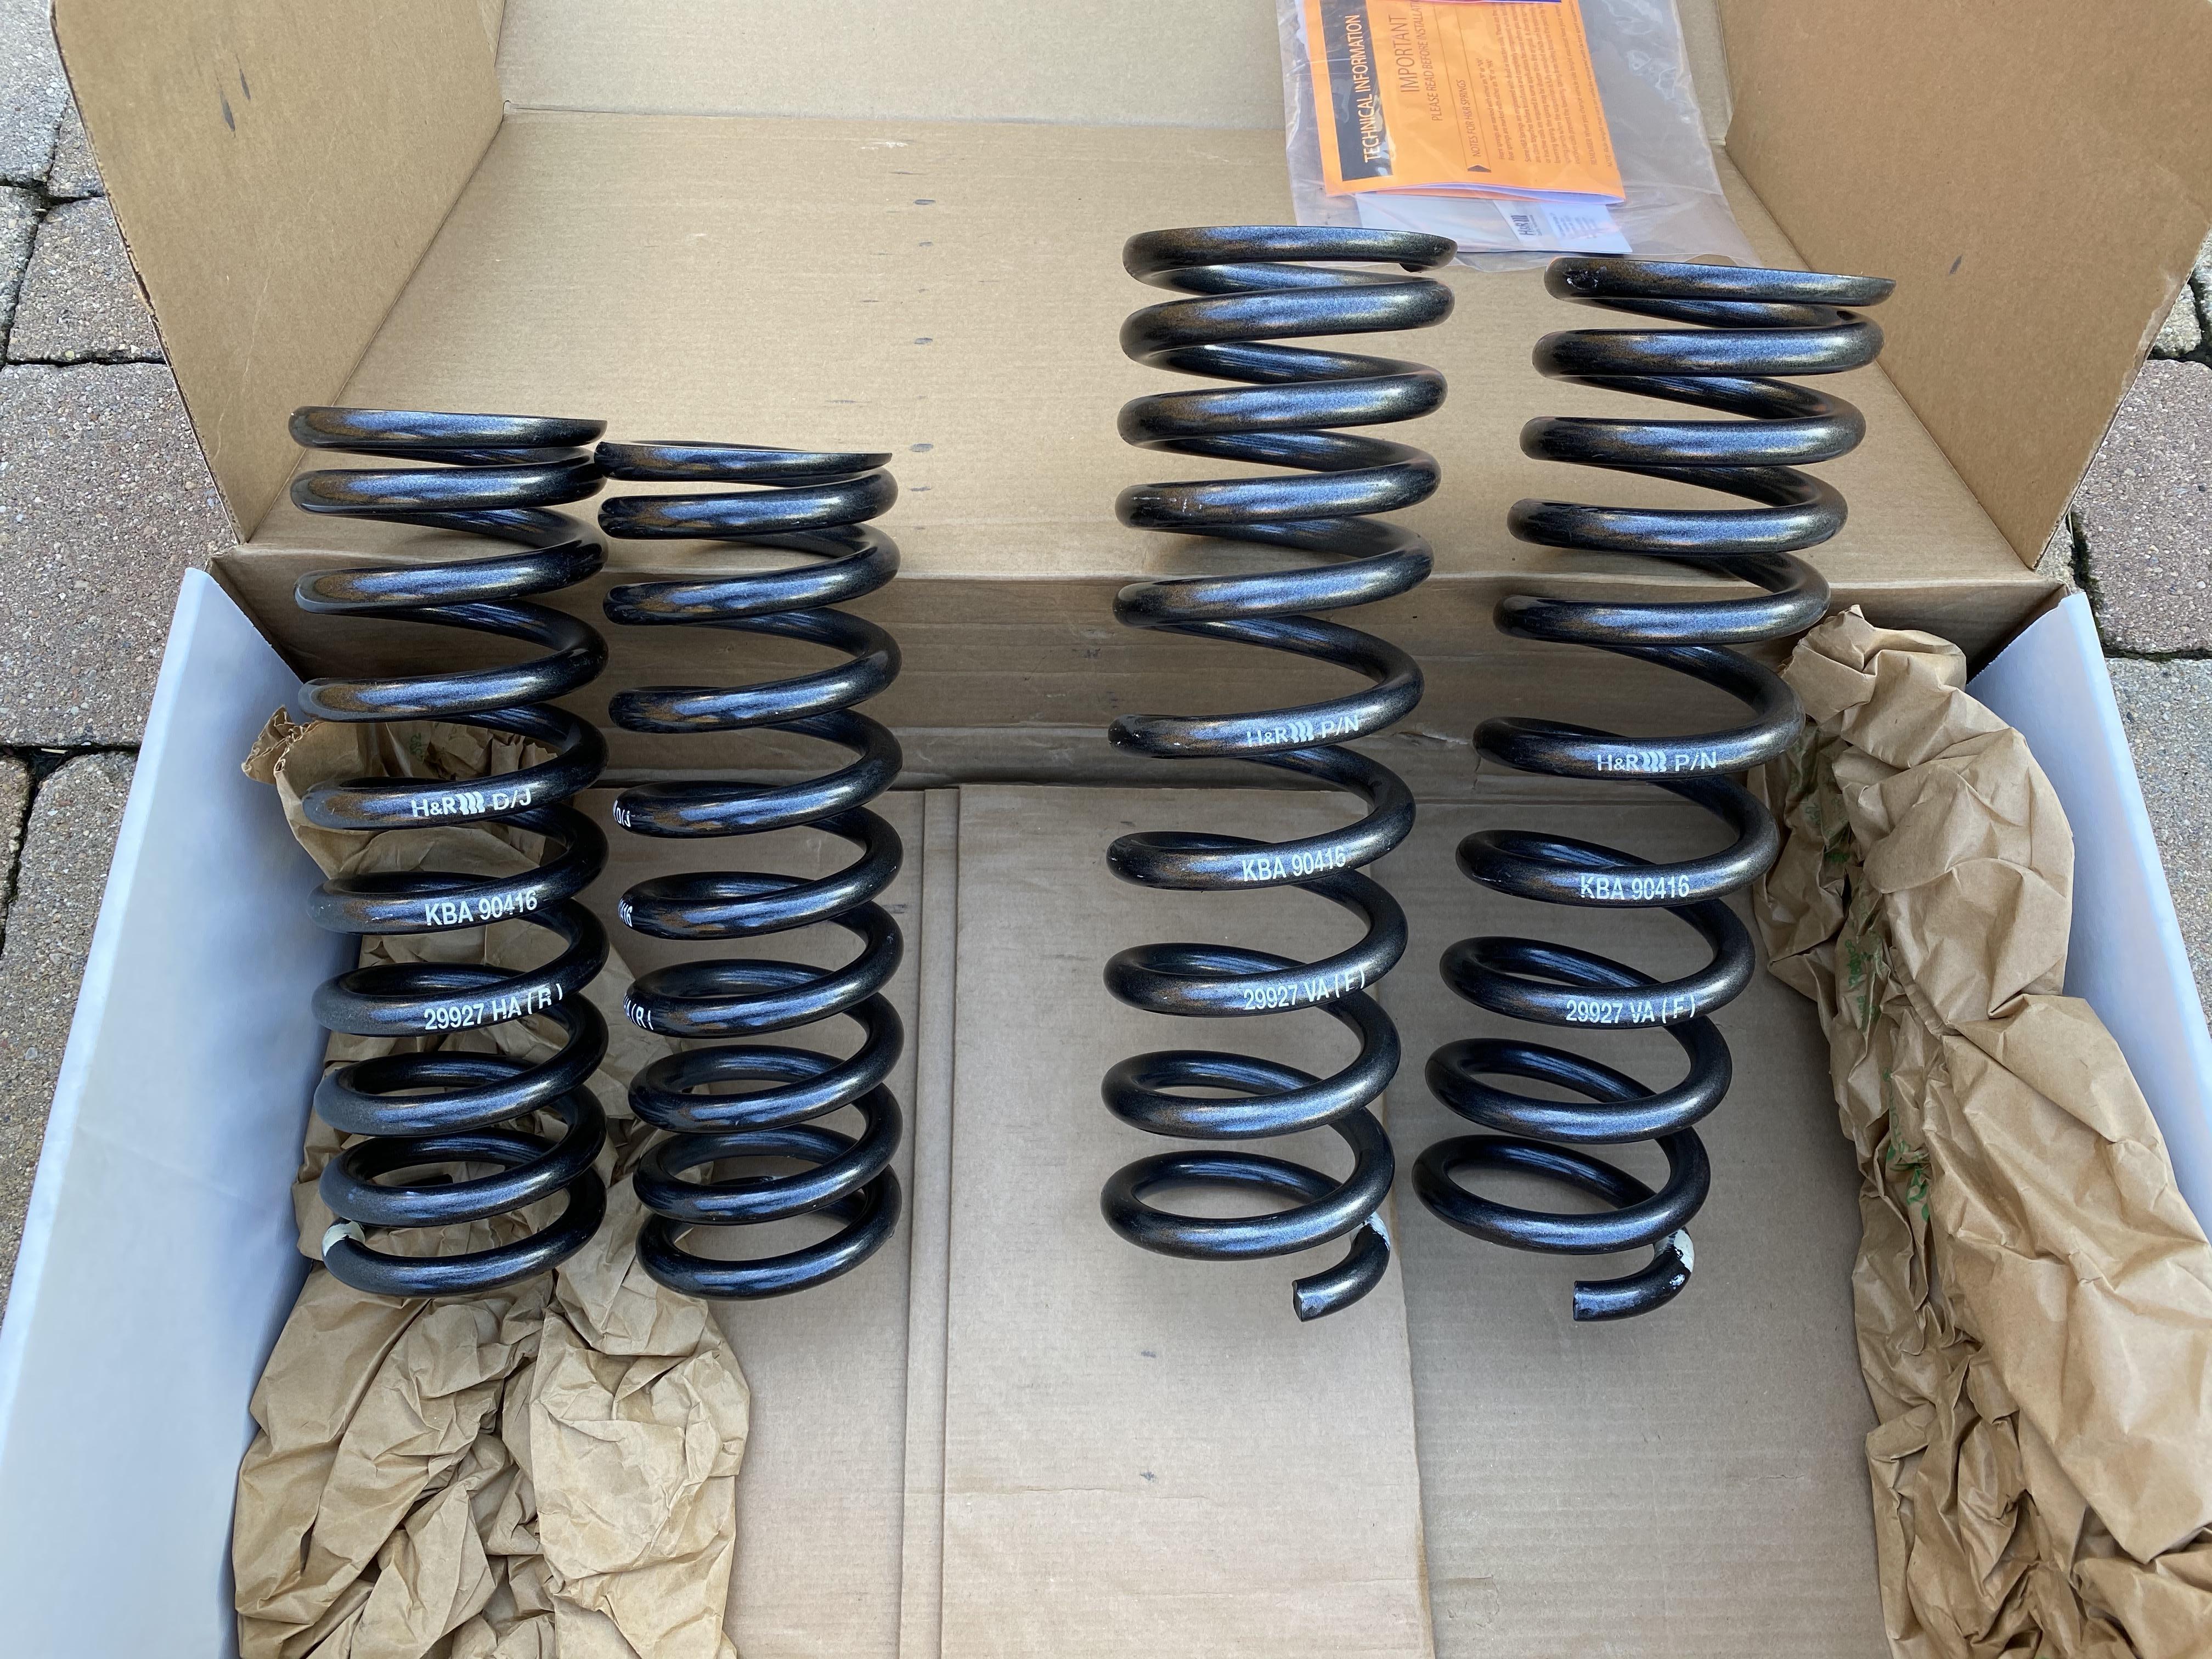
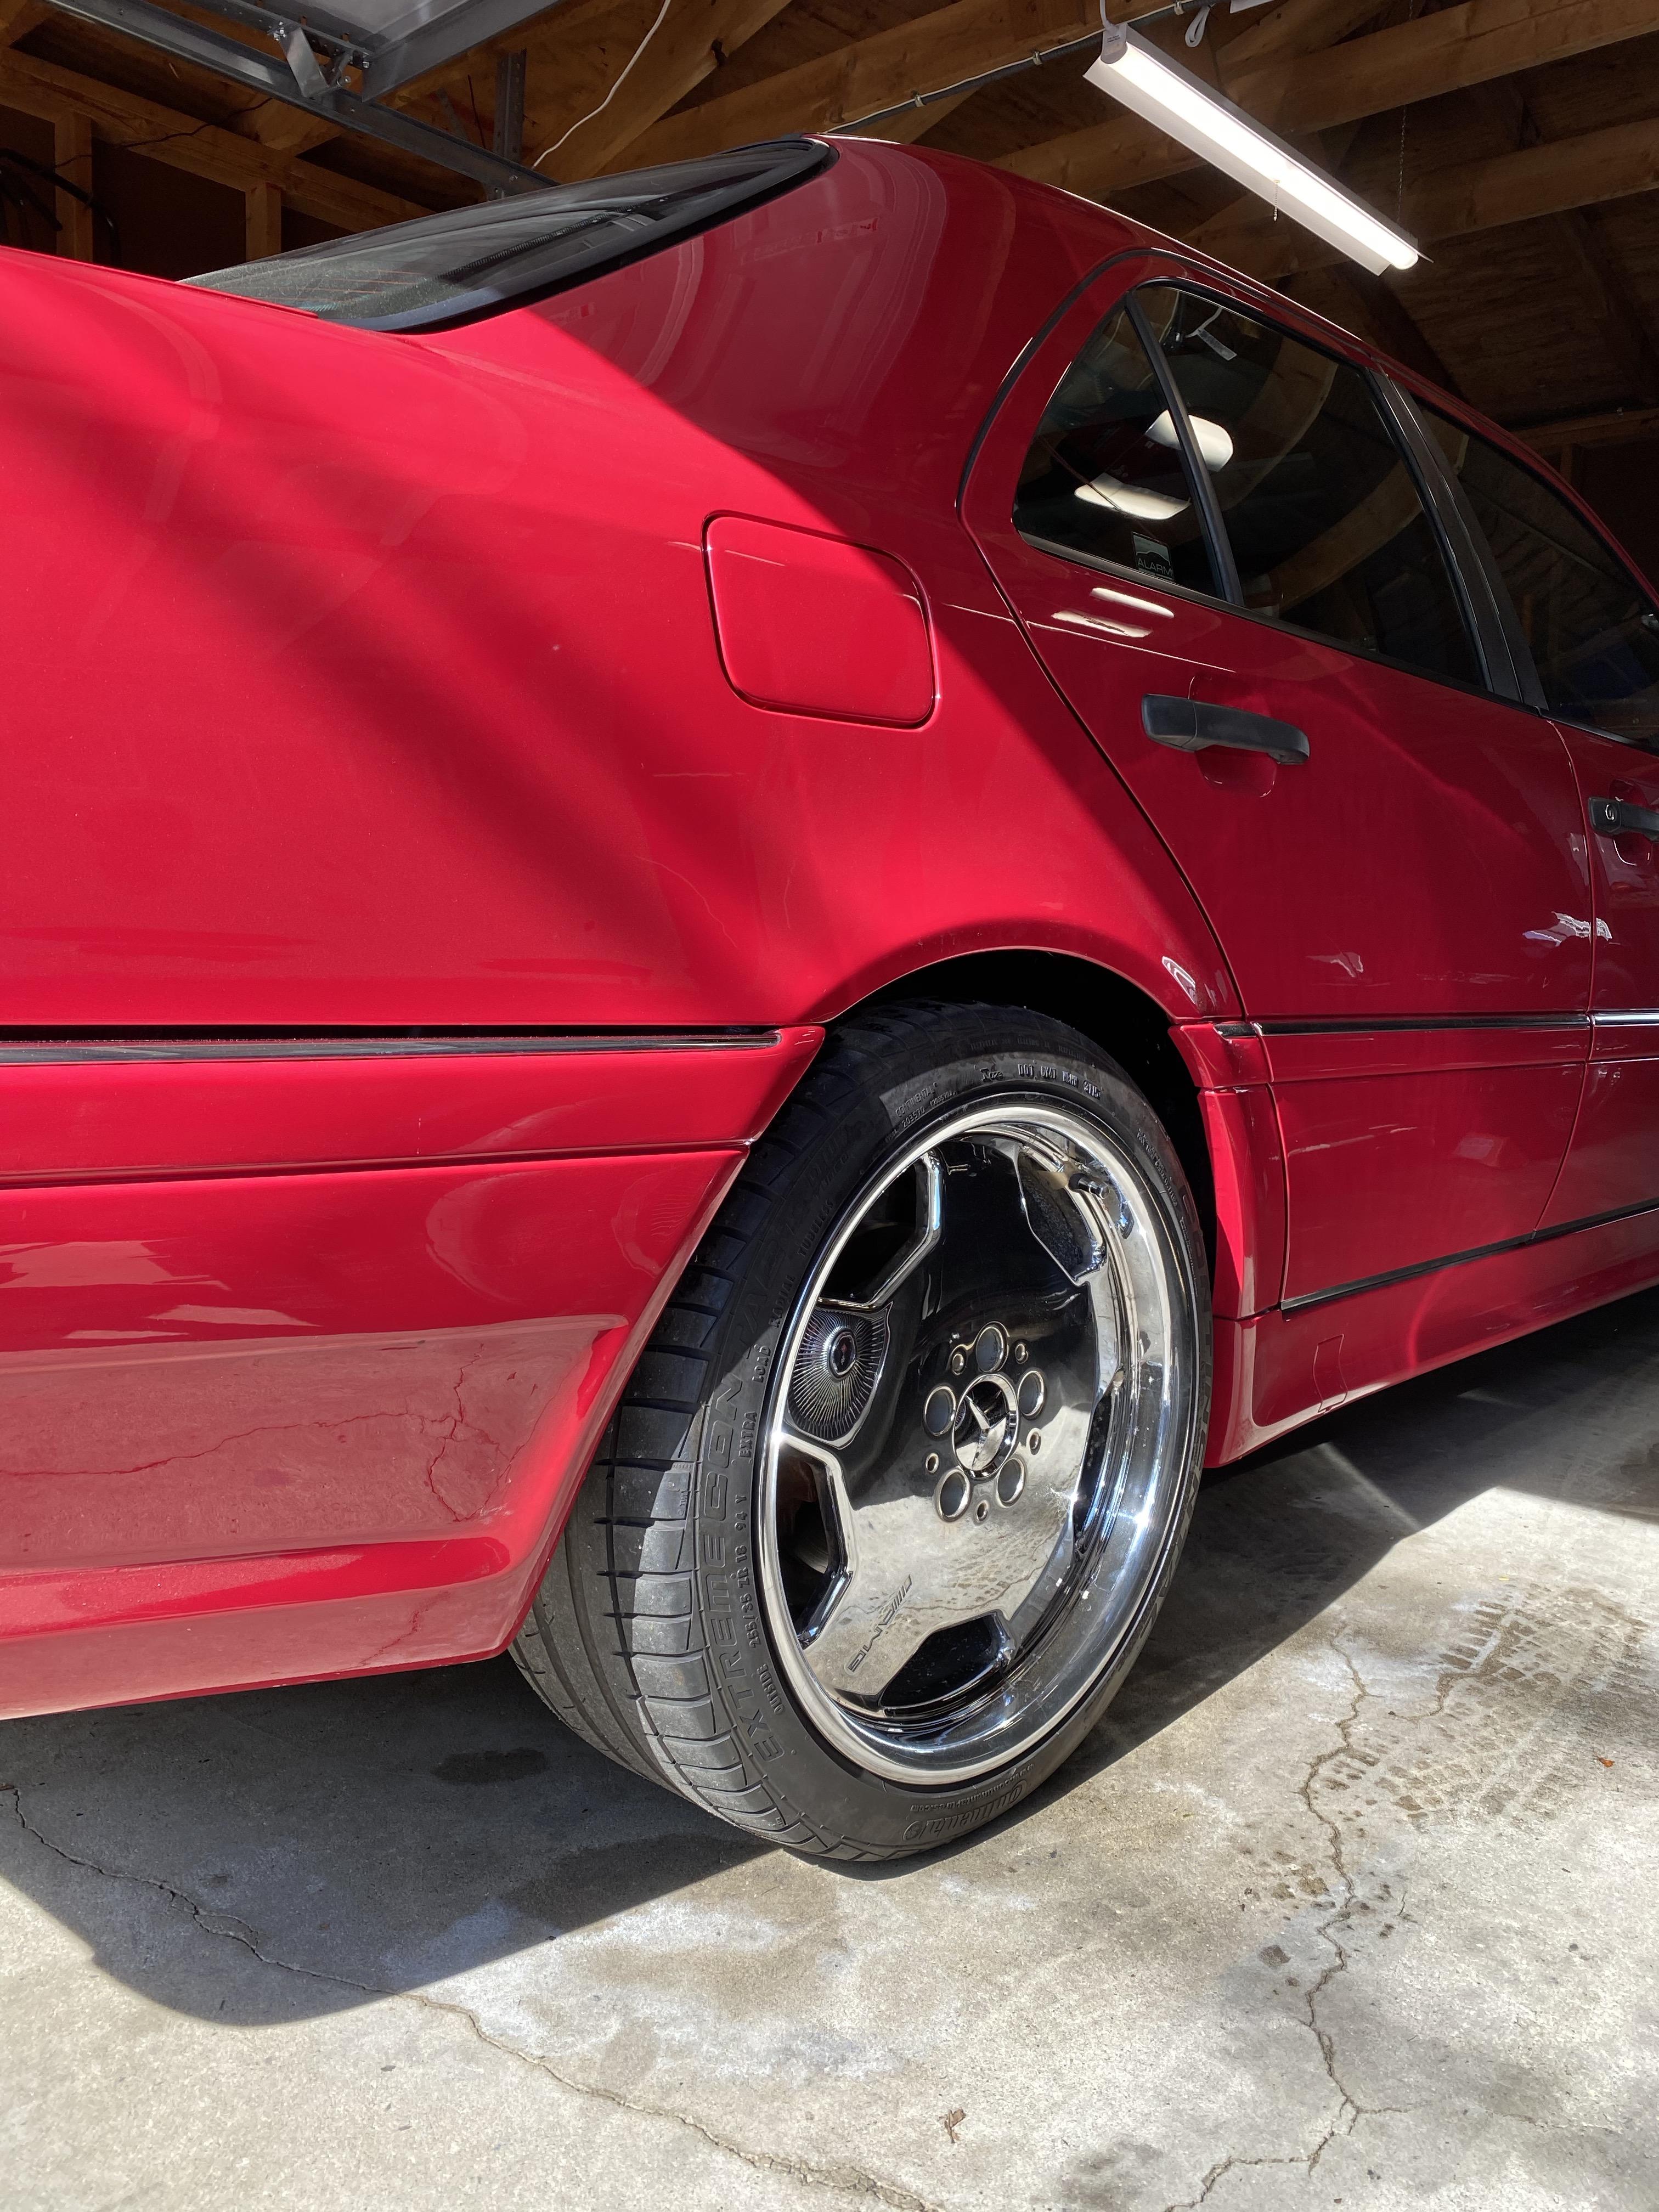
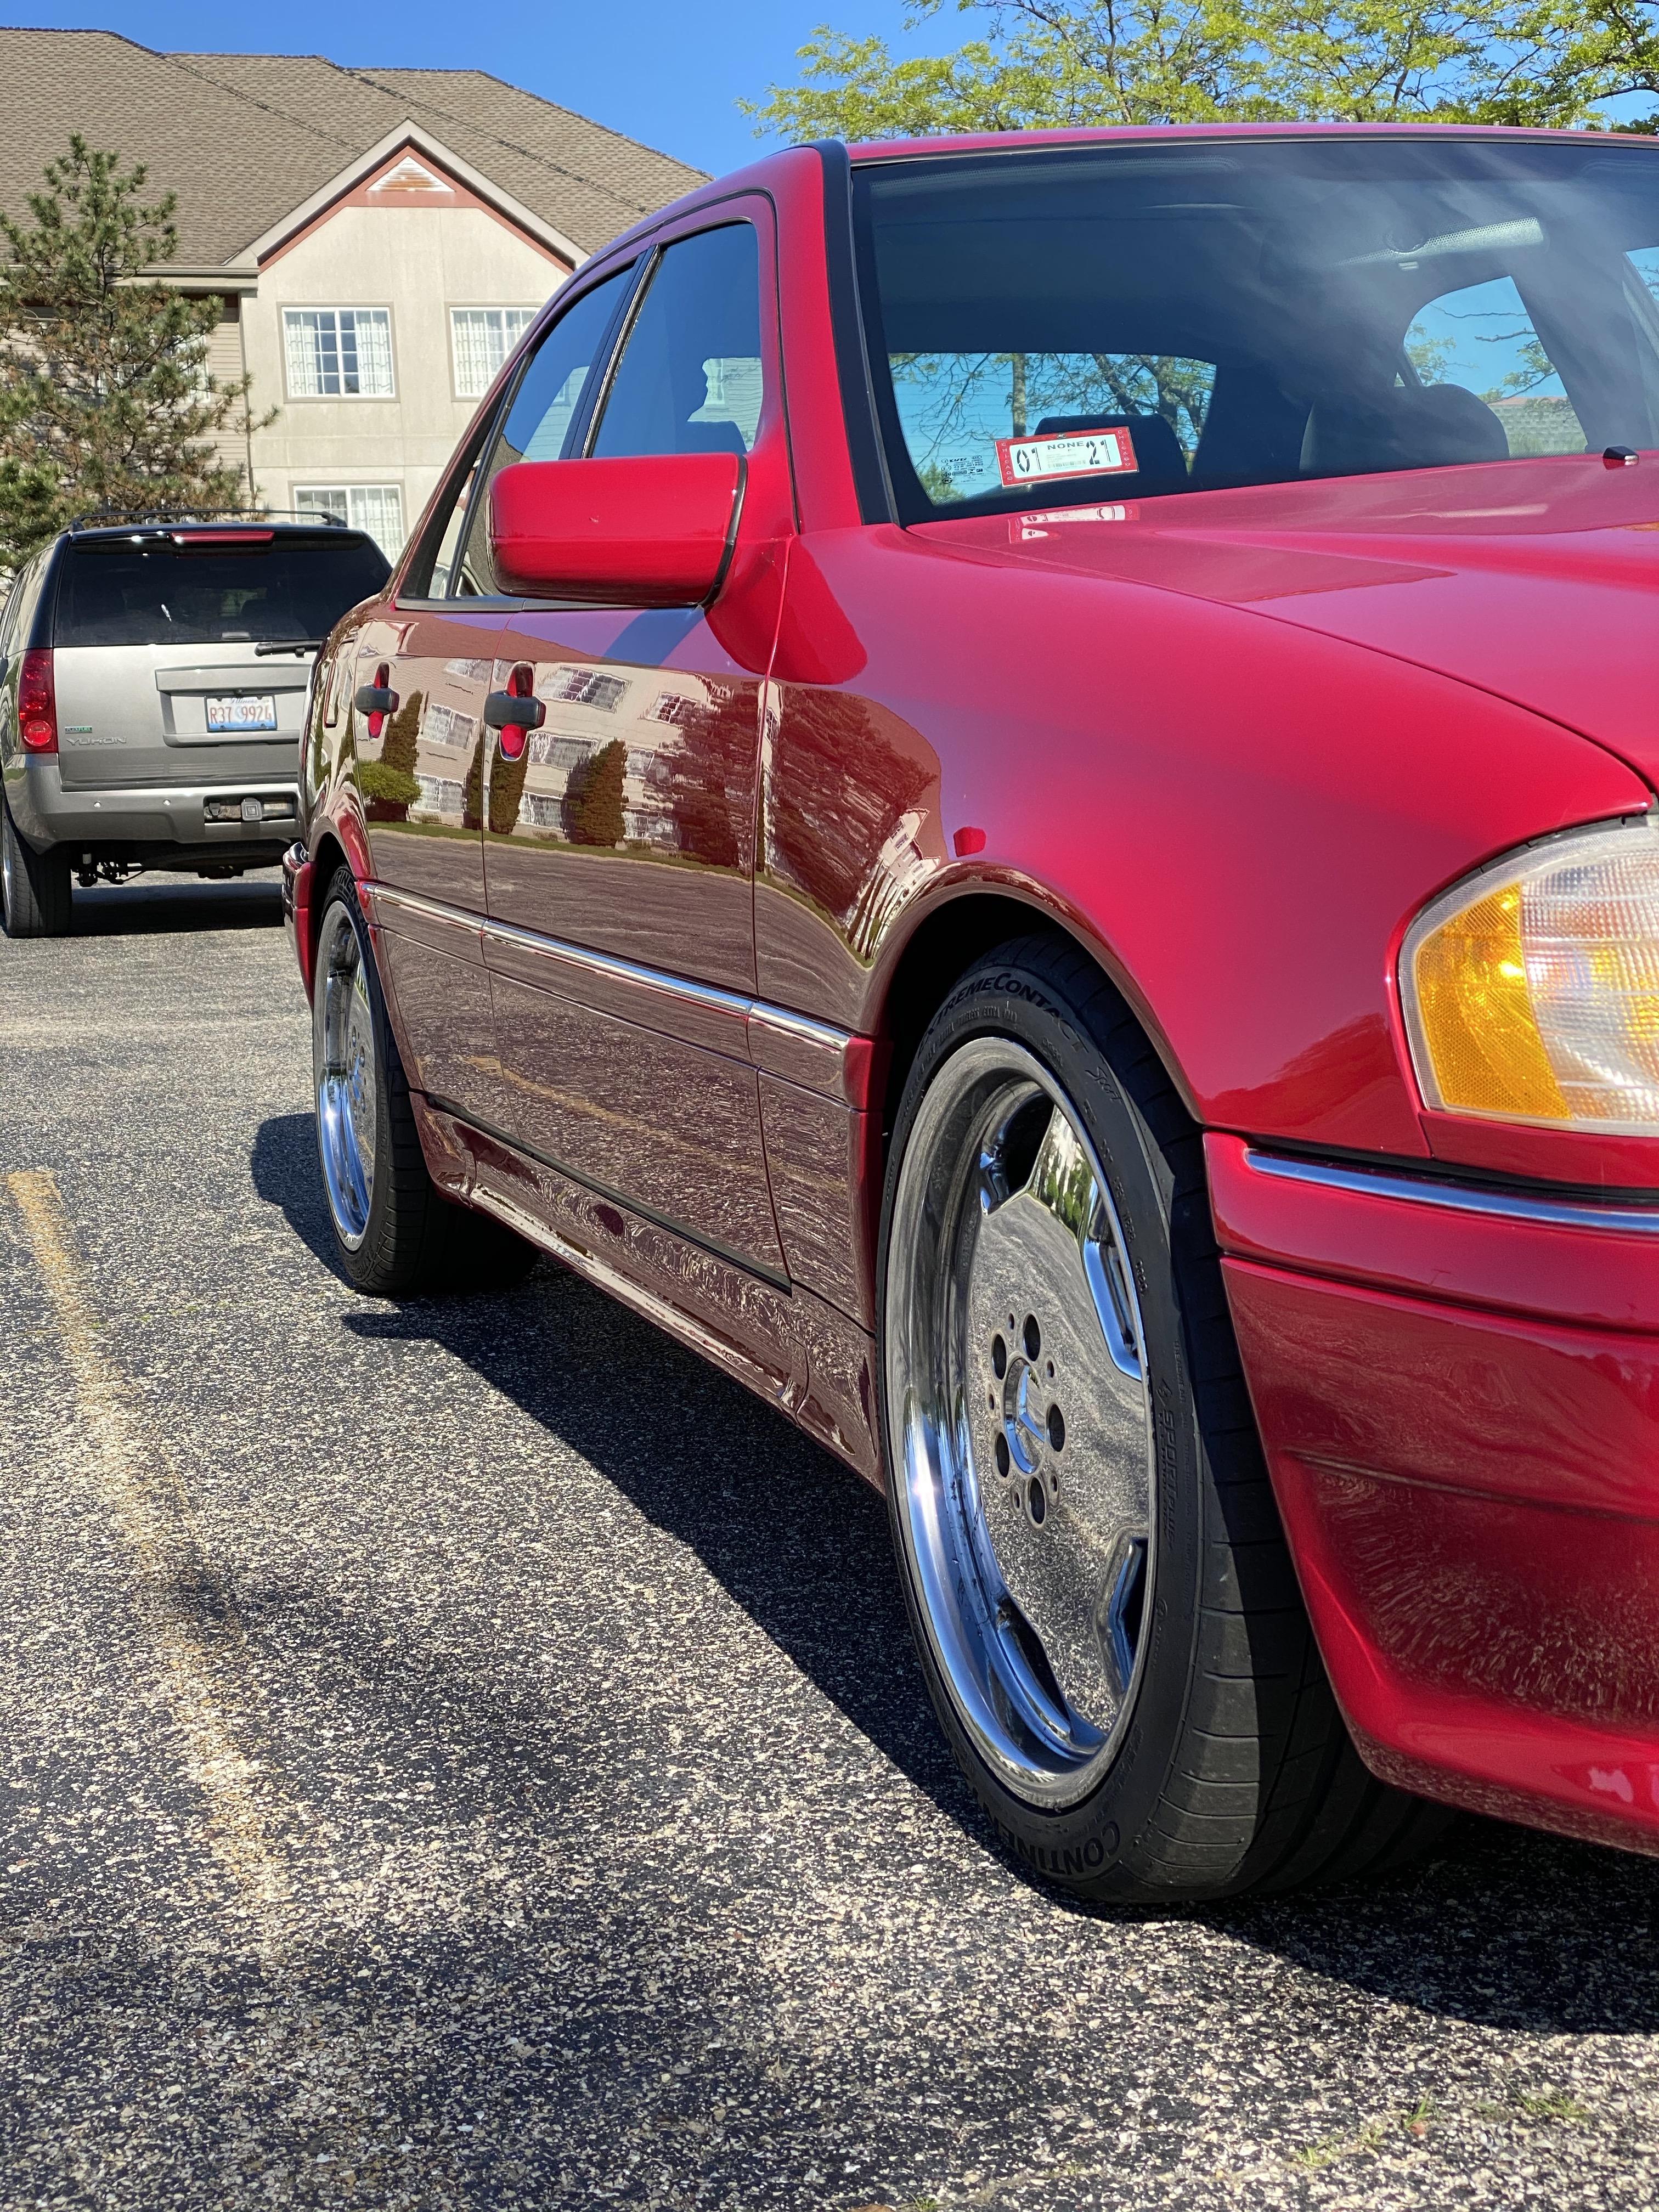
Wow that sucked! I forgot how much I hate suspension work. Anyway, the rear H&R springs are installed along with the rear 18" E55 wheels. Tomorrow will be fronts.
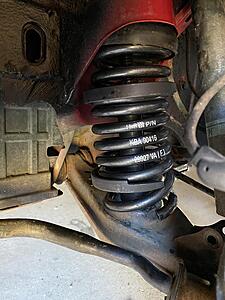
The big reward is getting these bad boys mounted with just the right profile above the rubber
H&R euro C36 springs should drop about 1" off the ride height
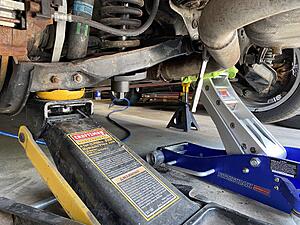
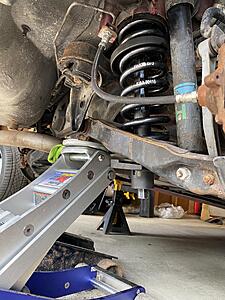
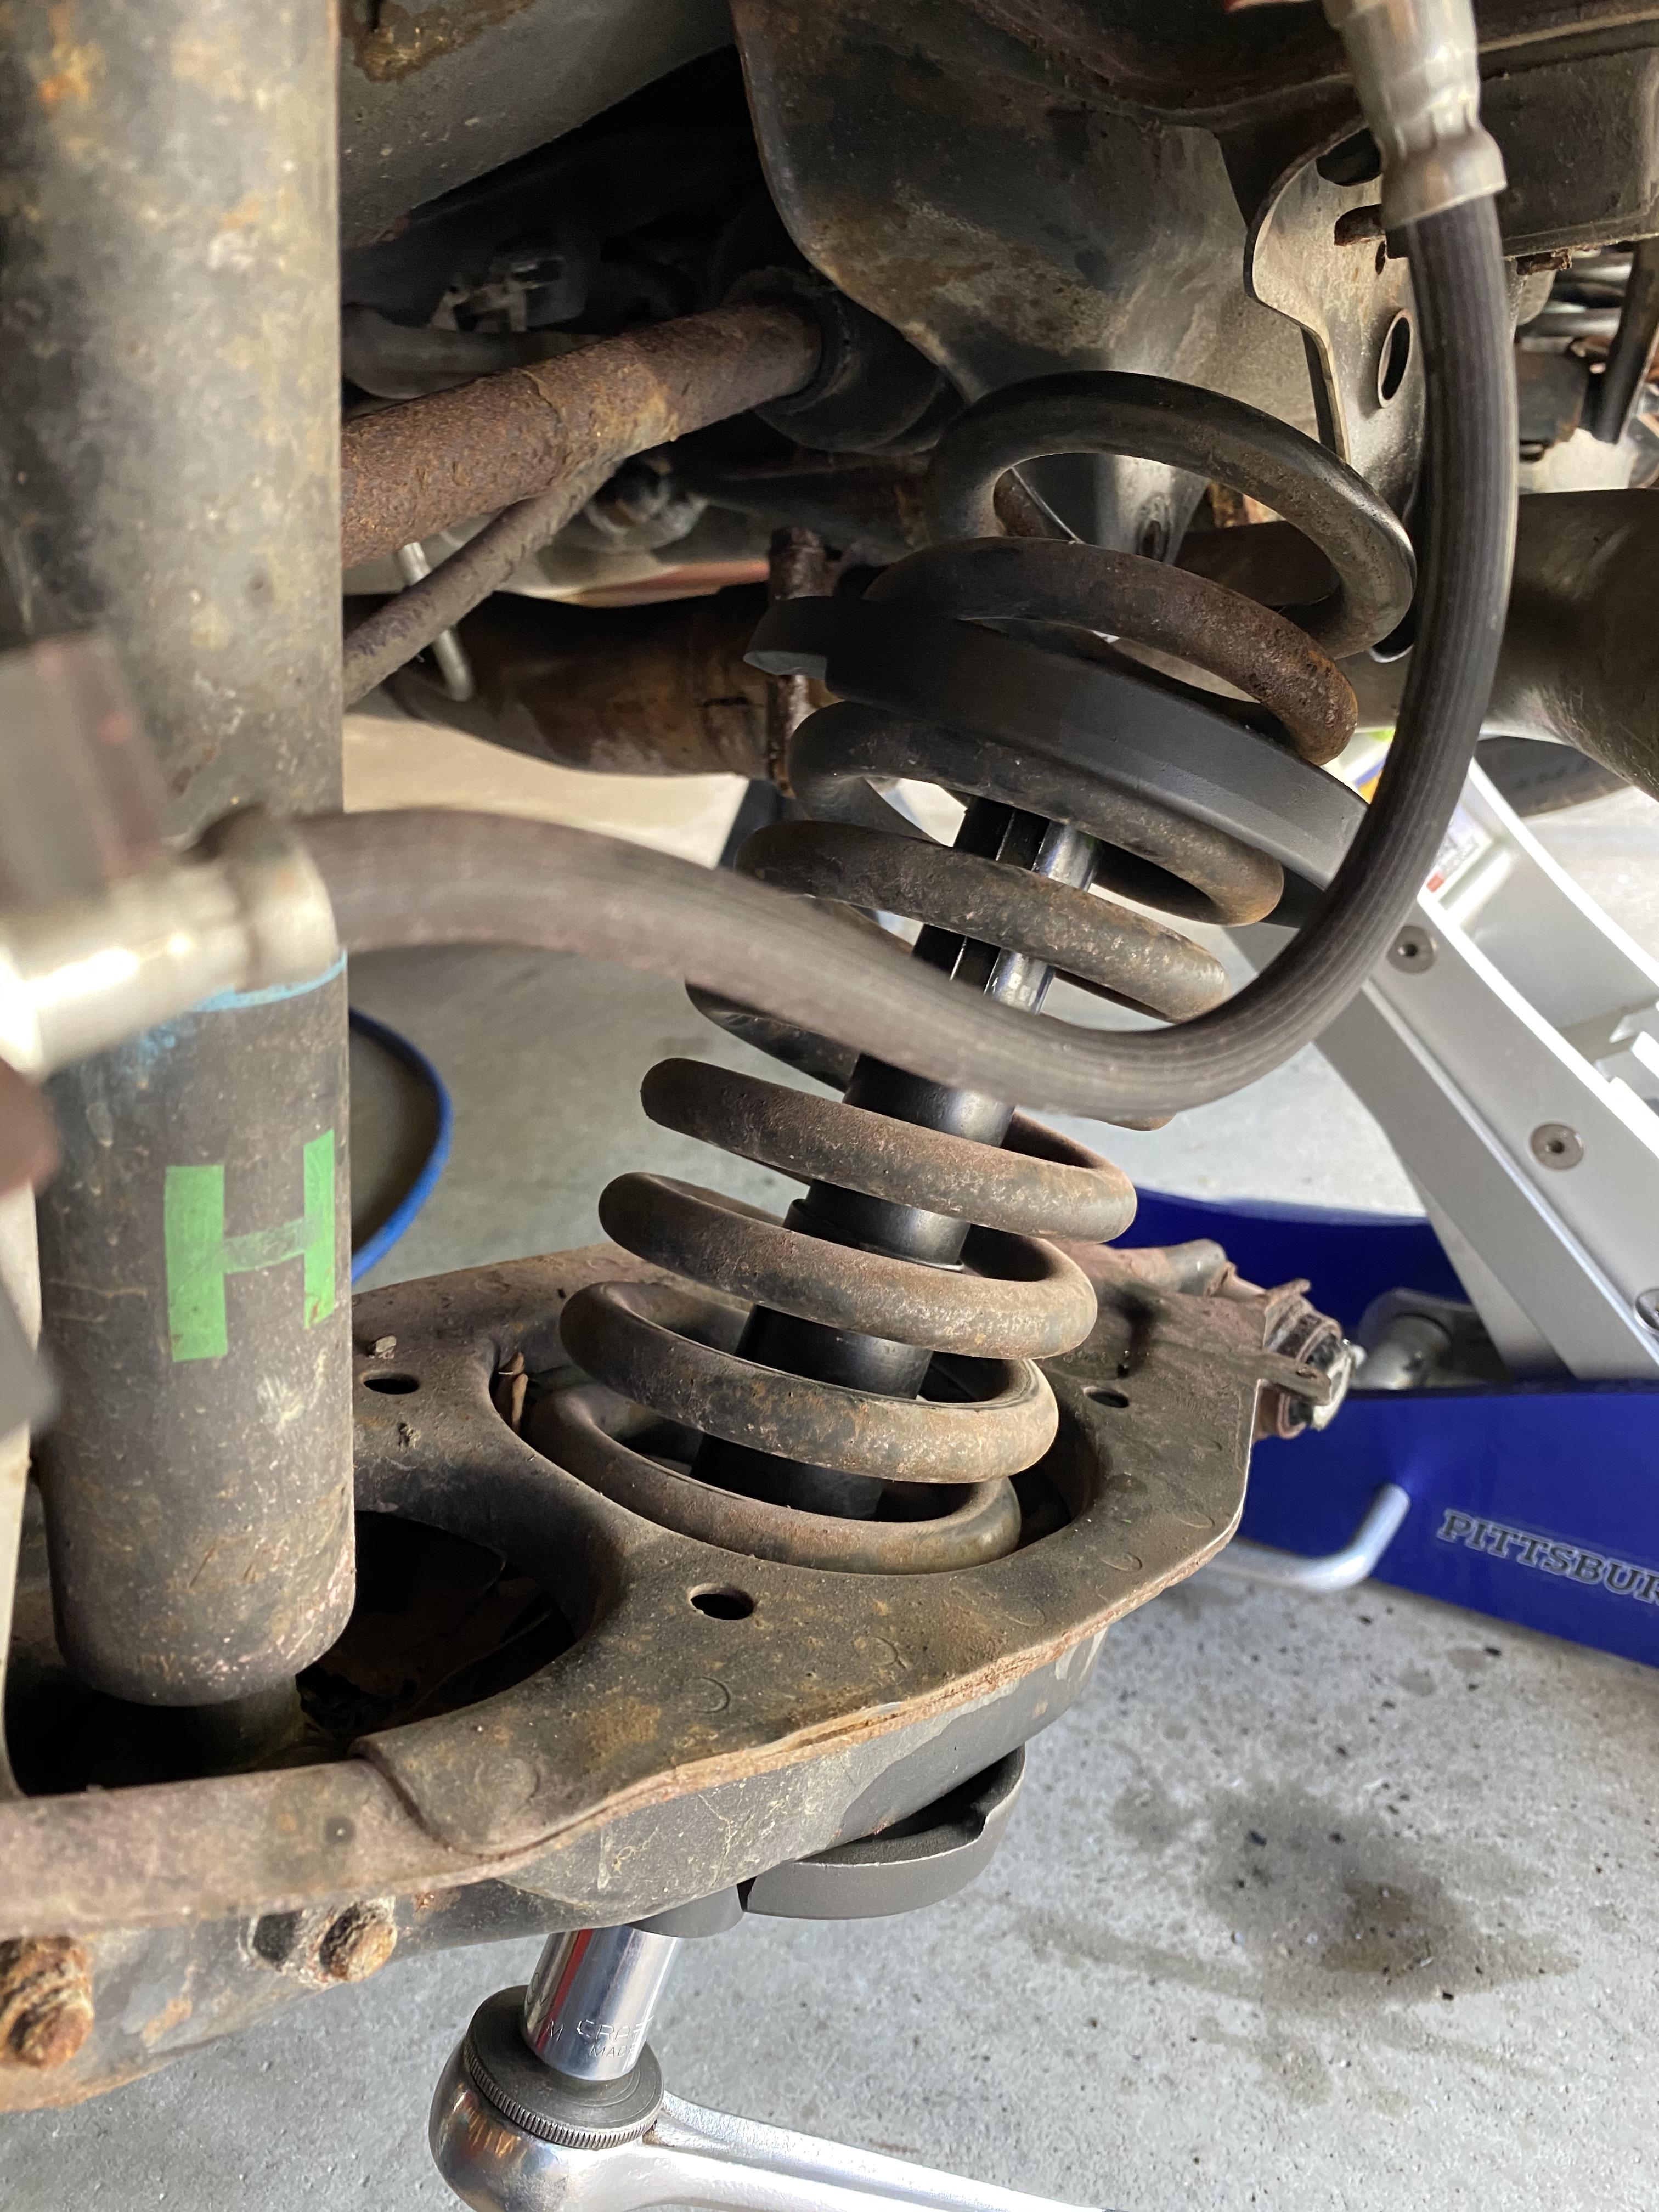
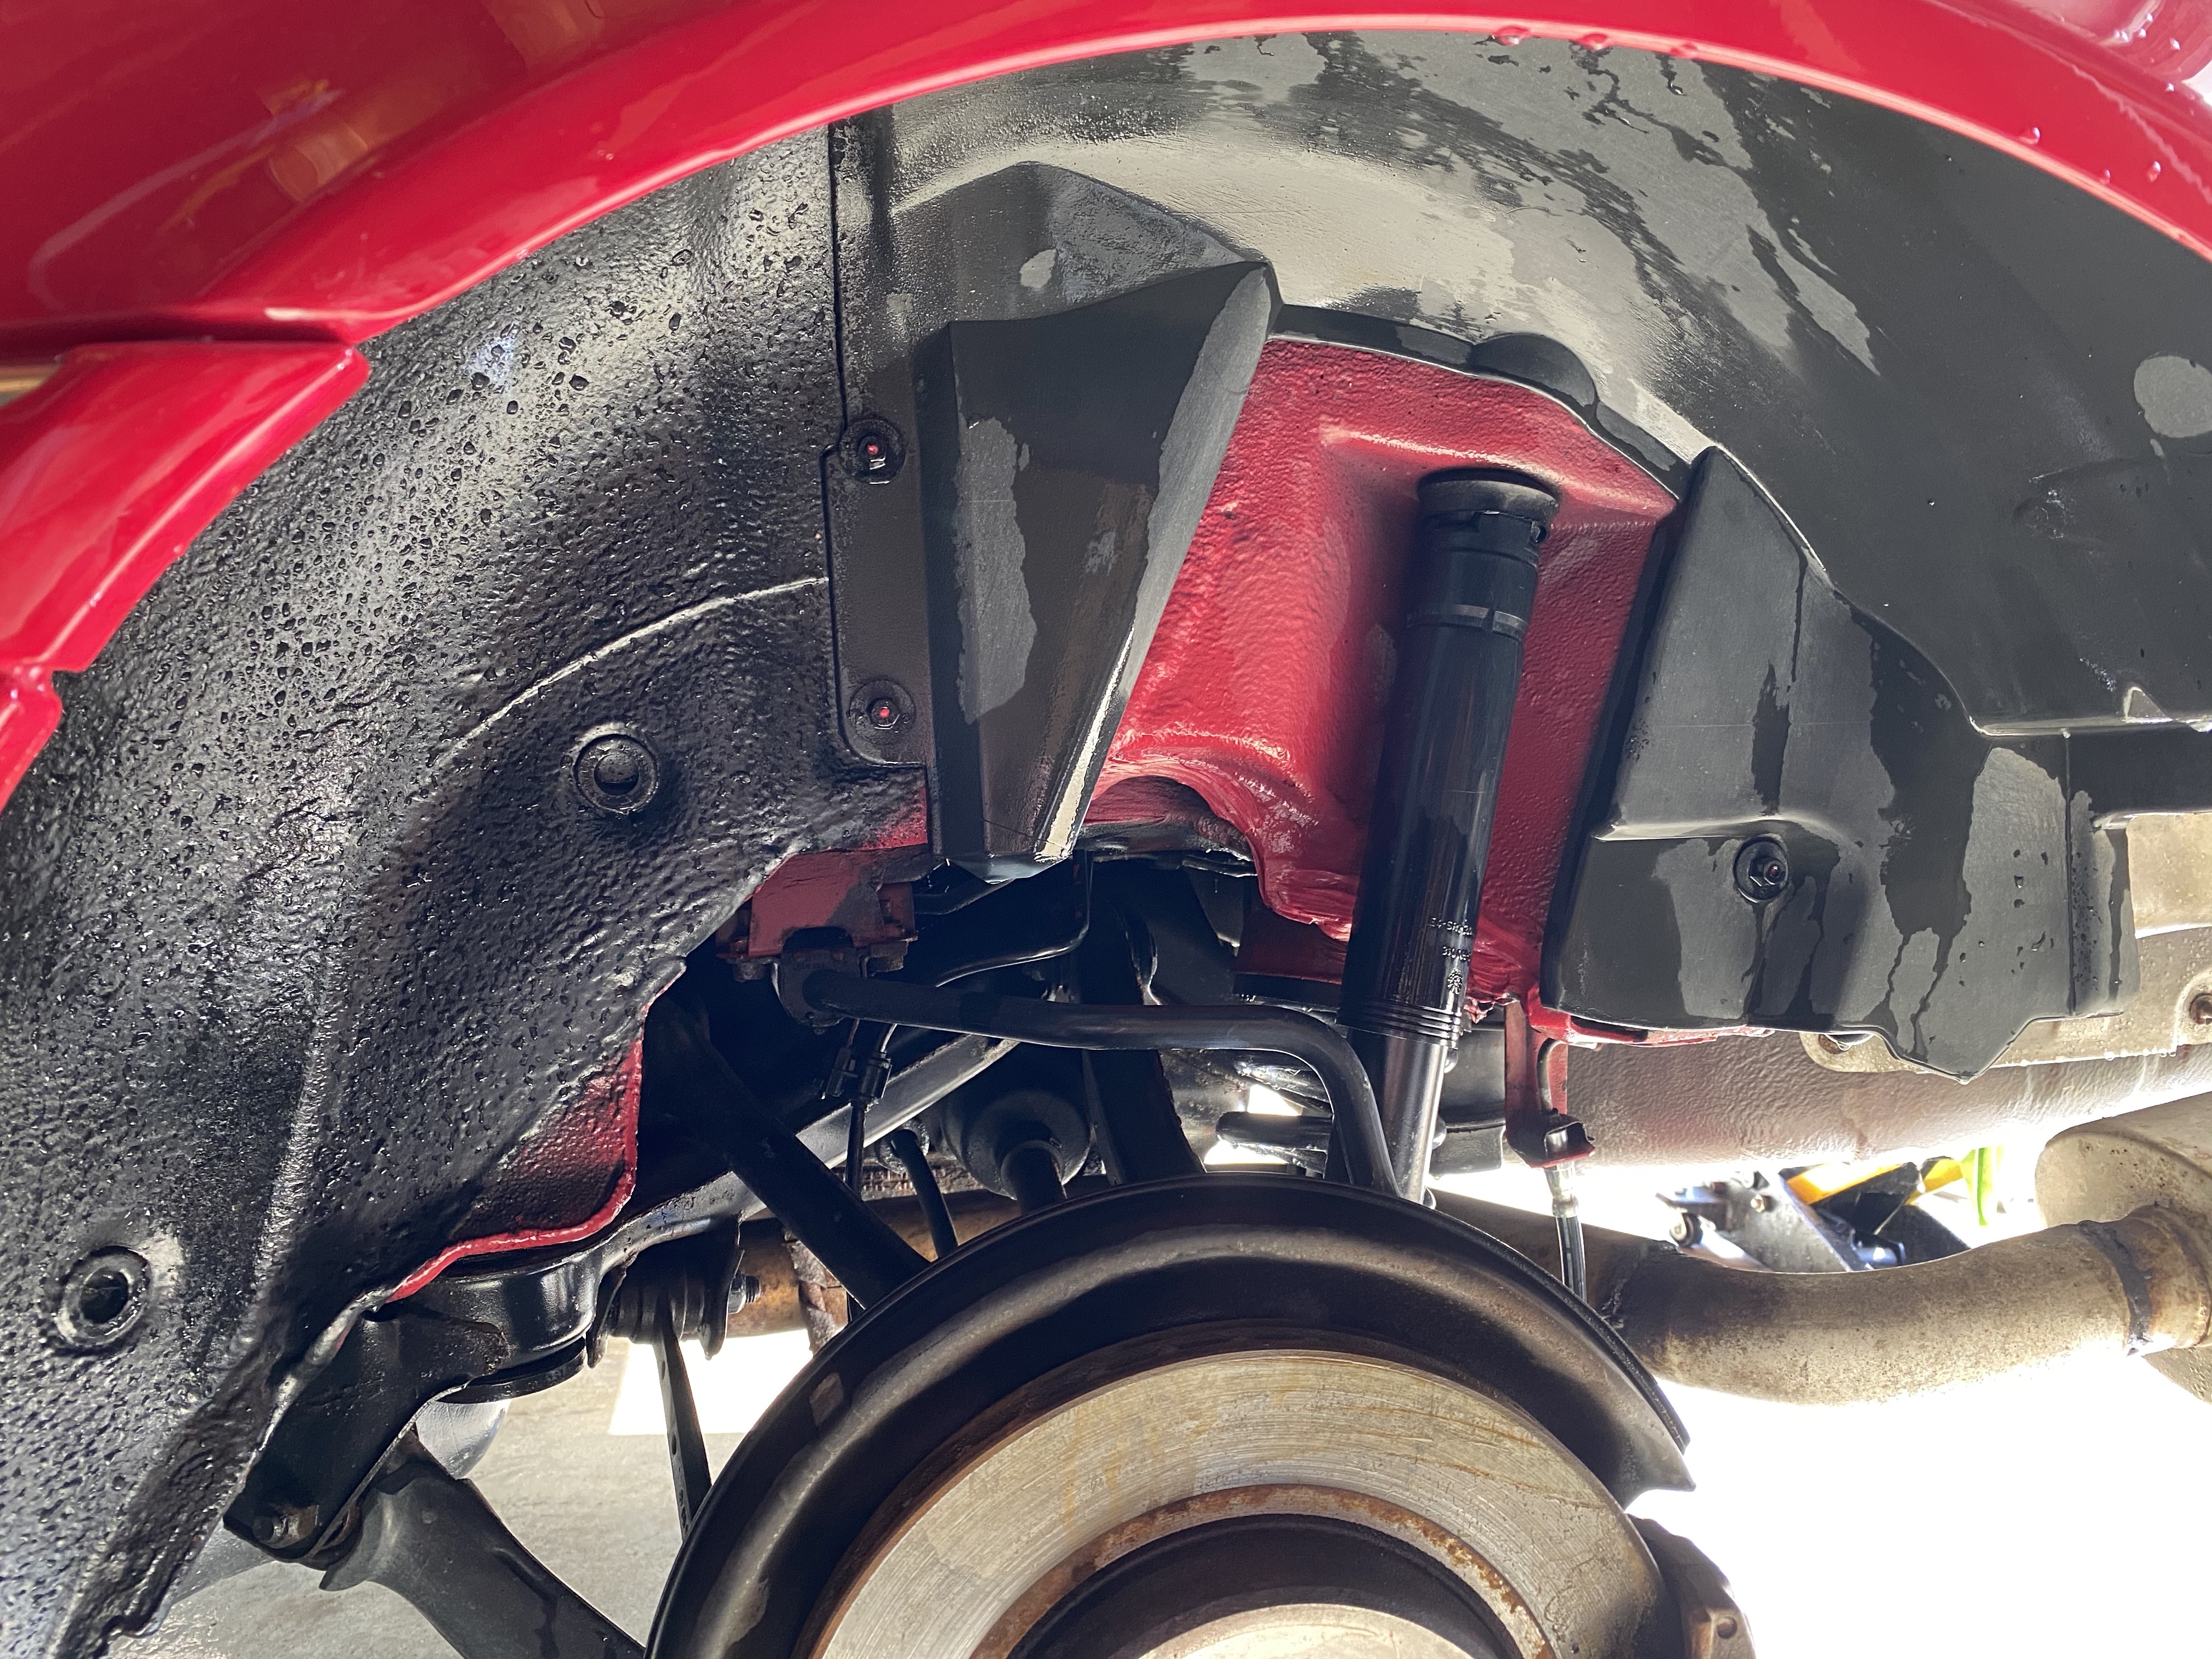
There are a million write ups and videos online, so im not doing a play by play. However, there are two main ways to do the rears, with a spring compressor AND a jack, or just a jack. I chose the AND method, but did it a little differently. Take a close look at the pictures below (note you cant see jack stands on both sides, the center jack is a 3rd support point - always be safe when under a car). I put the lower part of the spring compressor BELOW the rear arm. I tried with the lower plate above and the result was a completed suspension with a stuck spring compressor, i couldnt pull it out of the bottom hole. This allows total control over when and how much the spring is compressed. When disassembling, it takes the spring load off of the center bolt making removal much easier. During assembly its a life saver. Its hard enough using a jack to position the bolt hole just right with no spring pressure. To get the center bolt back in place, i got the spring into its top and bottom recesses, inserted the compressor, and then went back and forth raising the center with the jack while removing pressure from the spring. Once the bolt is in place, release and remove the compressor. Everything settles perfectly into place.
BTW, **** whoever put in this aftermarket crap exhaust (dont worry i have a stock replacement ready to go). It was in the way of the drivers side bolt requiring me to loosen the rear bolt and push it out of the way while taking care of the nut.
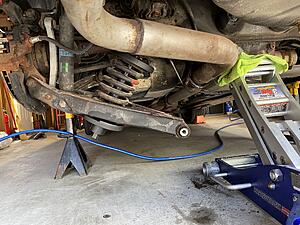
This is the other side, but you can see how im lifting the center point with the jack while the spring is in the compressor. This made the entire thing super easy.
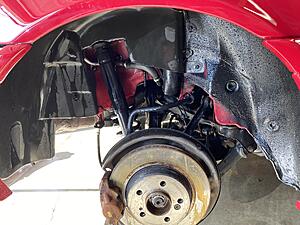
Finally clean everything up:
Ill get back here again another time for a more thorough rebuild of anything showing a little rust. These parts are all still available.
And a shot on the ground. Preliminary measurements show its already 1/2 - 3/4 lower a little settling of the suspension will get me to the desired 1". Ill finally get some beauty shots after i get the front end sorted out.
My spring compressor lower cup did not clamp under the suspension arm. Both cups fitted inside the spring top and bottom and you screw the central compressor bolt from underneath.
BTW you can play around with the pads to further reduce the height and working this in conjunction with the front pads you can get the nice froward rake we all like. I think I can see you have 2 or 3 nib rear pads on the rear
For the front, im going to do exactly as you describe. Hopefully everything fits the way it should. For the rear, i found this how to with the cup under the arm. Click me
You are correct i have 3 tab pads in the rear. Ill see whats in the front and modify from there. I was looking at the rear again last night and love the stance now. It looks CORRECT, not LOWERED.
Stock exhaust will also be in the way of the driver side. I had to take my muffler off. I did the rears with a floor jack. It takes tops 20 minutes per side.
Im over due for an update. With all the craziness going on I hope everyone is safe.
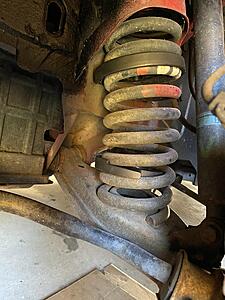
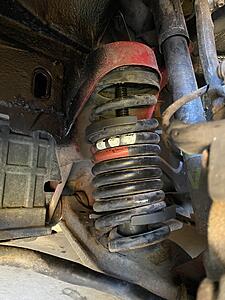
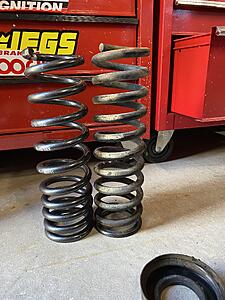
Front springs went about the same as the rear, but that piece of crap spring compressor was failing on my the last spring compression! It was close! Its a B$#*& getting the plates lined up just right for the fronts. Otherwise it wasnt bad at all. For reference i had #2 blocks in front which i believe are original.
Compressed (I think i moved the plates between these two photos to get more compression)
Comparison: It appears the 25 year old originals had sagged about 1/2".
And back in (again i think i shifted the plates up and down further before getting it in)
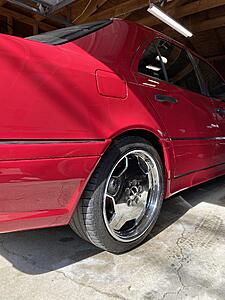
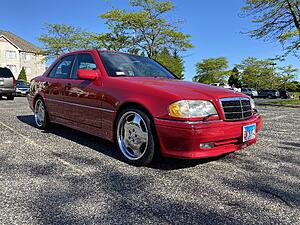
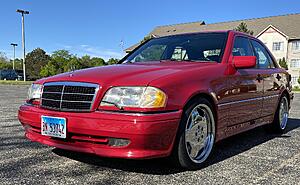
Looking good! I cant believe how high it used to sit, now it looks correct.
I have a few more goodies in the mail, including my new radio which I think is arriving today or tomorrow after a month long wait.
Yeah. Night and day. I was worried it would look lowered, but the gap is perfectly even all the way around! Already getting some compliments and thumbs up on the road!
One of my packages arrived yesterday. I scored a pair of 1995 C36 headrests from someone parting out a car which was unfortunately rear ended. I know some of these little repairs are as sexy as a motor swap, however I think its cool to work through these little details so the car is perfect. It means a lot to me that OEM or original parts are always used so the history of these cars can be carried forward. Its a lot easier to do this now than in 10-15 years. Ive spent a lot of time in the corvette world and those guys are nuts about originality. The effort and $$$ some people go through to have correct nuts/bolts/hose clamps is crazy. Id like to get this one original while its easy and keep it that way.
Out of respect for BLM and all the protests I’ve taken time off from posting but small projects continue. Clear bra goes on tomorrow and I have my center shifter plate and drink cover boxed and ready for restoration.
I did sort out my new radio. I used the Continental TR7412UB-OR to get Bluetooth functionality and keep the look clean. For some reason this video has lots of hits for this replacement. Technically it works but IMO it’s a little hacked and I hate the flipped HVAC and radio. Also...
Fortunately he overlooks the much easier solution...install the DIN plate and the radio at the same time. The plate is a perfect fit. By installing together it is snug and you don’t care about the side clearance needed for the release tabs. Just pull it straight out if needed!
And installed...The orange backlight and white buttons like right at home! Now I have Spotify with me everywhere I go!
Well, its been a few wild months. From Covid to riots there have been more important things than keeping this thread updated. Then add in selling a house and moving 1100 miles at the end of October. Fortunately, progress against my original list has progressed. Ive now completed everything from the original list except a few mods which Im opting to not go through with.
Parts to address: rear antenna was broken off. Need new antenna - COMPLETE rear 6 disc changer plastic cover is broken - Need to source replacement cover. Low priority refurbish center console (shifter) burl wood - COMPLETE replace cabin and engine filters - COMPLETE sky bag is ripped, how do I replace that thing? - Folded and carefully stored. Low priority missing the shift knob C36 topper. - COMPLETE. Replaced with factory part. tint windows, wont go overkill, but noticeable. Anyone have pics and level? - KEEPING STOCK. black powder coat a set of e55 18 wheels. - Chrome is holding up very well. Will powder coat when chrome fails replace aftermarket muffler and resonator delete. Cats are there, thats good. Going back to 100% stock. - COMPLETE Installed ceramic coated OEM parts front to back. passenger front headrest is drooping. I presume a gear is striped. What is the common cause of that? COMPLETE headliner is a mess. Based on the pealing clear coat and history it spent time outside in dry heat and the glue gave way at the front and back edges. Have a good shop which can replace it but I’m not going original. It’s waaaay to expensive and I’m thinking a grey, dark grey, and red plaid. The headliner is not visible from outside the car and could be a fun way to add some customization. Thoughts? - COMPLETE. Stock appearing, but not OEM piece from MB. i have a 3 button garage door visor from another car, how/where does the required power come from on the harness? Is this possible on cars not originally optioned? KEEPING STOCK My last c36 (1996) had keyless entry to the mirror. I really want keyless entry. What do I need and is it possible on cars not originally optioned? Mirror and keys obviously. How to pair? Gotchas? KEEPING STOCK
Drivers seat is a bit firm. How hard is it to rebuild and what is typically involved? - A serious treatment of Leatherique Leather Rejuvenator softened the leather considerably. Will keep doing treatments to bring back the stock supple feeling.
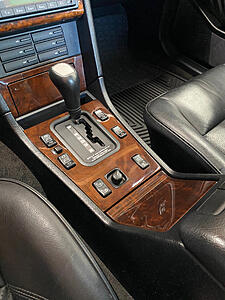
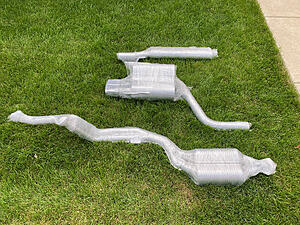
Here are some details on the center consul and exhaust.
The original center consul and cup holder were cracked and the center consul was very faded. I sent both parts to Medera Concepts for refinishing. I provided the ash tray cover as a color reference. All the switches are stock and work perfectly! I feel especially fortunate the mirror adjustment switch is unbroken! This earlier style piece is hard to find unbroken.
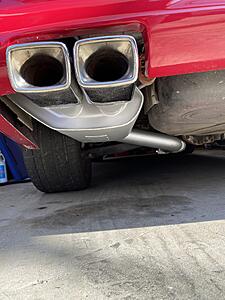
When I bought the car, the stock resonator pipe and muffler were gone, in their place was a straight pipe and crap muffler. It took some serious searching, but I found a set of stock pieces in excellent shape and had the entire exhaust from downpipe to muffler ceramic coated. I wanted something to help preserve these original pieces even if the look was incorrect. Dont worry, the stock chrome tips were left intact!
And installed with 4X new O2 sensors (while im at it....)
Car and work is looking STUNNING! That paint job is beautiful. I appreciate the details such as refinishing the interior wood pieces. I'm cataloging resources that you have used for future projects.
Car and work is looking STUNNING! That paint job is beautiful. I appreciate the details such as refinishing the interior wood pieces. I'm cataloging resources that you have used for future projects.
Thanks! Glad it’s helpful. I’m constantly looking for info and there’s so much garbage out there. Documenting it here is as much for my sanity as a guide for others. I’ve restored other cars and forgotten a product I used or how something should be assembled so it’s nice to document everything.
Hey your C36 looks great! I have one question for you I'm trying install same radio in my c36 but can’t find any information how to connect BOSE AMP
I believe you are correct, the amp is NOT connected. Im not a huge audio file so it hasnt bothered me...until you mentioned it. lol
Ill find the stereo wiring diagram and im sure we can figure out how to make the proper harness. I can try to connect the 6-disk changer at the same time. Stand by....
Follow up on the AMP. It appears this head unit doesnt have the proper outputs for an older amp. However, the extra wattage should help make up the power lost from the amp. Again im not much of an audiophile.
If anyone is interested in connecting the amp, here are a few crumbs to start with:
Im still putting pieces together, but one of these

 05-19-2020 | 12:44 PM