When you click on links to various merchants on this site and make a purchase, this can result in this site earning a commission. Affiliate programs and affiliations include, but are not limited to, the eBay Partner Network.
Was searching around for a good DIY in undertaking the orange deletes. But all the great existing posts no longer had their pictures hosted.
Hence i I thought I recreate one, with pictures hosted on the mbworld forum directly.
Step1:
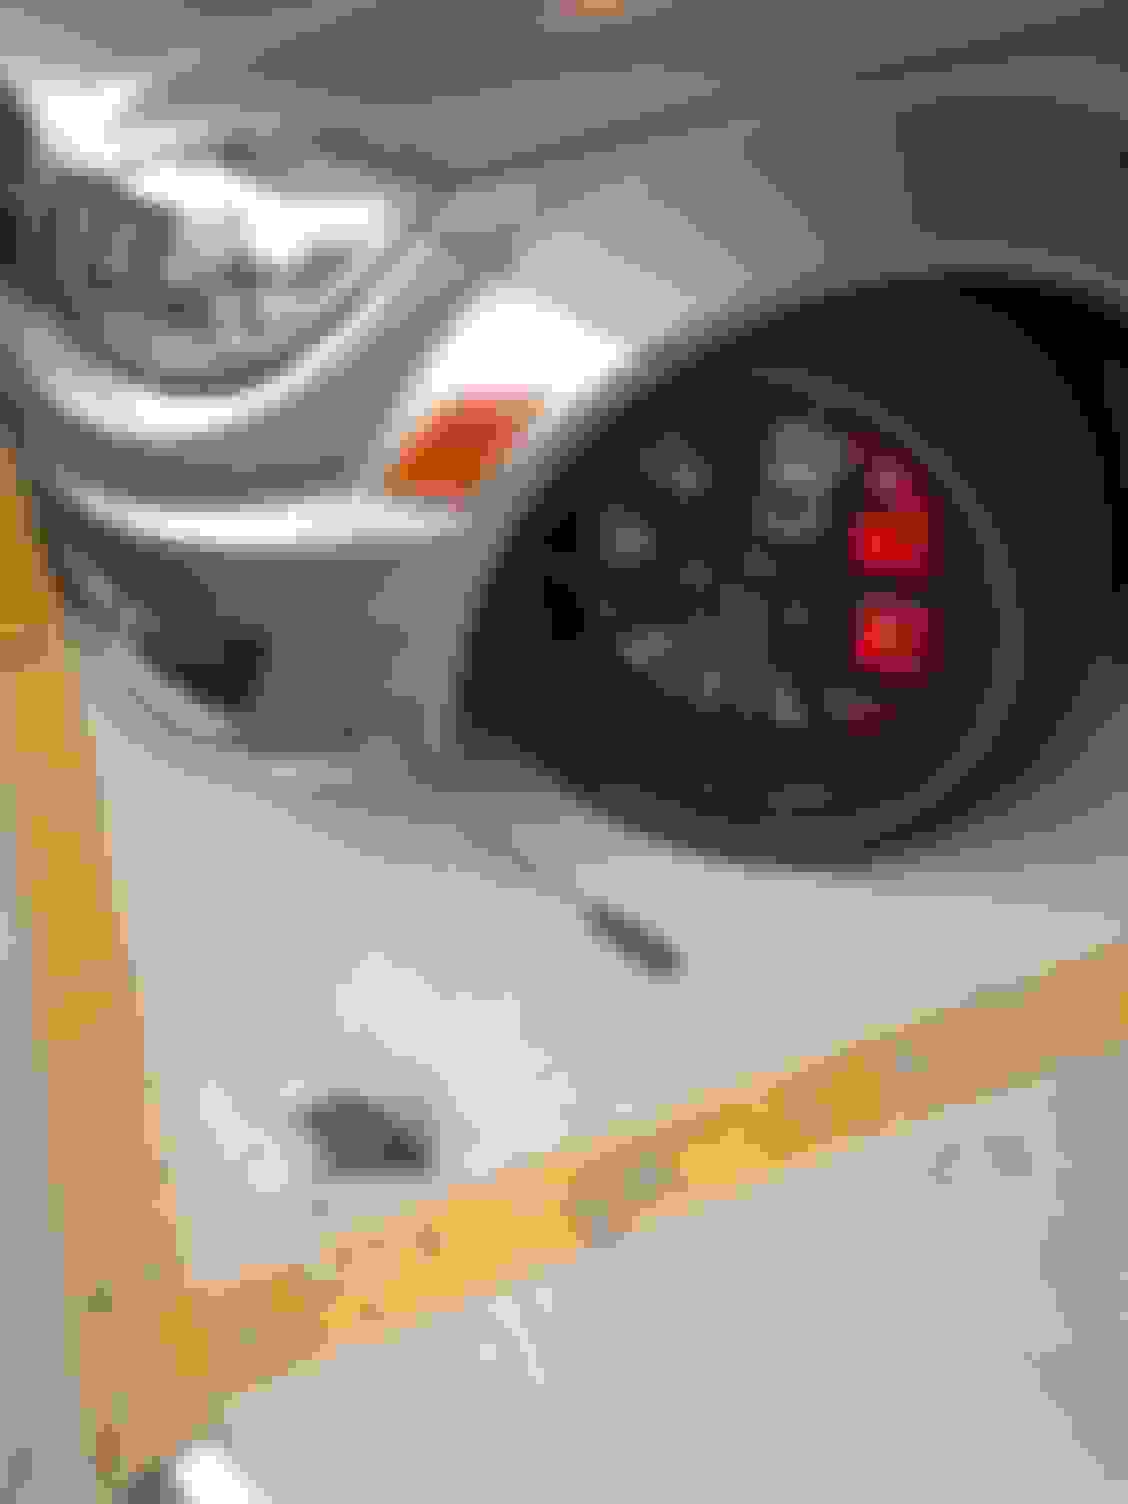
If working on driver side (USA), turn wheels hard right.
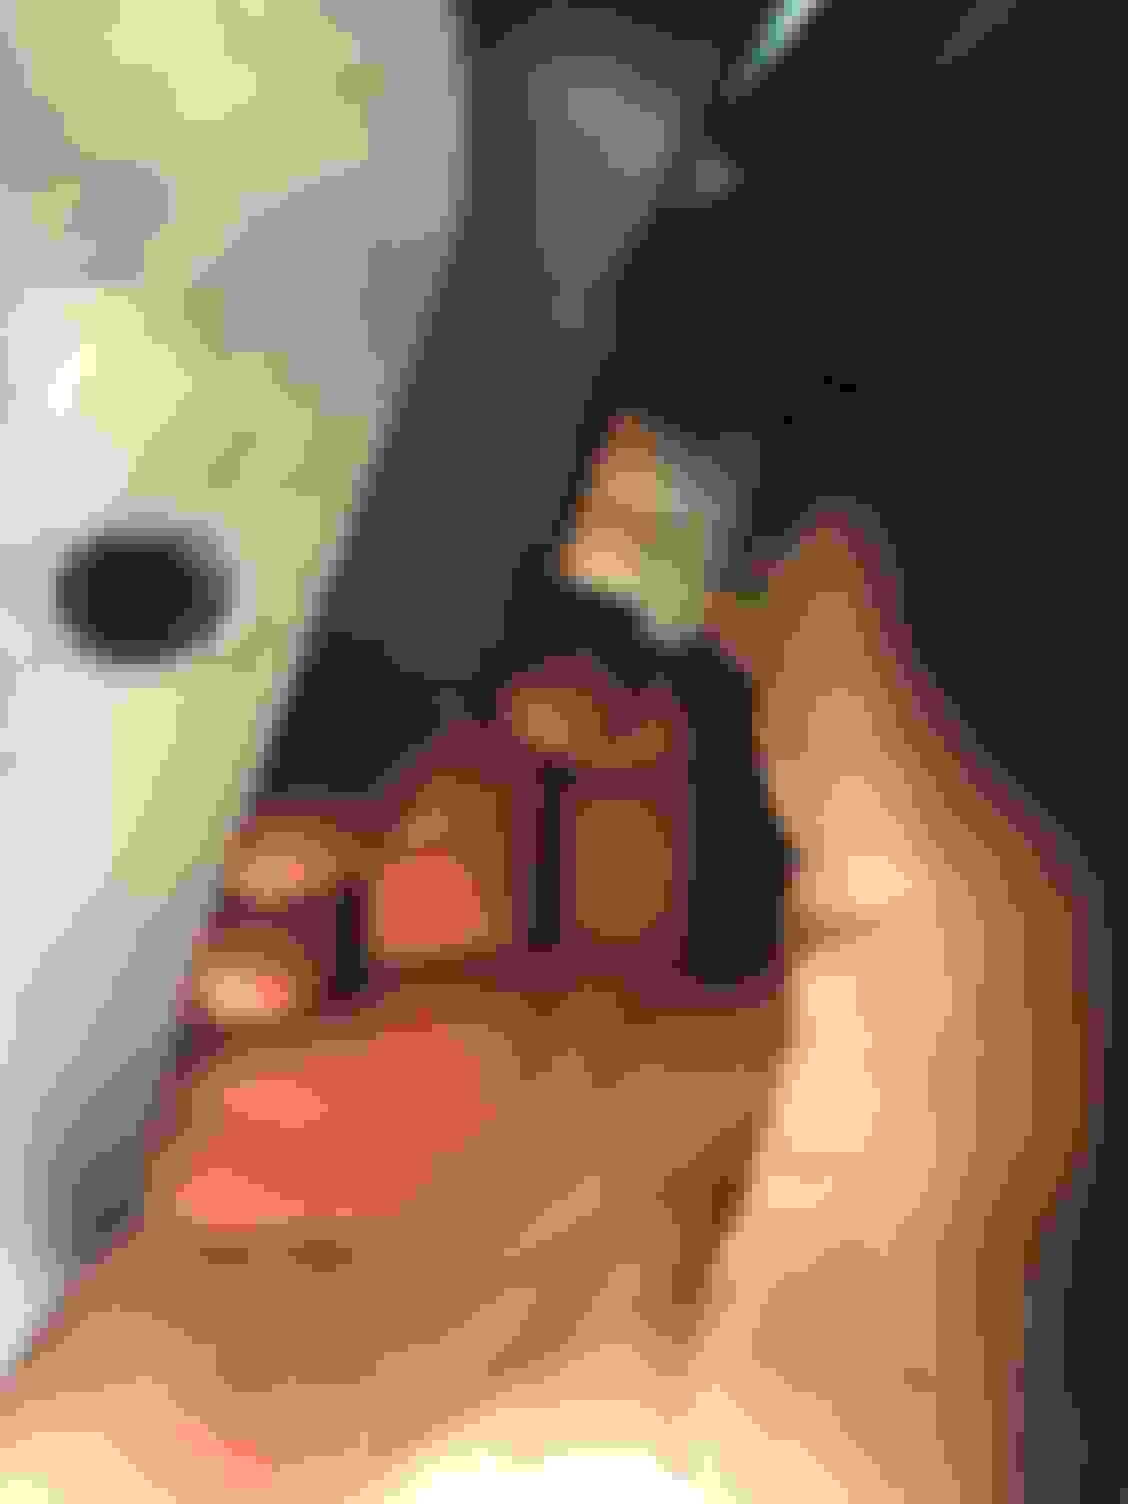
Once wheel is moved to the side, you will see three push pin rivets.
Use a flat head screwdriver, and lift the pin up.
Once pin is removed, you still need to remove the entire rivet surround. Simply lift up with a flat head screwdriver again.
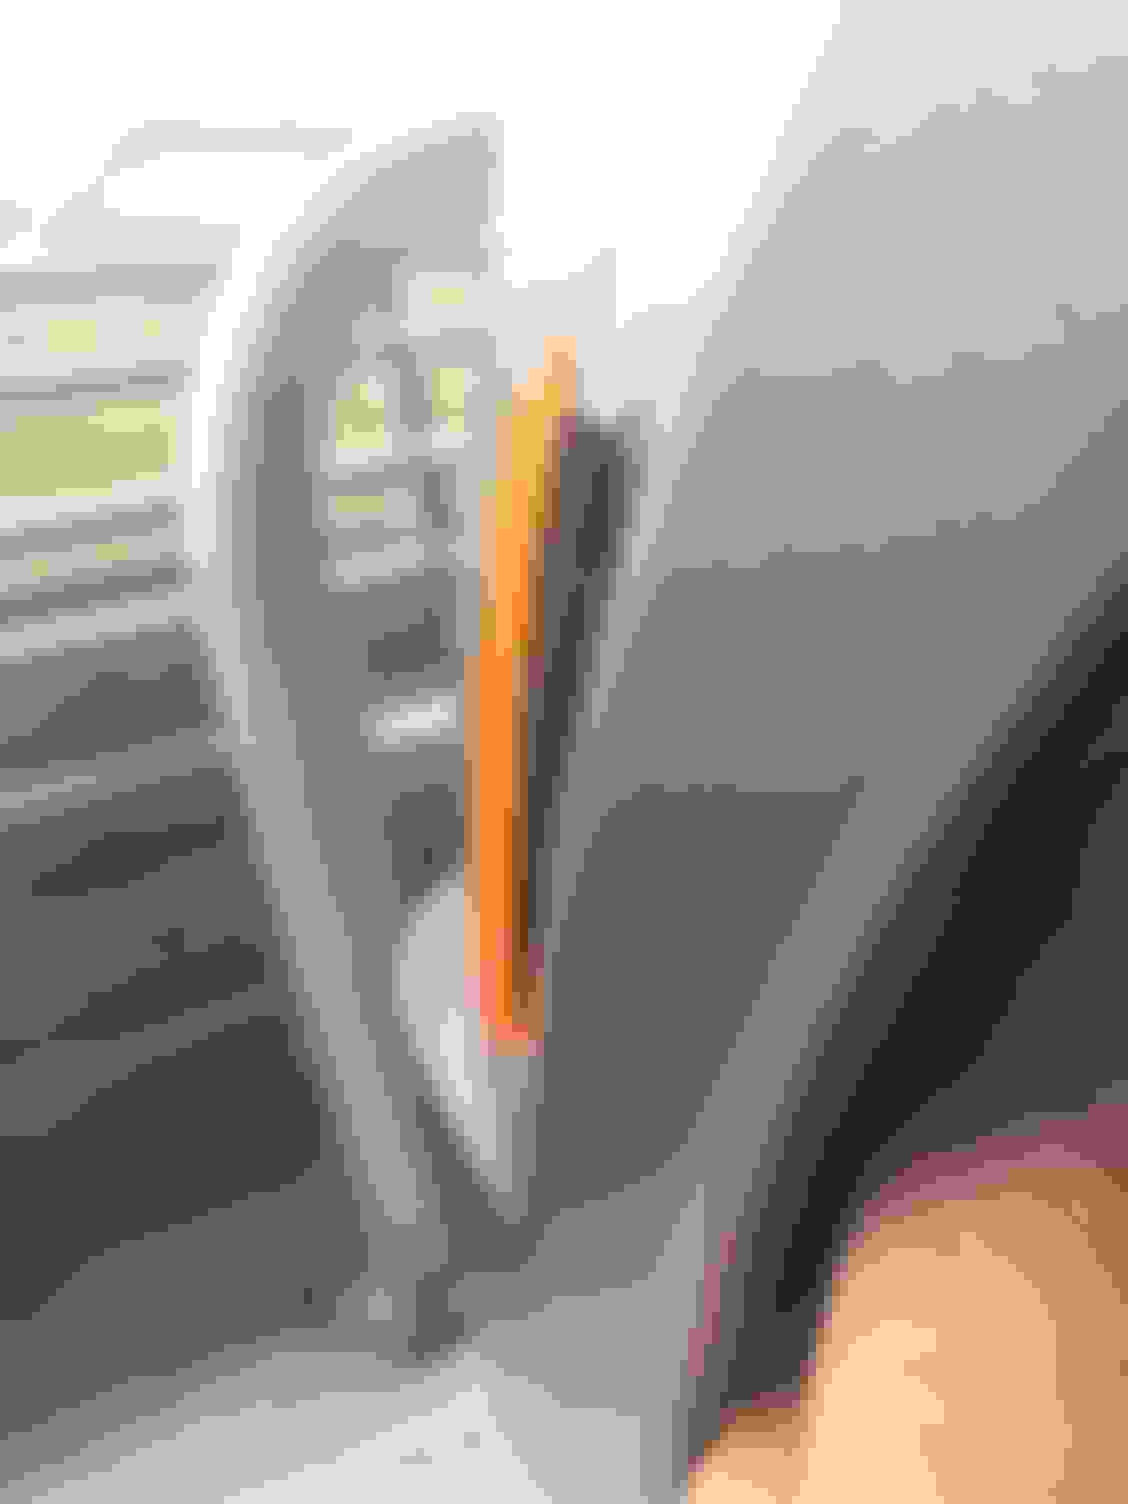
Here is how they are assembled.
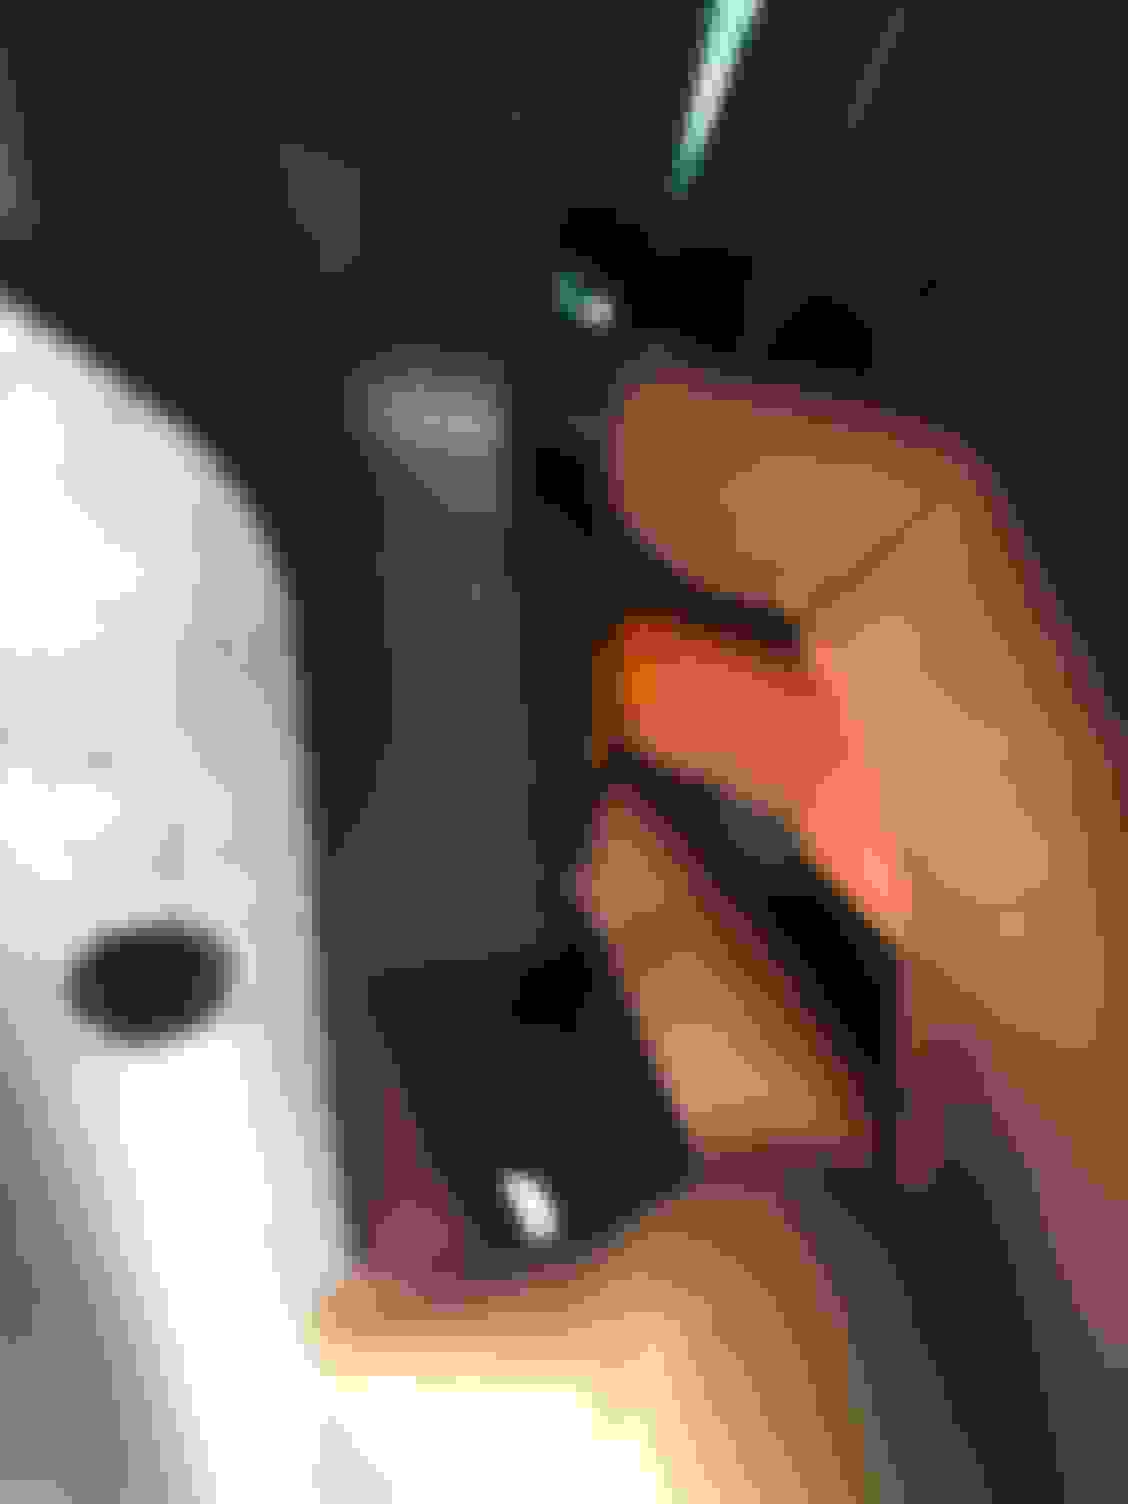
Pull the fender liner to the side, you will see a white bulb holder, with a green and brown wire. Turn holder anti-clockwise and simply slide out.
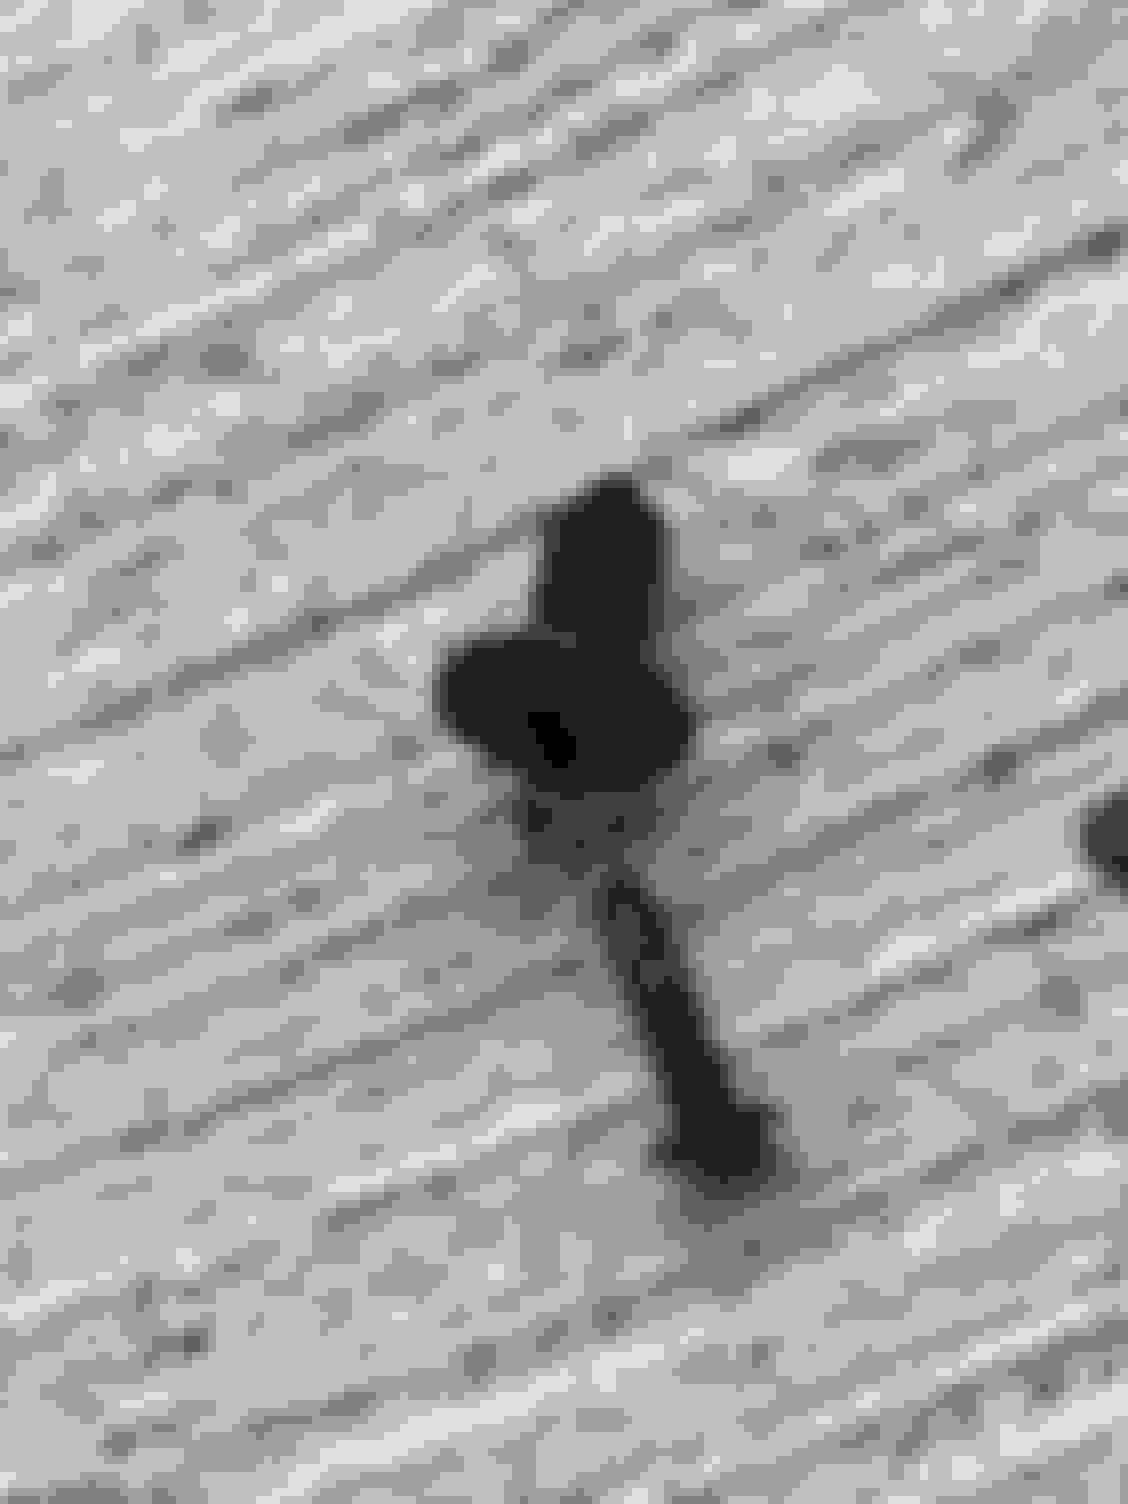
Next you will see a black bracket, that has a clip on the top. Others have suggested using a flat head screwdriver to push it in, but my finger seemed to work fine on both sides.
Upon unclipping, the orange side markers should pop out.
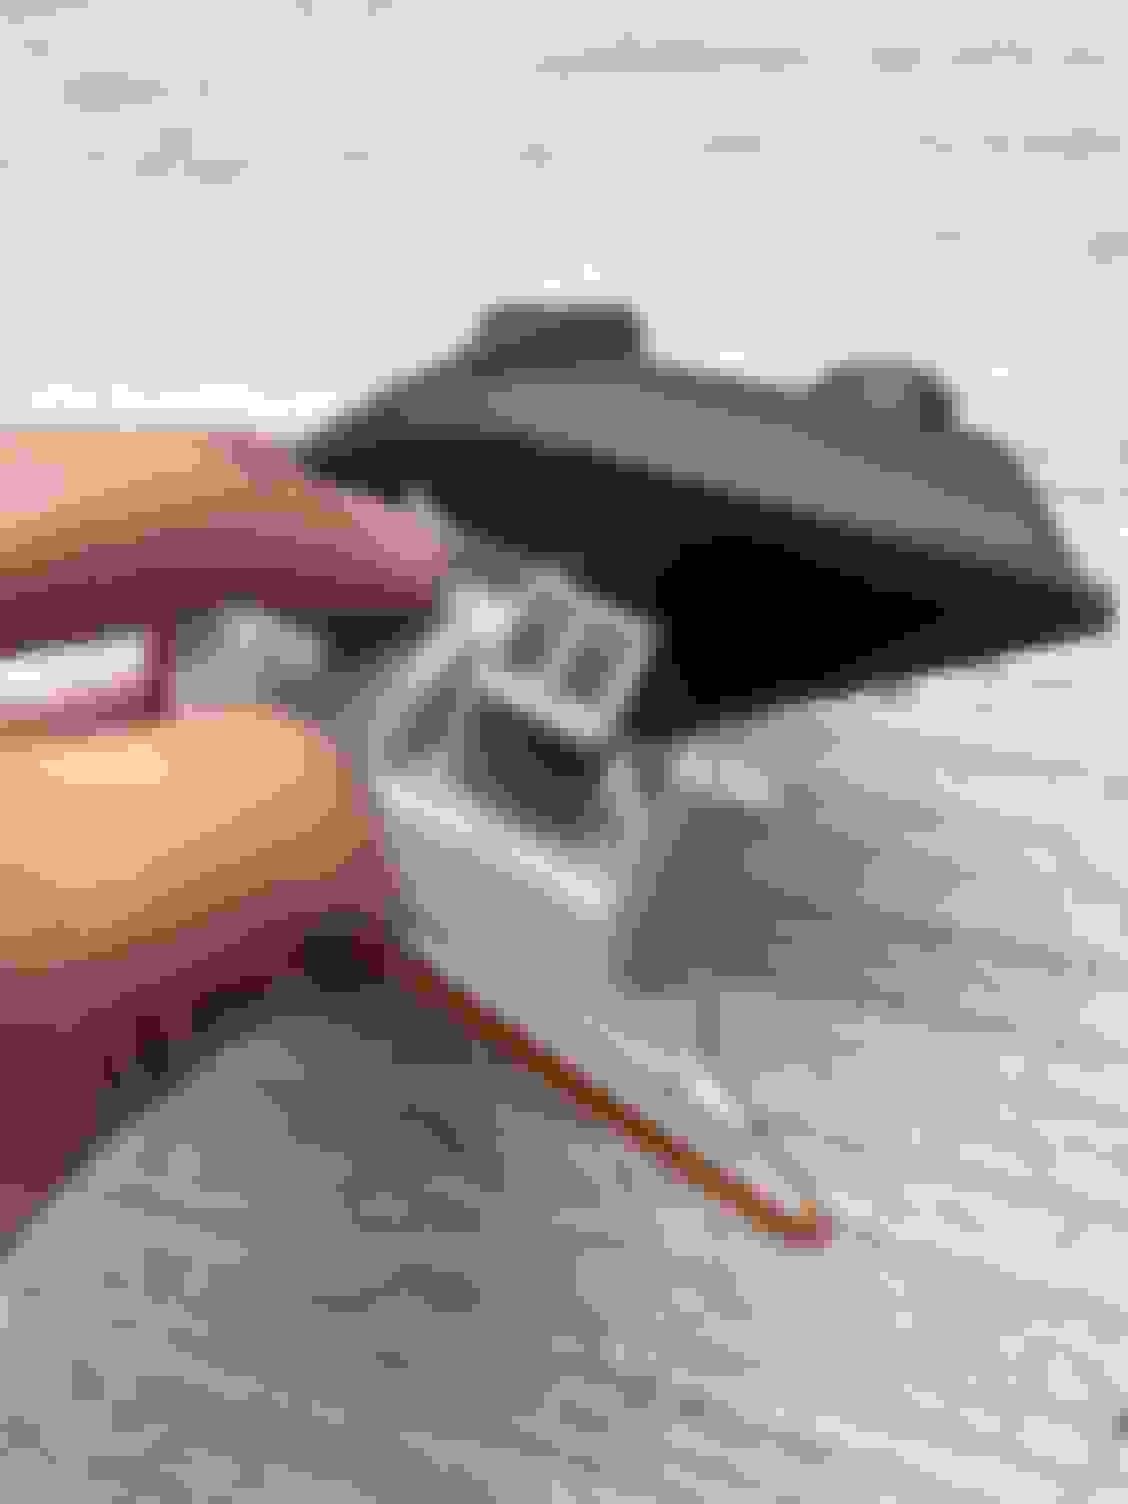
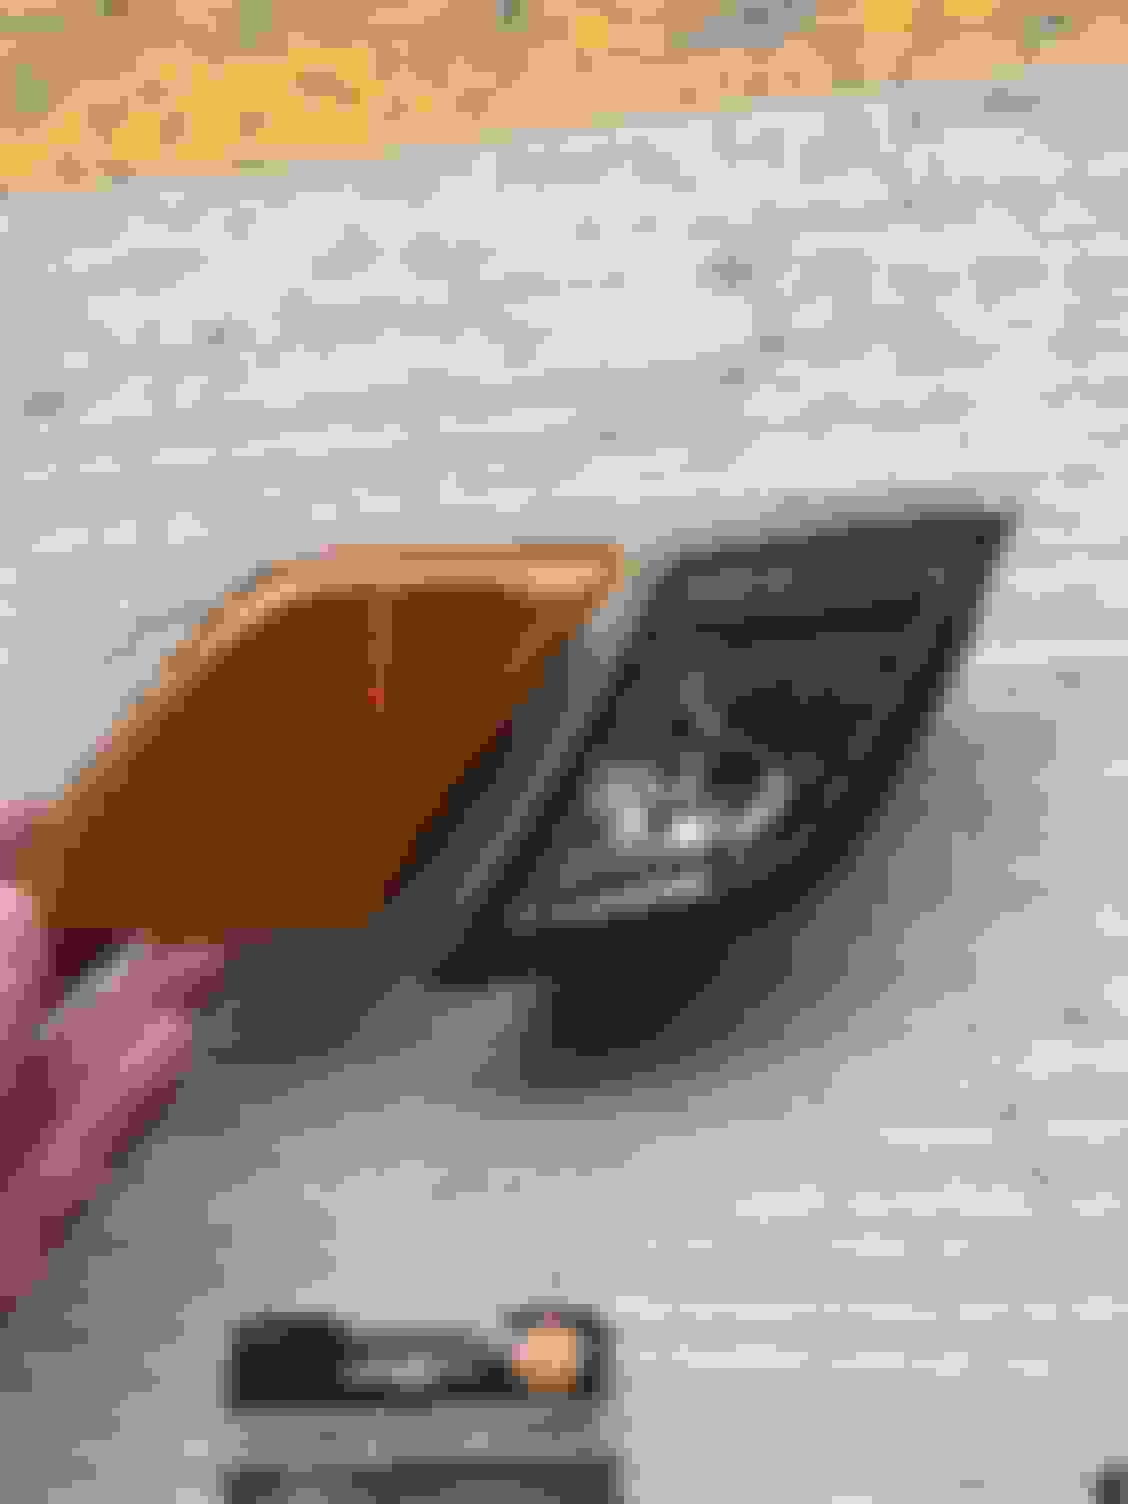
Here is how its assembled.
Bulb comparison. Came packaged with the ebay seller.
Reflector comparison.
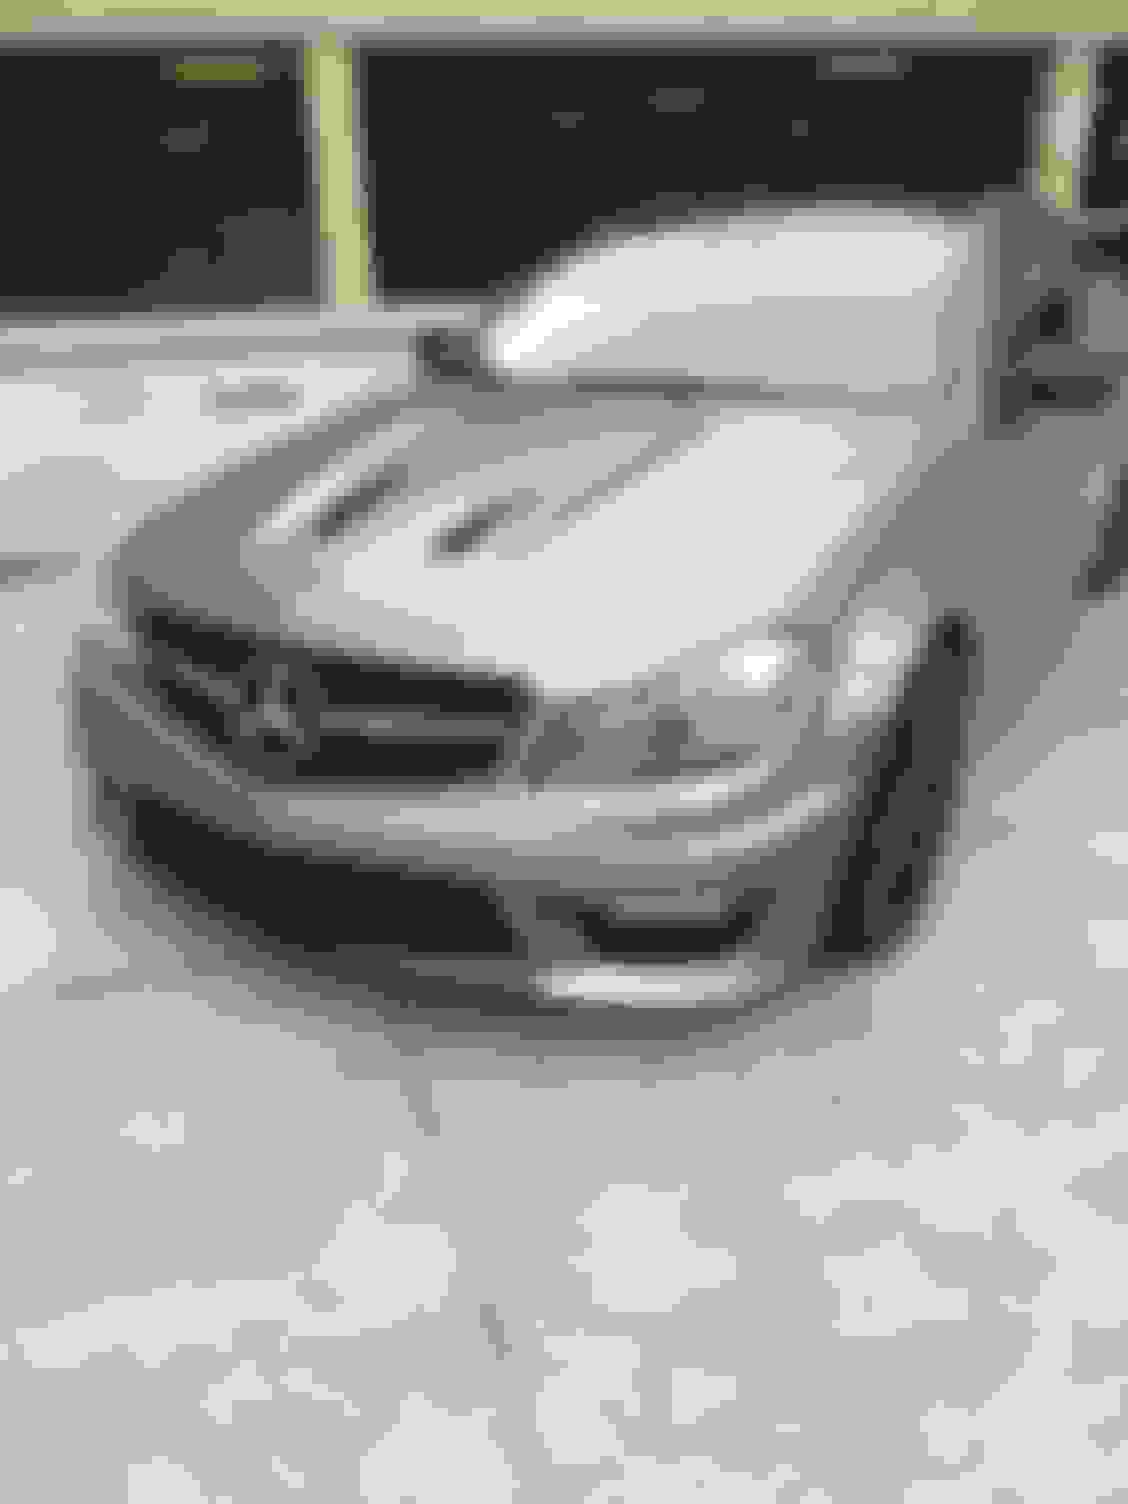
Re-install everything and the end result was totally worth the 10 mins of my time.

 09-16-2017, 03:45 PM


 why did he do all that work?


