When you click on links to various merchants on this site and make a purchase, this can result in this site earning a commission. Affiliate programs and affiliations include, but are not limited to, the eBay Partner Network.
Introduction: I�ve owned my �09 P30 C63 for two years and have been modifying it gradually since purchase. I joined the forum shortly after the original DSS group buy ended but have been intrigued by the mod ever since. I�ve chased a few that have come up used and finally grabbed one from an all around good dude @Texas E63 . What follows is my experience doing this on my own. I�m a total novice. And until buying this car had never even done my own plugs. My mod experience is in my signature. Some kind folks here have given me input to get this down laying on my garage floor in the middle of a cold NorCal winter. Thanks to @saitesd1 for answering some install questions and Lee at DSS for also helping out.
Executive Summary: Here�s a solid list of what it�s going to take to pull your driveshaft and install the DSS unit, or just to pull and R&R an OE unit. What you�re going to be doing is removing some undercarriage covers, two chassis braces, about 75% of your exhaust system, a heat shield, and finally getting after the OE driveshaft. It�s definitely a fair amount of work on the garage floor, but it is all just unbolting and bolting. Nothing too technically difficult. Now, if you have young kids as I do, I can�t ballpark a time estimate for you. To get everything torn down and just get to the DSS bolted in, I�m at about 5 hours over three days from the time my hand grabbed a jack.
Tools:
8mm socket- Used for a few bolts holding up the side underbody shields.
10mm socket- Used for the bulk of the underbody shields to loosen plastic captured nuts.
13mm socket- for removing the rear exhaust brace nut to allow mufflers to drop out.
E12 reverse Torx-
T50 Torx- removing rear cross chassis brace.
T60 Torx- removing all the bolts on both ends of OE driveshaft.
18mm Flex-head wrench-Holding rear nuts on OE driveshaft guibo/flex disc and flanges. This is KEY. Nothing else fits back there.
10mm Allen socket- Installing DSS hardware through adapter plates.
3/4� Flex-head wrench-Holding DSS hardware nuts for new bolts.
Breaker bar-for those tough bolts.
Hammer-I needed to go full caveman on the guibos to loosen them form the flanges.
Cordless Impact gun.
Torque wrench up to 70 ft-lbs.
Two floor jacks a good idea.
Jack stands.
Ramps.
Blue loctite.
Silicone spray lube.
PB Blaster spray for pretty much everything.
Light-lots and lots of light.
Vitamin I-lots and lots of Advil. You�re going to work a lot of weird muscles doing this.
Core strength- You know you can do better.
A patient significant other. Nuff Said.
The Work:
Step 1: Get that beast off the ground. That�s right. All four wheels. I found a combo of ramps in the front and jack stands at the rear works best. You need the rear wheels to be able to spin as you rotate the trans and diff to remove the bolts. There are a few ways to do this. Using ramps in front doesn�t give as much height but it was simpler because it allows just using the front side jack pads to raise each side and then put a ramp under each wheel. For the rear, I jacked under the center of the diff housing and inserted jack stands on each side.
Step 2: Remove the two side underbody covers. You�ll use the 8mm and 10mm socket to zip off all the nuts. It�s easy.
Step 3: Remove the front and rear chassis cross braces. Here you�ll need the E12 Torx and the T50 Torx for the rearward bar.
Step 4: Phone a friend. Now you need to pull the exhaust. I knew this thing was heavy but wow, it�s ridiculous. I have Mike�s Powerpipe so I first unbolted that with�and removed. Now you�ll need a friend and some jacks or jack stands to hold the weight of the mufflers as you disconnect the rear section from the resonator back from the rubber exhaust hangers. Undo one side of the cross brace 13mm nut to give enough play to squeeze one muffler inward and downwards.
Alternative: One suggestion may be to just remove rear bumper cover altogether. I opted to get crazy flexible and go after the upper rubber hangers and was ultimately successful. Spray em with lube and pry off with some Channel Locks.
Step 5: Remove the forward portion of the center tunnel heat shield with a 10mm socket.
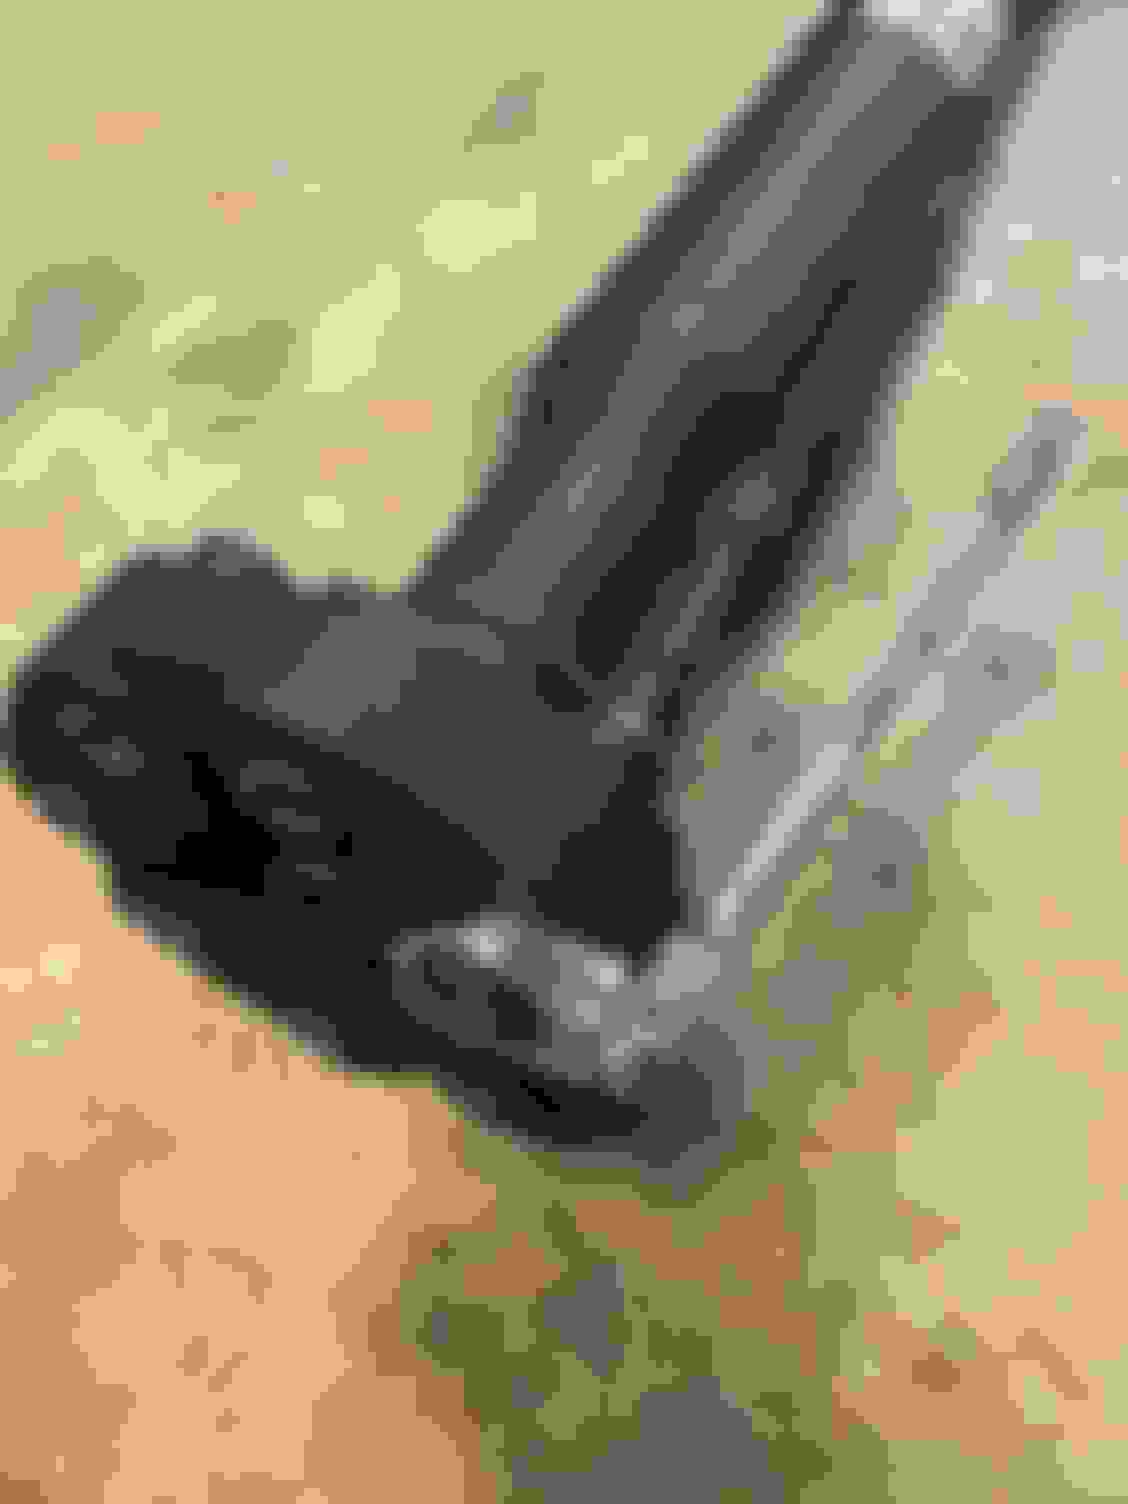
Step 6: You�ve finally arrived at the goal. Two ends of a drive shaft and 18 total bolts. This is sort of like reaching the summit. You�ve only now just done the easy part. You�ll use your T60 and 18mm flex wrench for 16 bolts on each end. Car needs to be in Neutral. Don�t let that battery die. Hook up a charger as your key will be locked in. I didn�t get pics of removing all the OE bolts but here�s an example of what it looks like:
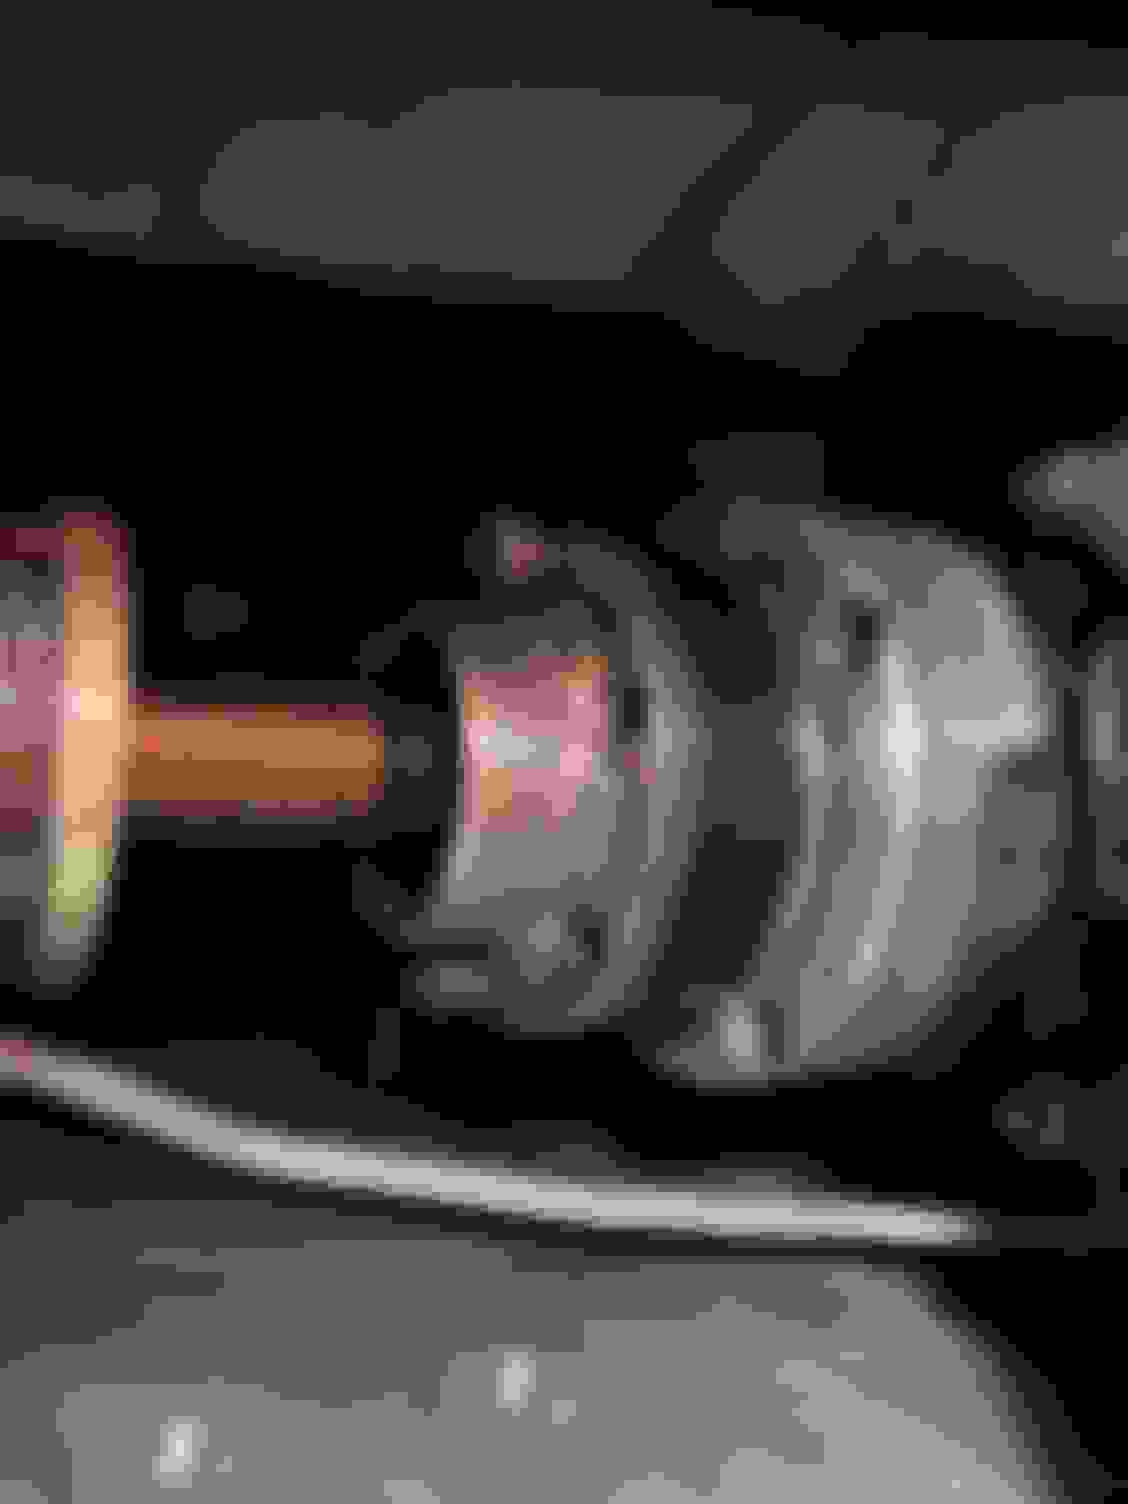
Rotate the driveshaft and remove each of the four bolts holding the shaft to the guibo.
Step 7: Move to the diff side and remove all eight bolts using the same tools. If your shaft is like mine it�ll be stuck on the guibo with no chance of falling free.
Step 8: After all eight bolts are out, I moved back up front and disconnected the shaft from the trans guibo by pulling the shaft rearward and downward out of the guibo and resting the end on some padding down around the trans mount where it can hang out. Again, no pic here but it�ll make sense.
Step 9: Loosen the center tunnel brace now with a E12 Torx but do not disconnect as it supports the proper angle of the shaft for removal. If you remove it, I found the shaft will hang down and not ideal as my theory is it puts pressure on the �pin� the end of the driveshaft mounts to.
Step 10: Disconnect the rear end of shaft from the diff. I had to lovingly smack the guibo with a hammer to loosen the connection to the shaft. This worked well and I was then able to wrestle the shaft off the guibo. I had also previously hit the metal inserts with PB Blaster which helped loosen it up.
Step 11: Fully disconnect the center tunnel support and drop out the driveshaft! Feels good no?
Step 12: Back up front. Remove the front guibo which is still on the trans flange. Same method as before using 18mm flex head to hold the back nuts and a T60 up front.
DSS INSTALL
Step 13: DSS indicates the CV joint end goes to the trans end and the Universal should go to the Diff. Bolt in the trans flange adapter using the supplied hardware. DSS uses a 10mm Allen head bolt and a 3/4� nut so put away the T60 and grab some 10mm Allen sockets and your 3/4 flex-head wrench. Clearance for a socket wrench can be tricky in spots for the DSS and 10mm so I found some extensions and swivels helped a bit.
TORQUE SPEC: Torque to 70 ft. lbs. per Lee at DSS. This will be a little tough if you�re not on a lift. Once I found the leverage, I was able to torque the plate in.
Step 14: Positioning in the DSS. With the front flange now mounted, I loosely bolted the rear adapter to the rear of the DSS. This may require two people. I was able to lift the shaft up and just get the trans end mated but not bolted. Putting forward pressure on the shaft to hold it there, I quickly got one bolt through he rear of the shaft into the diff flange to hold the rear up.
You will need angle the Universal �up� towards the top of the car to get the shaft to clear the Diff pin and center the shaft so it will seat. I just had enough clearance doing it this way and the shaft seated.
Step 15: Now align the front shaft with its plate to install the six 8mm Allen bolts that hold this end to the trans. Torque them down.
TORQUE SPEC: Torque all 8mm Allen bolts to 57 ft. lbs.
Step 16: Torque down the rear 8mm Allen bolts if you haven�t. Annnnnd DONE! Your DSS is now all bolted up and torqued in!
Reinstall everything from heat shield up and enjoy! After getting the DSS in, it took me 1.5 hours to reassemble everything including remounting the exhaust, alone, at night. Caveat: I've not yet test-driven the car so...
Nice writeup Chris - great to see it installed and hope ya' like it, it for sure led to a more direct feel, not sure it improved performance but I liked the drive line feel better
Thanks guys. It was a fun project and hard work and unfortunately it only occurred to me to take more pics to put this together after the bulk of installing the DSS was done. That's why it's a little wordy. My only goal is to pass on my experience in the hopes that someone finds some of this helpful for their project. I can report my car runs and drives LOL. I've only gone 5 miles and haven't really explored the change in dynamics yet but will. I was getting a bit of faint clicking/rattle noise only on decel when foot is off the gas; almost sounded like a heat shield rattling so I'm just taking it easy. I did triple check all my clearances bolting it all back in and everything appeared to have ample room so hoping it's just usual NVH and not a bigger issue. I mean, I've got the track ECE mounts and those things vibrate. Regardless, time to find the next mod!
Do you get a quite whining sound? I put my DSS shaft in a few months ago and get a faint whining sound. Other than that mine is great. Plenty of full throttle pulls.
Yes whinning as well. But that was really only noticeable on the the first drive when my super-senstive spydie senses were tuned into every little noise the car was making driving with no radio down a smooth road. I'm convinced my install is solid and love the feeling!
Yes whinning as well. But that was really only noticeable on the the first drive when my super-senstive spydie senses were tuned into every little noise the car was making driving with no radio down a smooth road. I'm convinced my install is solid and love the feeling!
Am I the only one who cant drive with music on? the noise these things make is better than music for me :P
seriously though, this is a great write up, good work!
I'm sorry, but those spacer-donuts, are they steel or Aluminum?
And I have to wonder what the weight of this unit would have been, if somebody would have bothered to research a receiver end of the universal, where the 4-bolt pattern matches the one from our diff and that donut and 4 extra bolts would not have been necessary anymore, and then researched a CV with a 4 bolt mounting pattern, instead of 6, to where the other donut and set of bolts go away too.
If you look at the markings on to donuts "MBPL-2", it seems these guys just have the same driveshaft and then machine spacers for different cars, to get the bolt pattern and probably the length too.
I mean, even if only one of the two ends could bolt directly, that could be 2-3lb right there.
Mercedes SLR McLaren 722 S Is Extremely Rare Example Modified by McLaren
Slideshow: A one-of-one U.S.-spec Mercedes-Benz SLR McLaren Roadster became even rarer after a factory-backed transformation at McLaren's headquarters.