When you click on links to various merchants on this site and make a purchase, this can result in this site earning a commission. Affiliate programs and affiliations include, but are not limited to, the eBay Partner Network.
IMPORTANT ! if you buy new coils for your coil-pack, buy MOTORKING ONLY these are superior build, supposed never have to be replaced again
ALSO, YOU MUST HAVE MERCEDES XENTRY DAS (live Fault Counter) to precisely see what coils fail ! or any advanced code reader that has a live fault counter
PART 1 ======================
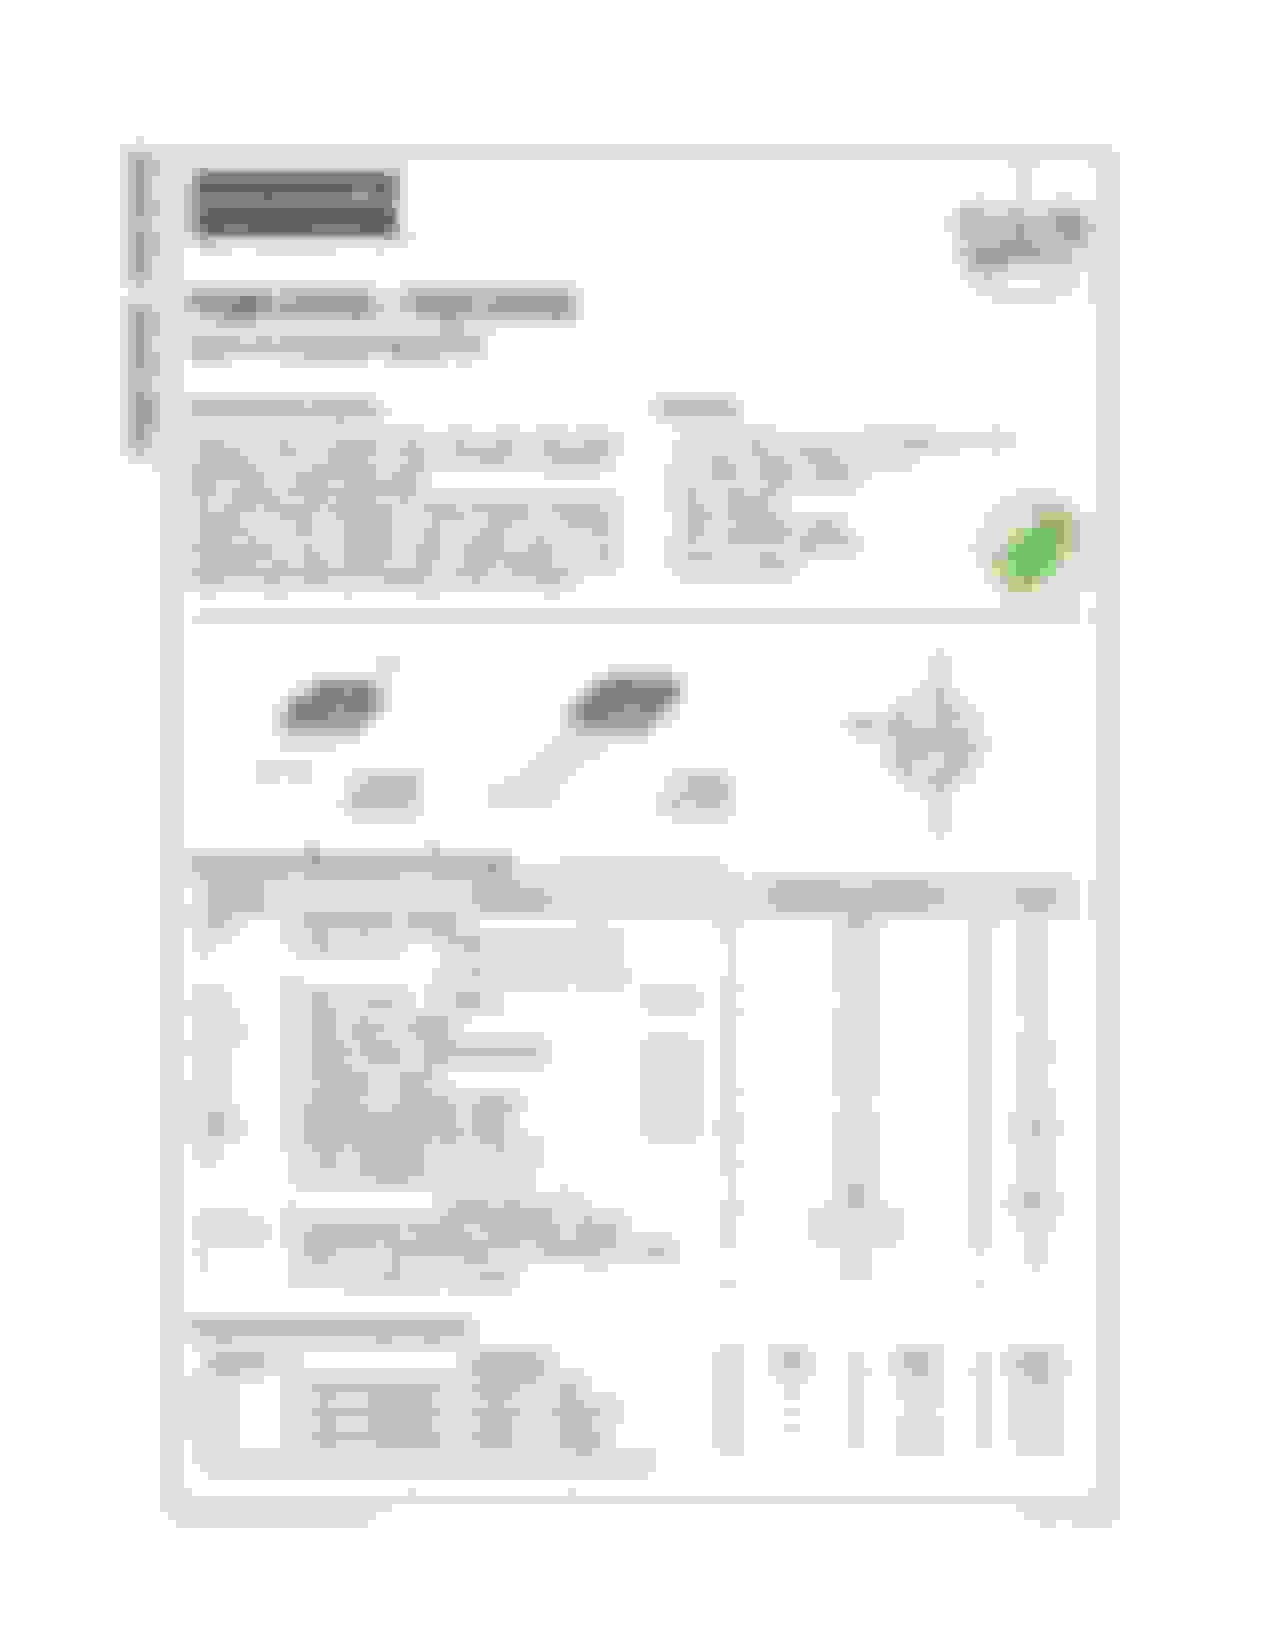
Opening the sealed cover
First of all, I am pretty sure that the best method is to heat up the whole coil at 100 degrees celcius / 212 farenheit in a oven (this is how you remove the glass from your headlights)
I don't have a big oven like that so:
So here is my method for now
with heatgun, heat up the borders for around 20cm, then cut the whole border of
do this 20cm by 20cm
once that done all around, heat up again and cut the silicone all around
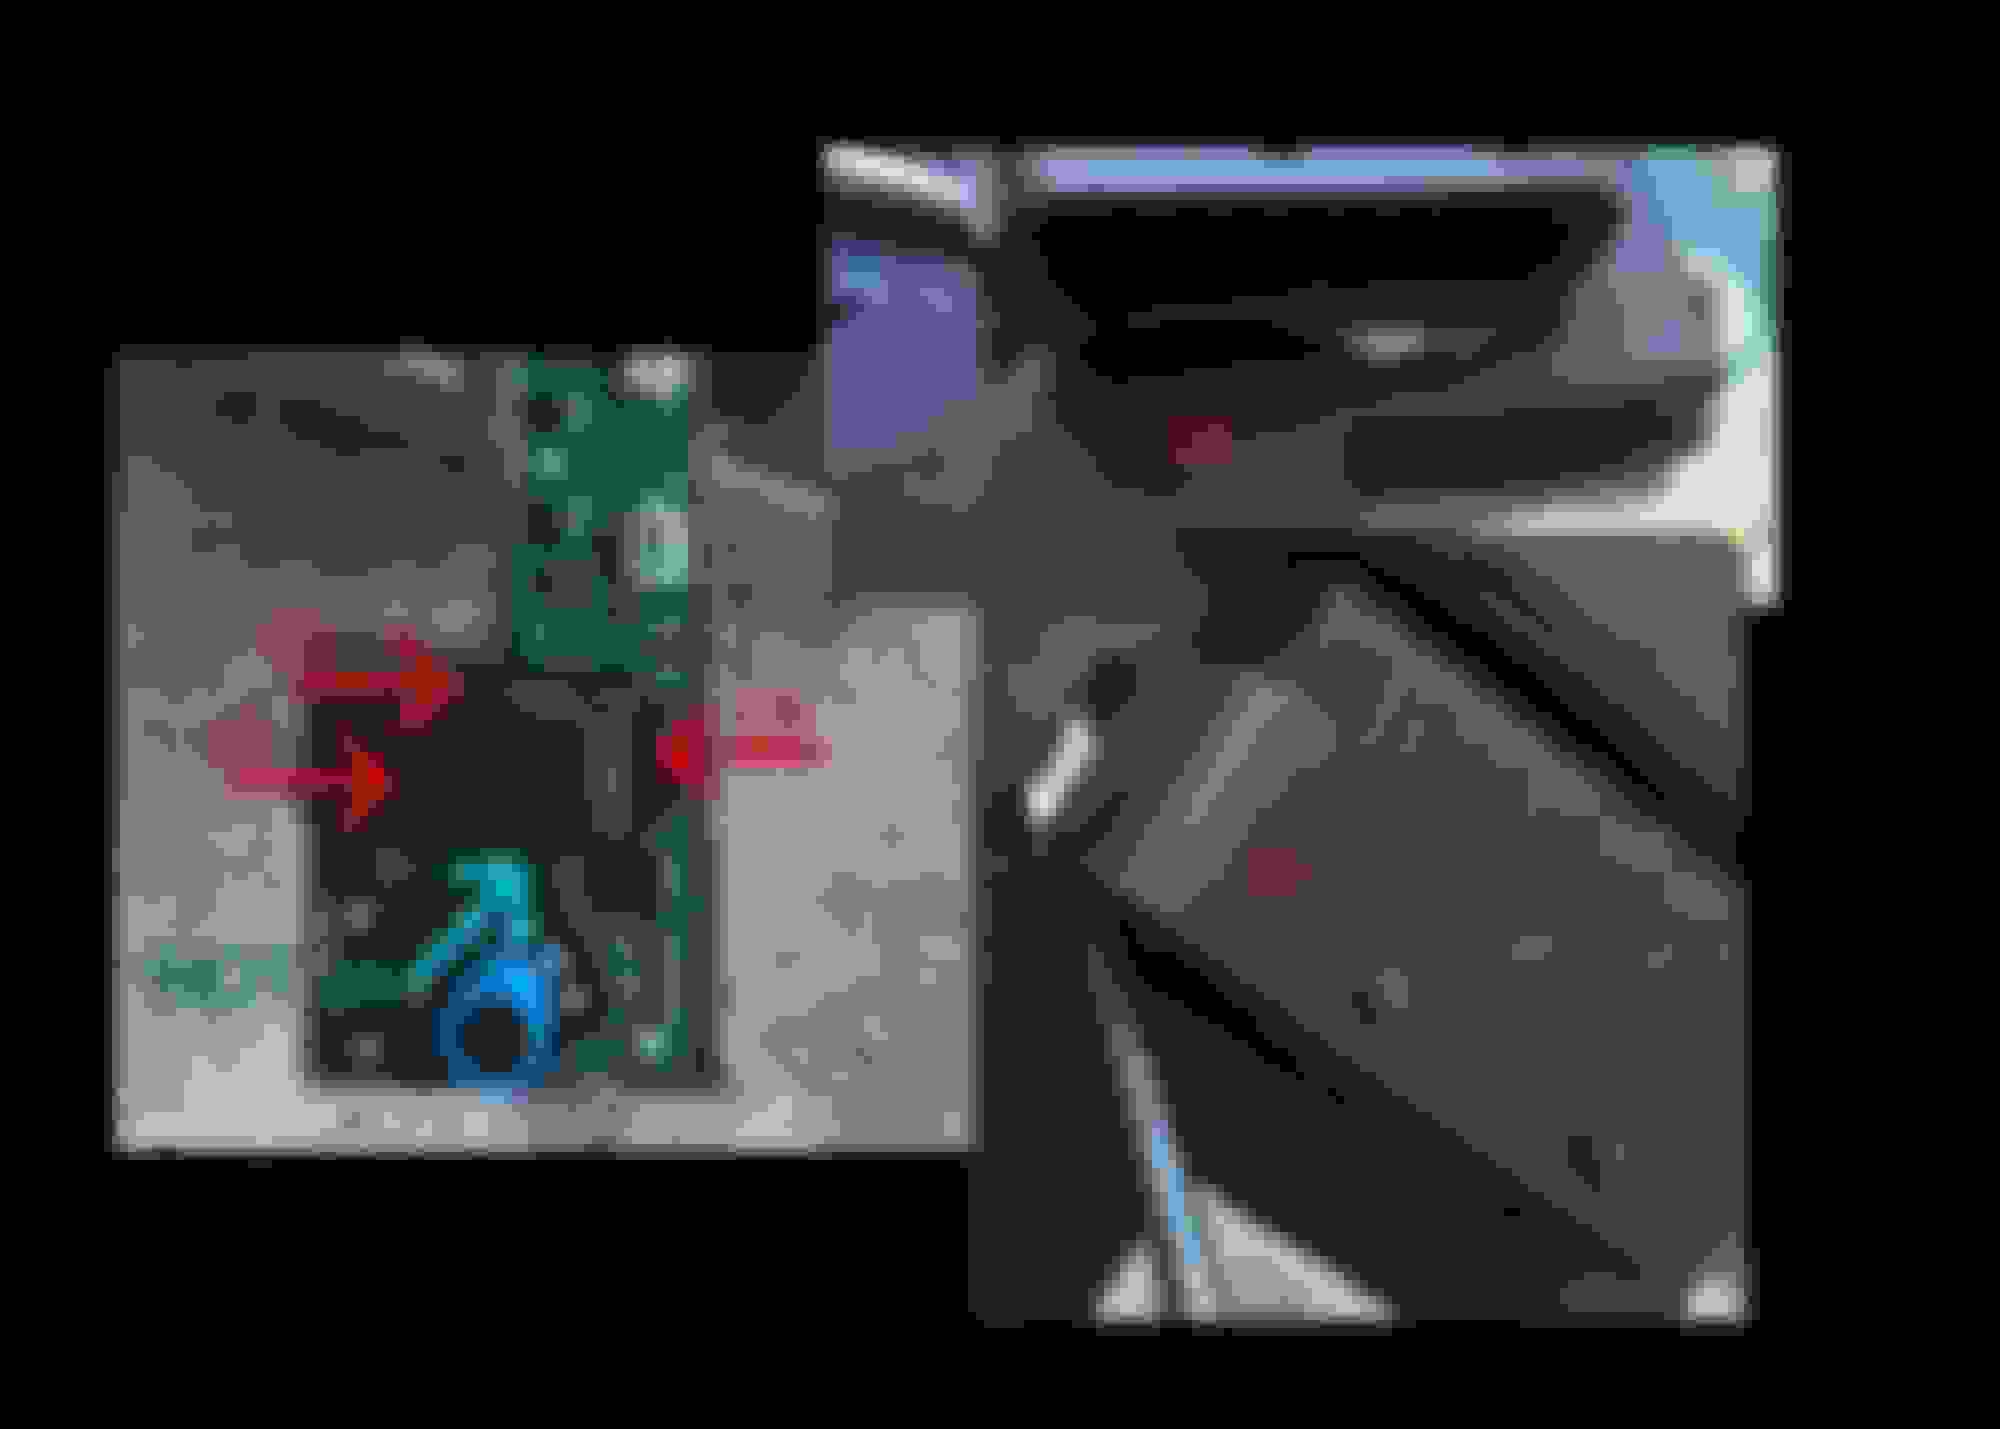
the the difficult part, the silicone around the plug
3 of the 4 sides around the silicone plug are easy, space enough to insert a hot screwdriver and push the silicone
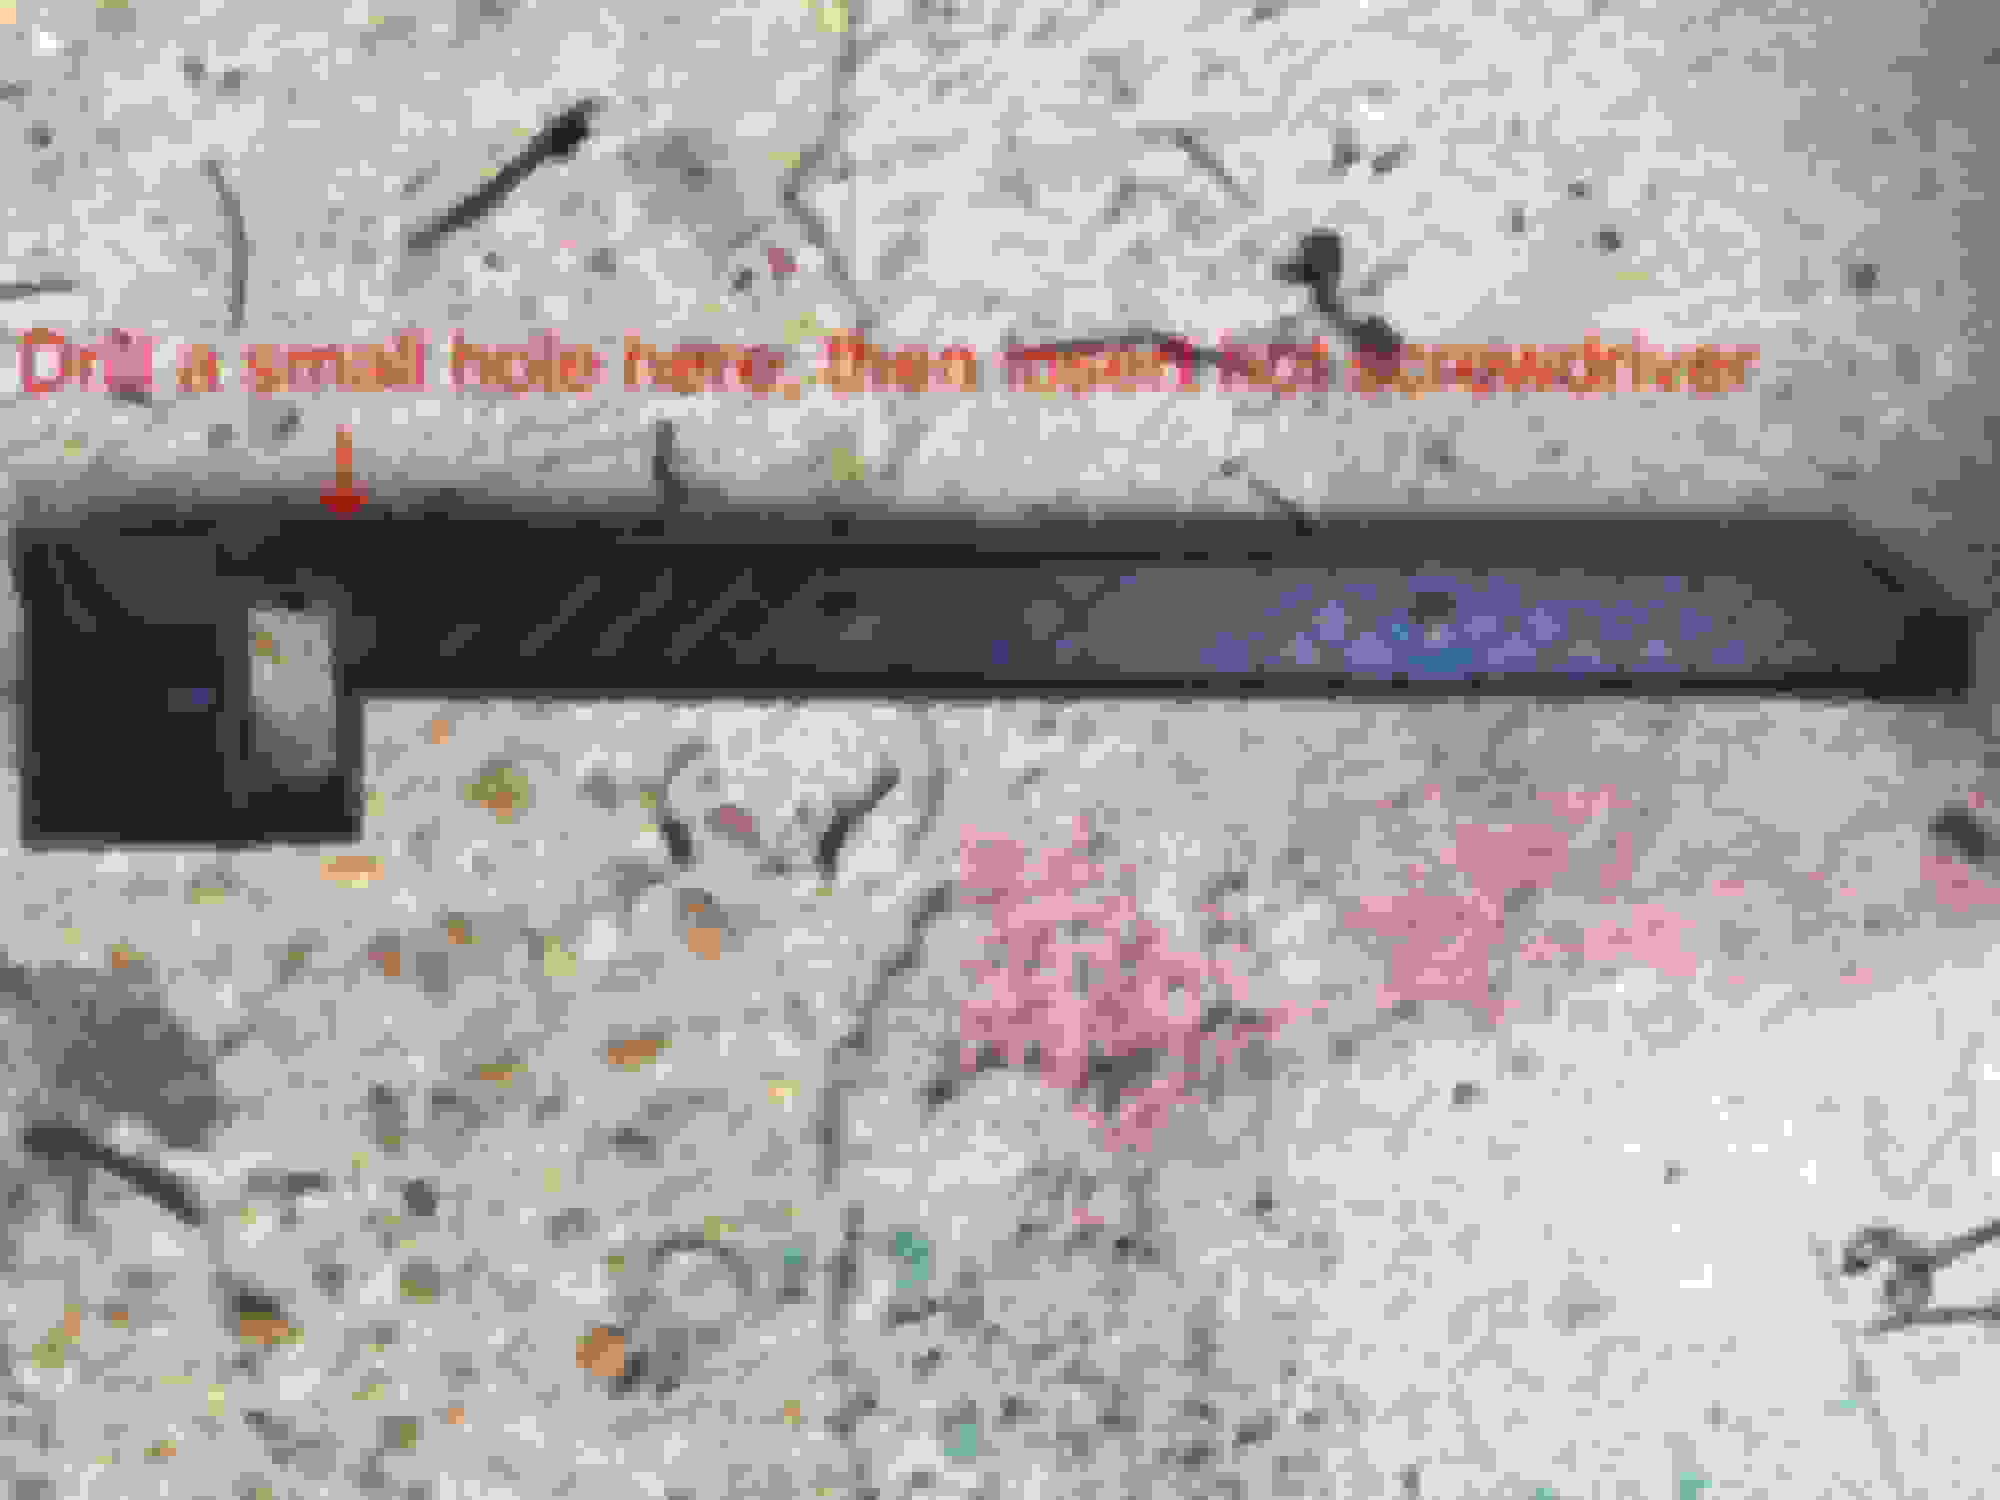
one side is impossible to insert a screwdriver
solution is to drill a small hole on one side to be able to insert the screwdriver
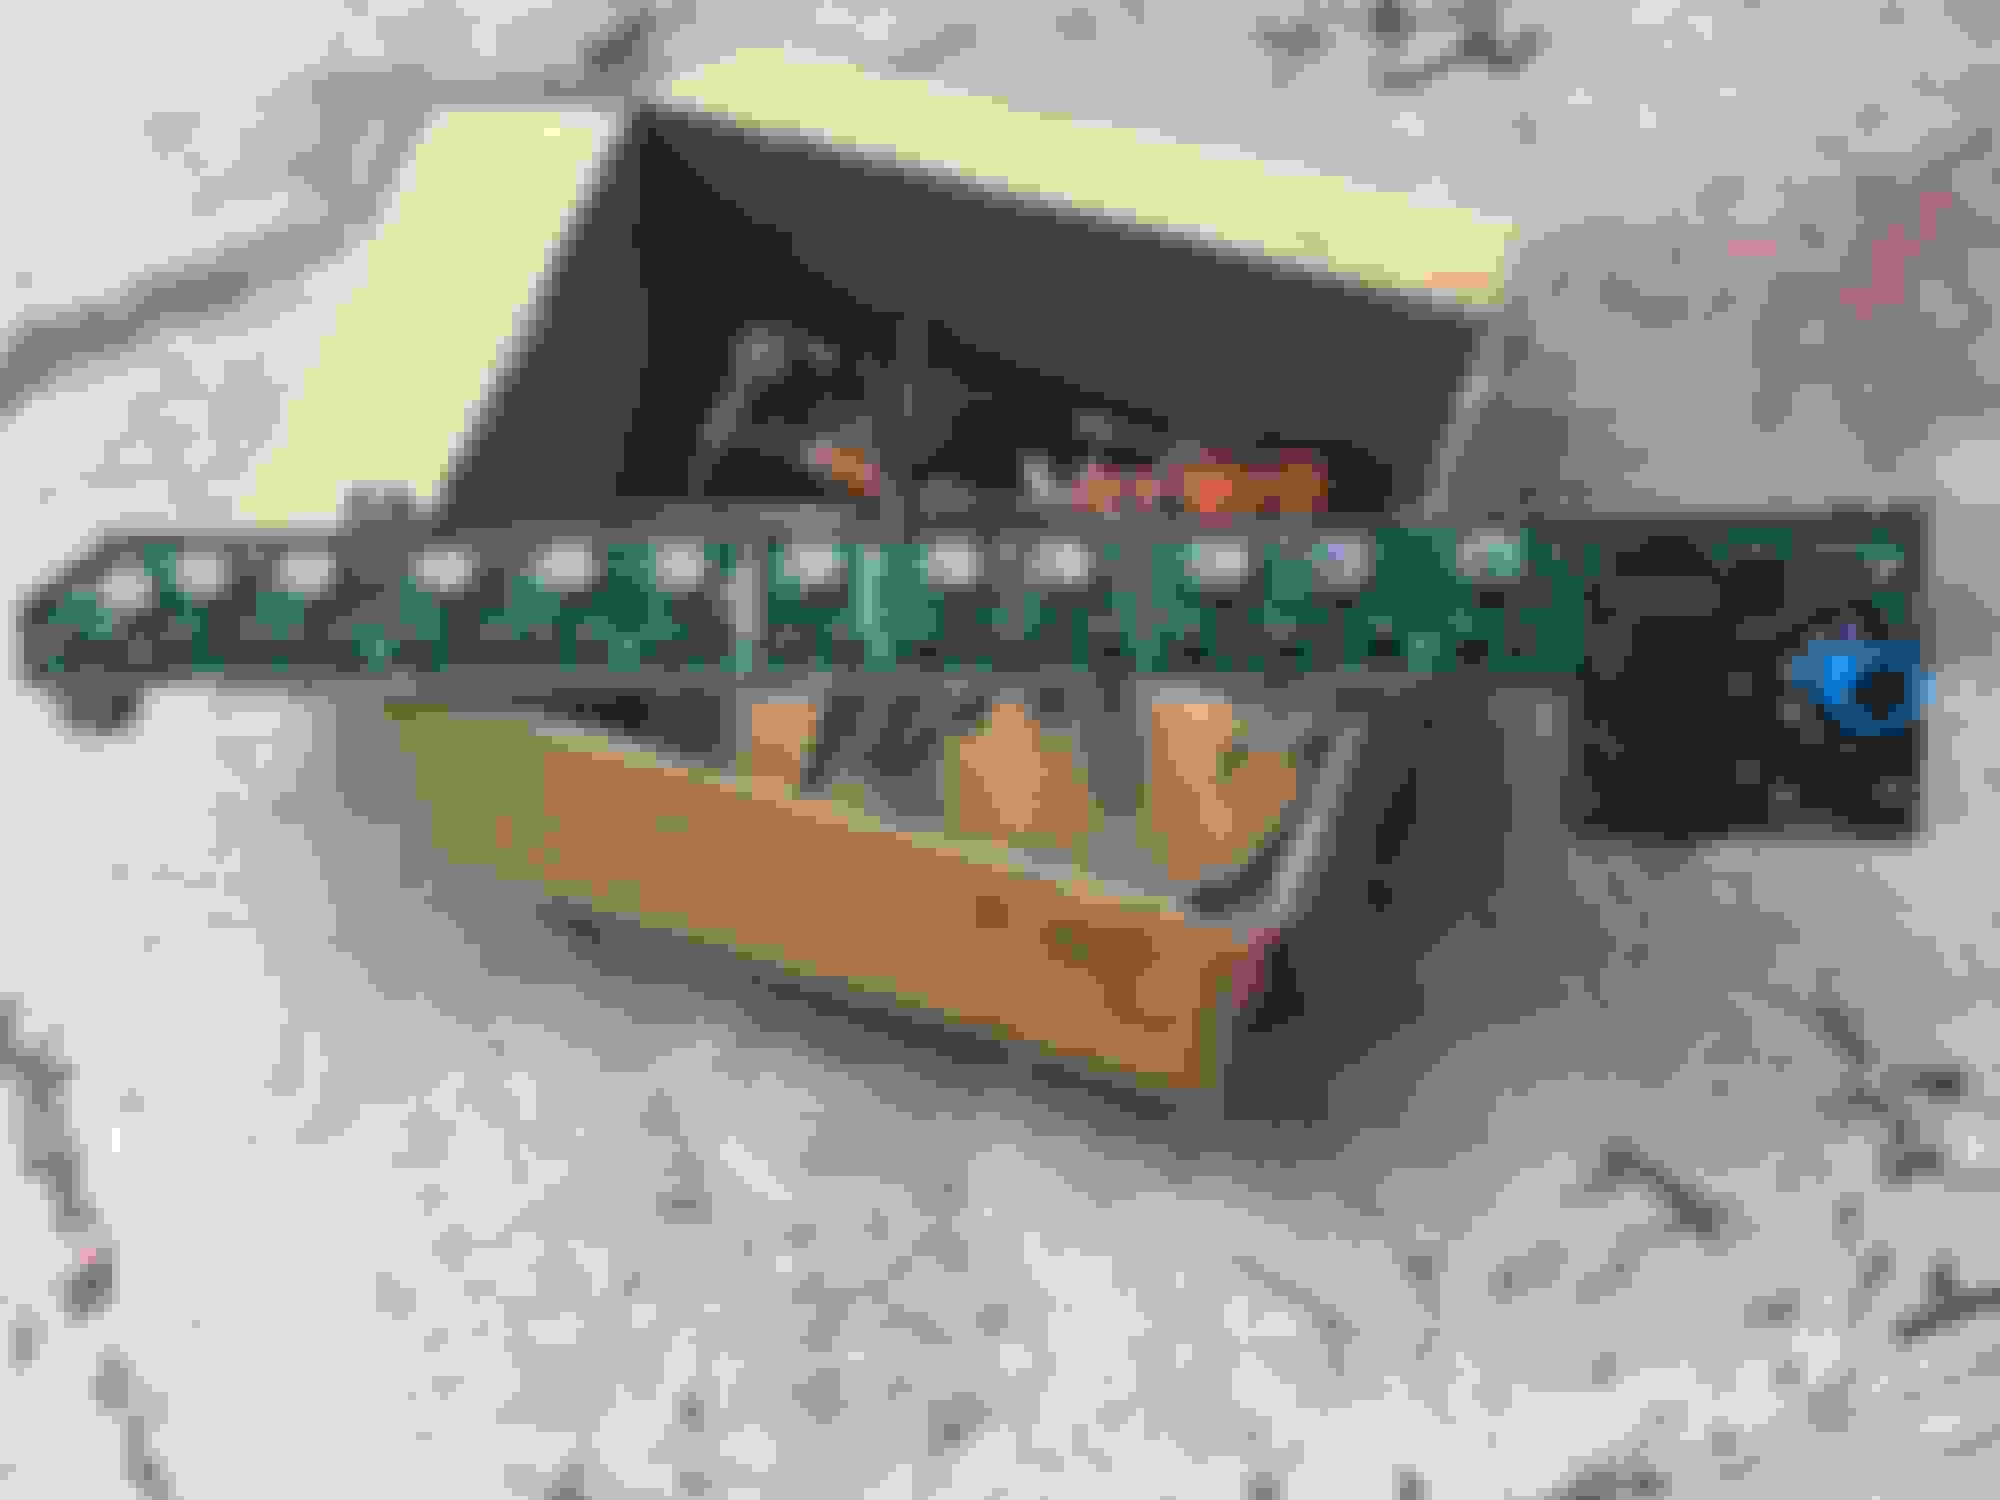
result
PART 2
======================
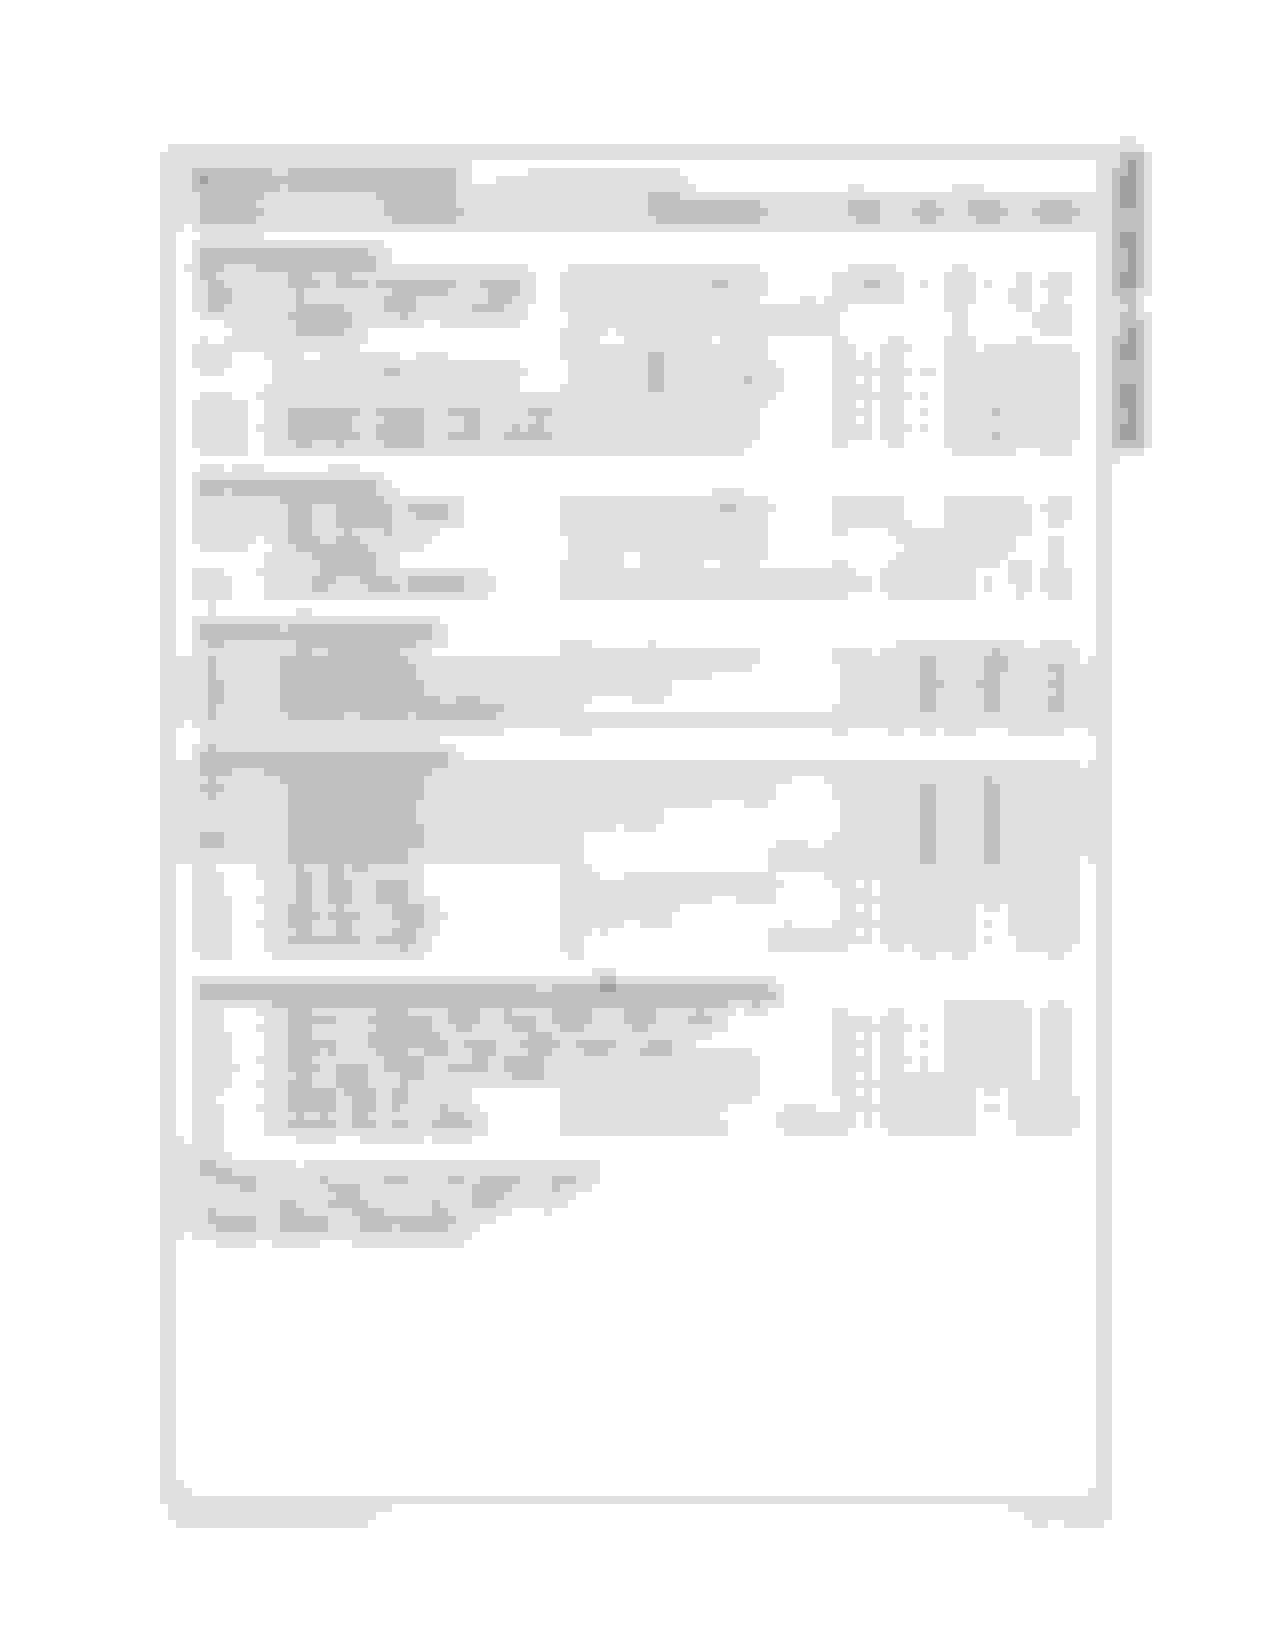
THE FAMOUS OIL IN COIL LEAK
So, when removing your coil pack you will probably find oil in the last, passenger & driver side coil.
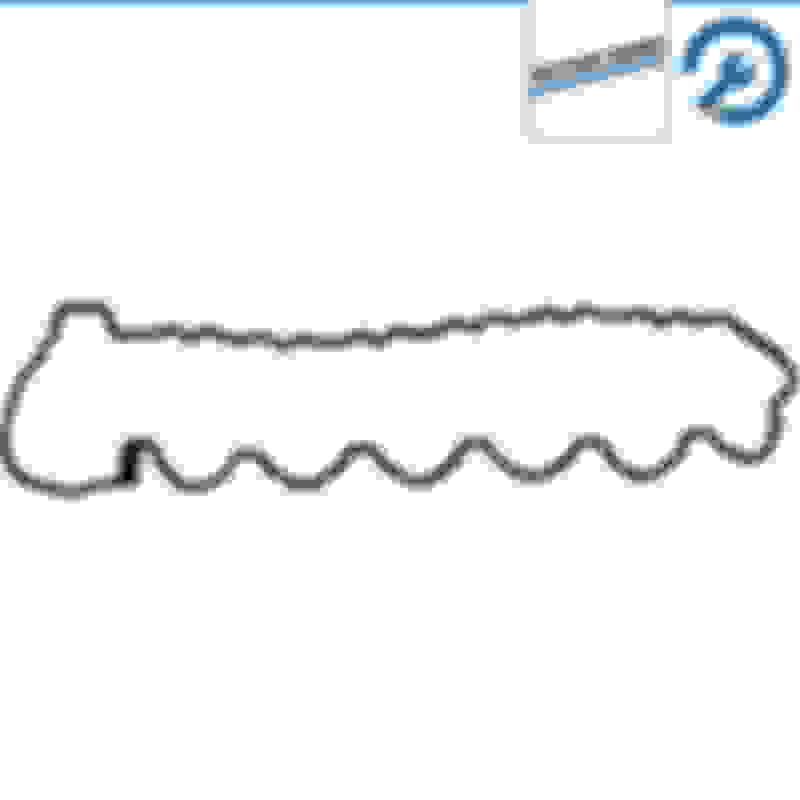
Why ? it's just the two cylinder head gaskets
change them !, preventive too ! because these leaks can kill your coilpacks
A1370160221
A1370160321
Rubber gasket had no breaks, but was hard cooked
PART 2bis
====================== sometimes your problem is just these sensors, not your pack
also, if you have one side failing only, swap the camshaft position sensors left with right
and see if your problem changed
if not, they are OK
verify they gaskets and clean them up
PART 3
============================ sometimes your problem is just these spark plugs, not your pack
before testing, if you don't know how old they are or they have mileage or look old
replace all your spark plugs !
THE ONLY RECOMMENDED PLUGS ARE: NGK 5648 / IFR6Q-G
laser iridium
PART 4
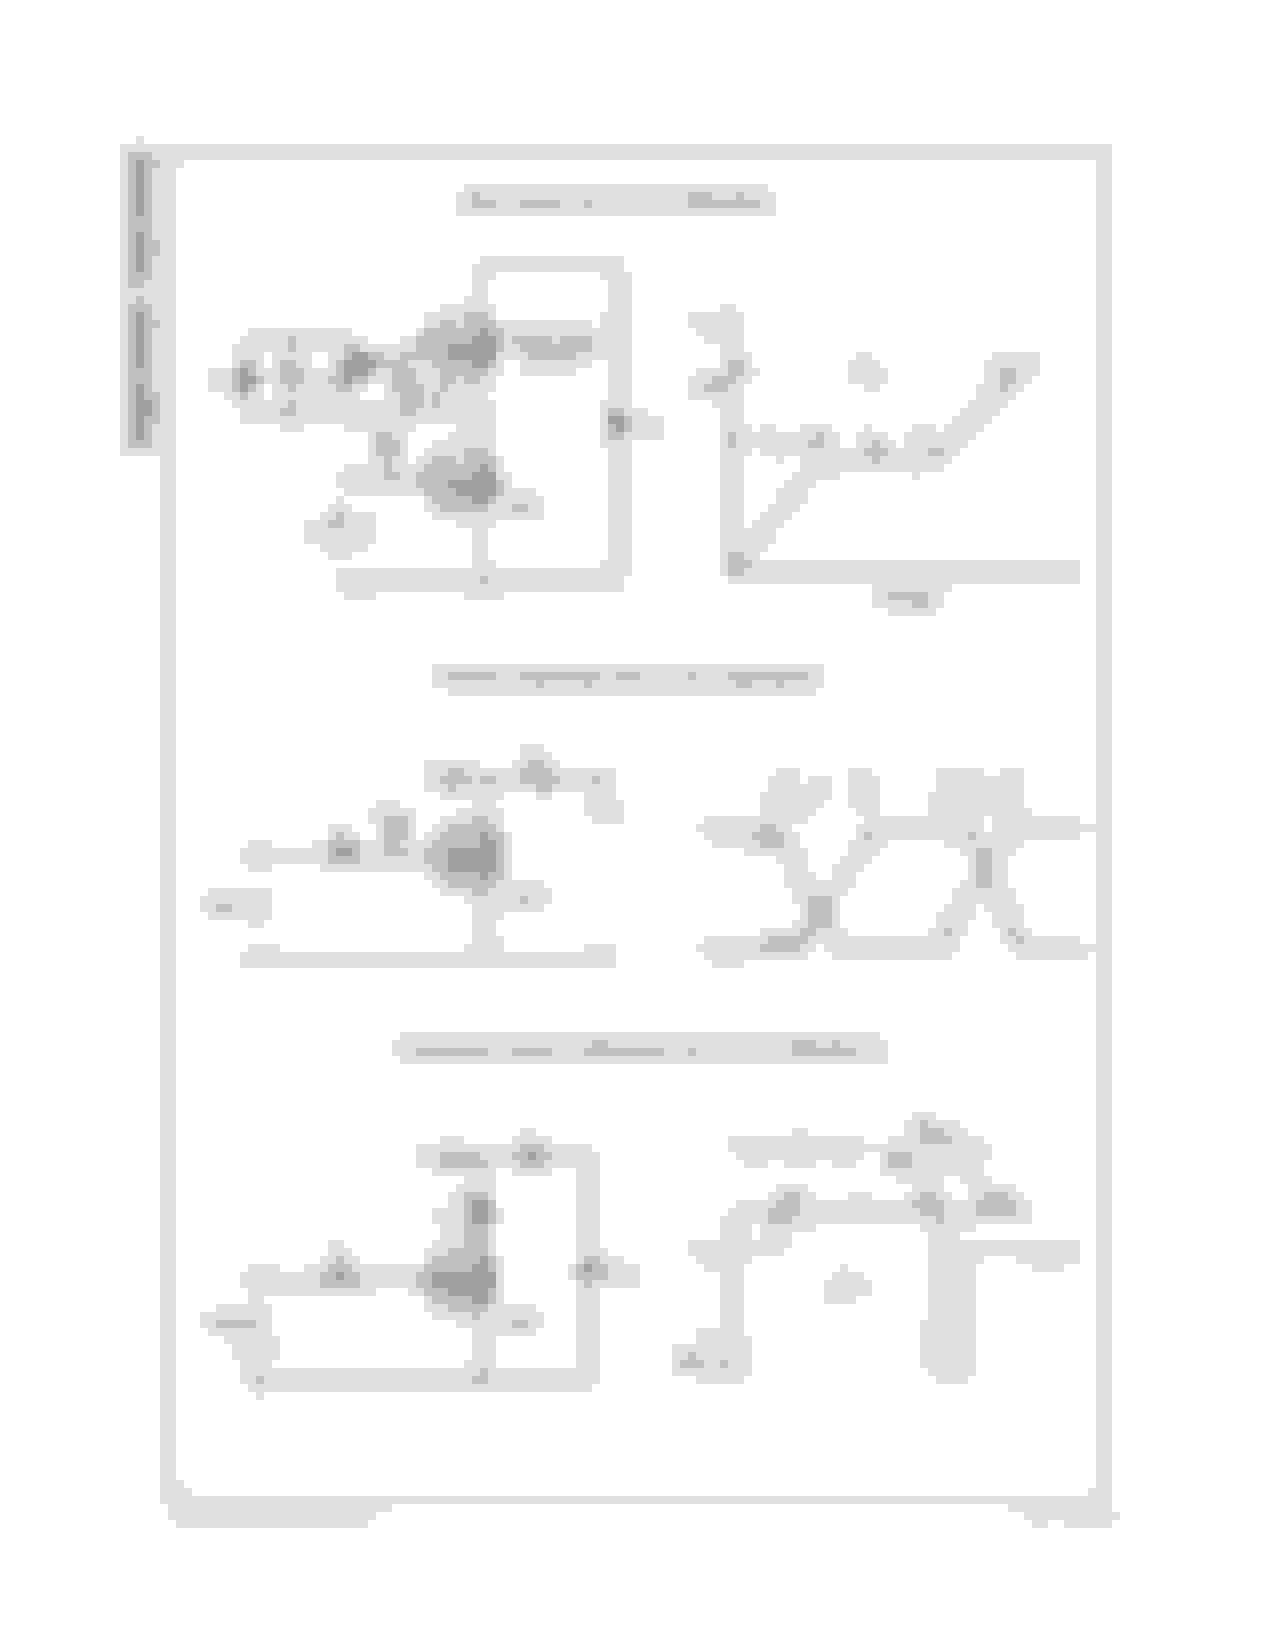
============================== sometimes your problem is just this transformer , not your pack
Problem could also be your transformer
easy to open don't worry
for this adventure, I just got 2 packs from same car L & R
left has 4 coils failing, right only 1
price 500$
don't forget that if 1 cylinder fails, not both coils have a problem
so I potentially have 19 working coils and two working modules for that price
If you replace cover gaskets also, why not replace you engine wiring
MB recommends to change these as the heat dries them up after 8 years
make sure you get latest model A2751501833
Interesting. I just swapped out my left side coil. I have two complete coils and the igniter I need to sell now, one has a broken coil (damaged during removal), and the other side started to develop misfires on the rear 3 cyls and had codes for a Cyl #10 A/B coil fault.
Interesting. I just swapped out my left side coil. I have two complete coils and the igniter I need to sell now, one has a broken coil (damaged during removal), and the other side started to develop misfires on the rear 3 cyls and had codes for a Cyl #10 A/B coil fault.
You know what ? when I feel a mystery ambiance, I always need to find out.
I have been doing some soldering over years, my experience is that I don't want to touch Iphones and ECU chips anymore
this I don't touch
this I do solder
so seriously, did you see the size of the soldering on the coils and eventually the mosfets ???
Even a blind could solder that !
So that added to the mystery created that there is nobody explaining you how to open these packs ...... weird !
only warnings like, you can fix it yourself but don't !
this is why, ladies and gentleman, I am doing it... I didn't say I will succeed, but probably
Actually, I do touch those. Nearly every day, since I'm the Renesas applications engineer for those very parts. But even I, with more than 35 years experience as an electronics and software engineer, would not expect to successfully repair the circuit boards on these coil packs without a schematic and parts data sheets.
You are going to need some high-end soldering and de-soldering equipment to replace those MOSFETs without damaging the PCB. Not only that, there are numerous (very tiny) associated components, such as MOSFET driver ICs, flyback diodes, etc. around them that could also be faulty.
Good luck, you'll need it.
I have never been talking about repairing the board. If you had informed yourself you would know that the motorking repair kit comes with 2 mosfets per coil
that is preventive
and that, even a donkey can solder
So how do you know whether a coil itself is bad, or whether it is the driver circuitry? Do you have a testing strategy, or will you just shoot the parts cannon at it and hope on blind luck that you accidentally succeed?
So how do you know whether a coil itself is bad, or whether it is the driver circuitry? Do you have a testing strategy, or will you just shoot the parts cannon at it and hope on blind luck that you accidentally succeed?
freedom of speech
First of all, if you don't have Xentry Das, forget about it (just added that to the threat start, thx !)
I will be only switching coils and eventually those two mosfets according to DAS
if the board fails, then I can choose between a local electro repair store or discard it
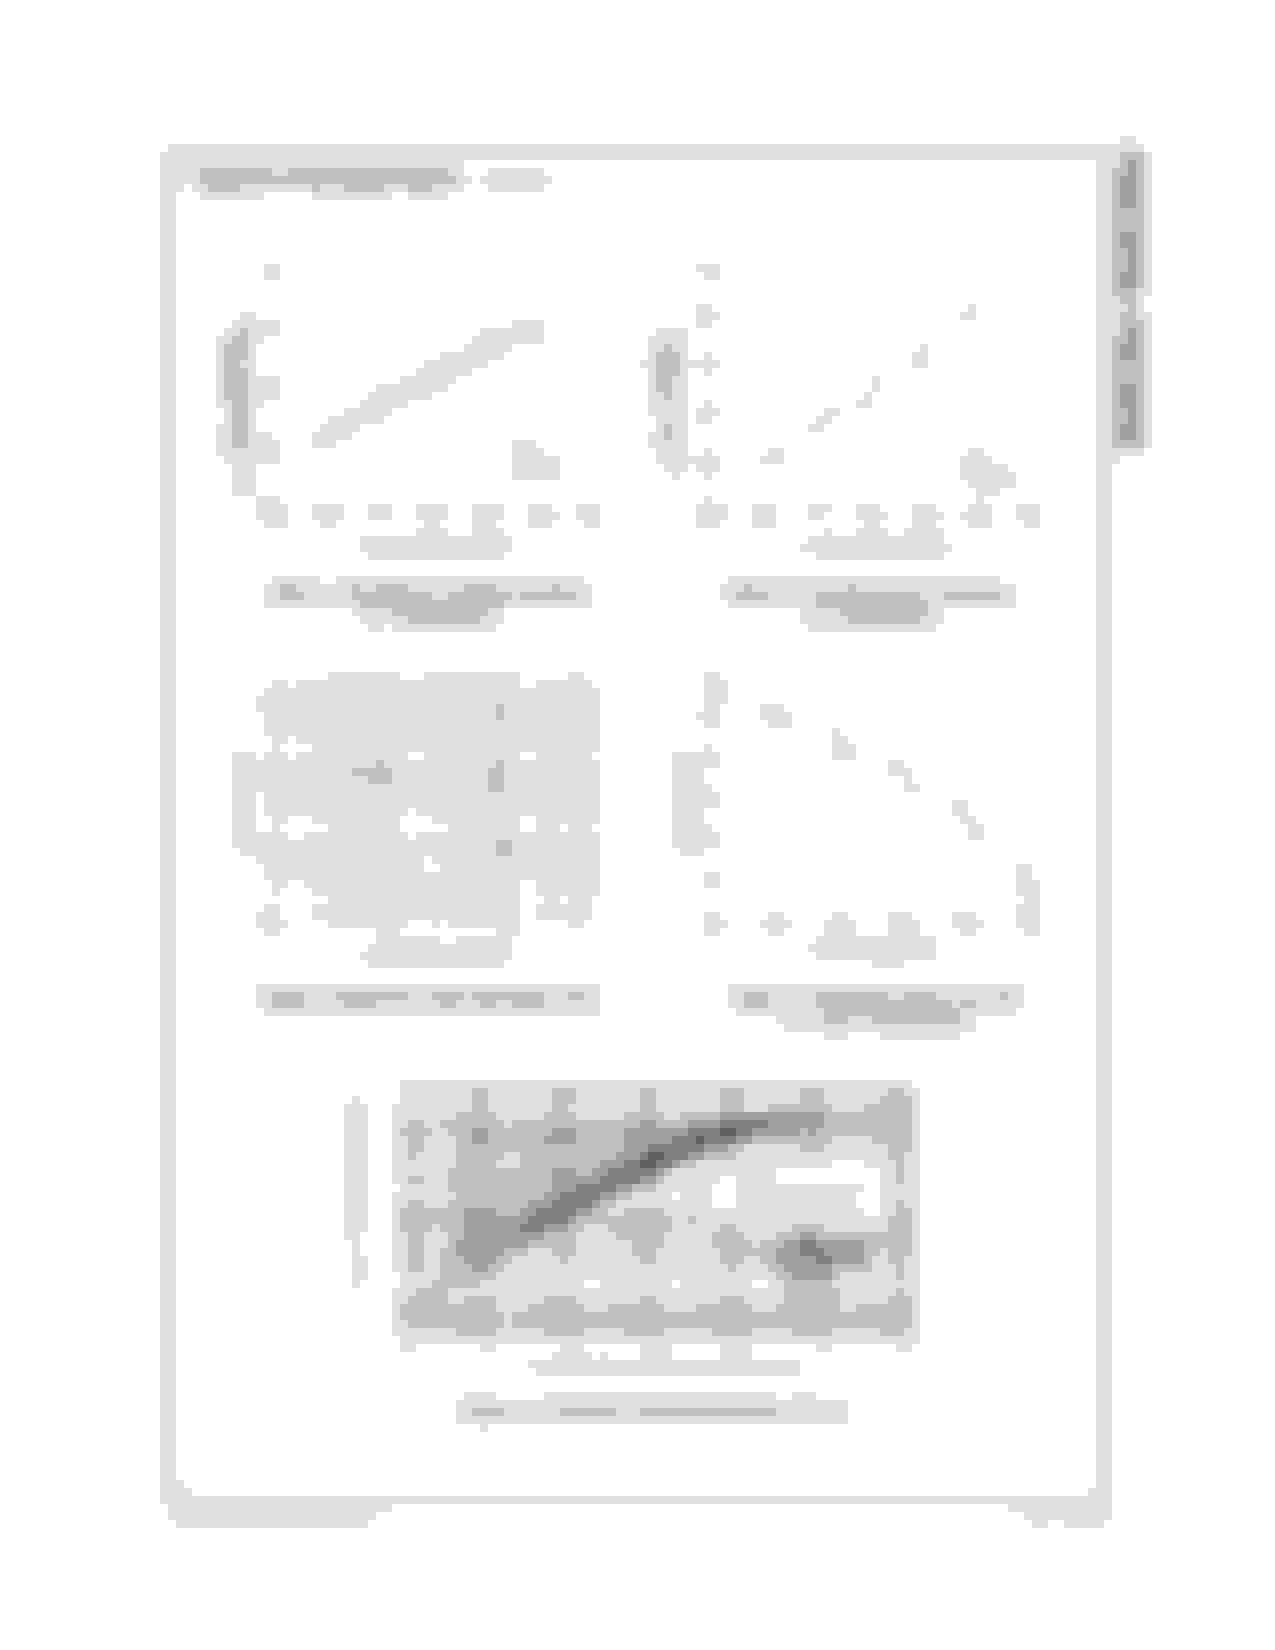
Just a suggestion: You can test the coil windings for open or short using a multimeter to check resistance. Infinite = open, 0 ( or close) = shorted. Something in between = maybe good. Measure a known good coil for comparison. Check the primary winding at the 3 terminals where it connects to the driver circuit. This should be relatively low resistance. Check the secondary between the spark plug spring terminal and the shell ground. Resistance should be relatively higher. Might save some money by not replacing a coil that may actually be good.
if you want to explain that on picture
here is a link to two pictures so you can download them, add comments and post it here http://imgur.com/a/Xcoi3


 06-25-2017, 02:49 PM